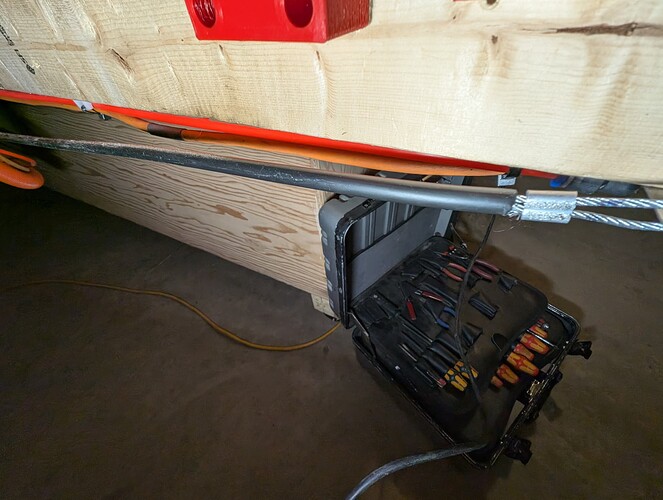
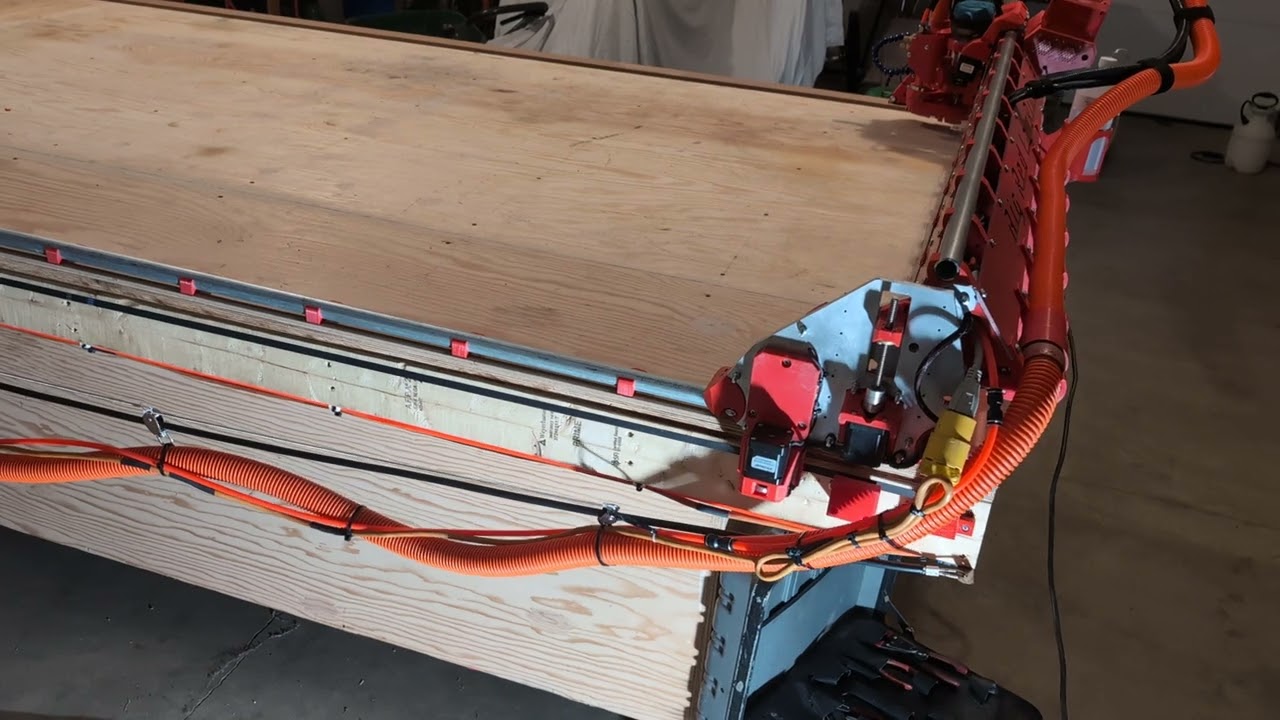
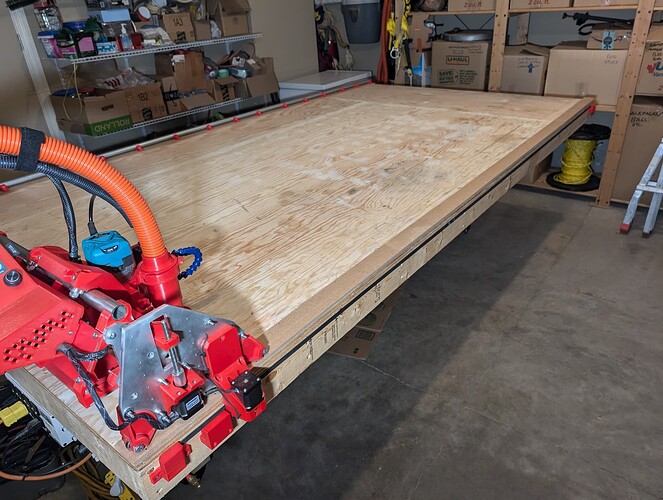
Yeah, that is one reason that it sticks up a bit more than expected. With one end being attached to the center strut brace, I needed to make everything long enough that it could travel to both extremes with no side pressure on the core. I spent more than a few minutes making sure that it moved freely the whole distance with no extra “spring force” from the hoses and wires.
Awesome! Its a good looking machine for sure! Now its time to get it dirty!!!
What!!! no way - this is going in a museum!!!
Just kidding. Next steps are to double check the Z axis level, then tram the router. I’m looking for a 1/2" end mill so that I can surface the table top before I add a spoil board…
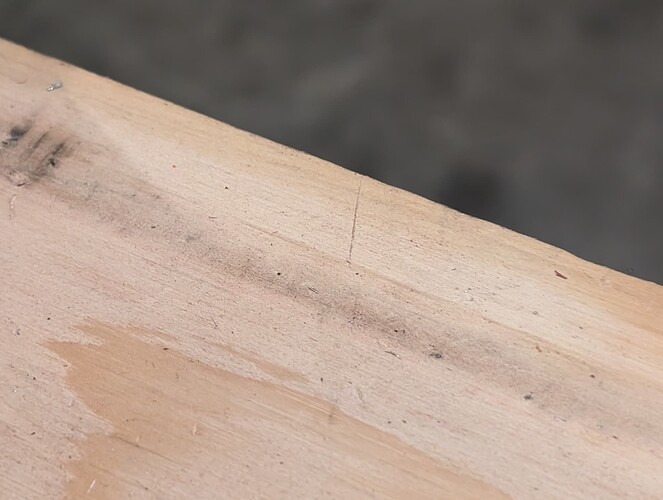
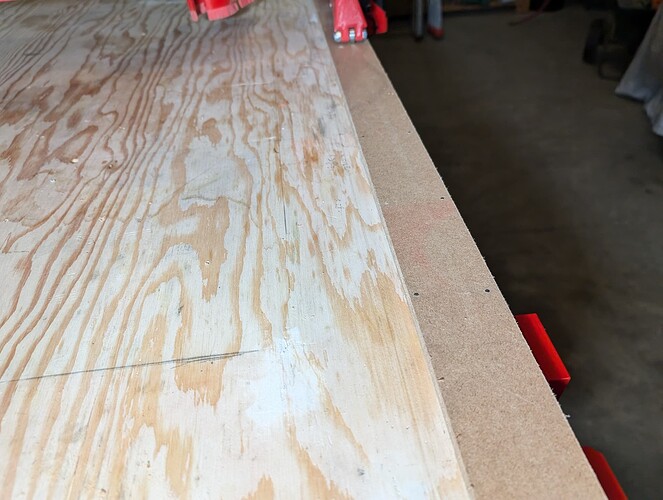
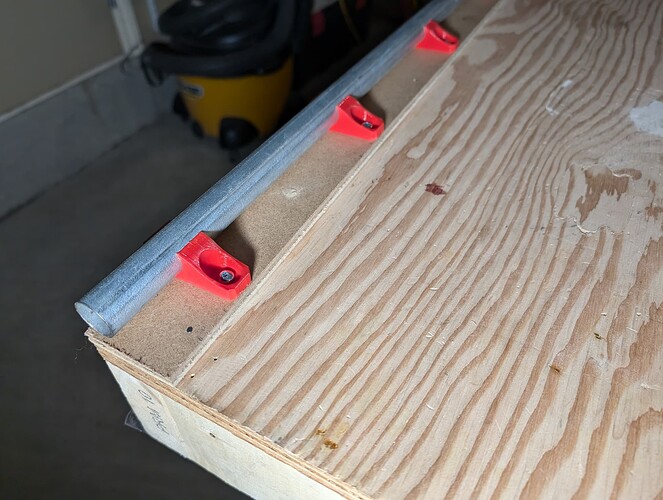
I also need to lay down a thin strip of hard material (hardboard or edge banding) under the non-rail Y bearings. The soft plywood table surface is developing a rut (picture doesn’t show it well, but its >1mm in places) , so I want to fix that before I surface the table top.
This is the one Ryan always suggests
The LR3 was already such a capable machine, and you built yours on steroids. Who knows what this thing could do. I love seeing the pics!
@Bartman did your vevor fit the makita mounts or did you have to make custom mount.
I’m sure there was a post somewhere on this forum that said they are the same.
Your build is awesome. I love it.
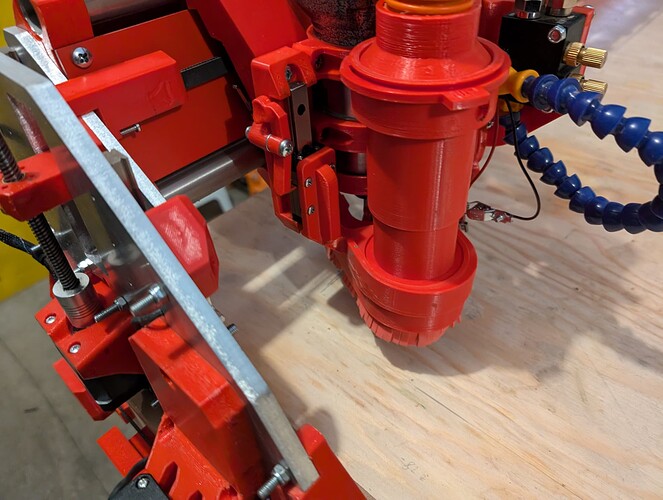
If you have the 1.5kw air cooled that is 65mm then yes it fits great in the makita mounts. But you will want the dewalt dust shoe! The makita one has a part that sticks up and interferes with the collet nut.
Mine is a 1.25 HP (800W??) palm router Yes, it fit in the Makita mount quite nicely.
I think @Jonathjon may be referring to a spindle which seems to no longer be available in NA???
I didn’t notice this on the V1E version (but I probably missed it). I did notice on @DougJoseph’s floating version that there was a section that prevented the router from dropping down fully, but that part easily came off with an exacto knife. The shoe does seem very close to the air inlet now, though, so perhaps I’ll try printing the Dewalt version and check it out.
No. That was my mistake for not paying enough attention to what thread I was on. That is the case for the LR4. Not the LR3. My bad
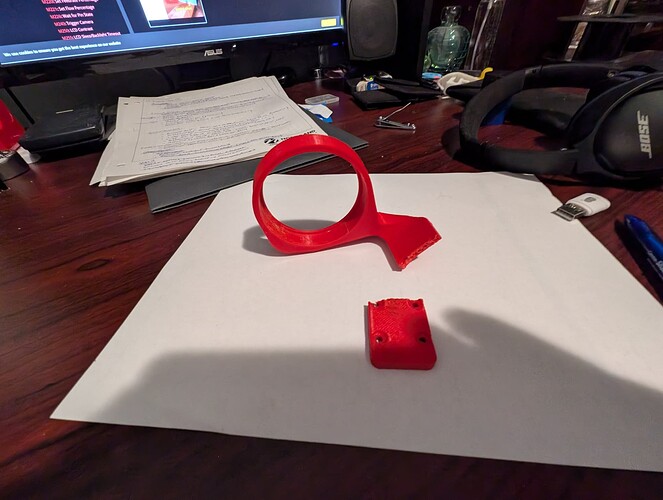
So the linear rail on @DougJoseph’s floating dust shoe jammed (filled with sawdust, I think), and when I tried to “encourage” it to move, the printed part attached to it broke
So I remixed the part to beef it up to prevent future breakages
I added a piece of 8mm air hose around the aircraft cable, and it rides much smoother now.
I redid the earlier video to show the smoother operation…
After filling the ruts with wood putty, I added a couple of layers of hardboard under the rollers (and under the Y rail). This also will make the machine a bit higher to accommodate a 1/2" MDF or hardboard spoil board, which I will add after surfacing the plywood base.
I’ve created a gcode file for surfacing the table top using Fusion and EstlCAM, and am just about ready to start that process. I’ll post back to let you know how that goes.
That’s all for now.
Cool!! Looking good.
I’m back…
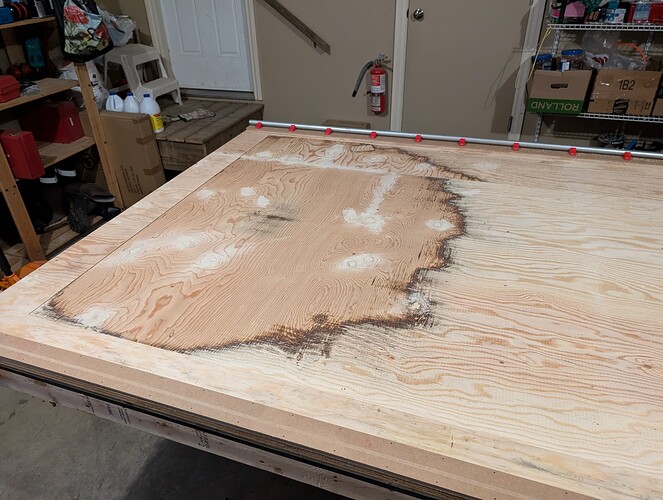
Surfacing went well, although I needed to take a lot more off than I initially thought I would need to. I ended up taking just a hair under 4mm off the table in some high spots, before I reached the lowest spot with the surfacing bit. Now I know why I was having to add several mm of cutting depth when cutting my struts, and was still having the end mill not cut all the way through in some places!
I used a 1/2" two flute Dovetail bit (1/4" shank) for the surfacing. The spec sheet called for 7000 mm/min feedrate at 17500 RPM, but I found that I was skipping steps at that speed (probably due to either too high acceleration settings or too low stepper current). I did tweak the current up to 950 mA, but I also slowed the router down a tad and used 4000 mm/min and didn’t have any further issues.
Perhaps I’ll go back at some point in the future and do some tests to determine the appropriate acceleration and current settings needed to run at that speed without skipping steps. The motors were running pretty cool at 950 mA (the stick-on temperature monitors weren’t changing color at all, so below 35C for sure)
The table was much more warped than I thought. One end in particular had a huge bow upwards of about 3mm at a spot a couple of feet in from the edge of the table. I actually milled completely through the top layer of plywood and almost through the first of the core layers at that end.
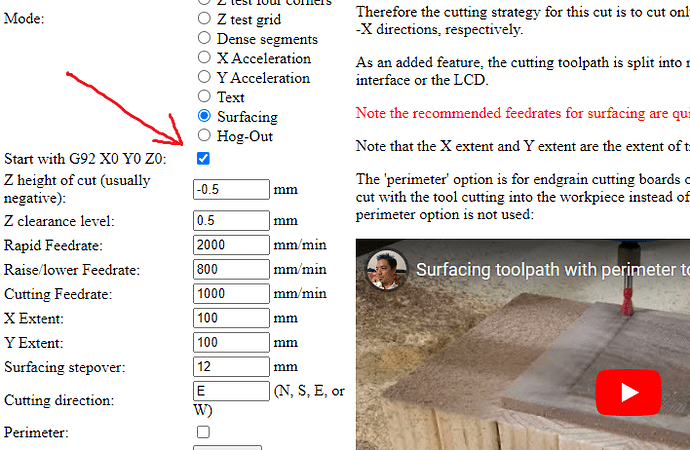
I initially used the EstlCAM pocketing CAM for the first 3mm (0.5mm per pass for 6 passes), but I found that one section of plywood in particular would cause the bit to dig in much deeper in one direction than the other, so I switched to @jamiek’s G-Code Generator, which allows you to do the surfacing passes in a single direction (you can choose which direction you want to use).
One caveat to be aware of when using that tool - it inserts a G92 X0 Y0 Z0 at the start of the code, so you either need to have the router in the exact position you want for starting the cut (including Z height), or you need to edit the file to remove the G92 commands from the file and then set the position of your machine manually.
(EDIT - @jamiek pointed out below that you can disable the G92 feature with a button selection)
I did the latter method, and mistakenly took off 0.85mm of material on the last cut instead of the desired 0.35 mm (math is hard, especially when negative numbers are involved). It worked out okay, though, as that was the exact amount that was needed to reach the lowest point on the table.
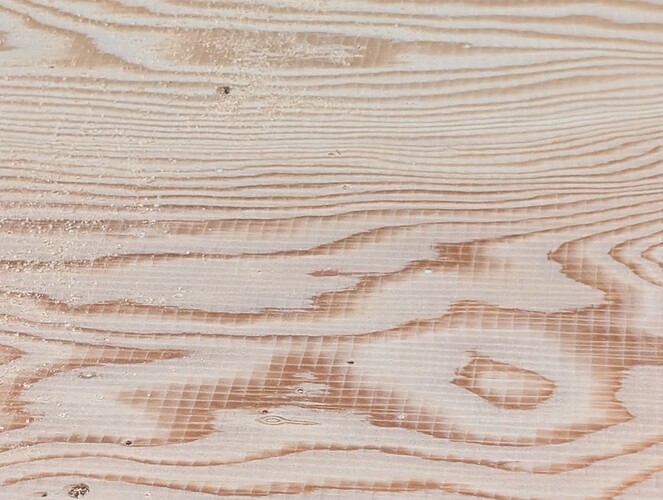
It worked brilliantly, and left a very smooth finish, with only a tiny trace of ridges between passes (I used 50% stepover).
Picture looks worse than it is, you can’t feel the ridges with your fingertips. I may touch it up with a palm sander, but it’s really not necessary.
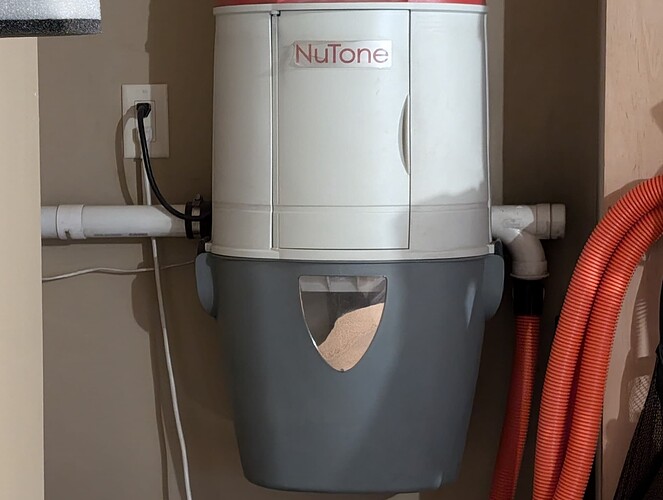
The built-in vacuum dust collection system worked like a charm (when I remembered to turn it on, that is). I pretty much filled the vacuum with sawdust/chips…
That should not be right unless you are not using my steppers.
Got the motors from you, also got the stick on monitors from you. The drivers are replacement TMC2209 (I fried a couple of the originals from you, got new ones from Amazon to save international shipping)
The machine is in a garage that is currently around 10C, so that may be part of it. They were only slightly above lukewarm to the touch after more than an hour of operation.
This is an SKR, so it’s only 50mA above default. I think I saw somewhere that the Jackpot uses a much lower default setting (680 mA???), so that may be part of it as well.
By the way there is an option to leave out the G92 X0 Y0 Z0, but it is enabled by default.
Another little feature that is a nice advantage over EstlCam is that the long straight segments are implemented as many short segments, so if you’re using Marlin, you can cancel the job or change the feed rate during the middle of the job, and it won’t take forever to have an effect because the movement queue is not 10 minutes long.
I think FluidNC will update the feed rate in real time and not require flushing the movement queue like Marlin does, so a small number of very long moves does not have the same disadvantage.
Yes, this feature came in quite handy a couple of times. Well thought out! Thanks much for creating the file!
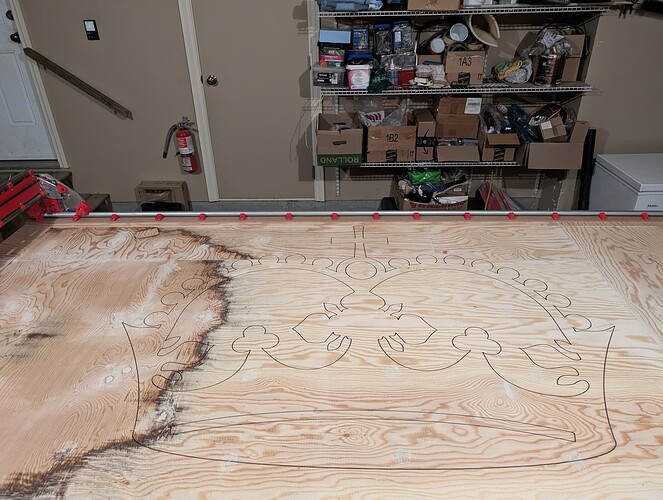
Well, no build thread would be complete without a Crown, so…
I’m not sure if this one is in the running for “world’s largest”, but it turned out pretty good. I used @DougJoseph 's kinematic tool holder and pen mount. Having a flat table made a huge difference compared to previous drawing attempts with a very uneven table surface.


Congrats!!!
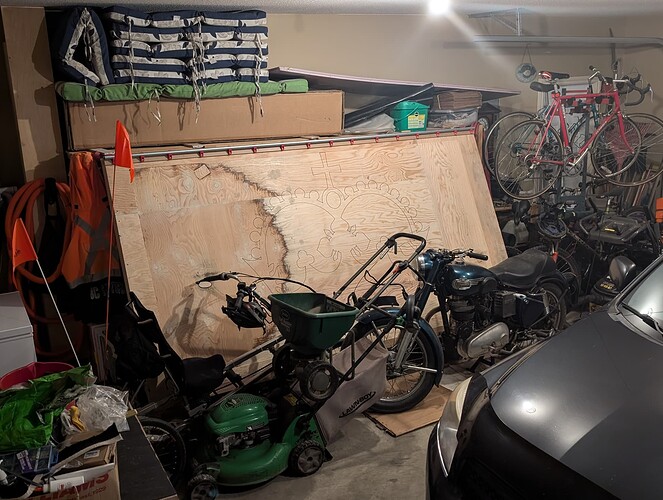
Well the rainy season has started here on the Wet Coast, and my wife wants to be able to park the car in the garage so she doesn’t get soaked whenever she leaves the house.
So it’s time to put away the LR3 and table for a few months…
Time for some long delayed indoor projects (cleaning/washing all of the interior walls, cleaning the windows and blinds, thinning out several closets, painting a couple of rooms, cleaning the bathroom exhaust vents - the list is seemingly endless).
It also gives me some time to plan out the next stage of the journey, and that is to actually make/build things with the LR3. I started the project thinking that I would build myself a custom poker table, so now I will start the process of designing the parts in Fusion, gathering up all the materials (foam padding for the table surface, different foam for the rails, vinyl for the rails, etc.) and learning Adobe Illustrator enough to design and print a custom felt for the table.
I’m also browsing this forum and some other sites for ideas for things to make with the LR3. Lots of creative ideas out there, for sure.
I’ll still be visiting the forum regularly, and posting in other threads as the mood strikes, but this thread will probably be dormant for a while (barring any replies for you all). See you back here in a few months!
