$J=G91 G21 F1000 Y10
<Home|MPos:360.000,-288.500,0.000|FS:0,0>
[MSG:INFO: ALARM: Homing Fail Approach]
ALARM:9
Homing fail. Could not find limit switch within search distances. Try increasing max travel, decreasing pull-off distance, or check wiring.
ok
It homes the x axis ok, so long as the y axis is at / near home first.
So I guess that having flipped the limits from negative to positive is allowing it to do most of it’s job, but now we need the physical flag on the gantry to do it’s job?
OK, I took a good look at the pieces that I have and I think this challenge can be overcome. I’m going to start building the new table that this mechanism will fit in.
I have made patters in Sandify before. Broadly, I’m guessing that I’ll upload those through the Fluid NC interface.
What’s the best way to run them, once loaded? Like, what’s the slickest way to interact with the machine?
Paging @jeffeb3 for that one. There’s a way to have things auto-start, which for expositions like RMRRF worked really well. Otherwise, I’m old school and just shut off the machine, remove the SD card, and load files onto the card (I don’t have a ZenXY, just other machines like LR4s and Lasers)
I use the fluidnc interface to control mine. But at RMRRF and Open Sauce, the wifi gets jammed, so I have it auto play. My rmrrf 2024 thread had the details with how I figured it out.
Still waiting for the parts for my ZenXY…but since I’m going to use a fluidNC 2 channel board and have a M5 dial pendant I’m not currently using I’m thinking about embedding the dial into the table somewhere (probably on a side or under a hatch of some kind) to control it with.
Though…just connecting over my phone and using the webui may be more my go-to method.
Also starting to toy with the idea of doing something like @jeyeager’s jog controller - but instead of making something just for jogging making something optimized just for loading and running patterns with a minimal interface and small screen. Could be a fun way to learn more about interfacing with FluidNC once the table is built…I’ve got plenty of ESP32’s laying around and a few small screens so could be fun to experiment with.
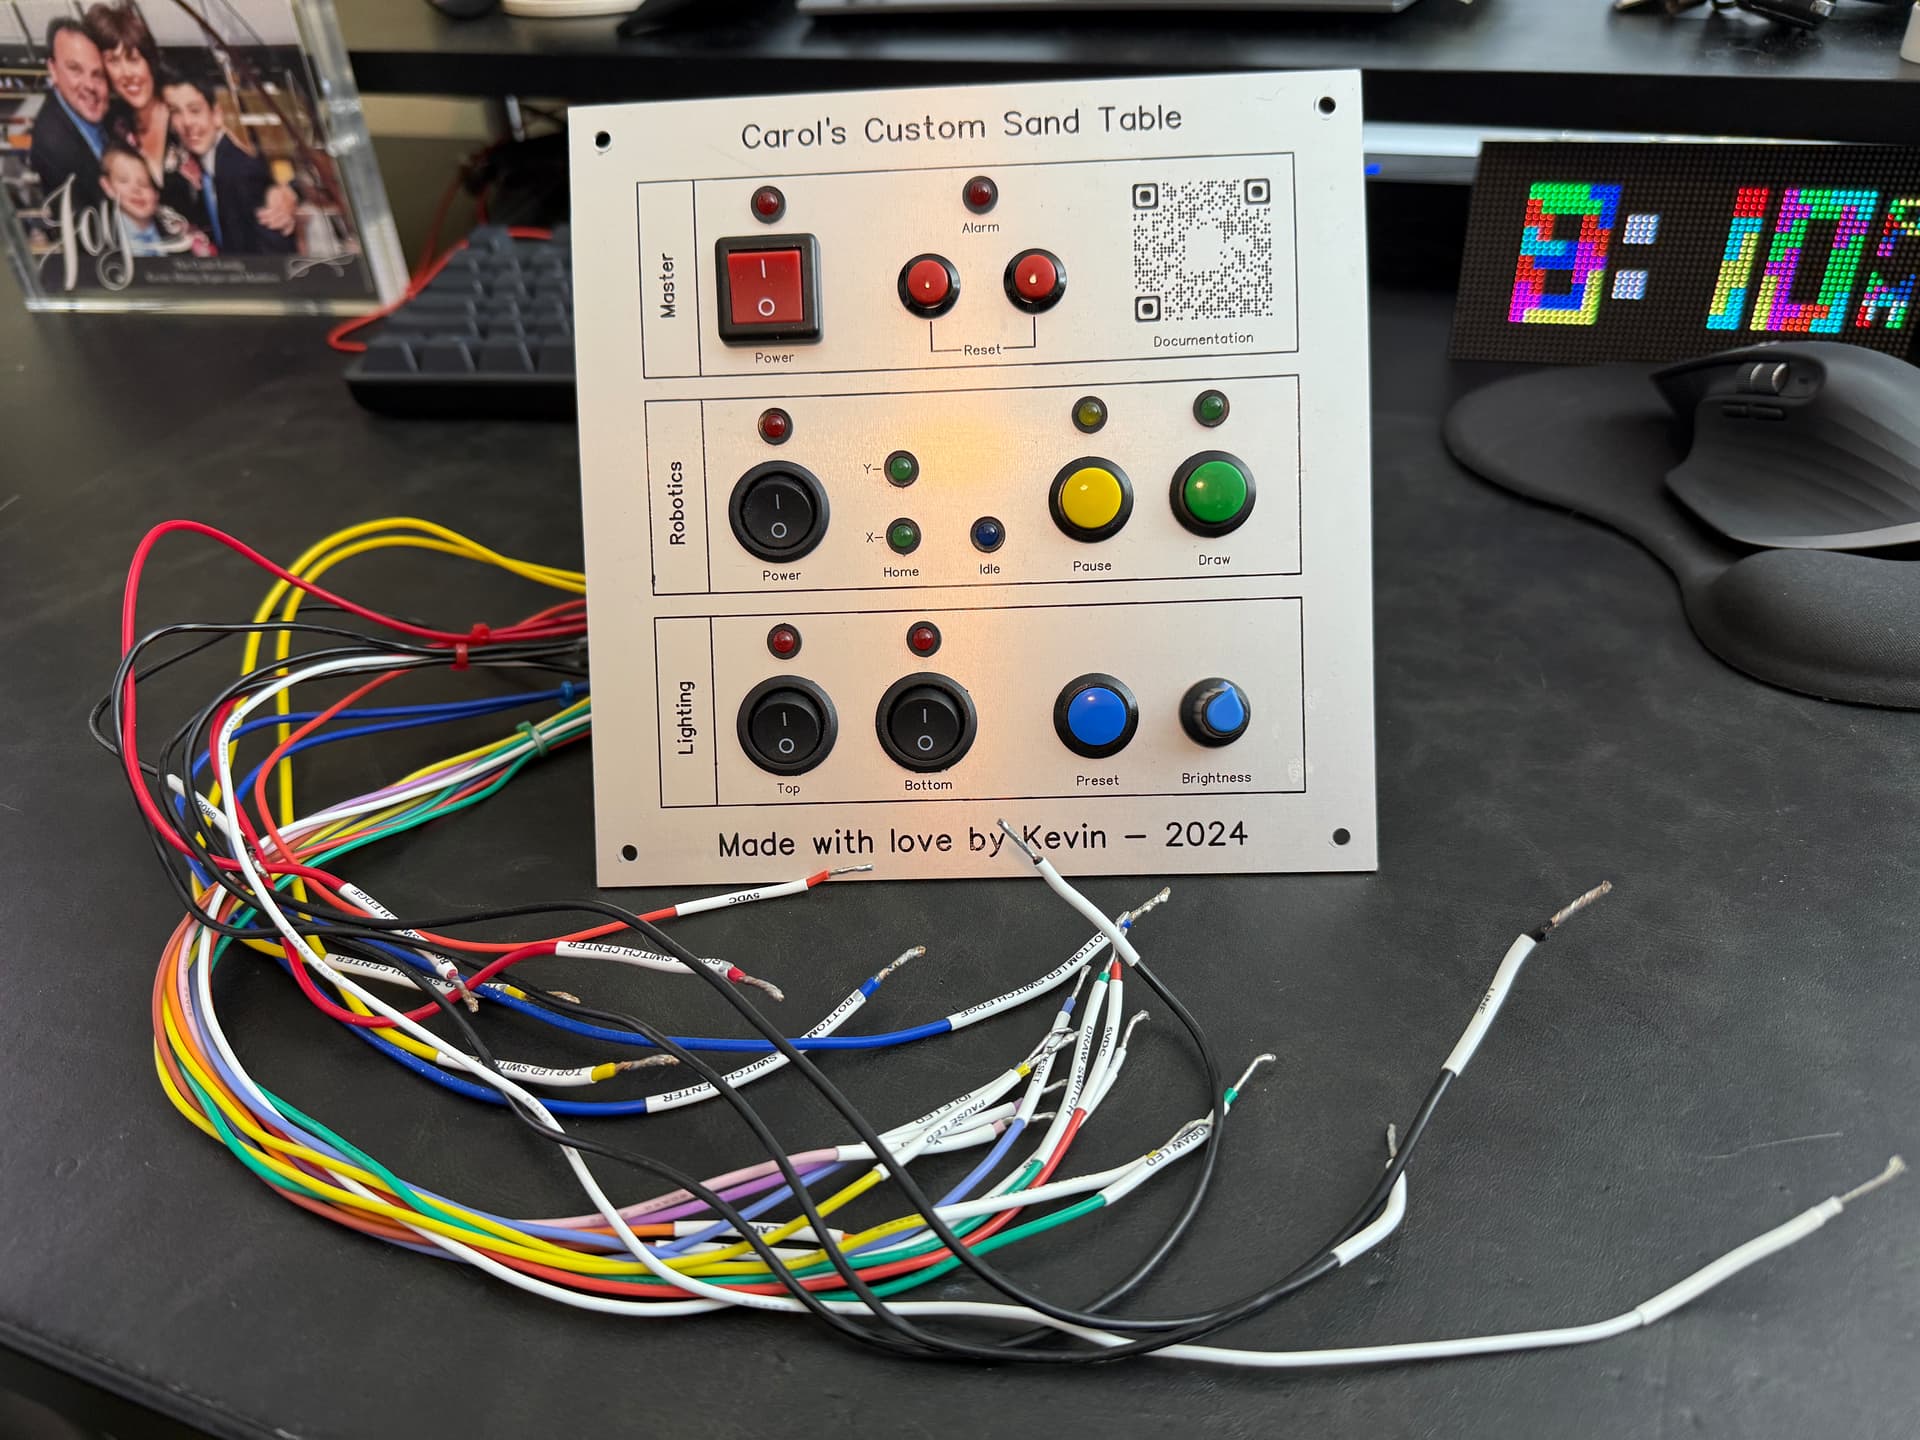
@jeyeager - Yes - Exactly! I used a PCB design tool to create it and had it made on an aluminum PCB instead of the usual fiberglass because the dull silver aluminum really matches her table. Since it was a PCB, I was able to save A LOT of wiring and make it cleaner by having a common ground and running just 1 ground wire to it, and then just 1 wire for each input / output. I surfaced the common ground and the I/O traces right next to each switch / led. It made it very clean If I were to do it again I would use a surface mount wago lever lock connector for the feed wires.