Since a lot of you have asked me how I made my portable Primo go so fast, and since Philipp recently posted a summary of my posts about that, I thought it would be helpful to write a more generic set of heuristics for tuning, since most of you won’t have the same specific hardware I chose.
The greatest thing about all the V1 Engineering designs is their hackability. If you wanted something that arrives built and just works, you are probably not on this forum. I love hacking things and have been doing that since I got my first set of screwdrivers at age 5 and began to take all my toys apart.
A lesson I learned fixing cars (in lots of painful experiences) is: You never know how far you can push something until you break it. My hands know just how much torque it takes to strip threads of all sorts and to break bolts. Related, and more apropos to tuning your CNC for speed is my Uncle Dick’s advice, when I was trying out his souped-up Mini Cooper at age 16, was, “Until you skid the wheels, you will never know how fast you can take the turn.” He was a rally racer.
So my first big advice for everyone here is to keep upping the feed rates, jog rates, acceleration, etc. until you lose steps (which is not harmful to the machine) or until you break something. I have been lucky so far with my CNC and not ruined any part of it or let the smoke out of any of its circuits. But if you do, take it as a mark of pride, write down what you learned from that in a notebook, and put your settings just a tiny bit less than that!
My next big advice is to pay attention to acceleration. If you don’t, you may notice that the machine never seems to go as fast as you have set the feed or jog rate to. That is because it may take too long (too much travel) to get to that feed rate or rapid rate – acceleration is set too low. I won’t post specific numbers here because every machine’s mass will be different, and its work area, so you have to do a LOT of trial and error yourself on your machine. Home the machine and make a tiny mark, or use a calibration drawing, so you will easily be able to see if you missed steps by pushing it too hard. Then push it too hard until you do skip steps. Skid the wheels!
Side note: Some machines even have a setting for jerk, which is the rate of change of acceleration. This can also be tuned for best performance. Grbl and Marlin do not, but my Handibot’s Fabmo controller does and I followed ShopBot’s Brian Owen’s advice for tuning that.
Next big point I want to make is: Don’t put up with a slow “rapid” rate. We all focus on feeds and speeds while cutting, which is obviously important. But, thanks to their belt drives, the MPCNC and LR3 can really move fast, much faster than an expensive ballscrew machine. You would be surprised how much of the average project is spent just moving the cutter to its next cut. You are only fighting against inertia (and wind resistance, I suppose ![]() ) when doing a rapid move, so push it PAST the limit and then back off a bit.
) when doing a rapid move, so push it PAST the limit and then back off a bit.
Related to that, I also “tuned” the pitch of my Z leadscrew to balance Z speed against the safety of not having the Z assembly fall down into the wood when the Z stepper motor is unpowered. (I have a very heavy spindle). I tried three different leadscrews.
Regarding tuning for speed while cutting, find out what your limiting factors are. They might include:
- Machine flexing. Make things more rigid.
- Dull or incorrect bits. Get new ones.
- Underpowered spindle/router. Usually not a problem with a Dewalt, Makita, or 3-phase spindle.
- Too aggressive with depth of cut, feed rate or stepover. Entire websites are dedicated to figuring out reasonable feeds and speeds for your material and cutter. They tend to err on the conservative side, so consider going past their advice.
- You are too worried about breaking a bit. Practice actually breaking a bit with a pack of cheapish ones, by going too fast.
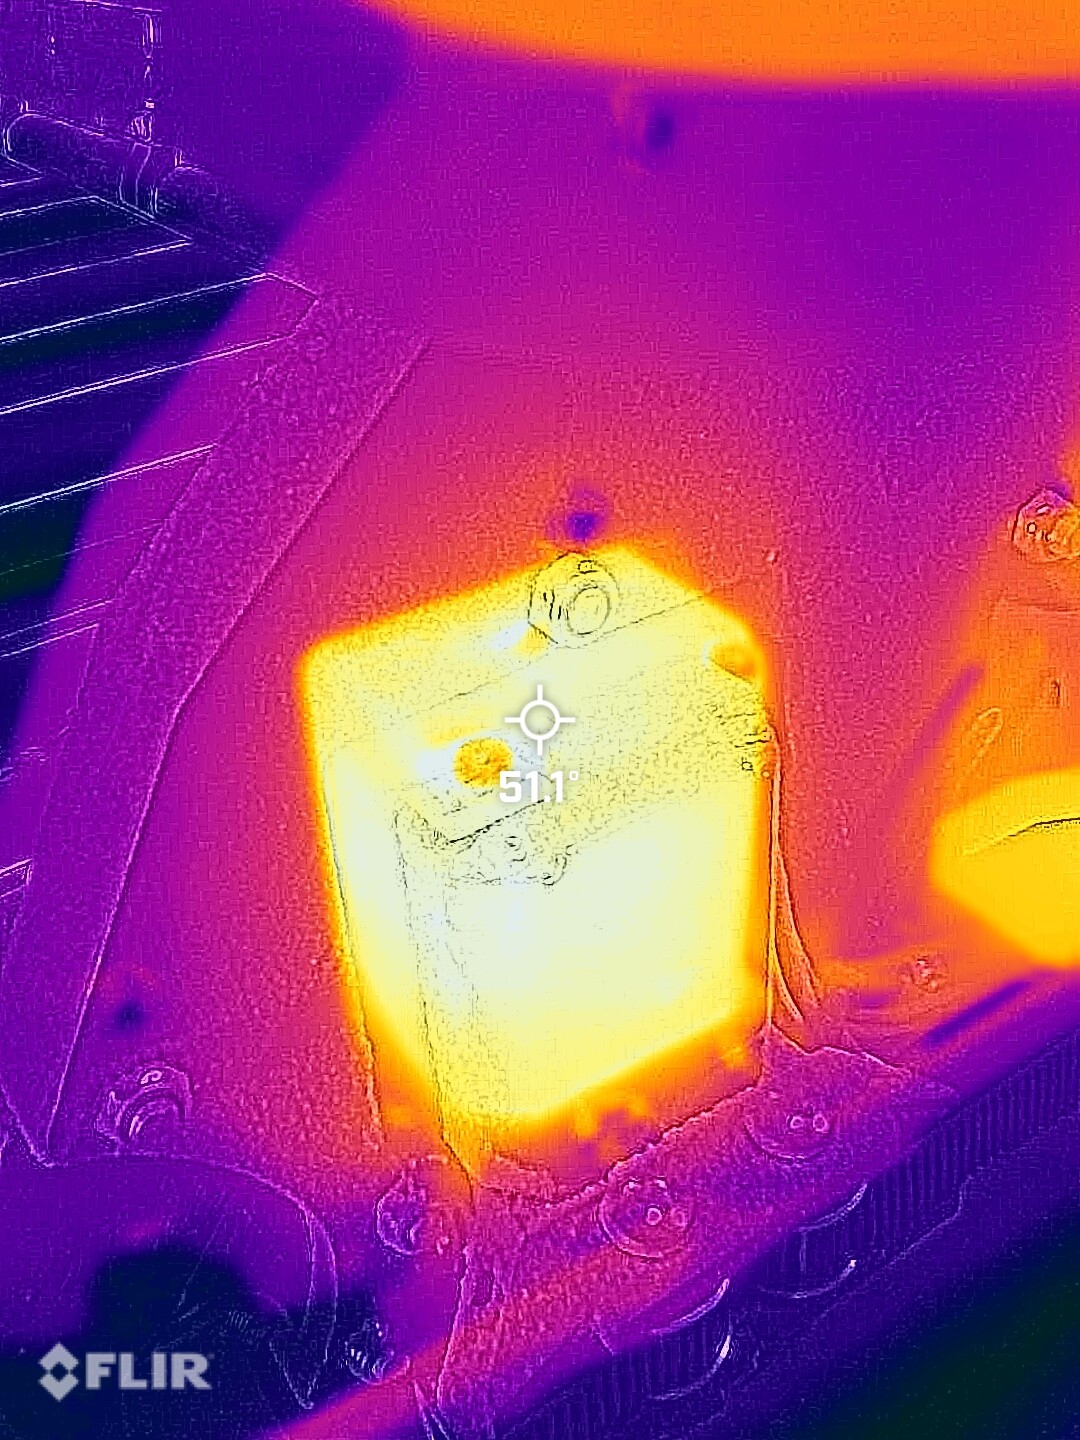
- Worries about overheating something (bit, stepper drivers, stepper motors). Measure temperatures with a thermal IR sensor, or like I did, install temperature sensors all over the place. (I like the DS18B20 digital sensors)
- Hardware-specific limitations, such as the stepper motor voltage (I am using 40V), and controller’s maximum pulse rate. If you do all the above tuning with your current set up and it is still not as fast as you would like, then consider upgrading your hardware.
Related to that last point, there is the complex topic of stepper motor current and microstepping settings. They affect your max motor speed and torque. @Jeffeb3 has good advice there.
Pay attention to the chips that are produced - take off the dust shoe until you have it all dialed in. Feel how warm the chips are. They should be carrying heat away from the bit. Measure them with a micrometer and see if they correspond to the thickness in your feed rate calculator. Too small chips or dust: feed rate is not as fast as it should be. I make exceptions for very light-cut finshing passes where you want a clean surface and minimal cutting forces. Use your eyes, nose (burning wood) and ears (howling, juddering, or heaven forbid, skipping steps during a cut) to get an intuitive feel for how to set your DOC, feed rate, RPM and stepover.
In summary, tune for speed by exceeding the limits of your machine so you know where that limit is. If you do that carefully, you might not even break things!
I welcome and look forward to all the additions/corrections you folks may have.