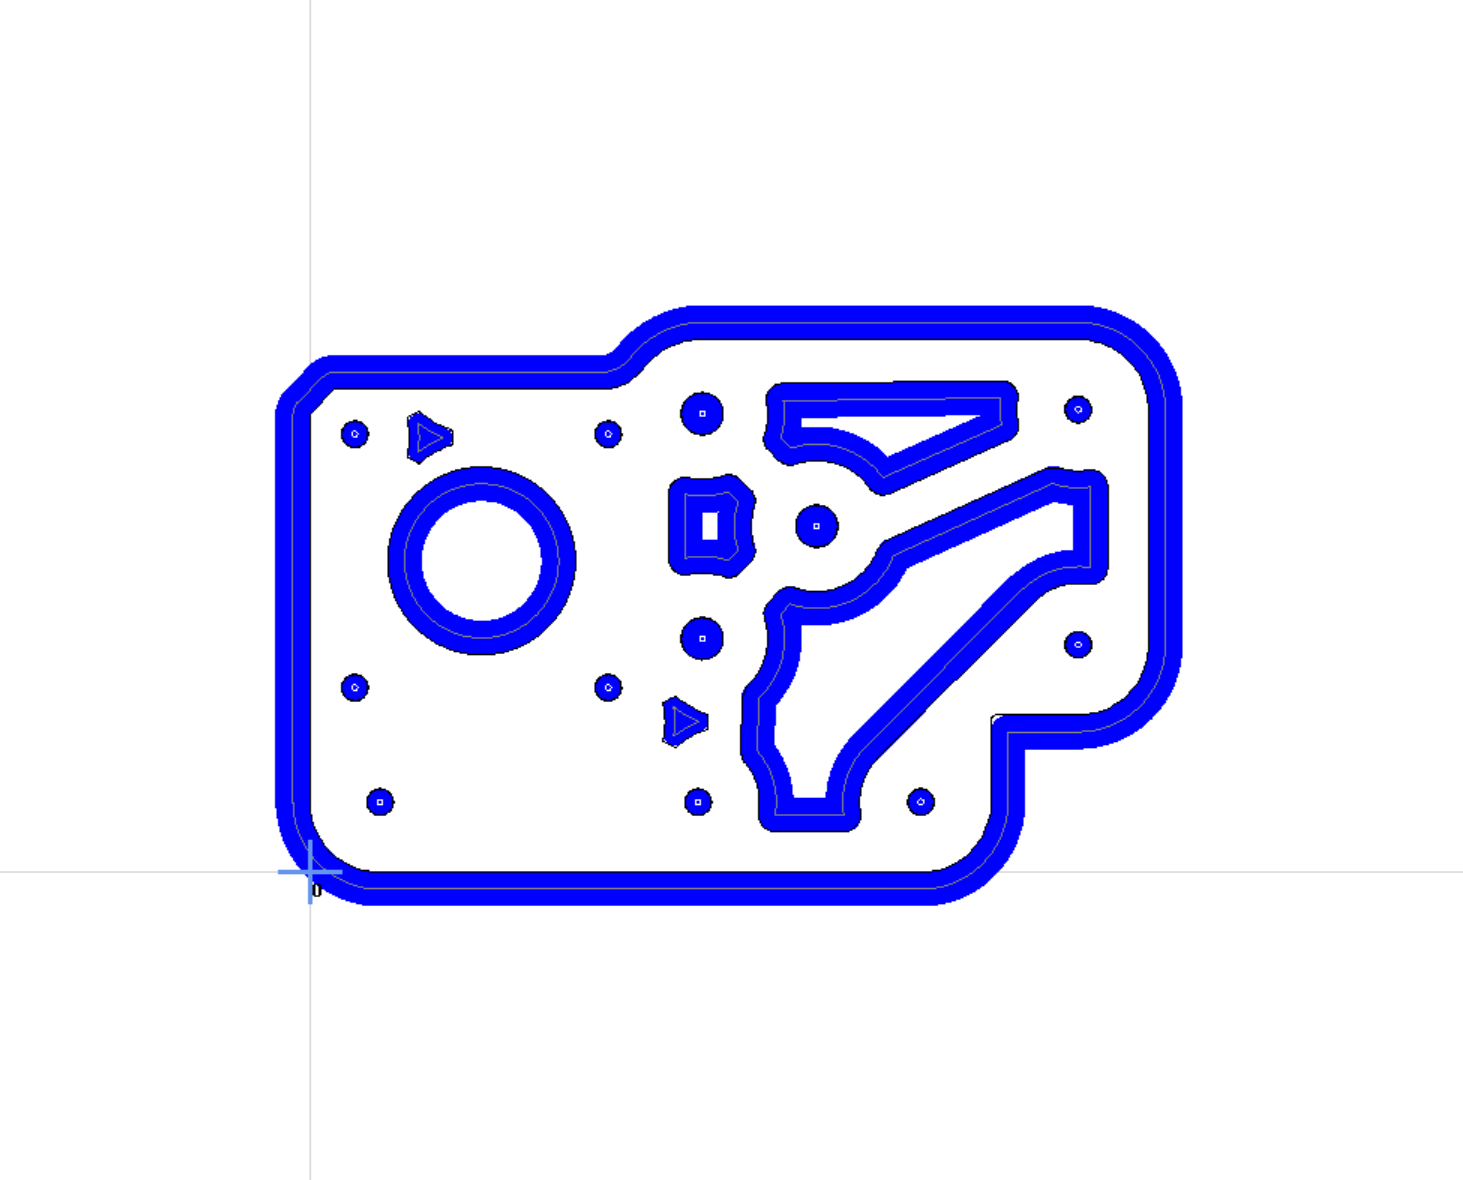
Ok I’m FINALLY home! Just downloaded a fresh version of the CAD. I think I have all the plastic parts saved, waiting on the filament to get here. Working on the DXF’s for all the aluminum parts but some of them I’m not real sure about.
@vicious1 do you have a clean version of the DXFs needed for all the aluminum parts? If I was going to print them that’s easy but clean sketches to save as DXF is a little harder. I think I have all the top parts but these Z plates I am struggling with. It could just be that I’m exhausted lol
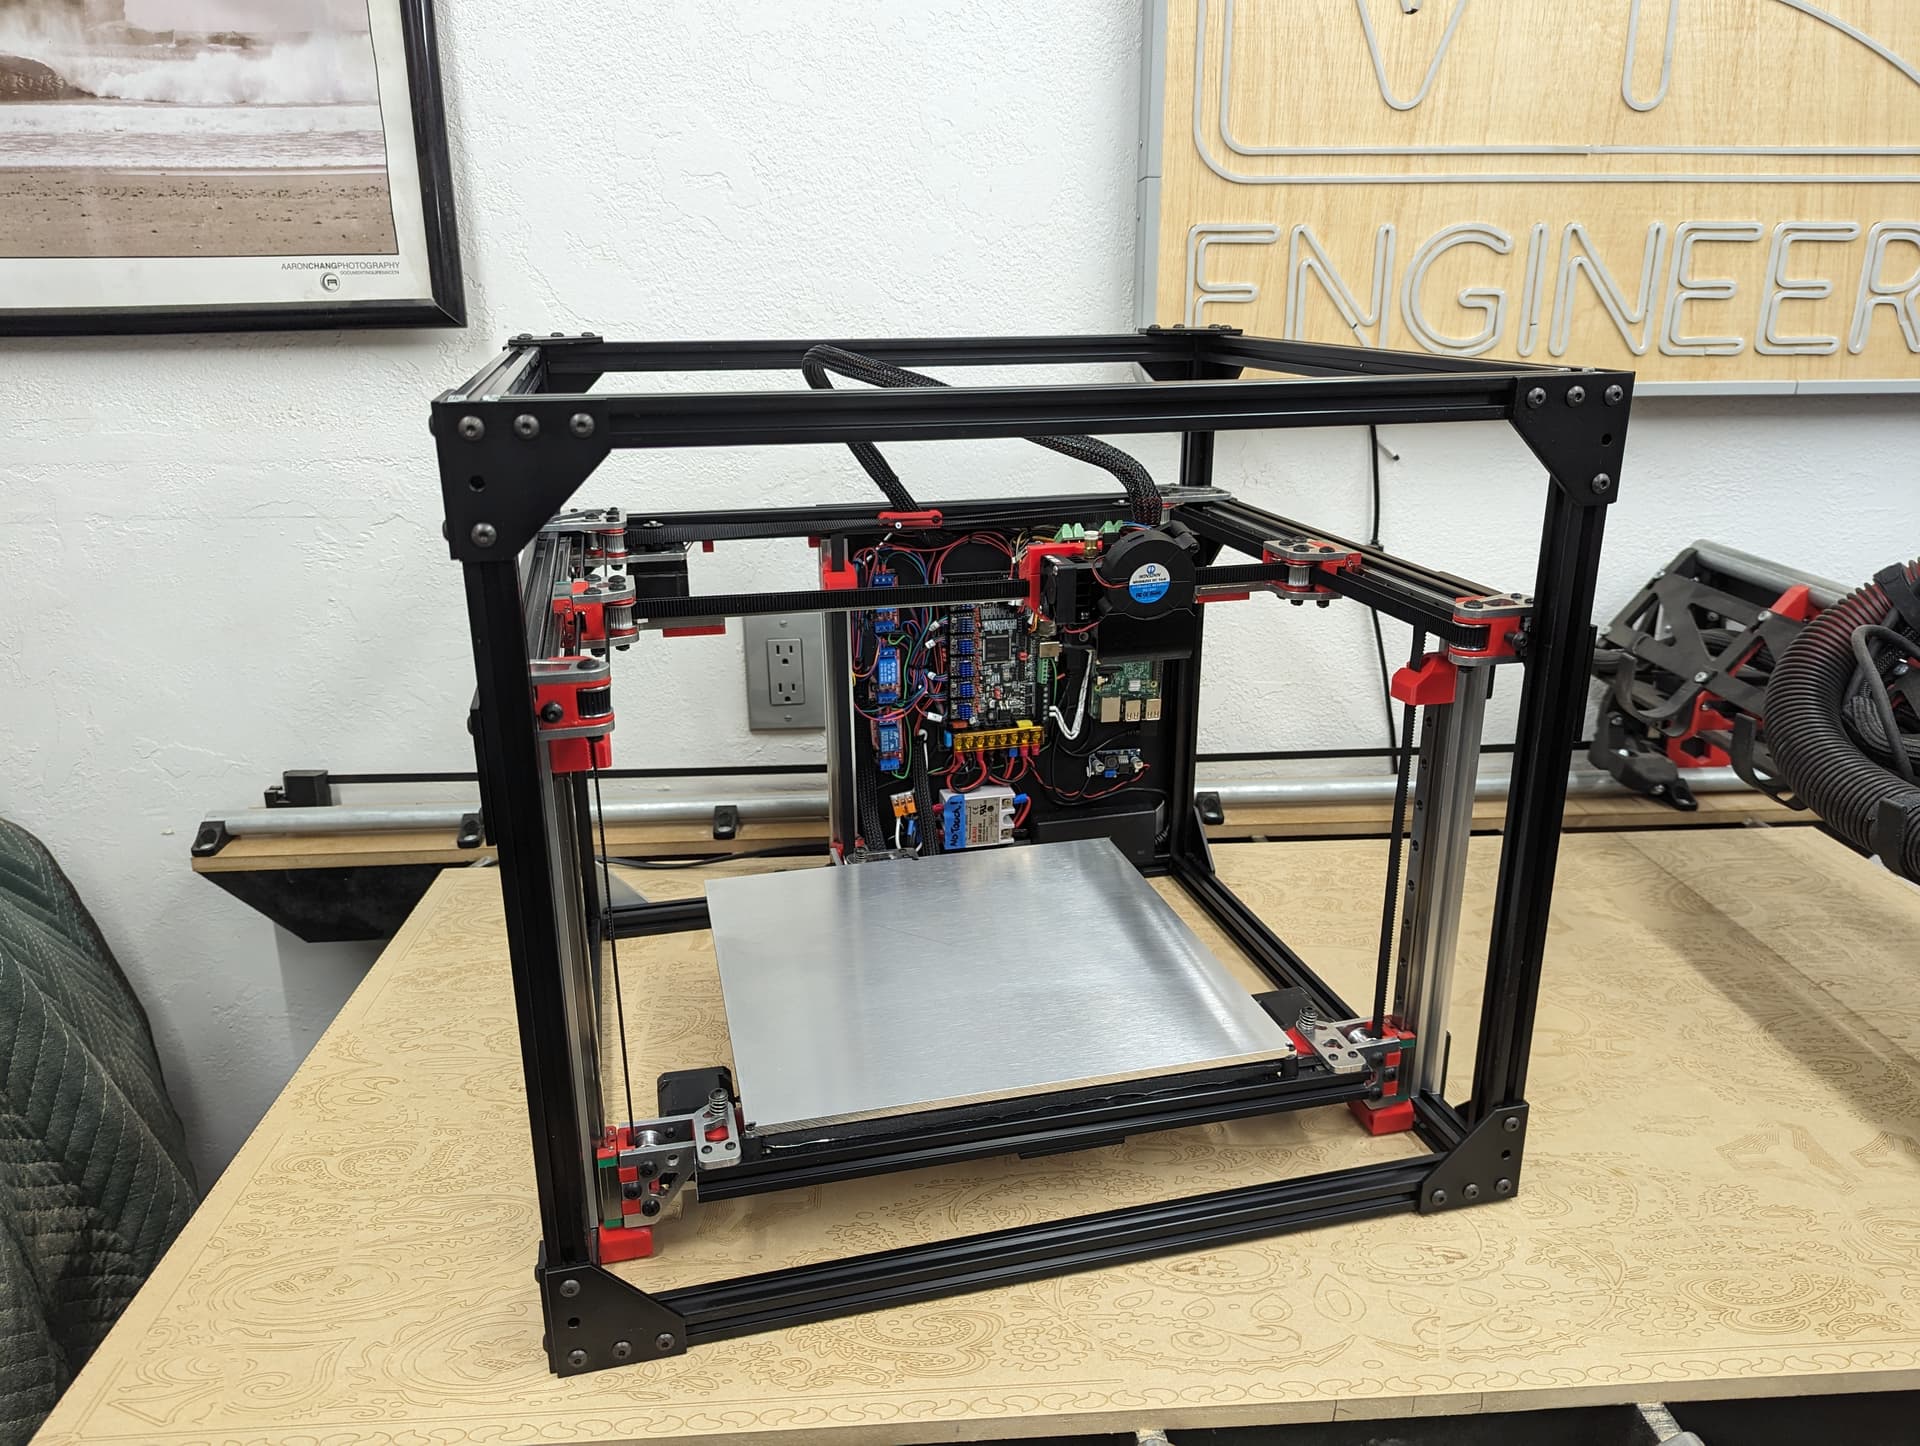
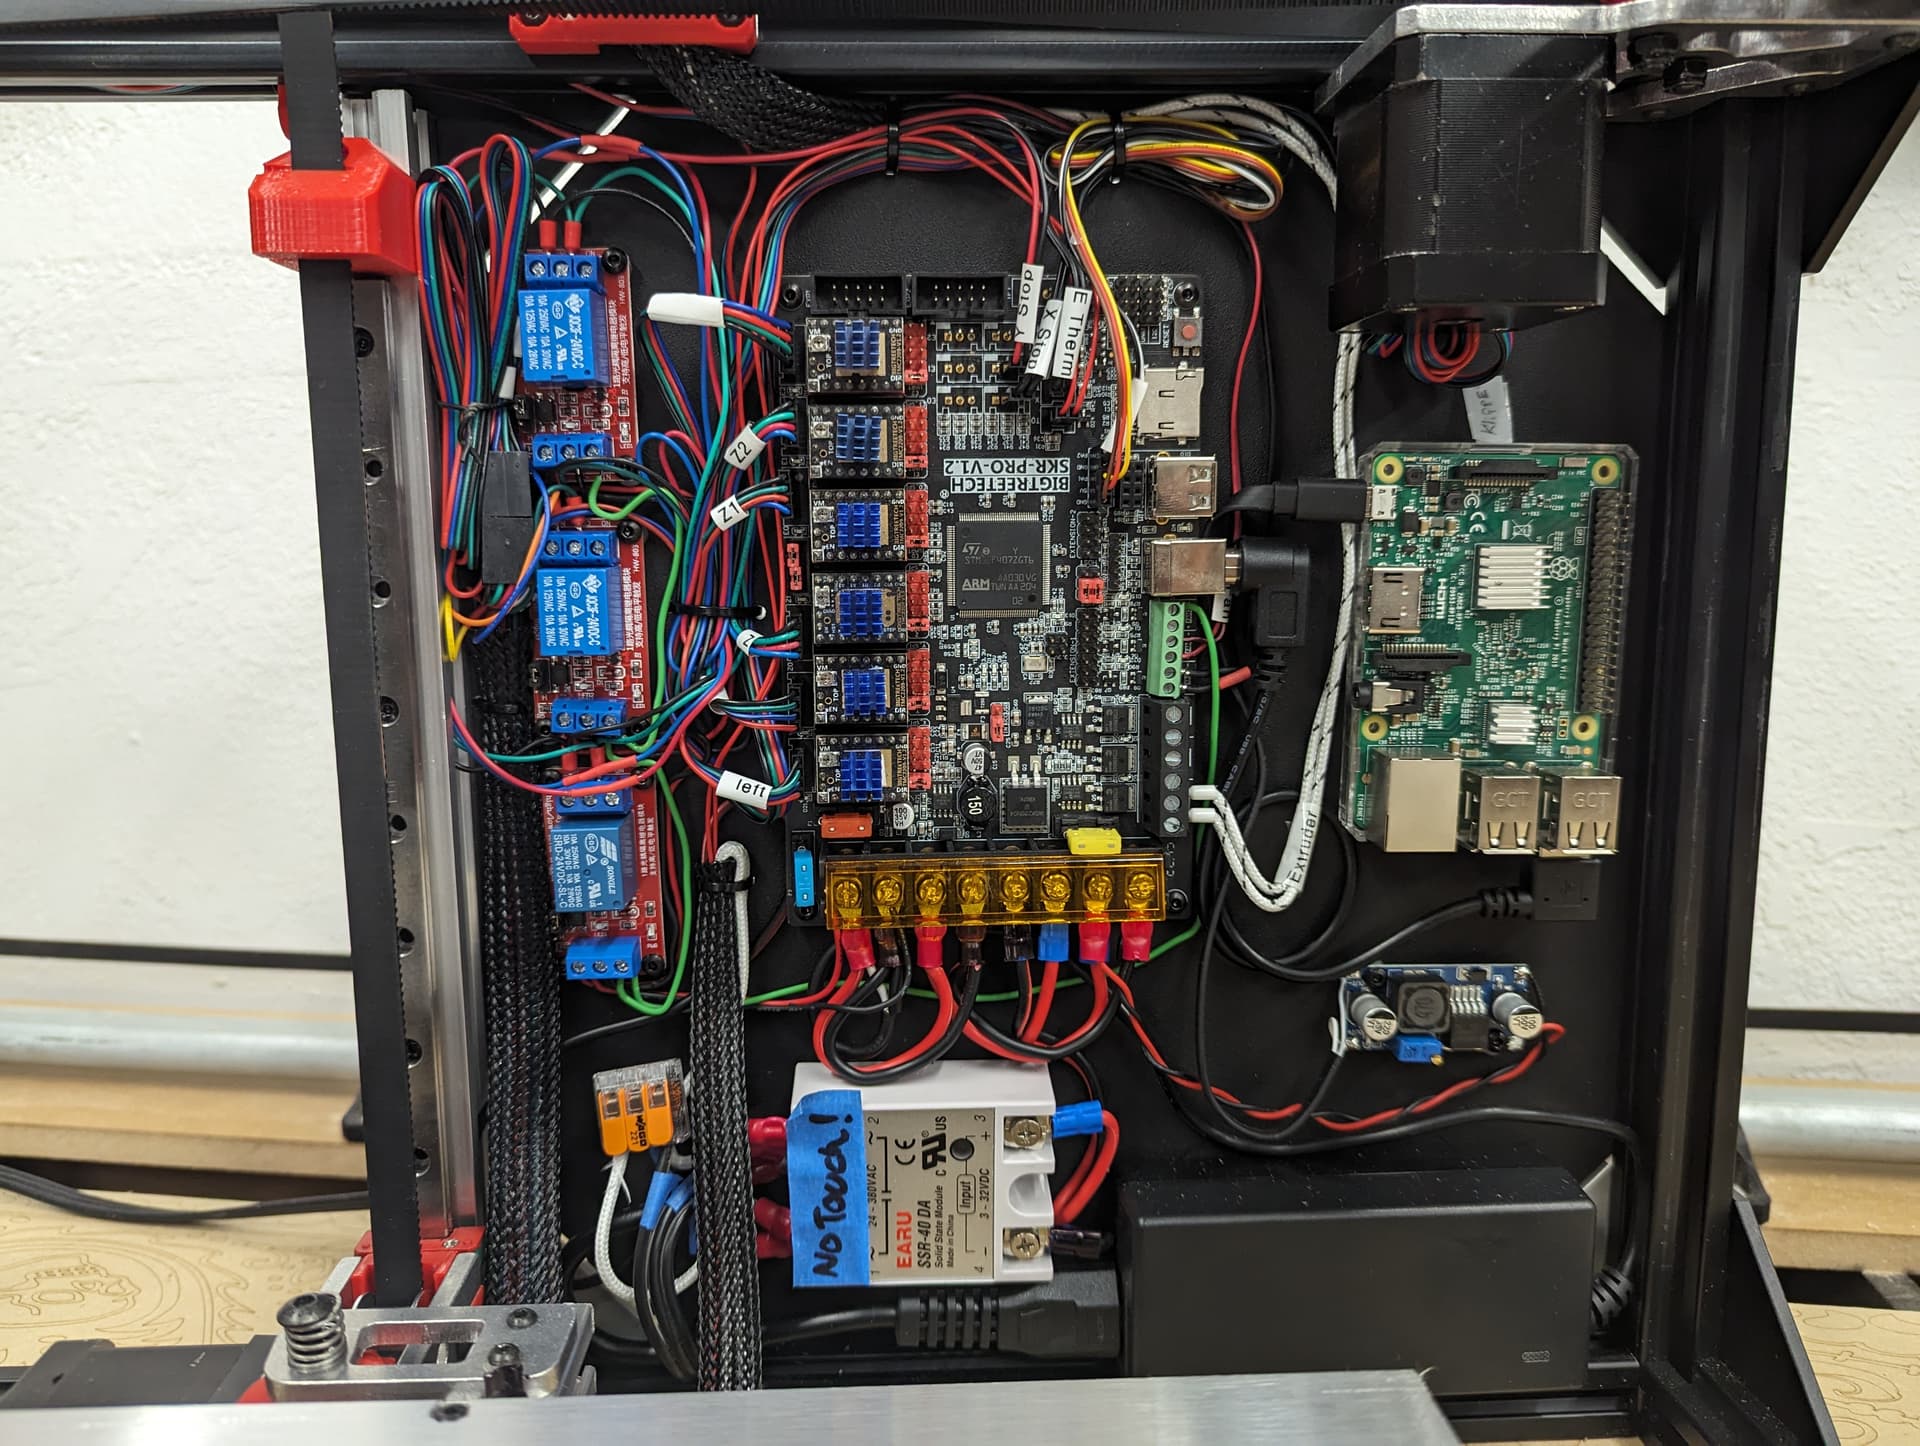
I have some orders I will need to pack but the printer is completely wired…dang except the filament sensor. I am so close to printing. The tungston carbide nozzle just arrived as well.
This is one of the first times I feel like I have to “work” before I get to play. I remember this feeling. It has been years.
I haven’t placed my order yet so you are good to skip work for now LOL… JK!!! You start getting any more orders and your gonna have to hire a packing/shipping person!
When you do get time to play can you check how far past the bed you can get the nozzle for me? trying to decide if I can get what I want at 300mm or if ill need to go farther. I ordered the exact bed you linked before
Man I am blind. I even looked at that before and never saw them down there. Thanks!!!
Trying to decide if 3/16" is good enough or if I want to shave down 1/4" to 5mm. 3/16" is 4.7625mm so I’m thinking it will be enough. And If I go with that I will probably run to harbor freight and pick up one of these and some walnut shells to run the parts though after cutting them out…
Just not sure if I should do 12 or 24 grit. This is all new to me lol.
Edit from Future Me. DO NOT DO THIS!!! TRUST ME!!!
Looking like just shy of 20 min (with a bit change) to mill the largest part. That’s not too bad at all. And I know I could push harder and get it done quicker but no reason to.
It is very nearly 5mm on each side, so if you want extra remember to do it in 25mm increments and make sure to pick where you ant that to end up. For now I think the bed will stay centered so if you want it all on one side you need to edit the bed sketch. Make sure to do this before you cut the 3 bed holder parts as the angle will change.
4.5 is probably ideal, mine are 4.7mm and still work great…too thick and the pulleys are going to be an issue. It looks like 5mm will still just work, but 4.5-4.7 is ideal.
So sounds like 3/16" is perfect. Already right at 4.7mm Sweet!
I more want it to clean up the flat part that’s not getting cut lol. I will see how they look before I go to HF. I just know I damn sure don’t want to have to sand all these small parts lol. If I was going to mill down the 1/4" I would have left that for sure. But that seems like a big waste when I have 3/16" already
Yeah I’ve used that method before. Didn’t really think about it for this. I do have some other uses in mind for the tumbler so idk which way I will go. I have to get off my lazy ass and get some parts cut before I worry about this part too much LOL
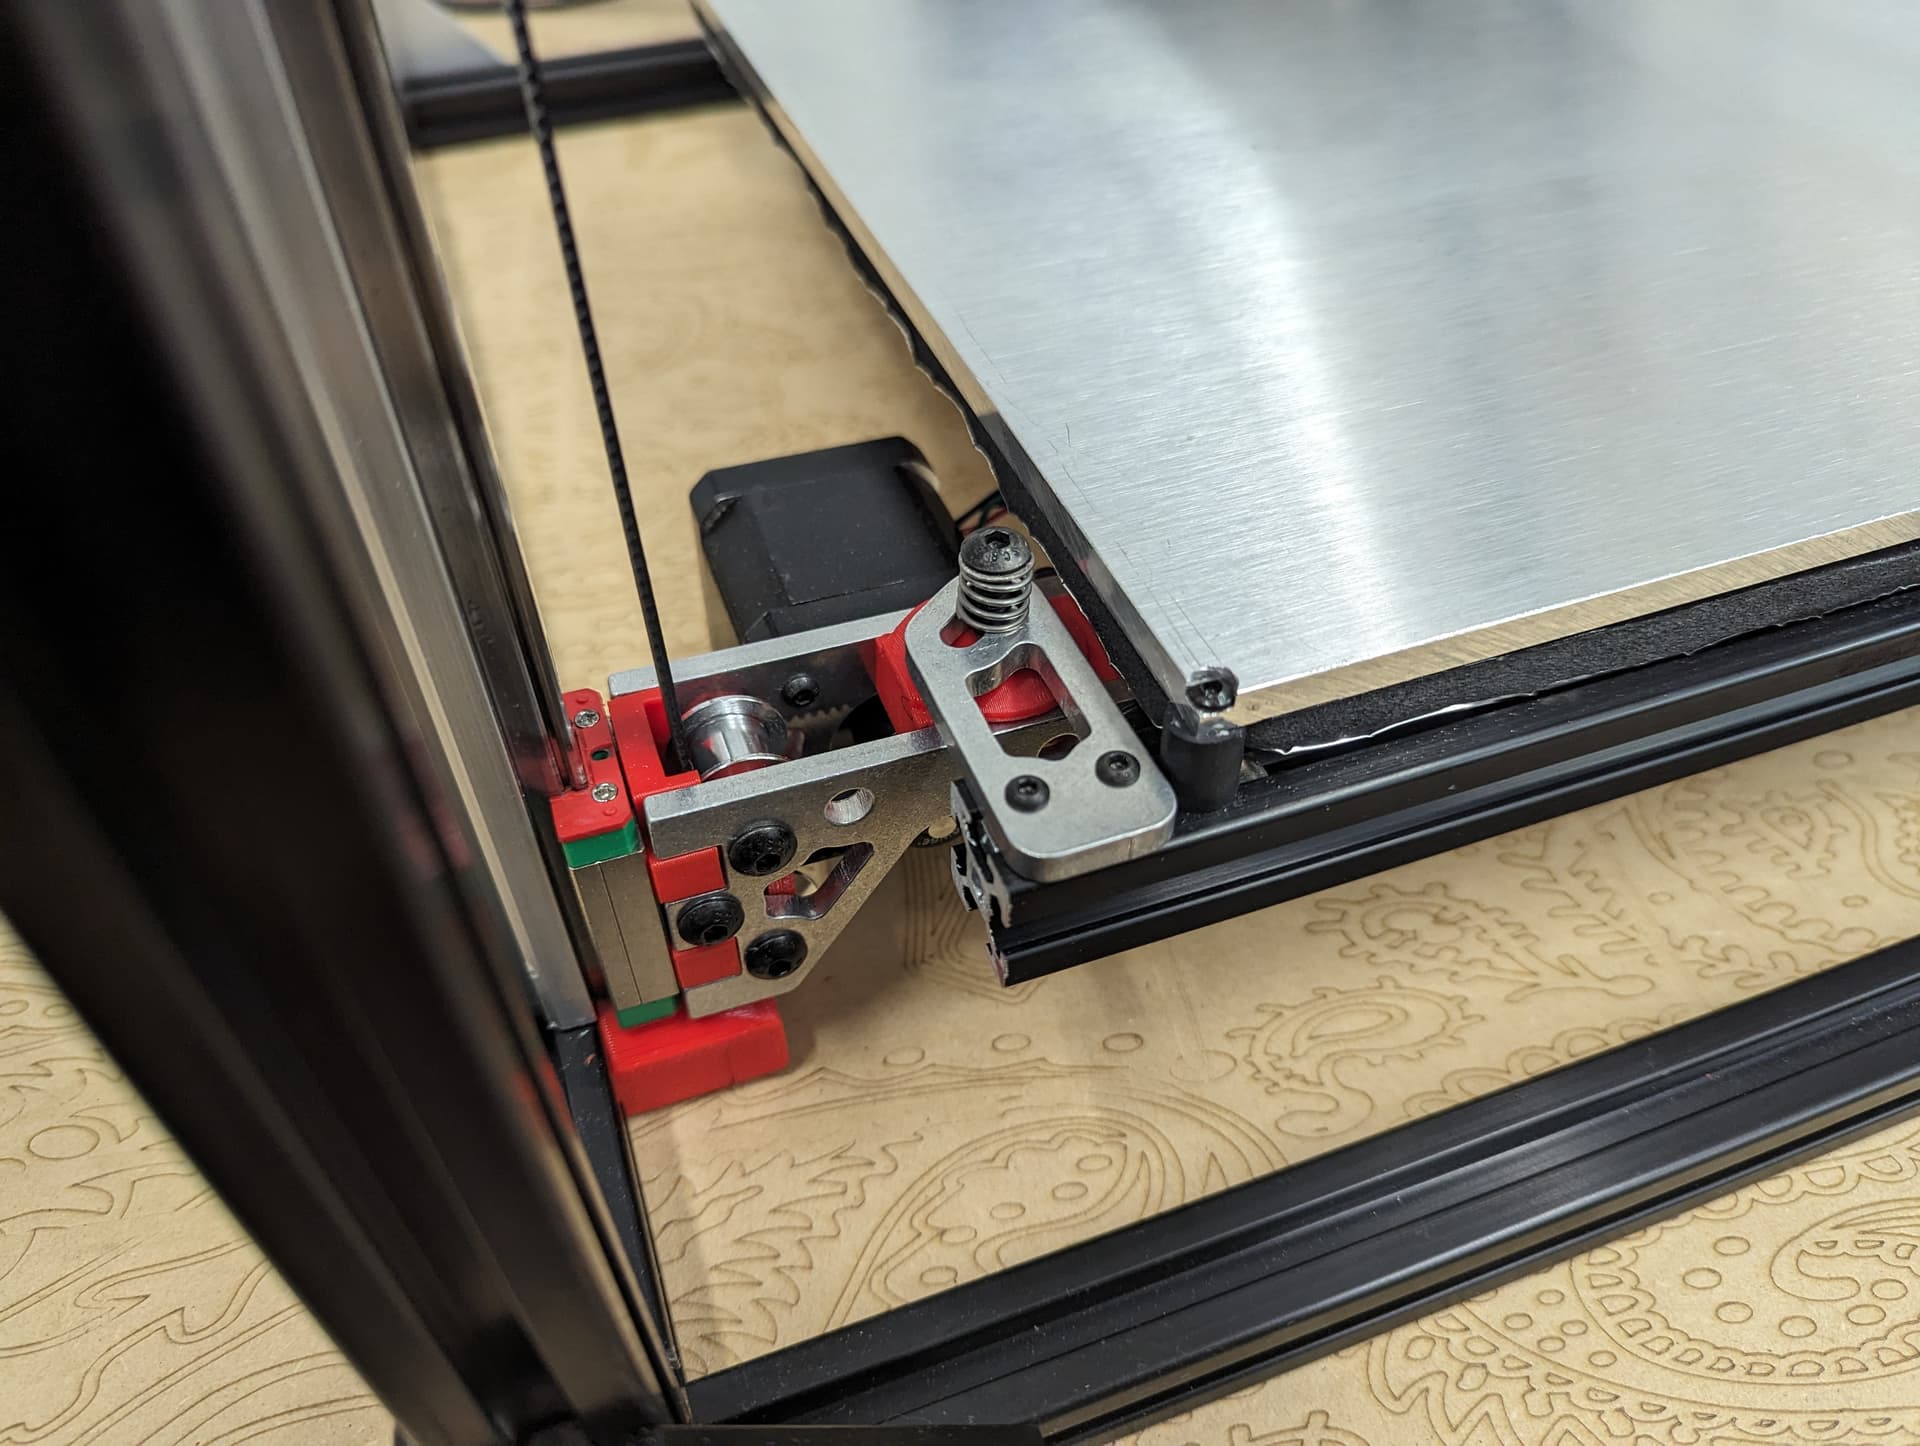
I tested the brakes, they kick in in 1-2 mm. I had the bed at 3 from max and killed the steppers. It sounded instant and took a noticeable amount of time to lower the 3mm. Orob’s solution is more proper, but these should keep me safe during calibration.
About to tune some heaters, after that I will start designing the back/electronics cover.
Would you mind sharing your SVG or dxf or stl export? I don’t do 360 and I’m still in the 101 of freecad and I’ve managed to export the model from 360 as a step file and Import it into freecad. It is all there, but the core is one piece and so is the set of y plates. I got a few small pieces of aluminum to mill and try this out, but for me the time suck will be getting the file into estlecam.