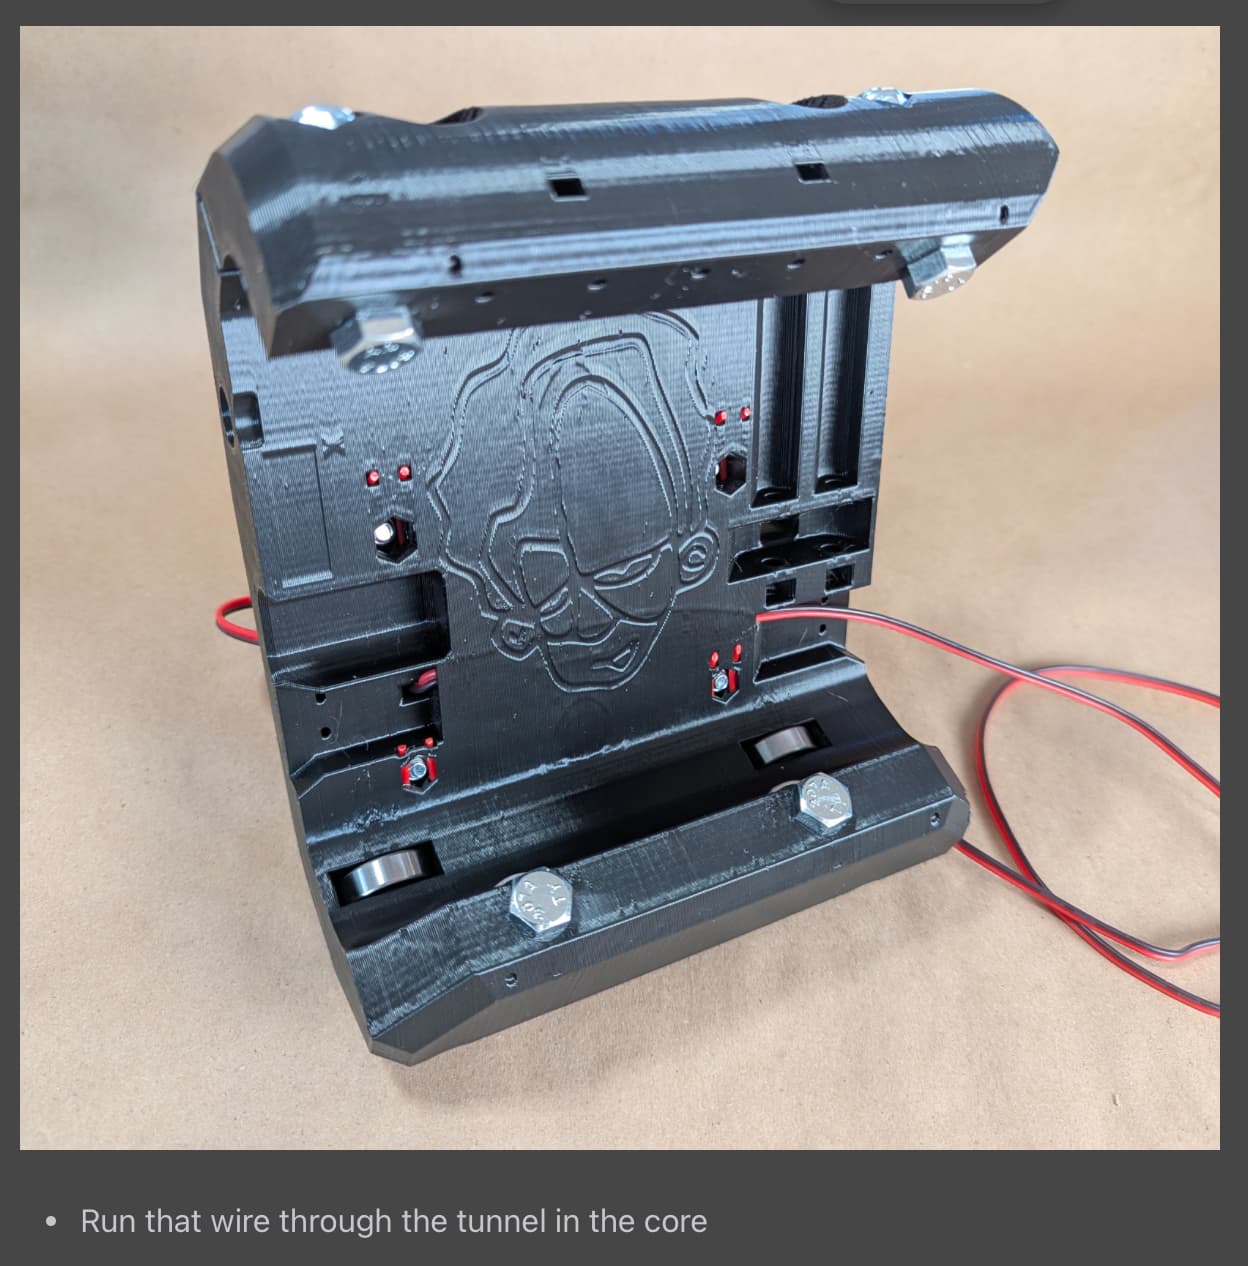
I’ve got all the bearings installed and the pressure plate wire has been ran thru its tunnel. Now I am supposed to hook up the X-stop switch, and here is where I am stumped.
Why is the pressure plate wire now folded up and pushed into some hole?
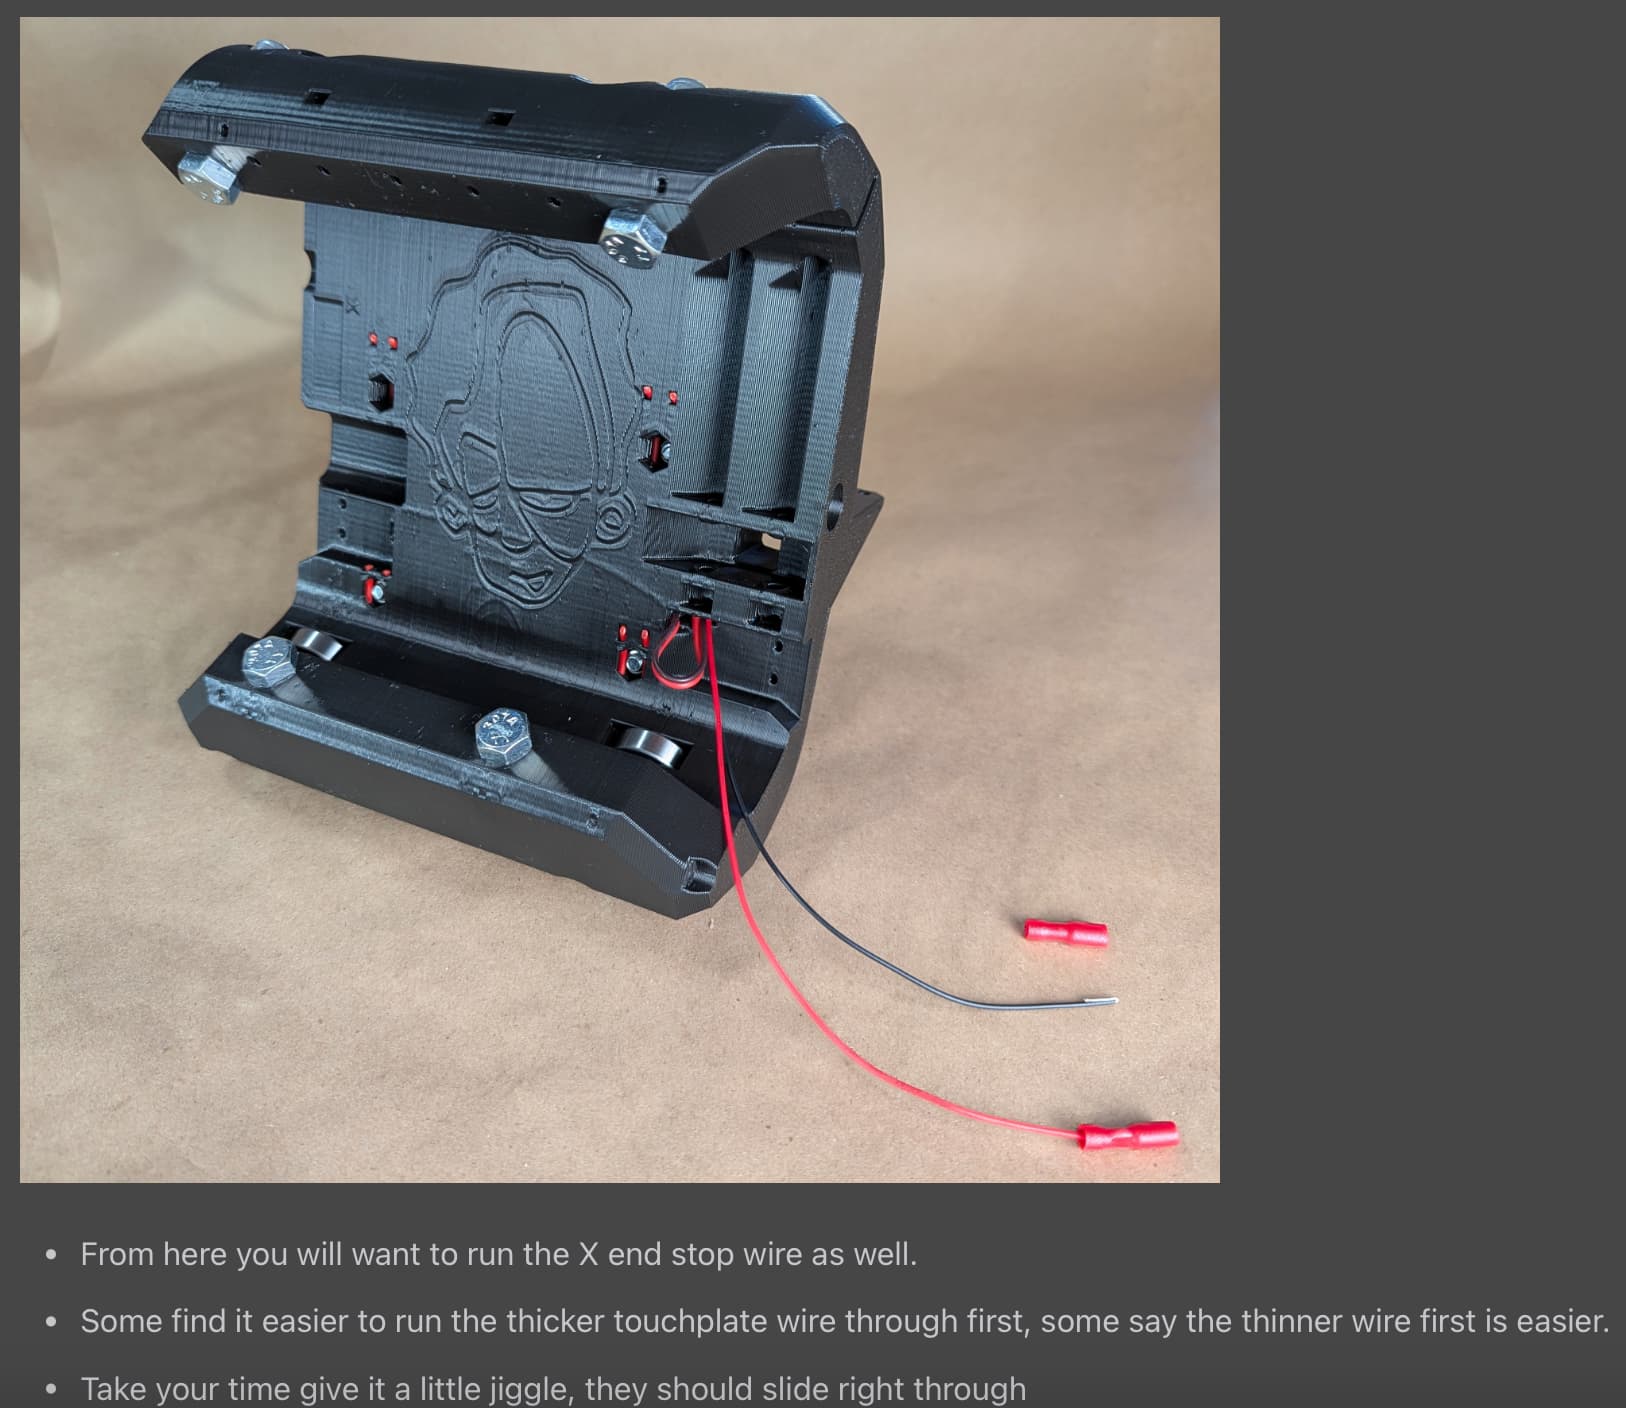
Which hole is the X wire supposed to go through and how did the black connector fit through whatever hole it is using?
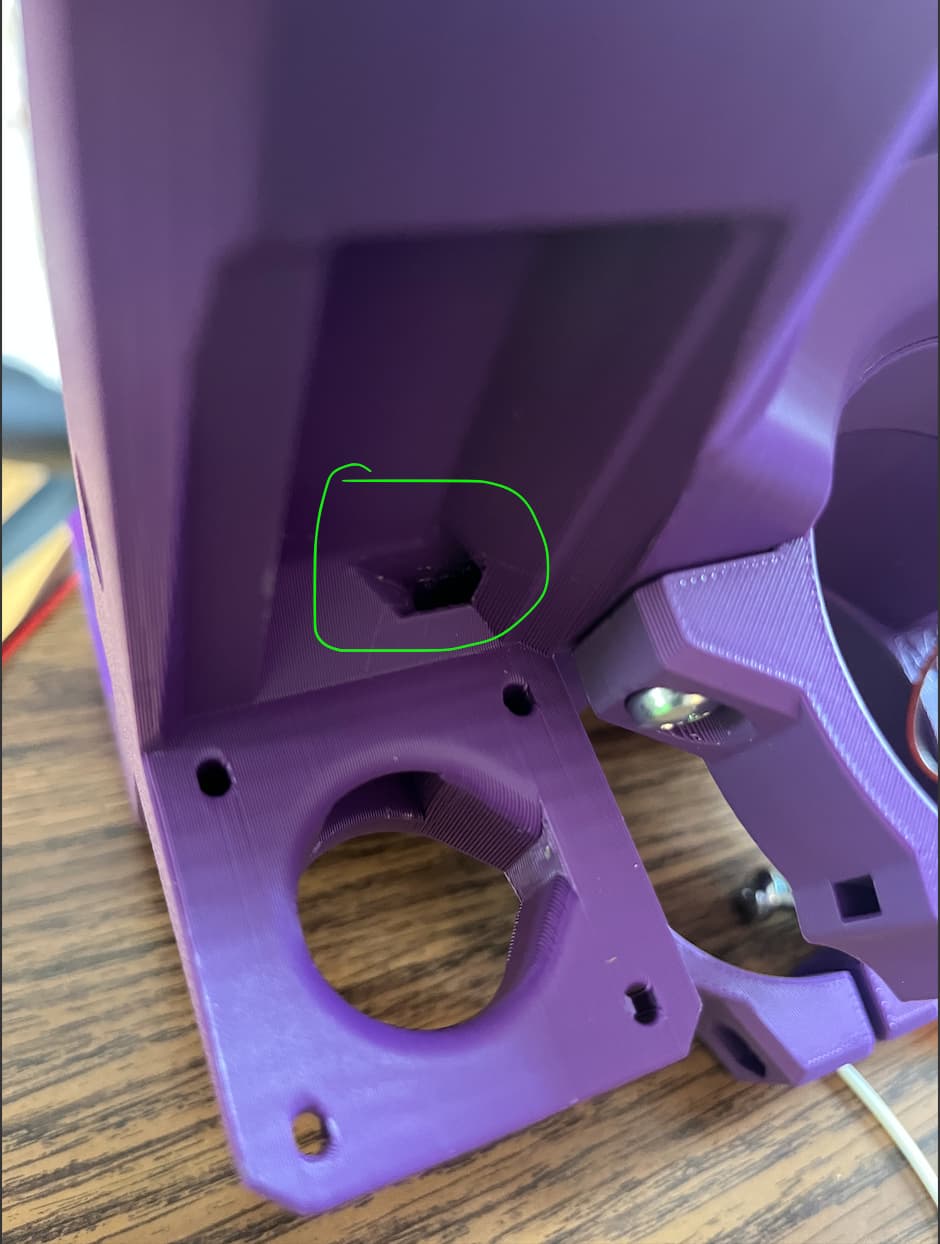
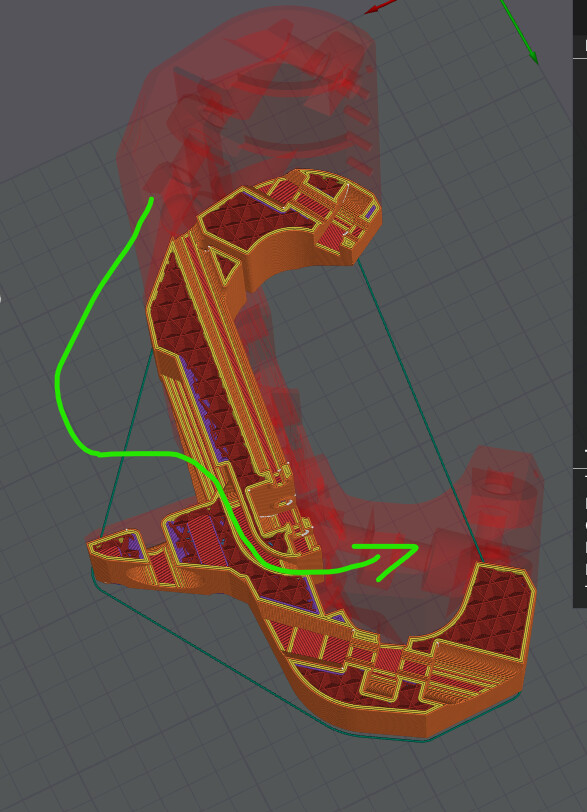
The only thing I can see that might be the right hole/tunnel is this angled hole behind where the X stepper motor goes, but from what little I can see into this hole, it’s at least partially blocked by plastic… is it supposed to be that way or did my printer settings mess it up somehow?
Pic below shows the hole that I’m thinking is mistakenly blocked from the inside:
I’ve tried fishing the wires through but can’t get them to go, so there’s absolutely no way the black plastic plug end would fit through it either, which is what the instructions recommend you try if the wire-first method does not work . Any and all help is greatly appreciated!
I tried this video, but he’s got a printed booklet of instructions that looks way better/more detailed than what I can find on this site, and goes in a different order than the docs page I linked in my OP. So I’m wondering if there’s better instructions that someone could link me to? https://www.youtube.com/watch?v=mQvyixfn35E
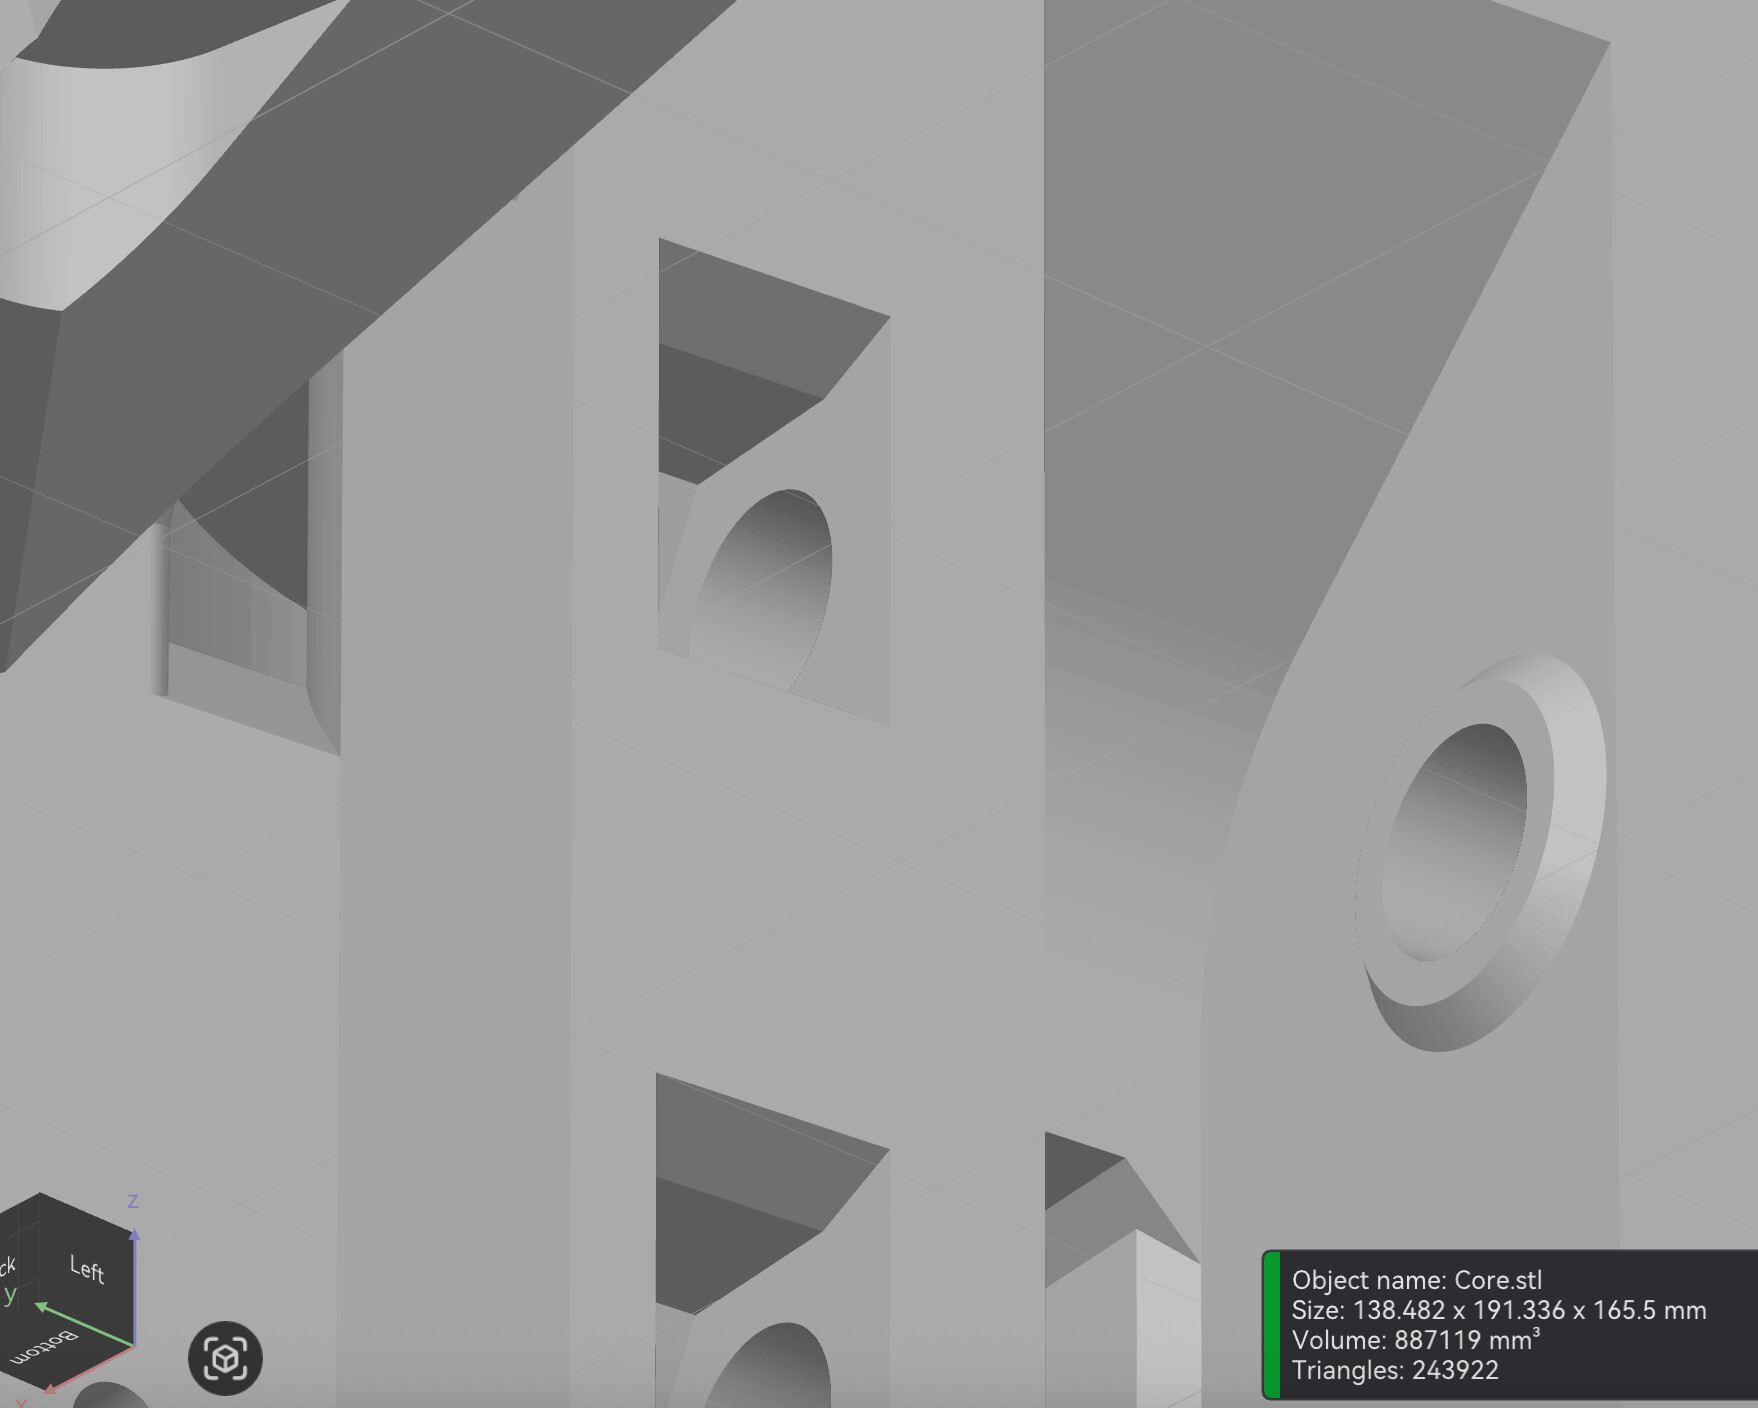
OK after taking a break and realizing I can open the STL file and see what the passage is supposed to look like, can confirm that my printer added supports in there because it is definitely not a smooth hallway like the STL shows:
the touch plate wire goes through the front of the core to the max X side endstop (not typically used) through the back of the core in a hole to the X-min endsop, (in orcaslicer, after slicing and backing off a few layers, I have this showing:)
typically the endstop wires are fed from the motor side and then crimped to the connectors or soldered direct to the endstop. both endstop and touch plate wires are then bundled with the motor wires back to the controller.
x wire endstop goes through your hole circled in green. push a piece of filament through it and make sure it is open. The black dupont from the touch plate may hang up in there if your overhangs are droopy. Looks like you might have infill as you mentioned… if you can use a screwdriver or needlenose pliers to pull some out, you might be able to clear it. in a pinch, you can use a soldering iron, but I’d not suggest that be your first option.
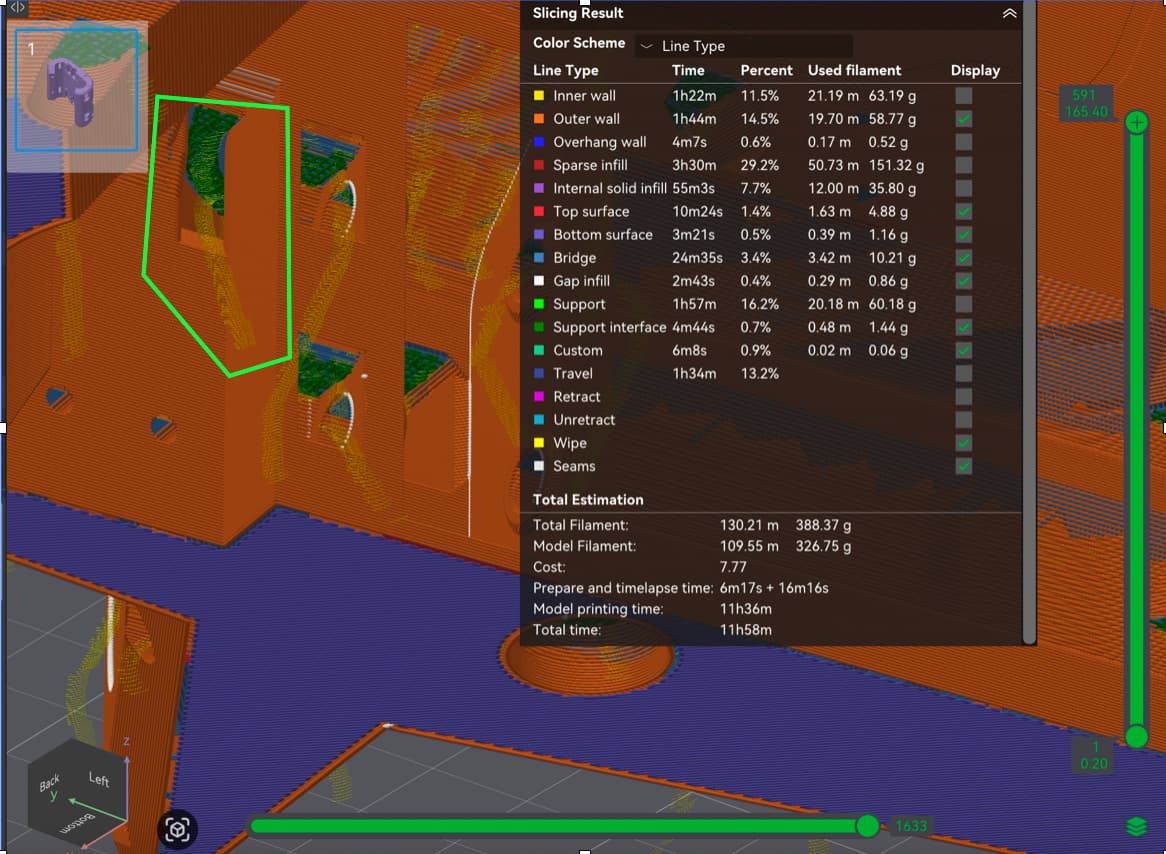
Thanks a ton!! That definitely clears things up for me. Unfortunately though I can confirm that I have quite a bit of infill in that passageway. I spent a good bit of time poking out the supports from pretty much all the other holes, but this one with the bend in it is killer… Below I have a screenshot from Bambu Studio, trying to show that the support trees grew all up inside of tunnel (again lime green polygon):
It did, but only with flimsy little trees and since they’re straight shots, I was able to poke em all out with a screw driver and needle noses
But the great news is I got it cleared out!! A combo of hitting it with a drill bit and some handy curved picks I got from Harbor Freight let me brute force a solution. Will continue on and will update this thread when I run into the next situation Thank you again for the help!!
For the Core piece, I cannot slice the plate without Bambu Studio giving errors saying it needs supports. I am a 3DP newbie, so I just said “OK” and clicked the supports button, and then it “just worked”. Maybe those errors are more like warnings I could have just ignored?
Those errors are warnings because most parts are designed by people who don’t understand how to make really good parts.
Ryan is at the other end of the spectrum.
Little “helpful “ features like that warning or “automatic flipping to a better orientation “ can wreck the quality of these professionally designed parts.
Well, my YZ plates are also “supported” and that’s gonna be too much for me to want to deal with tonight, so I’m just going to re-print them properly over night and get back at it in the AM! Luckily everything else was support-free at least, though I’m sure I’ll realize I missed a part or two lol
heyyyooo I took another look after eating dinner and turned out only one of them had the support issue! So I got a little fired up and went to work on fixing the bad one. In the end it took a while but I started to get pretty efficient at it at least lol. Just in time to not need it again! C’est la vie.
If anyone finds themselves in my shoes:
Drill baby drill - the trees will bust up WAY quicker than a wall will, just go slow and feel it out
I’ve had these 90* pliers from my grandpa since like forever, and they’re the tool that I always think is going to be useful, but then it isn’t… well, today it was the MVP! Stab and push from one side and grab the stuff you pushed out on the other with the pliers
As mentioned, I got this like $3 set of metal picks from HF and they’ve been THE most useful tools for me lately, could not imagine the DIY life without them lol.
Still taking a break for the night though, cheers all! Will pick it back up in the AM
I have some wild needle nose pliers from my grandpa’s tools too. And some spanners that are thinner than anything made these days. They have a lot of wear, but I’ll never get rid of them.
Dental tools are great for this kind of thing too. I know some dentists will give them to you for free because they need to stay super sharp. But there are also some similar tools from the usual places.
Apparently, they are commonly called “hook and pick set”.
Been back at it off and on today, unfortunately I’ve made very little progress due to my printing with supports The XZ Min piece that I thought I had cleared out, turns out I was wrong and it had more and more supports in it. I finally bit the bullet and am re-printing that part, will continue with the other parts tonight and will hopefully make more progress on them
Edit- I swapped to a properly printed XZ Max and can you believe it, I put it together in minutes and had fun doing it LOL lesson learned…just reprint it in the first place!
Long over due update! Life got super in the way but I’ve been grinding out progress lately.
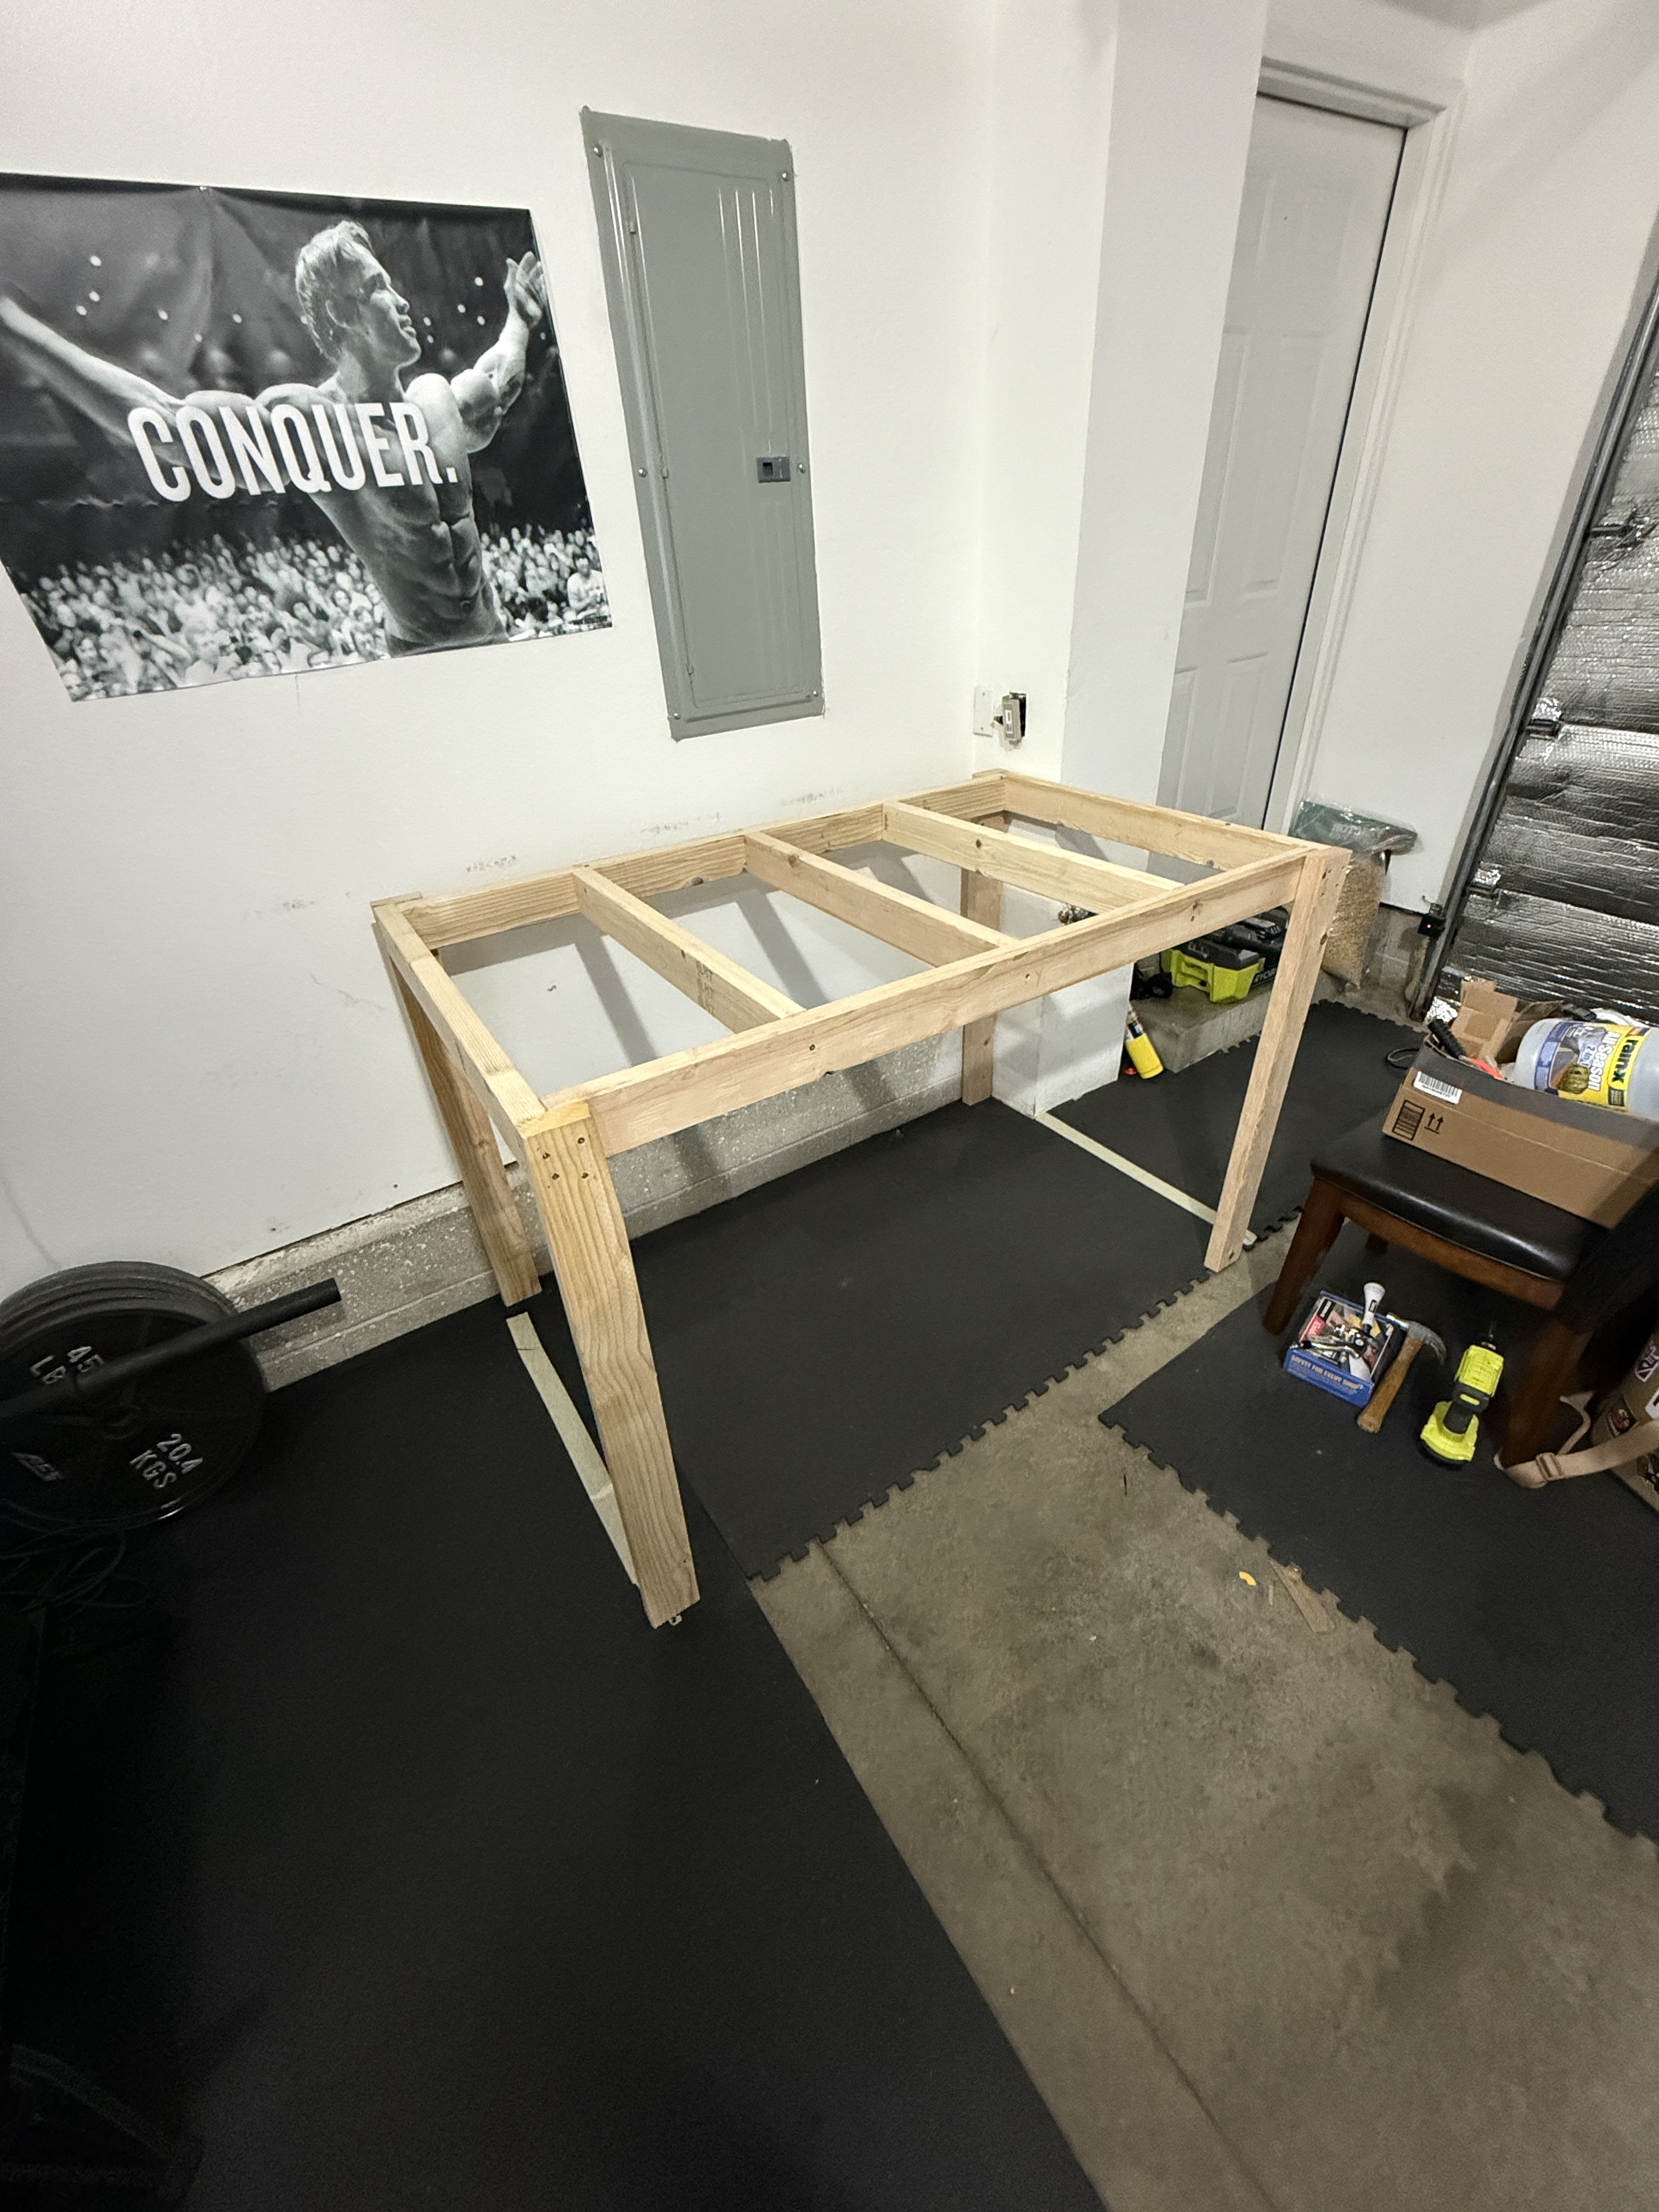
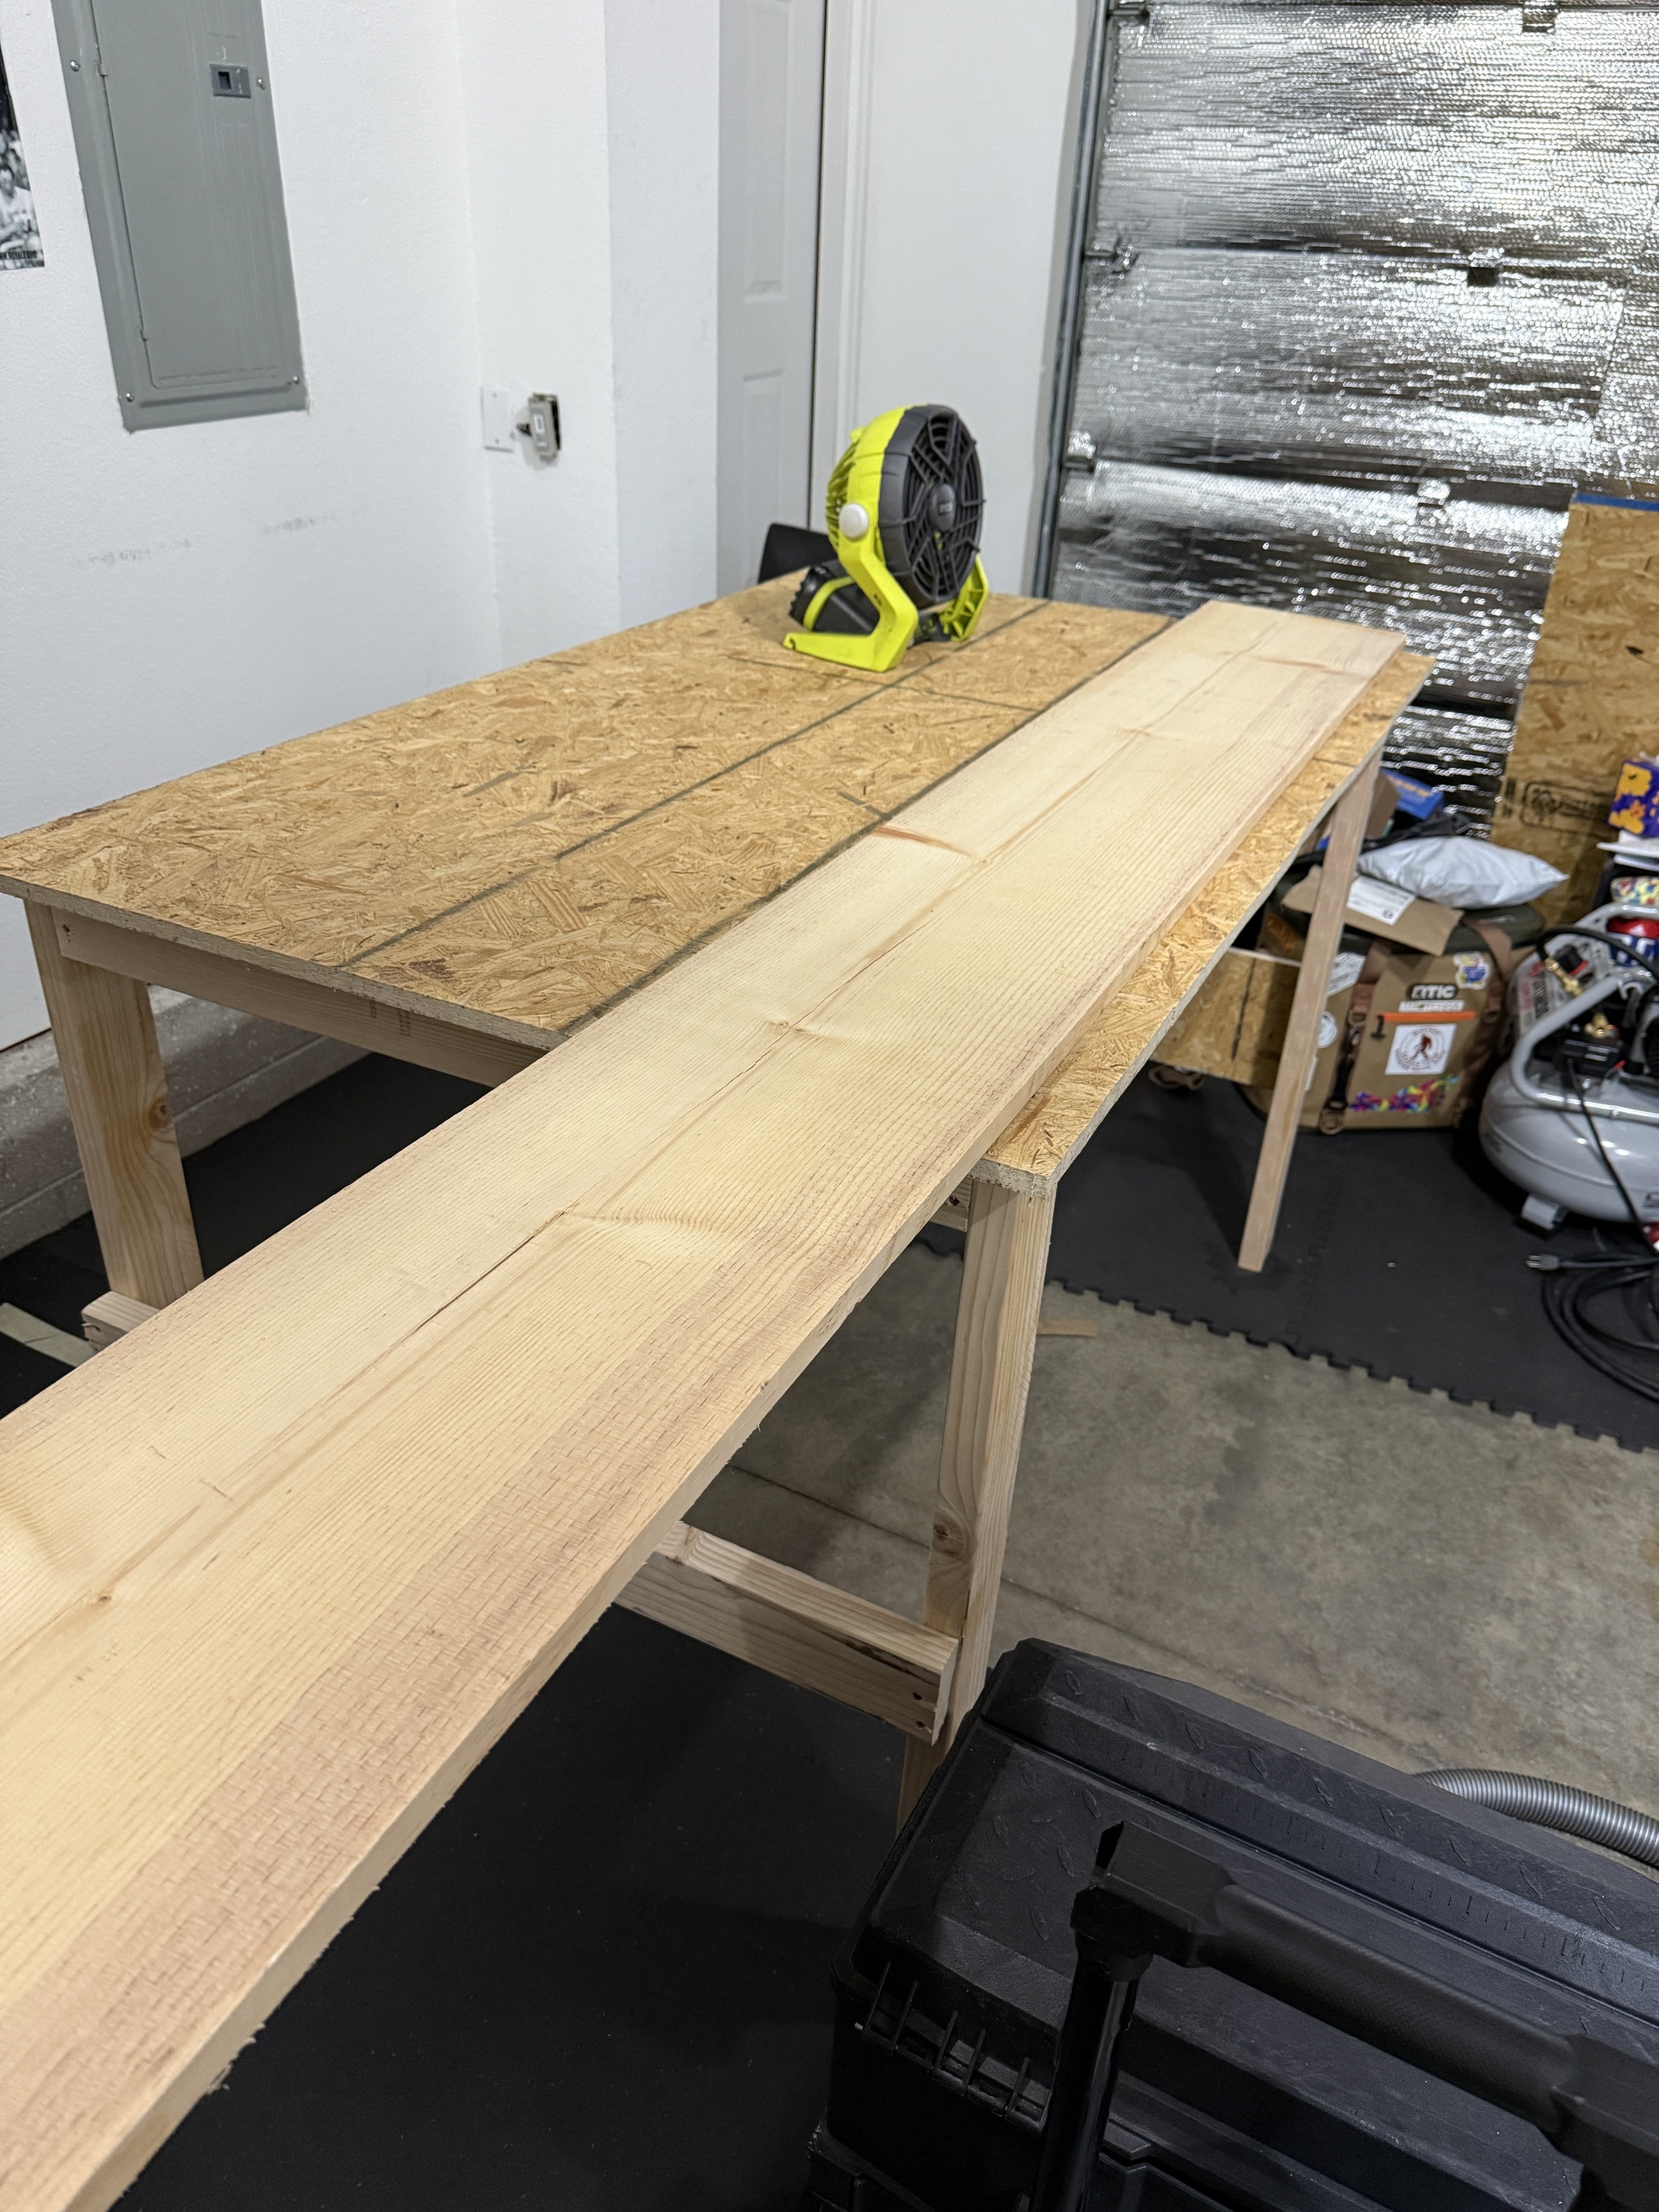
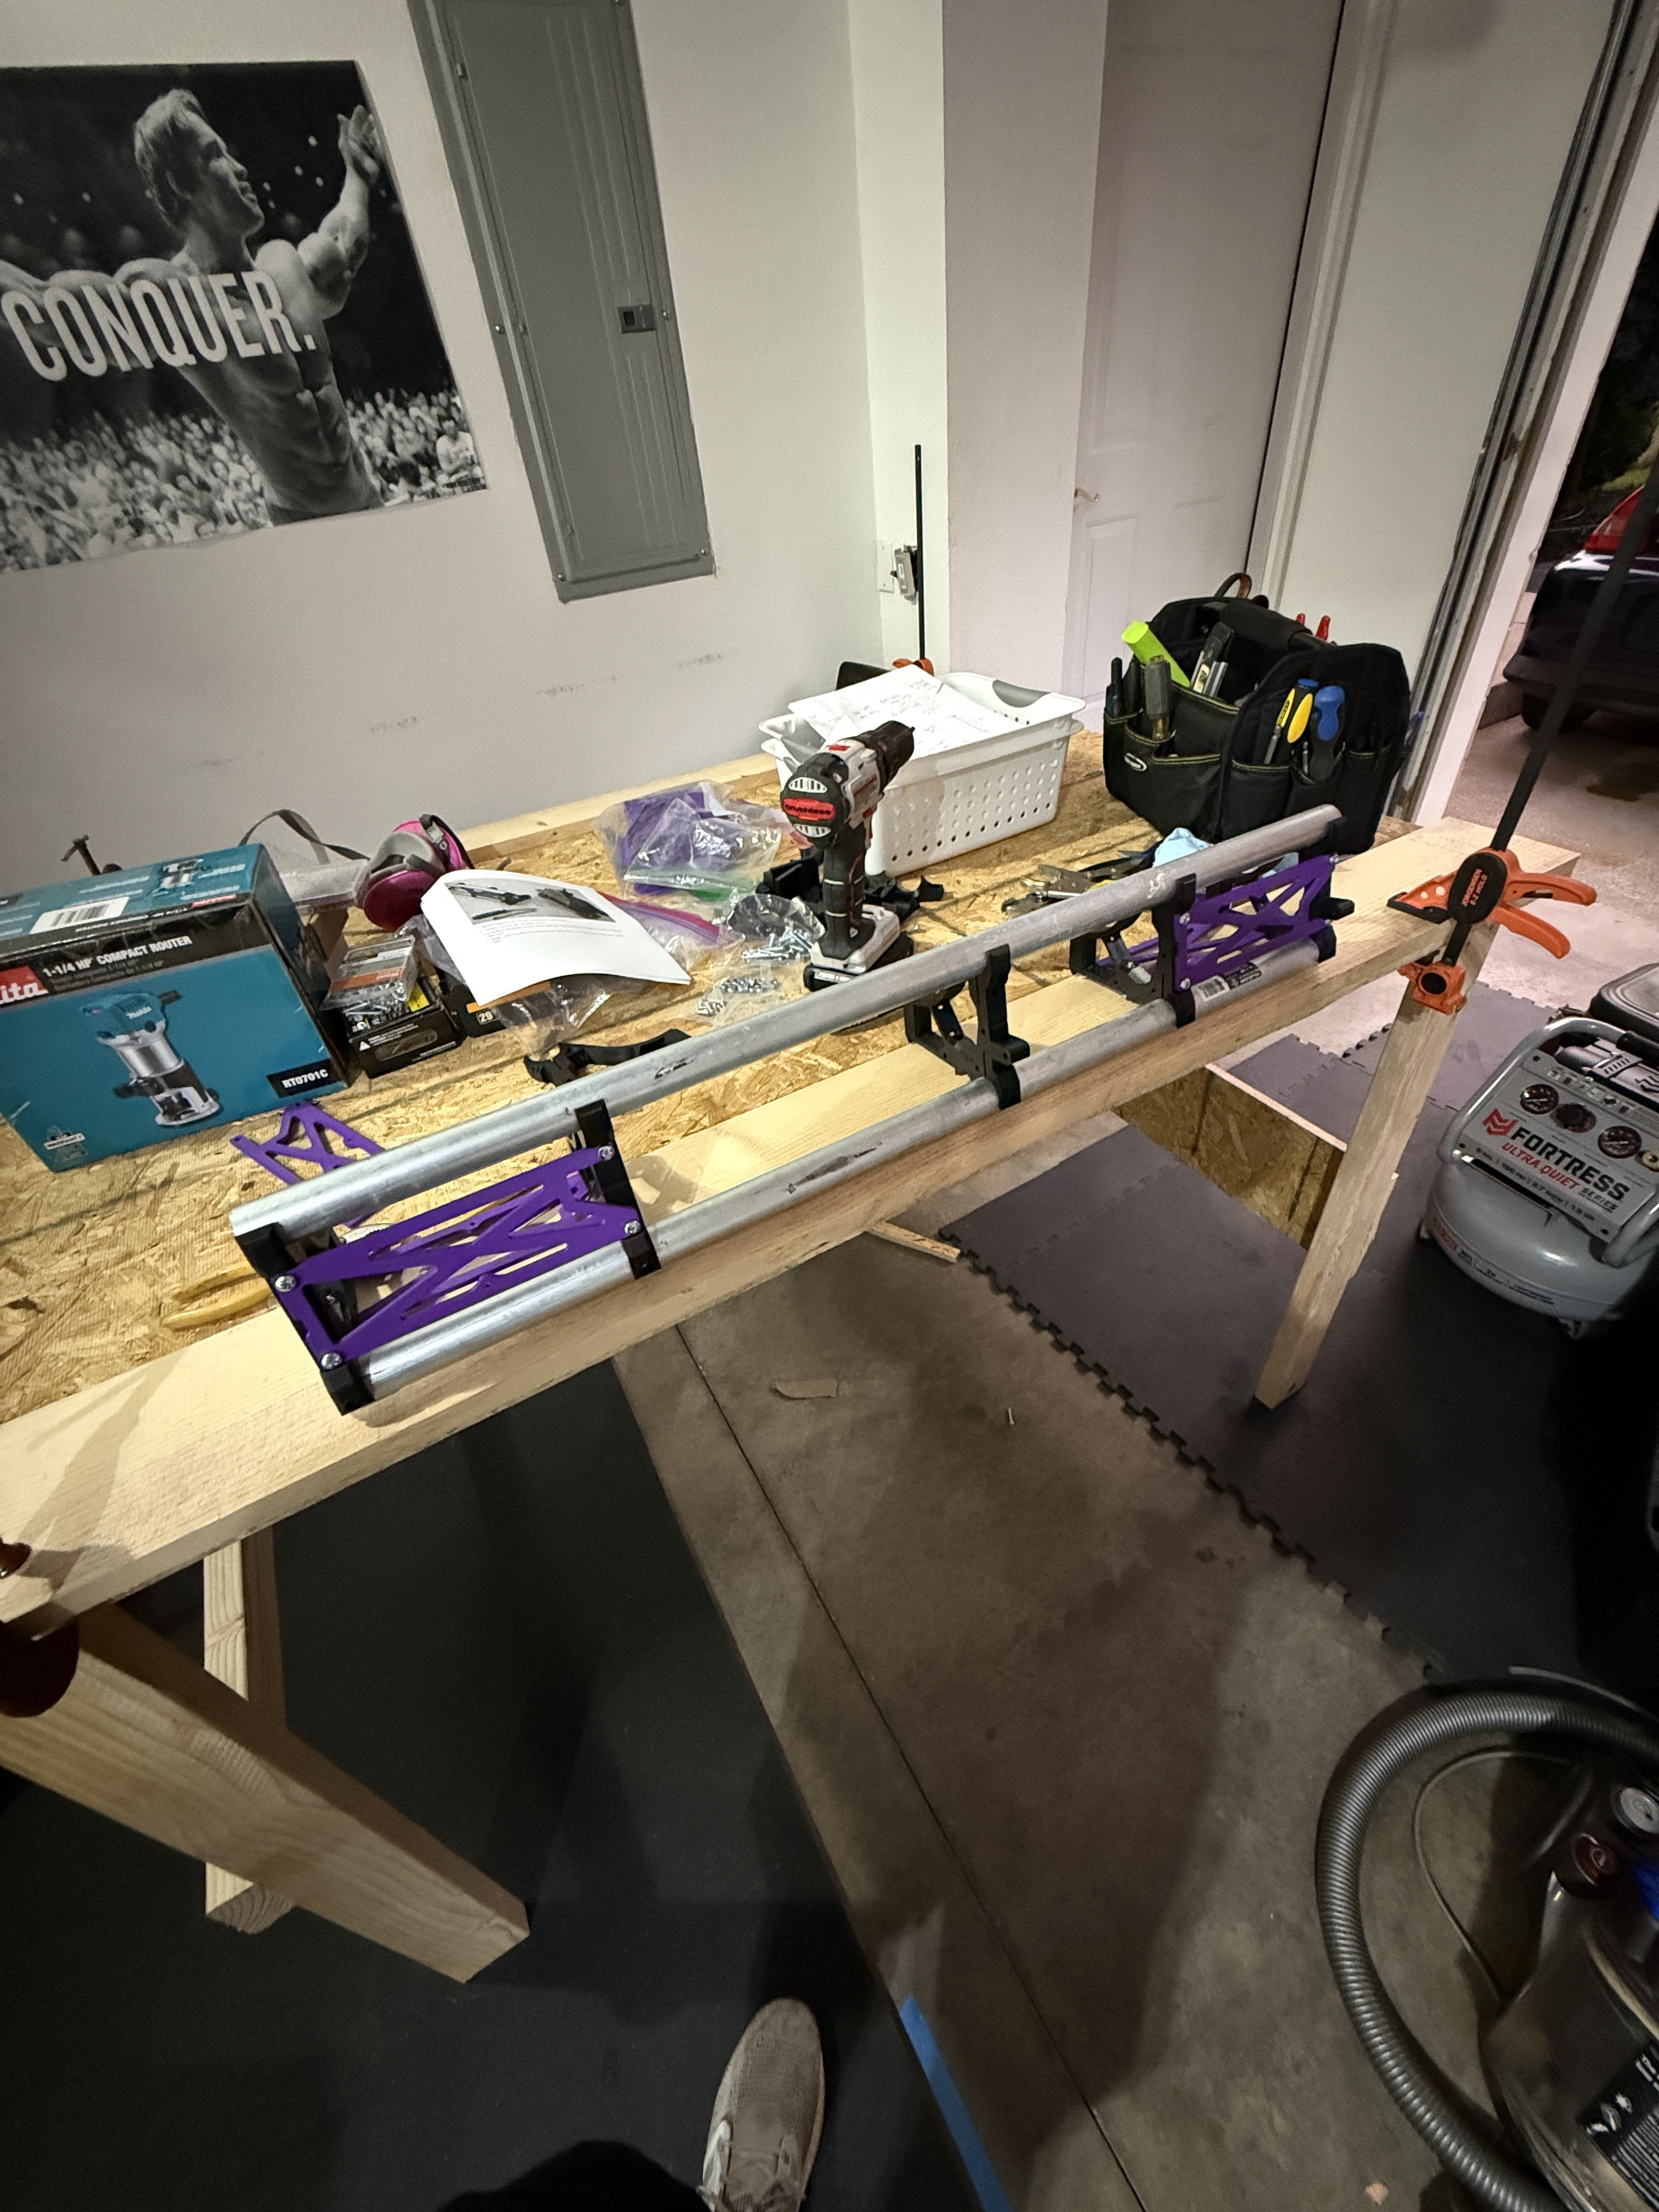
I finally got all the 3D printed pieces put together and have a table built! While this feels like it shouldn’t be so difficult/time consuming, I gotta remind myself that this was my first ever 3D print and the first table/workbench I’ve ever built! I’ve already learned so much and every day I’m looking forward to getting this thing completed
Pics of the table and an almost complete X beam are below. Thanks again for all the help and kind words so far everyone! Will follow up with more as it comes.
Thank you! Yes excellent suggestion, I planned on that but ran out of wood… will definitely do that soon/before it gets finished up I was also thinking I’ll eventually screw it into the wall studs once I know where I want it to be long term
Made a lot more progress this weekend! I’ve been taking notes, pics, and screenshots of other builds and fully intend on updating the build instructions, both as a way to give back and to make this more accessible to folks. Some more questions for y’all in bold below (please and thank you).
I have everything wired up, except for:
Power to the board. I need to look up how to connect it to the board. The PSU (purchased in the V1e kit) just has bare black/red wires and I don’t have any Dupont connectors. I might need to order some? Hopefully not though, if anyone can point me in the right direction here, I’d appreciate it!
Z probe wire needs an extension like the rest of the core wires. I think I’ll just clip out some wire from the slack of another one to splice in? Let me know if this is a bad idea though.
Other than the above, I have a question regarding the Core and endstops. In the core body, there are spaces for two endstop microswitches. The instructions only show putting one in, and I watched the YouTube build videos multiple times and it looked like they also only have one microswitch on the core. Is this right?