Going too fast?

I received the Jackpot controller and also the aluminum LR4 YZ plates and intend on building a LR4 in the future.

Right now I have the LR3 built on a SKR Pro 1.2. I was concerned with inaccurate cuts which led me to the purchase of the jackpot thinking it might have better accuracy. However reading a recent post about speeds and feeds for the LR4, I think I may be pushing my LR3 too fast to begin with? I was regularly cutting at 1500-2100mm/min using my LR3.

Should I be going way slower?? Will that improve my cut accuracy? What is everyone else using as a feedrate? Should I be in the high hundreds mm/min?

Thanks all!
Jason

This by itself does not help. I did that too with a 6mm 2-flute endmill and 6mm DOC, knowing there’d be minor flex.

So: endmill, DOC etc? :yum:

1 Like

1/4" 2 flute upcut/downcut/compression mainly. DOC recently was increased to 6mm. Was doing 90 degree plunges as I wasn’t sure what 45 degree plunges would do to be honest. I am still learning.

I am looking at O flute upcuts (single flute) per Ryan’s general recommendations because I use a DeWalt DW611 trim router, so the RPMs are way too high.

1 Like

That is indeed pretty deep and pretty fast. I know that the LR3 can do it, but there is definitely going to be some deflection. I’d reduce DOC to 3mm and see how that works. In my subjective experience, DOC puts a lot more load on the tool and going deeper is harder than going faster (but not too fast!).

2 Likes

I will try that out while also going a little slower.

2 Likes

Wrong question (IMO)- you should be asking what feedrate is right for my specific situation.

The answer to that depends on things like what material you are trying to cut, what endmill (bit) you are using, what your Depth of Cut per pass (DOC/pass) setting is, and several other factors.

Getting the correct F&S is really a matter of maintaining the proper chipload (amount of material cut per tooth) for your selected end mill (bit). The recommended chipload varies widely depending on type of bit (carbide vs HSS, single flute vs. 2 flute, 1/4" vs 1/8", etc.), on the material being cut, etc.

You need to consider what material you are trying to cut. The type of material has a huge impact on which Feeds and Speeds (F&S) should be used. You also need to consider what router RPM setting to use, which also impacts your required feed-rate setting. Too slow can affect router cooling. Too fast and you may not be able to attain the recommended chipload without speeding up the feedrate beyond the machine’s limits.

You also need to factor in things like tool deflection. Longer tool stickout and/or narrower bits will deflect more, higher overall load (higher feedrate and/or deeper DOC/pass) will deflect more, etc, High total load may also approach the router power capability threshold (overheating, loss of RPM, etc.).

Machine rigidity also can cause issues with inaccurate cuts at high total load. The rigidity of your machine will differ from mine, which will differ from every other build out there.

When you start to go beyond a certain feed rate, the loss of torque can cause skipped steps. Increasing the motor current to compensate can lead to problems associated with acceleration (which also causes skipped steps).

How do you figure all of that out? You can start with a F&S Calculator (I use G-Wizard, but I’m not sure if they are taking new orders at the moment). Then test cuts at different settings until you are producing chips (rather than sawdust) while maintaining accuracy.

Or if you can provide a lot more details as to what your setup is, we can provide some more detailed guidance.

To let us help you better, please let us know:

  • Material you are trying to cut
  • Endmill being used (type of metal, # of flutes, diameter, etc.)
  • Router speed setting you are using
  • Total Depth of Cut (DOC) of the material
  • DOC per individual pass setting that you used
  • Machine specifics (how wide is your gantry, what are your X Rails made from, are you using aluminum plates vs. wood plates vs. printed plates, etc.)

Cheers!

2 Likes

Compression bits are one of the hardest to get right, at least for me. I know I have to go a good bit slower (at least on my LR3 I did, have not run one on the LR4 yet) than I do a regular upcut bit. For me its usually faster to just cut with an upcut bit and then sand afterwords. If I am using something like plywood with a real thin veneer on it I will usually cut upside down so the tear out is on the bottom of the part. Another thing you can do is run 2 bits, use a down cut bit for the first couple MM, then tool change to an upcut bit and have it start at the depth you cut with the downcut. I only ever tried this way once. And it still wasn’t worth it to me. It did leave a super clean part but the extra time to change bits wasn’t worth it. I just sand lol.

1 Like

I have slowed down to max 900mm/min, DOC of 6.35mm and did a test cut today with 13mm thick MDF with a 1/4" upcut bit, with a finishing pass of 0.3mm. It seems like I can achieve dimensional accuracy in one direction but am still out a 1/16" on the other. Honestly, it is a better result than I had got previously. I am going to do a cube later to see what kind of results I can get instead of a circle.

Here is my cut quality. The picture makes it look worse than it is but still is not quite smooth on either the hole cuts or the part cuts. There was no finishing pass on the inside letters.

I am wondering that maybe the bit is getting dull potentially as it has been through the ringer while I have been β€œlearning lessons” into my spoil board (making cuts that it definitely was not supposed to be making).

That information is helpful, but to be able to give you a good recommended feed rate, it would be helpful to know:

  • Router RPM?
  • Stickout length
  • Number of flutes?
  • Carbide or HSS?
  • Gantry width?
  • X Rail Diameter?
  • X Rail tubing OD and type (EMT or Stainless)?
  • XZ and YZ Plate material and thickness?

The last 4 items will give a partial indication of your overall rigidity, which will affect the recommended feed rate (not essential, but helpful).

Knowing the above information, I can look up the recommended chip load range for the bit, and then plug everything into my F&S calculator.

Thanks! I have added my reponses into the quote!

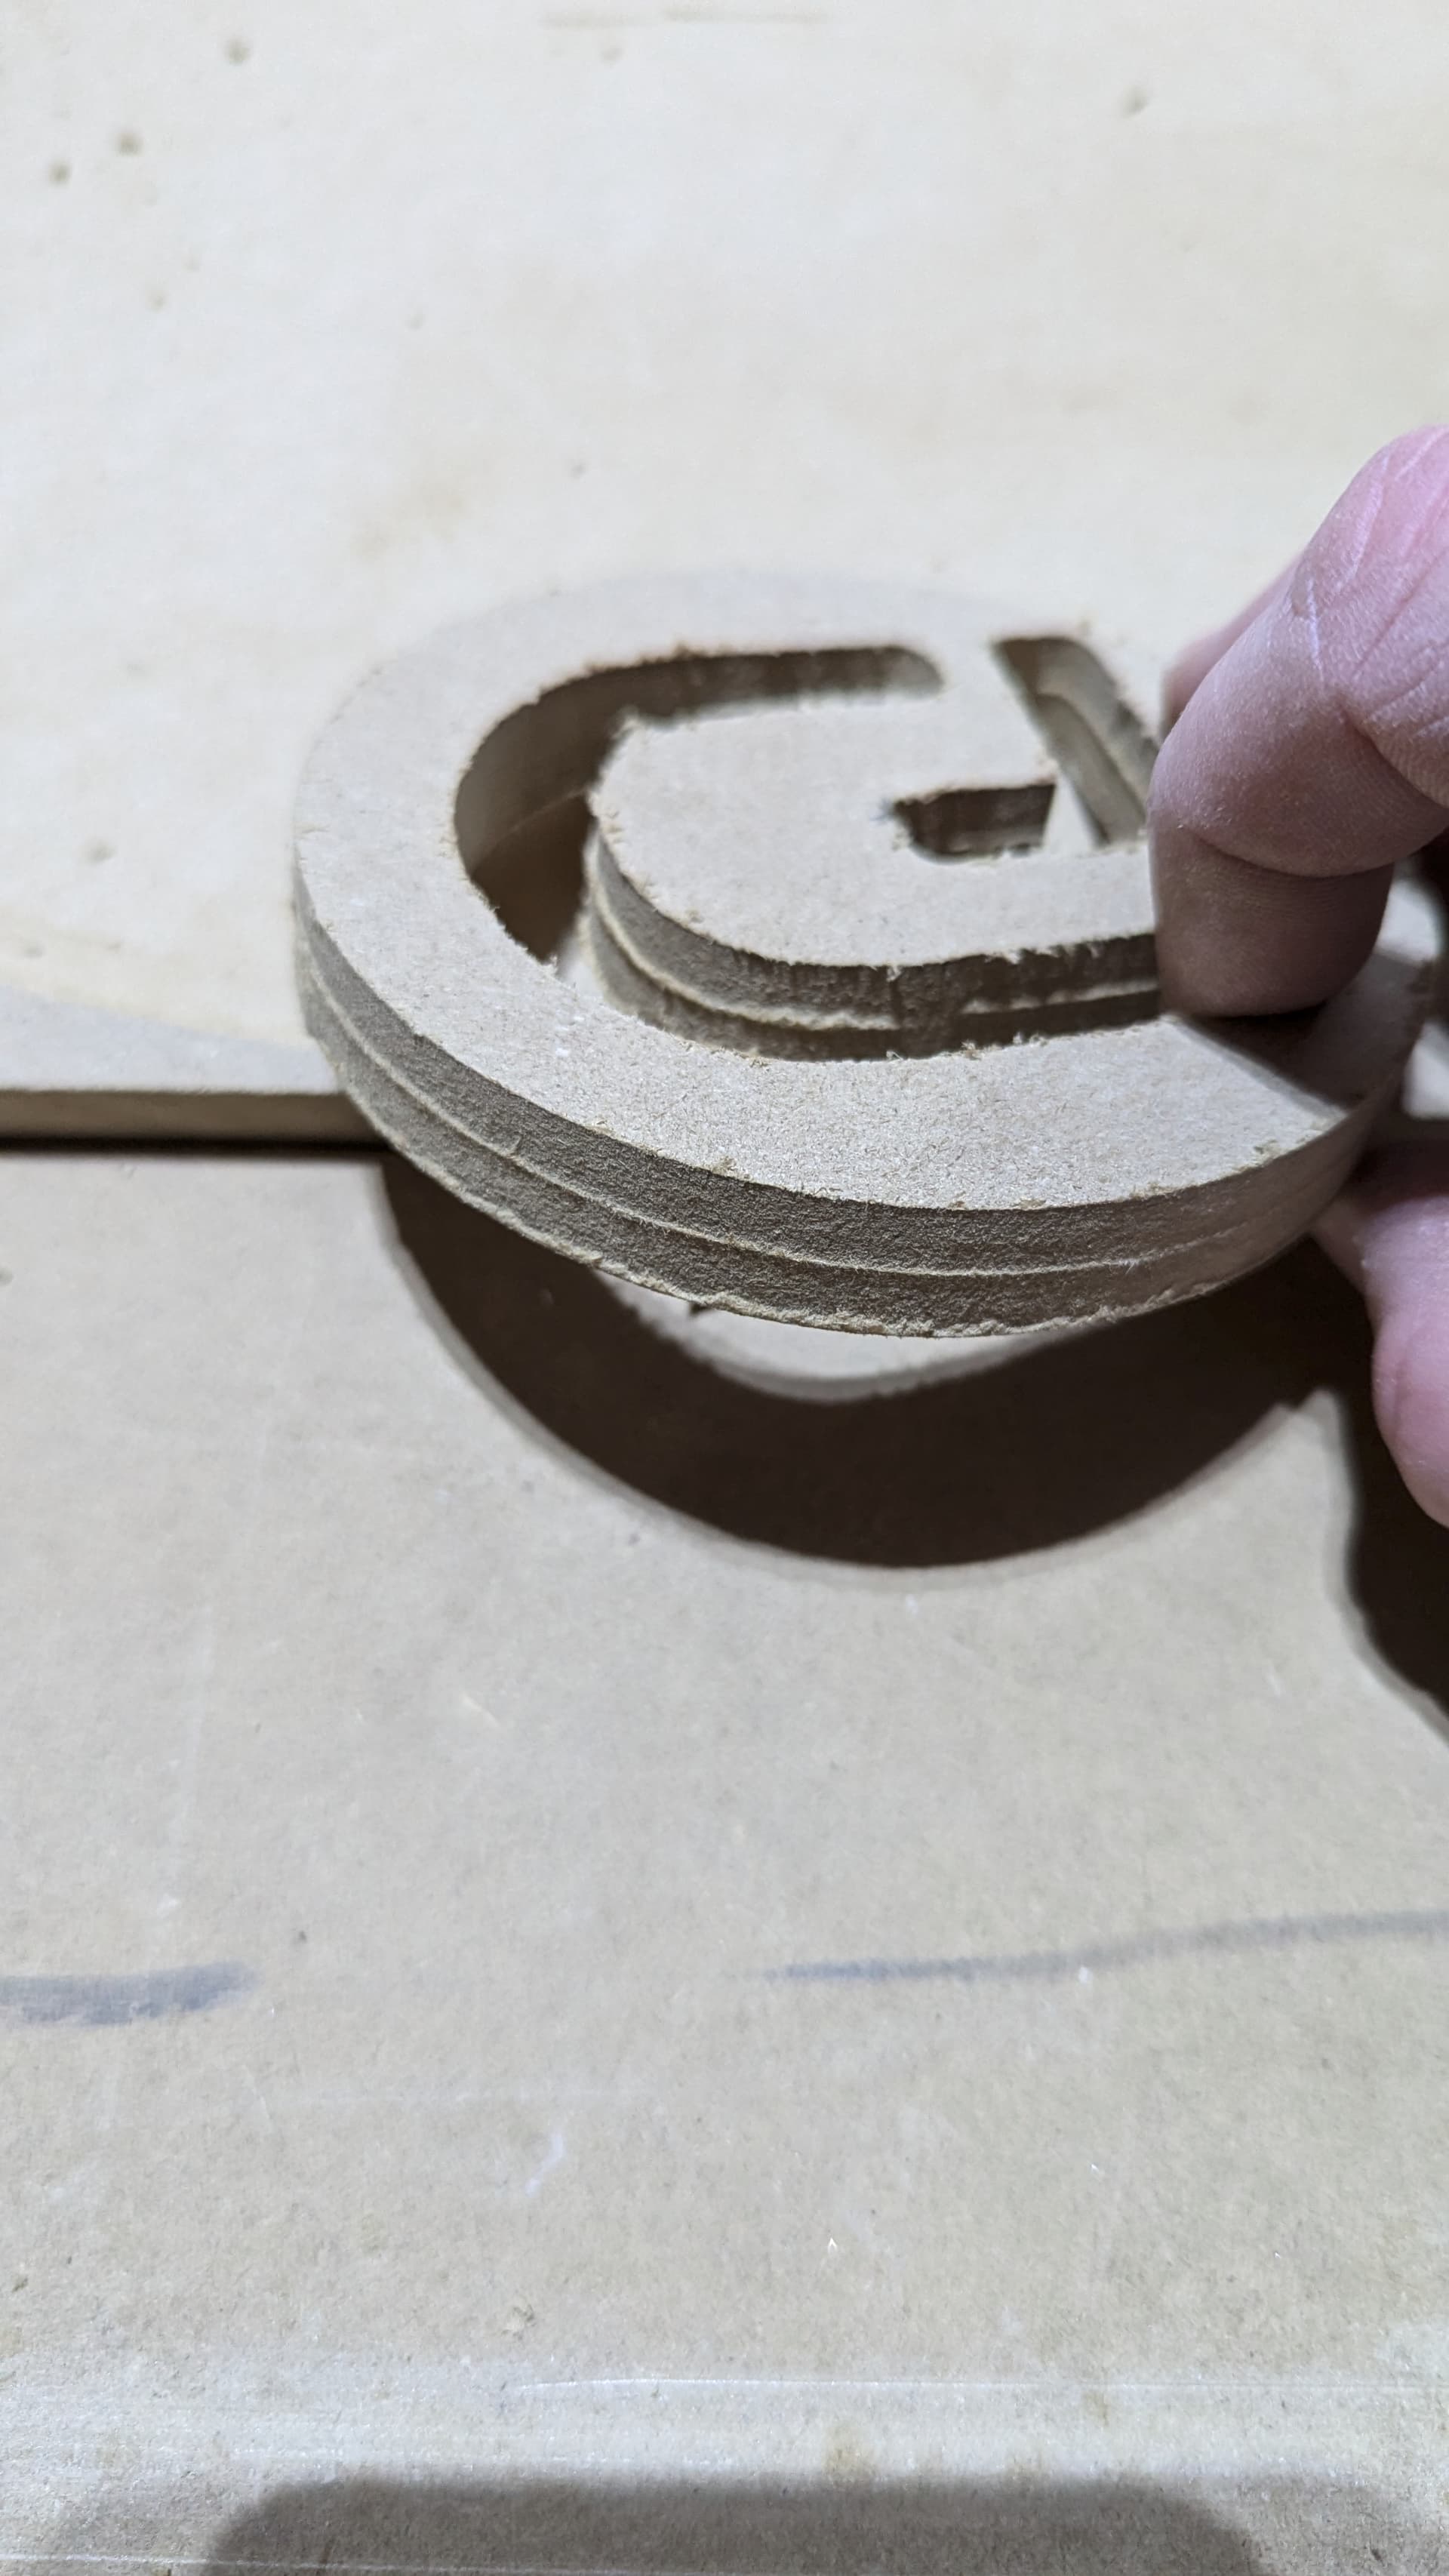
TLDR - I think you are using the wrong bit

Caveat - I’m somewhat new to a lot of this myself, so if someone spots any mistakes, please jump in to give a better answer.

Having the proper chip load is important for tool life. Too big and the load on the bit can wear out or break the bit. Too small is worse, as it will β€œrub” rather than cut, leading to overheating and dull the tool quickly.

Here is a chart for recommended chip load ranges from Chip Load: Guide for Beginners - MellowPine The recommendations are based on a DOC = bit diameter, with a 25% reduction for 2x and a 50% reduction for 3X bit diameter DOC.

Note that these are not specific to your bit. If the manufacturer has provided specifications (most don’t), then use those instead.

Material 1/8β€³ tool 1/4β€³ tool 3/8β€³ tool 1/2β€³ tool
Hardwood .003”–.005” .009”–.011” .015”–.018” .019”–.021”
Softwood/
Plywood .004”–.006” .011”–.013” .017”–.020” .021”–.023”
MDF/Particle
board .004”–.007” .013”–.016” .020”–.023” .025”–.027”
Hard plastic .002”–.004” .006”–.009” .008”–.010” .010”–.012”
Soft plastic .003”–.006” .007”–.010” .010”–.012” .012”–.016”
Acrylic .003”–.005” .008”–.010” .010”–.012” .012”–.015”
High-pressure
laminate .003”–.005” .009”–.012” .015”–.018” .023”–.025”
Aluminum .003”–.004” .005”–.007” .006”–.008” .008”–.010”

So for your 1/4" bit in MDF, your range would be .013-.016" per tooth (IPT). Because your build is on the lower end of rigidity (wide gantry, smaller/thinner tubes, printed plates), I suggest targeting the lower end of the range. Let’s call it 0.013 IPT. For metric, multiply by 25.4 for 0.330 mm per tooth.

The formula for chip load is CL = FR/(RPM x # of Teeth). where CL = Chip Load, FR = Feed Rate, RPM = Router Speed and # of teeth is how many flutes.

Solving for FR = CL x RPM x # of teeth we get

FR = 0.013 x 16000 x 2 = 416 IPM
Metric = 0.330 x 16000 x 2 = 10550 mm/min (approximate)

These are CRAZY numbers for the LR series machines, and there really is no way to achieve them, even by bumping up the maximum feed rate settings and increasing stepper current (which is NOT something that is recommended, especially for relative newcomers - myself included) which is why Ryan suggests using a 1/8" single flute bit for the LR3/LR4 machines.

Plugging in the numbers for a 1/8" single flute (carbide) bit into the equations gives us

FR = .004 x 16000 x 1 = 64 IPM
Metric = .1016 x 16000 x 1 = 1625 mm/min (27 mm/s)

These are much more attainable numbers. In fact, you could even bump up the RPM a bit and still stay within reasonable FR limits (reducing overall cutting time):

0.1016 x 20000 x 1 = 2032 mm/min (33.87 mm/s)

Note however, recommended DOC drops from 6mm per pass to 3mm/pass because of the 1x bit diameter DOC guideline, so the project may require more passes to get full DOC (you can go deeper, but you need to reduce the FR to compensate)

So I suggest buying several of the 1/8" single flute carbide bits from V1E website (or Amazon). The smaller diameter bits WILL break every now and then, so buy enough that you have them on hand for when that happens.

With the 1/8" bits, they will deflect more than the 1/4" bits will, so try to minimize the stick-out length as much as possible (push them as far into the collet as you can, while still maintaining the full flute cutting length)

Hope this helps (and I hope I haven’t made too many glaring mistakes)

1 Like

You know what is most important? Your ears. :sweat_smile:

When I get some new wood I start with my usual settings, then I relatively quickly hear whether it’s working or not. When I went 6mm deep in Satinwood I could hear it was not going great, even reducing to half the speed didn’t sound great. What did help us reduce DOC to 3.5 without changing any other parameters.

As a starting point I use the Sorotec App, I really like the ease of it. I have never bothered with chipload in a calculator to be honest, I can see how they are and alter the settings. :slightly_smiling_face:

2 Likes

@Bartman, thank you very much for that detailed write up. I was already on Amazon looking at single flute bits and this just seals the deal. I would buy them from V1E but the duty is too large getting here to the frigid tundra of the north.

I will calculate for 1/4" single flute as well as I don’t have a Dewalt 1/8" collet nut. I have those spacers but in my experience have not really had good luck with them. It is definitely evident that I am not running the right settings for the bits because of the high RPM. Thank you!

Currently printing the LR4 core in the meantime, just getting myself ready. I bought the aluminum XZ plates and jackpot controller from Ryan so I cant wait to upgrade. Thankfully one of my Ender3v2s scored in the 800s on the calilantern first try so I thought that was good enough to start out.

That is totally true. I have had a few of those β€œoh, thats not right, cut the power” moments.

2 Likes

If you’re in Canada, Sienci Labs has some 1/8" bits (2 for $20 CDN plus tax and shipping). They also have the Makita 1/8 collet, but unfortunately not for DeWalt.

Sure am! Good to know, thanks. I might have to think about switching over to makita…it seems so much easier to get parts.