It feels like for some of these, my workflow is going to have to be
Import the 3mf into Fusion 360
Export to STL
Bring STL into Blender and fix the mesh
Import back into Fusion 360
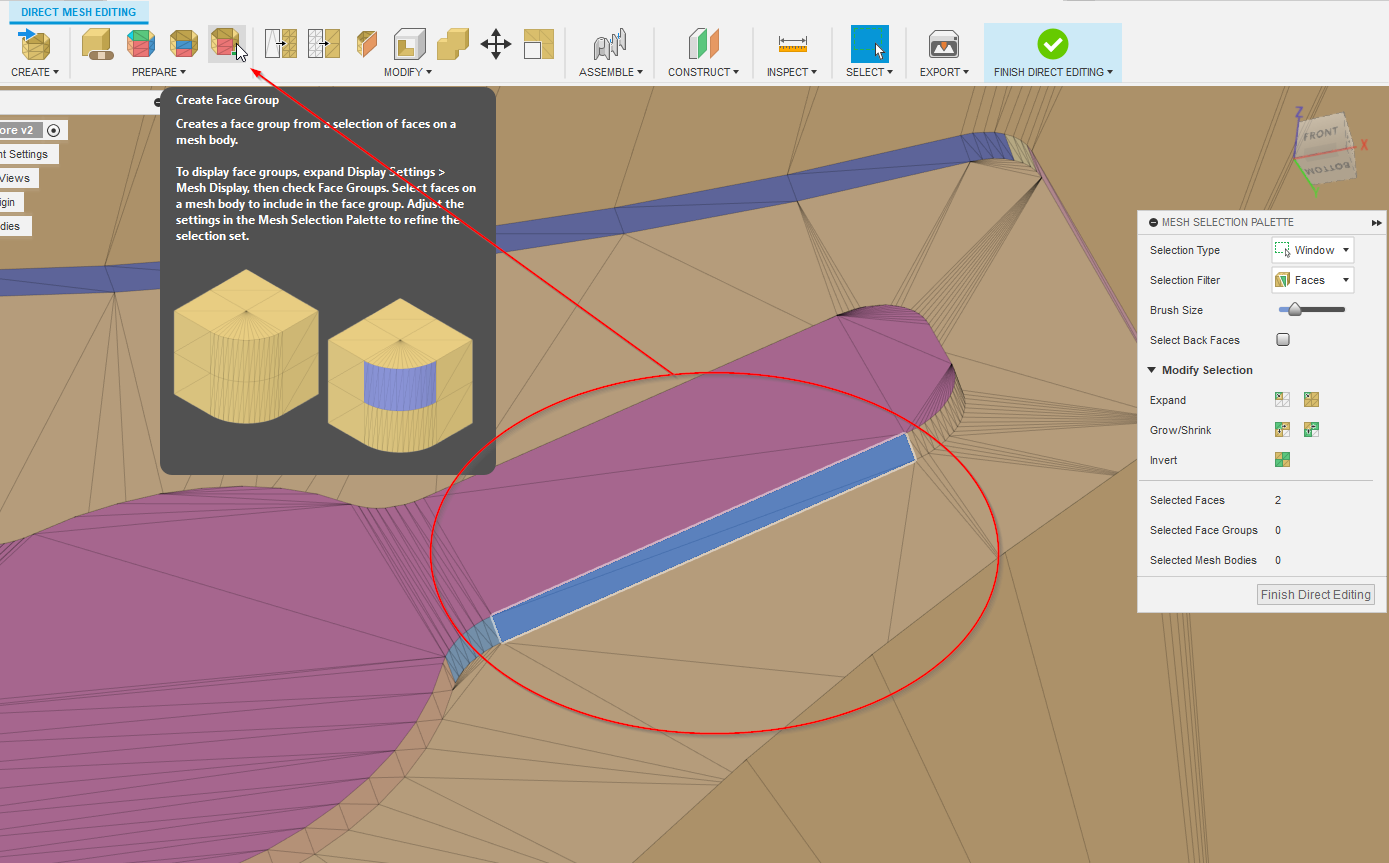
Generate face groups and use Prismatic conversion.
If that works, it feels like it would be less trouble for me than dealing with the Mesh tools in Fusion. I just haven’t figured out how to get them to operate the way I want
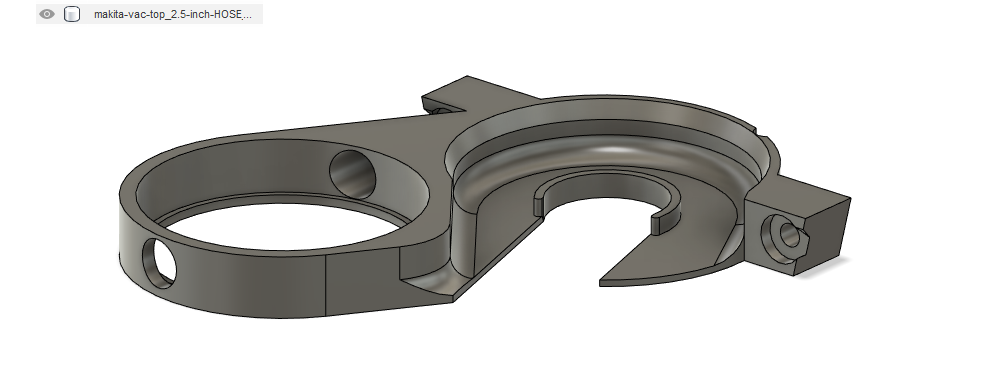
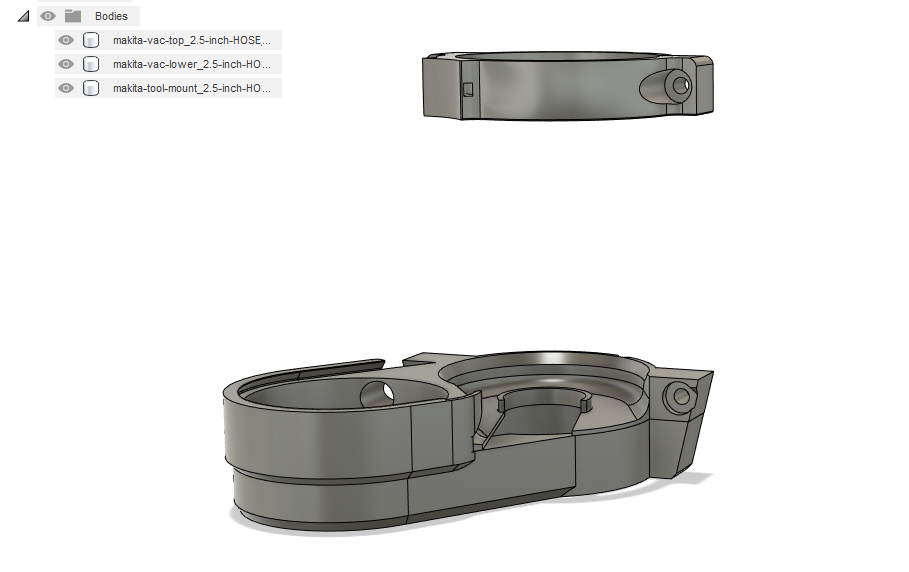
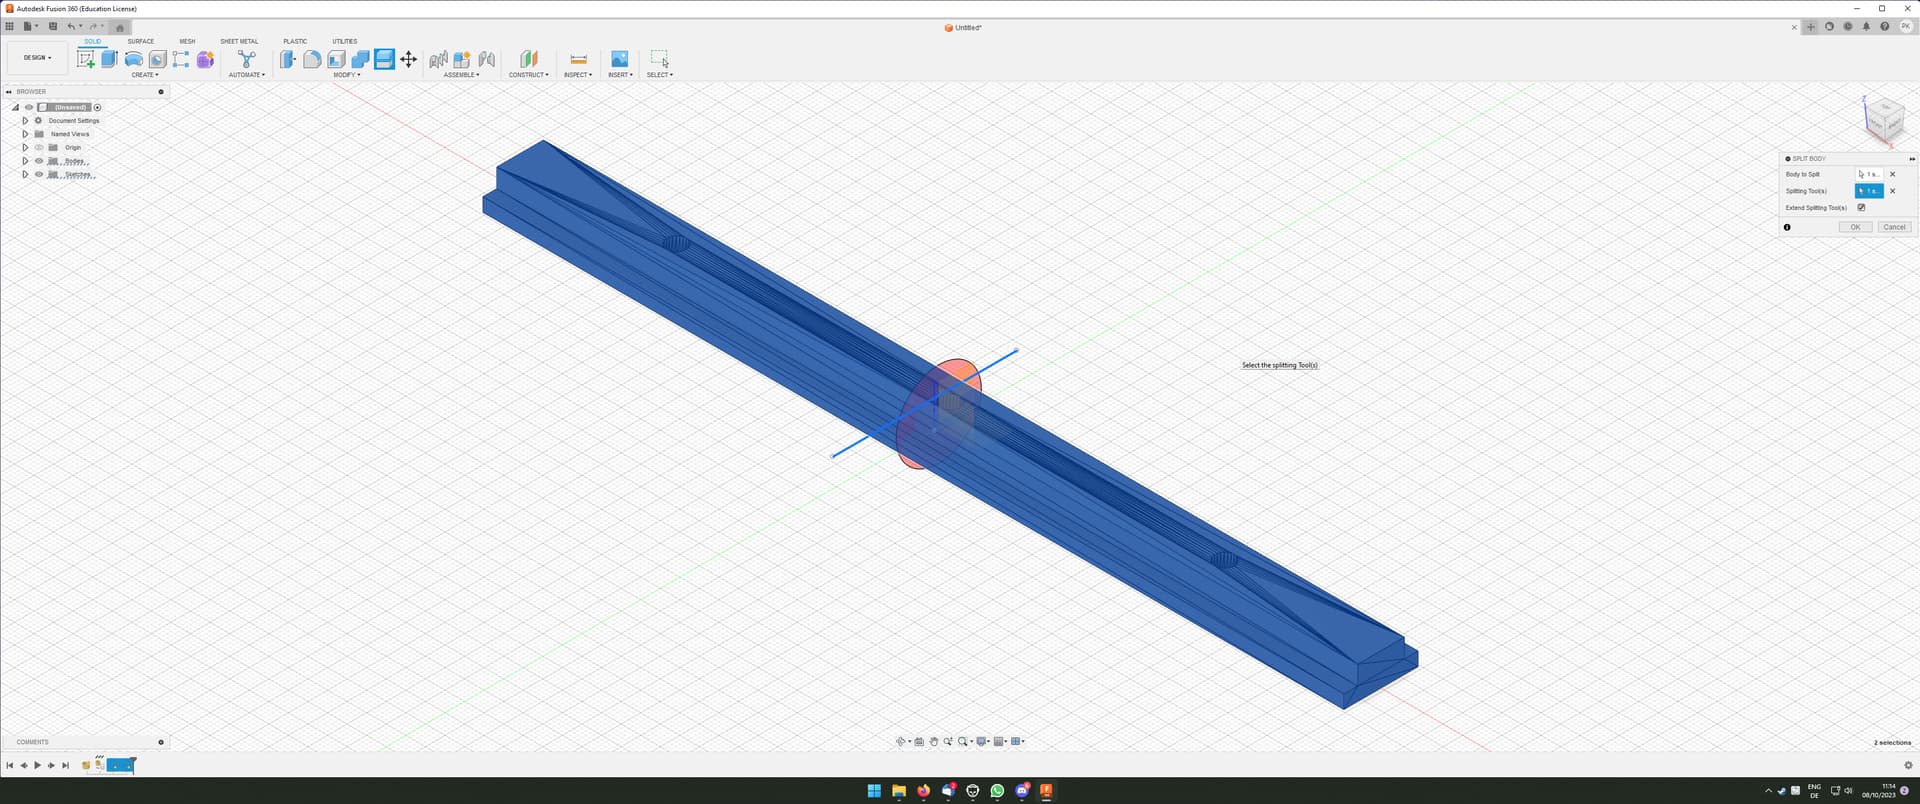
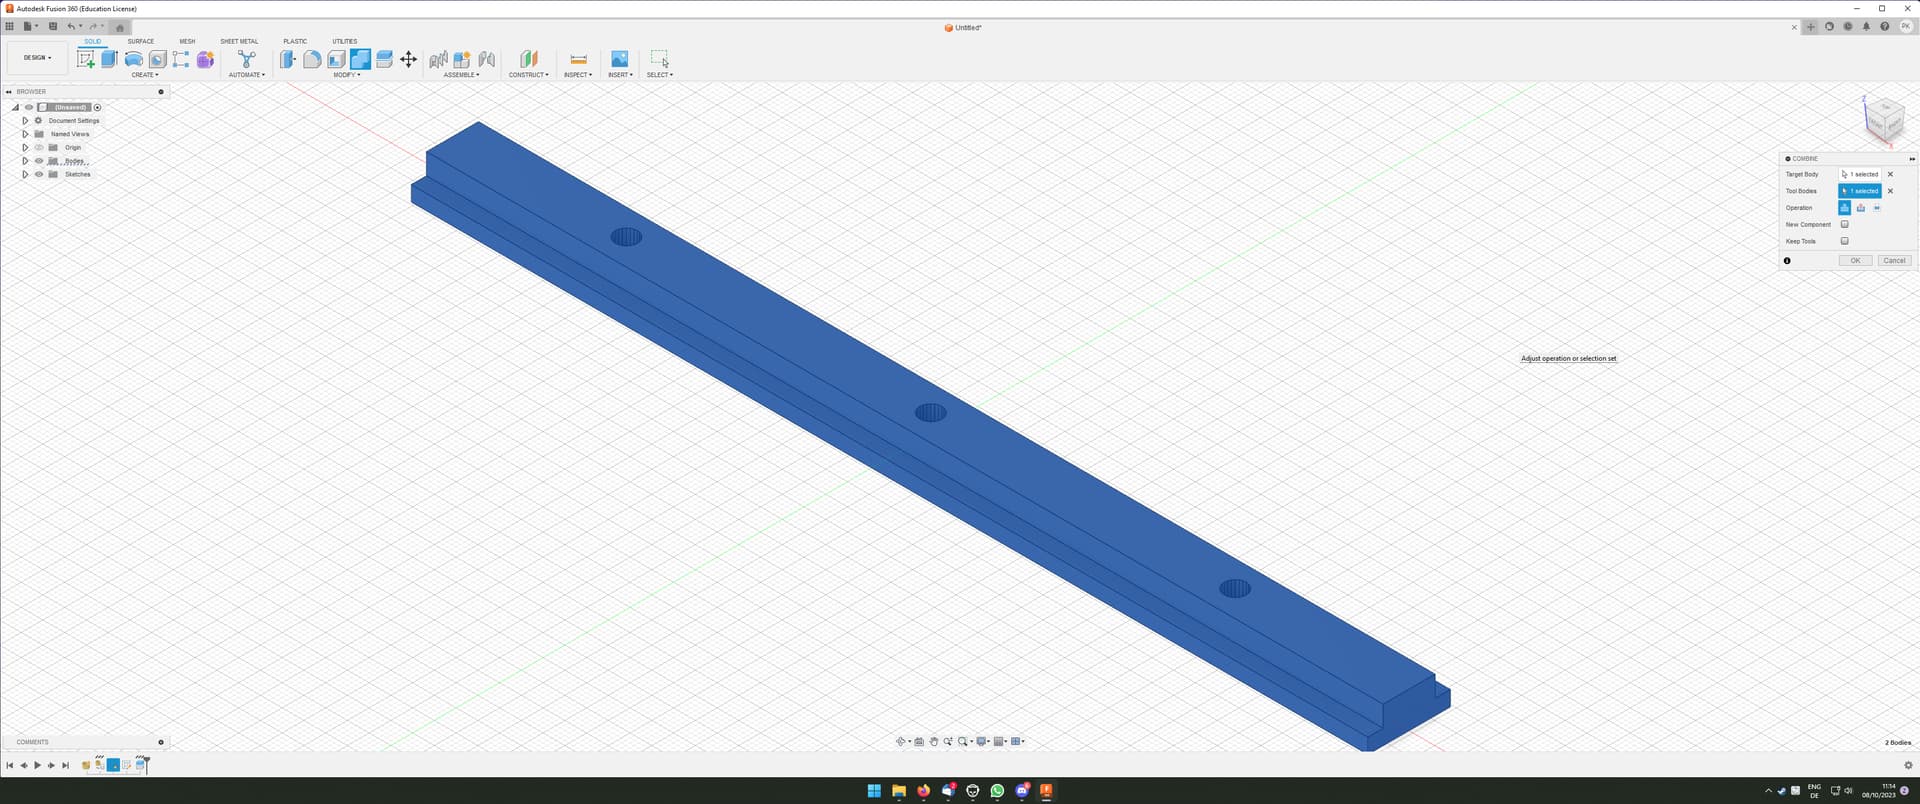
I got the 2.5" Makita mount to convert perfectly into a closed body.
I suspect there’s some hidden things in the core mesh or some slight offsets that are hard to detect that is causing it to act funny, or just some places where flat faces and curved faces are just not properly separated.
In reality, this tool mount type of conversion is much more important for me because these are the ones I’ll actually be trying to edit/remix, but I think the more I do it the easier it will become.
Then in a few weeks when I lose my Prismatic feature, I guess I’ll be practicing redrawing lol.
Thanks for this topic. I REALLY need to learn how to do some of these remixes and that mount being high on the list. Will definitely be referring back to this post!
@Michael_Melancon , I used this process when I was building my Primo but if I recall correctly I quickly ran into a poly count limit with some of the parts.
But that was a couple years ago so hopefully Fusion has a higher limit now. Unfortunately I can’t confirm. My company stopped paying for the commercial version (and it’s not worth it for me to buy it for hobby work) so I no longer have access to that functionality.
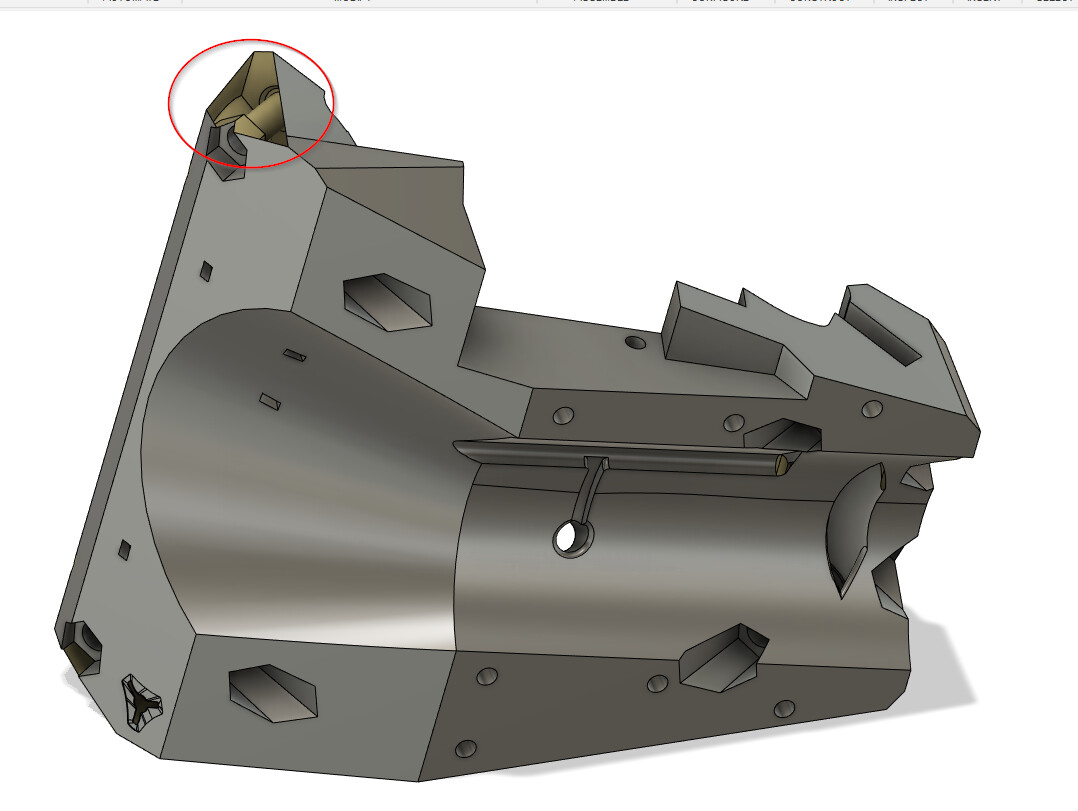
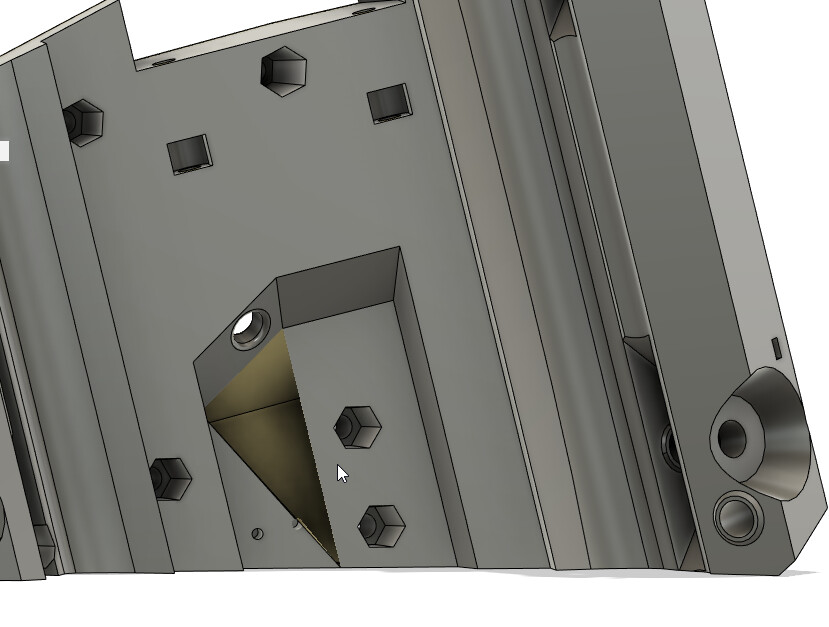
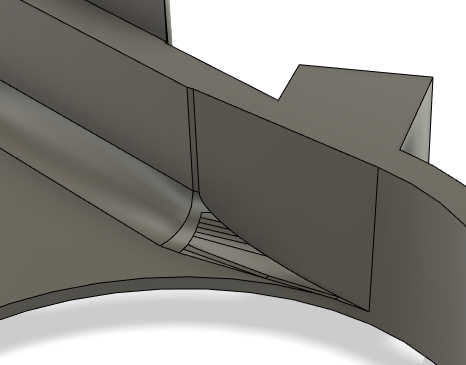
There was one spot that I just don’t know enough about Fusion to fix, and didn’t feel like bringing it into Blender since it’s not really a spot of the model I expect to have to change.
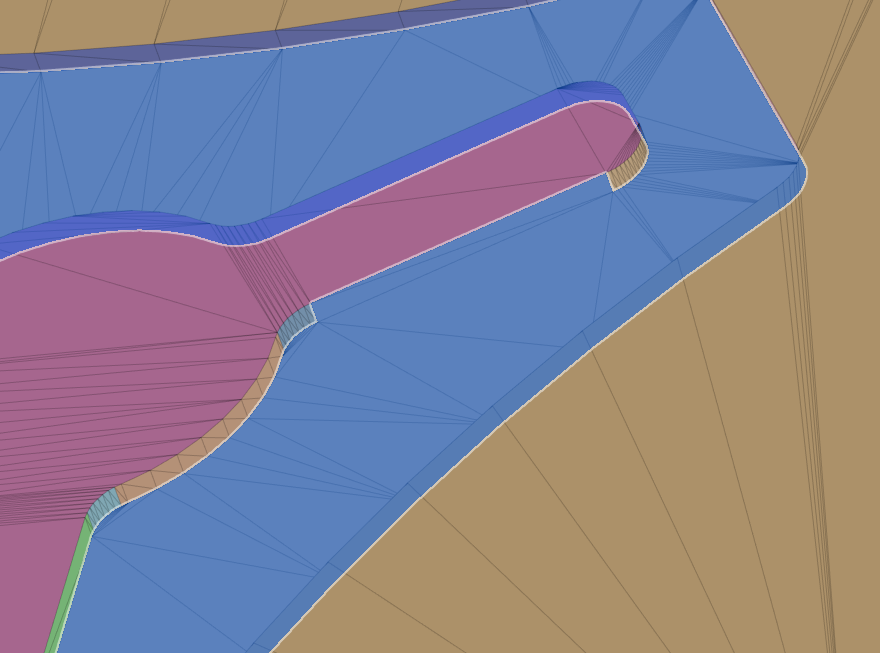
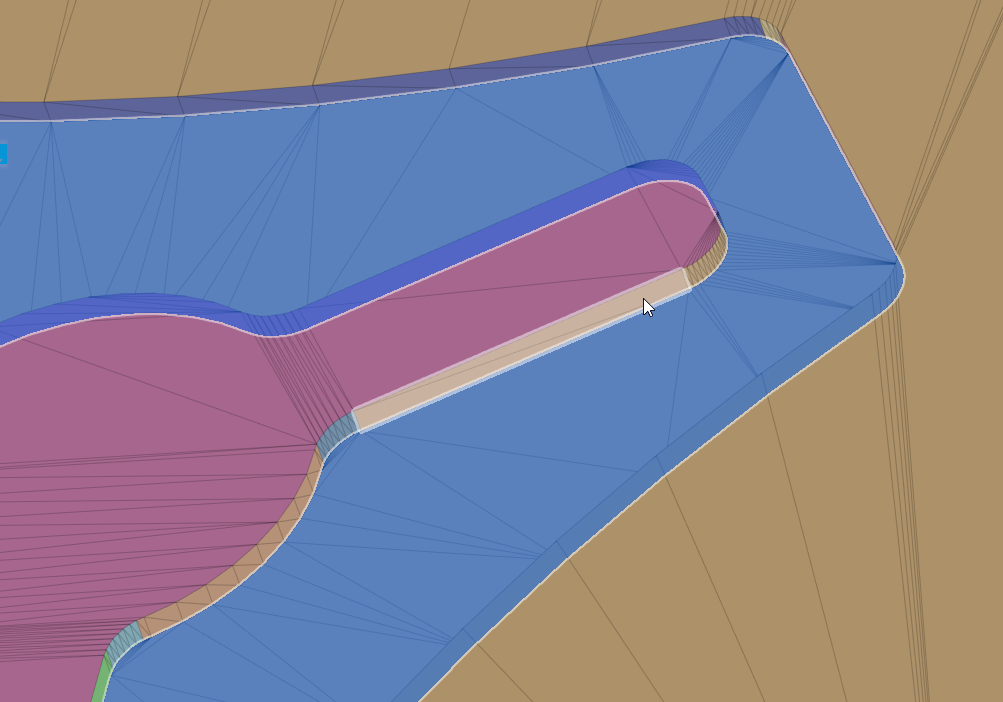
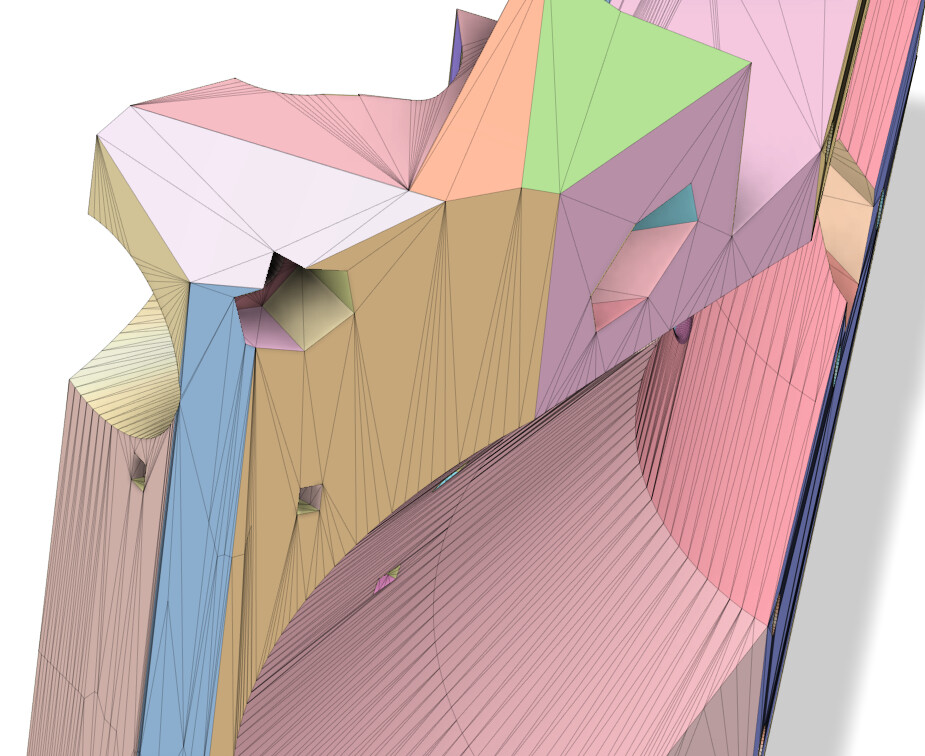
This curved area of the the lower section has a bad mesh topology in the STL:
I guess the curve got gradual enough that the tesselation decided it could span the entire thing with one triangle, but Fusion struggled to patch it at all unless I made a bunch of face groups in that area.
This is easy for me in a tool like Blender to repair if I ever need, but at that point I’ll probably be beyond my trial and looking more at the redrawing side.
I guess this stuff is for those of you that pay for it, I just can’t justify it for my own personal use.
If I ever decide it’s worth selling things I make, then I guess that would have to change, but for now I’m just trying to see what my limits are in Fusion on the paid side while I have a trial, and then on the free side when I don’t.
If any Fusion Gurus here know how to deal with the mesh stuff, then hopefully they’ll chime in.
I don’t know if there is a limit. It will often give me a warning saying it will take a while if the face count is more than 5000 or more than 10000, but that’s it. I think the LR Core is like 18000 faces and it takes a little bit to convert, but it doesn’t fall over.
Yep, likely there you are benefitting from the auto-repair feature in Fusion. Without drawing a line, you can usually just stay in Solid mode, select one of the small triangle faces and hit delete.
Fusion will auto-repair it by joining all planar faces.
This works great for relatively simple geometry, but Fusion gets worse and worse at it the more fillets, holes, and general changes of planes it has.
I have found that most of Ryan’s parts it doesn’t deal with very well.
Sketchup is also really bad about proper geometry, and it’s very easy in Sketchup to accidentally misalign things in a way where it looks fine, but in reality there are big problems that other applications don’t like. STLs exported from Sketchup usually need more fixing.