Yes. I thought this would be a problem - and it is. But I also must have castors - it would just be redicously hard to move otherwise once all the hardware is in.
My thought at this stage is to try some counterweights, but ultimately for piece of mind - an anchor to the wall would be the go for sure. Some sort of quick connect anchor would be great so I can access the back on the odd occasion without too much hassle - any ideas on how this could be done would be greatly appreciated. .)
just use a simple L-bracket like this: https://www.lowes.com/pd/ReliaBilt-RB-3-IN-GALV-CORNER-BRACE/5001634709. You could anchor this into the stud in the wall, and then put a carriage or through bolt on top (coming up from inside) with a wingnut and washer on top to hold the cabinet in place while playing. When you need to get to the back, remove the wingnut, roll it out, do what you need, and then put it all back. Anchors don’t have to be remove from the wall. I would see if you can find some slotted ones (I got like 50 of them in some Ikea furniture) to help moving back and forth into place, but that should work for you.
They are easy to design fixtures for, take 2 seconds to remove, and are strong enough for stuff like this. I used them to keep raccoons out of my outdoor garbage bins, and strap stuff to the wall, etc. They do stretch a tiny amount and it is hard to get that last 1/2" of slack out.
I just found this thread, but definitely following along as someone that builds/restores Arcade machines pretty regularly for the past almost 20 years, I love seeing what people build! I’ve got a shop full of empty cabinets right now and currently working on a Multi-Williams (FPGA) for my personal collection. I just restored a Centipede Cocktail and my wife reminds me every day that we need to move if I’m going to keep bringing them home haha
Good luck on your build, I can tell you from experience, the LR CNC’s do a fantastic job at cutting full cabinets. Just check out my 3 Dragon’s Lair cabs I’ve cut on a LR2!
Do you have a welder or access to one and maybe a lathe ?
I would recommend rollers at the back that let it sit on the floor but to move and Swivel you tip the cab back slightly so it goes onto the rollers and then you can move easy.
If you shape them like this than they will also make it easy to pivot.
And you can just weld up a axle bracket with some grade 8 bolts for axles.
Also these bags are handy for lifting stuff off floor and holding it there.
A punch arcade cab just came up for sale here but I have to resist lol.
Yep, that’s how my Midway cabinets are. Leg levellers on the front & back, wheels on the back also, recessed into the cabinet, but the wheels only work if the cabinet is tilted back so that they make contact with the ground.
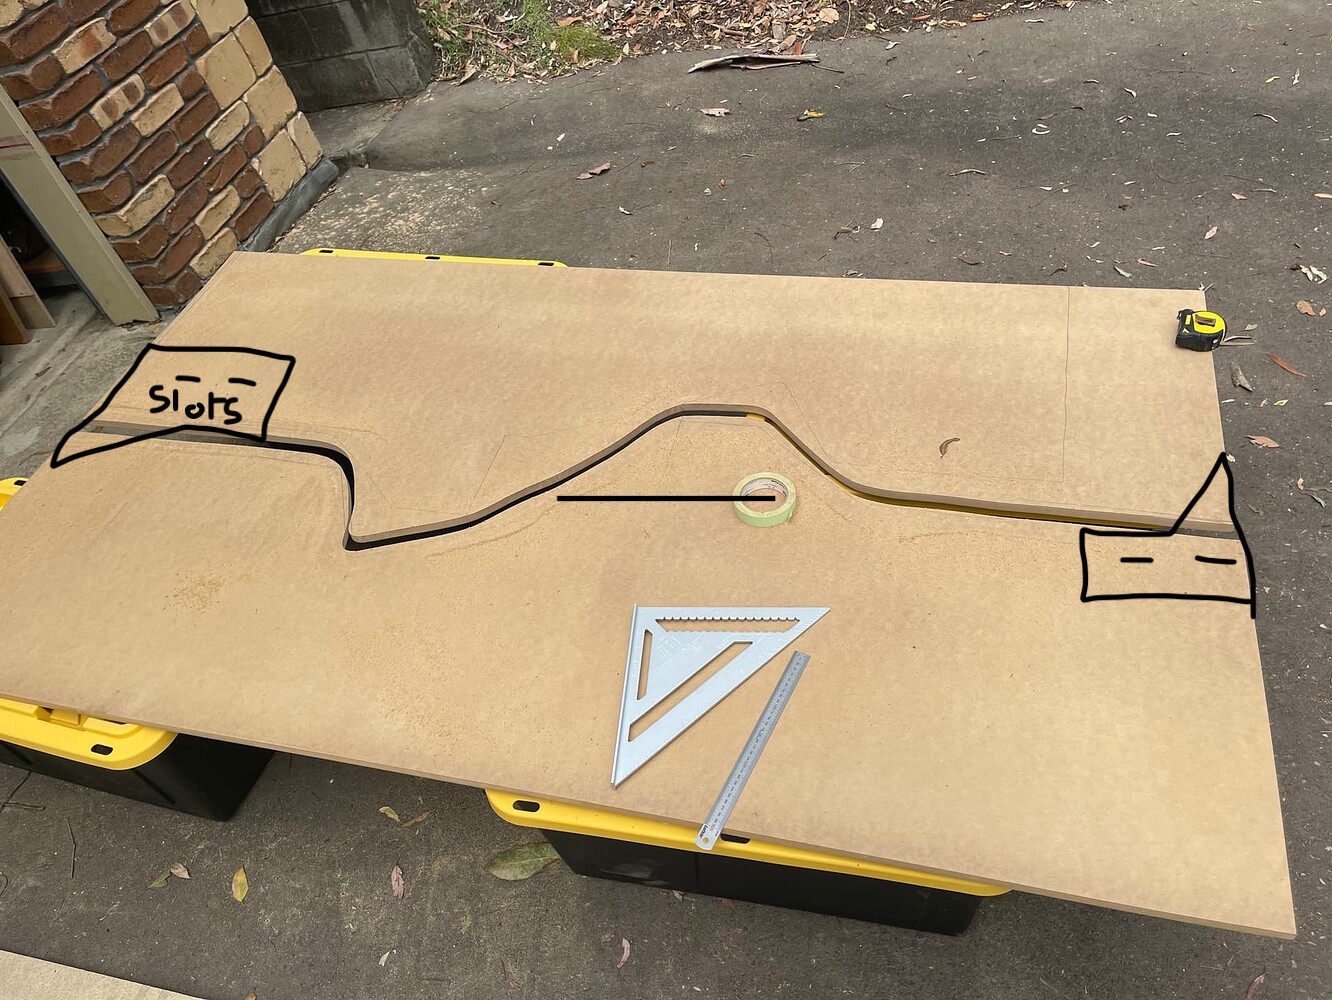
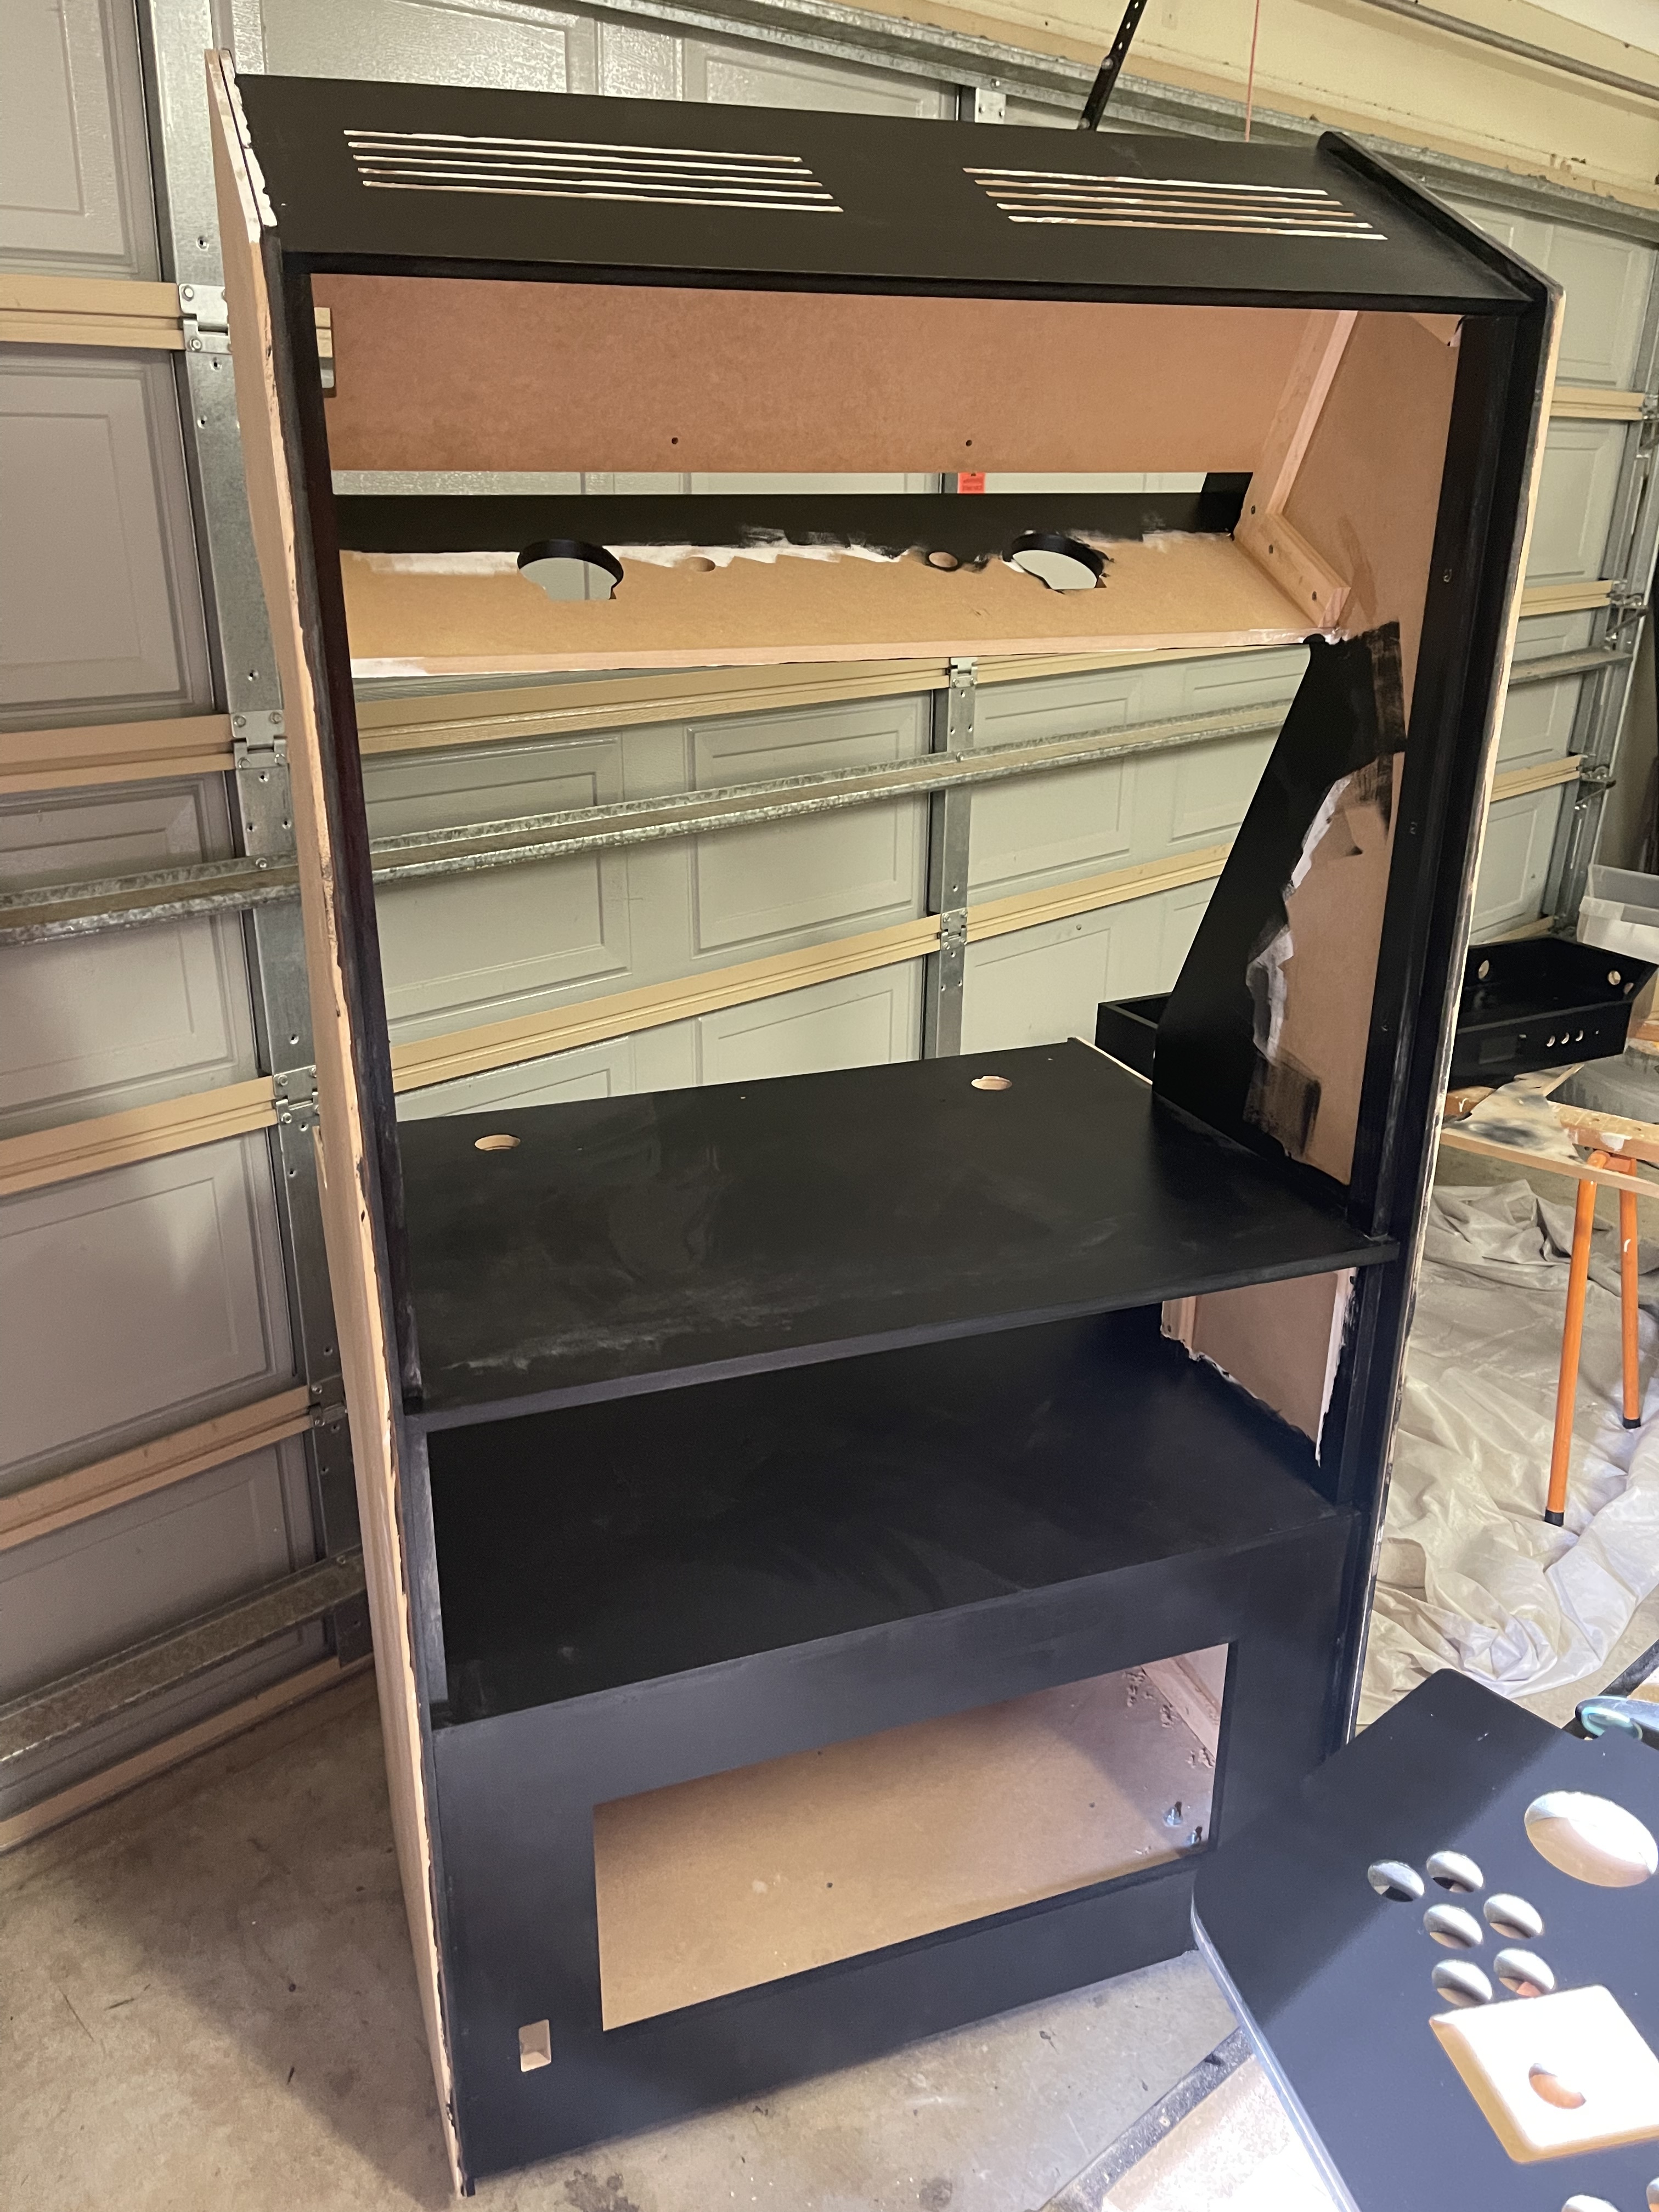
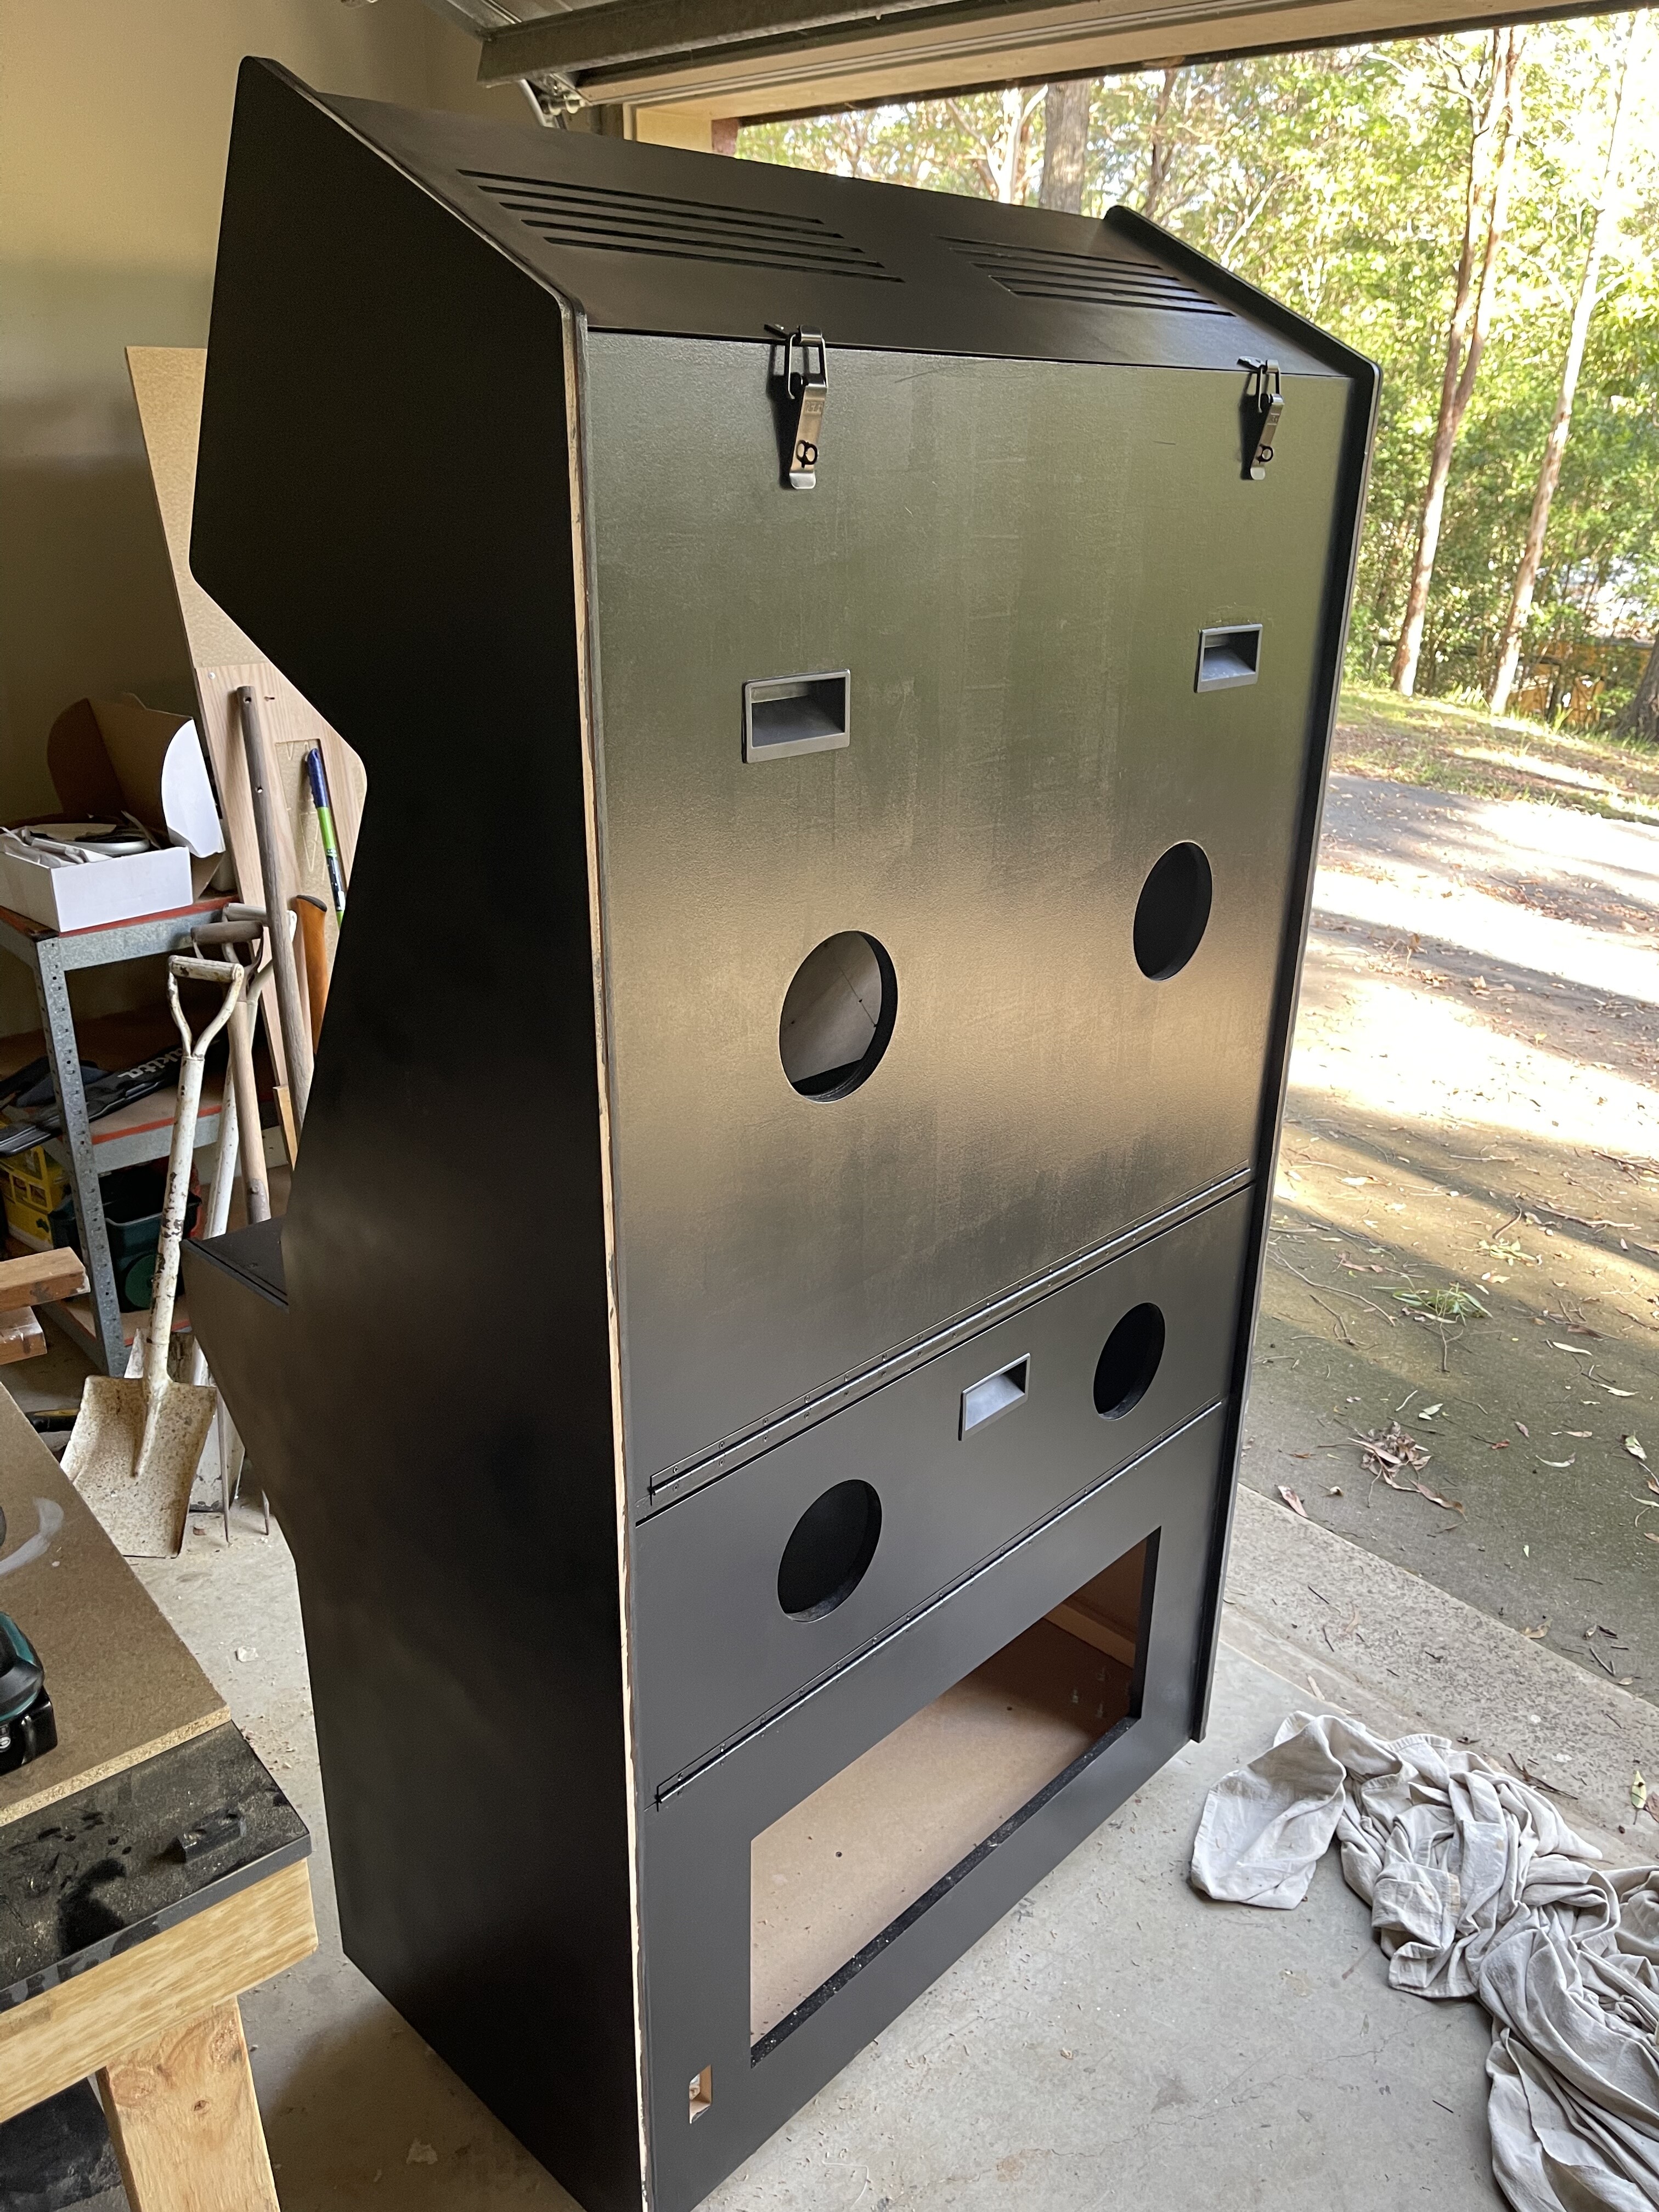
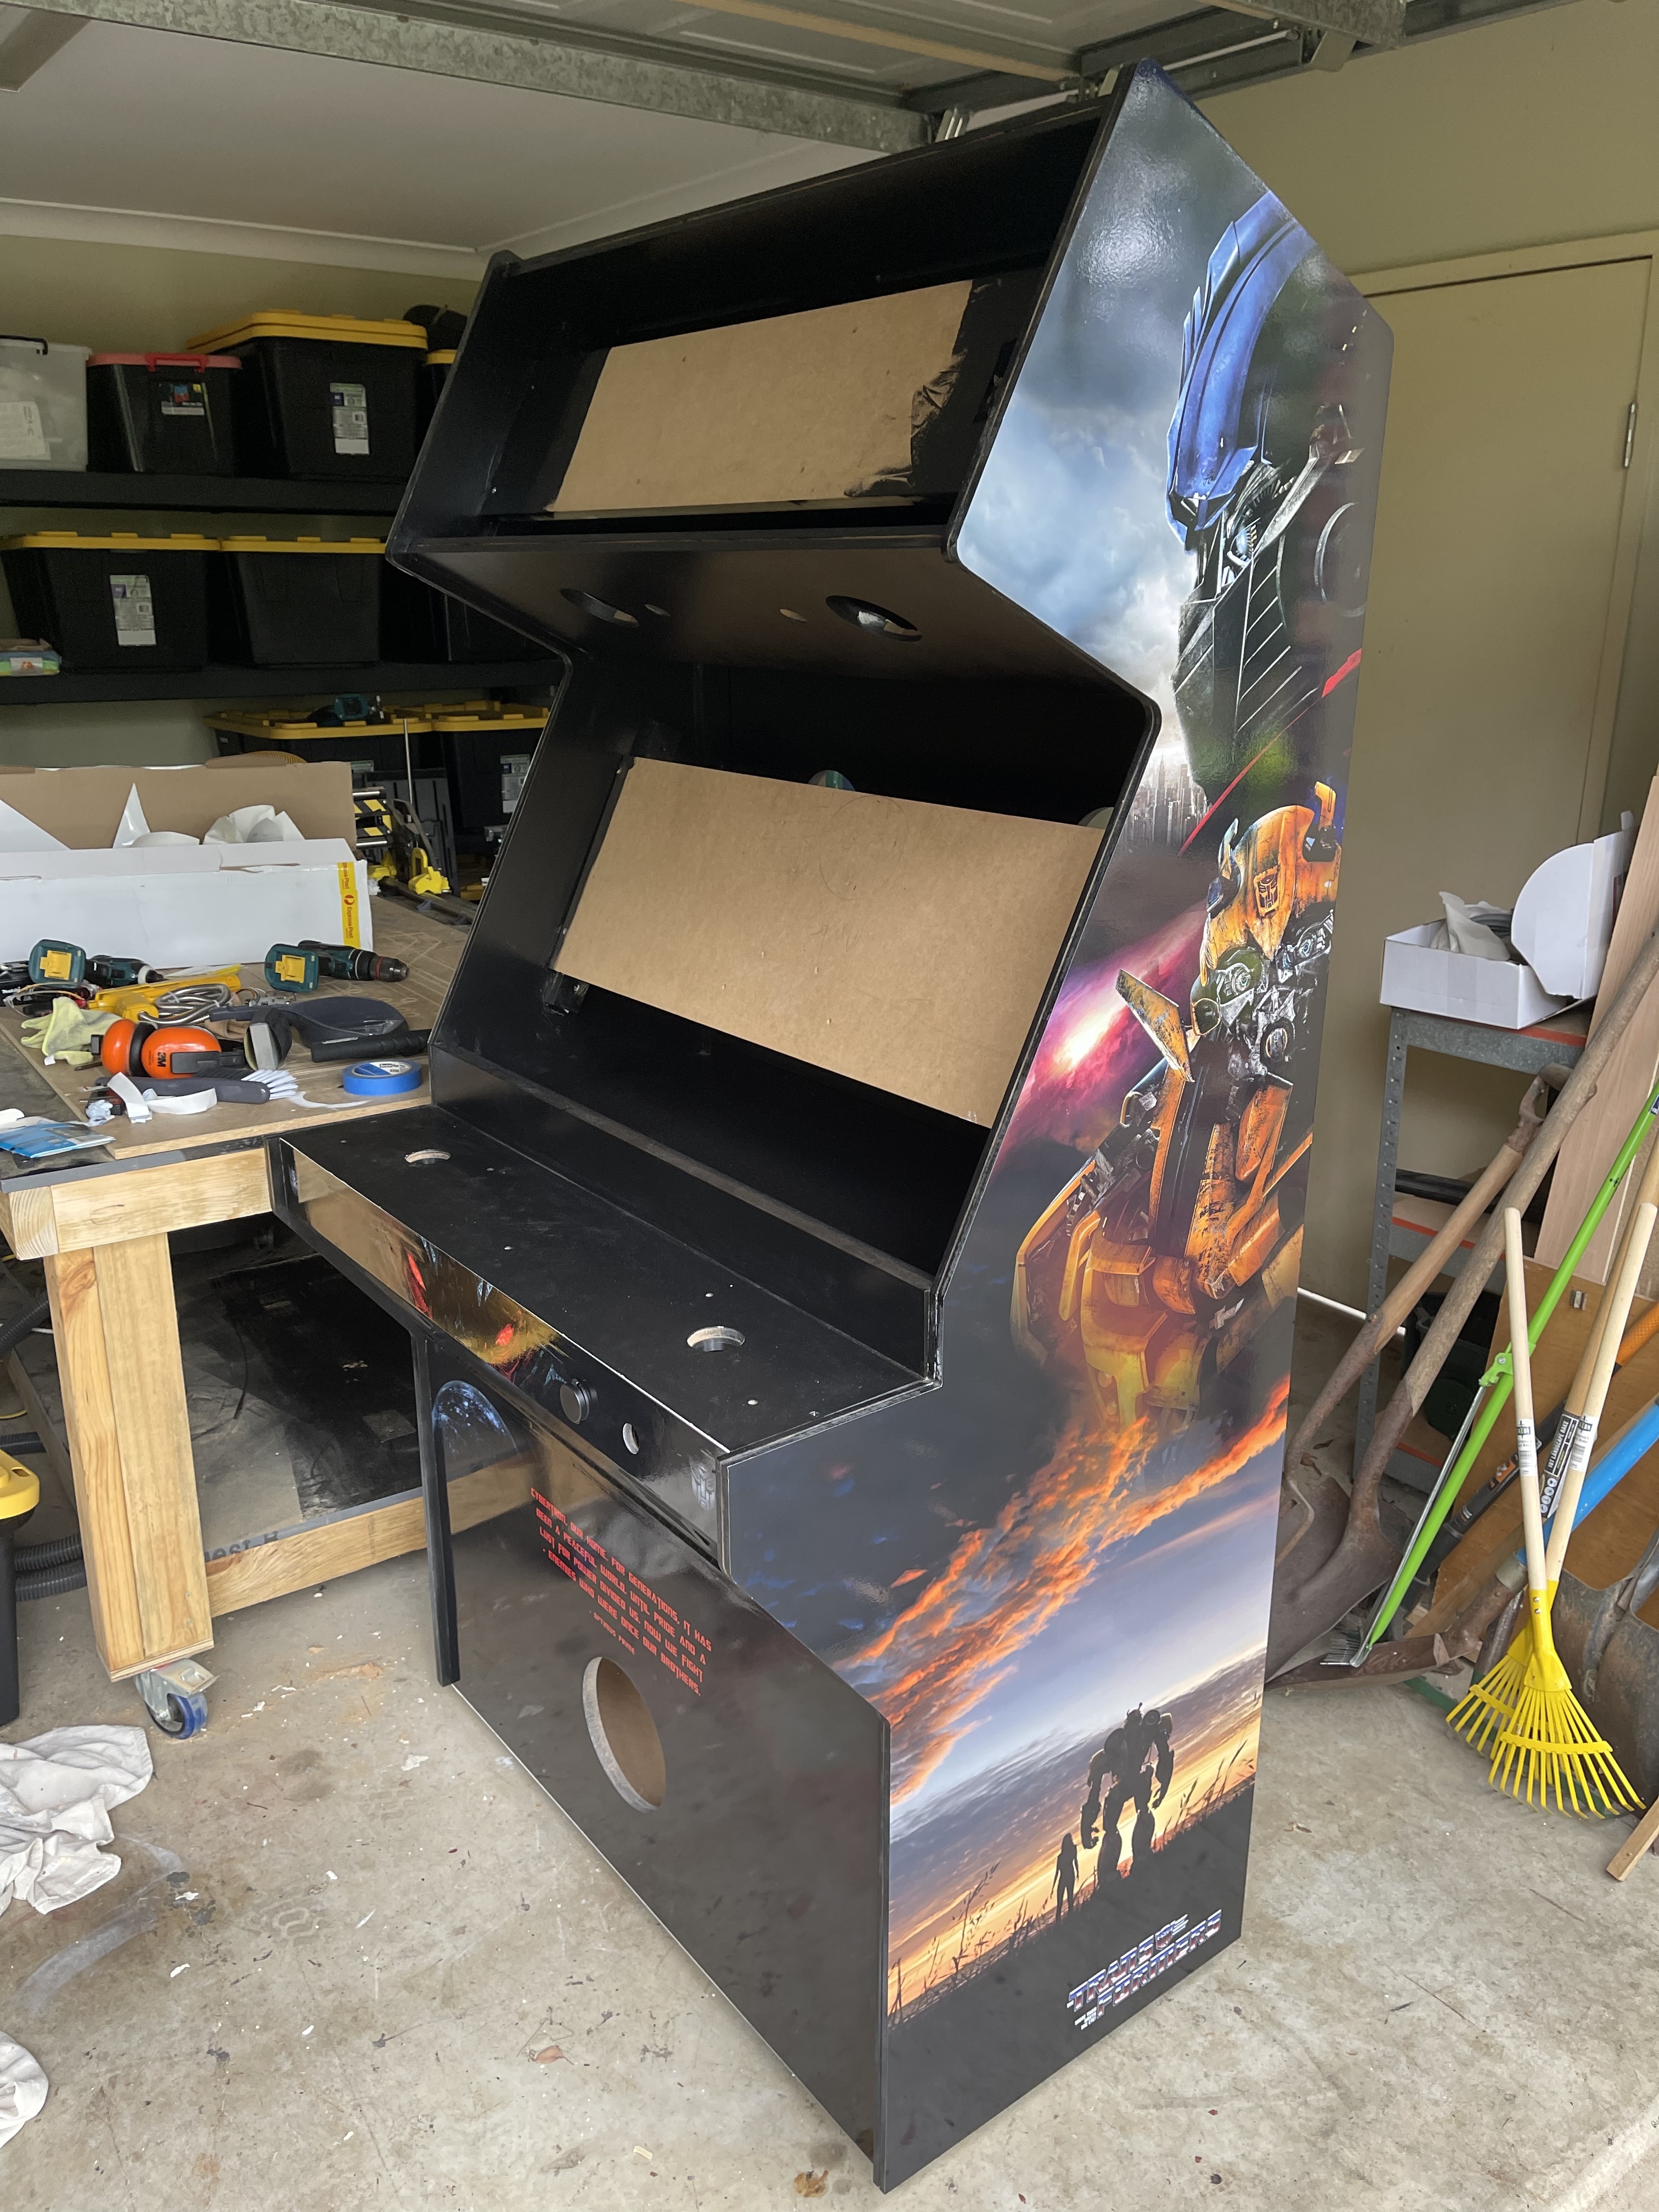
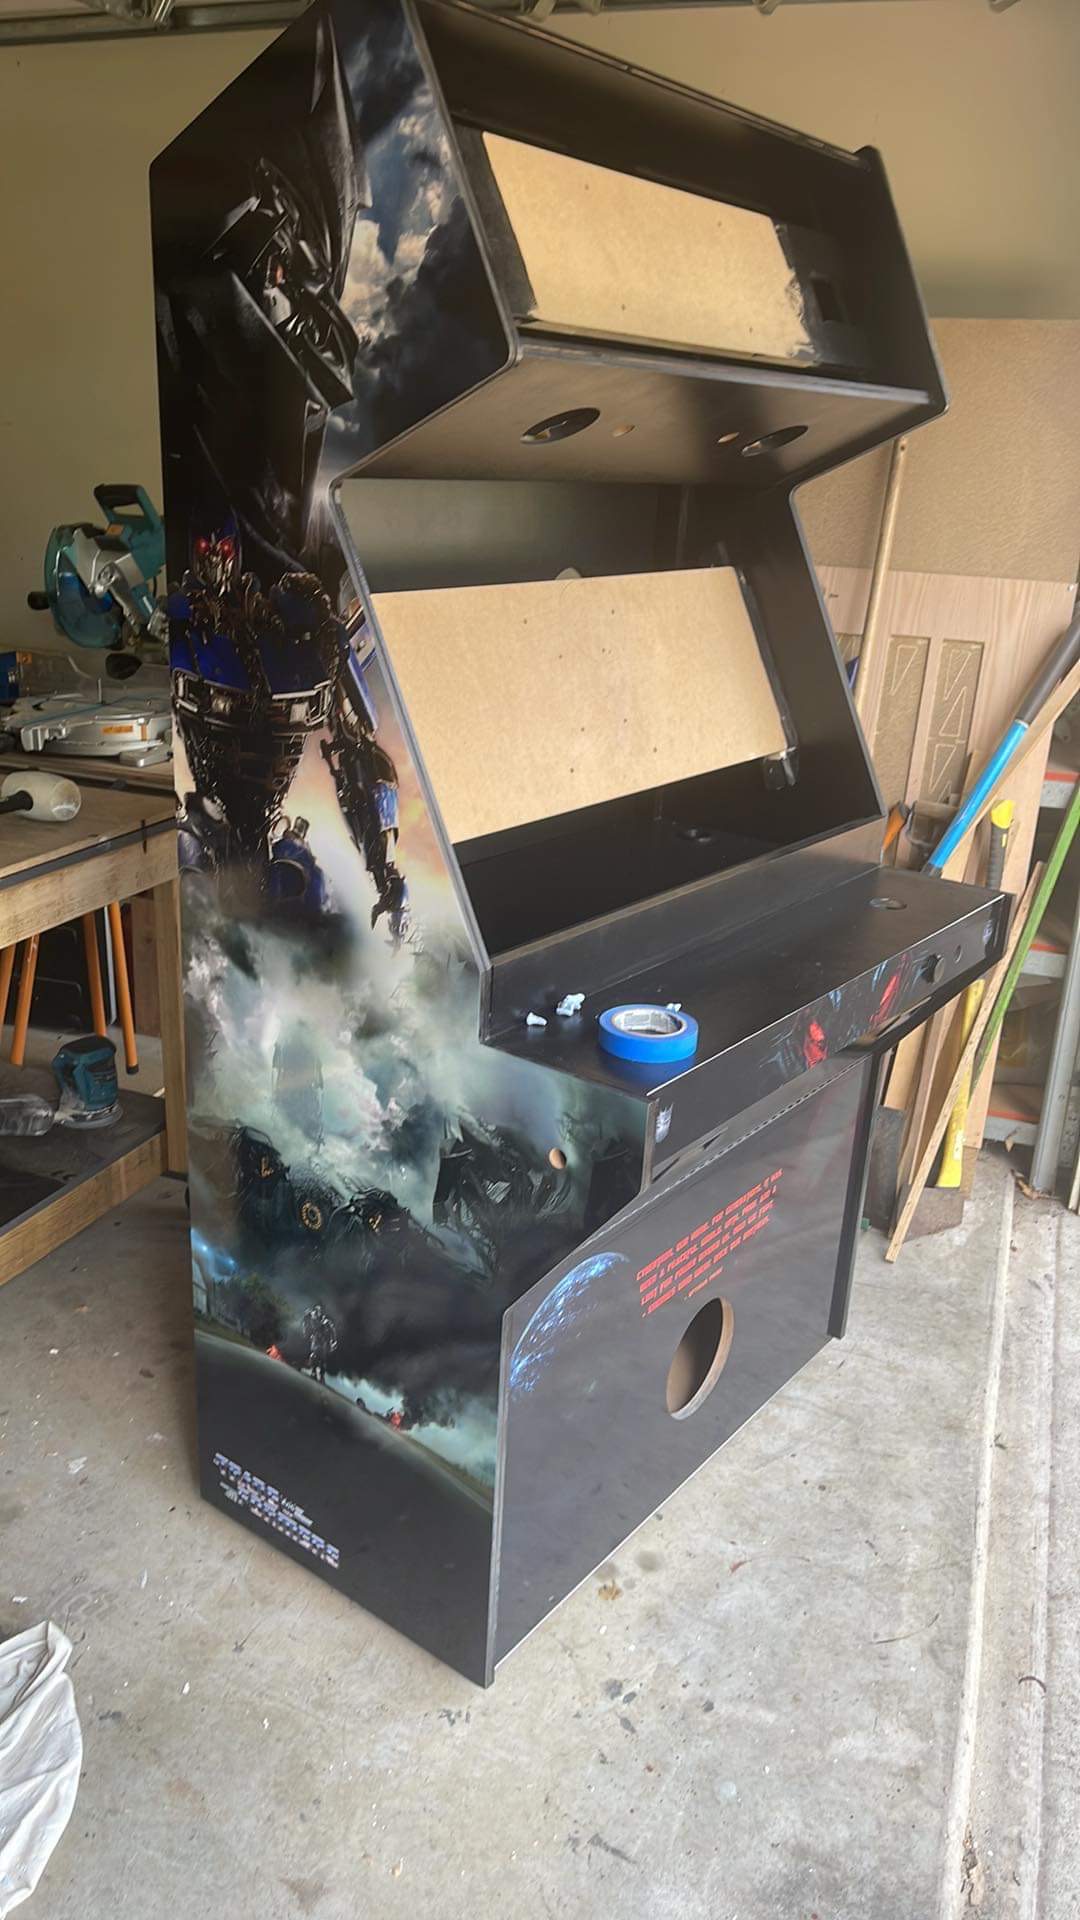
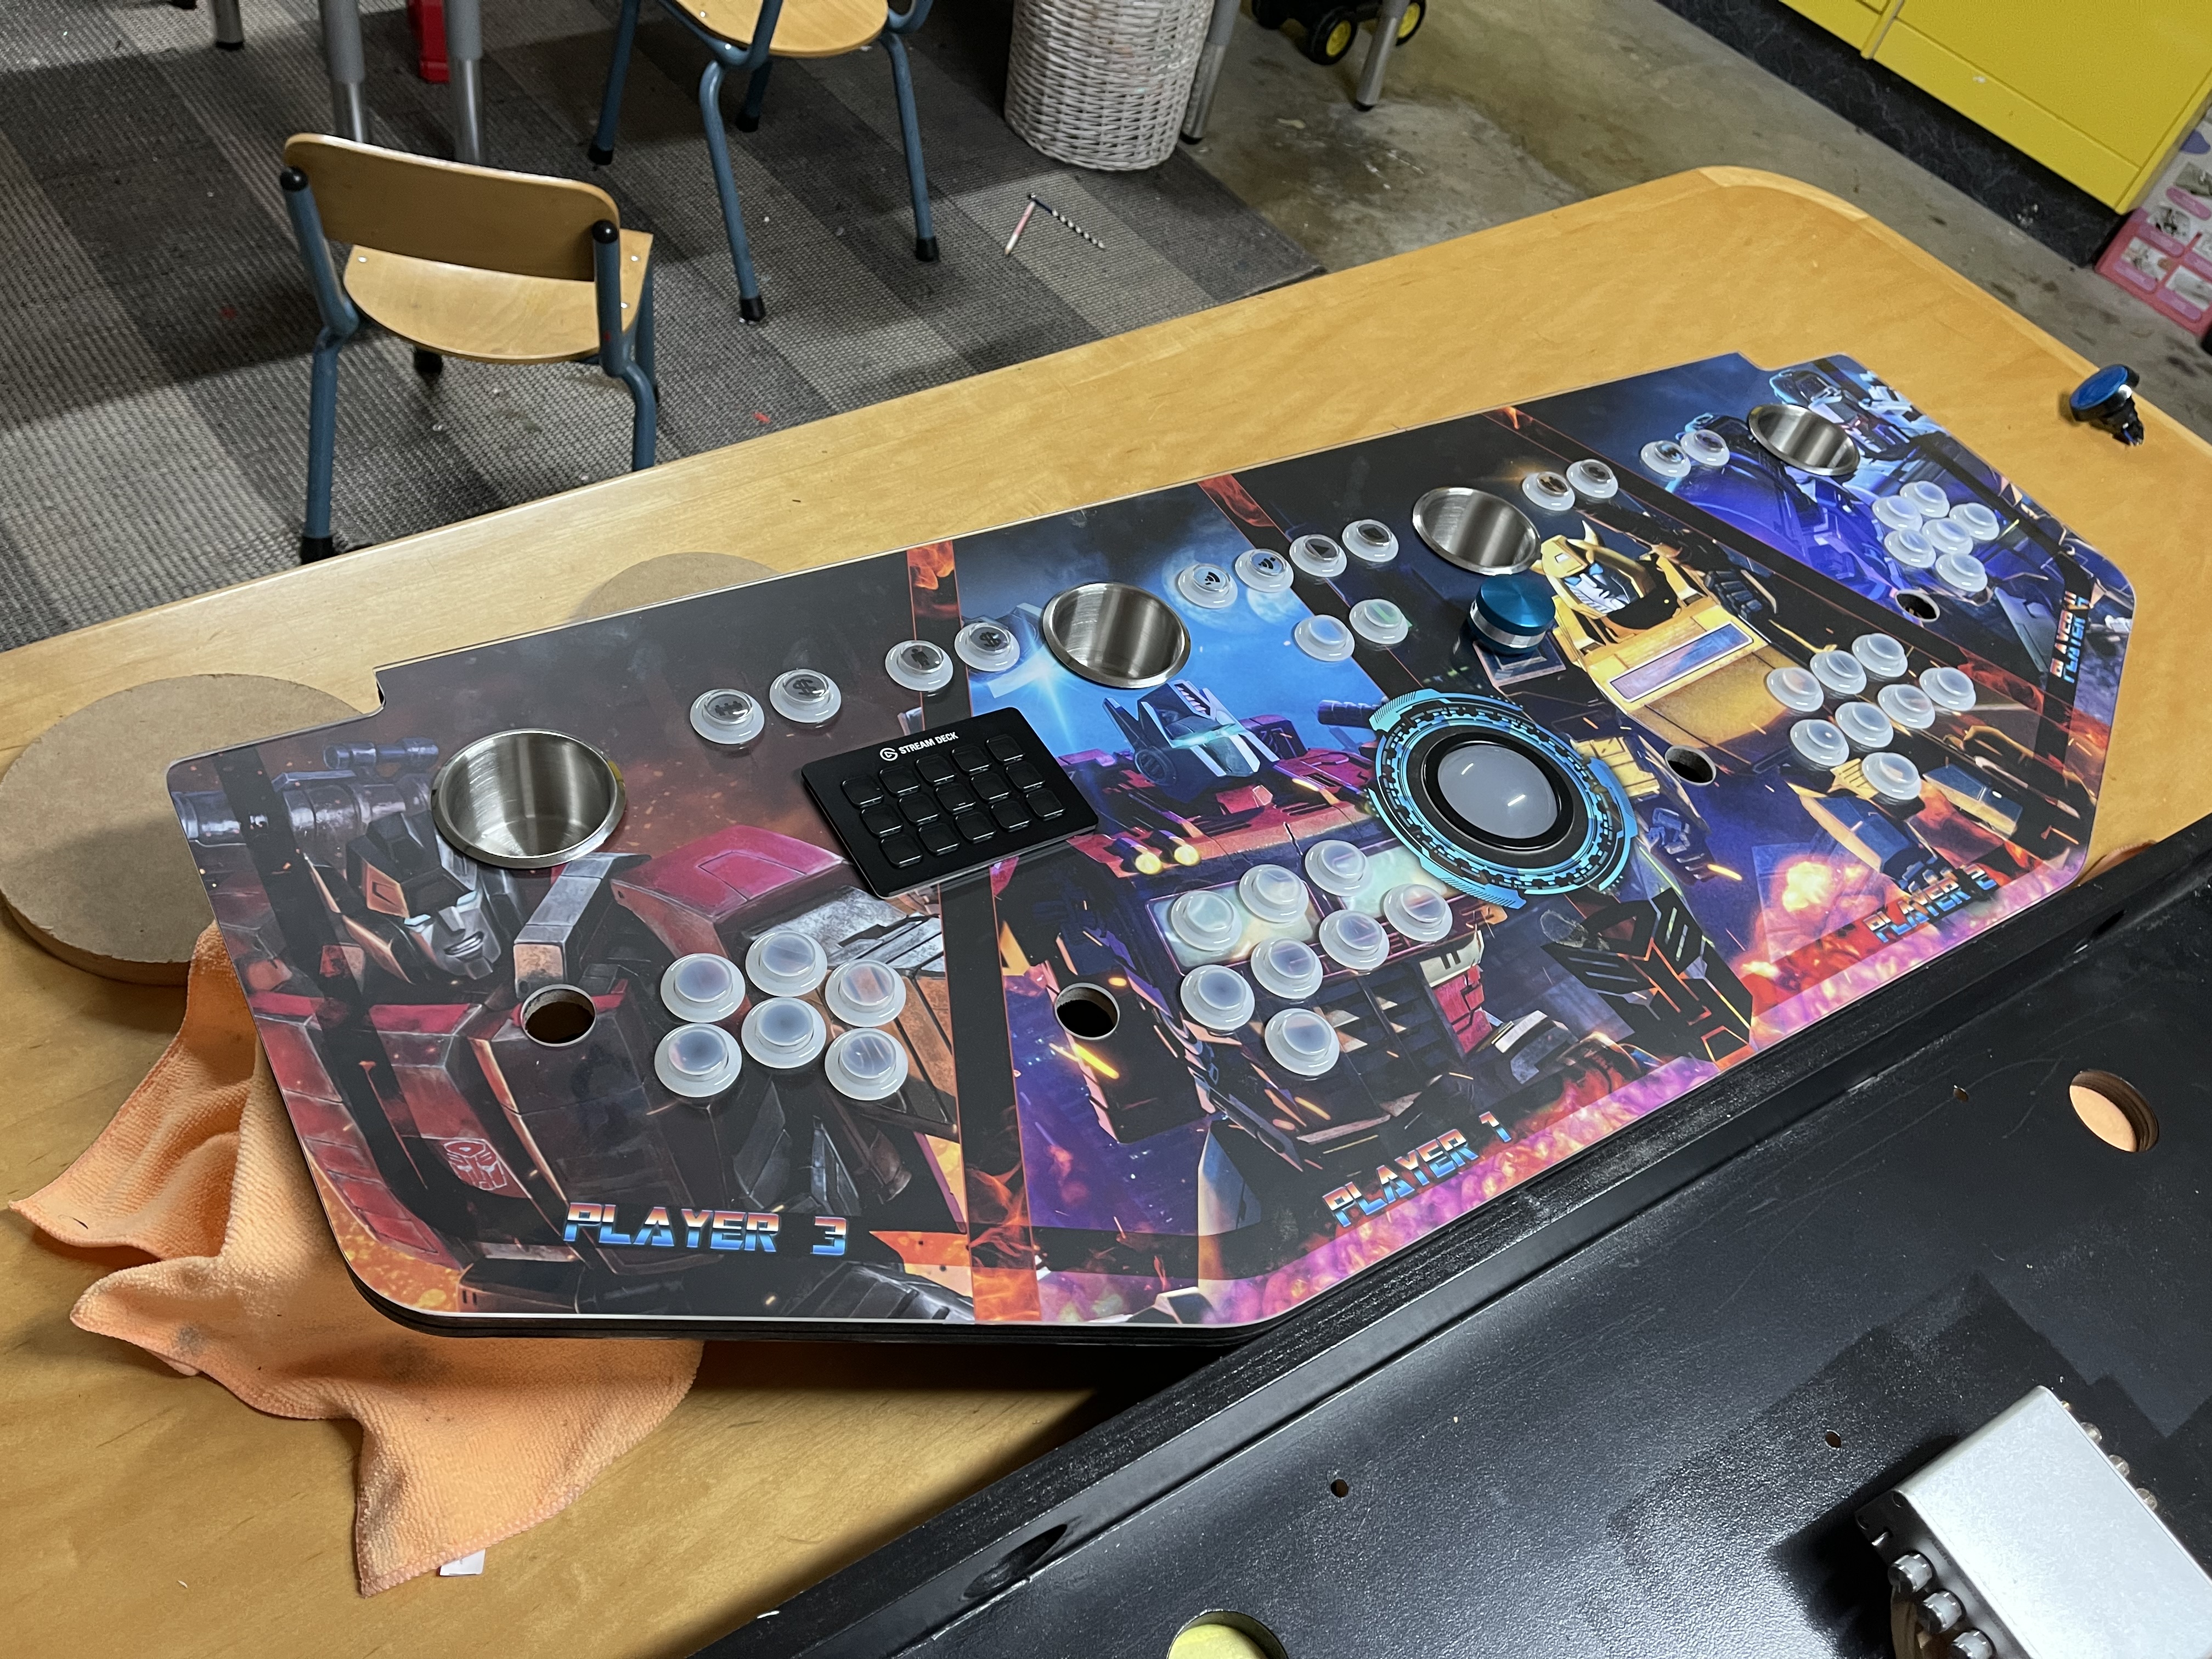
Sorry for the lack of updates as of recent! I have made quite a bit of progress since completing the build of the thing. Painting took ages as some of the cabinet I painted with house paint, however where the artwork was the printer suggested spray paints (latex free specifically) which will give a smoooother finish, and more importantly not peel off down the track. So far - All good.
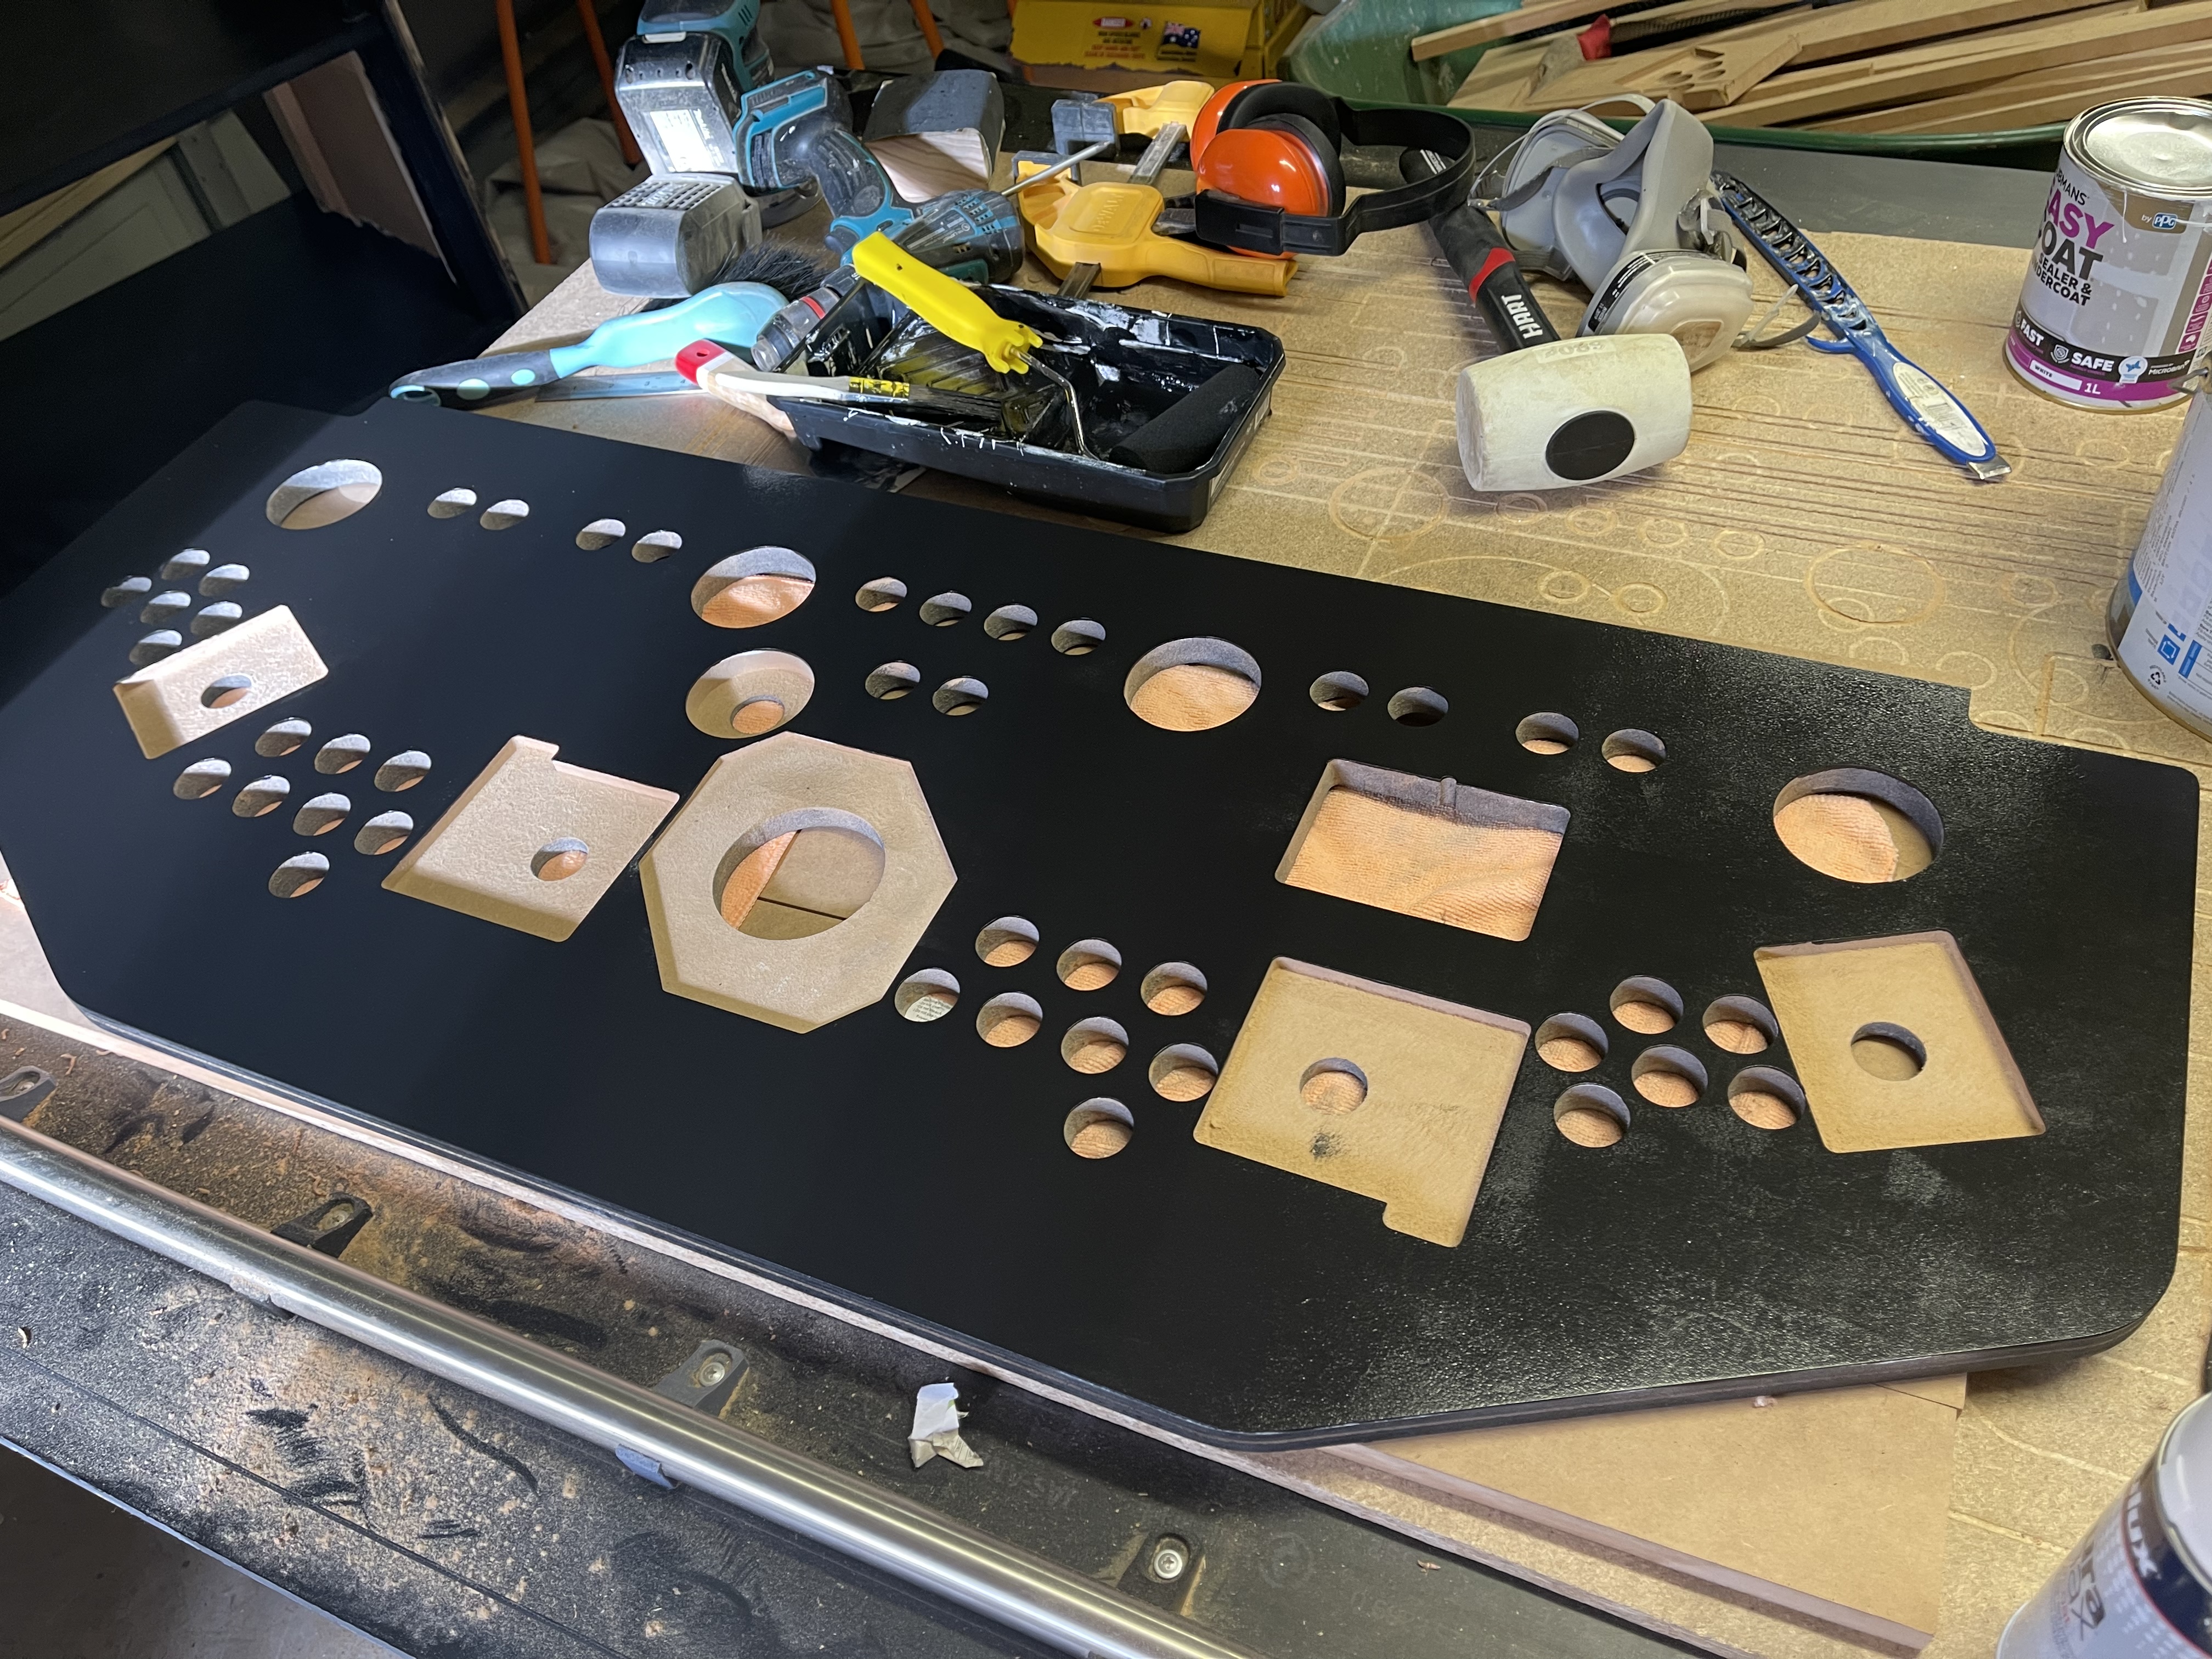
First up was painting the control board, where I came into an issue… I havent got a shot of the issue itself, but basically the amp which sits in the front, was colliding with the roller ball mech - which is surprisingly big under the table. So, I ended up deciding to recut the front of the controller to have the amp on the left and the pinball button in the centre. This was a happy accident in one way as I actually put the pinball plunger on the left originally, so this is now centred which makes a bit more sense! haha.
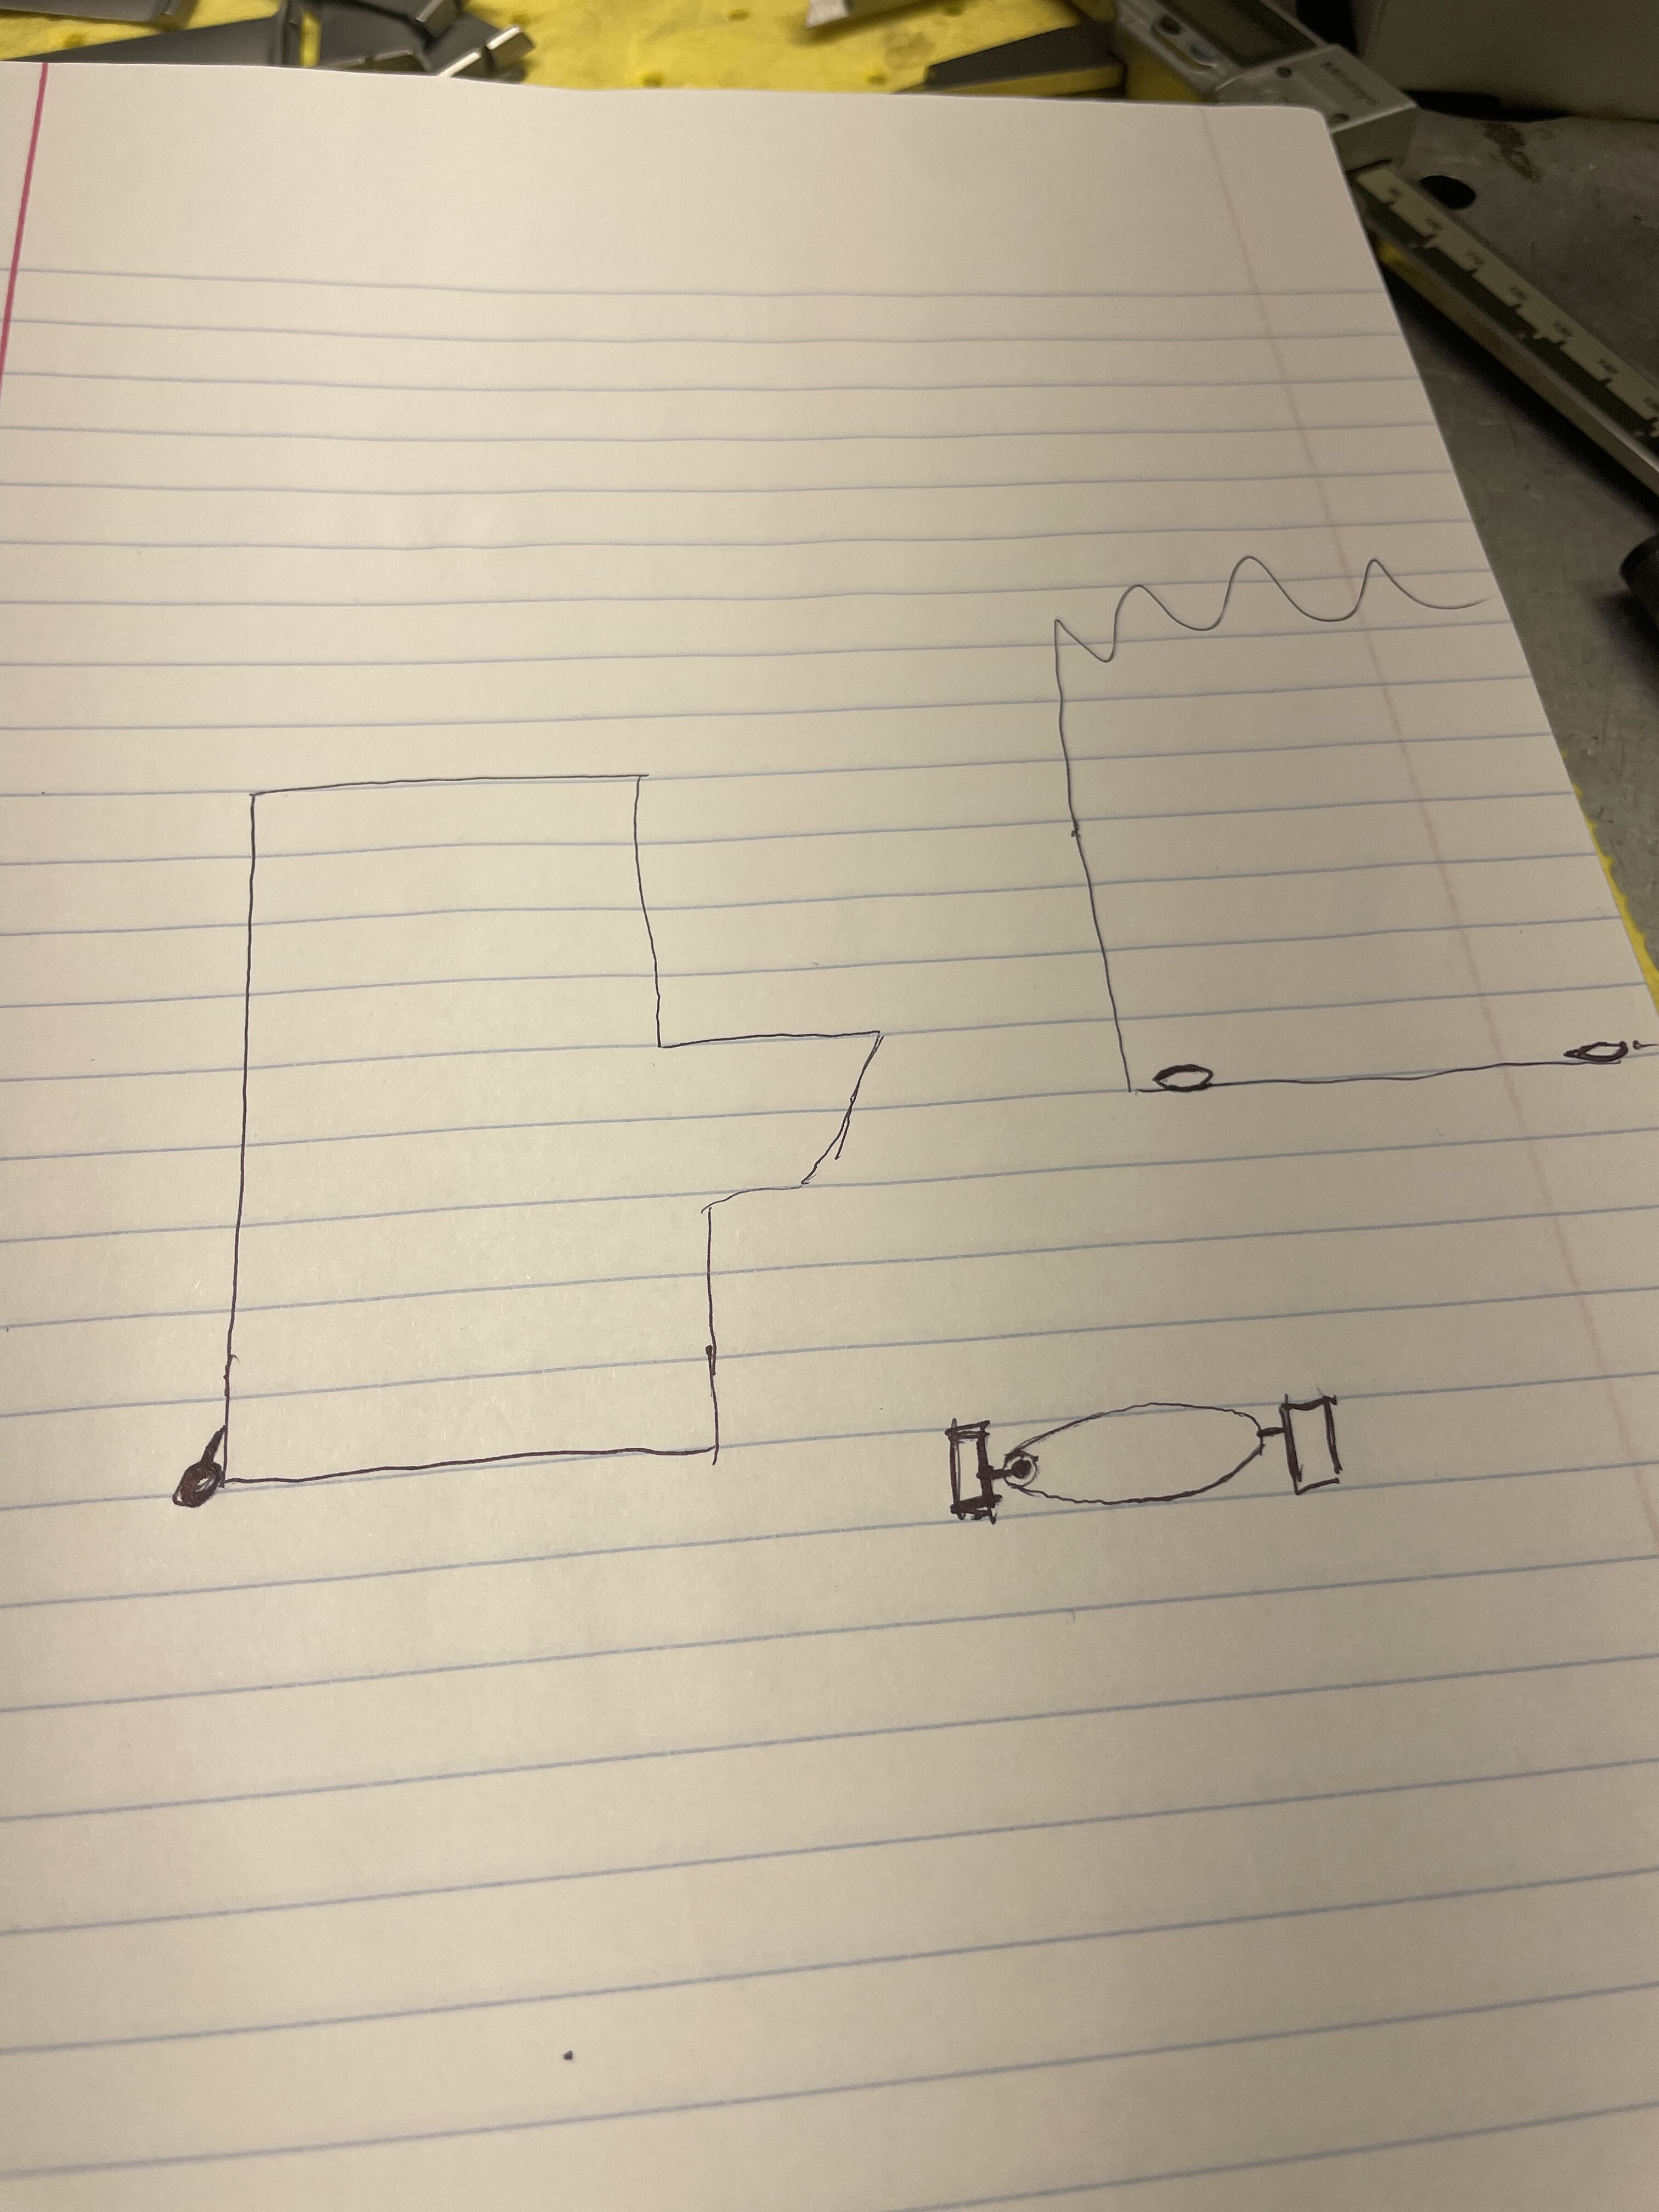
As for the front weighted heaviness, I am yet to solve this issue - I will be strapping it to the wall as originally suggested as this will just mean that it will defintely not tip unless the entire wall does. Have the legs drop down make total sense, however with the design I have I cant think of a nice way to integrate this into the cabinet as is.
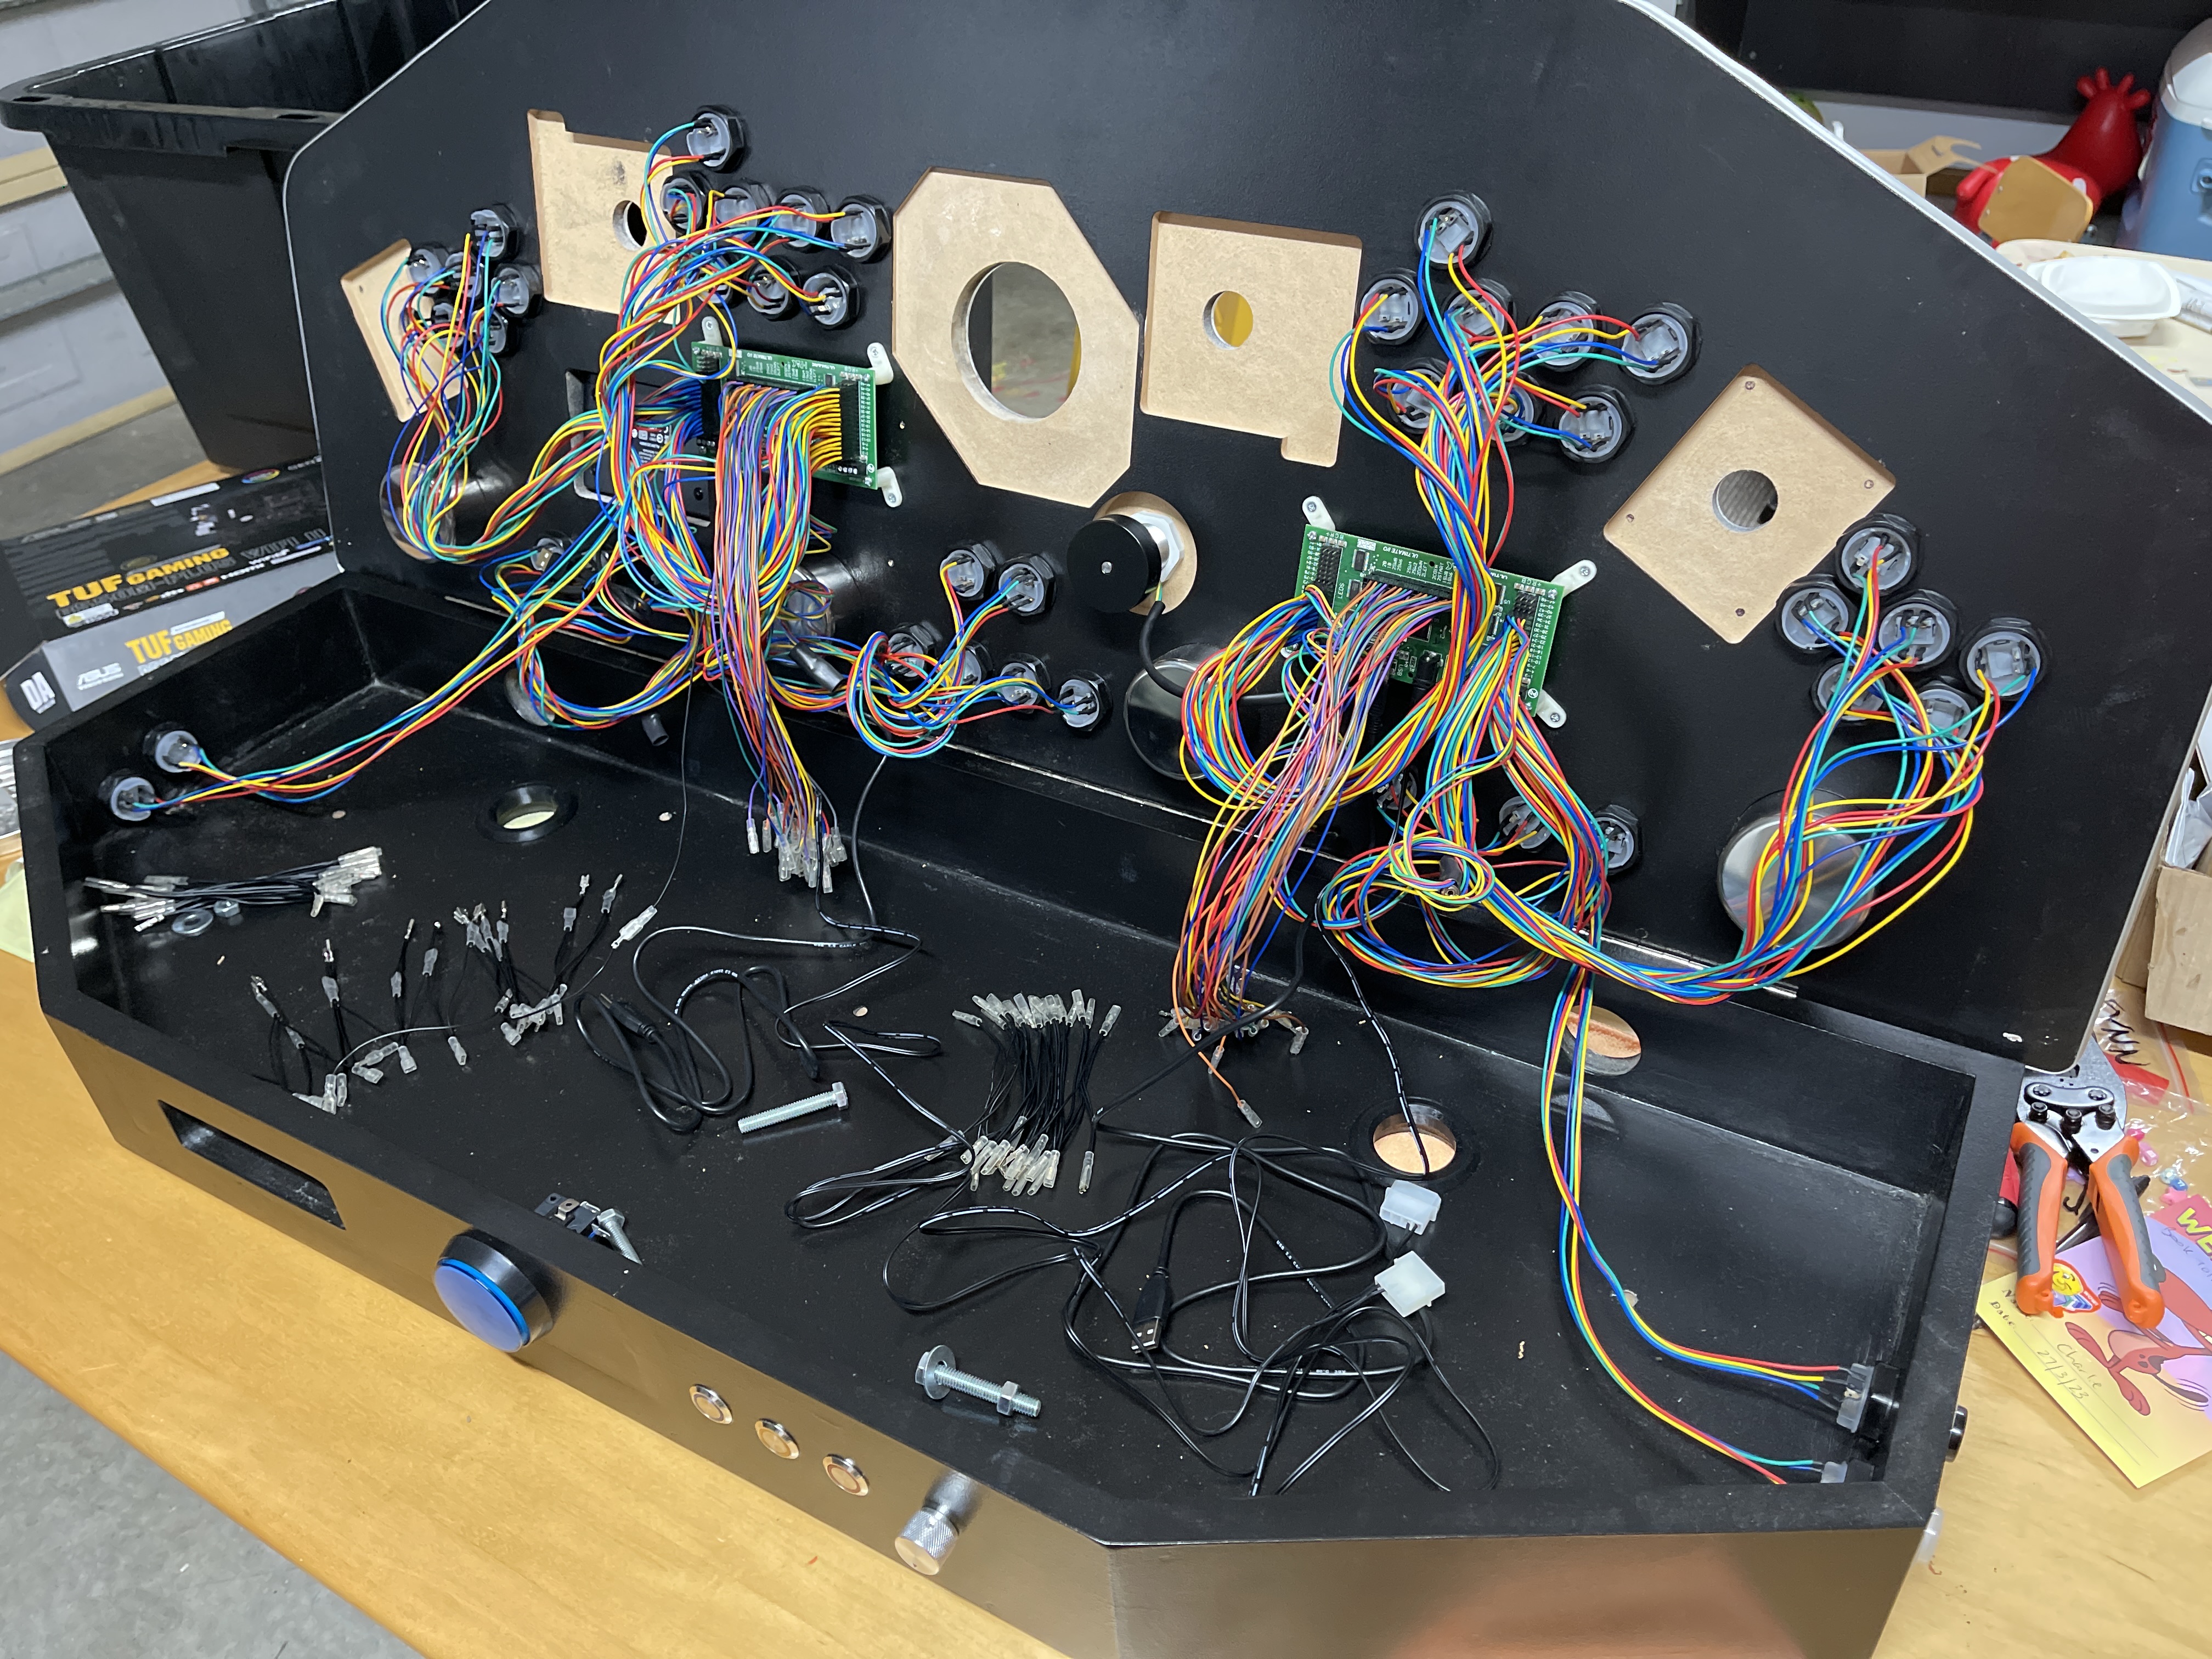
Thanks guys! Yeah, wiring is next which I quite enjoy although I do eed to work on my cable management. I am using all Ultimarc gear for this which I highly recommend. The products are a bit more expensive but they feel and sound nice when used, and keeping everything in the one family with the control boards and the like just makes everything simple.
At this point I am waiting for some small wood inserts to mount the joysticks with, hopefully these will come in the next week or two so I can chuck the roller ball and joysticks in the controller and then finalise the wiring and build.
The actual gaming computer is also built with a bunch of games installed. I’m running Launchbox and Bigbox - which I also highly recommend. The ability to import a rom and all the marquee art and videos etc are downloaded and organised automatically is just beautiful. Hyperspin gives more control, however from what I have read the setup time is considerably higher.
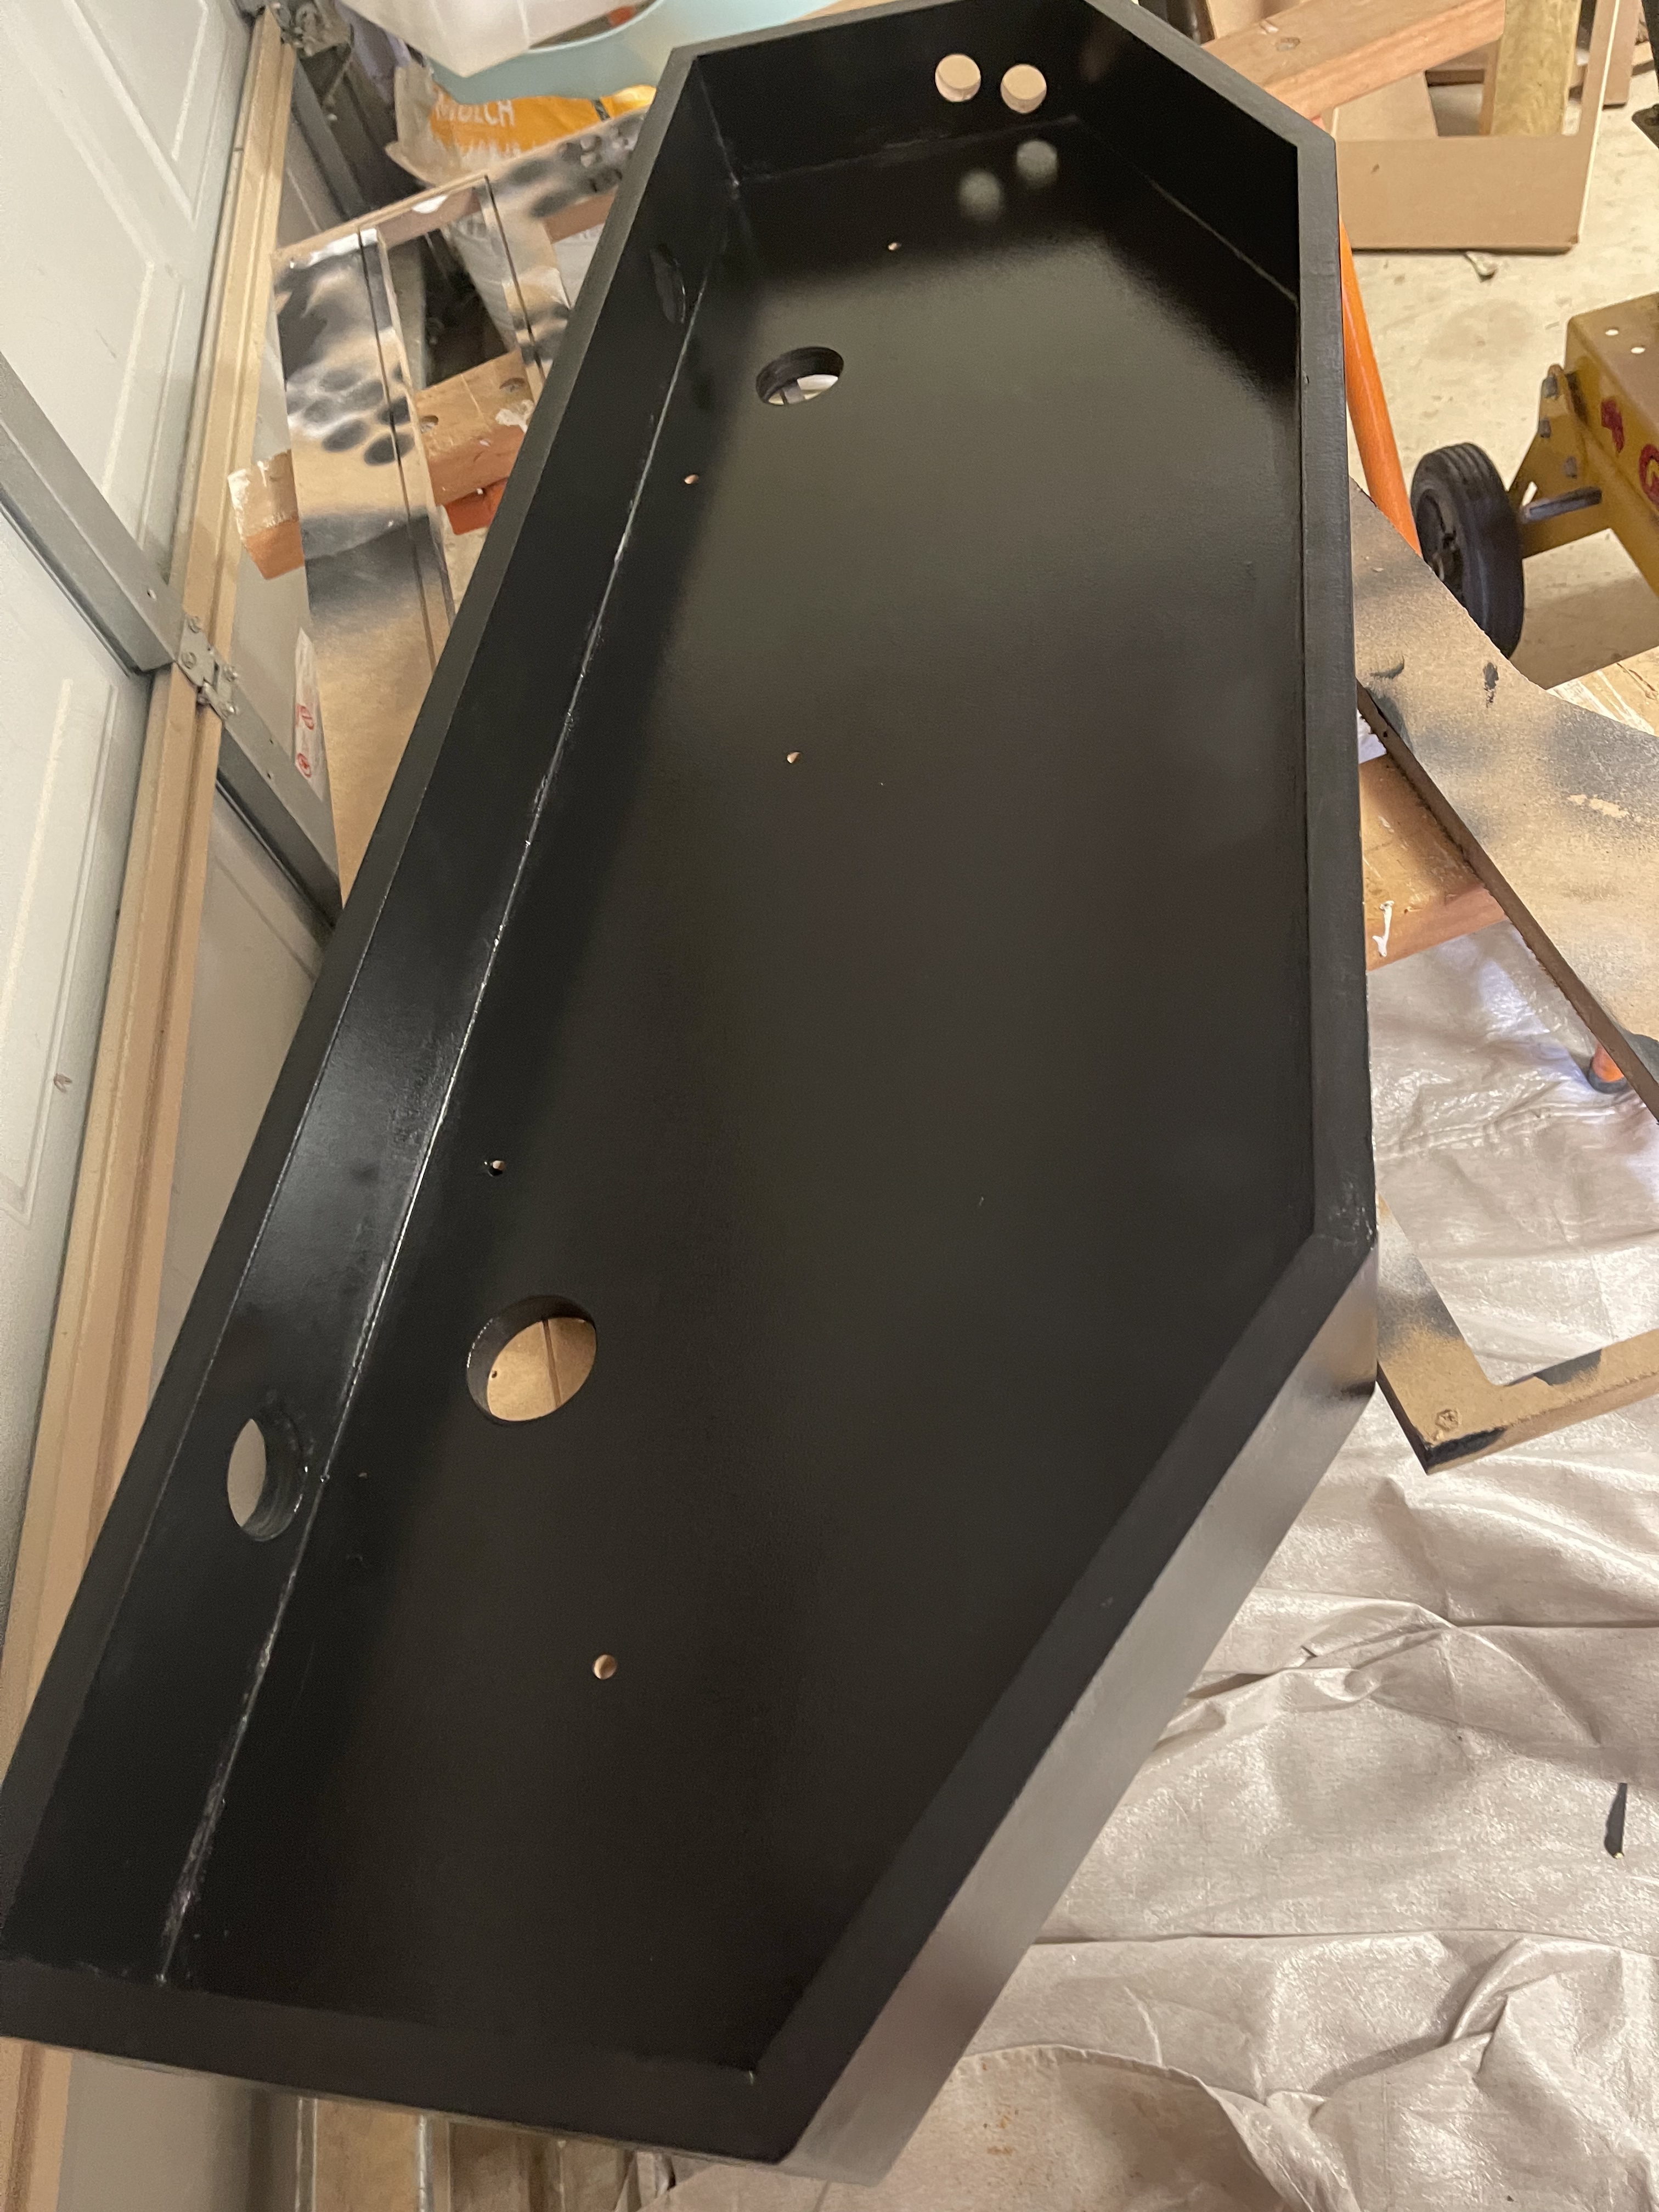
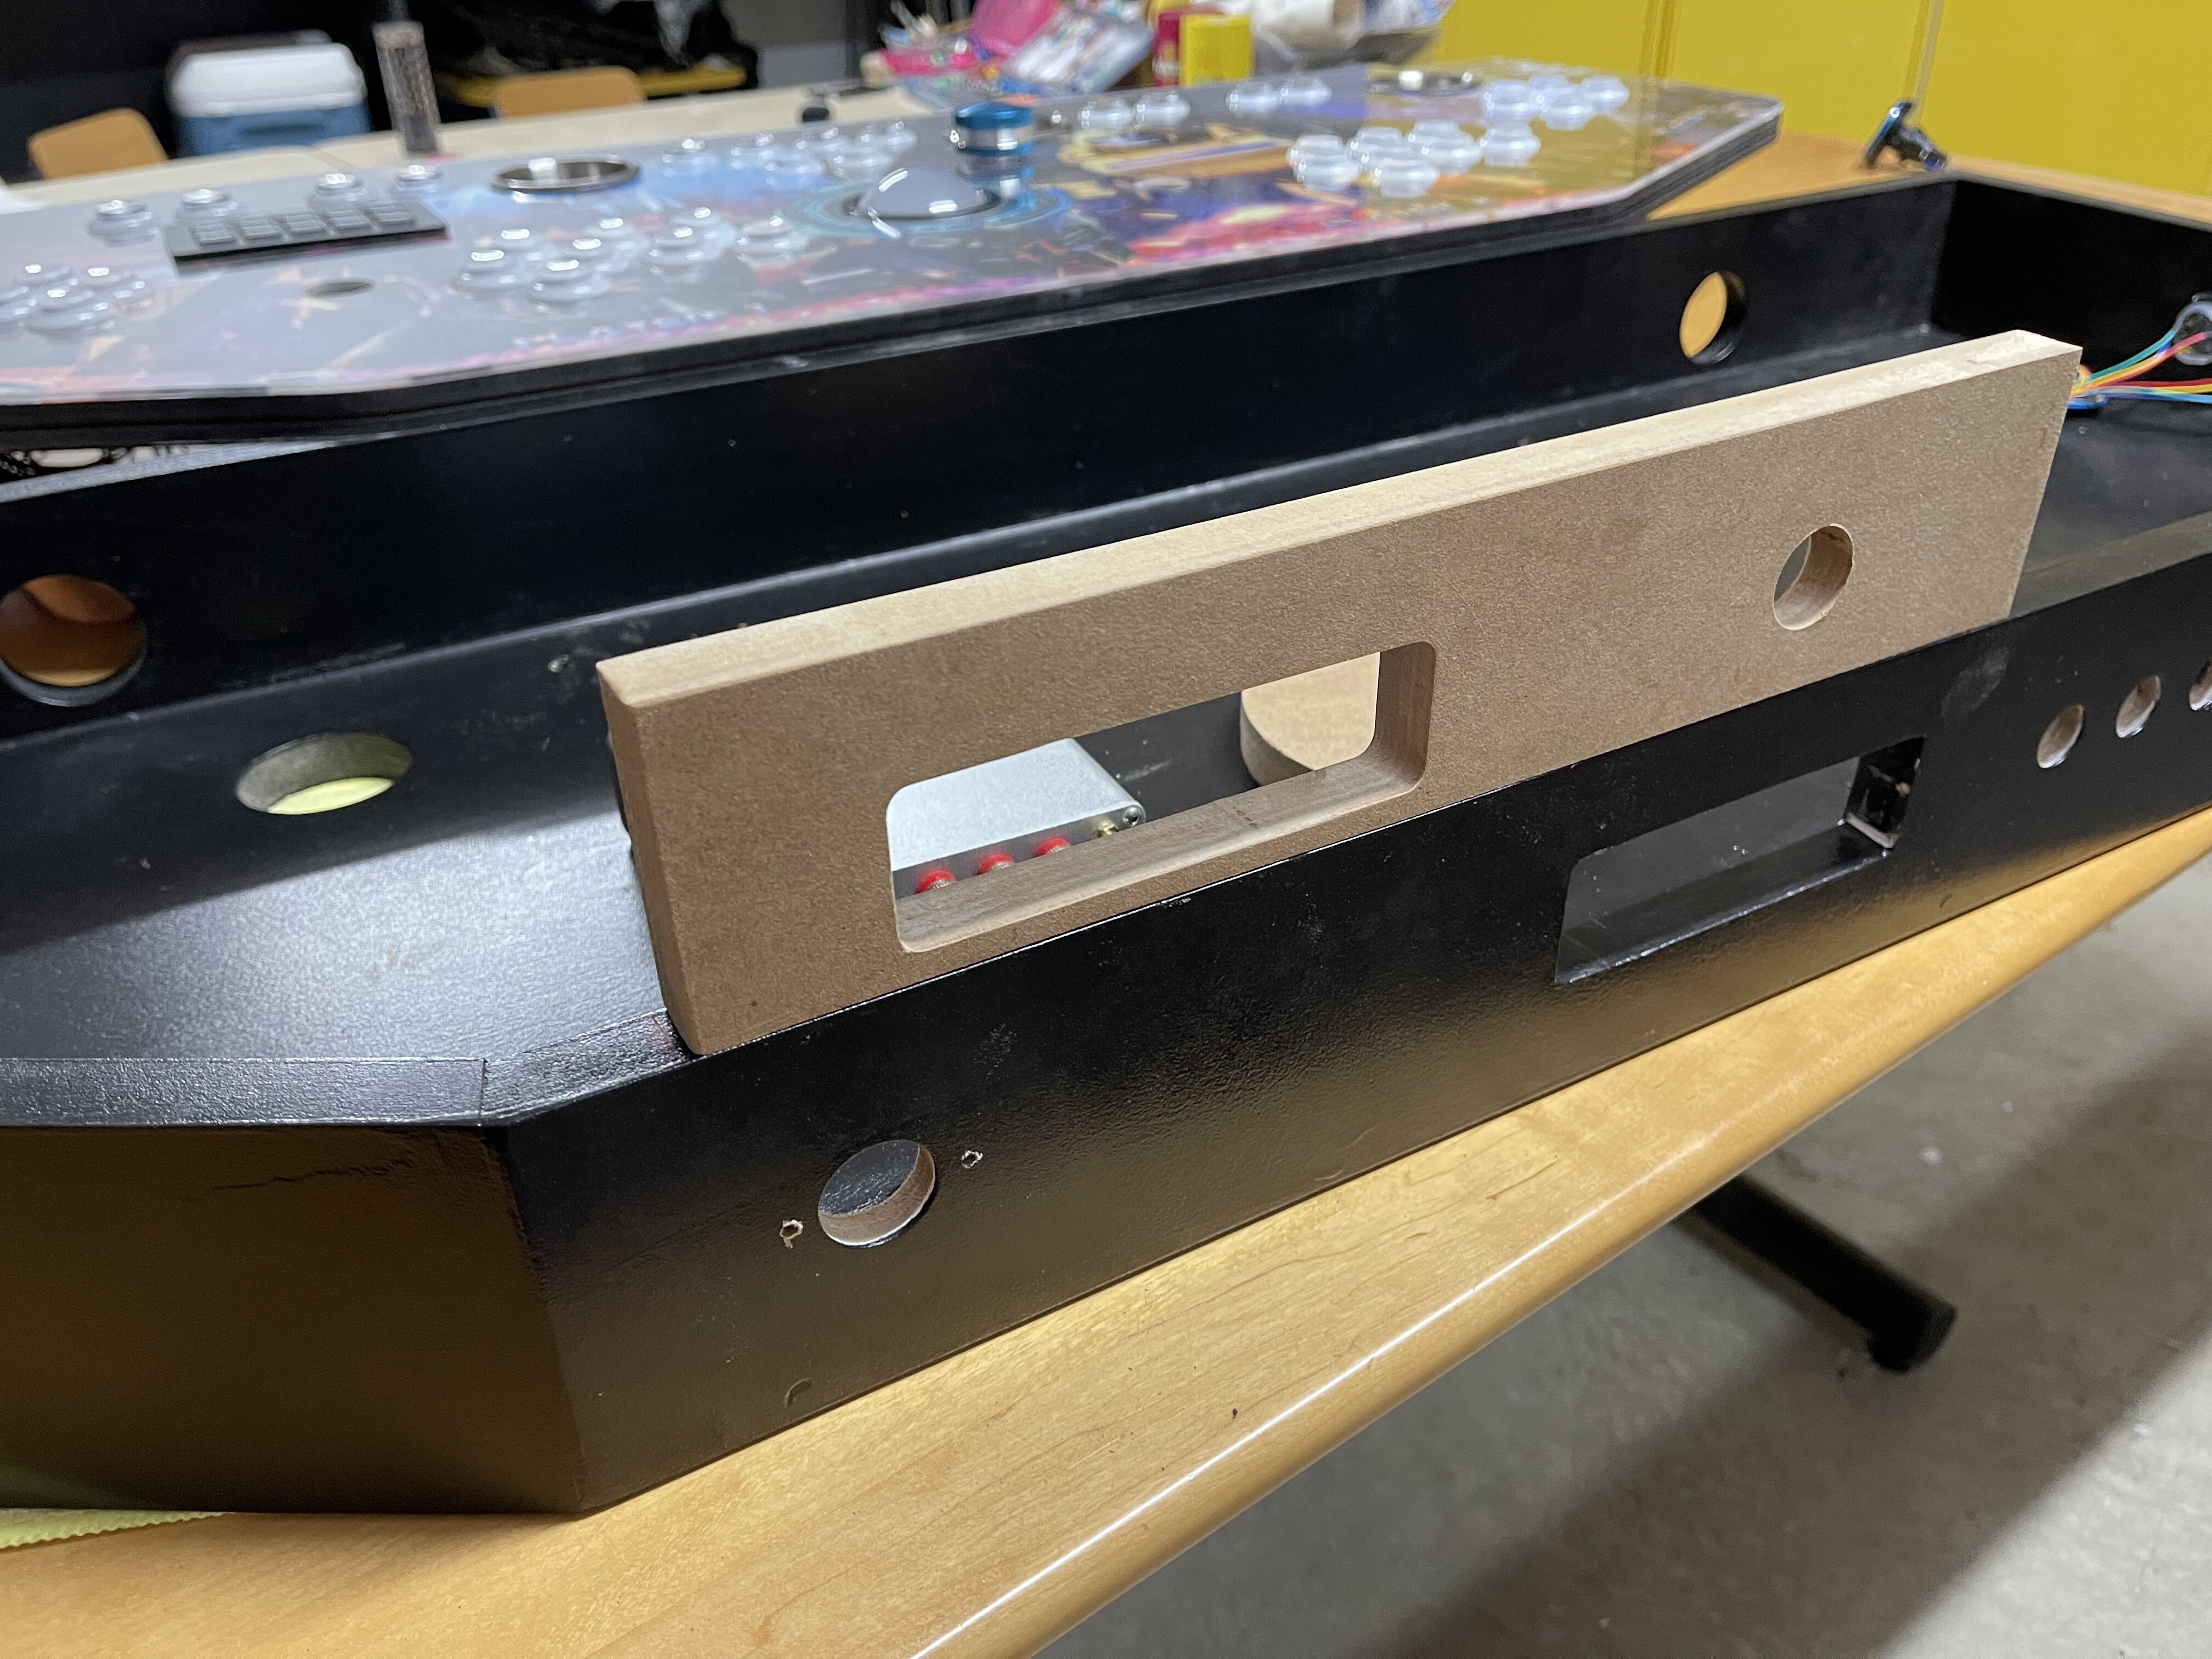
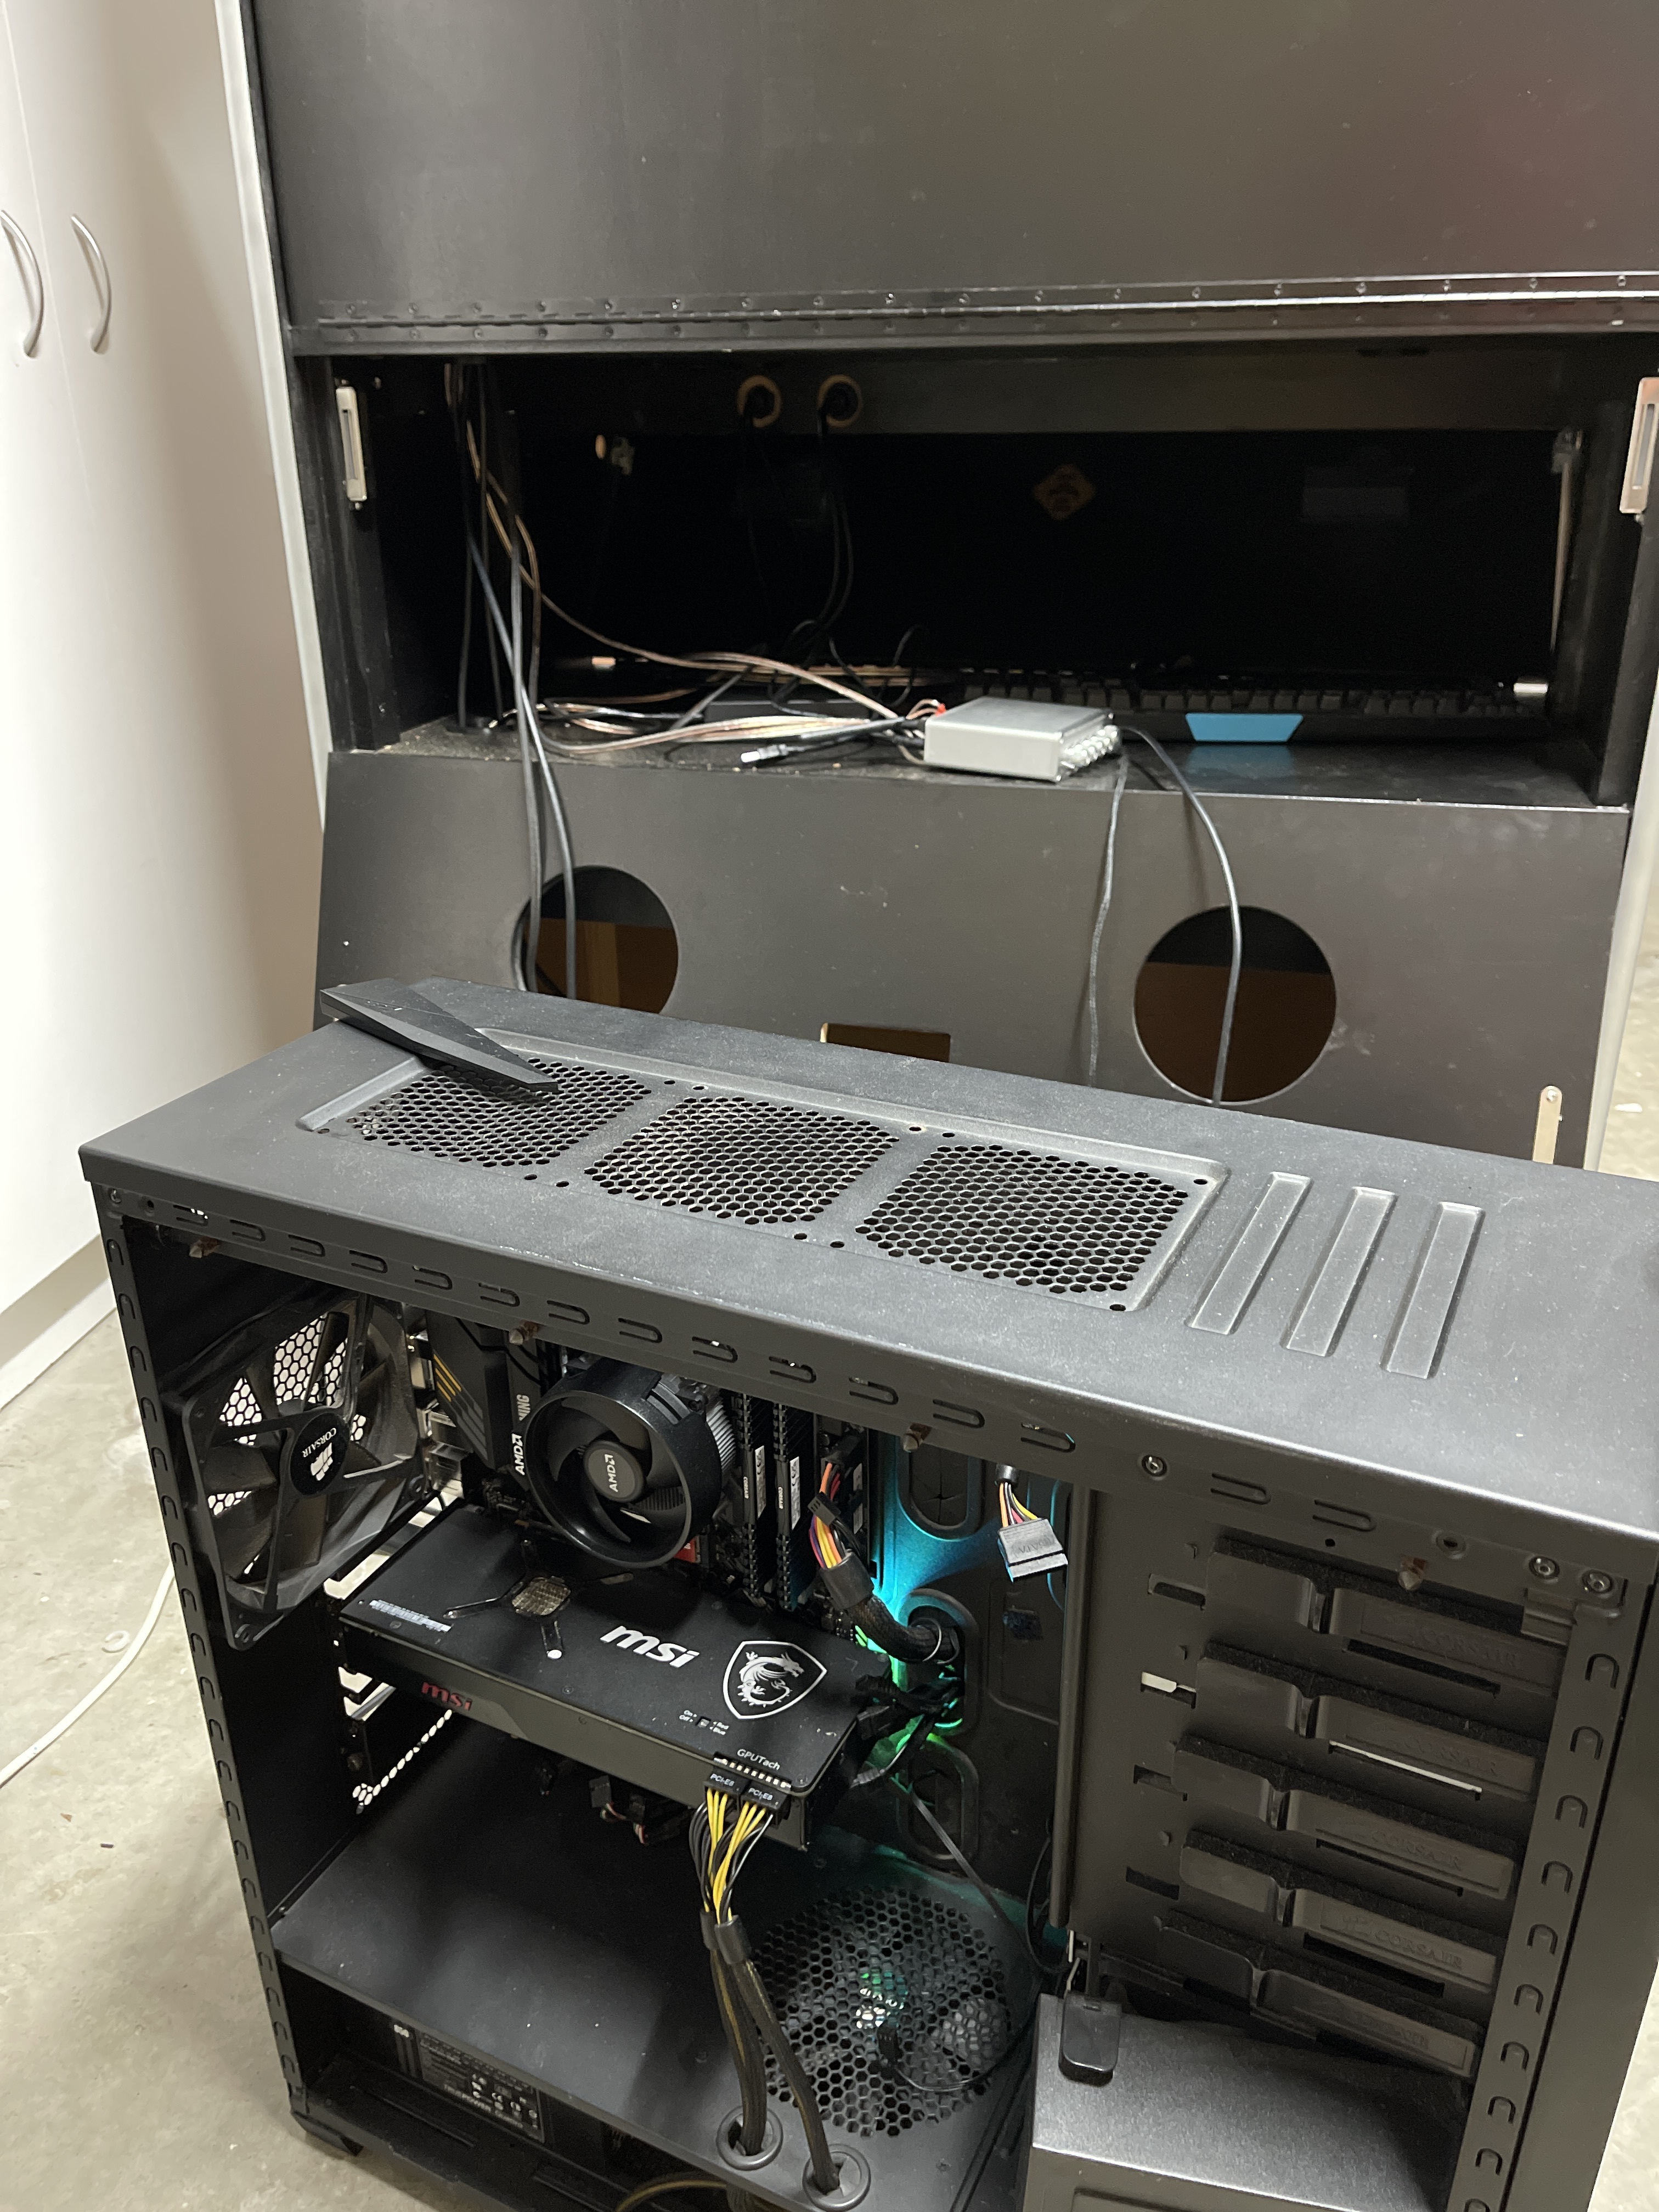
My next challenge however is mounting the pc in the arcade itself. Unfortunately all the cases I have found won’t fit and so I’m going to mount directly to the cabinet. My though here is to use longer than normal motherboard risers (30mm) and then have the holes drilled in the wood. Then have the risers pushed snugly into these holes. This will give it enough stability and also make taking it out in the future a simple task.
My only concern is that the graphics card will be vertically Valenciennes on top of the card, so was thinking I could design and print something to attach the card to that sits next to the mobo and screws into the wood. Yet to figure this out though!
After that long story about the mobo attaching to the wood. I did another search, and actually this will fit with a 15mm clearance on top which is nice…
My graphics card (Vega 56) is too long but may be able to do some modifying of the case to fit. I also like that all the panels can be removed which will be how I would end up mounting it in the box! Very exciting for $69aud
I looked at those among several other options, but ultimately settled on Batocera for my OS. Basically it is a specialized linux distro primarily aimed at running EmulationStation.
I have another PC set up that will have the GRS flight yoke for Star Wars arcade, as well as Spy Hunter and some other driving/flying games. Ill just need to make sure that I have a shift lever set up for it.
Edit: oh and I have CAD for making a PC case with the CNC from wood. I did a full sized ATX case for the Ikea KALLAX shelving, one for my NAS server and of course my small gaming PC.
I could help with that if you like, or you can just grab the same source .step file I used from GrabCad.