Thank you!
I do get it know. Just cutting the holes would make life easier indeed!
But maybe I should just run the regular strut in mdf first to fix my issue and upgrade afterwards. That would make sense (and give me a reason to change some other parts like shorter screws, shorten my cables a bit more,…).
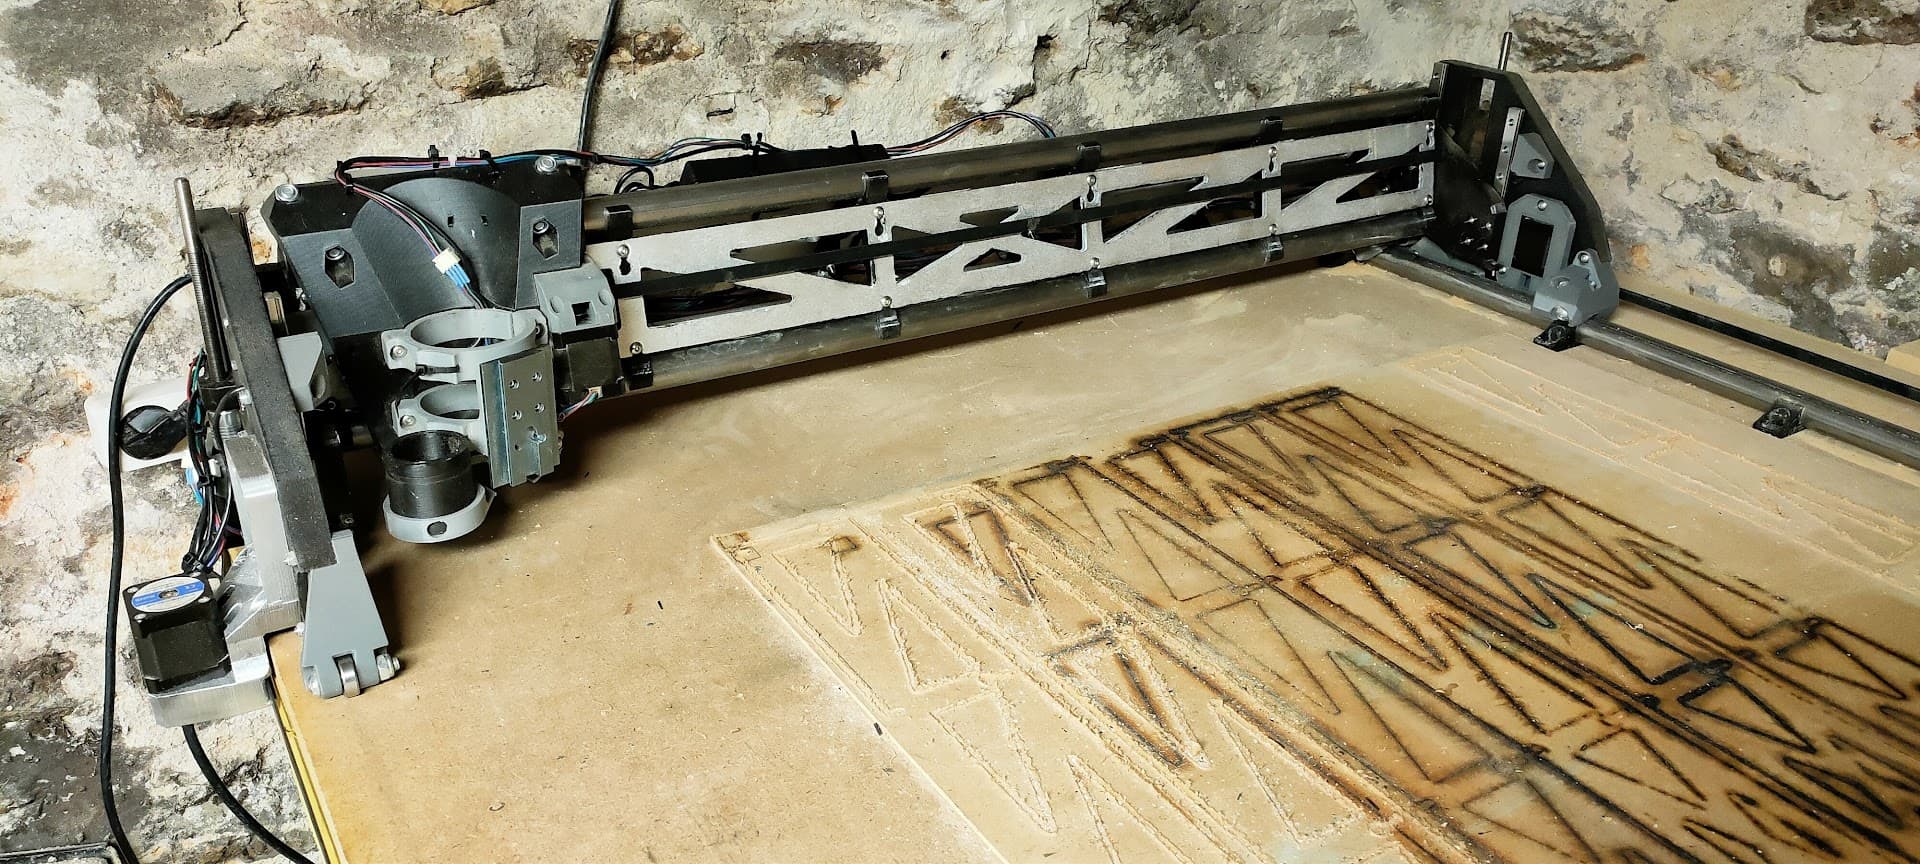
The color scheme on the machine is nice. It’s making cnc looking cool!
LR3 is a decent and much more mature one compared to LR2. Like it.
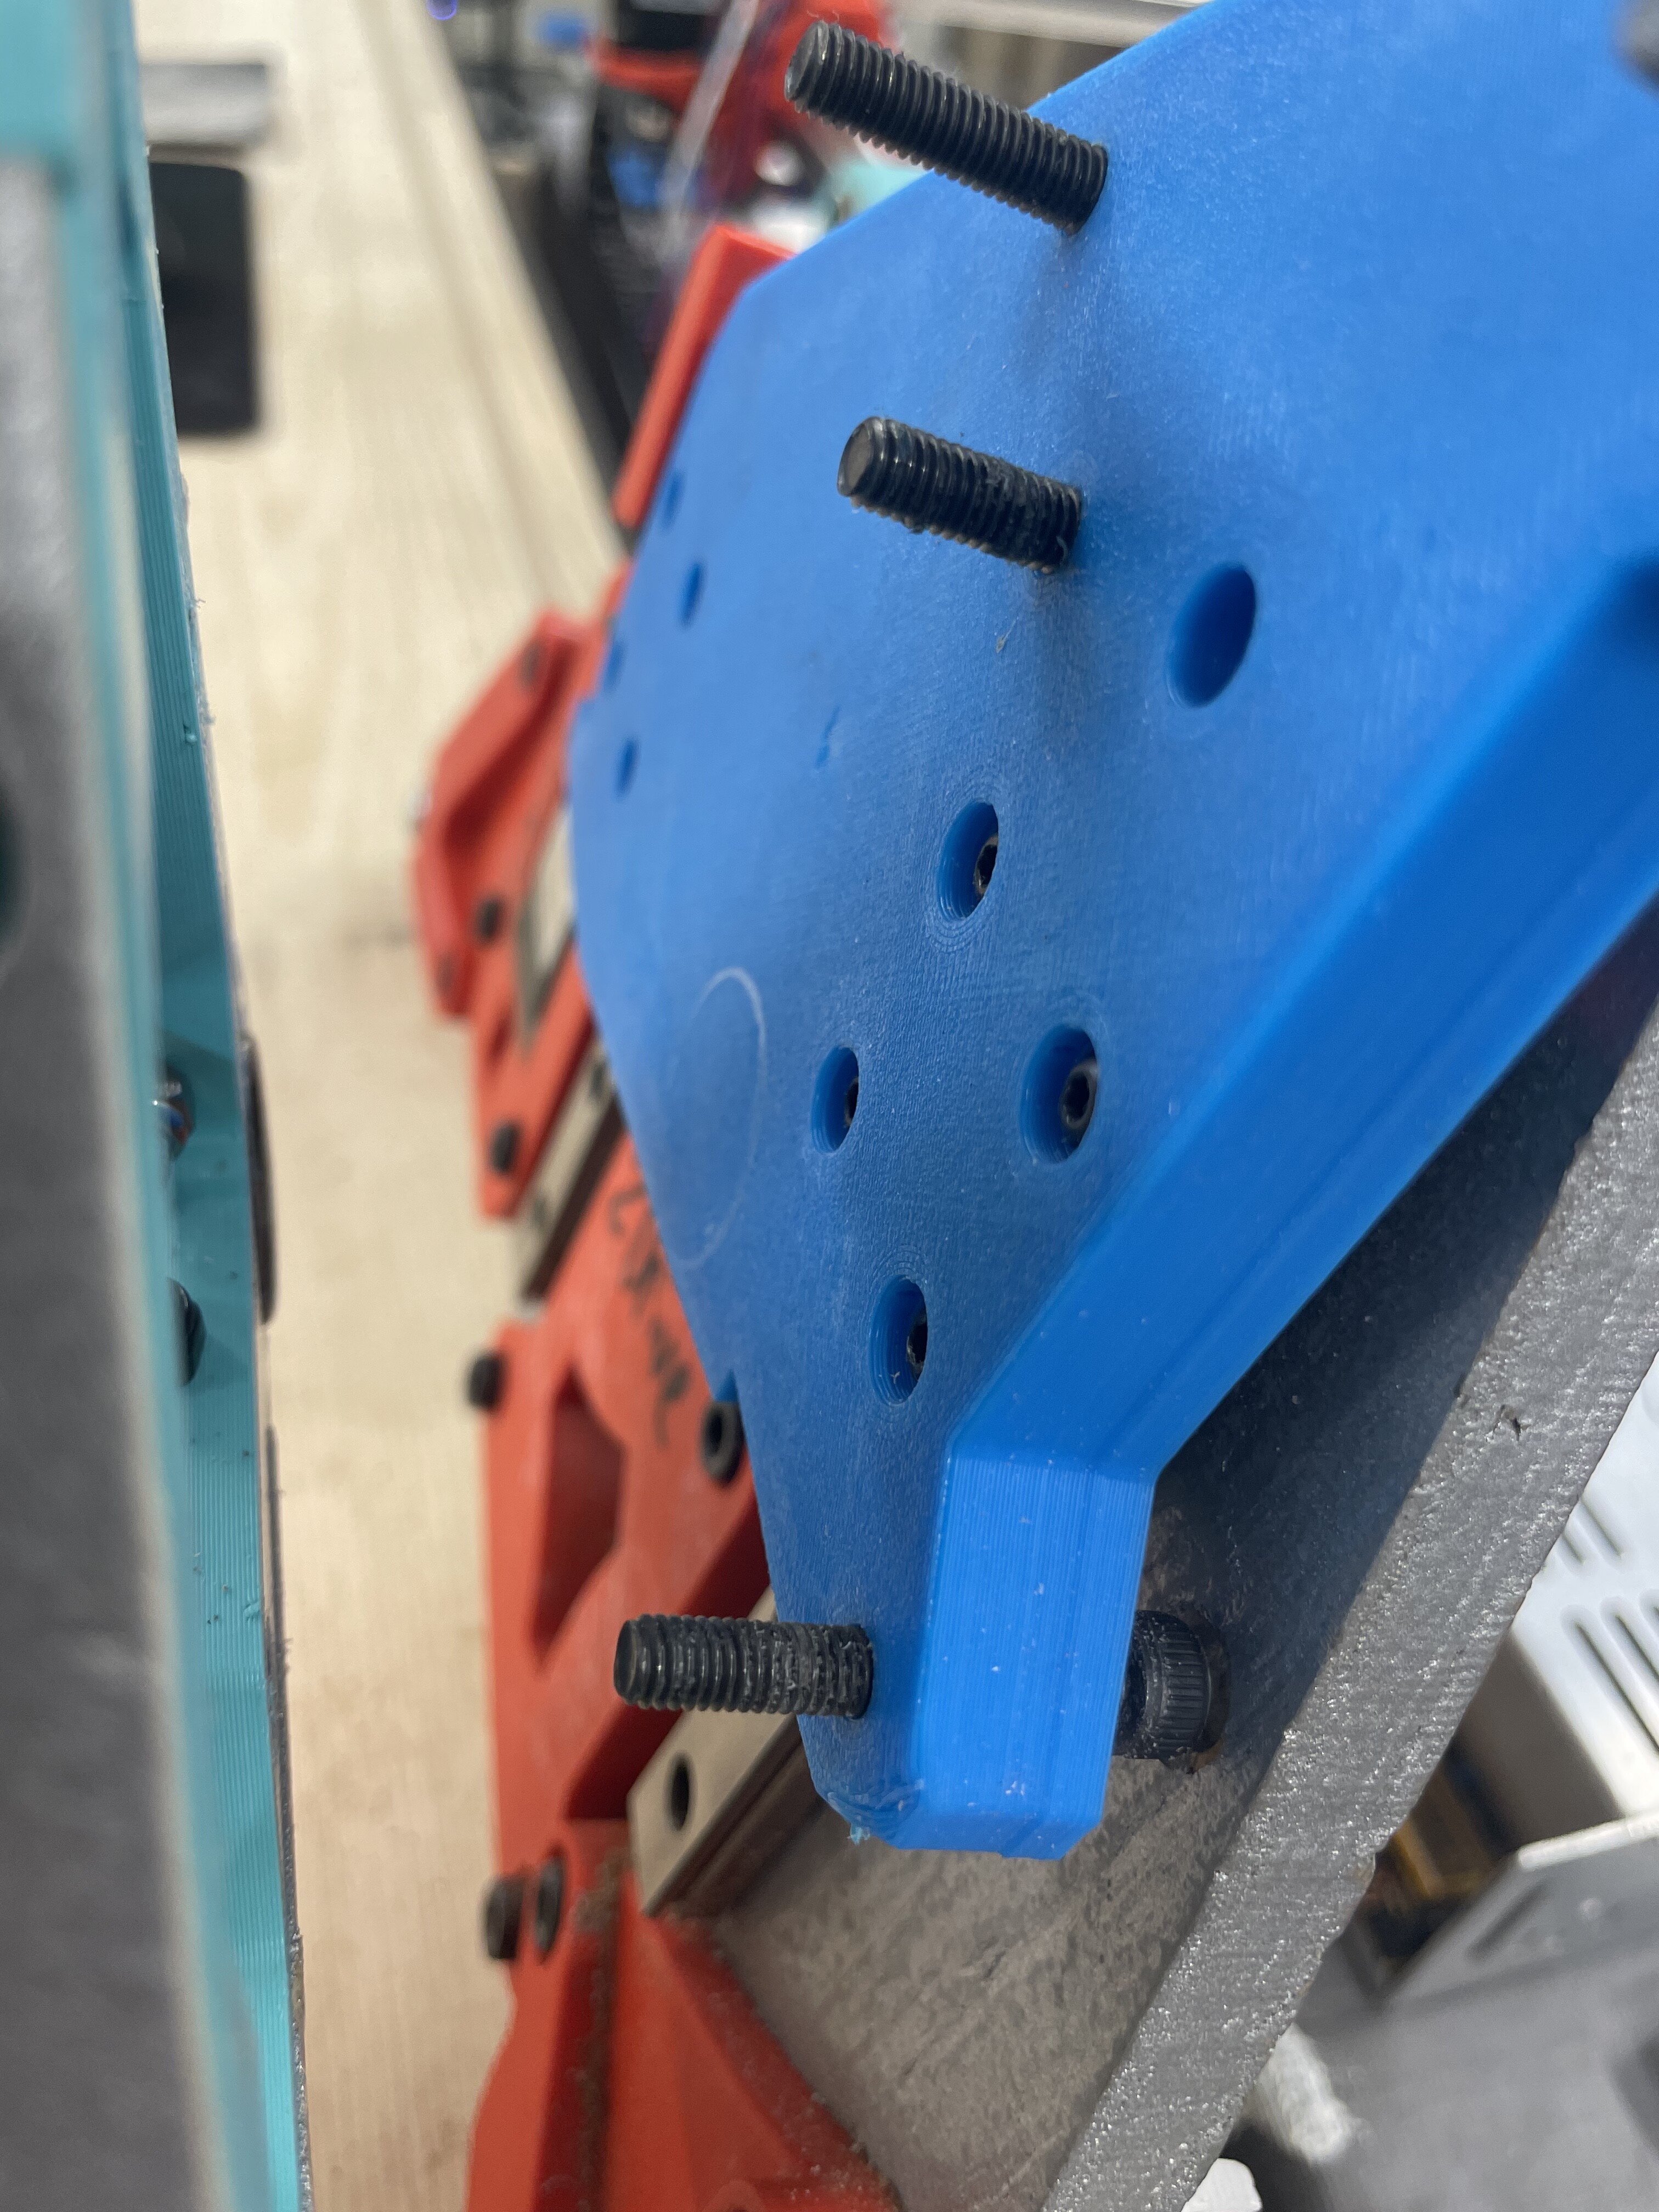
Since I cracked my core a bit during initial install I thought it would be good idea to reprint one, and fix the rattling sound too.
So I concluded that the rattling sound wasn’t caused due improper tightening as mentioned in the wiki. The bearings themselves were poor quality although being brand new. Installed the old bearings from my LR2 (on the new core) and that issue was solved.
However when printing the new core my 3D printer nozzle got clogged (or how do you say that), so had to put all my prints on hold. I even could not rebuild my lr3 in the meanwhile… since I over tightened my braces and they all got cracked. Bummer. Never should have used a power tool
Anyways new nozzles arrived and I printed my parts. Grinded away some mm’s from the tube as mentioned by @vicious1 and mounted everything per instructions. Added some o-rings to avoid issues with my new struts I’ve cut.
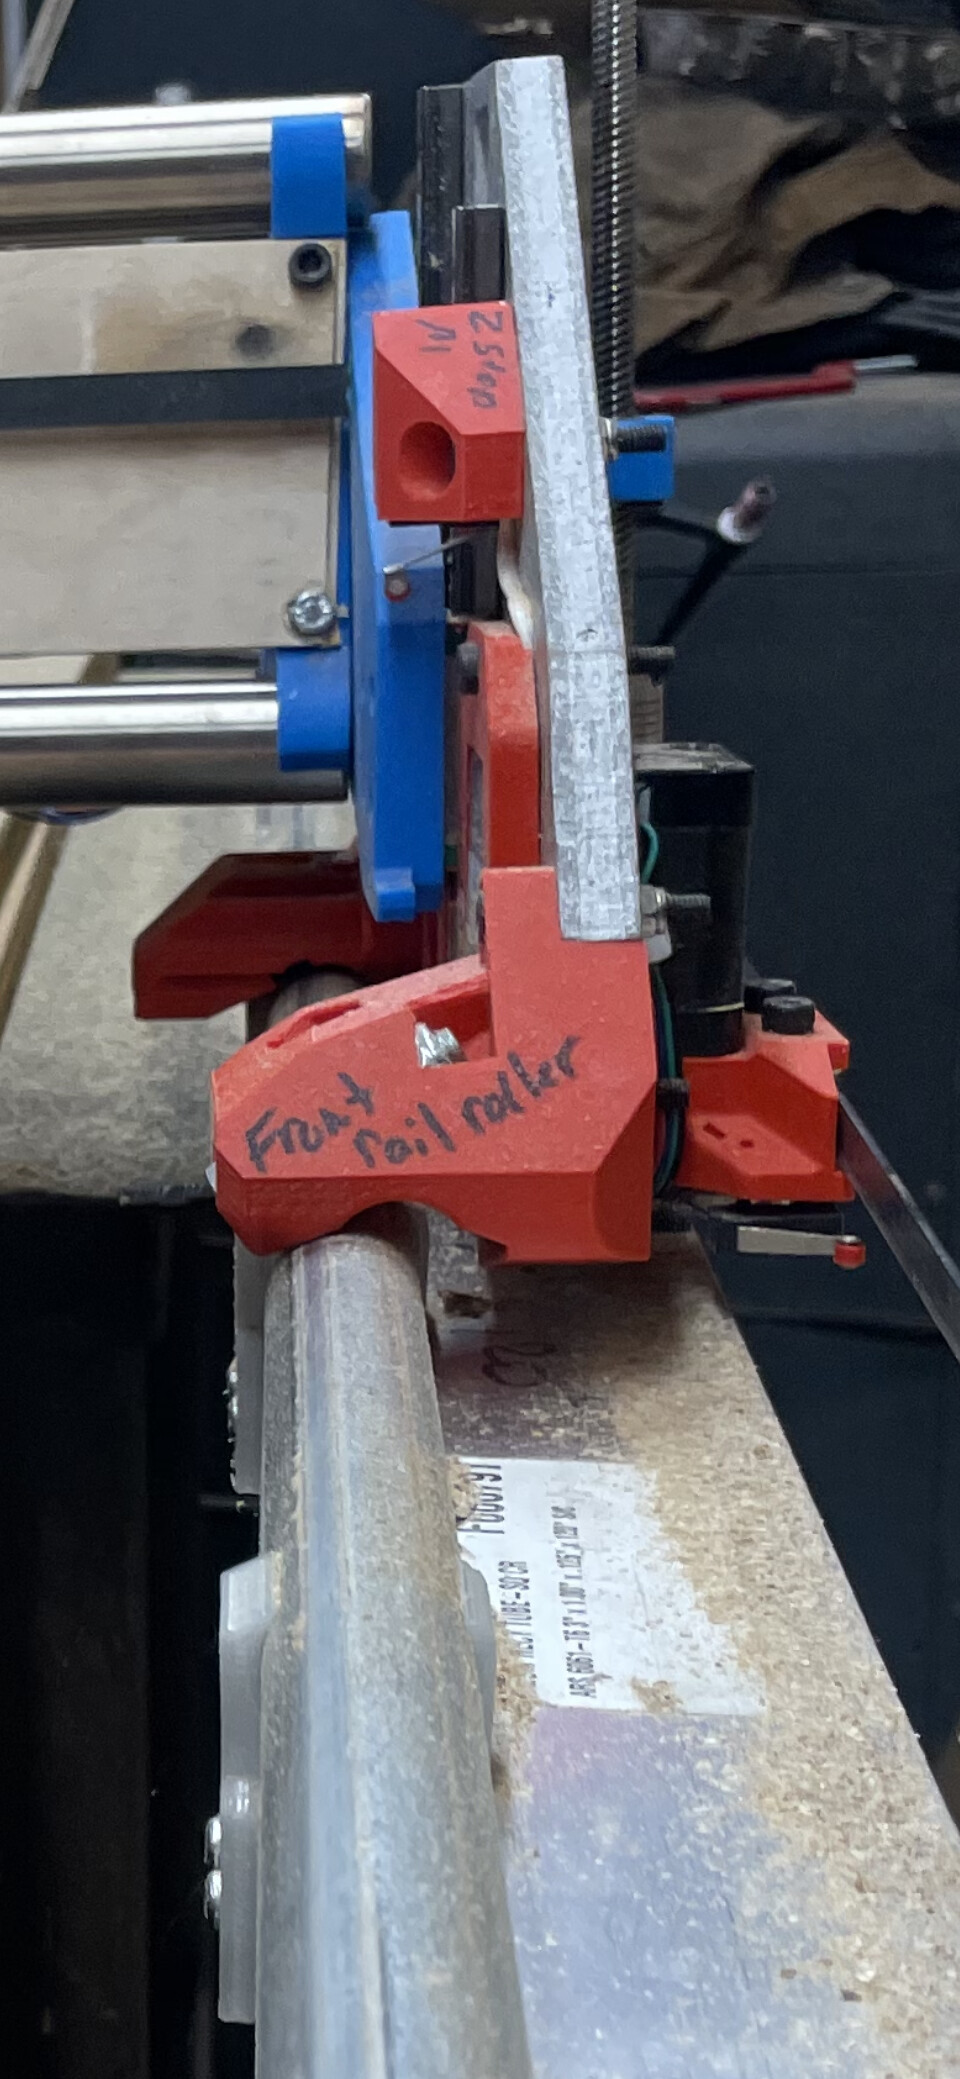
But… when I was done, the exact same issue occurs. On the rail, the sensor side, it lifts up when traveling. Only one bearing touches the rail.
The only thing I can imagine to be the cause, is that my endstops need to be tweaked. I believe a few mm’s difference might cause the gantry to be tilted a bit.
Yeah, it does make a difference. I also had to readjust my rail where the roller is on. I just loosened them all up and let it drive up and down and made adjustments to it.
Thanks for the suggestion, the rail is perfectly straight but it won’t hurt to try it. So I’ll do that soon.
In the meanwhile I re-measured heel & toe, and see a difference of 1mm, so that’s already close. I do notice that the bottom rail side doesn’t fully lays flat wit the sidings although the rest is flat due to the 3 screws (it’s no the tube’s fault as they lay 1-2mm to the inside now). Thinking to loosen up the outer screw on the struts, tighten the whole with a belt and refit the screws while doing this.
Start to wonder if I am chasing a minor issue though
Just to be clear, the core or the rail side YZ plate?
If it is the YZ plate physically twist your machine the right way, the beam will twist and it will sit fine. Jeffeb3 had a vid of doing that at some point.
If it is the core balance the two tension bolts, test by manually turning the top bearings and feeling the resistance…
Any suggestion how to do this?
I always pull it of the rail to do so, but now I am thinking to raise z and then loosen the screws so it stays in position ?
I think I figured out my misalignment for my lr3.
The lower tube was about 2mm too long and was protruding and not letting the plates sit flat and happy. Idk if this is your issue but I did snap a pic of it. I just filed the tube down and will try it.
Thanks for the feedback Travis.
The mark is indeed clearly visible:)
My tubes had been cut to the exact size as given by the calculator, so it should not be the reason for this. But just to be sure I removed few mm’s and now on both sides it’s 1 or 1,5mm clear of the sides.
I will loosen up the screws on the outer sides once more, while Z is lifted, and see what it gives.if that doesn’t help I’ll loosen them all again.
I took the short route and loosened the outer screws.
Aligned the toe & front to be the same and tightened them one by one, and after each pair of screw/nuts I remeasured to be sure…
So now heel & toe are exactly the same size.
I did this in the middle of the table, and moving forward & backwards I did not see any lift of the rollers… but once I homed Y it started to lift again.
I got the standard V1 belt holder mounted at this time. So I suspect the pull of the belt causes an inaccurate end stop position during homing. Going to install the solid ones now to see what happens then.
Strangely doing a squareness test it looks to be fine. Maybe I should use a finer pen to be more precise.
I initially thought it was the YZ plates that were not straight, so I re-cut them, dissasembled everything and re-assembled the machine, making sure the tubes did not extend past the braces
Still, after re-mounting everything I still had the same issue… pretty bad of-rail front rollers…
Measuring heel and toes, I get a 3mm difference over 1.10m
I just re-disassembled the whole machine once again and took the struts out, re-mounting the temporary ones
This time, no more front roller running out…
My guess is that the struts I cut were not square…
Flip one upside down and see if they still match. I bet they don’t. If all 3 were cut out of square they will line up great the same direction but when you flip one they will show the out of square.
Yes correct. That’s what I did. I had them cut a while back but forgot how I placed them in storage. So I checked it out hoping to find an indication what was front, but they were good in all directions.
Today I had 10 minutes time to replace the original belt holders with the solid ones. I measured them based on my table edge and there was less than 1 mm difference.
On first travel after homing I noticed the lift was already better.
So I played a bit with the endstop offset (in the logical way that I increased opposite side of the lifted bearing). Afterwards the lift was completely gone for 98% of the whole Y travel direction. 2% had a minor lift less than a hair thick.
Am going to recheck my squareness in the coming days to get a better understanding of the situation.
So, checking the struts squareness is definitely a wise step…
If the machine doen’t lift from the rail once the struts are removed , there is your problem ^^"
After setting the offset (so the bearing touches the rail) I ran the squareness test once more. Obviously it was not square anymore so reverted settings to get it back to <0.5mm error margin on a 2000mm length.
Hope to find some time coming week to loosen up all screws on the struts. Will then try to run the whole Y length so it touches, and tighten again.
If that doesn’t help I will leave it as is, with the idea it is either the 3d print or the aly side that’s not perfectly flat.