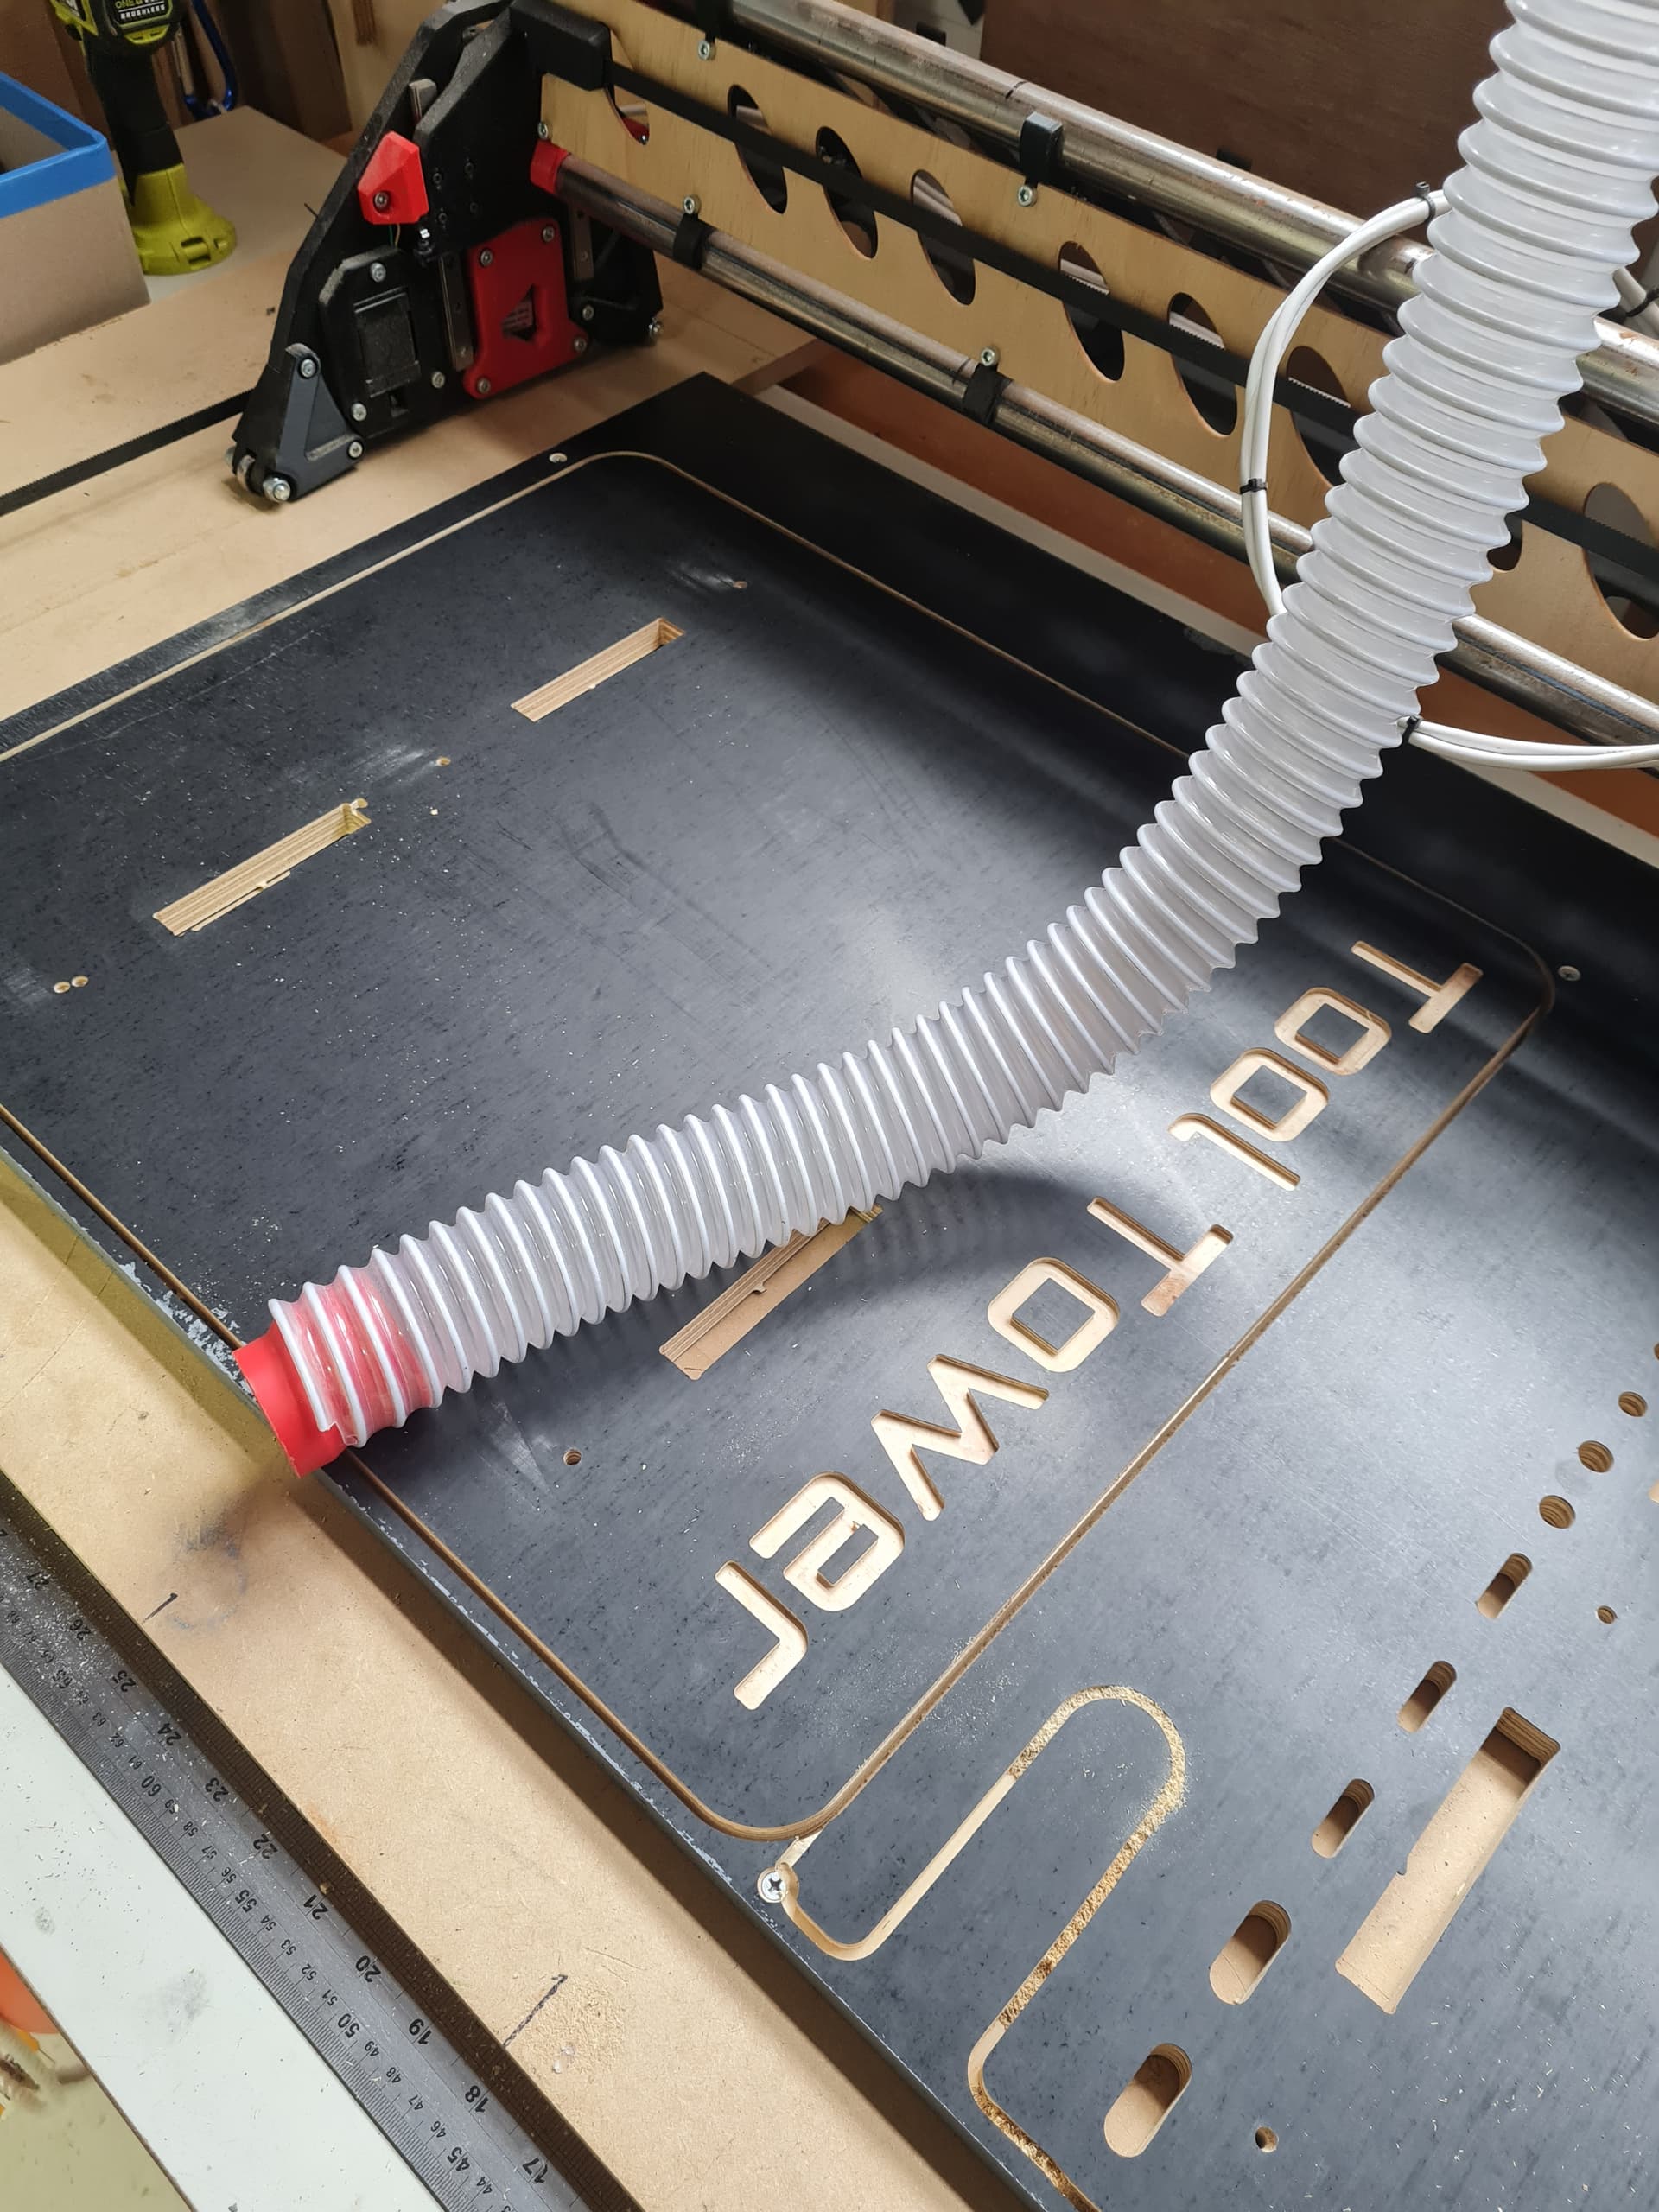
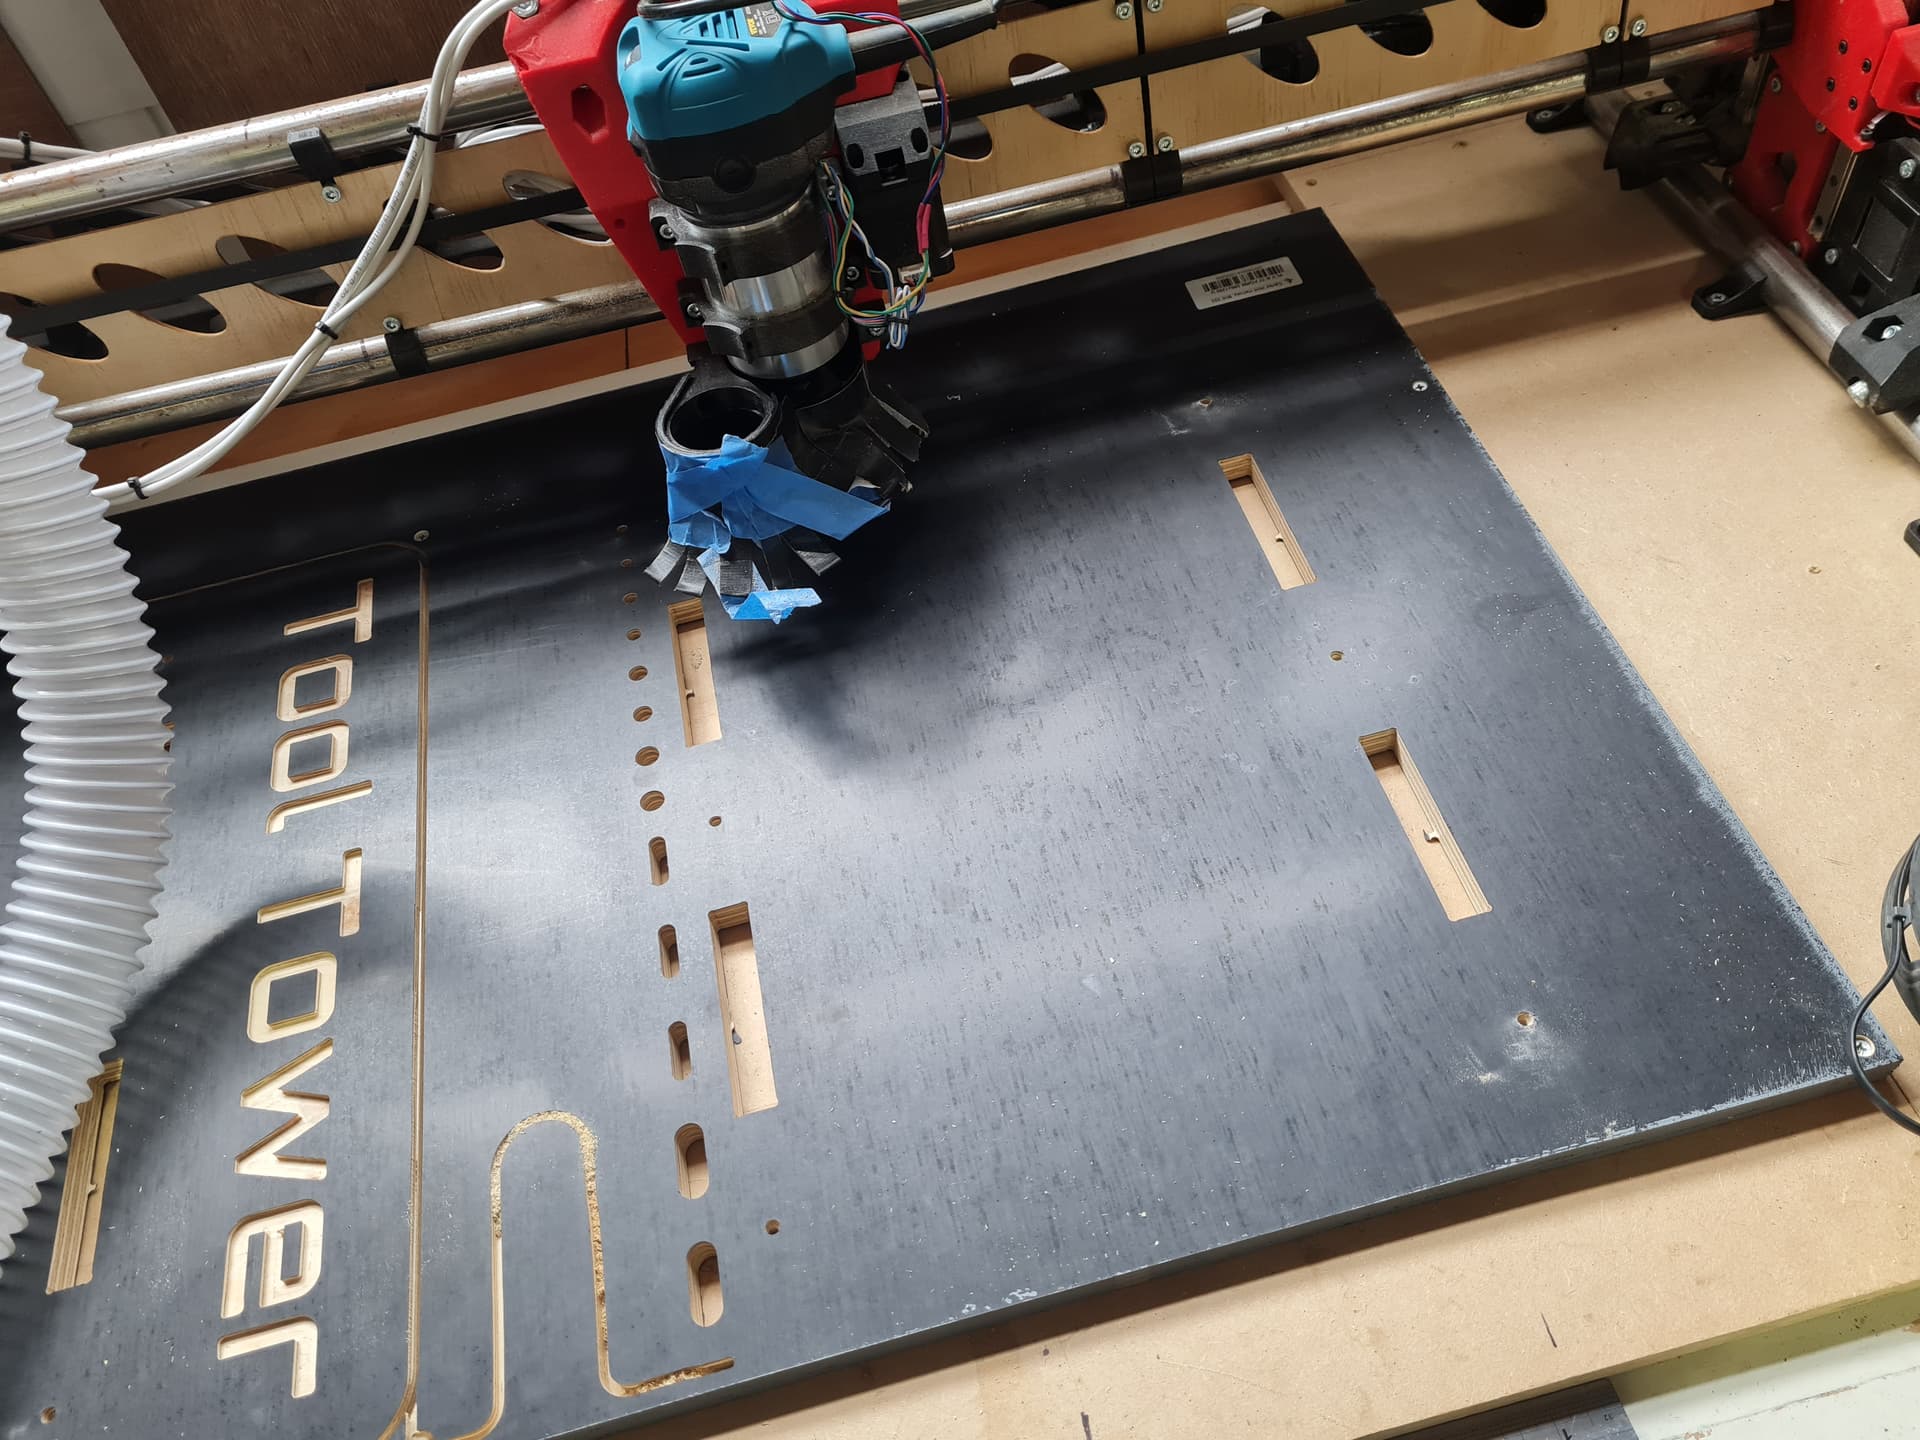
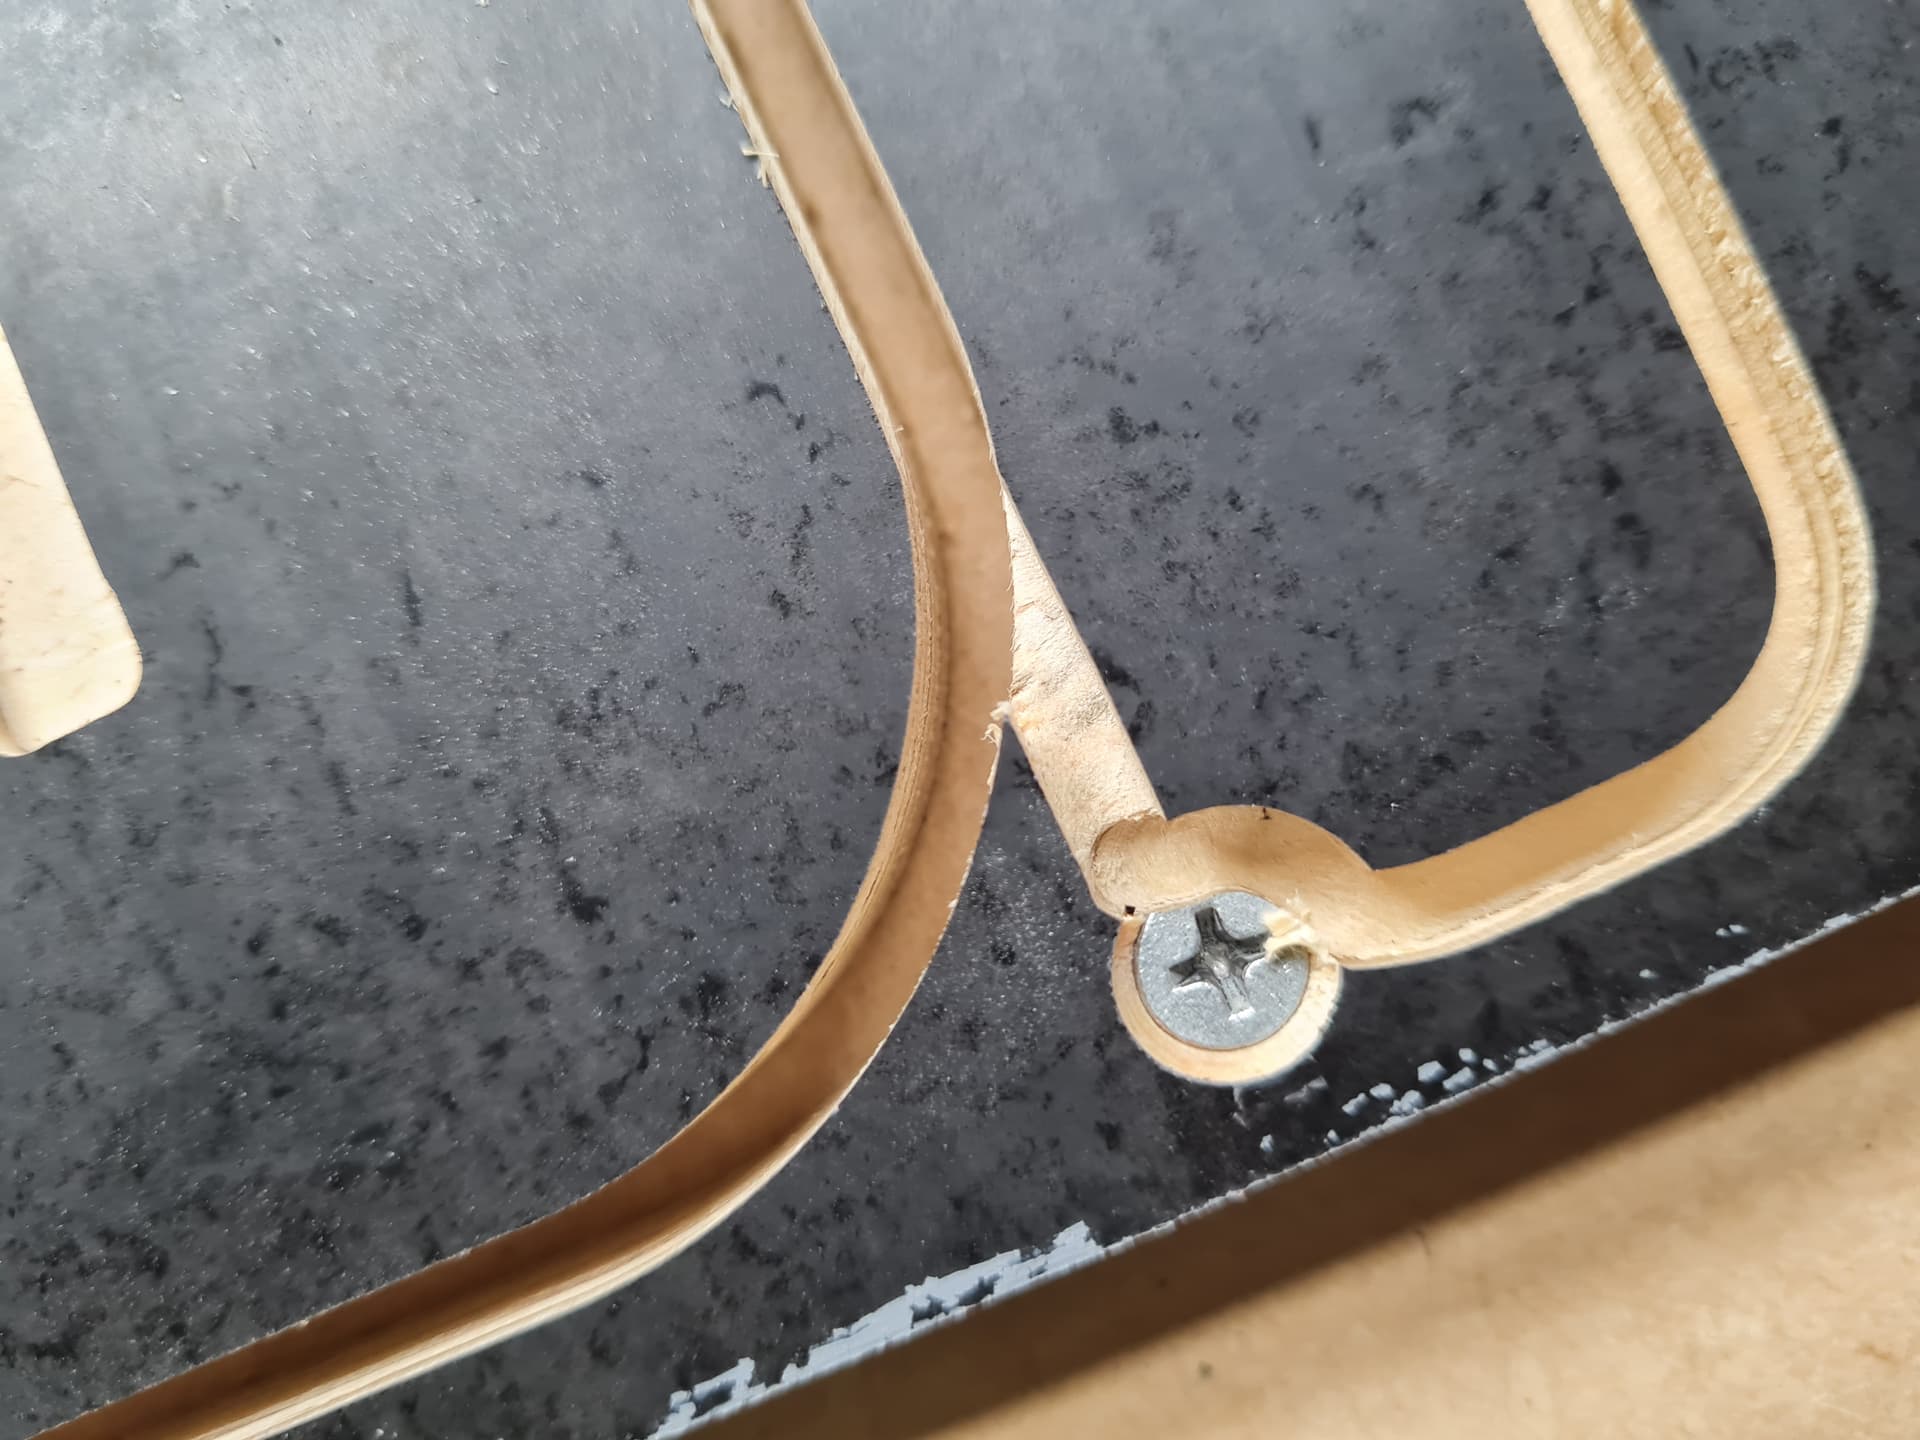
I am thinking that will be the last major project for this boat.
That was enough, hours of a 6’2" guy cramped up is stupid positions with an angle grinder.
Or as i call it, Boat yoga with a spinny wheel of death. (and i have a grinding wheel cut just above my knee to prove it)
But seriously, I am glad its done, i still have to install that wheel and that is an easy job compared to that bloody thruster.
Here are the next projects.
Time is limited so i just brought them of ETSY
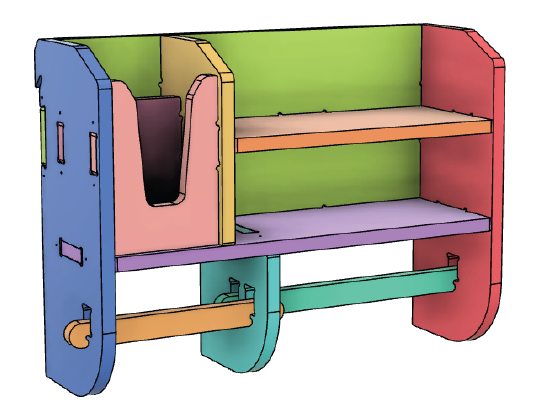
French cleat gloves and towle holder (i will probably get some different ones of these, to fill out the back of a small cabinet i have. The right of that picture above)
Our gearbox is not a gearbox, it’s a geared hydraulic pump which pumps fluid to a vane motor on the prop shaft. Reverse is just a change of valve config.
The cool thing about that is that you can just take off another line and set of valves and have a thruster which is main engine powered - we don’t have one, after you’ve been through a few thousand locks you get a feel for how to dock the boat! , but plenty on the canals do.
Yeah, I was close to doing it, as its really only three holes, pretty big ones (something like 50- 80mm, with the inlet being bigger one clearly, I cant remember the actual sizes) but really it is just three holes.
It was going to be a bit harder in my boat as its steel, and I would have had to weld some tubes in (so that they are right angles to the centre line of the boat) so that meant that I would have had to get the welder in anyways.
The advantage is the outlets can be much further forward and closer to the water line, so giving the thruster much more effect the further forward its outlets are. Add in that the “motor” can be put almost anywhere, there are some clear advantages for the system. Except its nearly double the cost of the “standard gearbox and blade” thruster. or was to me.
Also due to the design of my boat the “motor” of the Hydraulic version would have had to have been mounted in the Vberth (basically the same place as the “normal” version in the picture) piping would have been very hard as the pipe lengths would have been very short. Anything can be done, weld in some 90 deg or 45 deg fittings etc and you are golden, but again that is getting more added to the cost that was already quite high.
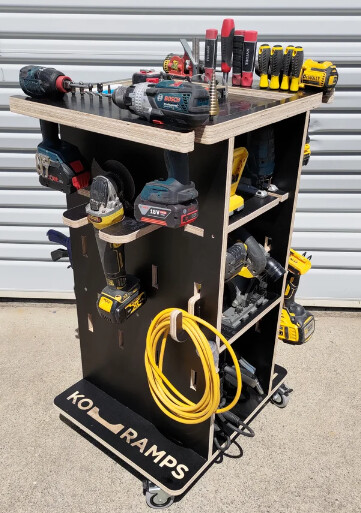
Honestly though, I was super happy with the performance of the LR3, the “tool tower” words came out really well, quite happy with the speed and depth of cut.
@RockinRiley was asking about the VEVOR router, and that was pretty good too. The only negative that i would say is that i cant really tell the difference between 1700 RPM and 2400 rpm or 1500 RPM to get the most out of my bits and speed.
I know there are speed controls out there for routers, but not really sure what works with LR3 hardware , but at the same time I am not sure that it matters that much with the amount i am cutting. Which is stuff all.
(lol i will wreck a bit quicker but doing something like above, far before the difference in rotation speed will burn it out.)
As for FrankenVAC, I am really happy with it now. its sucking like a $2… lollypop… and seems to not be letting any fine dust particles through. At least there is nothing covering my brothers toys after cutting now.
So i am going to class that as a win.
Next on the to do board for FrankenVAC is a better enclosure, some latches between the different sections and some sealing foam. But that really can wait. the thing has so much suction I doubt the little bit i am loosing around the MDF to metal joins will make much of a difference to me.
So I am going to close the file on FrankenVAC here.
My thoughts on using Whole home vac systems as HIGH PRESSURE dust removal, yep it works and works well.
You can use just the bags, but that will get expensive pretty quick. So using the swirl separators and a HEPA filter like i have will defiantly give you a great result .
Is it cheaper, probably not (although any whole home vac supplier does have these old barrels that they will give you for free. but the motors are more expensive)
Technically I have a 3hp unit, but I doubt it is actually that, so lets say 2hp and, and even in the EXPENSIVE land down under a high volume unit is now in the affordable bracket @$569
Did I pay that for what I have done, no. But that’s because I get it so cheap and even for free in some cases. “Hooked on wood” is pushing this type of HIGH PRESSURE type of vac vs. the HIGH VOLUME of the “normal” units, honestly not sure which is better, but it was a super interesting exercise.
If I had more money I might of just gone and brought the unit, stuck it int eh corner and started cutting but i dont. lol. and where is the fun in that anyways.
And then you’d still be breathing the fine dust that has nasty repercussions. I have a (perhaps) 2.5 hp gadget with a pleated filter, and built a little lean-to outside for it and I can’t believe the difference that made. (That’s 2002 HP which may or may not be more than 2023 HP).
Wisdom has it that the low pressure is better for DUST, high pressure better for CHIPS - but who am I to argue?
I use a combination of both - but the exhaust fans are the life savers - 8" hydroponic jobbies that just suck all the air out when they need to.
Bottom line is, anything is better than nothing, but wear a respirator to be sure.
Better than my shop vac dust collection, though I do wear a respirstor. I noticed that I get a lot less dust on my glasses when I turn on the big box fan with a furnace filter in the CNC room, though. That seems to trap a lot of dust.
Time and brain space is severely limited at the moment.
Probably brain space more than anything, I have been slapped in the face with a few failures in planning and thinking due to too much going on. They have caused me to waste time and money.
Luckily it was only time and a small amount of money.
I am also going to say that it could be a lot worse and in the big scheme of things its not that much. I have learnt to limit my beating up of myself for these things to a realistic amount. (that took a lot of learning to achieve. Mental health is a skill as all others, if you dont practice…)
But back to this, one of the reasons I went with the door as the base of my CNC was to be able to lift it up, the other was that I had planned to create a little “tent” made of clear plastic of some type, probably supported via PVC pipe. I was thinking of just magnet closed flap at the front or the whole enclosure to tilt up (remember my unit is one 1440 wide by 600 deep).
Once that is in place I will need to go back to the standard hose routing of Ryan’s design to collect the major dust, and the hood to have its own vac outlet to catch the smaller particles, with an inlet on the other side to VAC point to get some cross flow.
FrankenVAC defiantly has the Airflow to spare.
 , but plenty on the canals do.