I just used the adhesive backing of some 24V outdoor rated RGBIC (5 wire) LED’s and stuck them right underneath on the strut plate, much like @DougJoseph did on his.
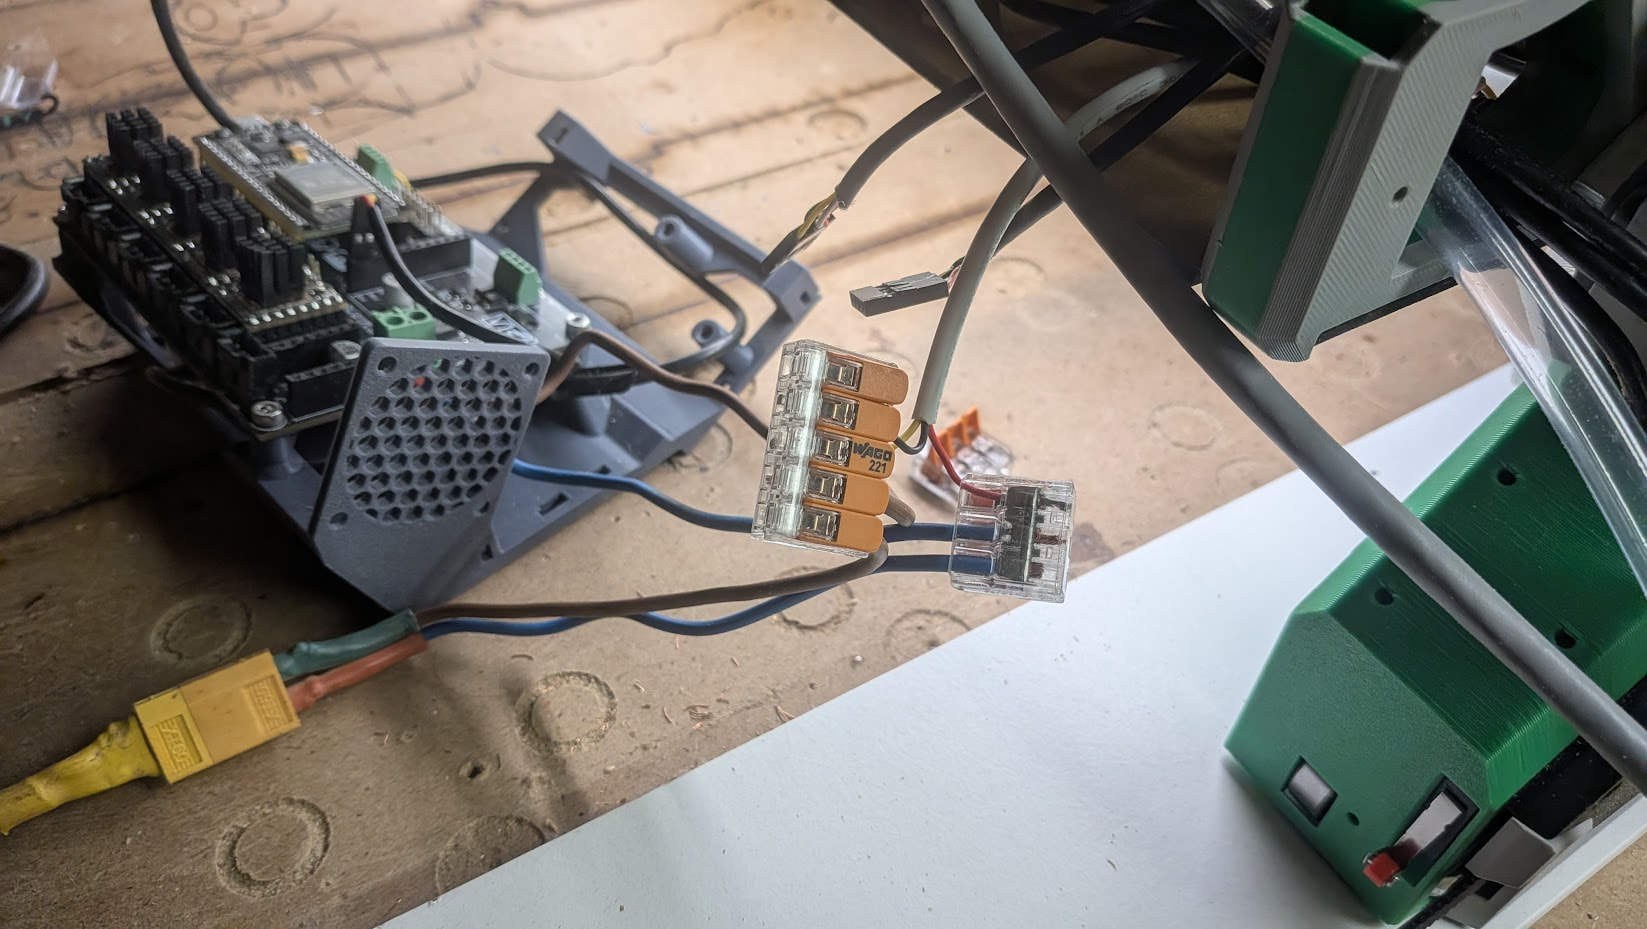
I have a power distribution box using Wagos I split directly off the laser DC power brick, and from there used one of these I had laying around:
I was thinking about flooding the light in the front rather than underneath to get a better visibility, but maybe i’m overthinking it
The clip would be fastened with the struts bolt, and I’d cut a thin 3mm mdf strip to cover th e whole length, and stick the led strip to this
Note: This MDF strip would also “seal” the hole between the two struts, if I can get less dust in there, that’s a plus…
I’d also like to be able to switch the leds on/off with a pin on the jackpot, but that’s a bonus…
I ordered some 24V white simple +/- led strip, we’ll see…
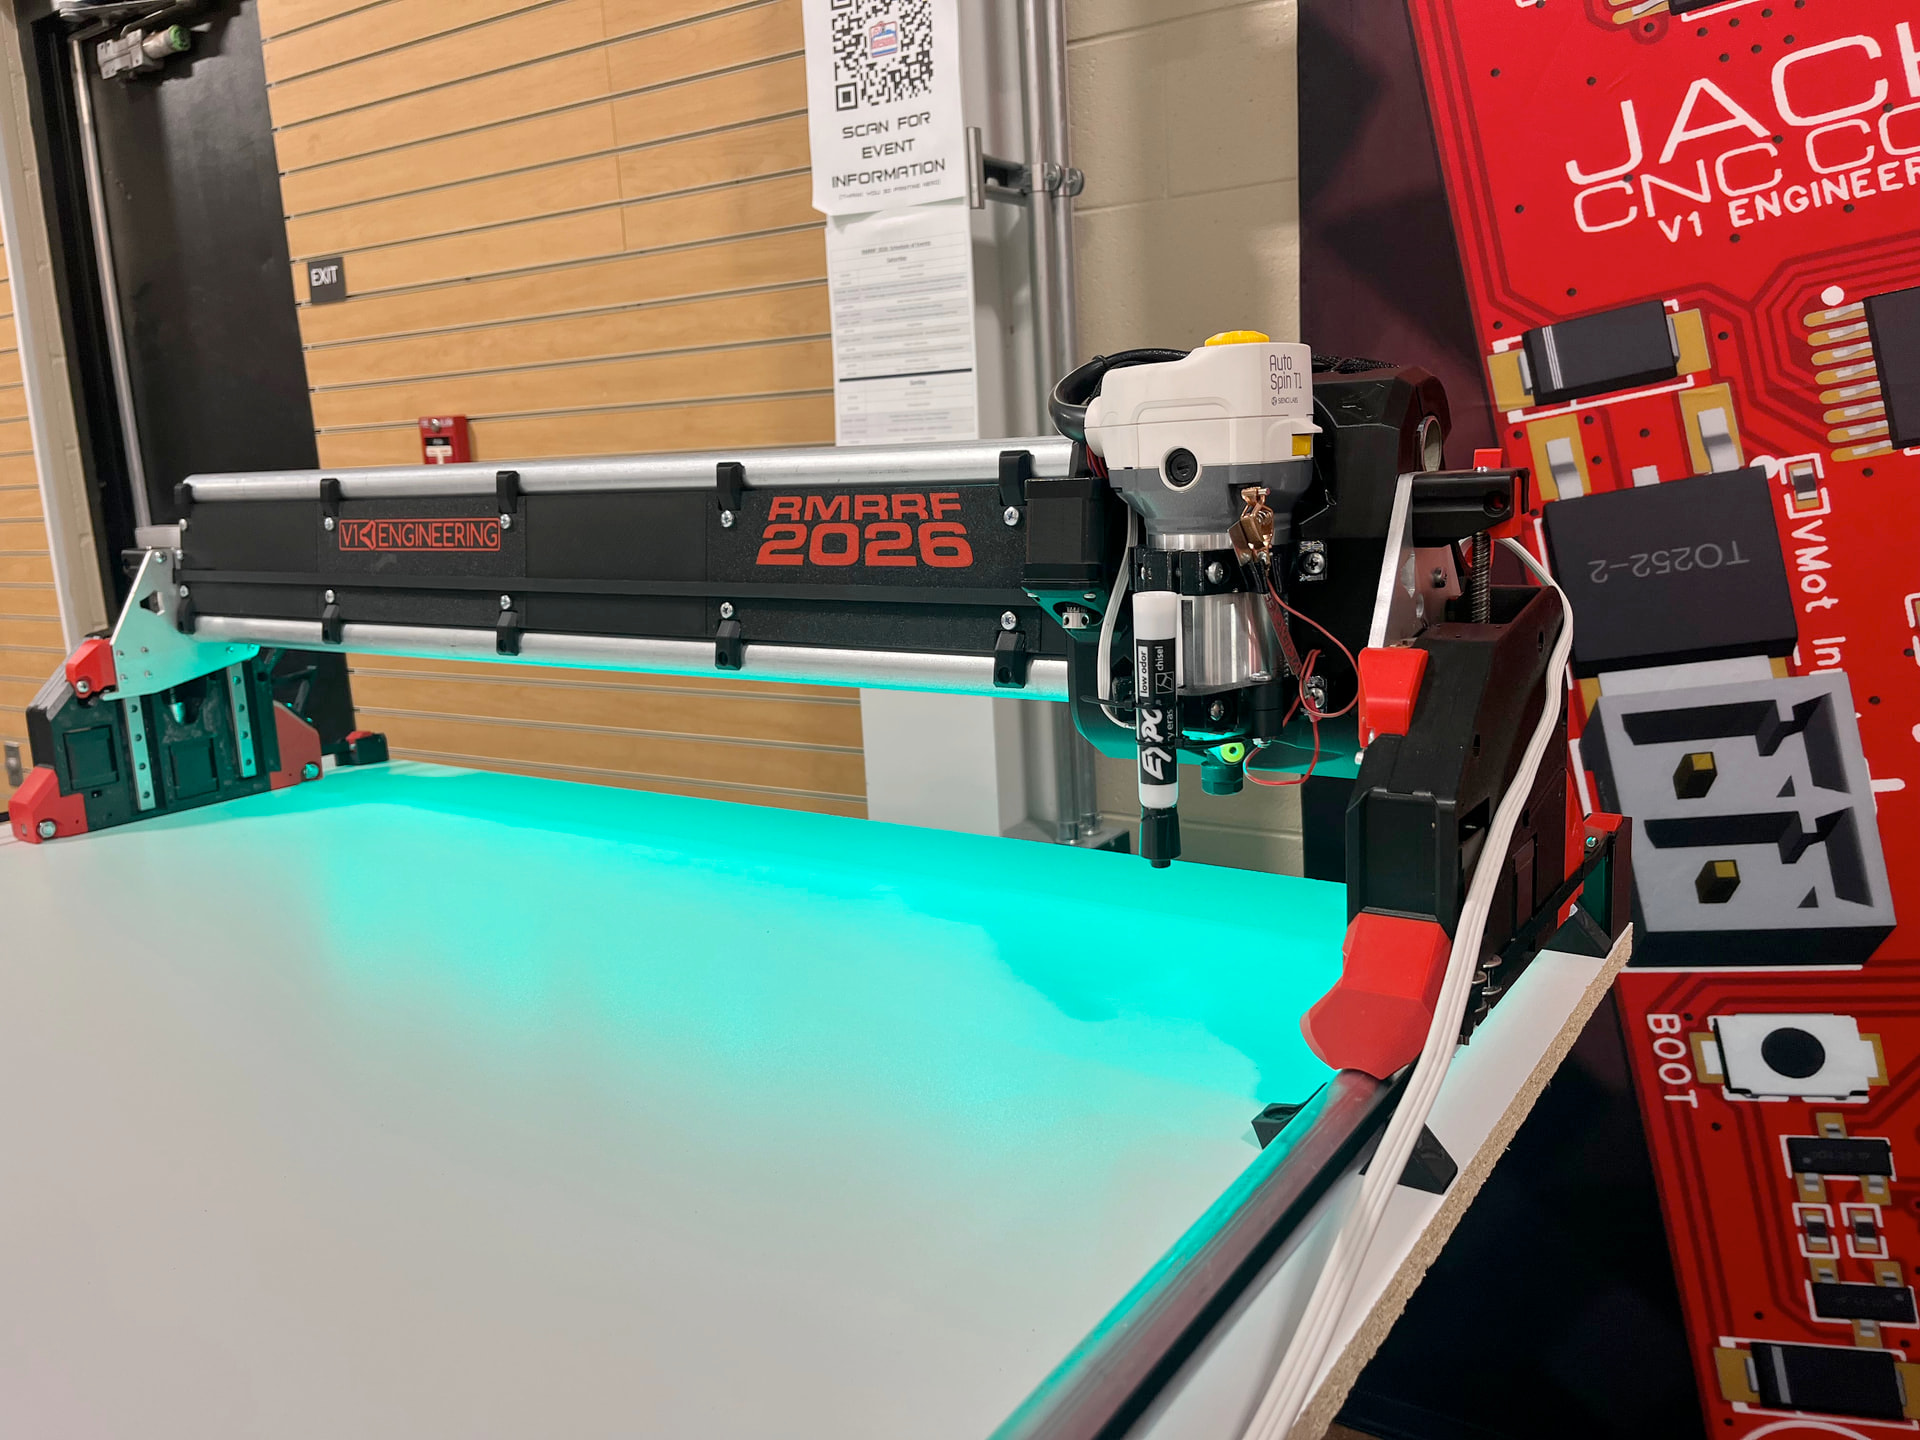
The LR4 we showed at RMRRF hand the LED strip held on with some 3M VHB tape to the bottom strut plate.
No need to shine the light in your own face, straight down on a beam is extremely usable. We busted a wire so didn’t have red in the color space, but even without you can see how visible things are, even with the LR4 at full Z Max.
Keeping in mind I have AC power cord, spindle cable, and laser air assist tube to get through…
I’d like to have ceiling-mounted VAC too.. If anyone has good references/topics to share…
Maybe have the cables hang from the ceiling too? kind of like a pulley system with weights?
I like @Sascha007 system alot… I have 25mm tube left from the LR3 so it might be a good option
But do Iinstall 2 rails? one for the vac and another one for the cables?
Or a single rail? and route the power cord and all cables from the core back to the controller through the drag chain?
On my Lowrider 3, I used this type of cable clip to secure additional cables next to the dust extraction system.
I made my own design for AC and USB cables with two cable clamps. However, I sometimes had major issues with USB errors due to static electricity in the hose, so with the Lowrider 4, I switched to a side-mounted power chain.
Here is another design using ceiling rails with power and vacuum.
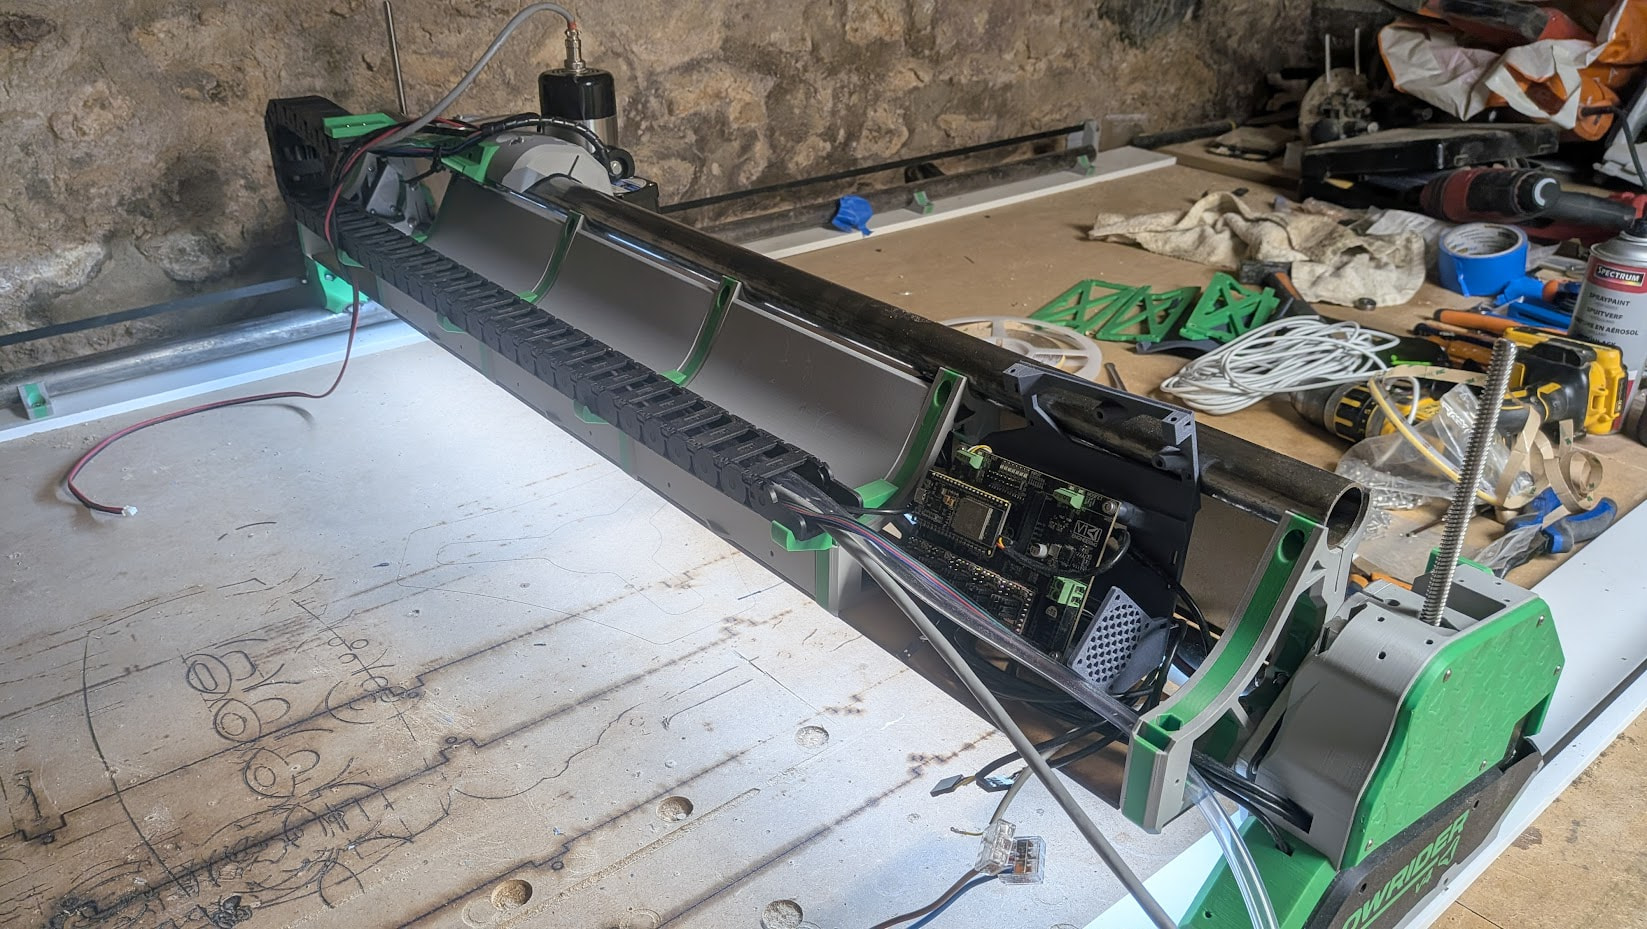
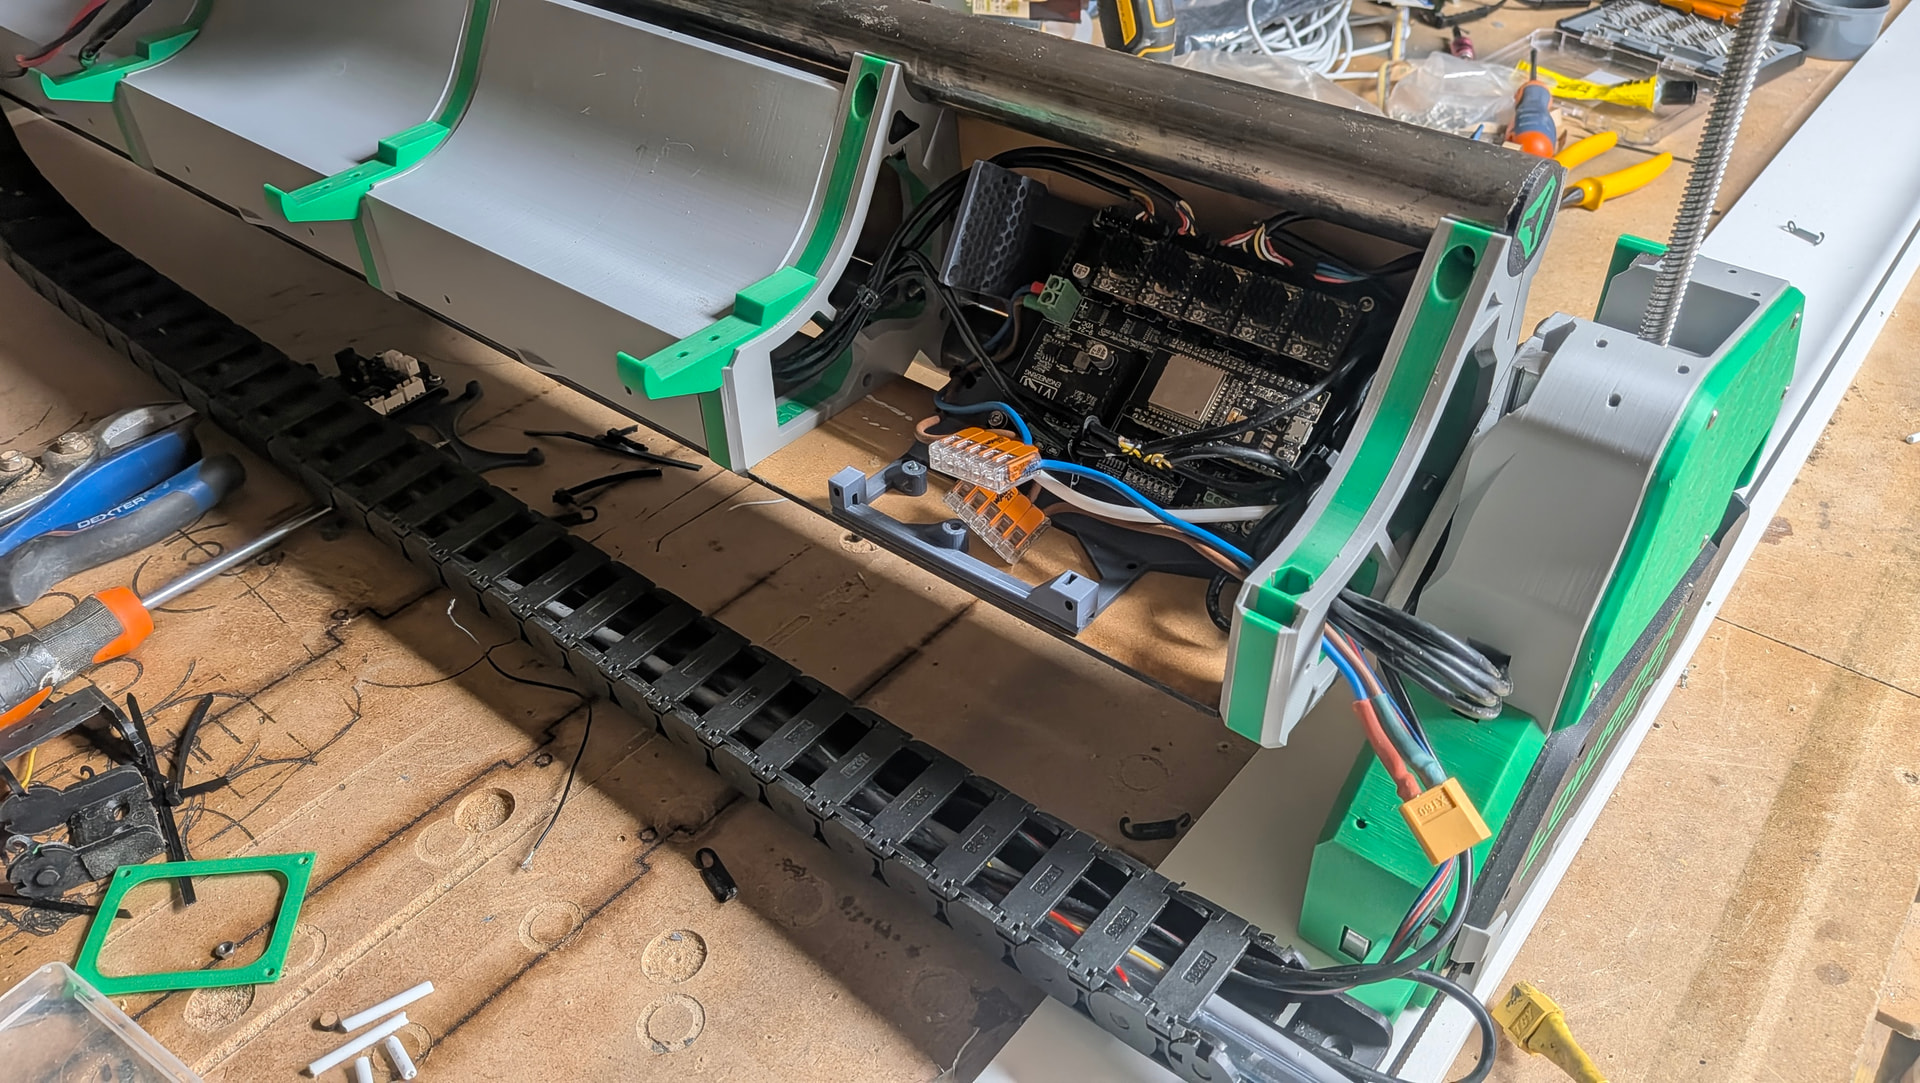
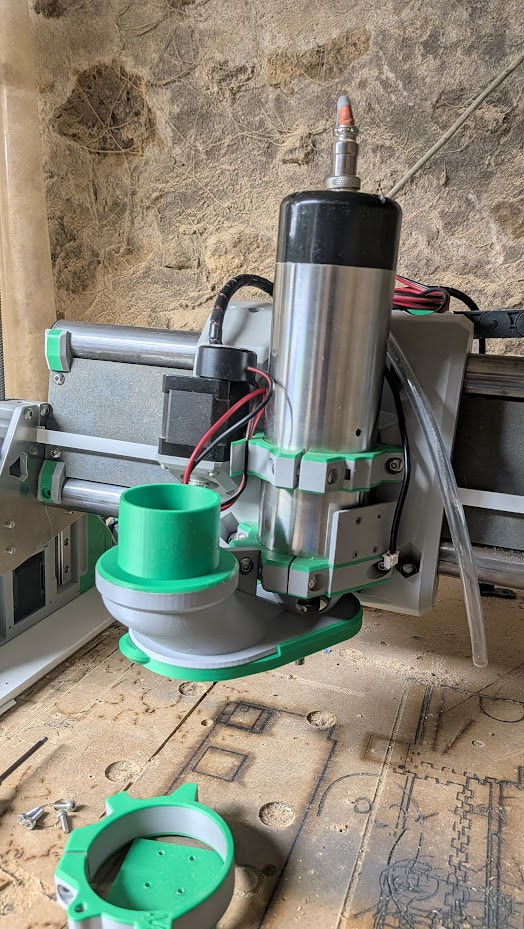
I had to remove the stacked laser board to make everything fit..
I tried to do without… plugging the laser directly on the jackpot board caused all sorts of jitters in the tmc drivers…
Need to print a separate support for the laser adapter board and re-wire it…
I think I’ll route the spindle and AC cords along the ceiling mounted vac hose, that’s the next task…
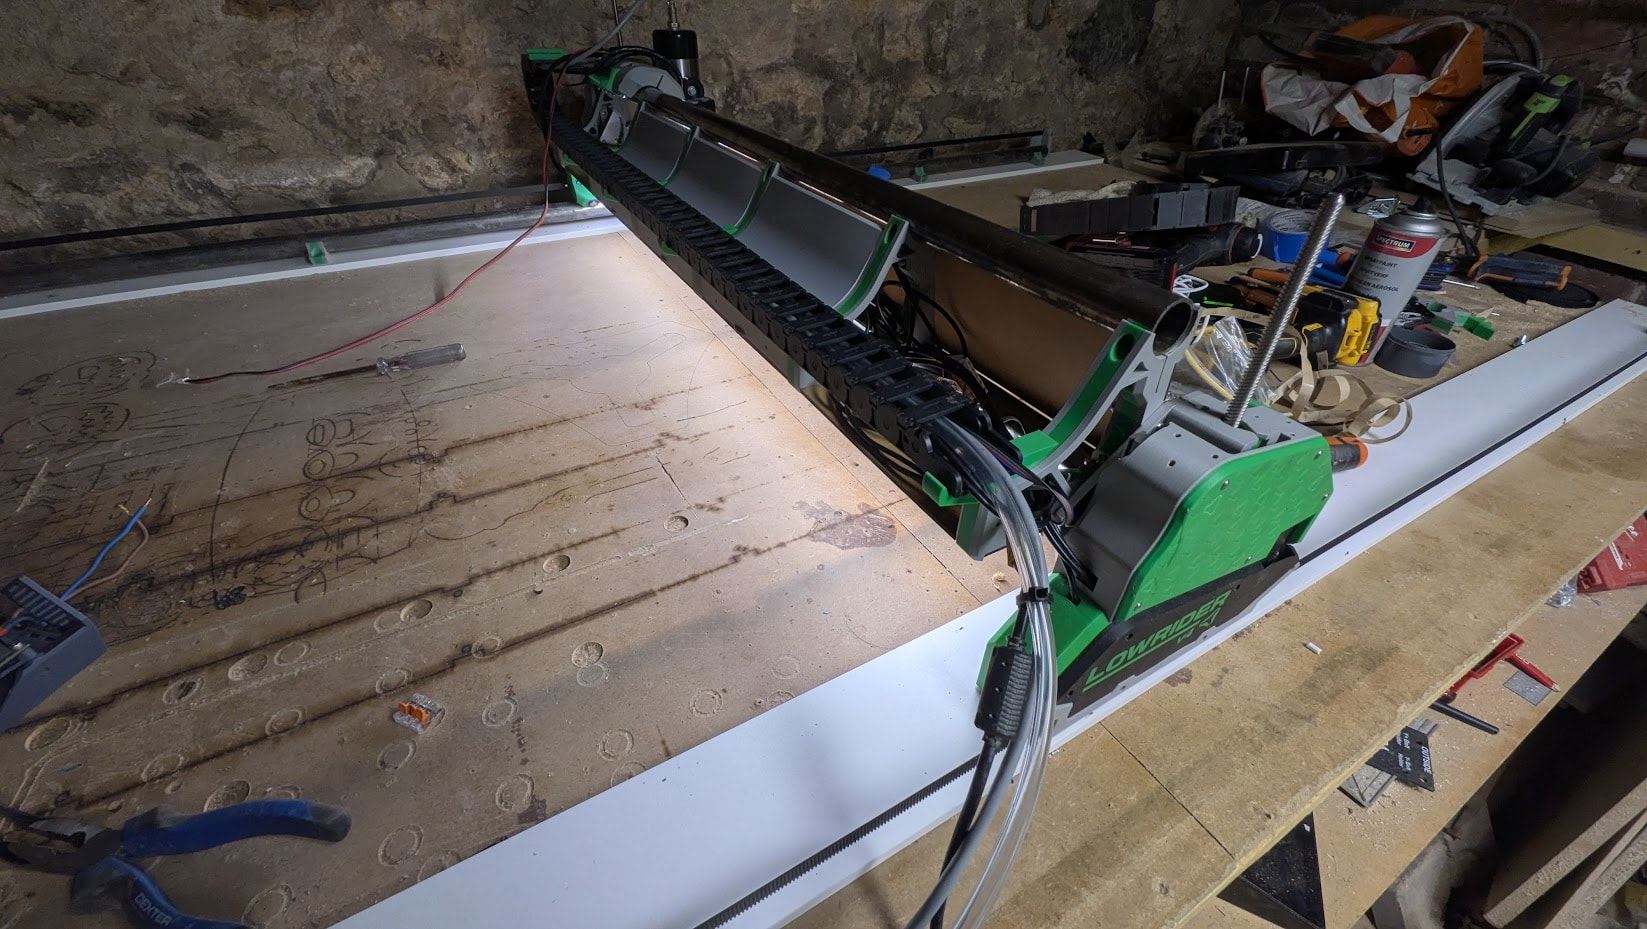
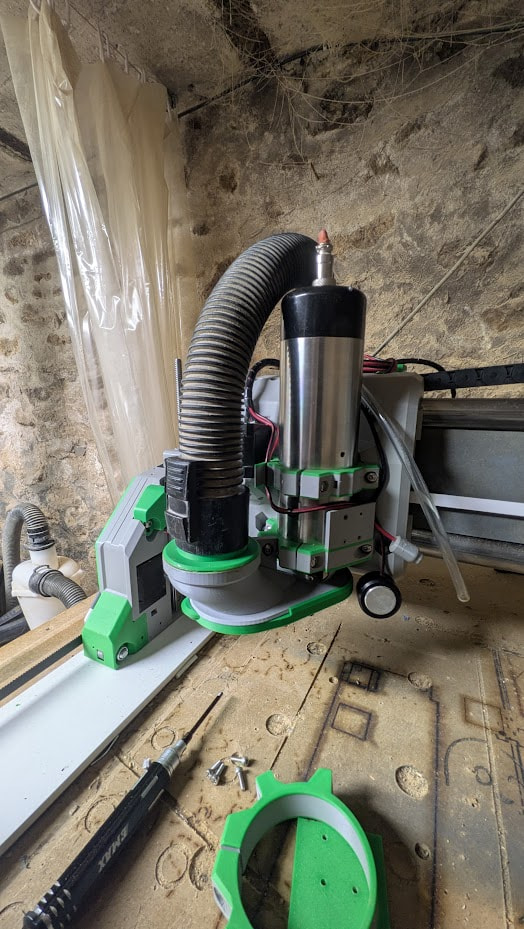
Other than that, it looks pretty clean, all covers installed, and added a small tube cap too
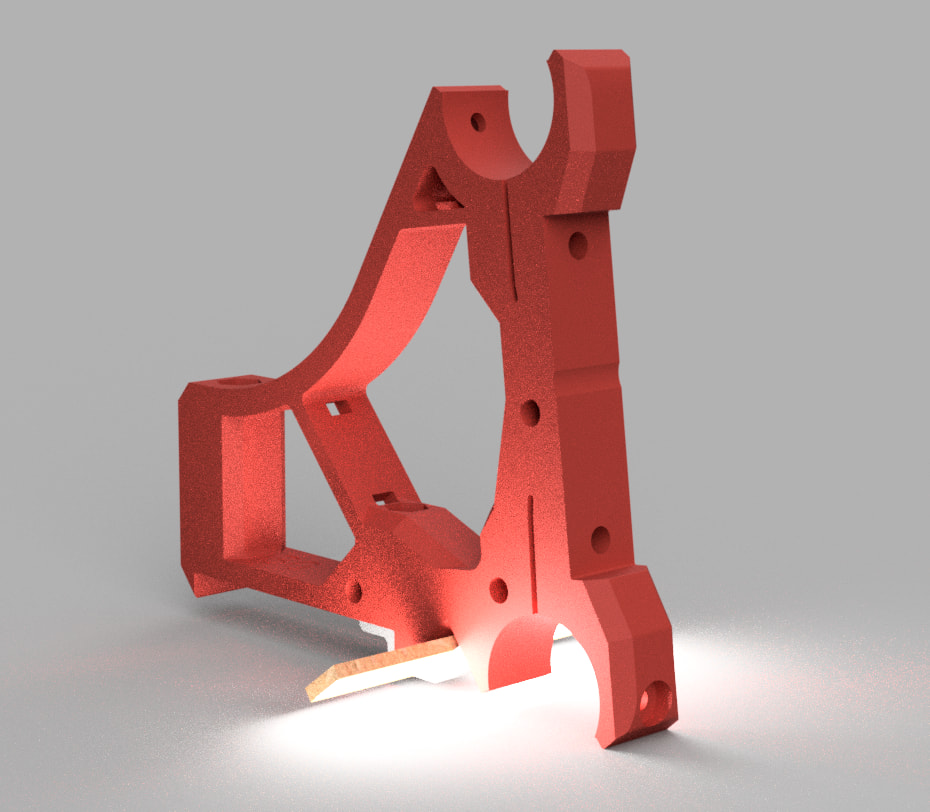
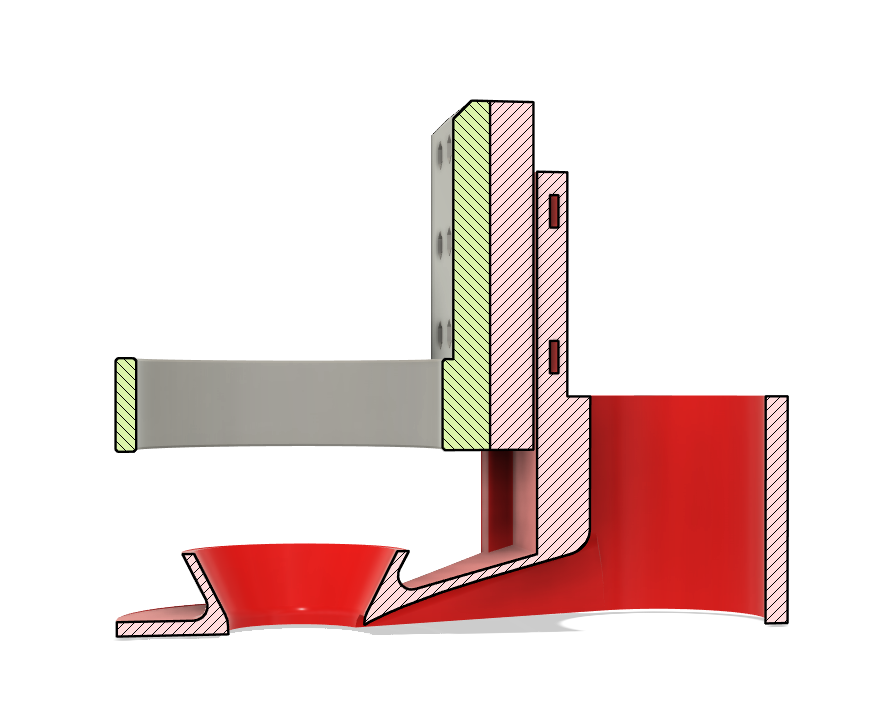
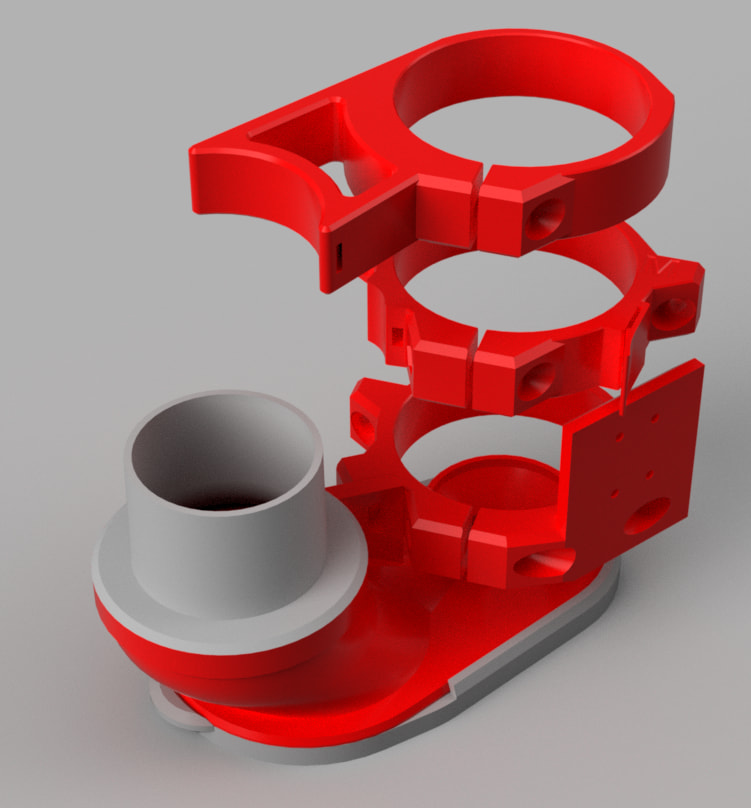
Original dust boot + Custom bottom Makita Tool mount with Laser plate
Vac hose adapter for Karcher vac
Original top tool mount
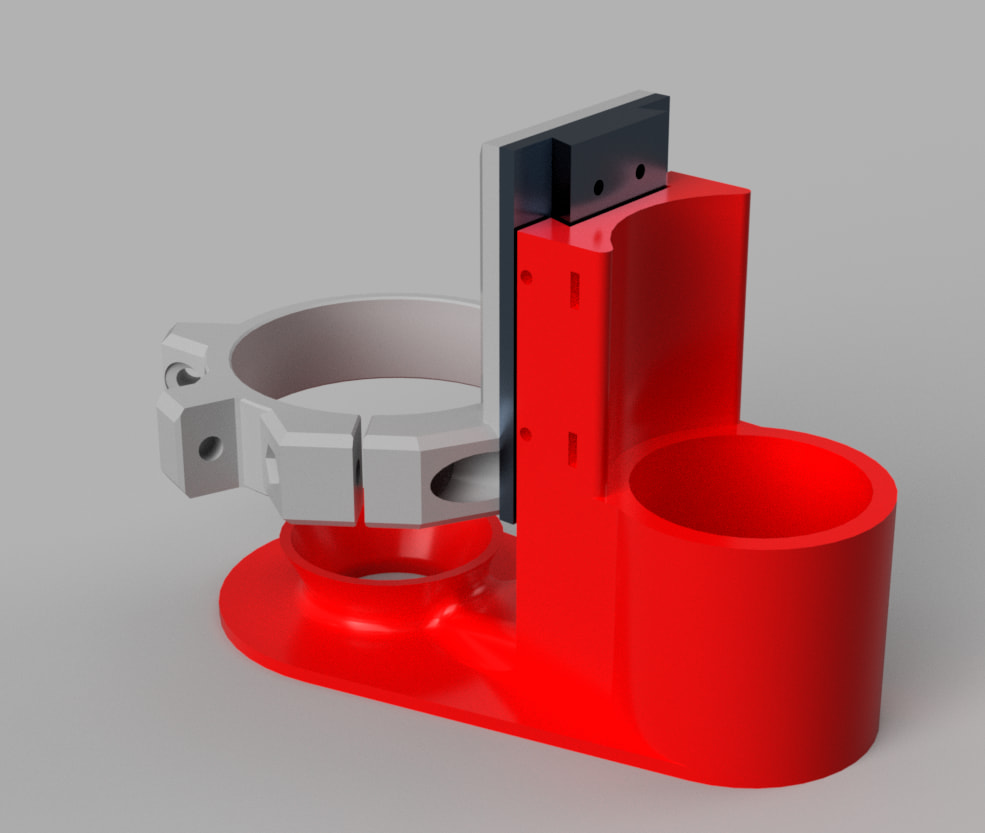
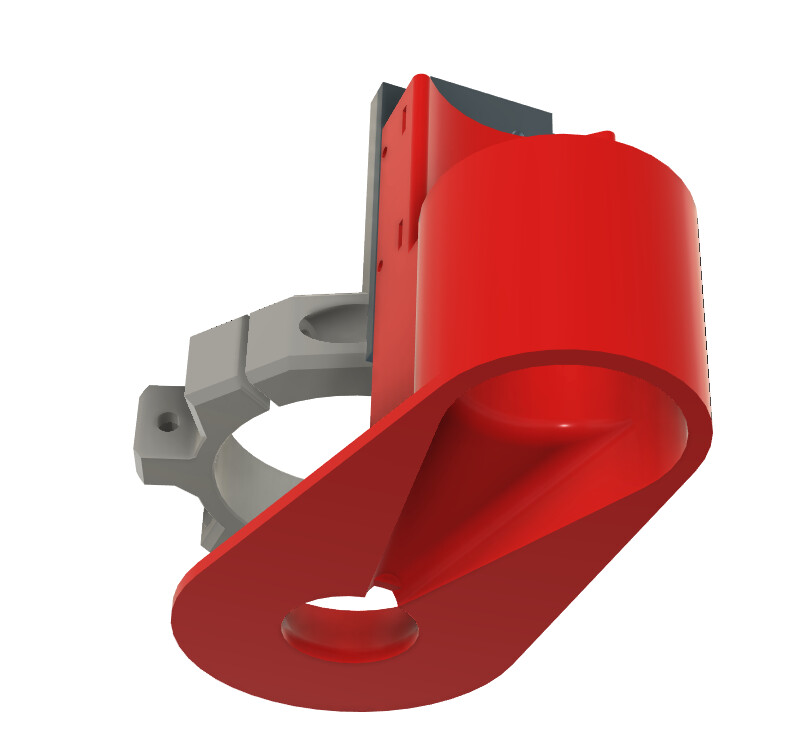
Remixed tool mount for extra support of the vac hose
I felt like I needed to add the top-most vac hose support because, being a smaller diameter, it just could’nt be attached to the top mount bracket… (plus I have this one reversed atm….)
Connect your vac hose to the top of your core. Very important not to skip that step. Otherwise, you are putting a prybar on your core and will mess up your accuracy.
Mmmh I’m a bit confused here
Wouldn’t attaching the smaller diameter hose directly yo the core add some tension?
Ok, re-read the sentence once more and I think I got it
I need to attach the hose to the core, not the spindle, which would act as a giant lever, is that it?
Would it be okay to use some similar support, but attached to the top of the core (eg: where my dragchain holder already is) ?
Or attached to the top of the X stepper?
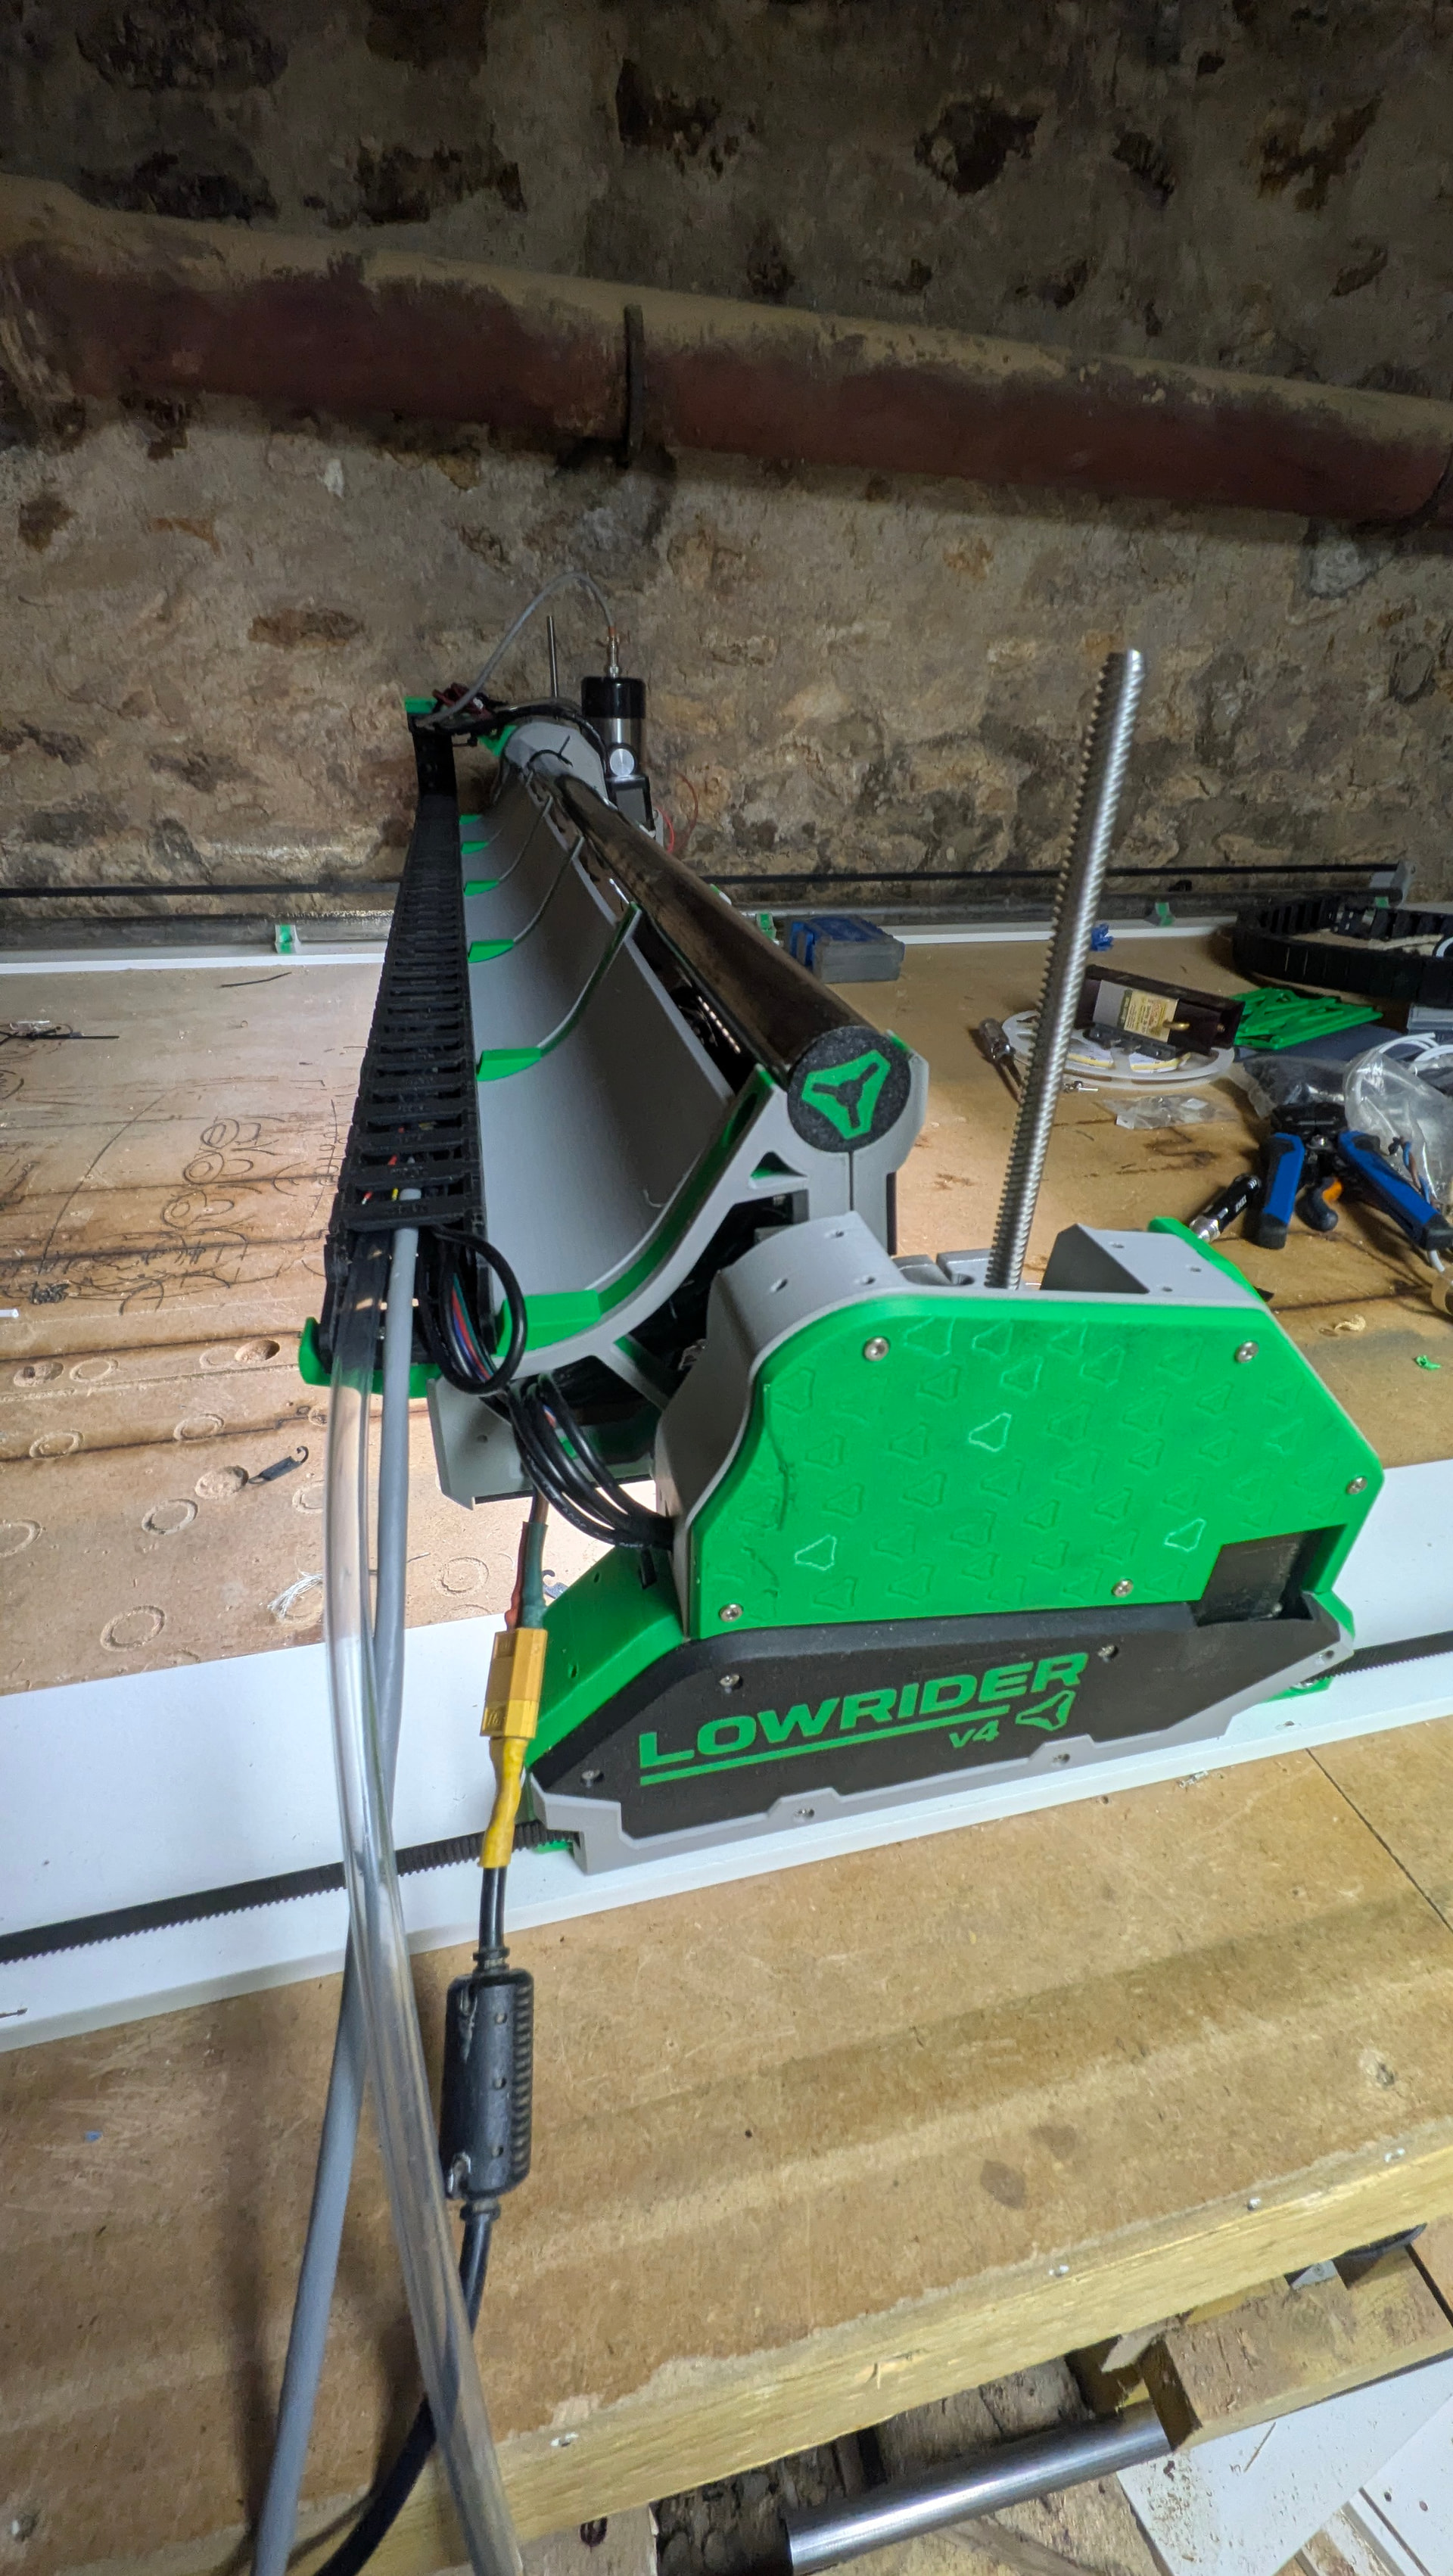
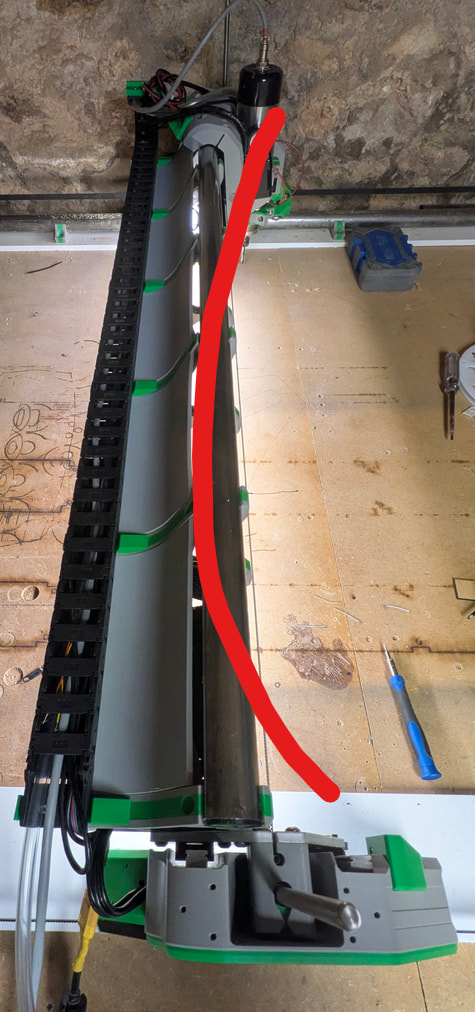
Quick picture with the hose to make it clearer why it’s a bit impractical
The hose is quite rigid and not really willing to cooperate
I think bending it over the top of the core would put significant strain on the vac shoe and lower bracket
Plus I’d like to have the vac hose ceiling-mounted at some point, so it needs to be supporteda bit more than it is right now