Or, more correctly… making my non-flat 1/4" aluminum plate “better”.
For those that don’t follow my printer saga, it’s a MP3DPv4 (build here: Not another MP3DP V4) . My build plate is a sandwich of a 120v AC heater, 1/4" aluminum plate, and a magnetic build plate.
The problem is, the aluminum plate I bought was not ground flat. Even the description says ‘polished flat’  Amazon.com
I have a second sheet and have considered trying to fixture it to my mill and truly flatten it, but then I’d have to buy a new build plate and heat bed as they get glued on in the build process. Alternatively, I found a place where I could buy a ground flat plate, but it’s ~$70… and I’d still have to put a new heat bed and magnetic plate on it.
So… Option 2. Shim the heck out of my current build plate.
Here’s where we started.
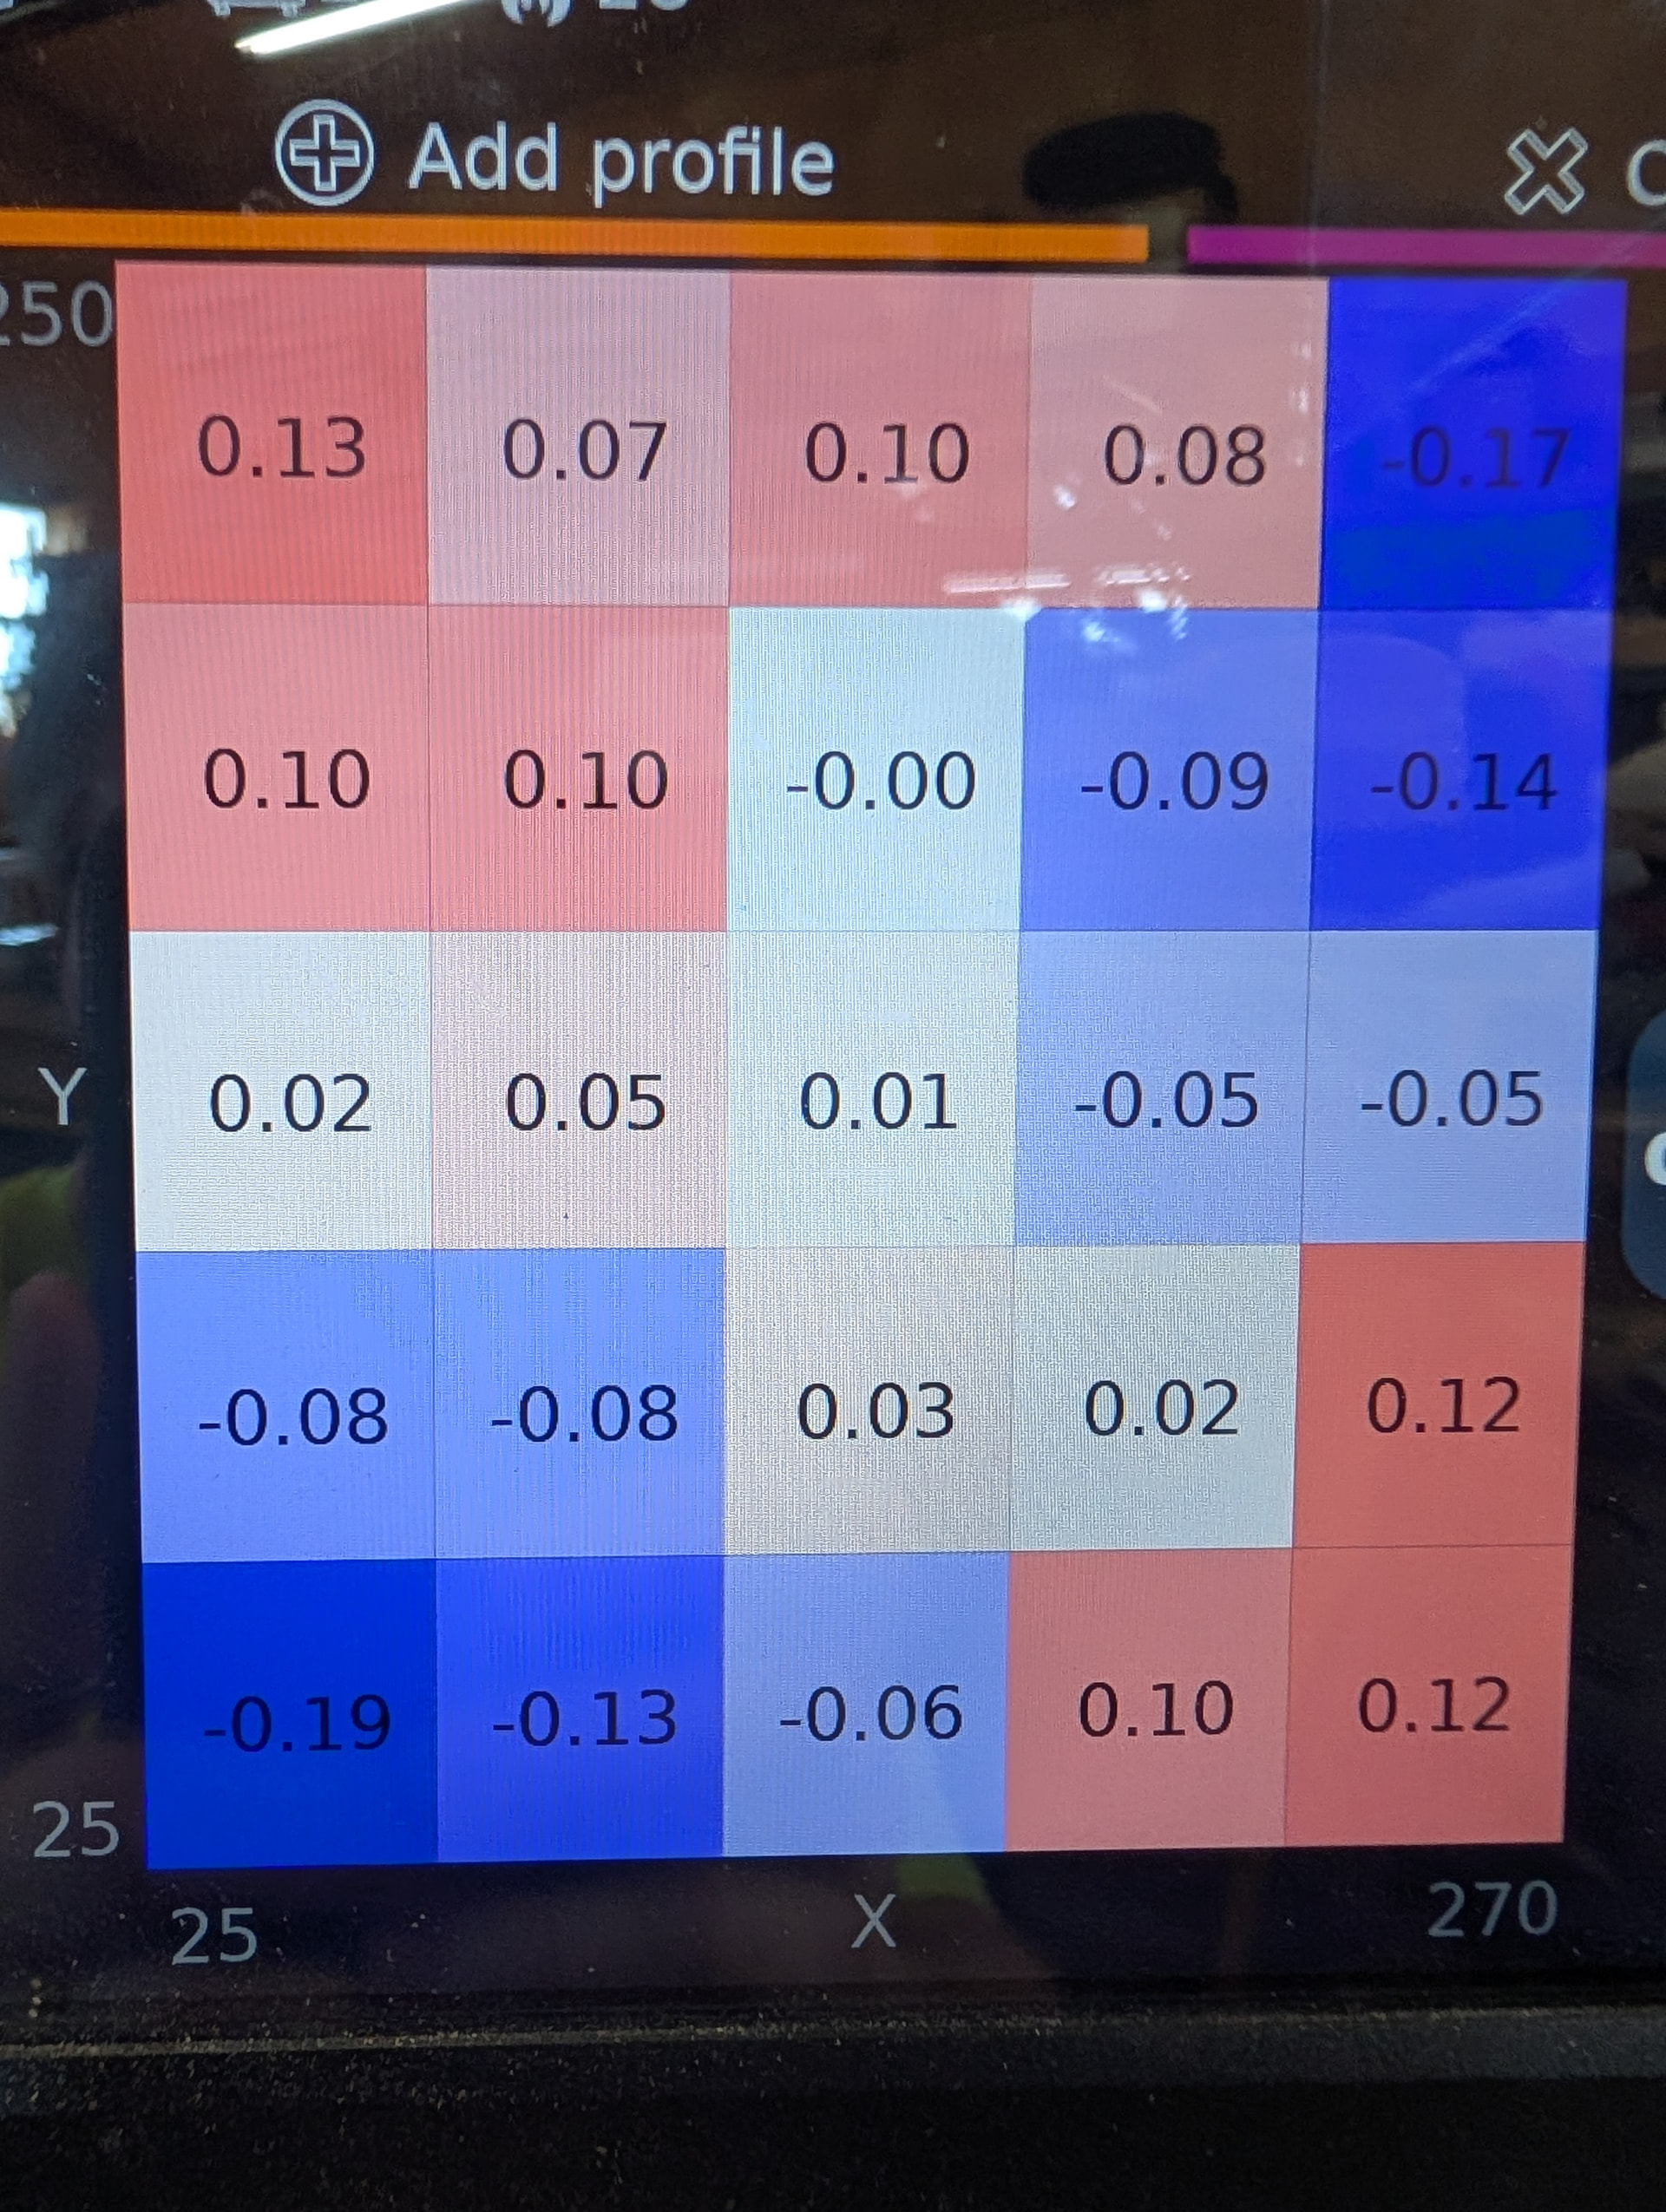
Not ‘horrible’ all things considered, but it is a ~1mm difference from the highest point to the lowest. I’ve been struggling with issues with first layers that use a lot of the build plate just not sticking or having all types of squish issues. Even with bed mesh, it just isn’t happy.
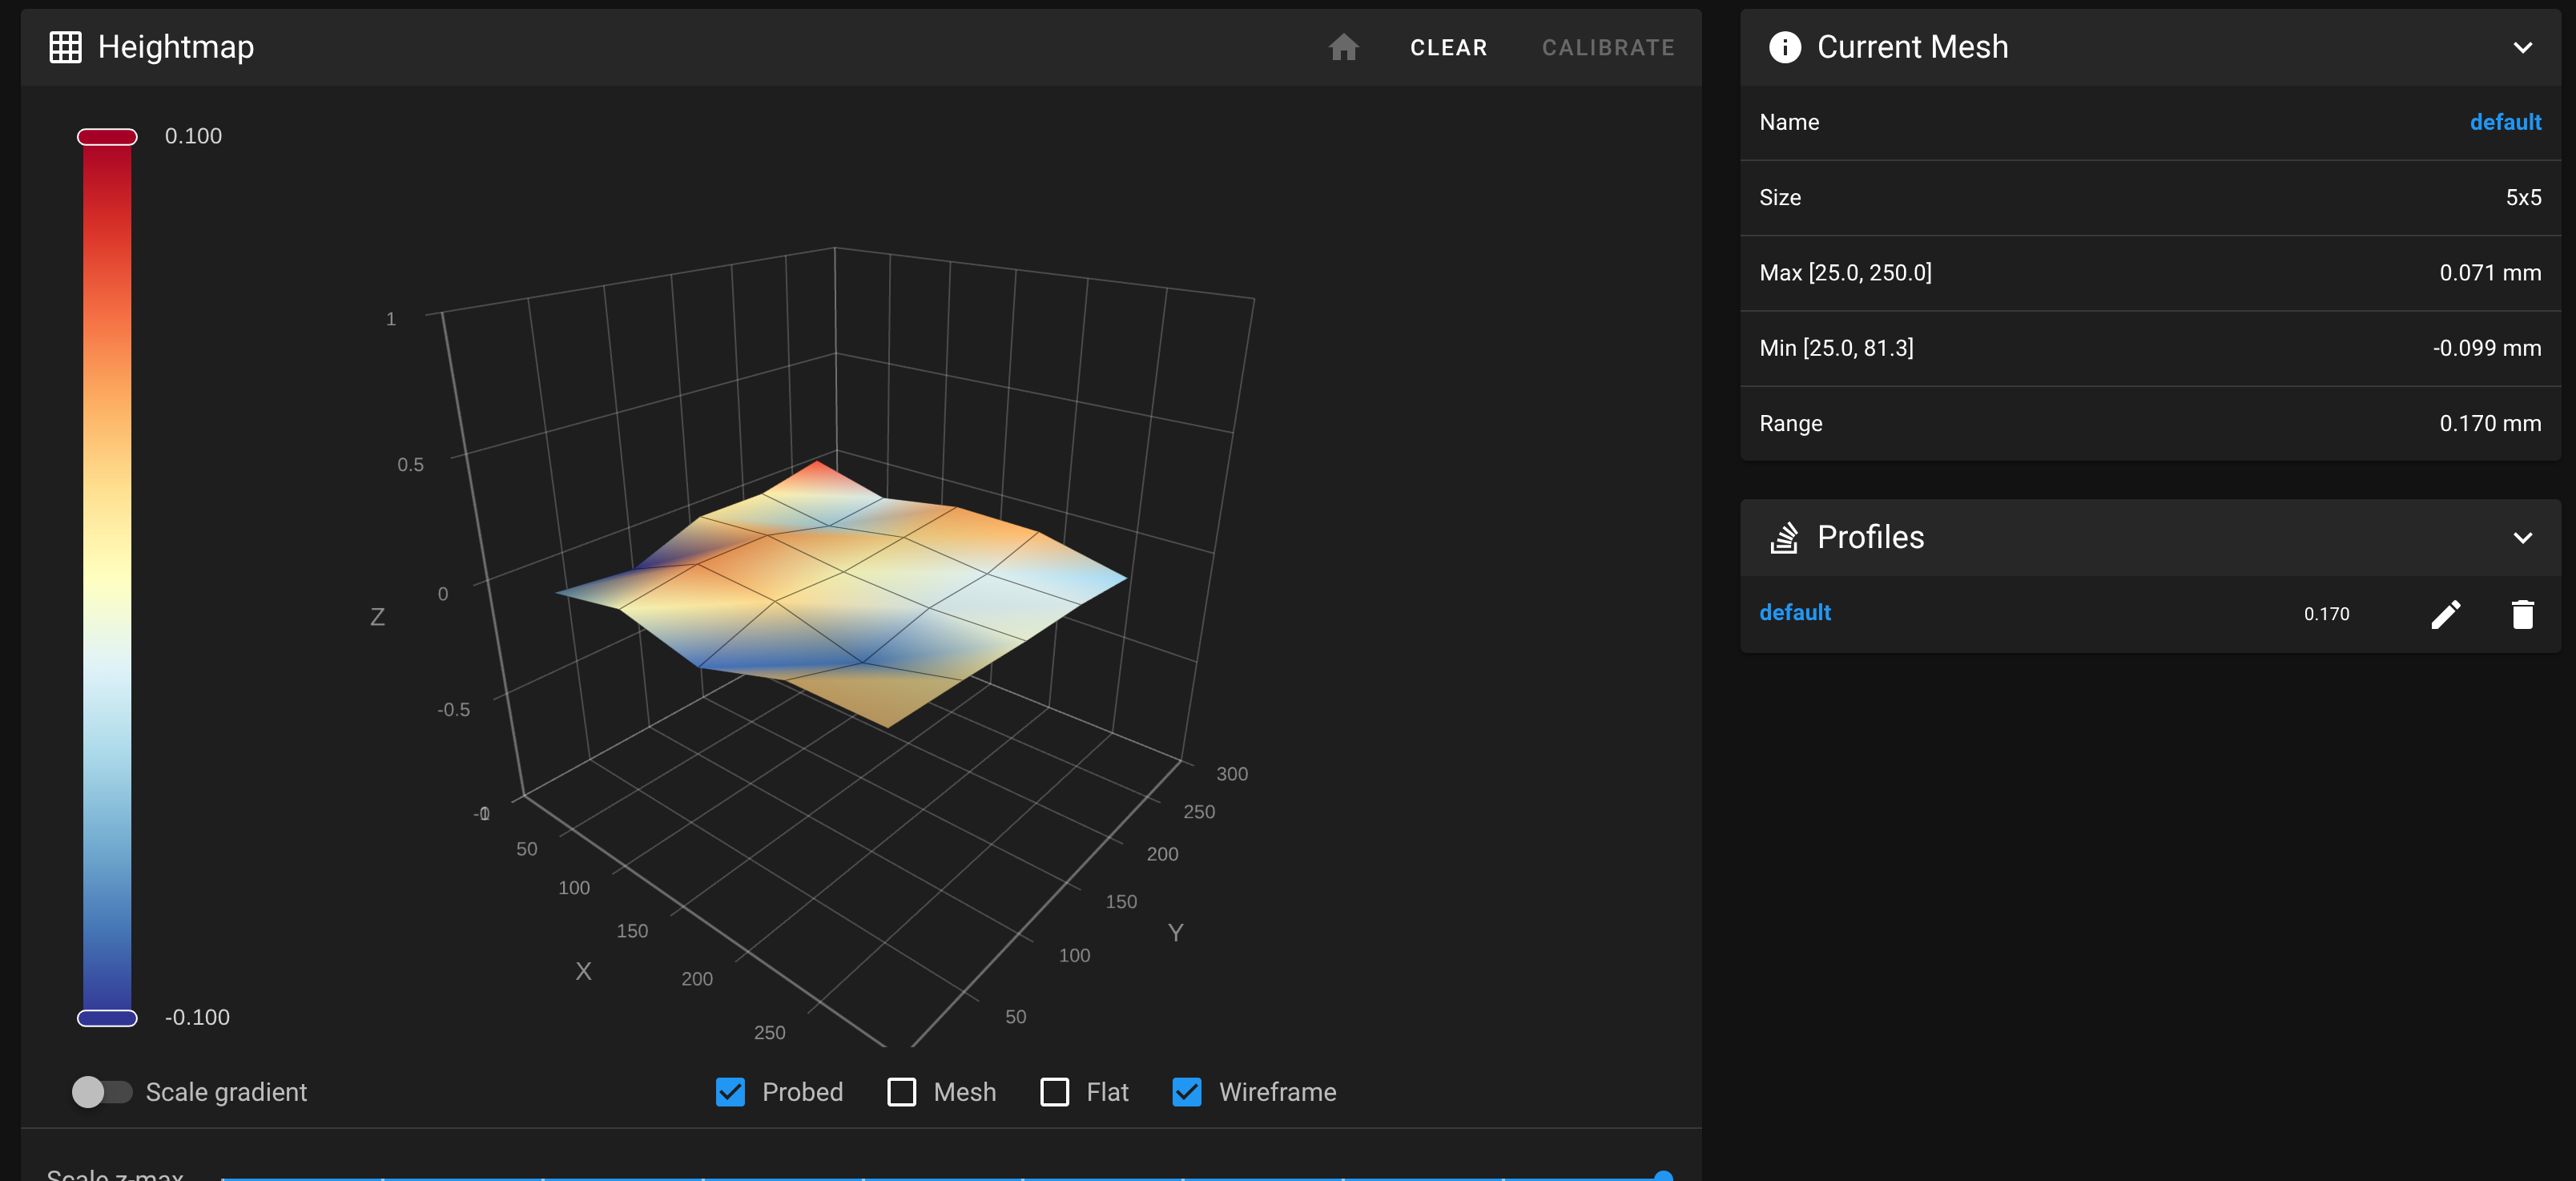
After multiple trials and errors and adding and removing, I finally worked my way to a 0.17 mm bed difference. And looking at the current test print I’m doing, it measured out even better at 0.1mm, but I think this print only probes the area the print is going.
The graph makes it look worse than it really is. I think the lowest and highest points are 0.0XY
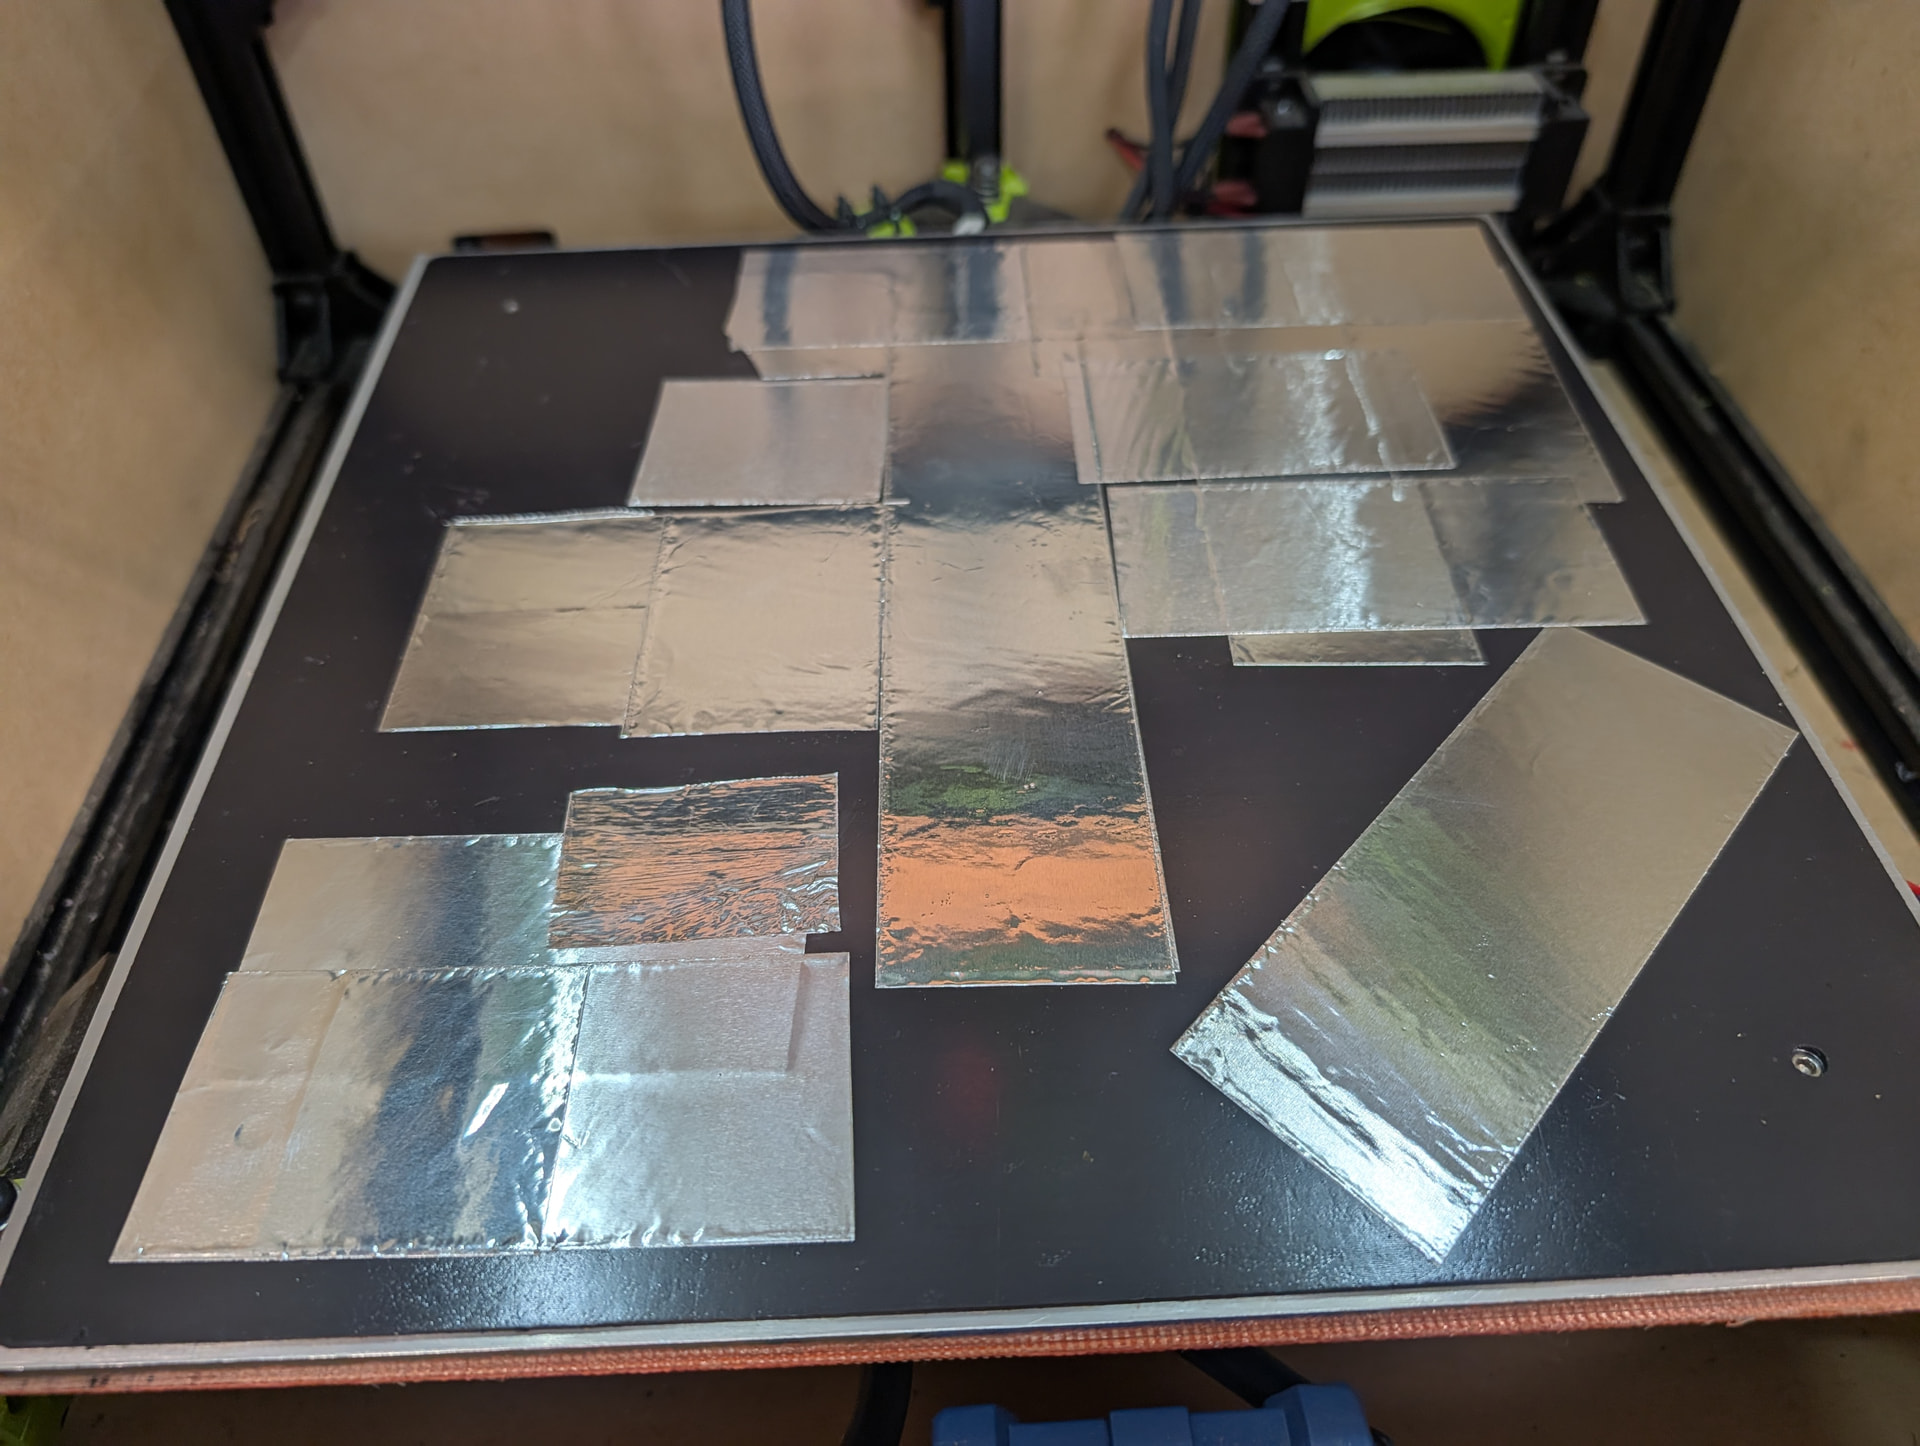
So, what does the shims look like? Glad you asked! Yes. That is 3 layers in some places
Oh. And remember to z-tilt before bed mesh… Really freaky to be working on the bed mesh and suddenly see a 2mm difference from high to low.
With a 0.25mm layer height, this is much more usable. I do think I need to re-calibrate the nozzle z-height.
I may still overhaul the build plate with a ground plate at some point, but I finally get to check off one of the bugs I’ve had with my printer since building.