That’s what I did too.
1 Like
Will hopefully be able to square it up tonight with the methods me mentioned, thanks!
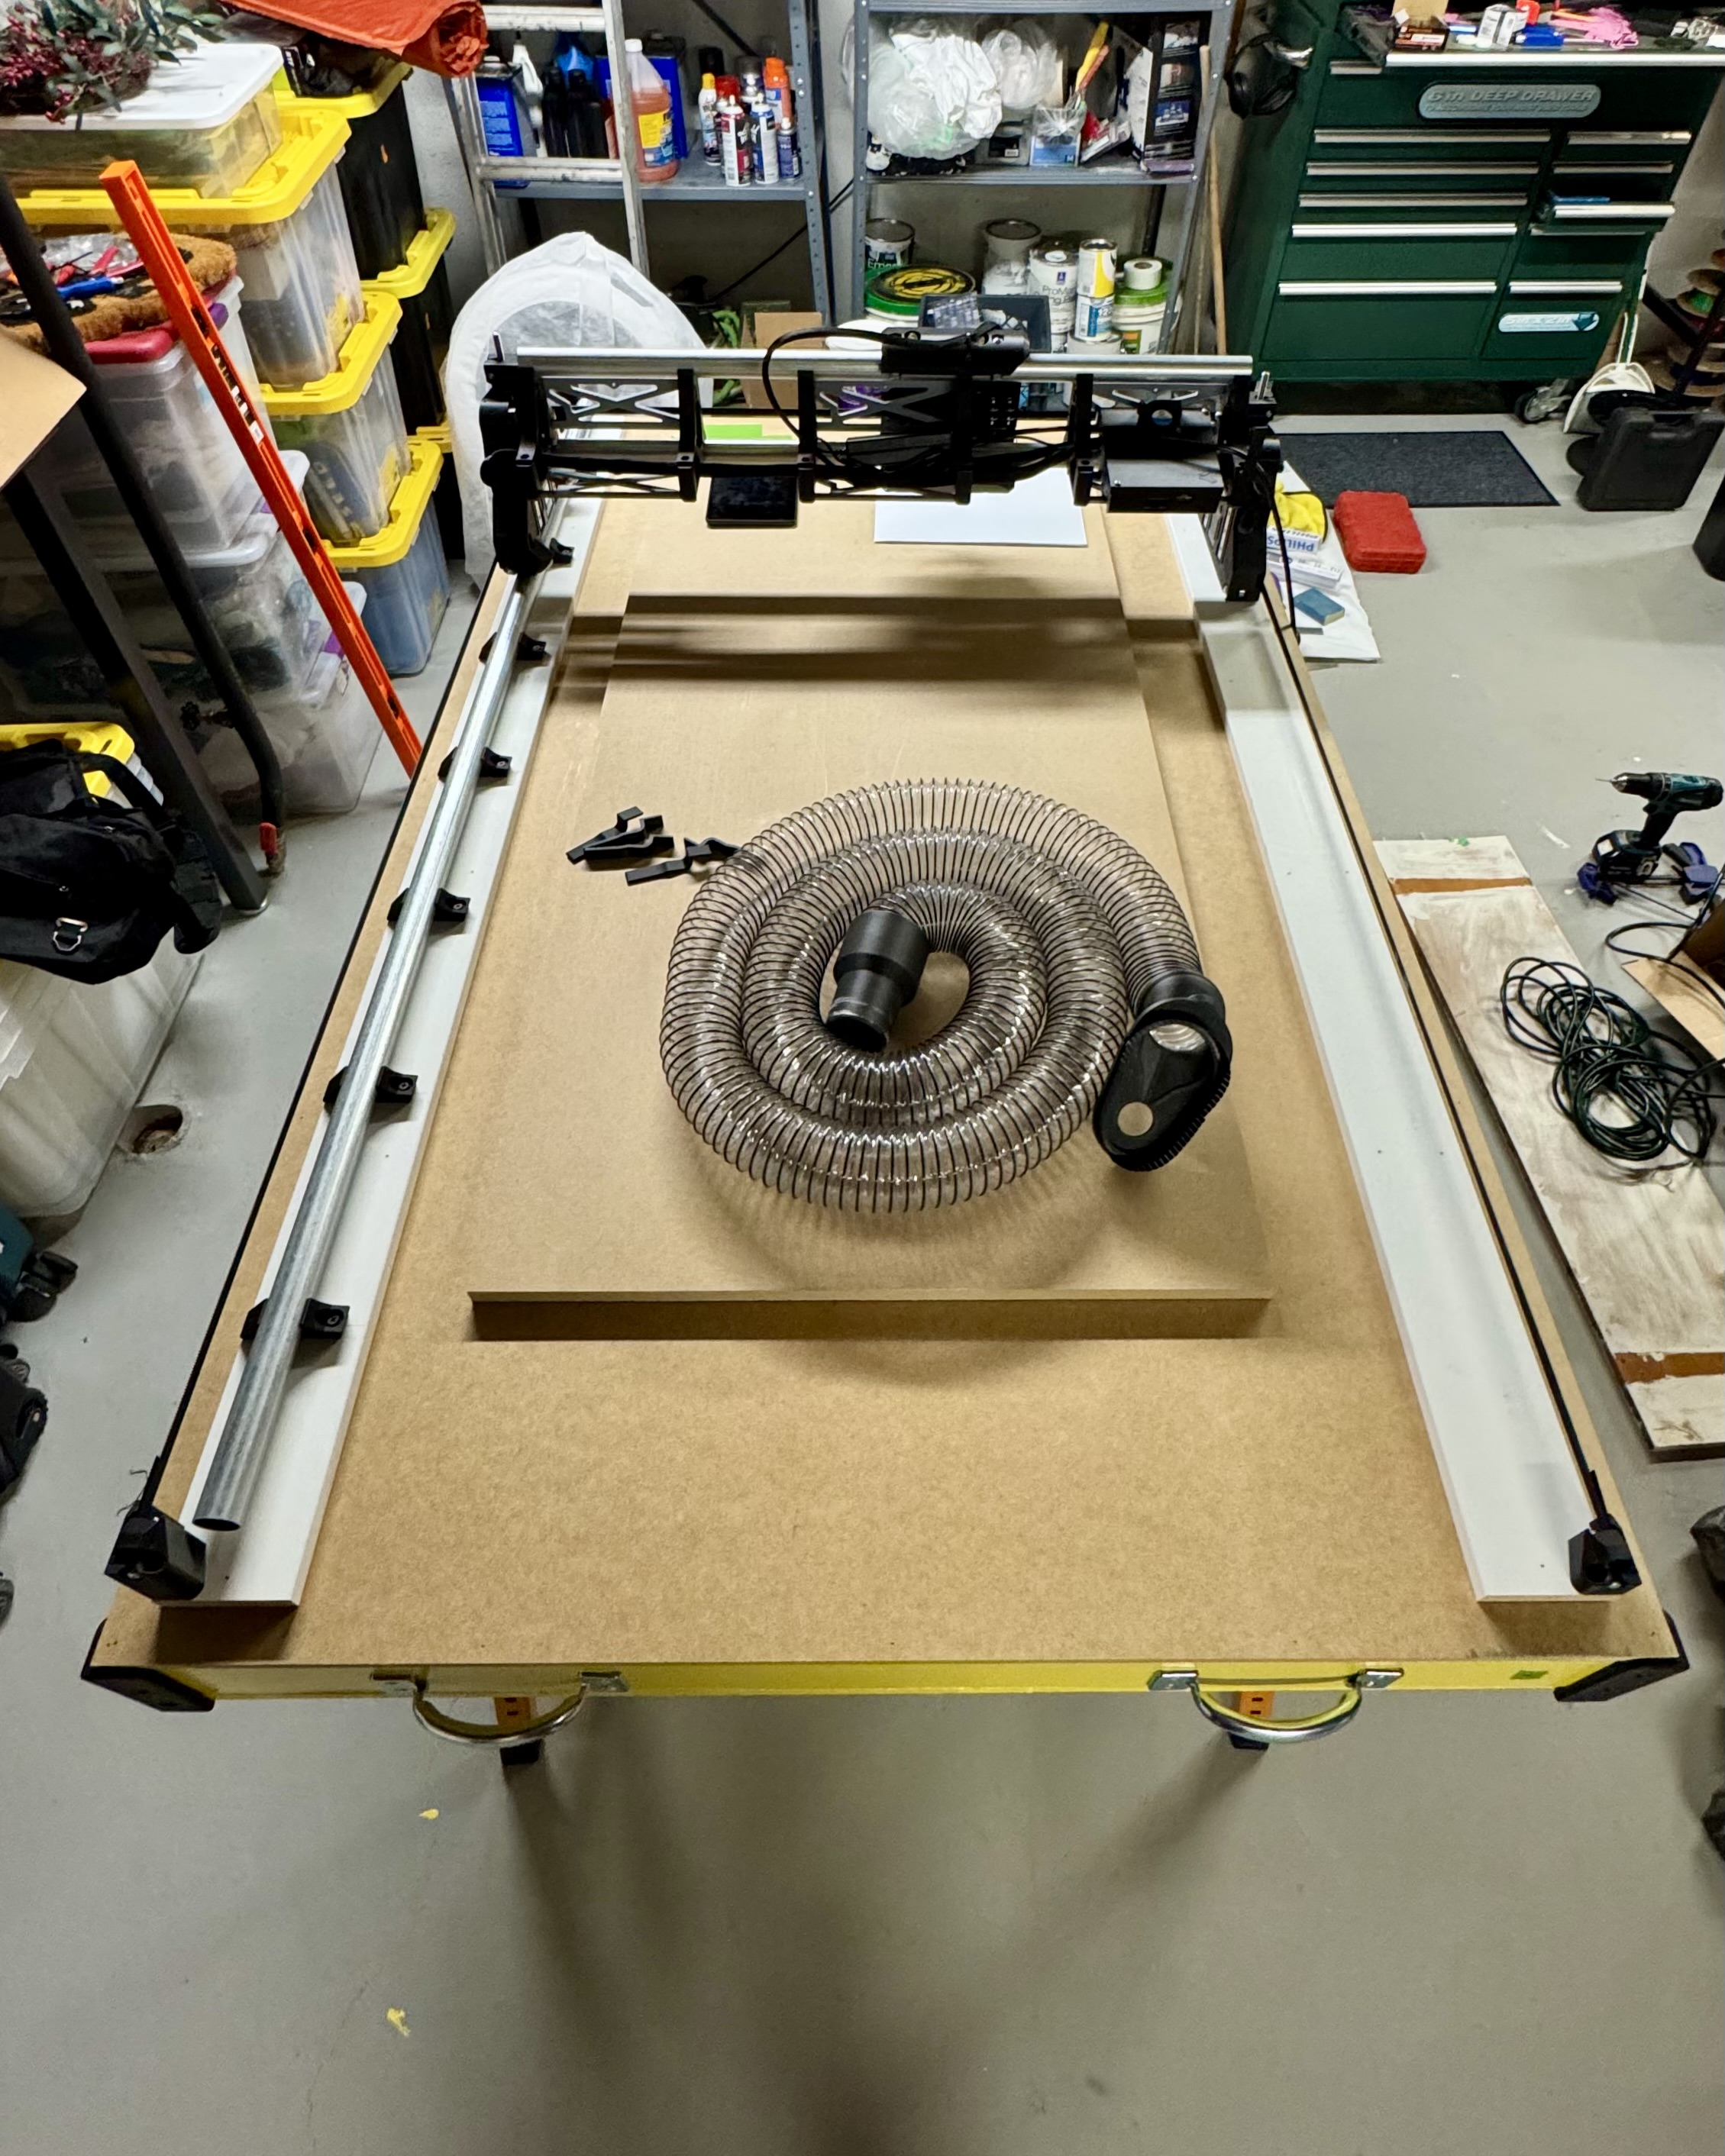
Couple more questions, what size hose is used for the dust collector and how does it attach? Looks like maybe the right size hose is a friction fit?
And secondly how does probing work? When I hit probe, will the gantry immediately start lowering until the touch plate is triggered? Does it reset where Z=0 or is it stored as an offset? How would I set this manually by jogging if using something non-conductive like a pen?
I also have soft limits set for all my axis so I don’t have to worry about jogging too far (already done by accident) but if I zero out Z on my work surface, will the soft limits still work?
Yes, soft limits will still work because they are based on machine coordinates and not work coordinates. If you are using soft limits, you need to make sure you home your machine before doing anything. Note that most don’t use soft or hard limits. For typical usage, you’re unlikely to need them.
Wow, sharp build, impressive table, and great progress. Congrats!
1 Like
You’re not worried about jogging past the physical limits and damaging something? I did it on accident and didn’t love the sounds that resulted
I mean I’m not worried about driving my car off the road into a building because you just don’t do that. In this case, it’s not really going to hurt anything as long as you’re not messing with the config to increase speed/acceleration/motor currents. It’s just going to cause the motors to skip steps. That sounds a bit alarming but it doesn’t hurt the motors.
I mean my car doesn’t operate with tiny touch screen buttons that are easy to hit 100mm vs 10mm but I get what you’re saying. Makes sense on the motor skipping and good to know. Will probably leave the soft limits unless they start to cause problems
That’s true. I hope that didn’t come off as snarky. That wasn’t my intent. Once you get some more experience on your machine, you could consider switching to WebUI v3. I’ve created a touch joystick control for jogging where you are less likely to accidentally jog further than you intend.
3 Likes
All good, that interface sounds much more user friendly! How would one go about using it? Firmware update? The centric circles have proving hard for me to hit accurately ![]()
Just an FYI, WebUI v2 (what you currently have) is still the current recommended version. You might want to hold off until you get the rest of your machine calibrated.
No firmware update. You just need to backup the files on Flash, delete all of those except the config.yaml file, and then upload all the files here (except you can keep your config.yaml file).
FluidNC_Configs/LowRider CNC/UI V3 LRCNC at main · V1EngineeringInc/FluidNC_Configs
If you run into issues or just don’t like v3, you can just restore your old files and you should be back to where you started.
Then you can get the extension here. It has the instructions on how to add it.
ESP3D-WEBUI-Mods/Extensions/JoyJog at main · jeyeager65/ESP3D-WEBUI-Mods
This is my thread on the topic:
WebUI v3 Extension - Virtual Jog Joystick - Software / Firmware / Jackpot Board / FluidNC - V1 Engineering Forum
You’ll see that I have a dark theme which I also created. There are some extension scrolling issues I haven’t figured out how to fix yet with the newest WebUI v3 but I’ll get there.
4 Likes
We have success! Ready to start cutting the strut plates.
I have a vacuum house on order, what’s the easiest way to ground it? Connect the wire to the router housing maybe?
5 Likes
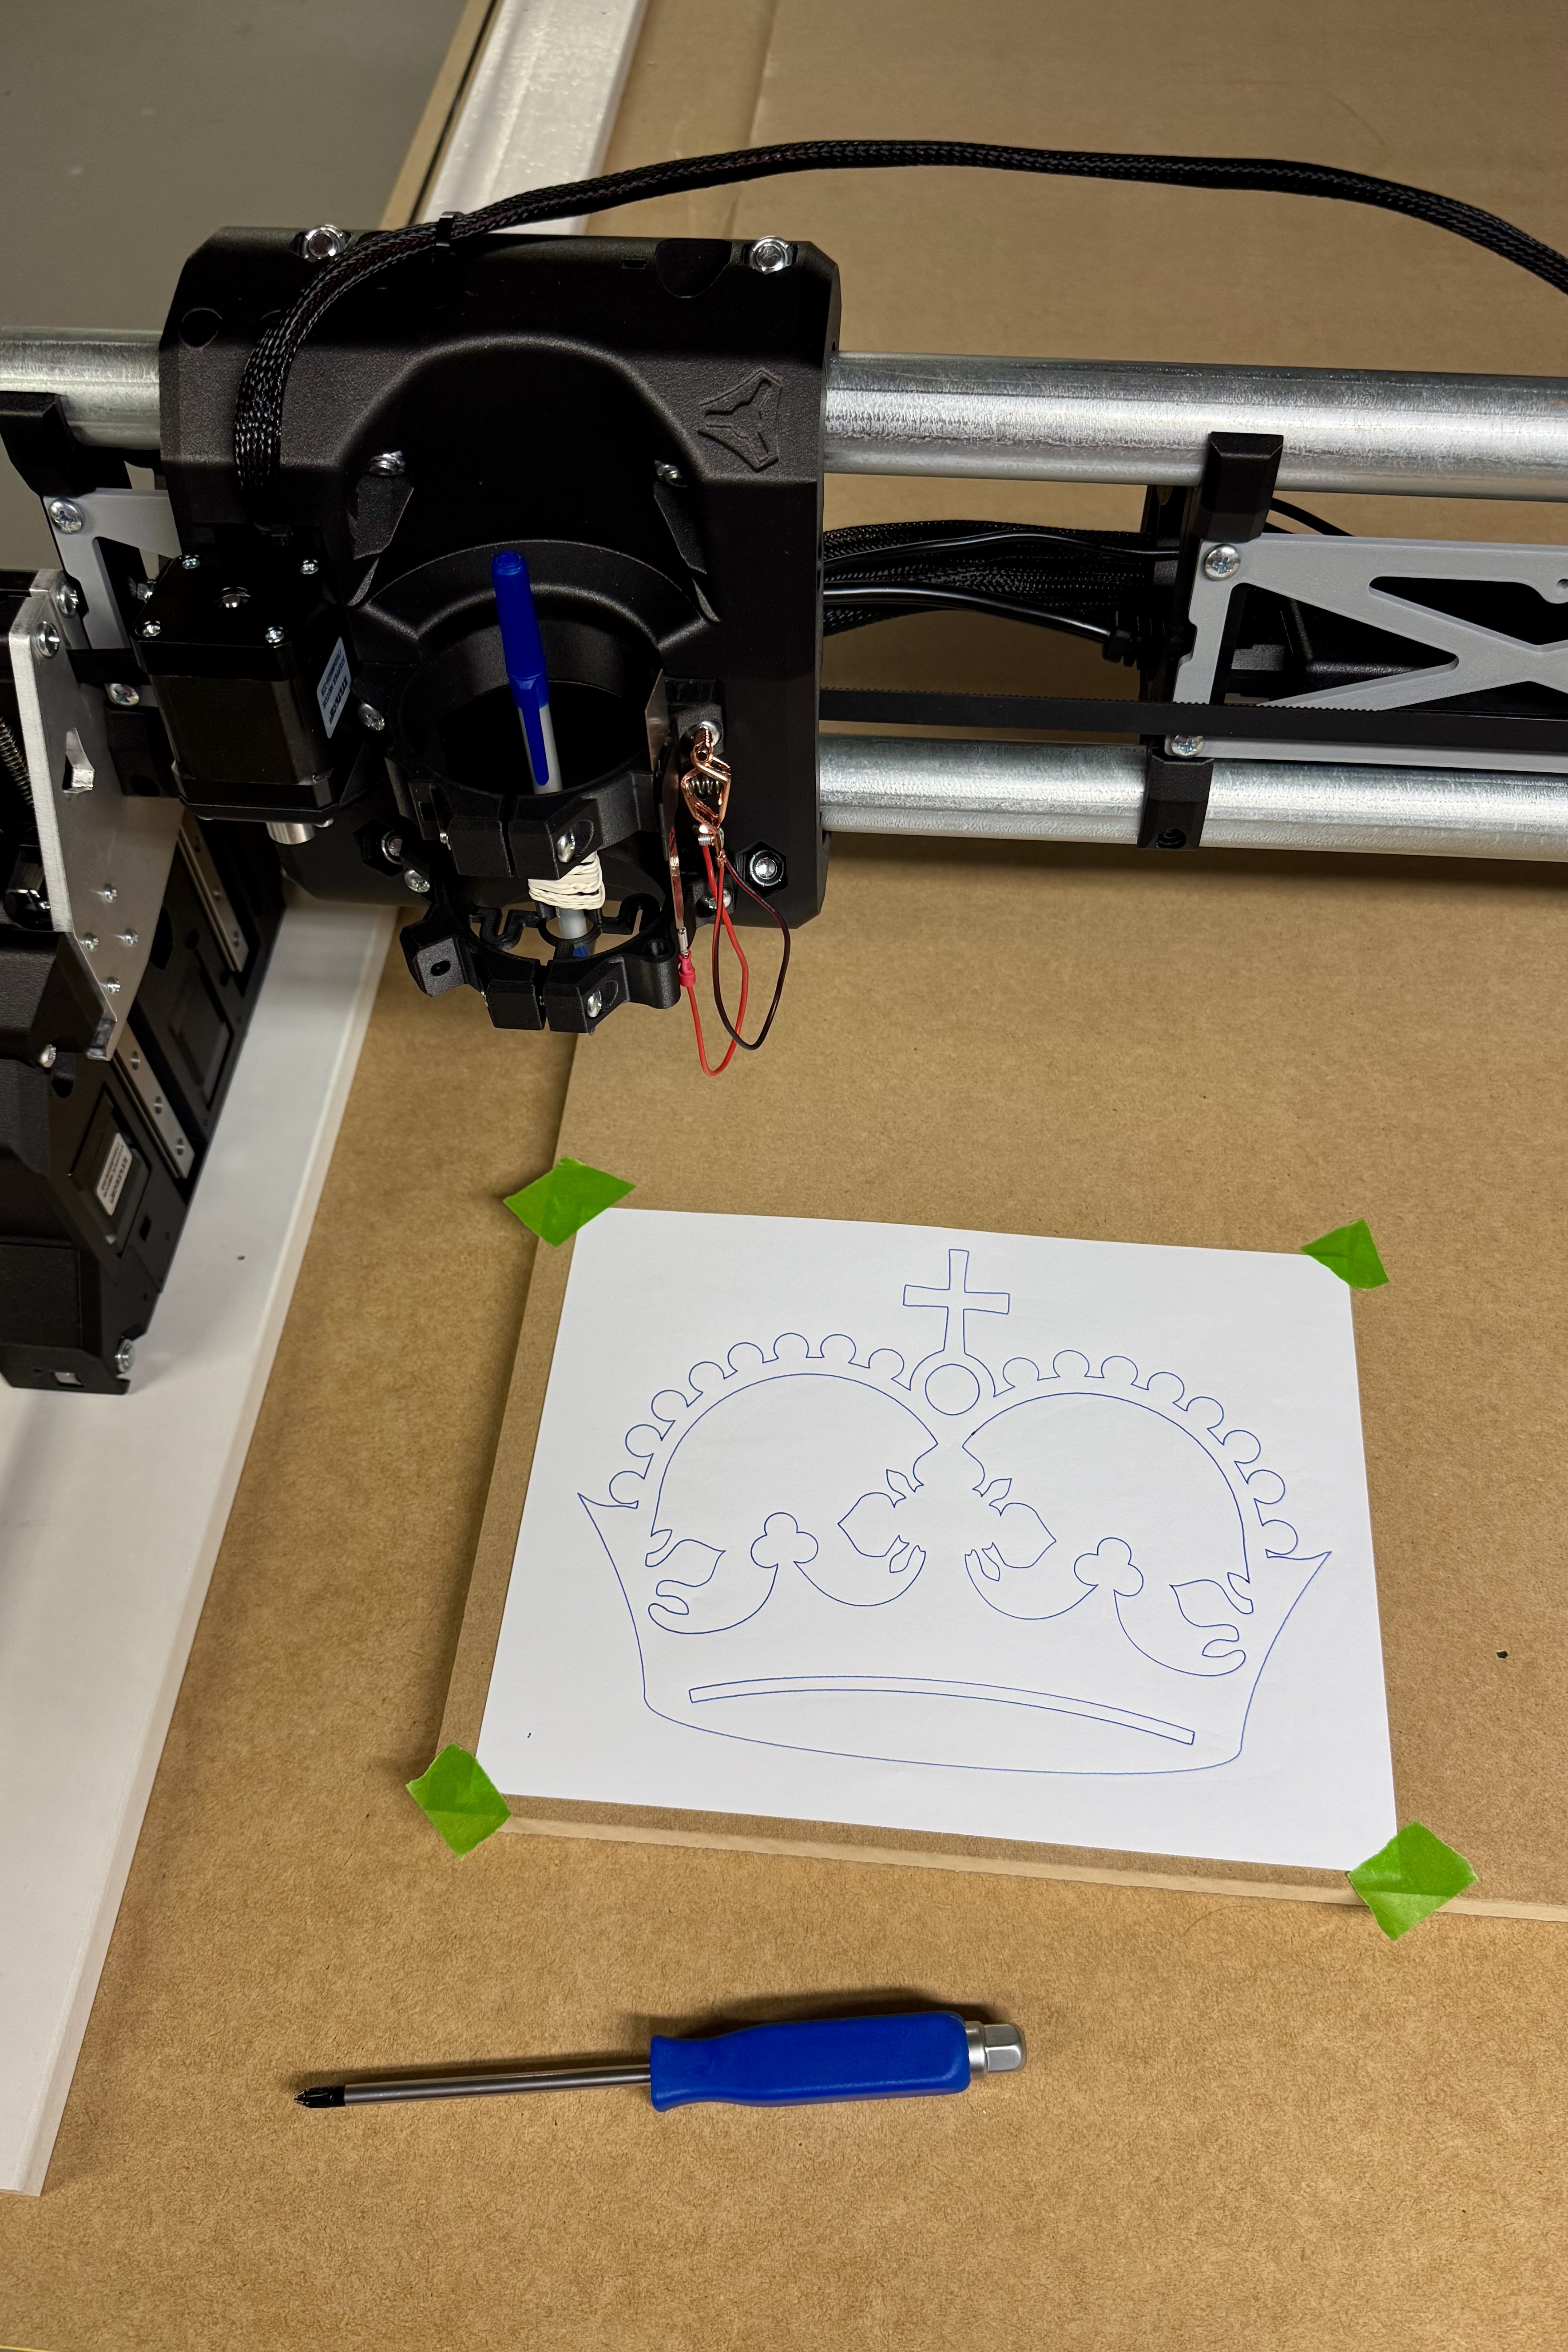
Getting a new error when trying to run some of my gcodes (just been messing around drawing stuff):
[MSG:ERR: 14 (Startup line too long) in /NorthSub_Logo.gcode at line 0]
I ran a similar code with the same beginning lines and it was fine. Could it be the crappy micro SD card I’m using?
have you gone into estlcam (or whatever youa re using) and adjusted the work space so you dont line things up on the wrong axis? I had a similar error but dont remember exactly what when I tried to cut my strut plates. They we obviously longer than the x can handle, but once I figured out that I was trying to make the machine cut the wrong way it was an easy fix.
Using Estlcam and while I didnt have my workspace set up, I do now and it does look like I was inbounds originally
Also must’ve bumped one of my Z endstops out of place because I just crashed out the top when trying to home. Anyone else break off the little Z stop tabs before?
well shoot. I was hoping that it was that easy for you. I guess now you ahve to wait for someone smarter than I am to jump and help. LOL
1 Like
Disregard, it was due to some typos in my gcode header. All solved now, just need to re-level my Z due to the crash, oops
3 Likes
Small update to the build, I swapped the very sketchy mini table that everything rests on for some Bora Workhorse XT’s and it’s much more stable now. I also added little physical markers at the Bessel points of the table to assist with placing the sawhorses. I also wired in the 24v fan for the electronics enclosure. I drilled a small hole for the wire and created a slot from the fan opening to keep the wiring clean and added a connector for it inside the enclosure so I can easily take the lid off without undoing the 24v terminals.
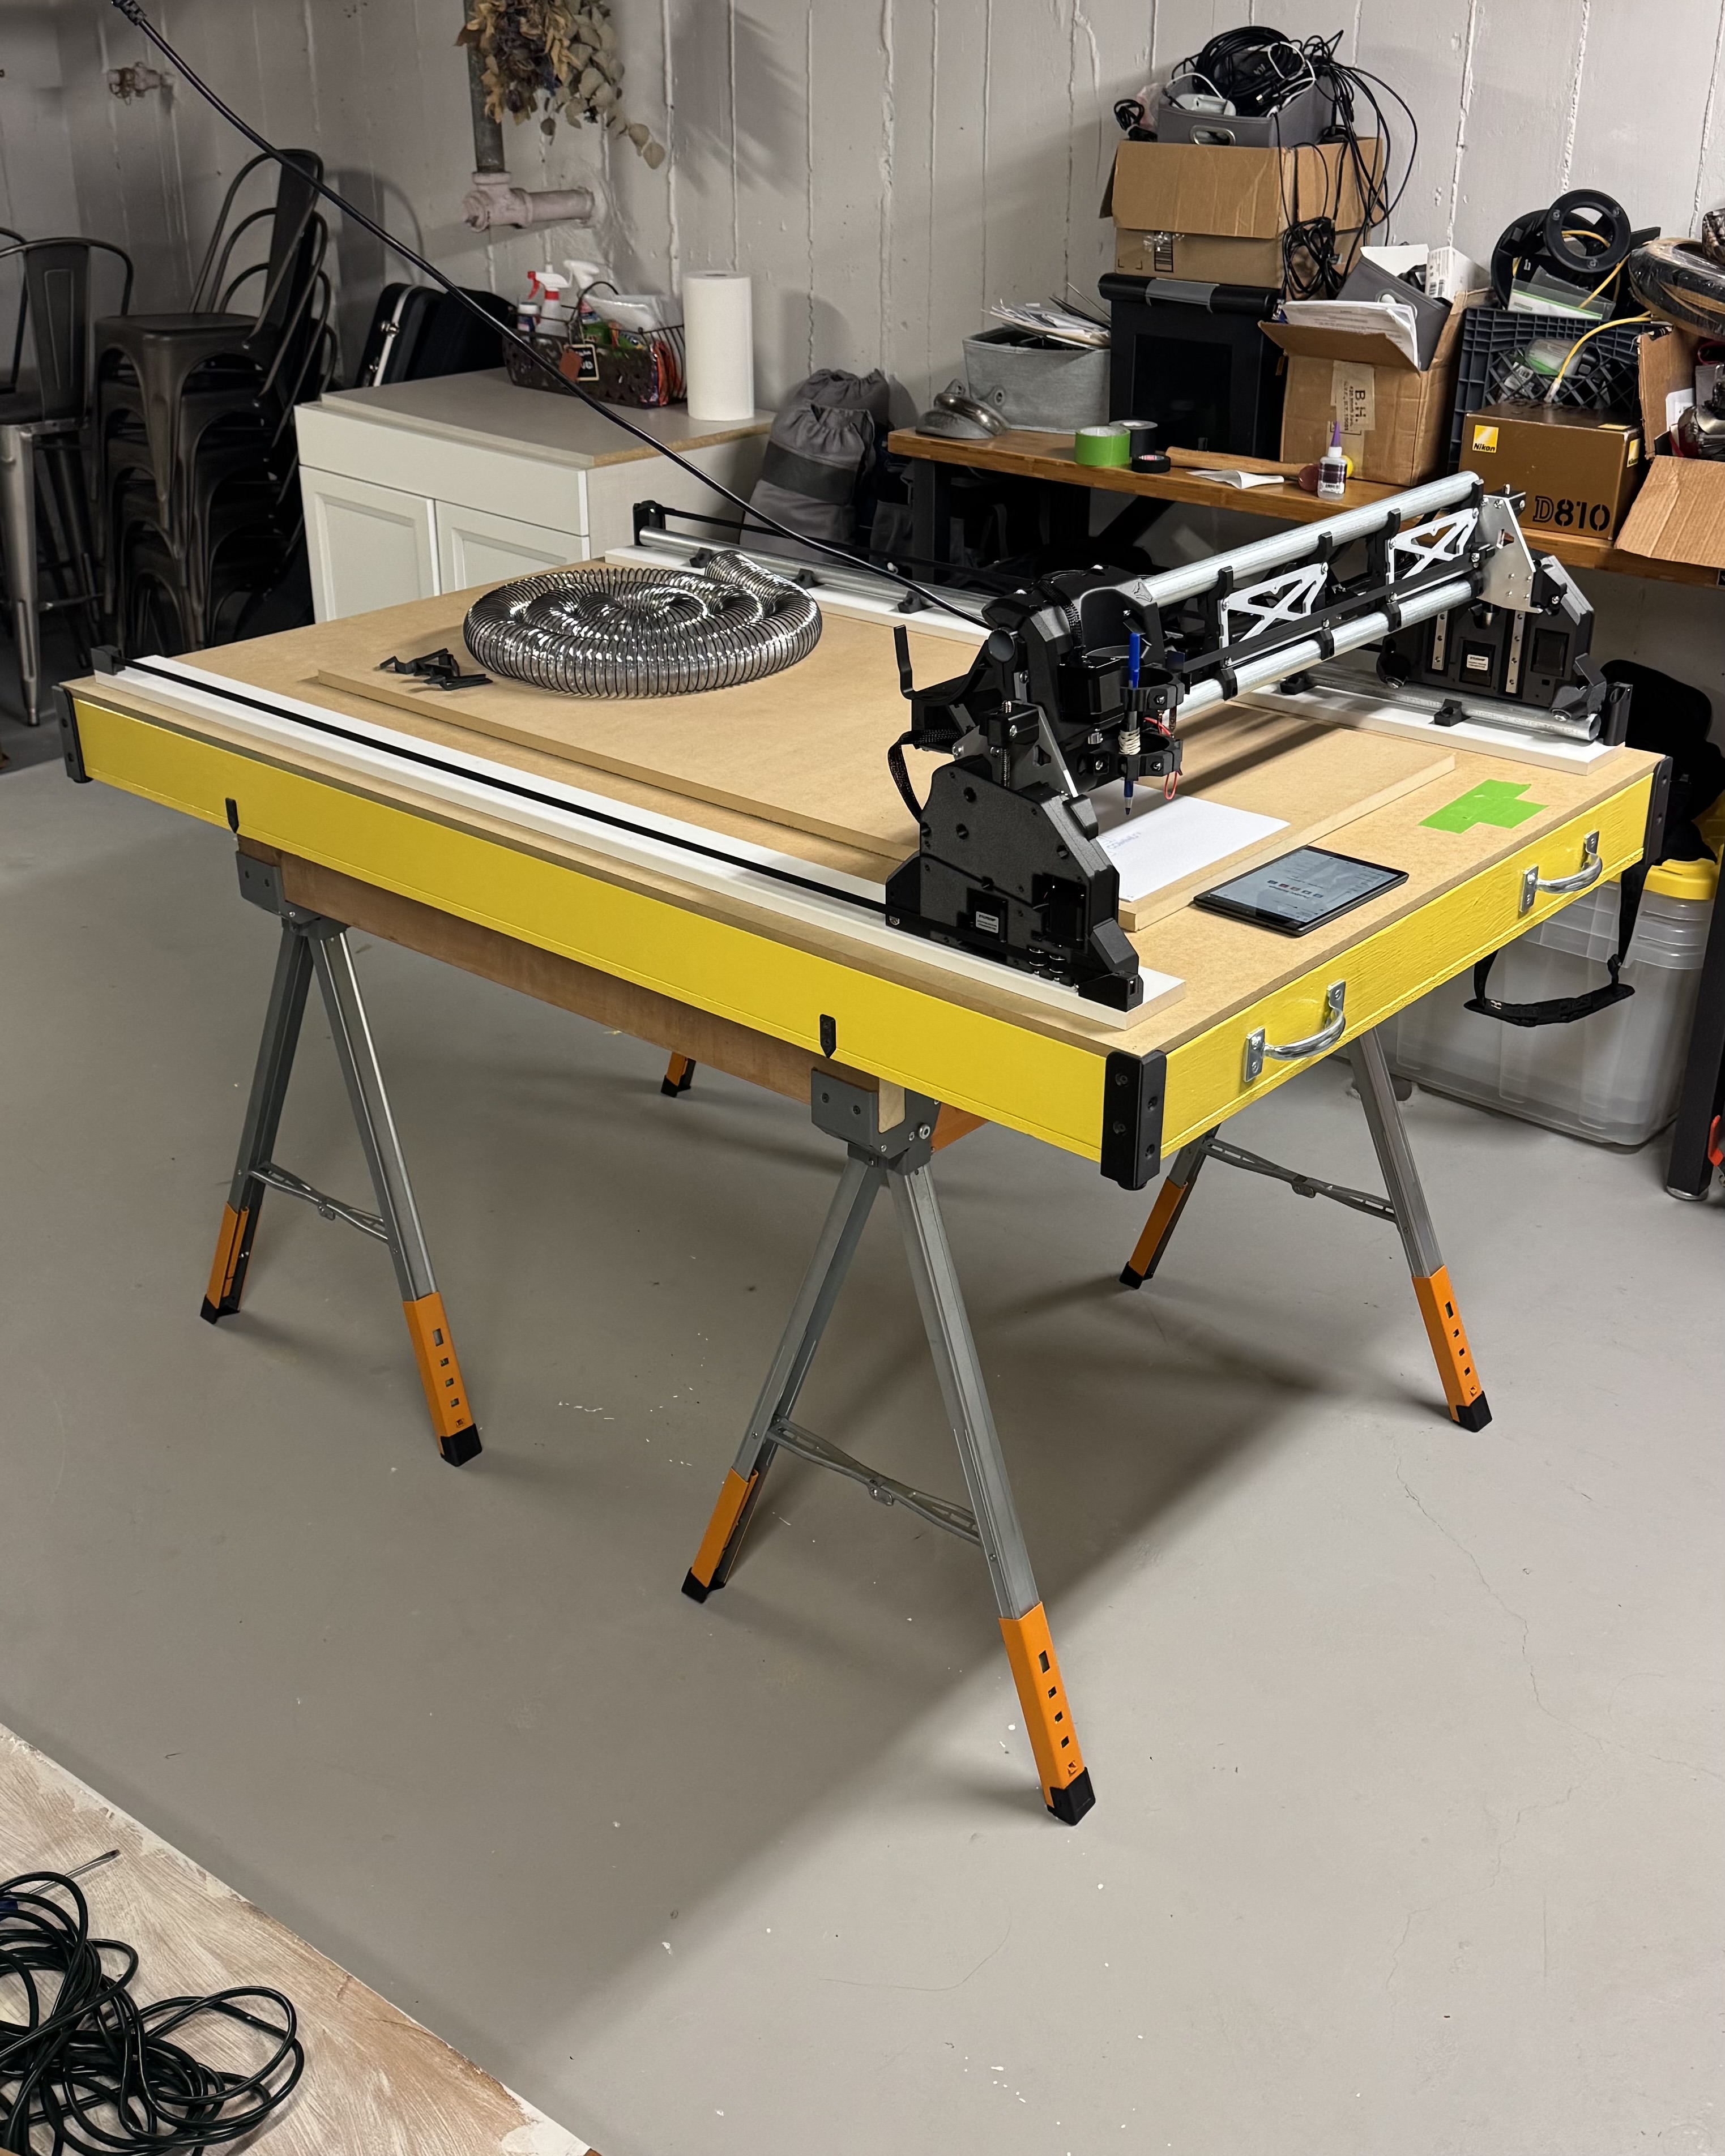

Added my spoil board which is just double sided taped at the moment but will eventually be attached via threaded inserts and nylon bolts. Going to cut my strut plates first before attempting to mill out the counter bores for the spoilboard.
I’m basically all ready to cut, still trying to figure out to ground my dust collection tube to avoid static build up and would love some suggestions on what people are doing. Hopefully more to come soon!
6 Likes
Got everything squared up and cut my strut plates out to find out I had cut my x rails 1-2mm too long which wasn’t allowing everything to line up square. Time to put the temps back on, square everything up, and add an additional 2mm to the strut calculator to try again

I also really need to get a metric measuring tape ![]()
1 Like