So far, the fluidnc board is the only part I have for my build. I bought it 3 months ago.
2 Likes
I have been slowly gathering bits and now I am stalled as I am dealing with some flooding issues 

I just want to Cnc lol
3 Likes
That is a bummer.
1 Like
Oh that sucks! I’m sorry to see that.
1 Like
Thanks guys lol
I am learning stuff just not what I wanted too.
I hope to be back building soon.
I will be possibly making some parts for this job so I will be learning more cad.
Might even use the mpcnc to trace my gaskets so I can check the sizing. And make some tpu seals so I don’t ever have to do this again.
So crappy circumstances but learning things and hopefully will be able to pass the files on to the community so others can use them. So not a total waist.
I am trying to use a paper scanner to scan a template of a seal and put it into svg or dxf but I haven’t quite got that figured out.
Just playing around at work on breaks
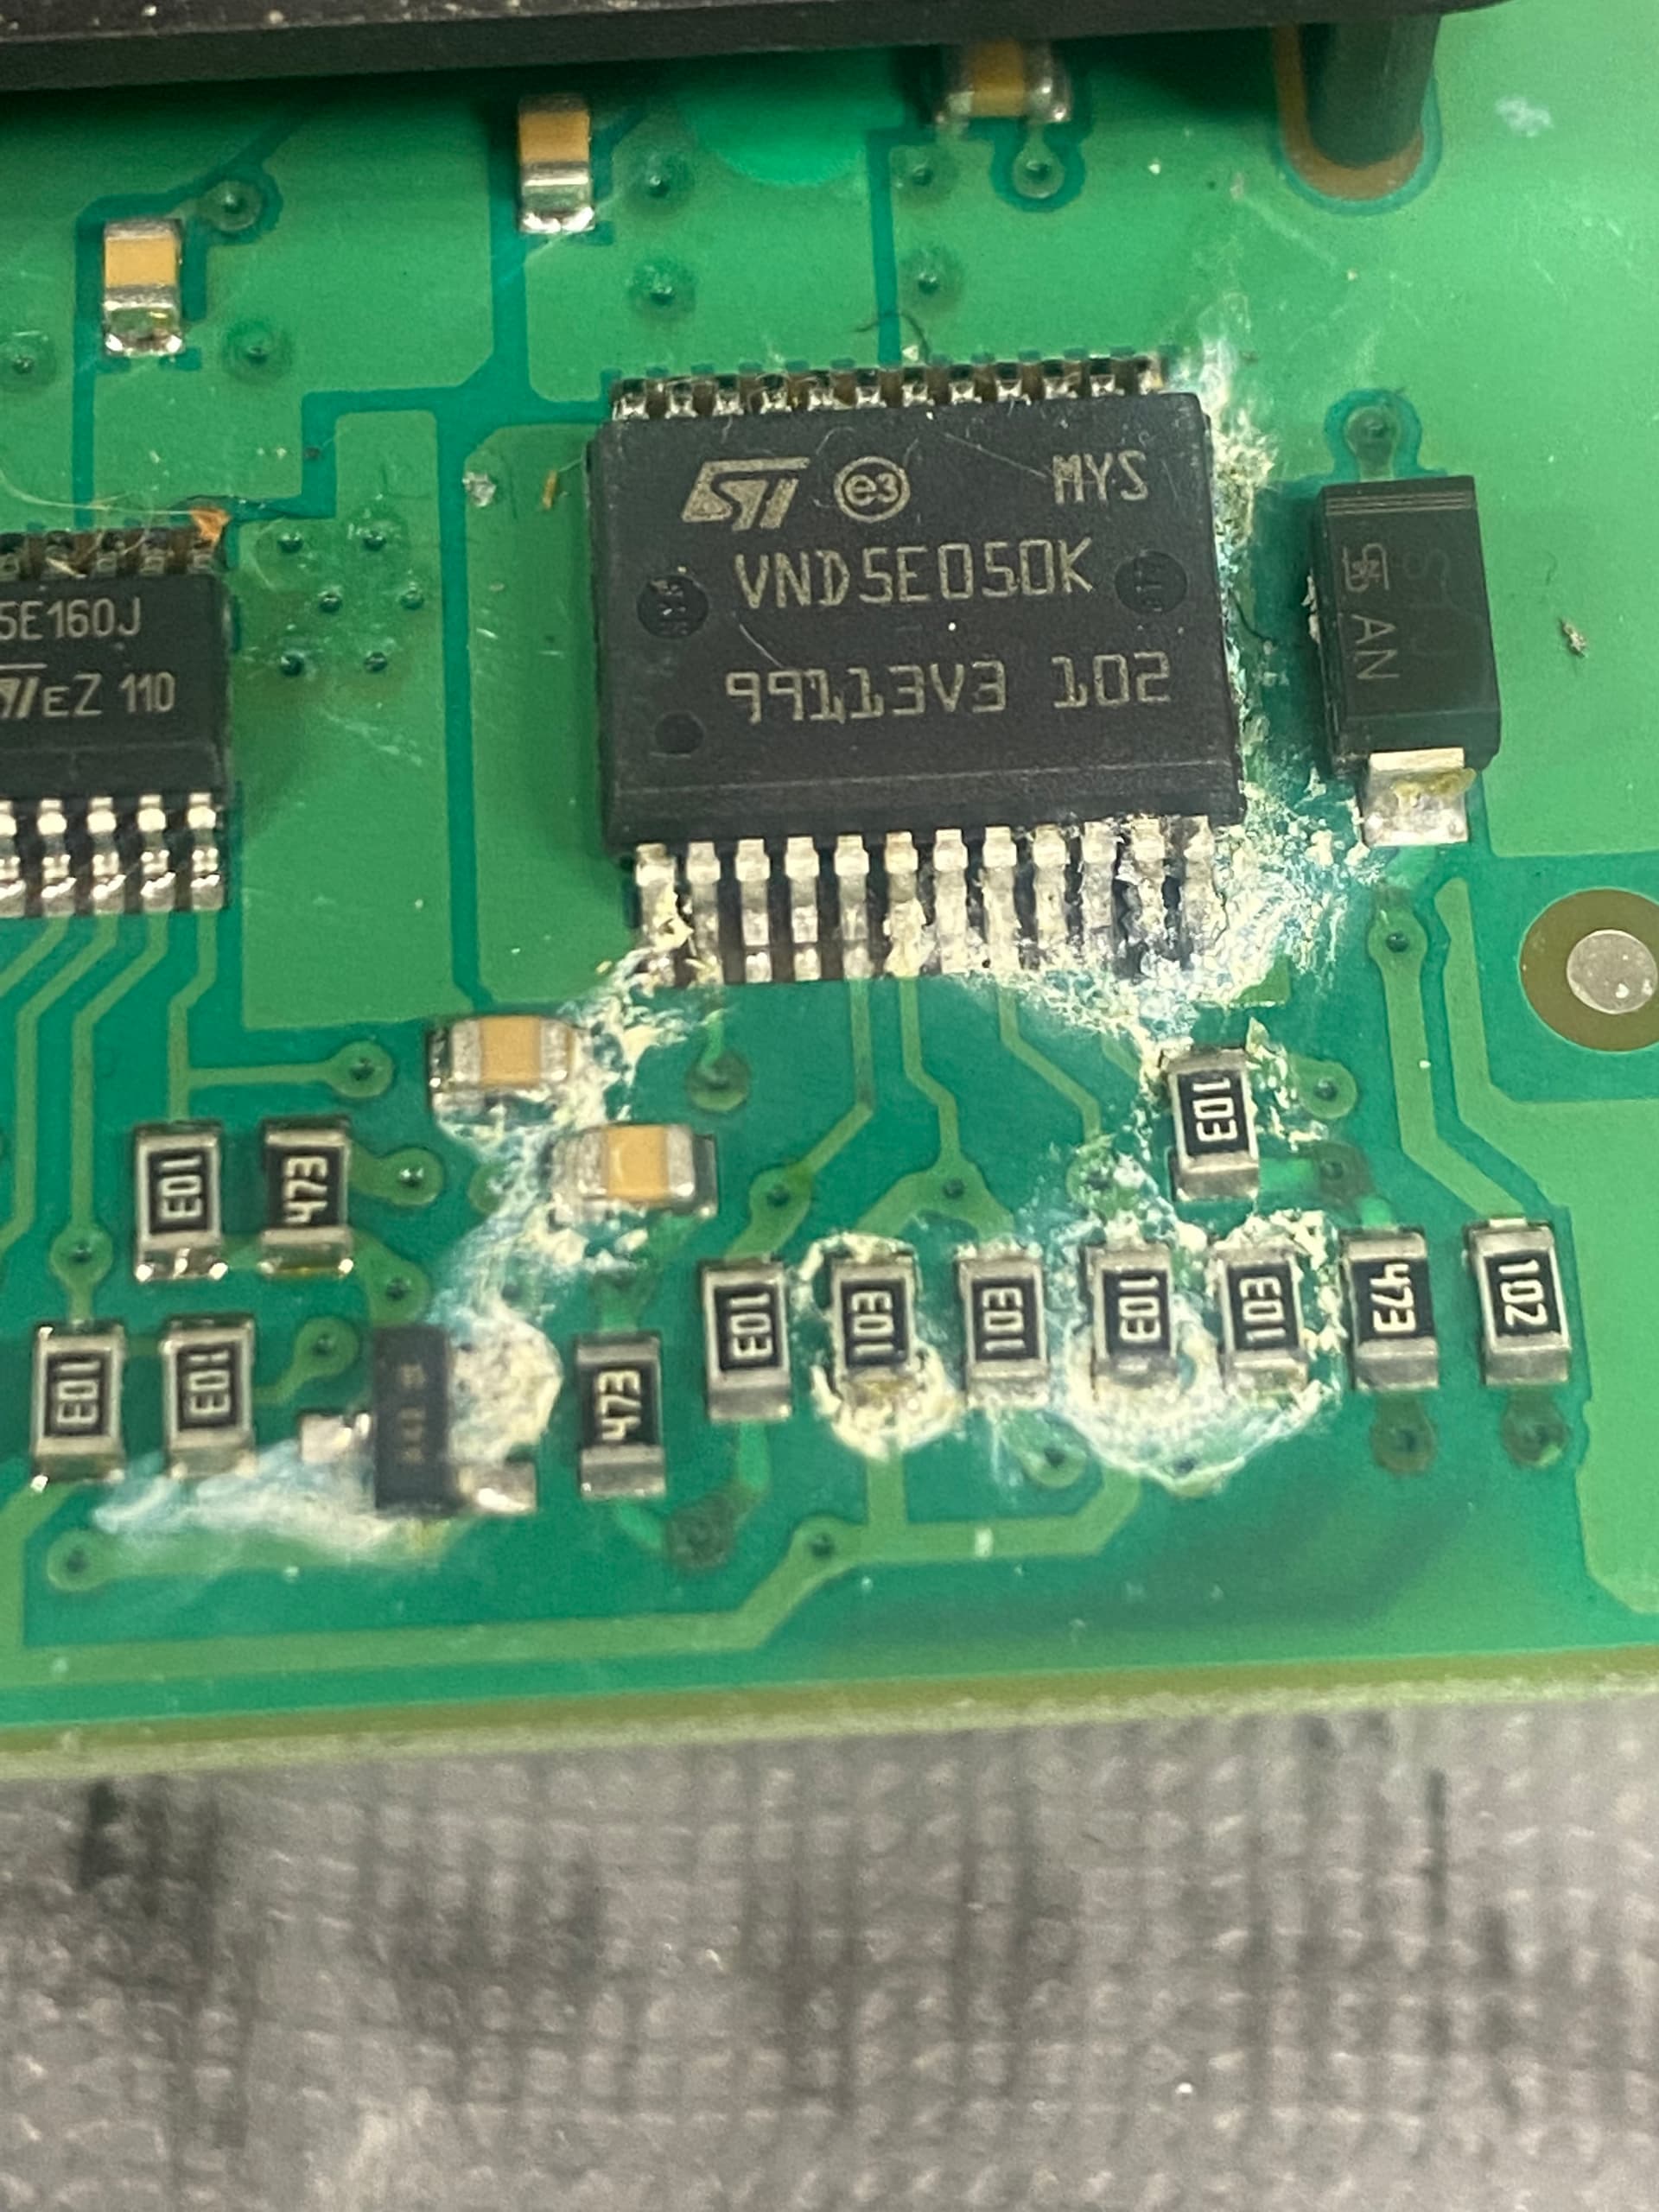
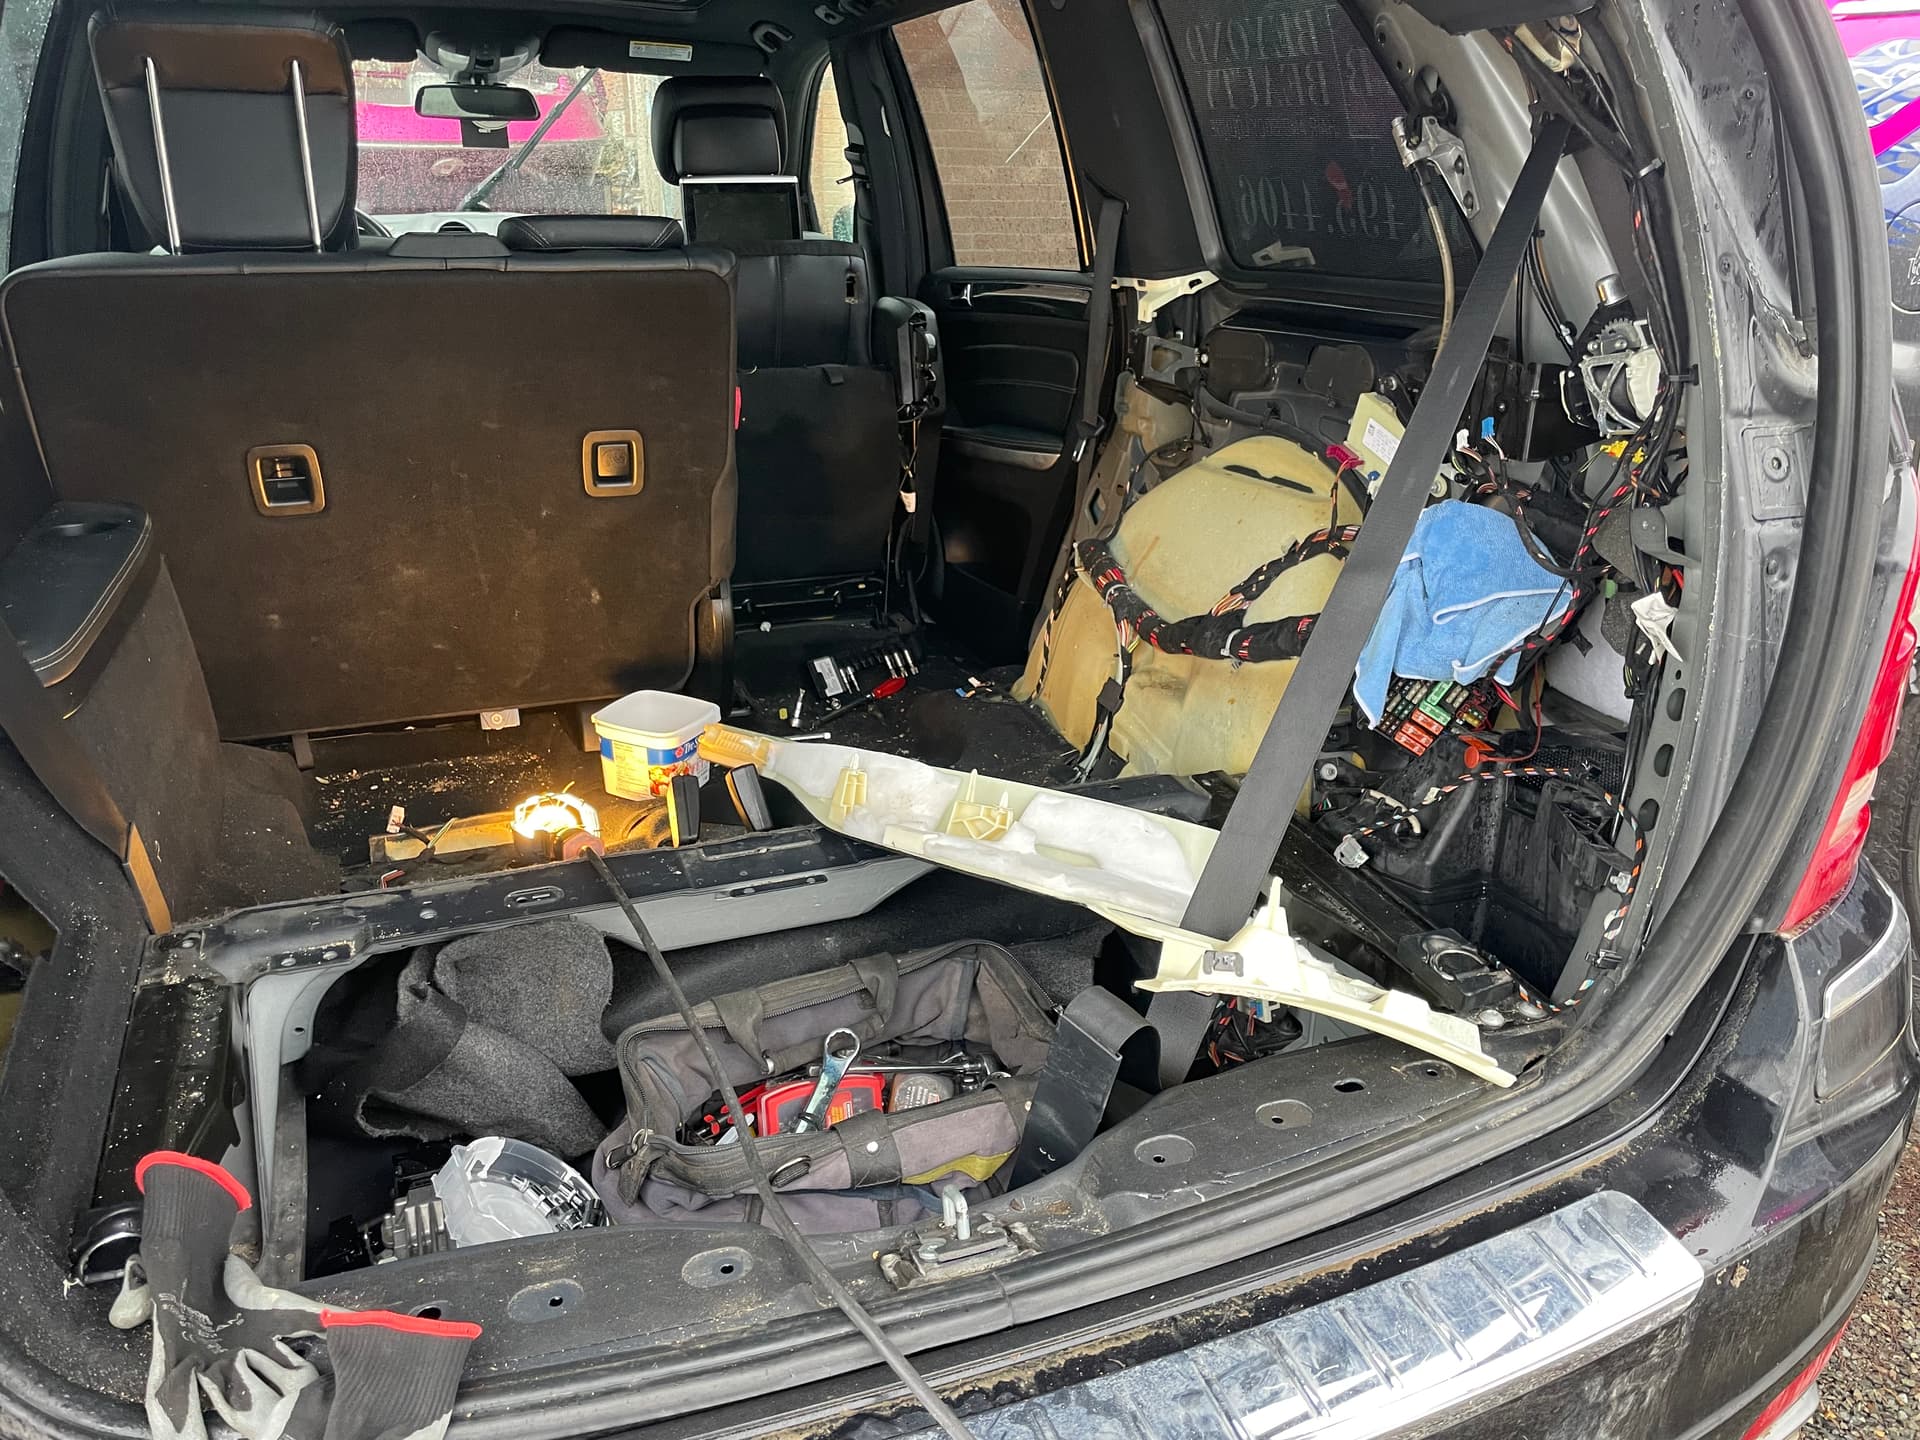
Well that was a disaster, all bc the previous owner didn’t put a nut on a roof rack rail. Or it fell out either way I found it in the rear pillar.
And having to work in the rain made it easy to see it’s no longer leaking.
Flood damage all repaired and waterproofed.
Back to building Cnc stuff again finally.
2 Likes
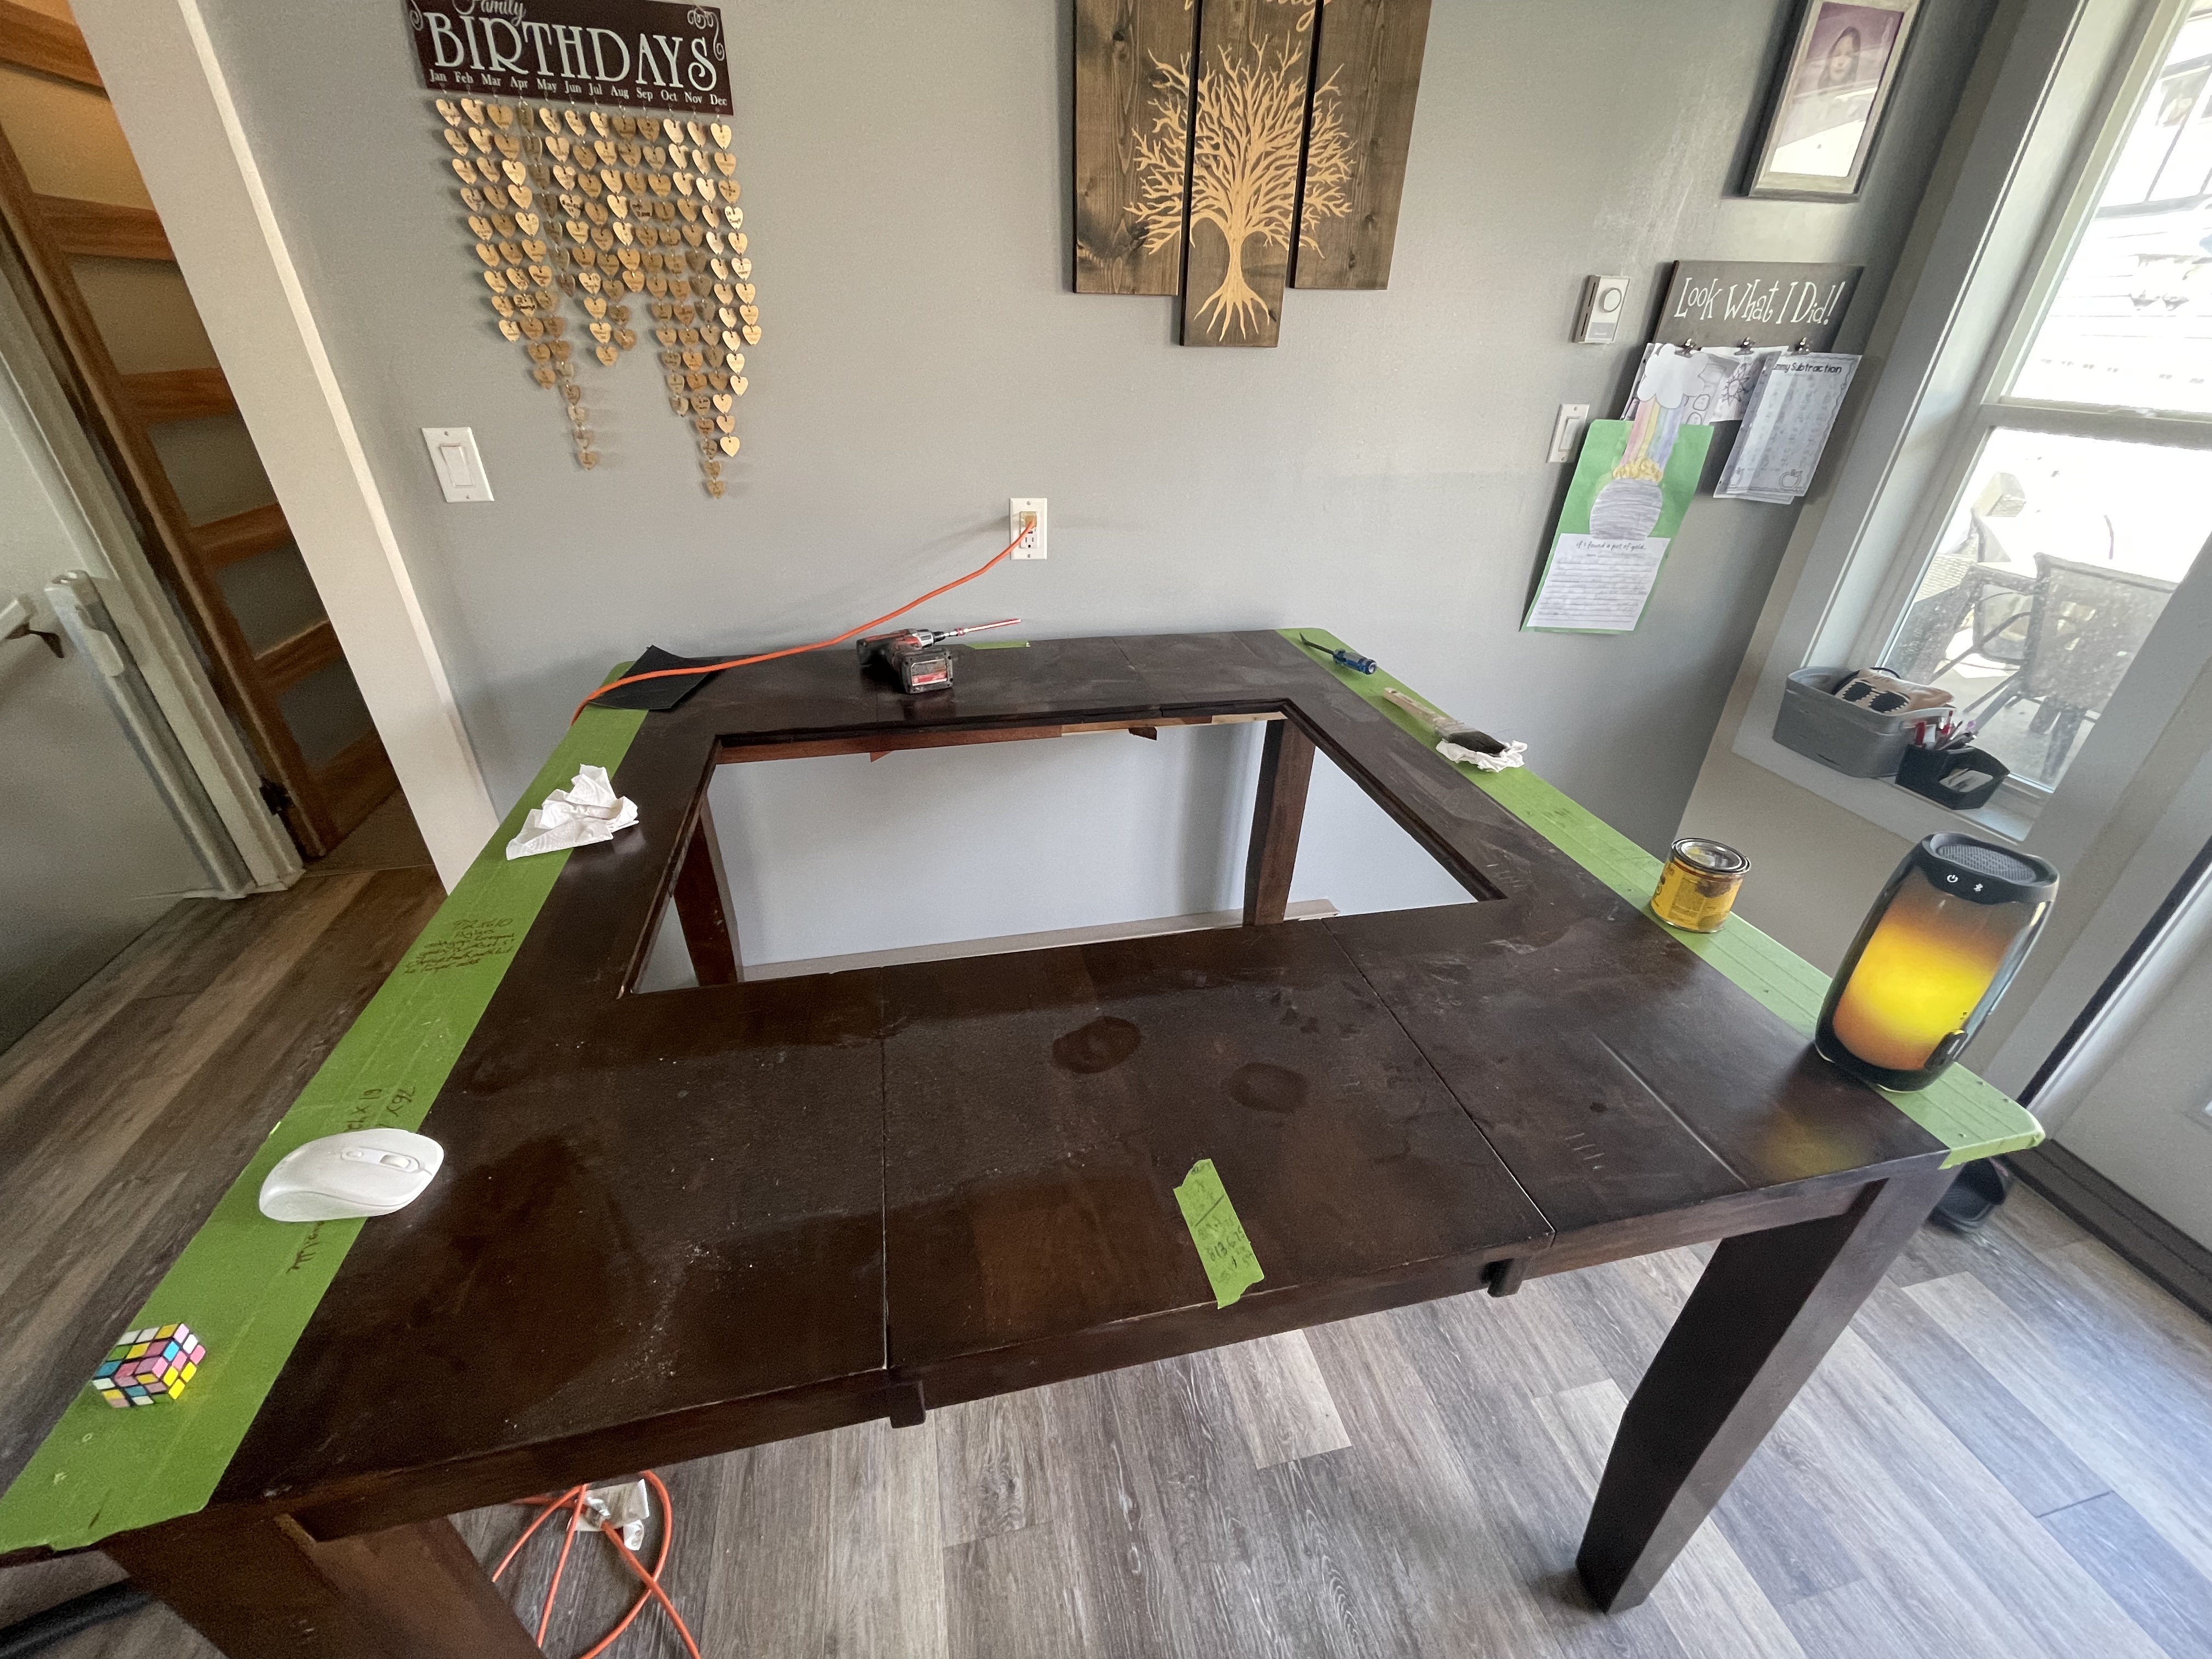
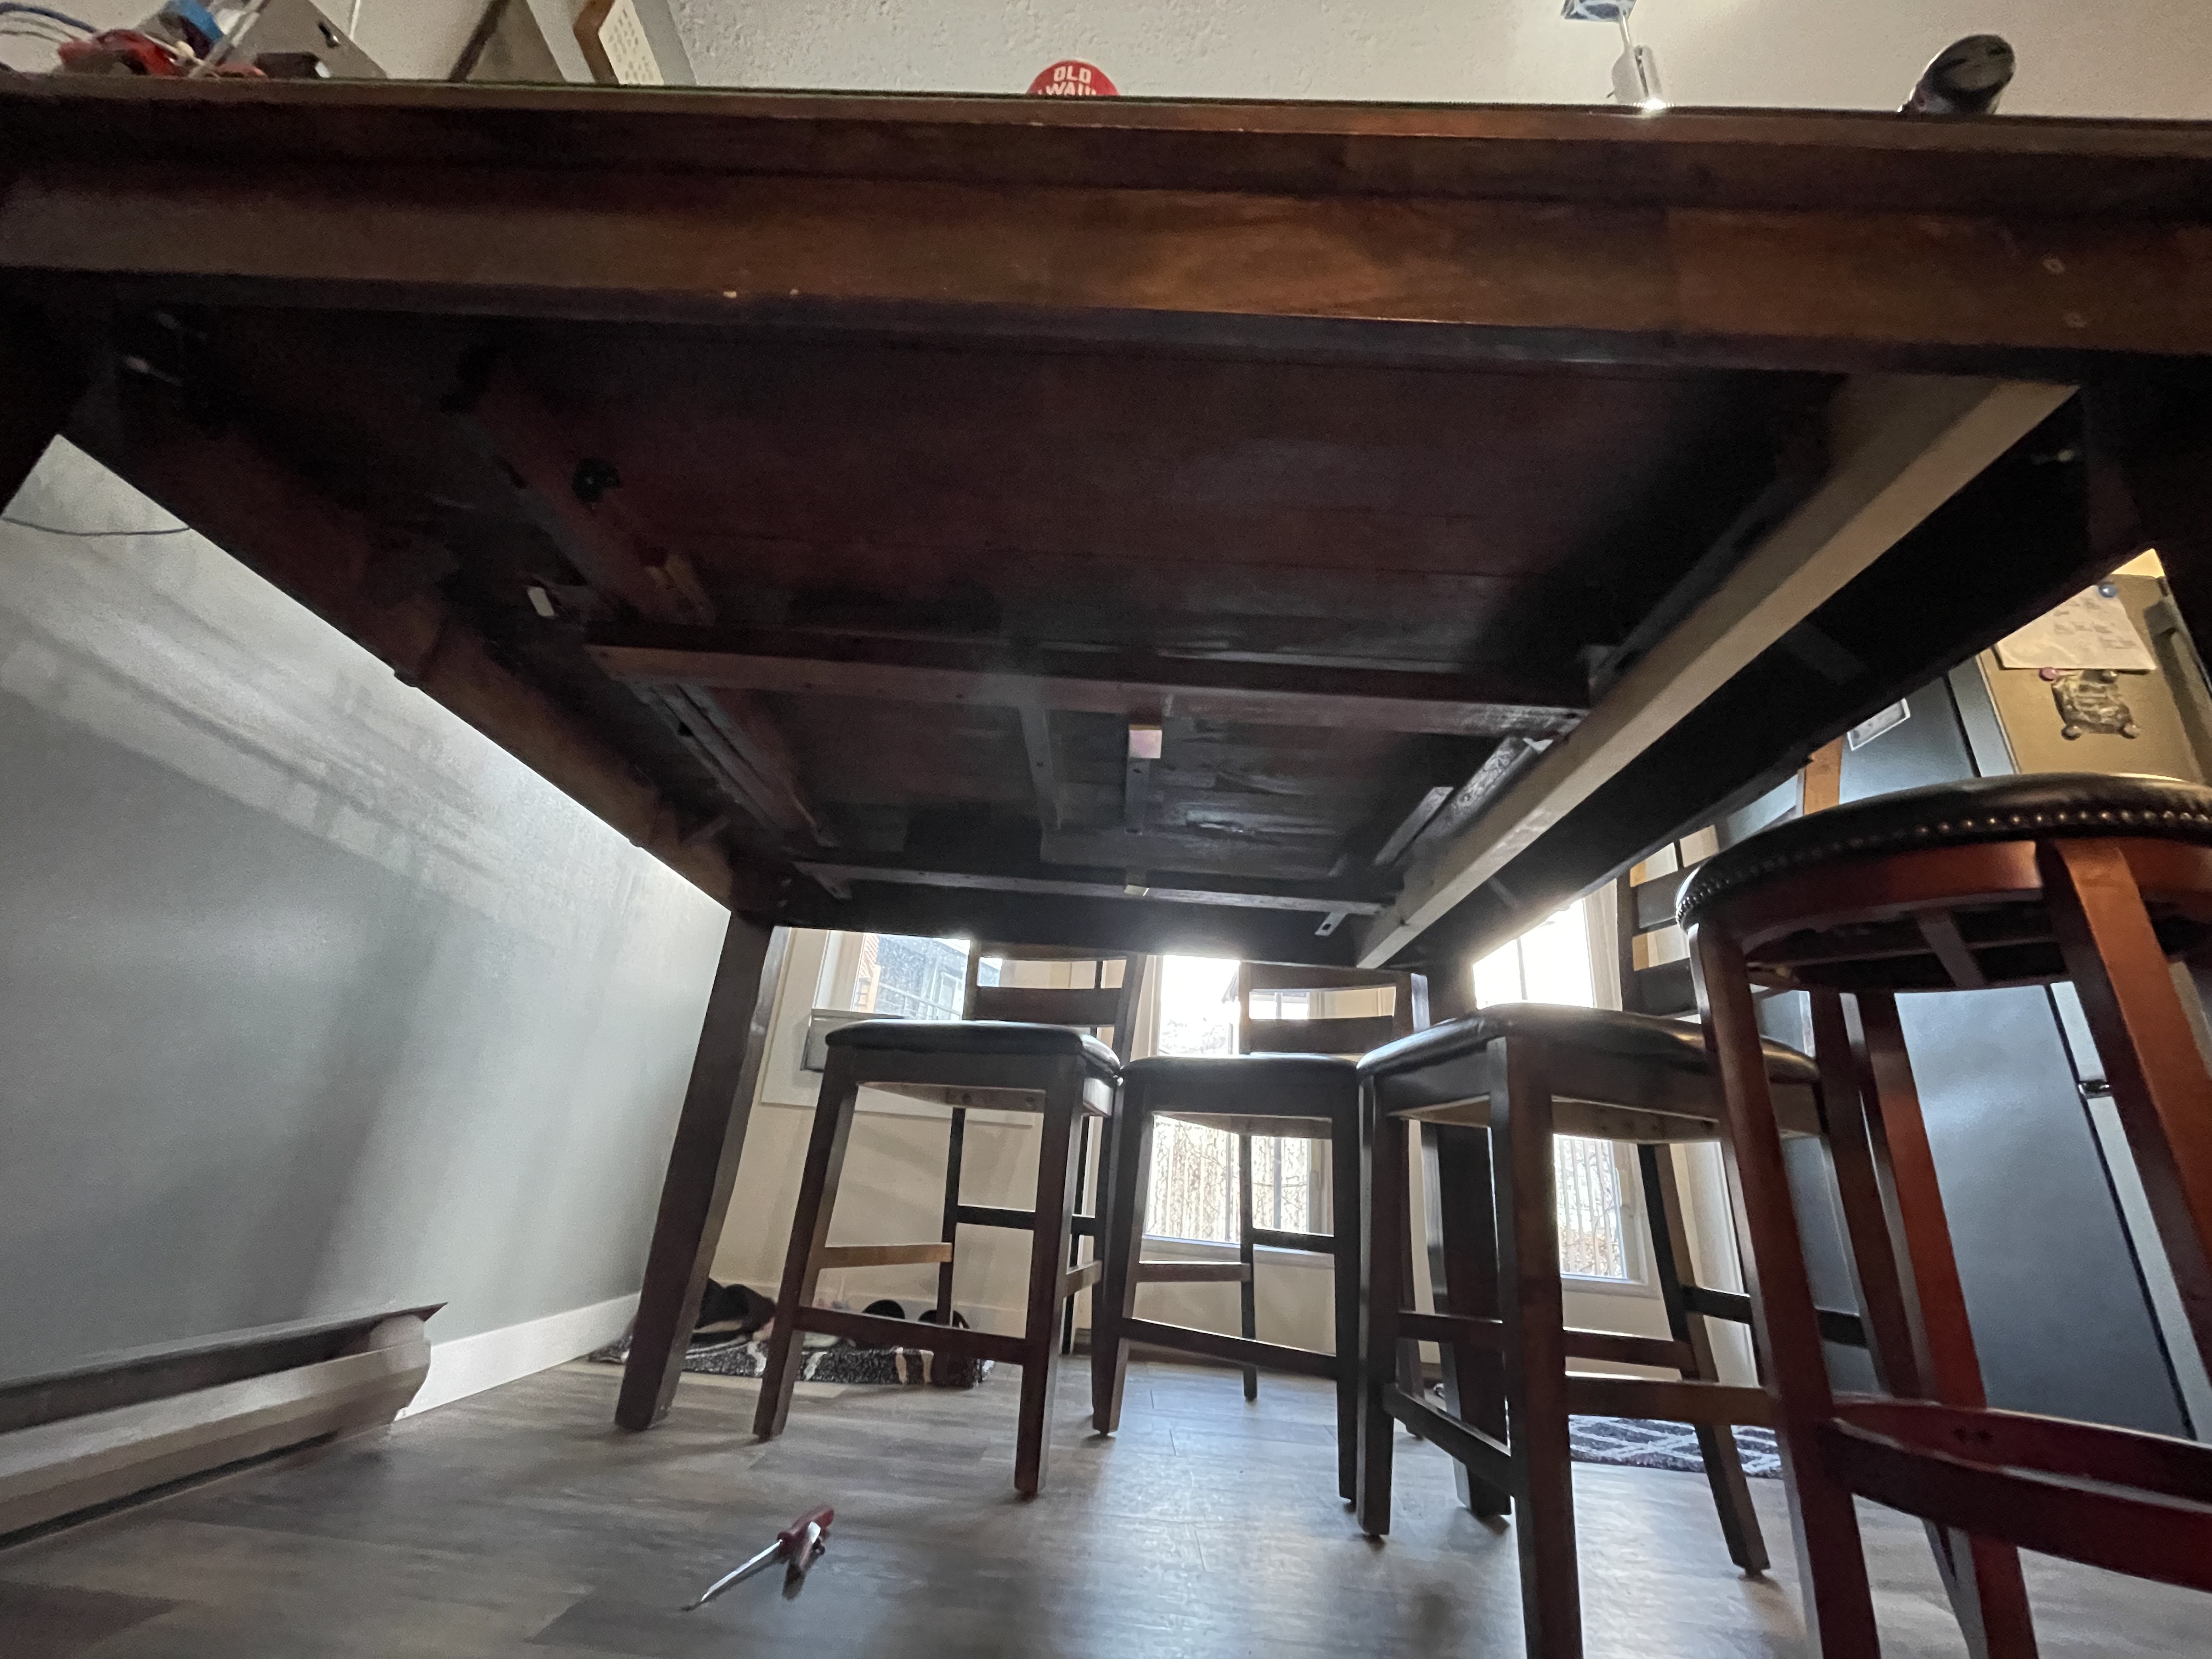
Slowly making progress
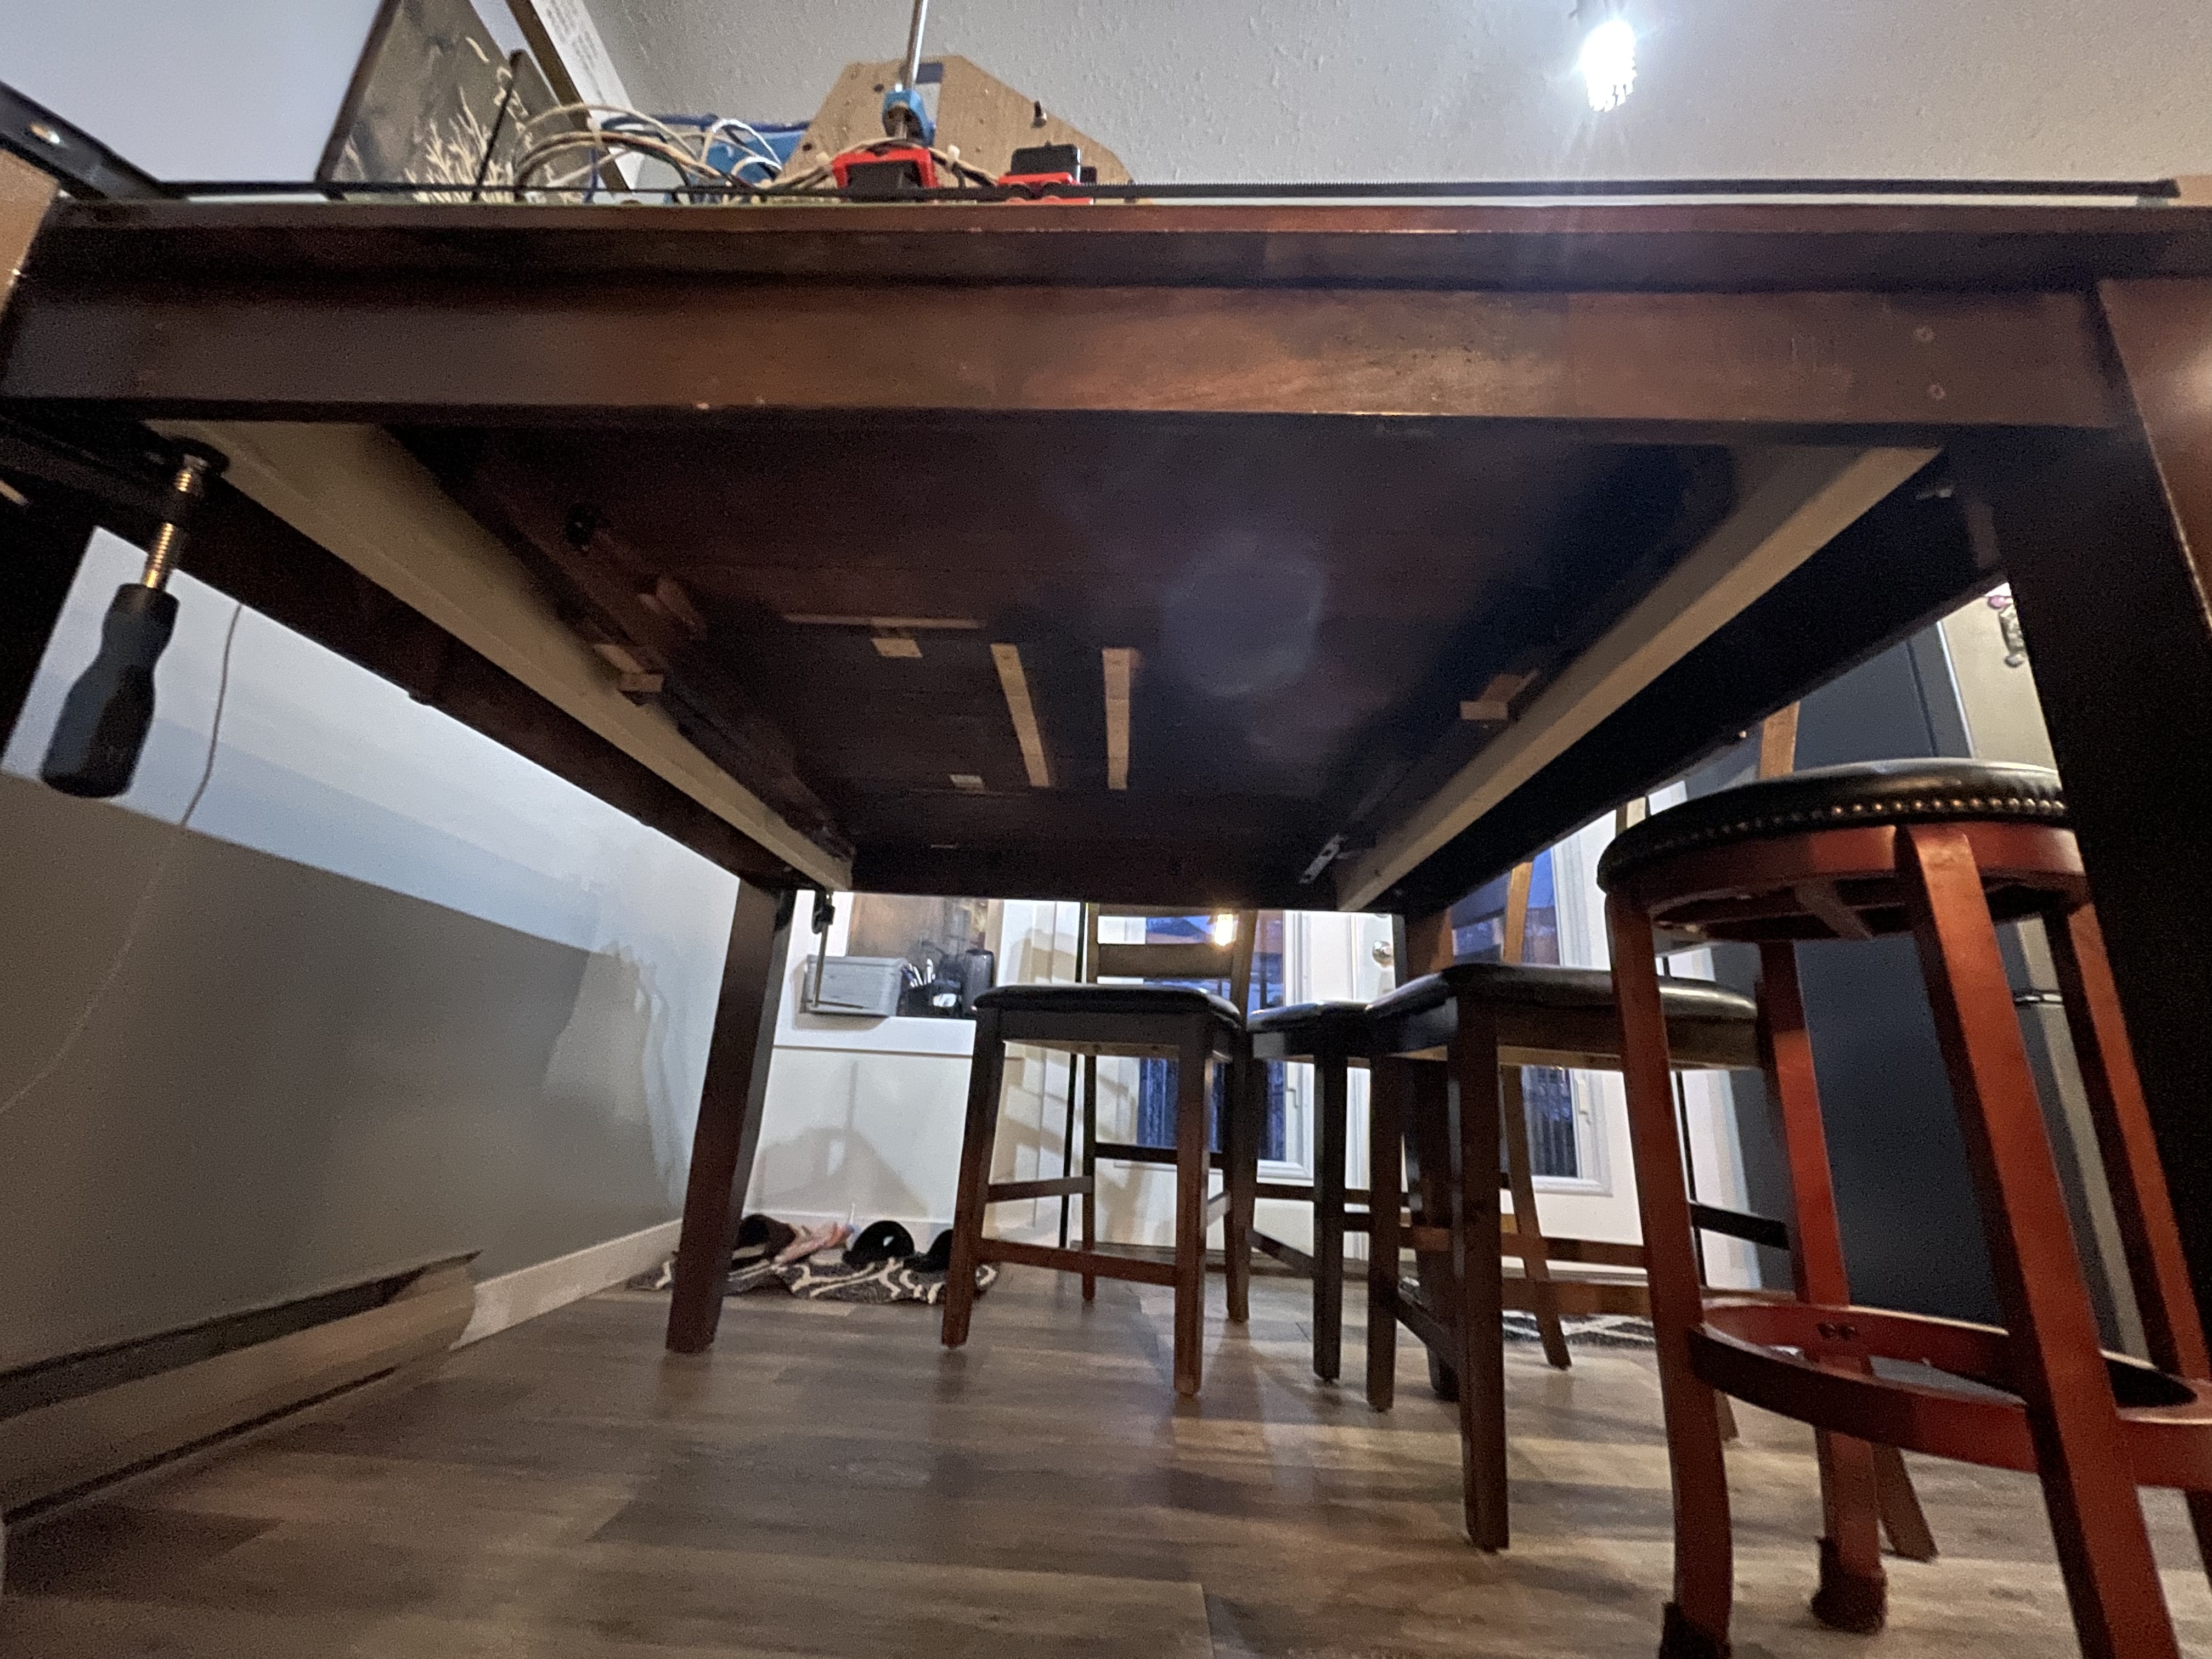
I have gutted under my table so I can mount my sand box. And also added a couple braces bc all the strength is gone. The box will add some back as well.
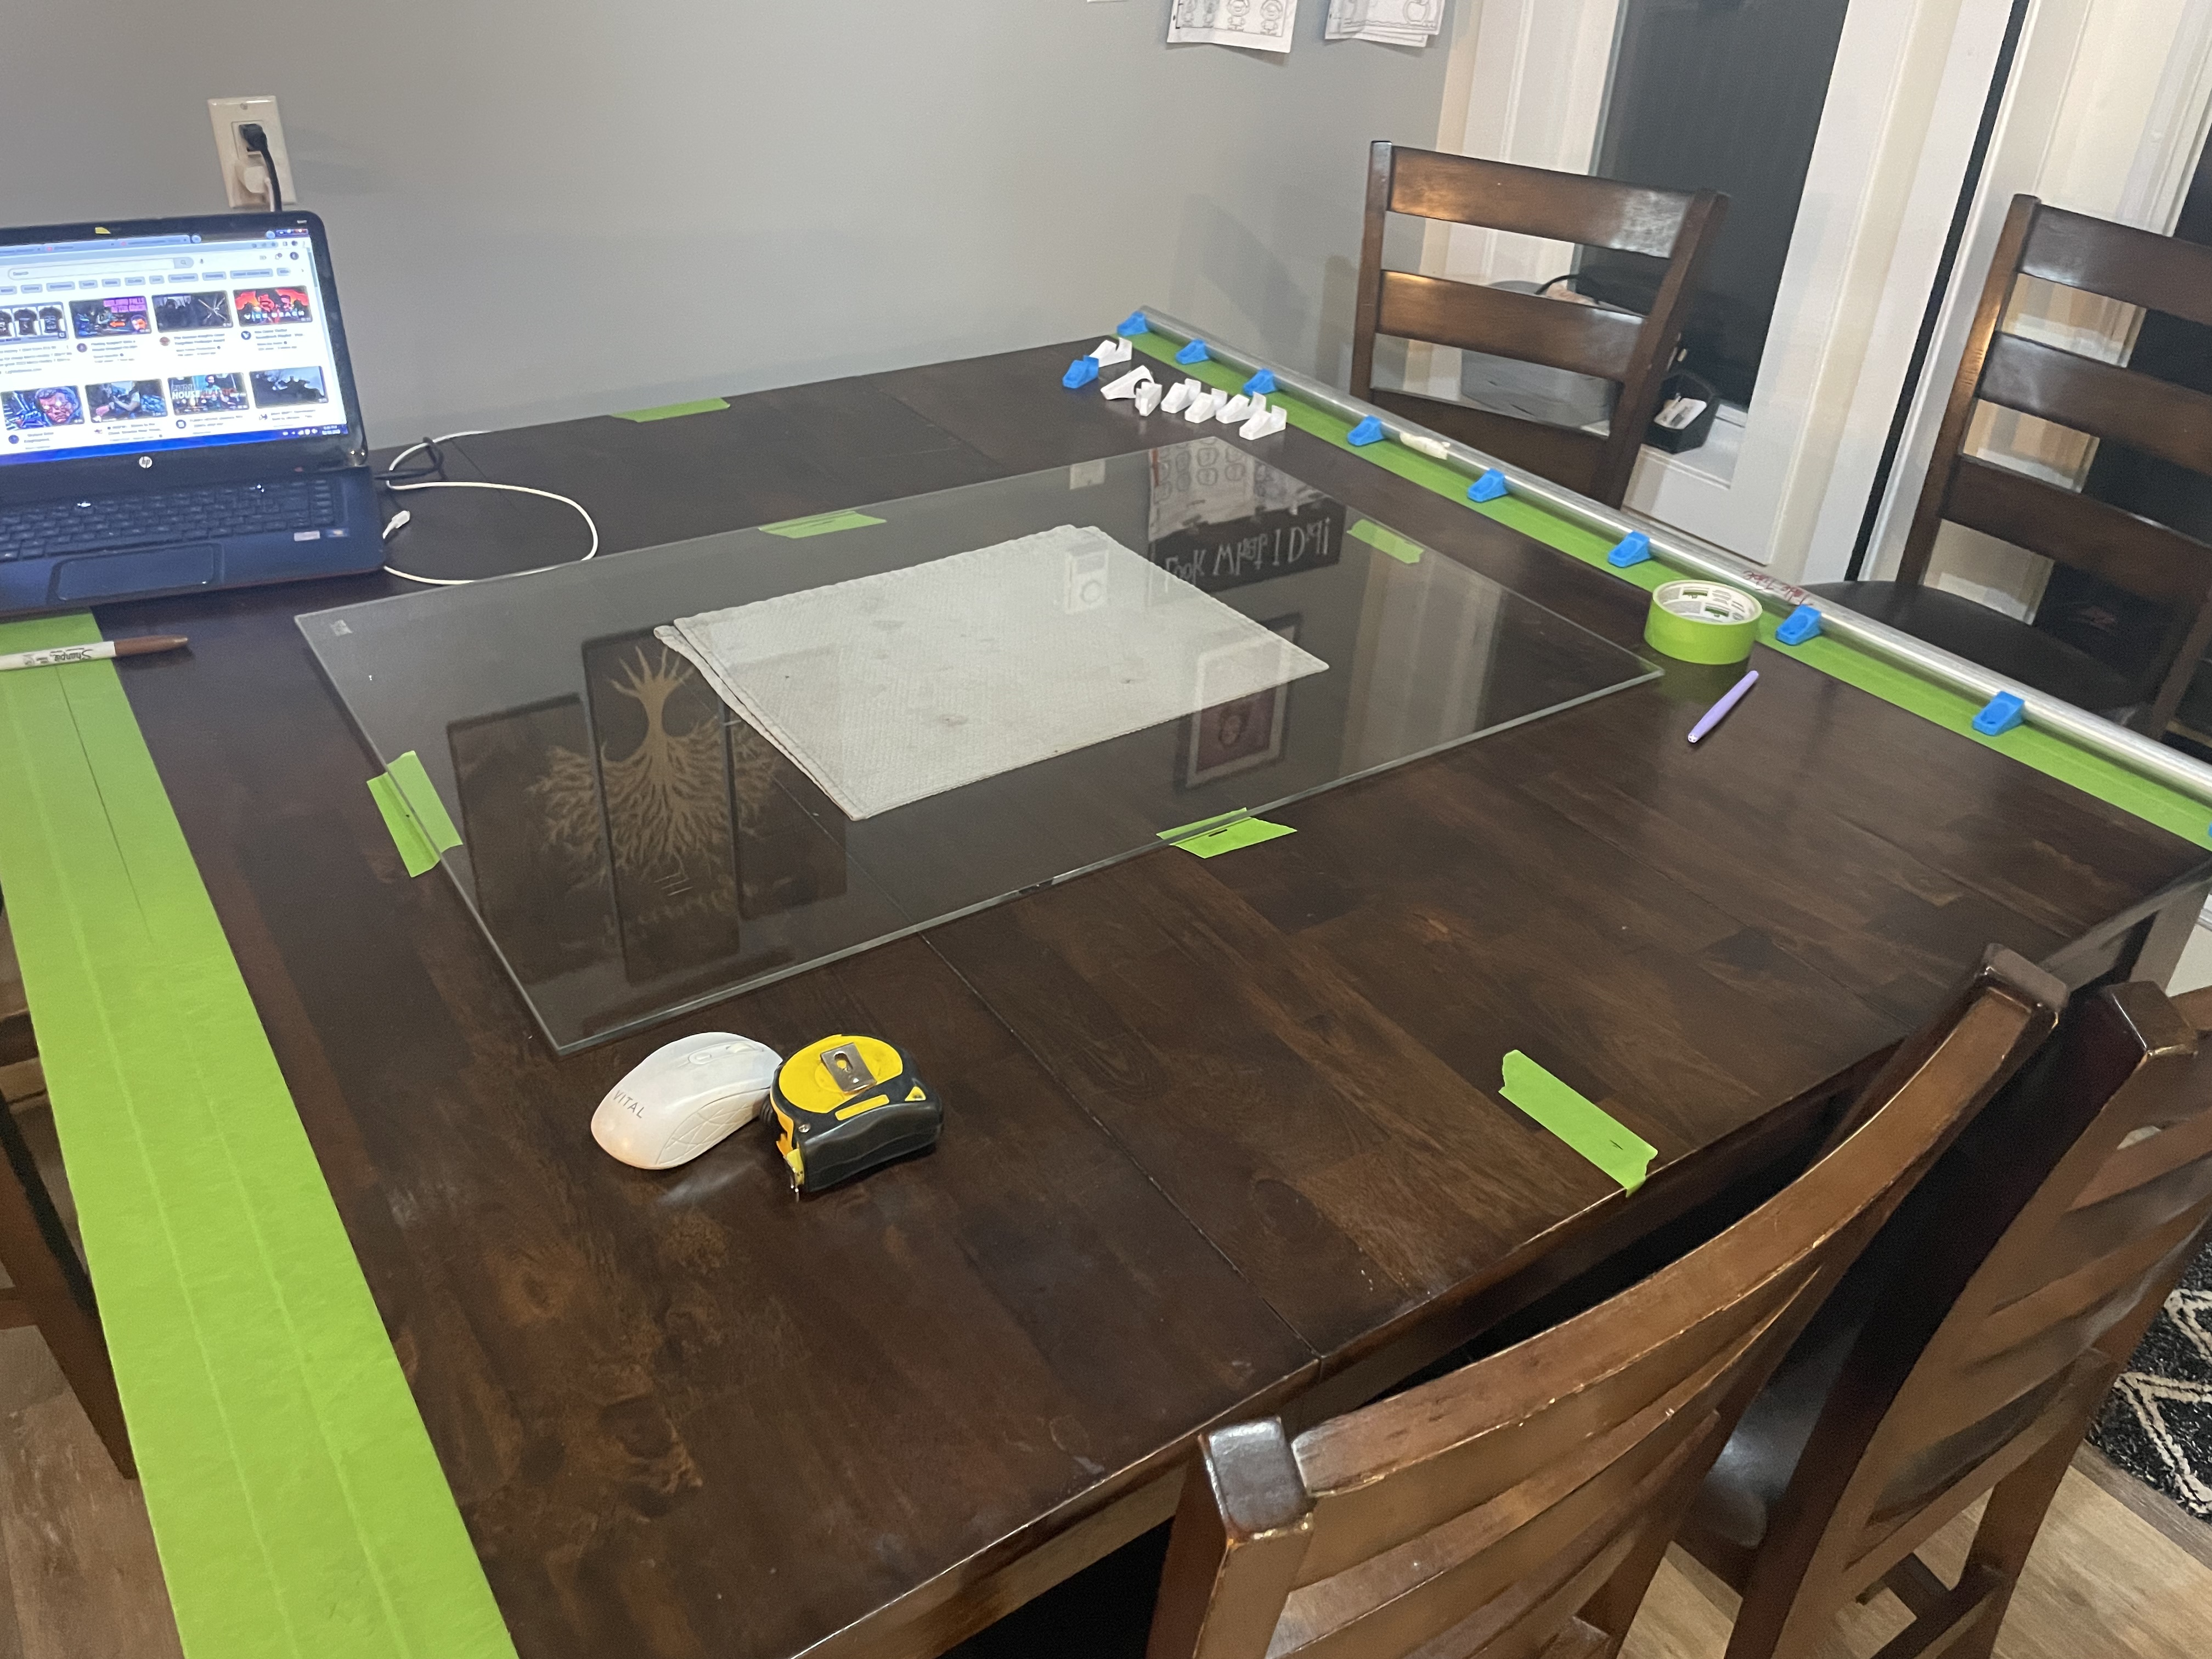
My space available is 76 x 127cm
And my glass panel is 61x 92cm so I should have a decent border.
Made some errors on my lr3 like cut my tubes 1/2” too short ![]()
Ohh well I have spares. Also trying to overcome my space issue. So I don’t have enough room to do my strut cuts in one shot. I didn’t know how to use the v1 drawings and do only a partial cut so I did a quick half cut strut version on freecad but now I am thinking I can use the v1 design and just use engrave rather than part as part won’t let me end the cuts without it being a enclosed perimeter.
Plan is today to cut my sand box frame out of some 3/4” shelving slabs. And then do my strut cuts and try and get them re aligned.

2 Likes
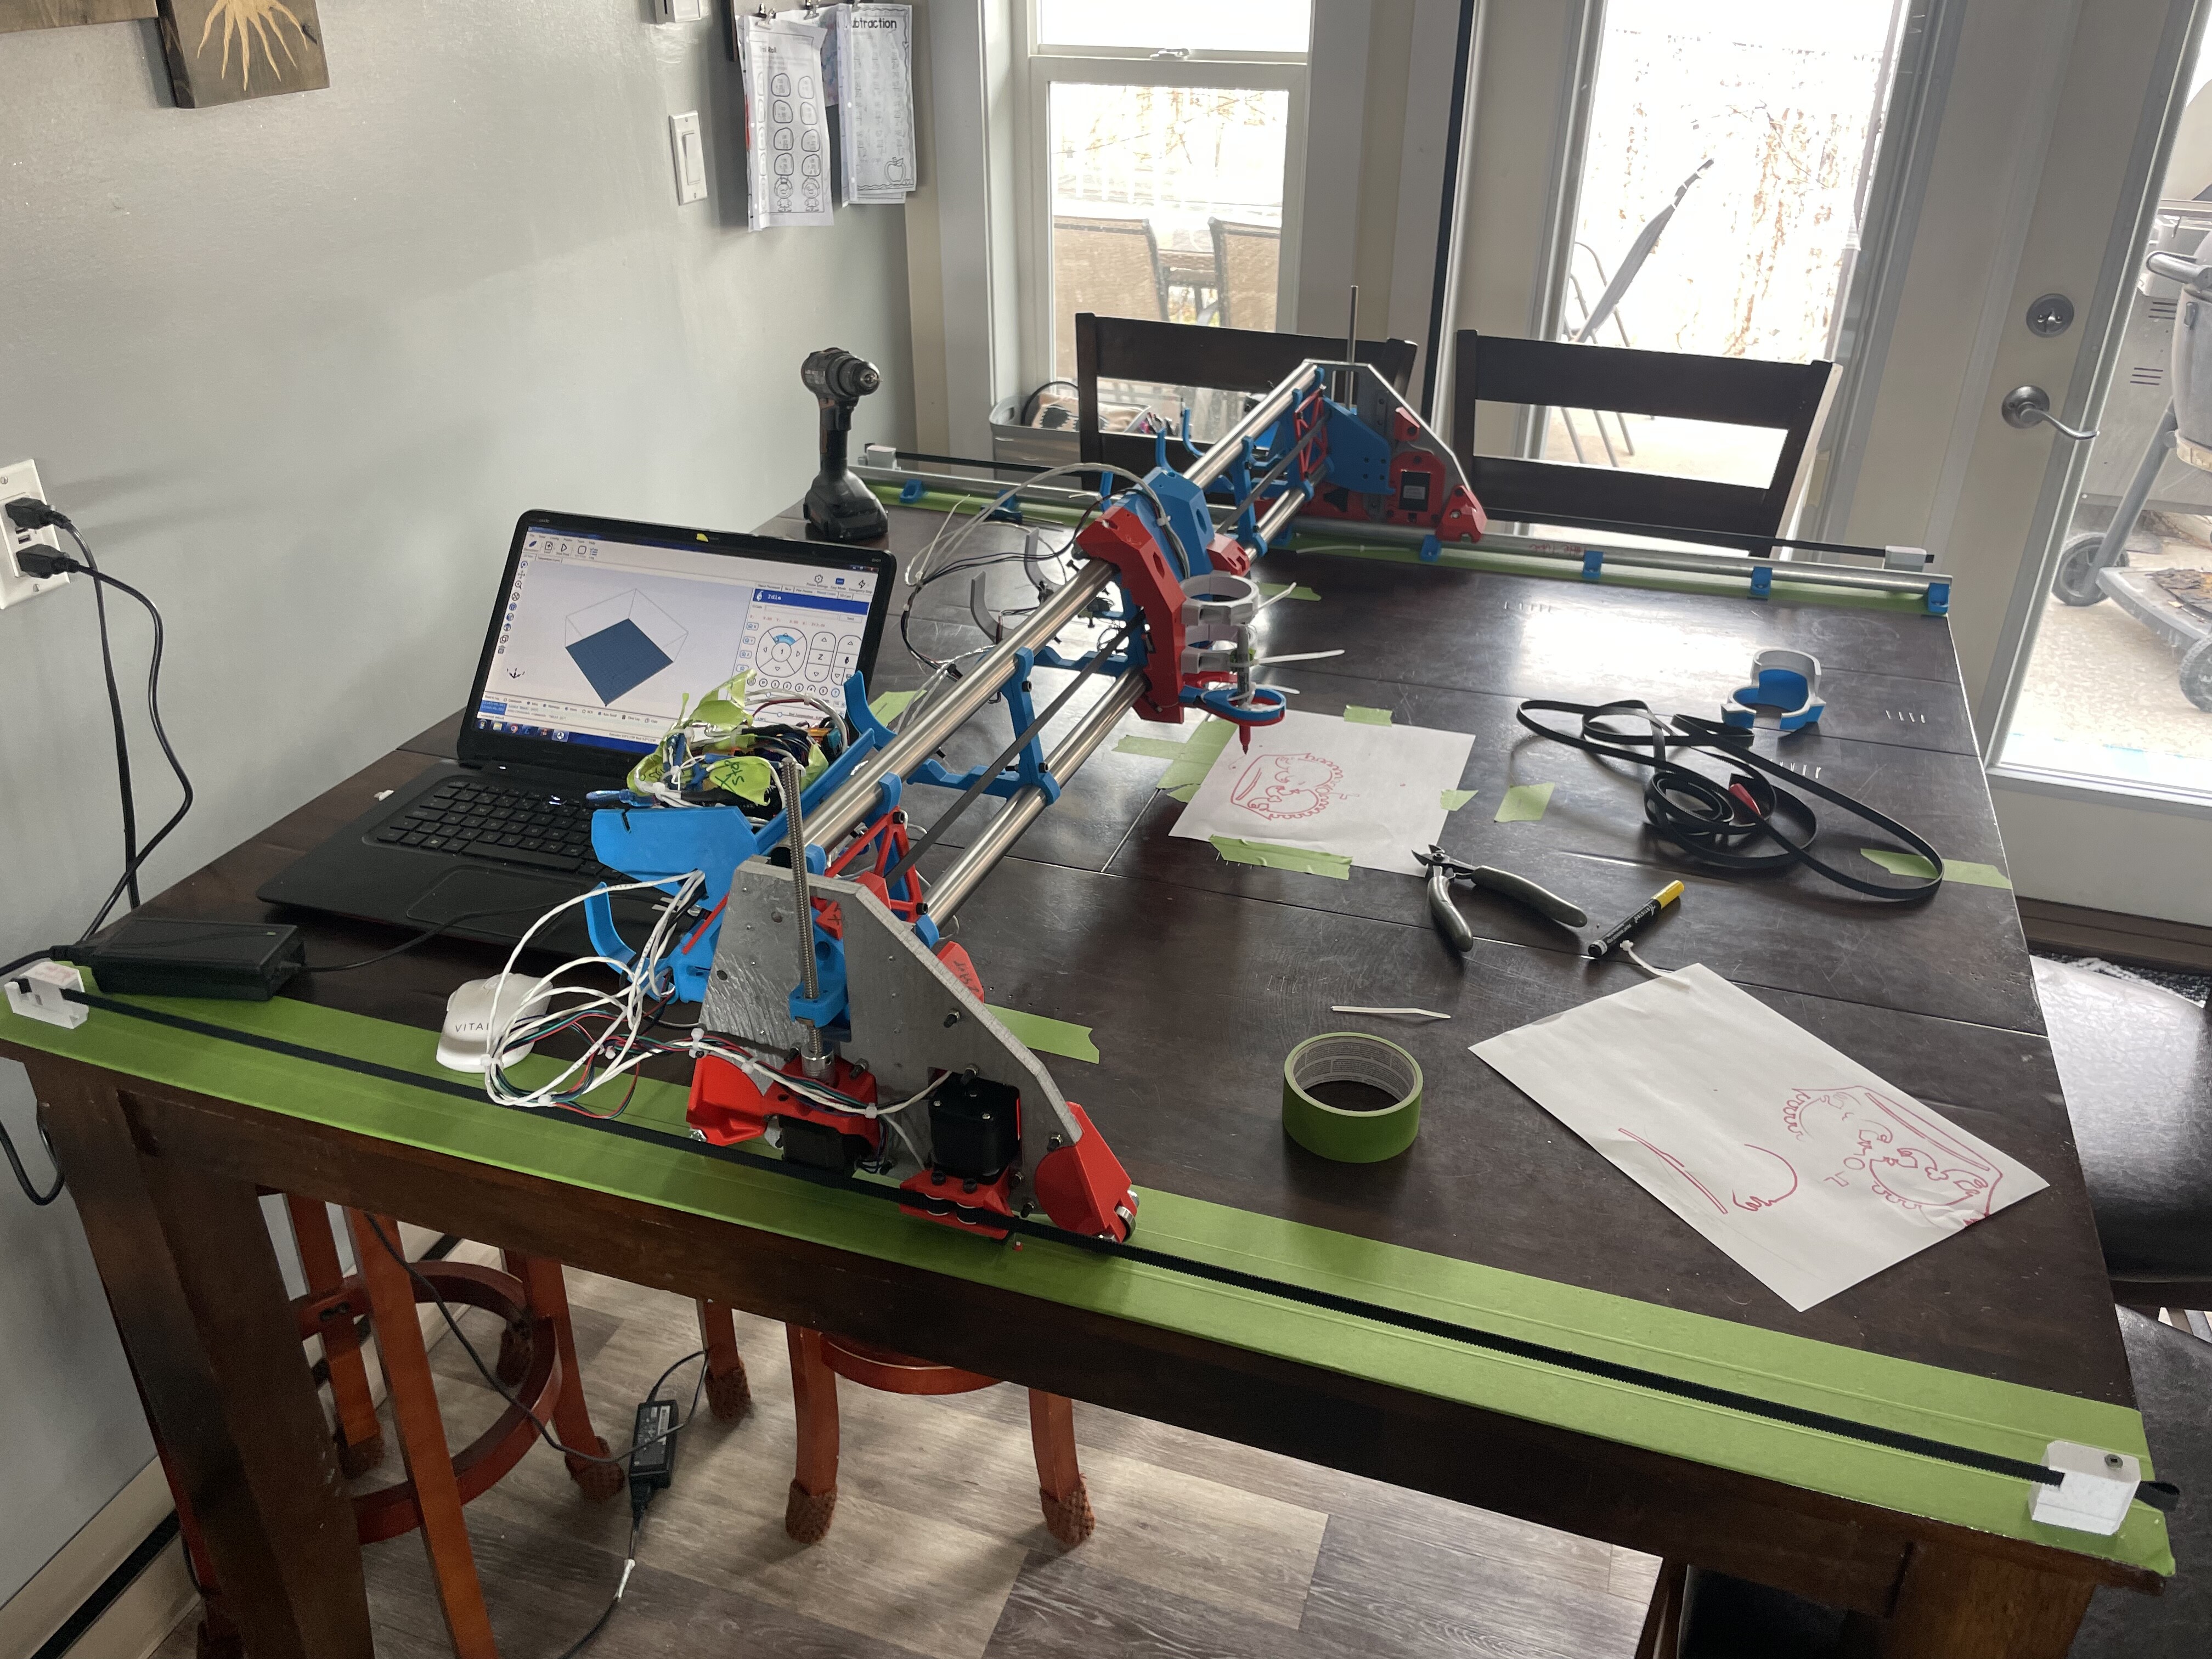
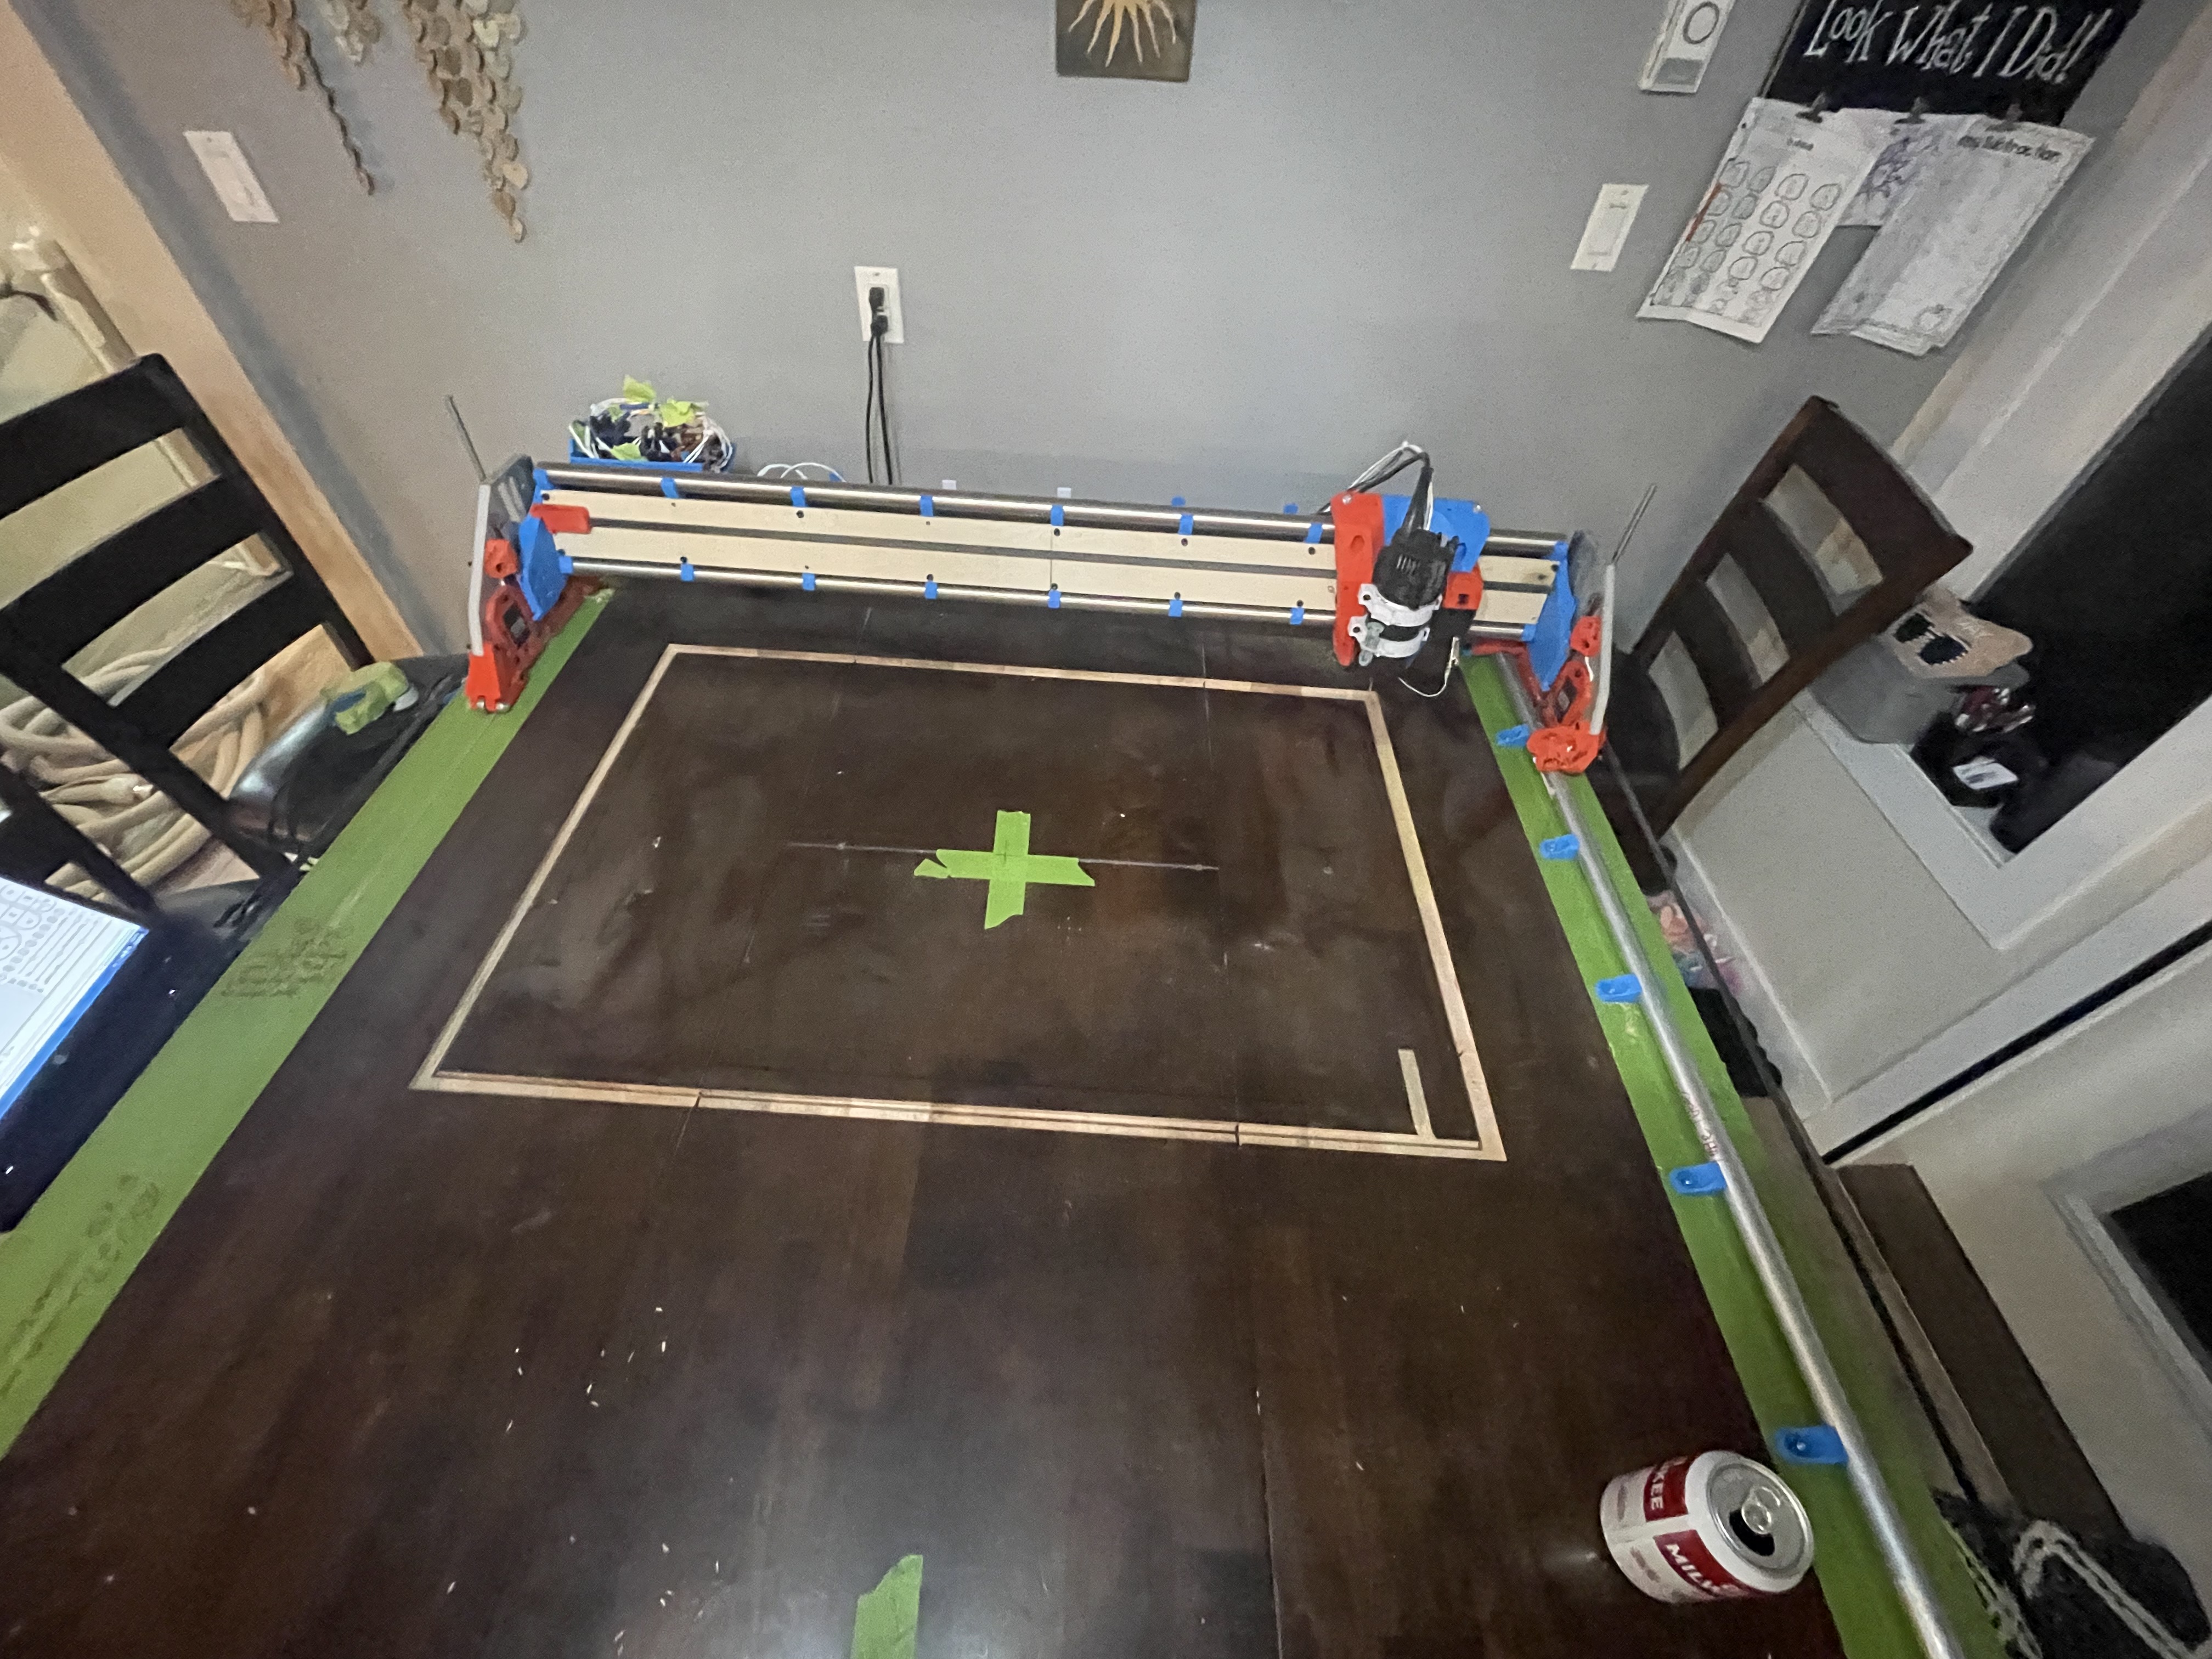
Wait… I missed the whole point of this thread. You’re temporarily mounting the low rider to the table and you’re going to one-shot cut a hole for the ZXY.
Cool!
I have that exact table, in the lower version. Are you going to remove all the removable leaf stuff?
4 Likes
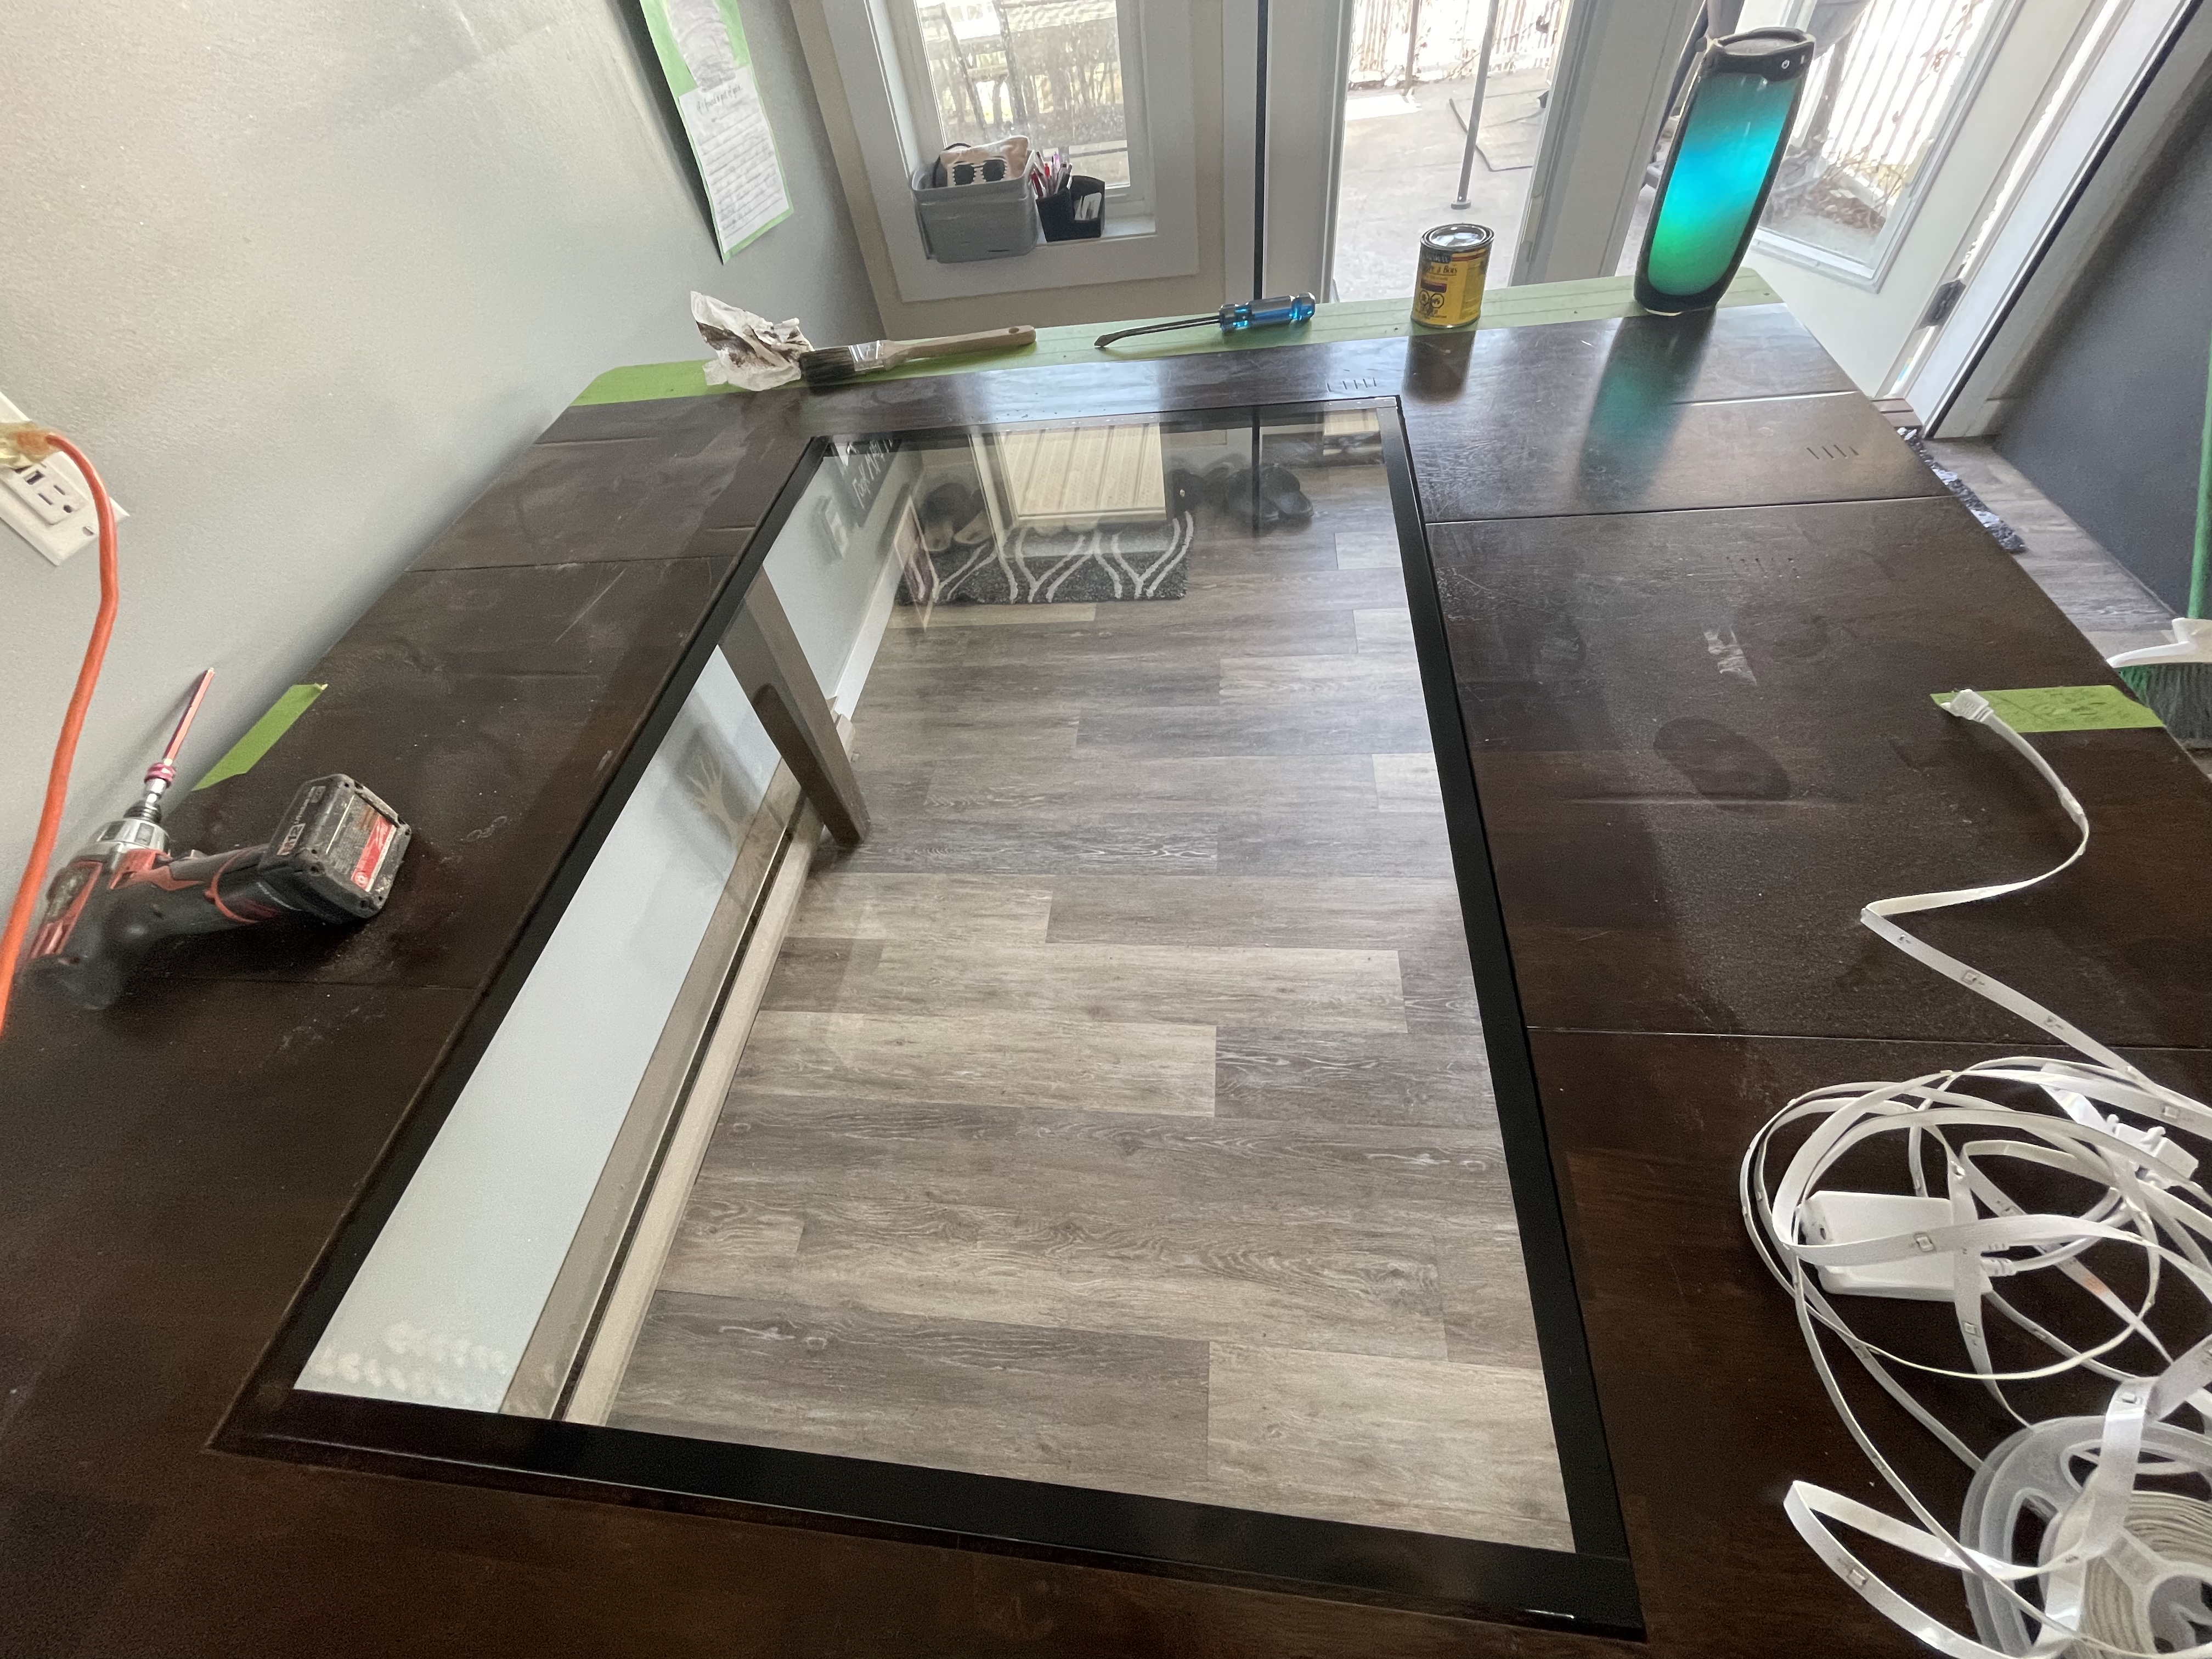
Yes I am making it a temporary install to do my struts and cut the hole in the centre for the glass panel.
Then the Zenxy will be mounted there.
I have left only the two cross members in for the leaf stuff.
All the rest I unscrewed off and the “plan” is to mount my box under that. I have all my prints done for the Zenxy and a fluidnc board that Bart pre loaded.
Also it must be a popular table someone else on here said that they had the same one too.
The stools for it really need some loving.
And I know I could have used a rotor and probably done the job but I wanted to try and force my hand at learning.
Crap, I did too Jeff! Holy Cow @Waspjr That is great! So then are you going to create the same size table for the LR3 after???
1 Like
Well the plan has evolved many times lol
And my table is 6” shy of a full sheet build so that part hurt :(. The table is 54”x54” and cutting the struts for 4’ wide sheet is really becoming a issue. I hope to tackle that tonight. I had to make my own and only do half.
But yes I plan on making it for a full sheet after this.
I am on the fence for full size table design. Ryan and a bunch of ppl are really on to some neat stuff with their table ideas.
And thanks.
2 Likes
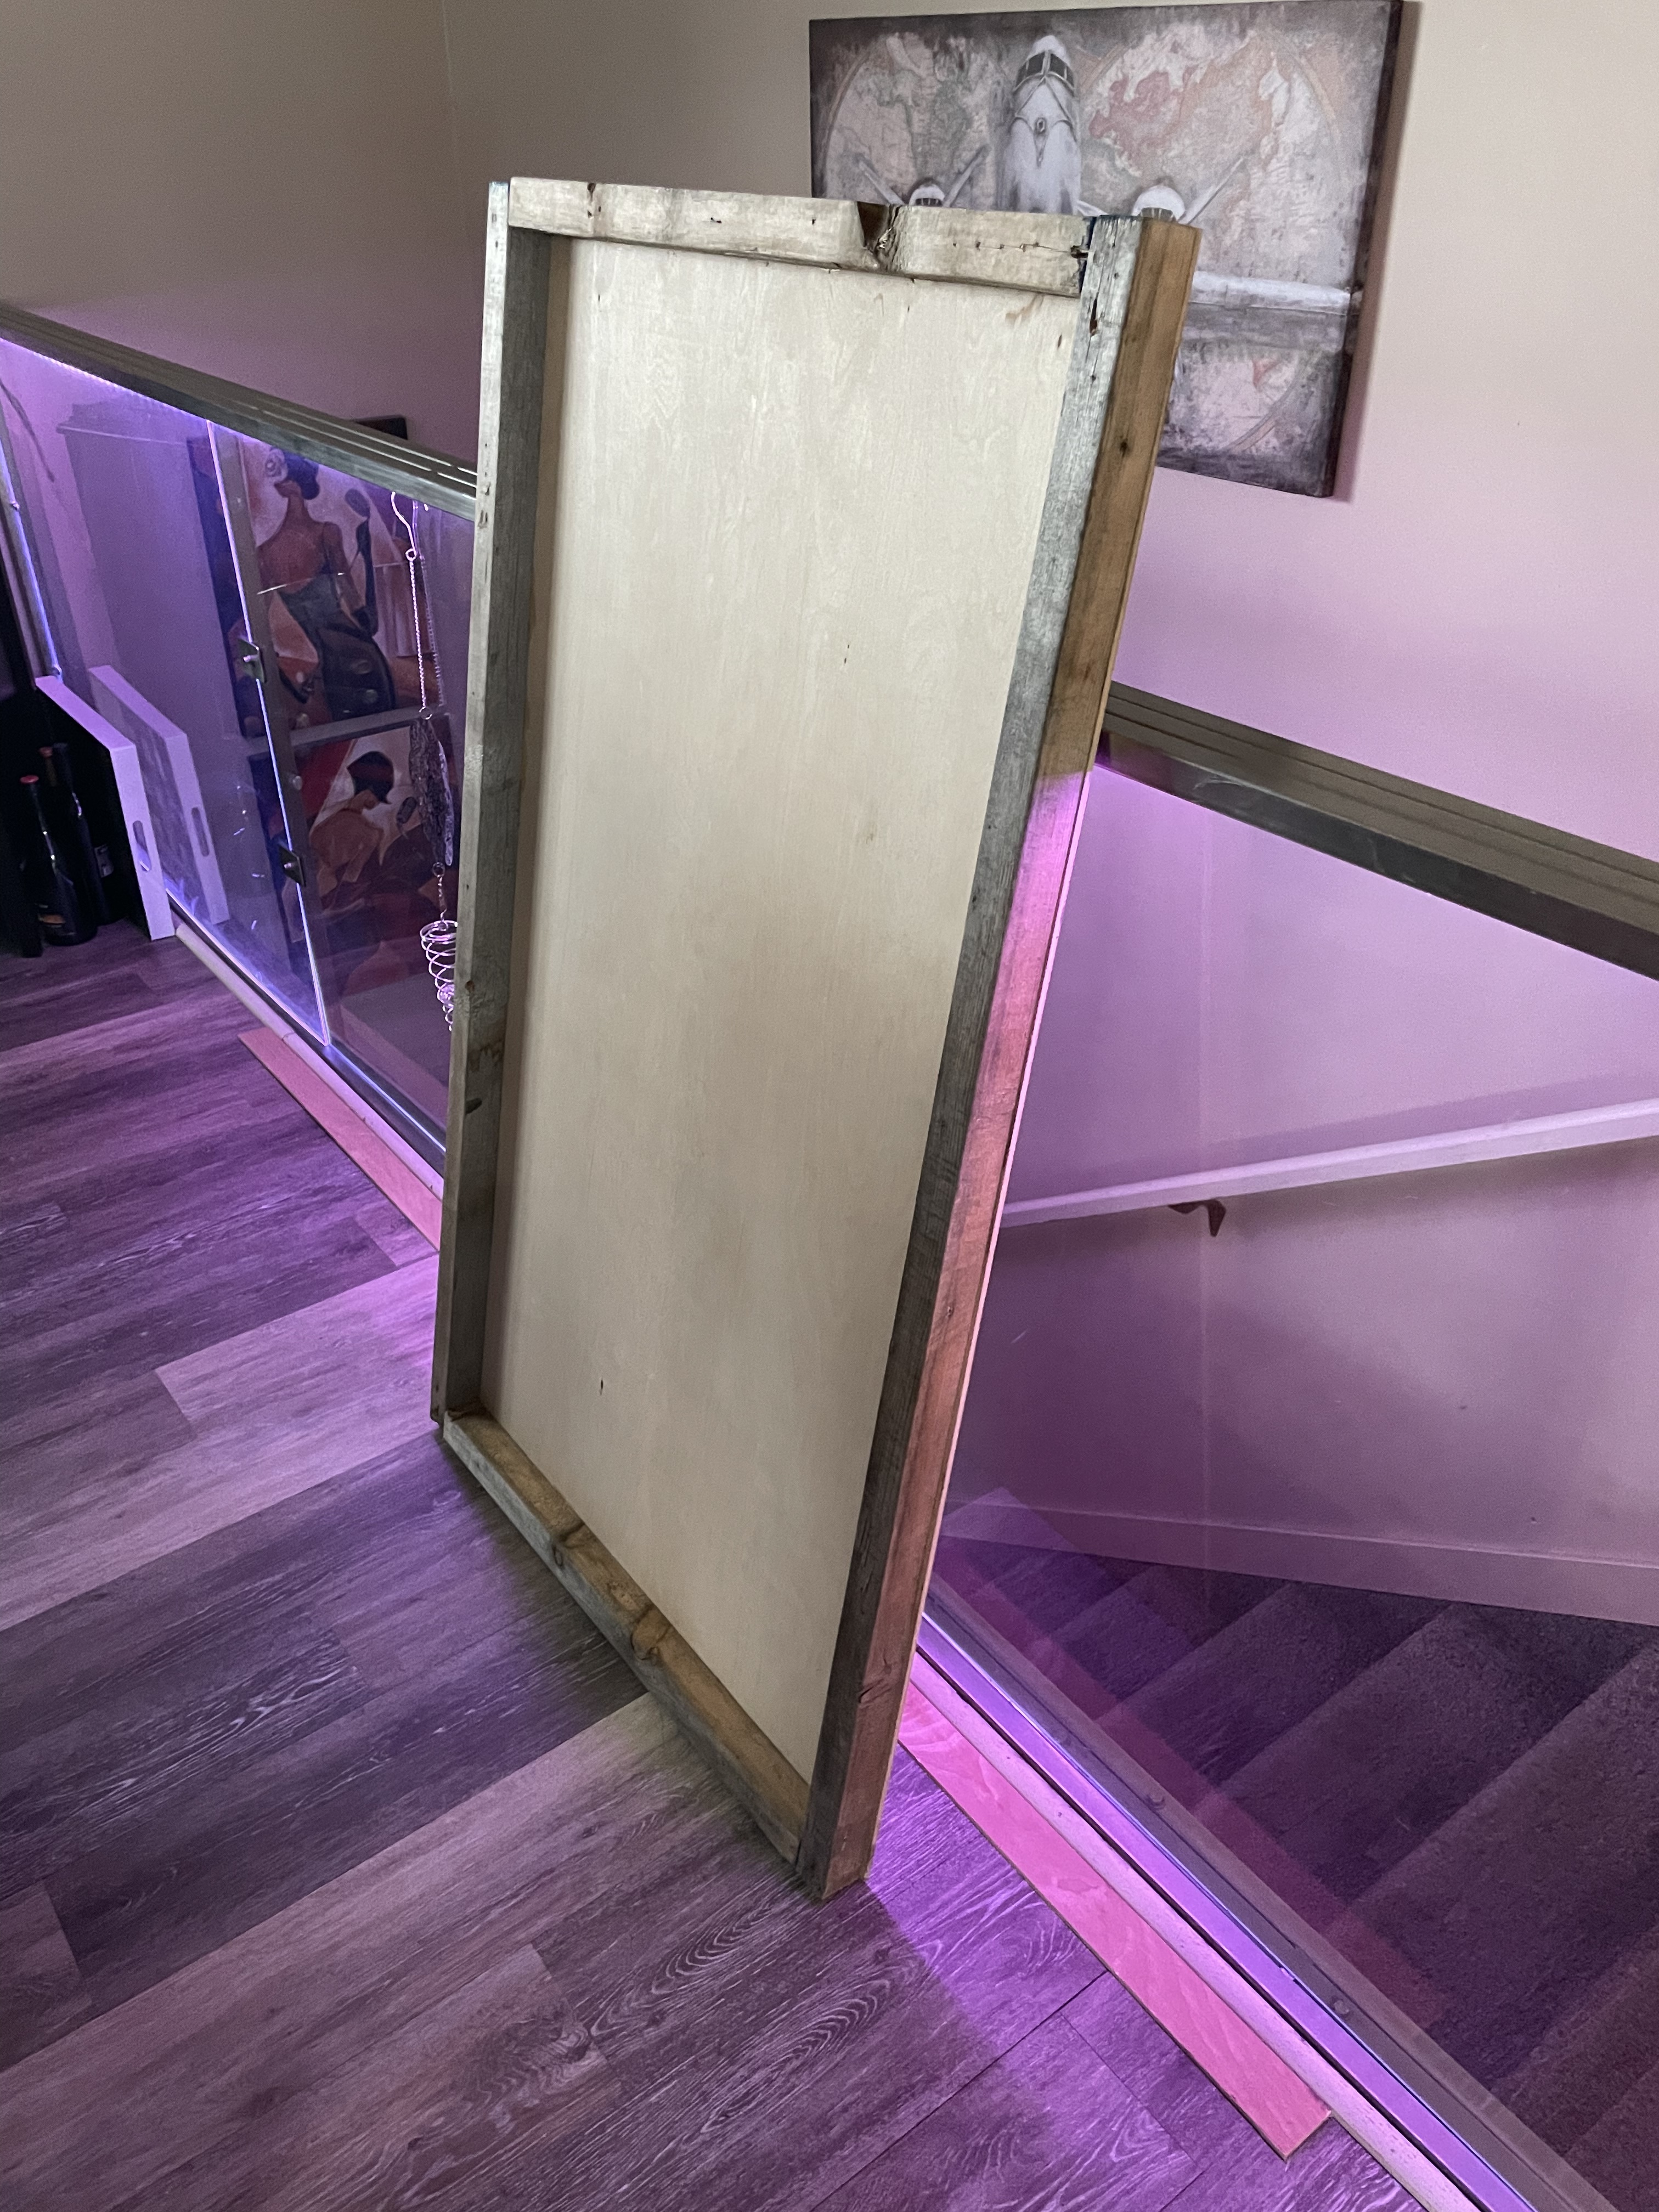
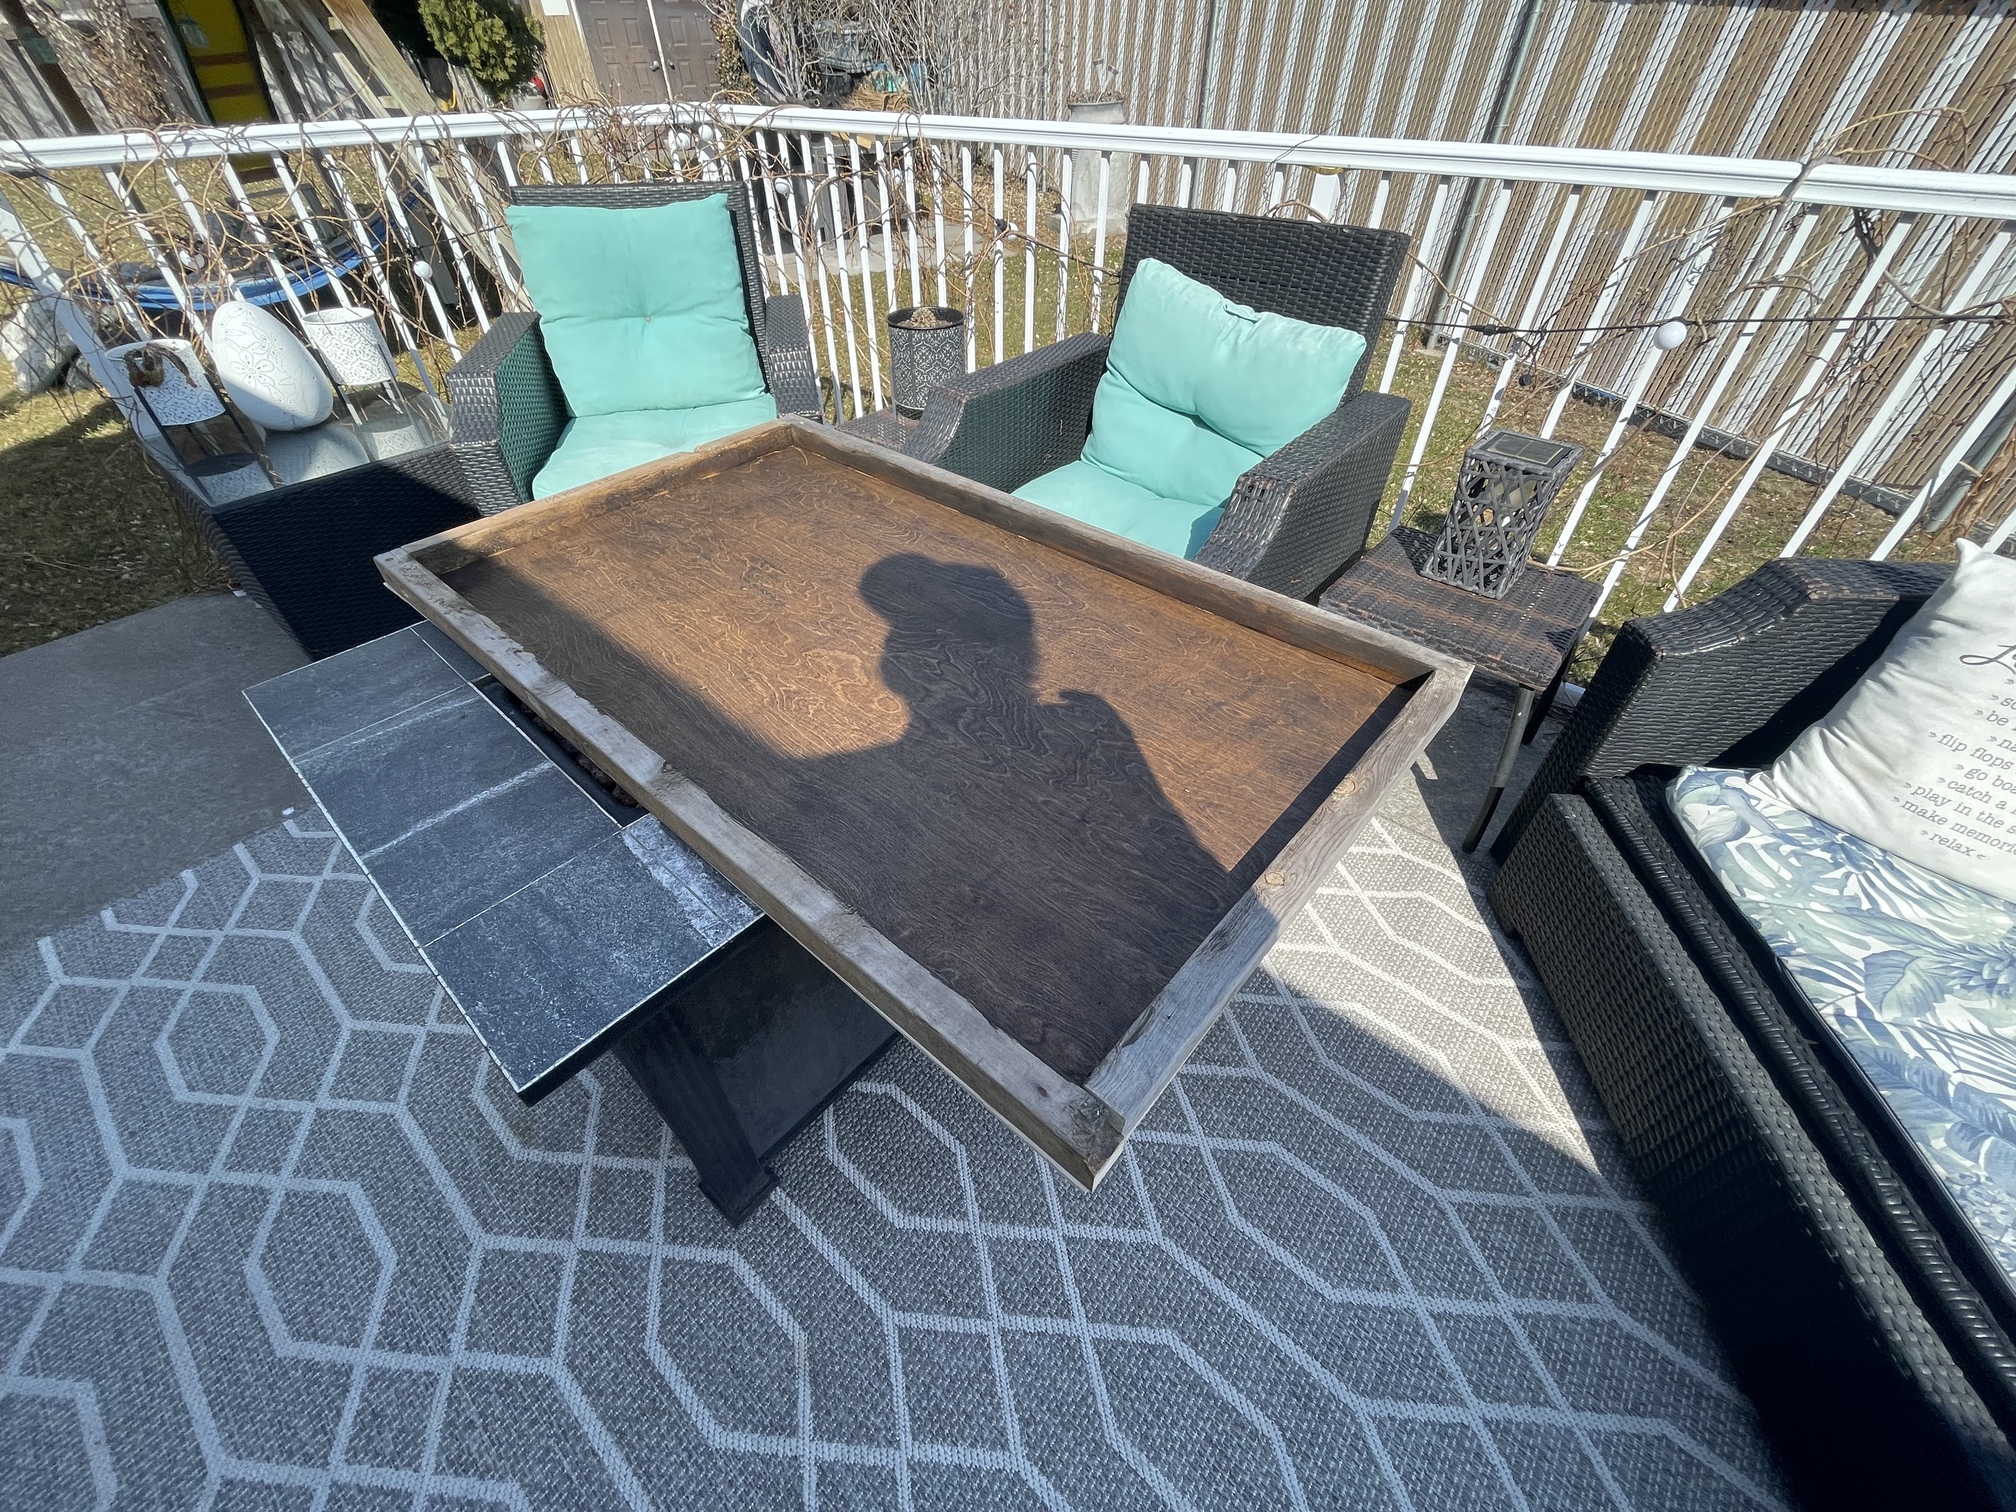
Sand box all glued up. And about ready to attempt some strut cuts.
Then I guess time to like others have said size mechanism for the box.

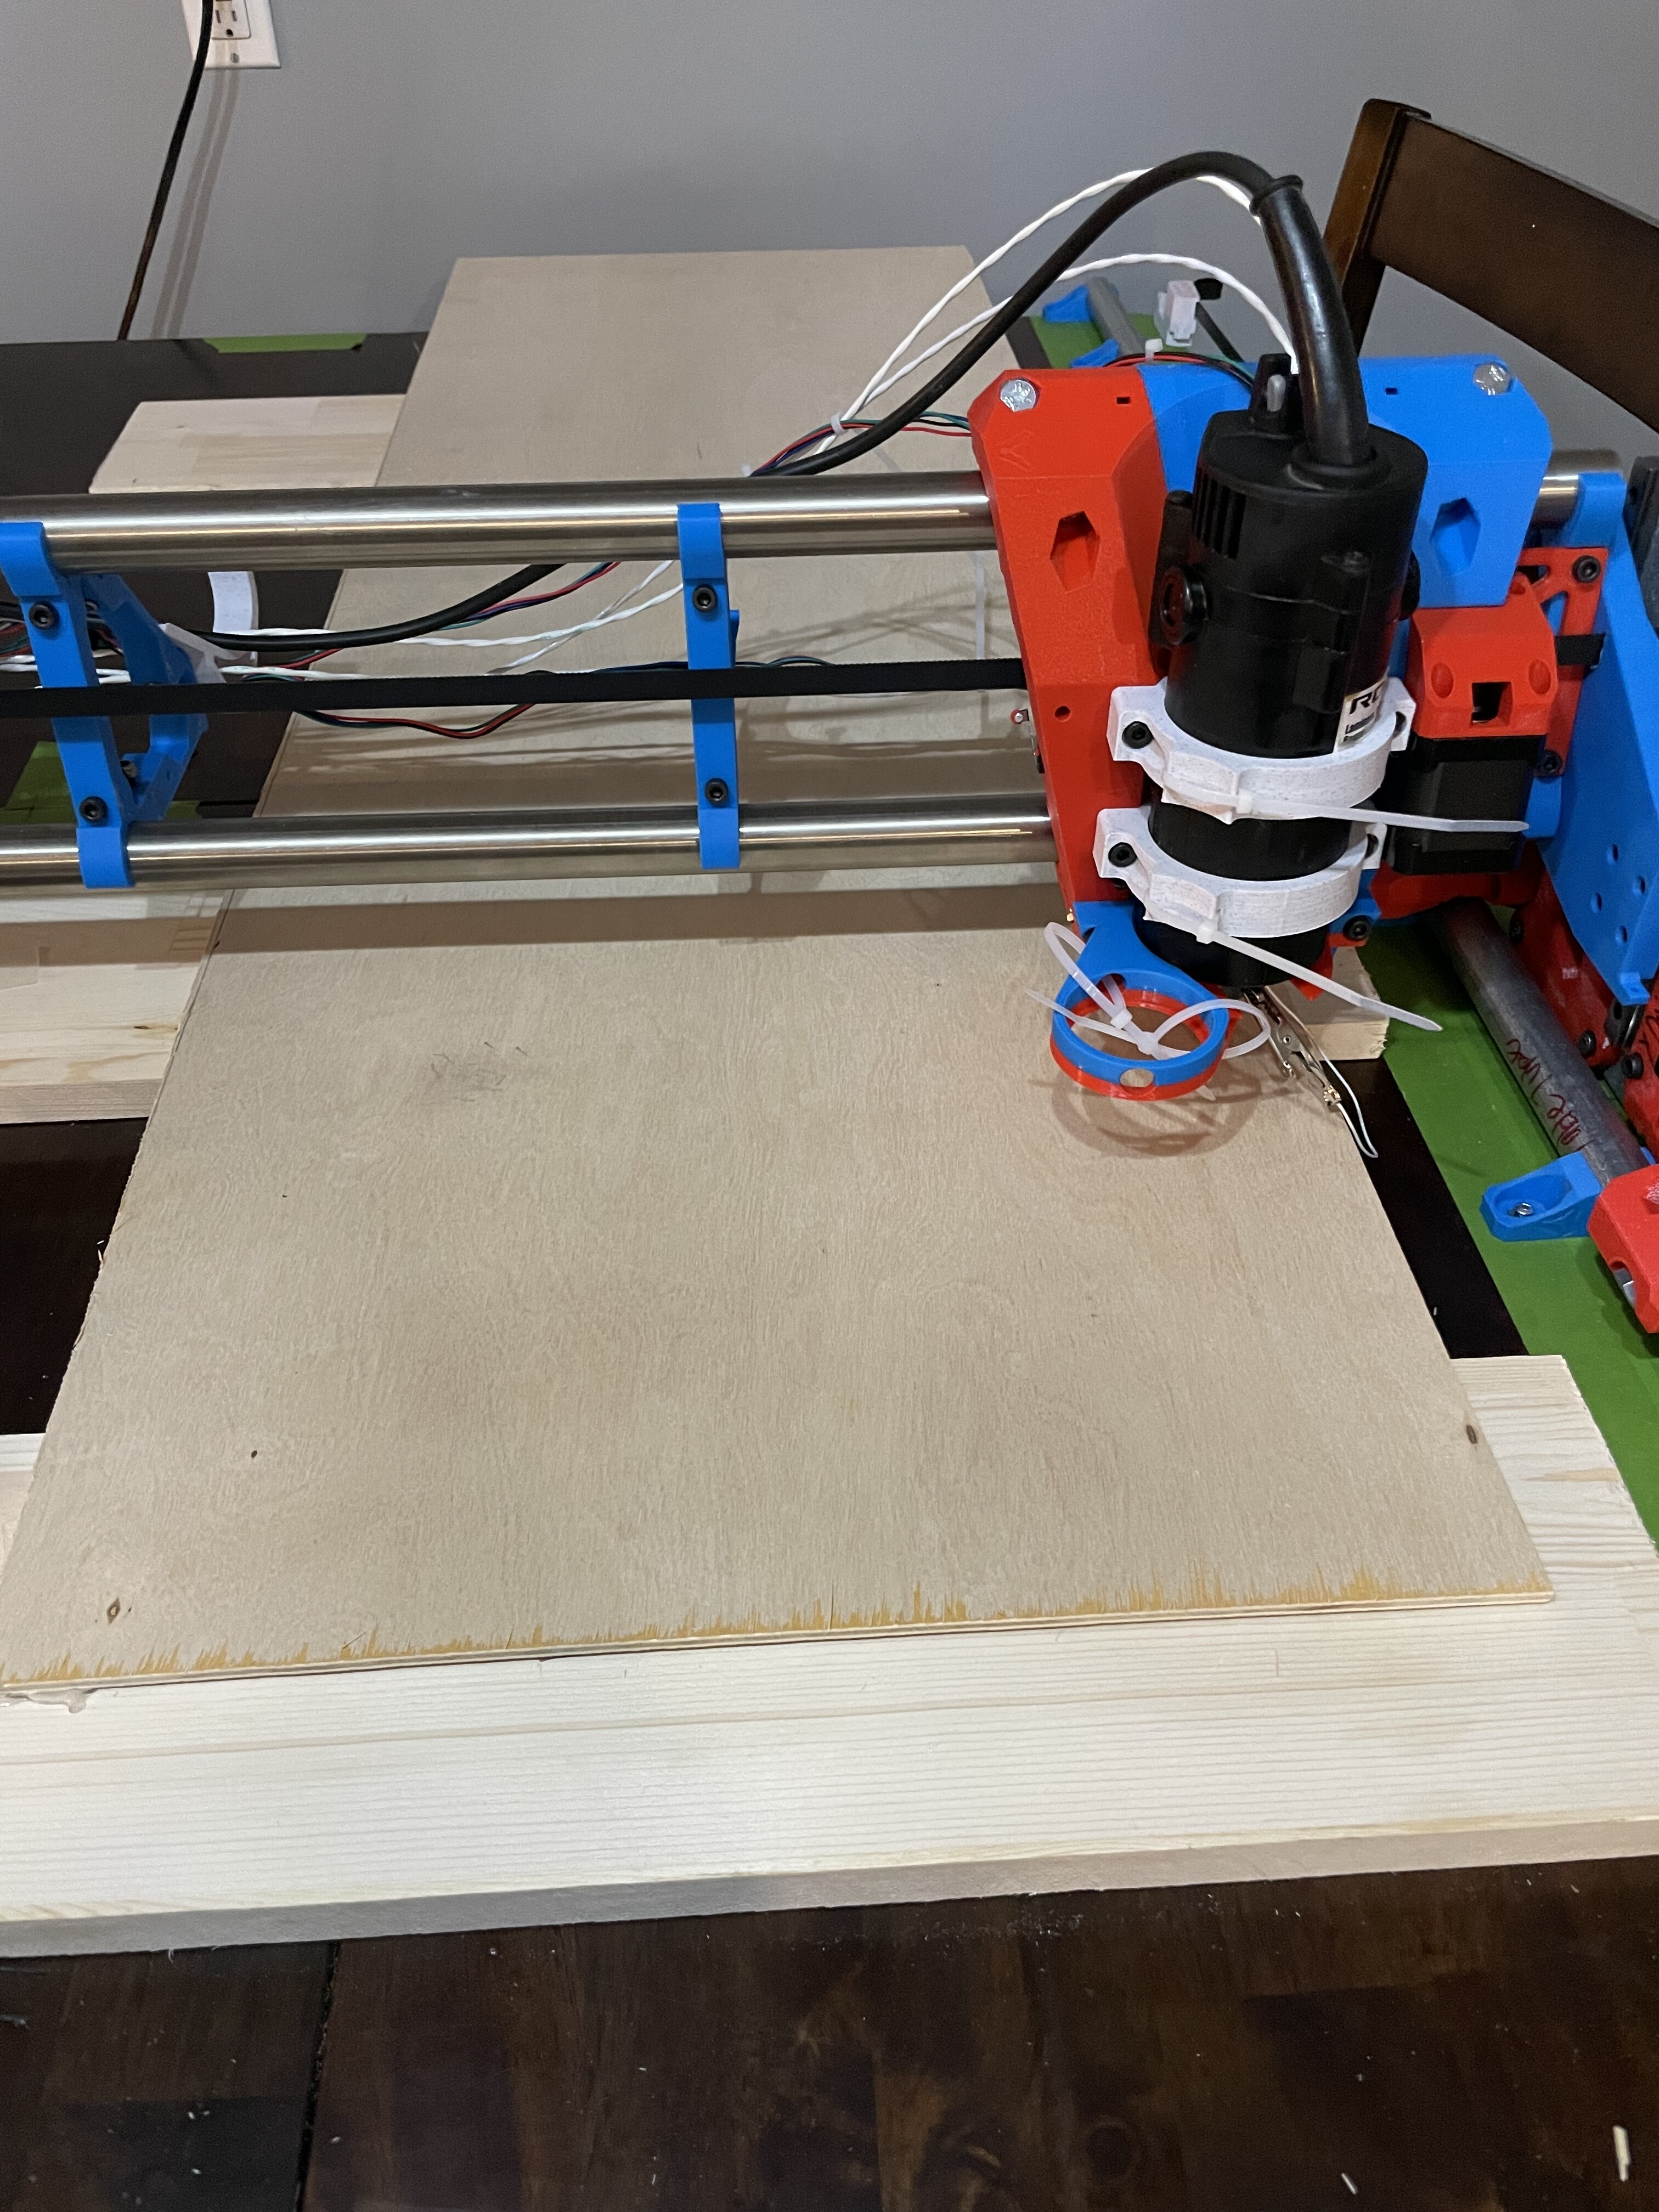
Here is one of my fails I captured in video.
Cable management is a thing lol.
Router power chord bit in under wheel and skipped steps then continued.
It was fine as it was getting the center cut anyways. But thought I would share.
This thing sure chucks the swarf

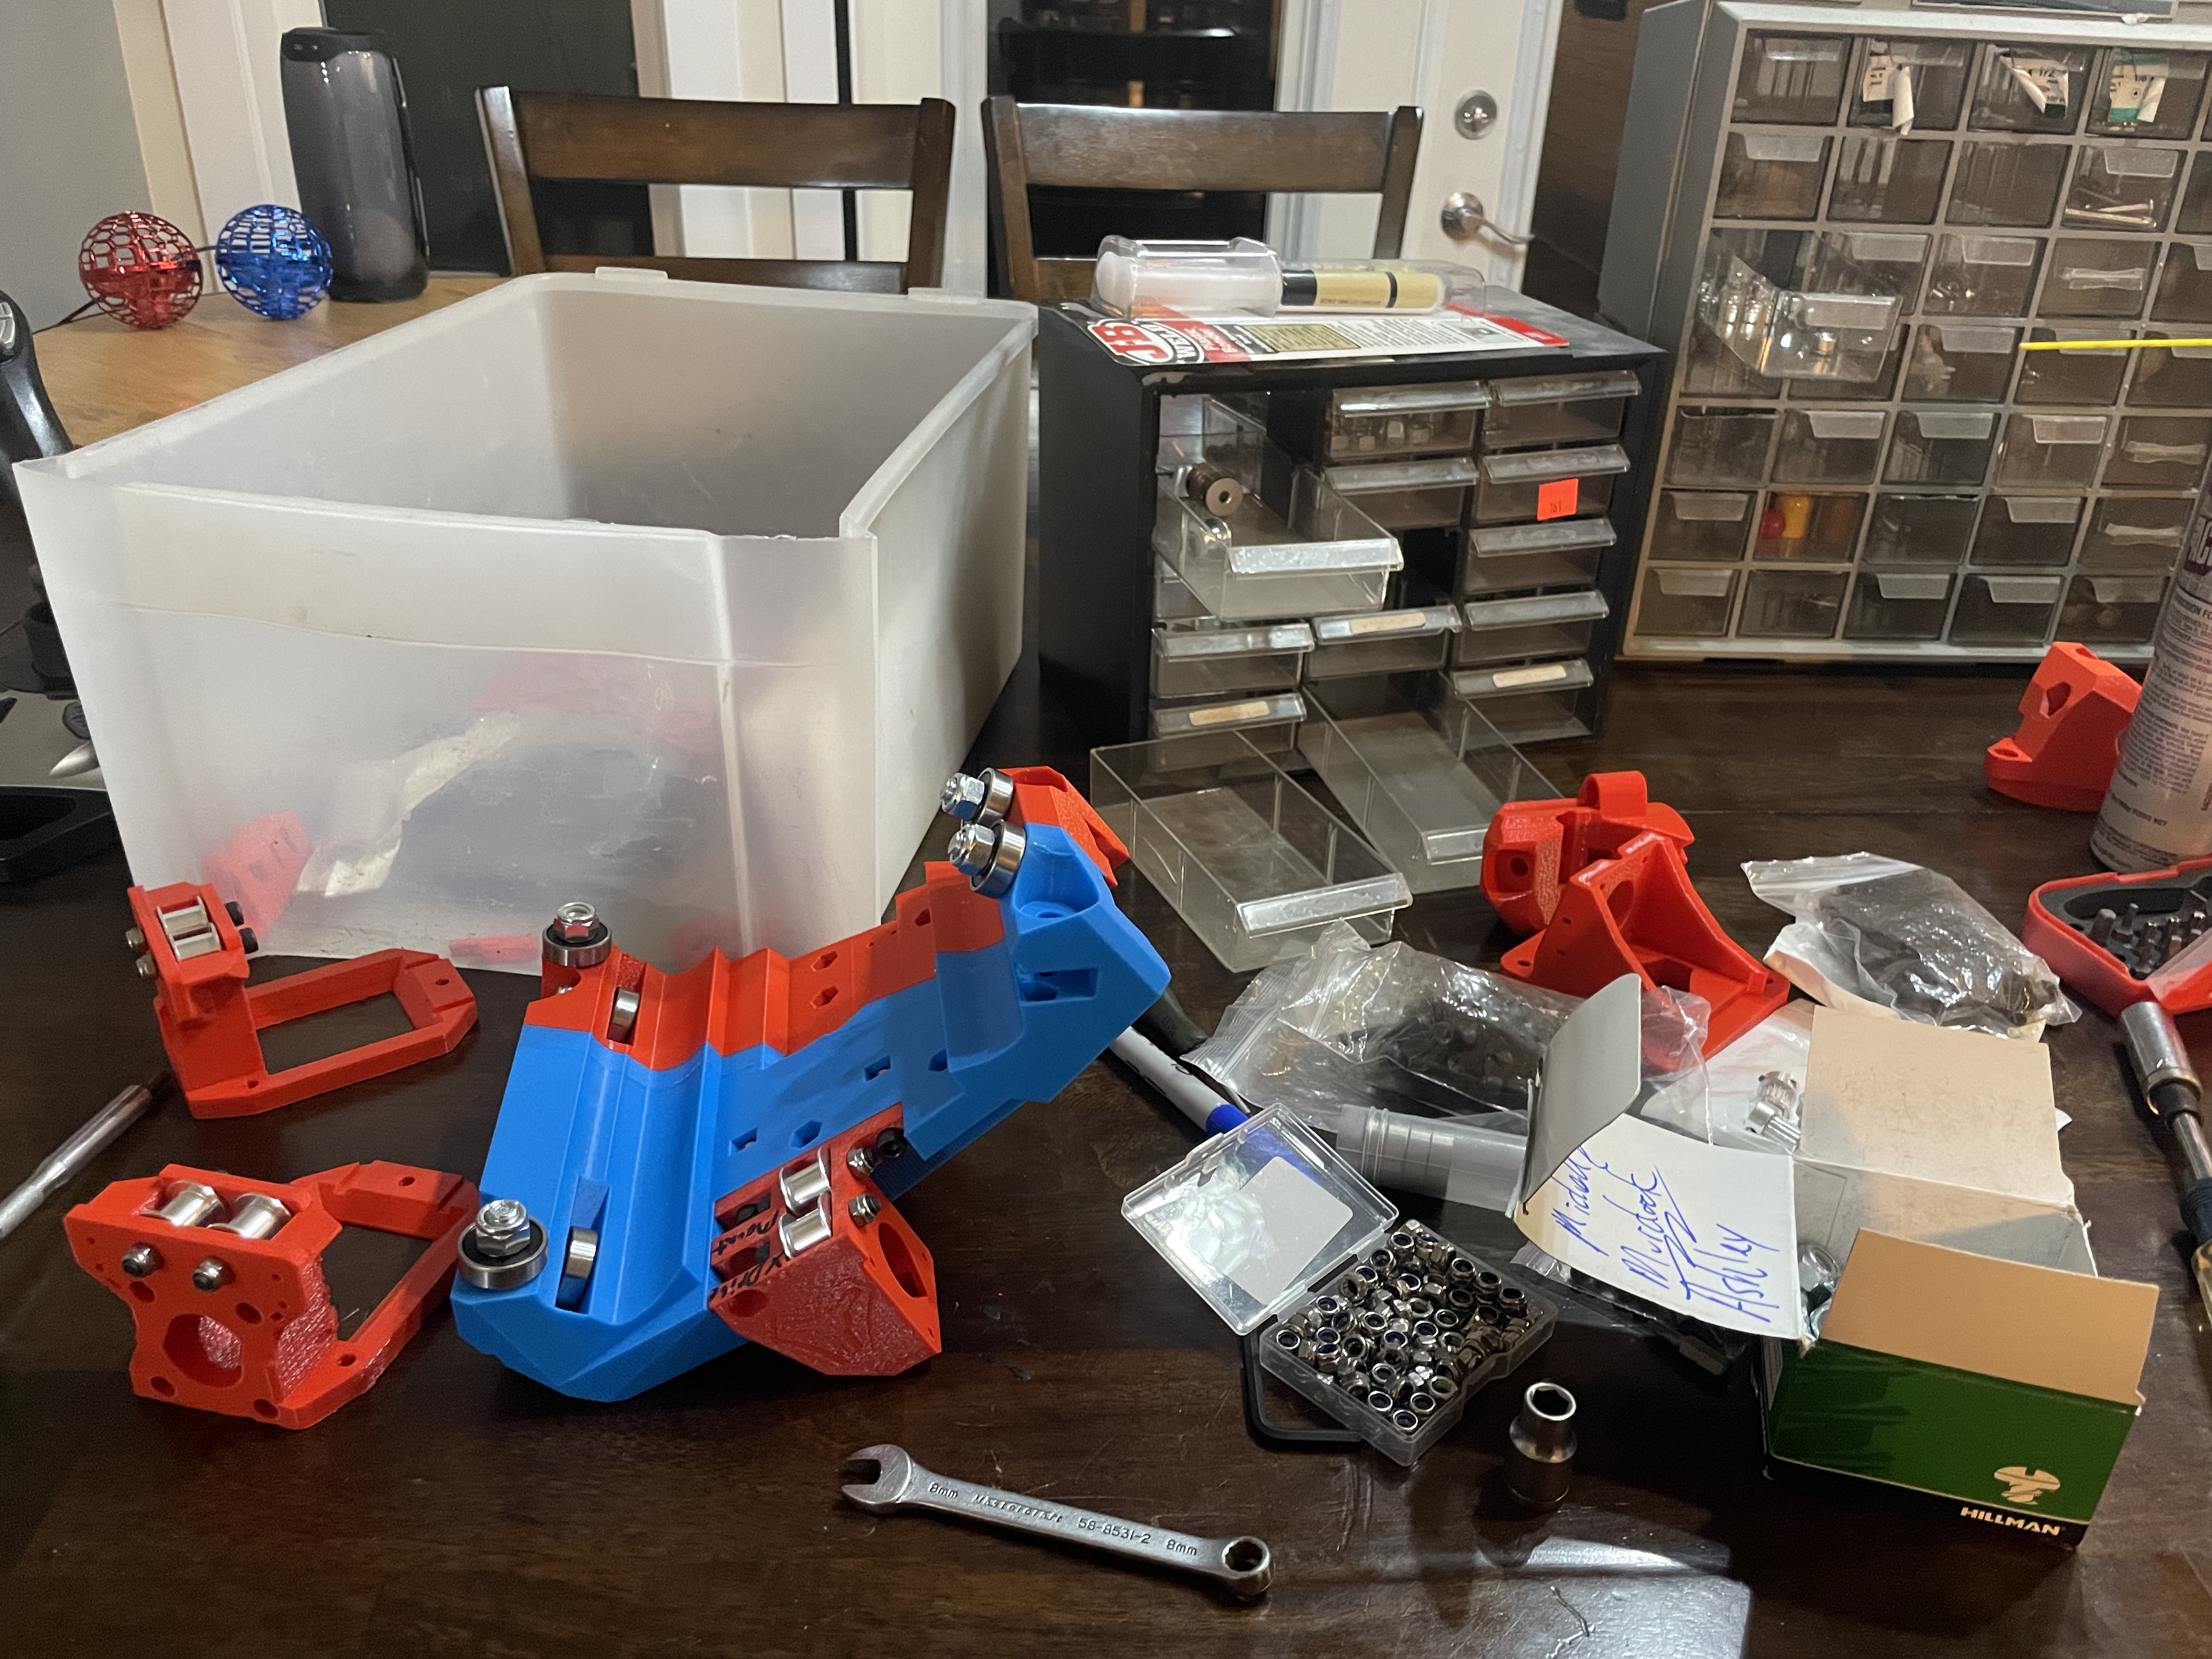
Now it’s light time and to assemble my Zenxy mechanism.
Ryan I tried to do the hash tag thing I am sorry I don’t have the V1E on the struts. I was going to write it on but it would have been fugly. Once I get the proper struts on I will make sure to show it off
3 Likes
I am completely and utterly appalled that you took the time to cut a perfectly good table, then didn’t put a coaster under the beer… geez. ![]()
![]()
Can’t wait to see your finished project!
4 Likes
It had a scratch in the middle I just removed it haha.
And ohh did my old man give me heck for that back in the day. And now I understand.
Exciting stuff happening I guess I need to find a whole bunch of baking soda or powder now
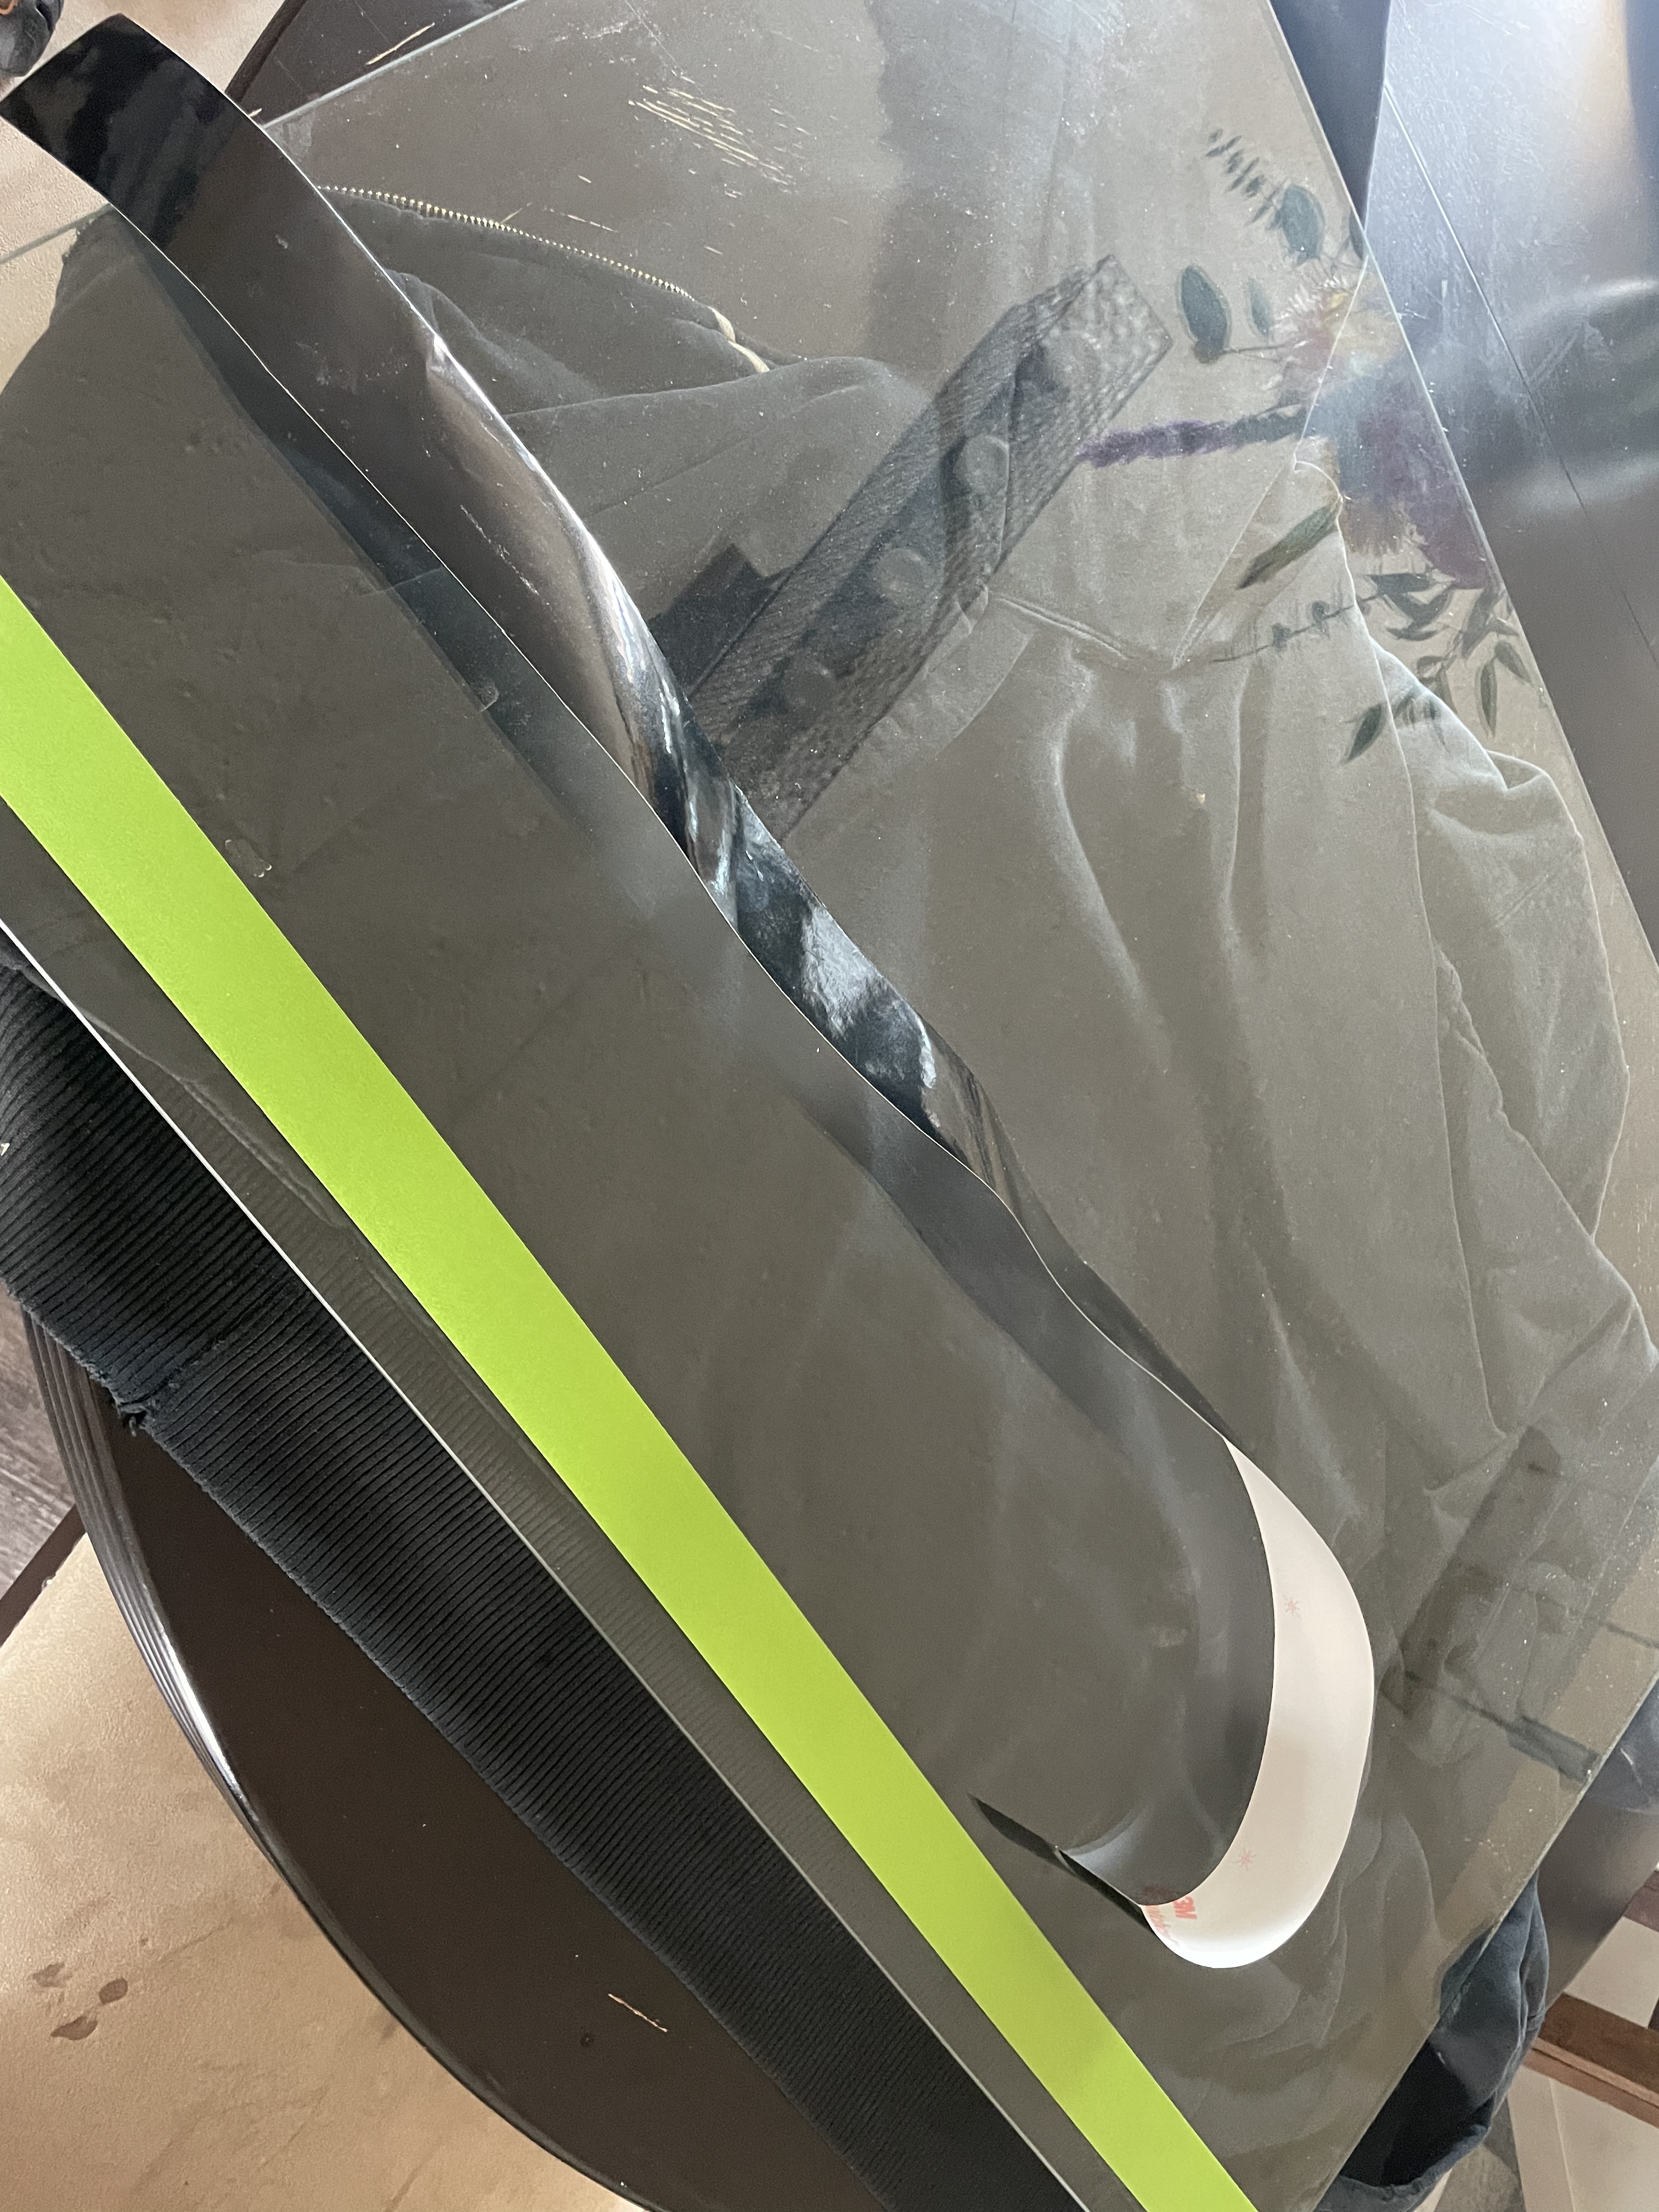
That table does scratch easily. Ours had scratches all over the place.
It is a naturally built up patina.
1 Like
It’s true it’s this odd Vietnam wood.
Neat colours for sure.
and it has this like fake texture of “I just came out of a rough cut”
I like it and it goes perfect with the natural patina.