Alright - after some research I found @DougJoseph’s videos on squaring/tramming and figured out what I was doing wrong.
The default probe button doesn’t do a retract and neither does the G38.2 command…all the videos I’ve seen of what I thought was a normal probing cycle are using a macro to do a double probe with retract.
So I stole Doug’s code and setup a macro - looks like probing makes more sense now.
I then was also able to do repeated probes at Xmin and Xmax - get the results from the PRB line in the output…average them and find the difference.
Was actually closer than I expected. I was only off by about 0.6 some…(I can’t find my paper I wrote it down on and can’t remember the exact number but it was < 0.7mm difference.
Then I traced the wires to confirm Z on the Xmax was in Z1 and Z on the Xmin was on Z0 - subtracted the difference off my Xmax Z and things looked really good.
The magnets I was waiting on also arrived so I mounted one up to the kinematic mount and hooked up a nice Uniball precise 0.5mm pen and ran a ruler test.
Of course the pen still slipped in my zip ties a little…but other than that results looked great - so I also ran another crown…and it looks darn near perfect:

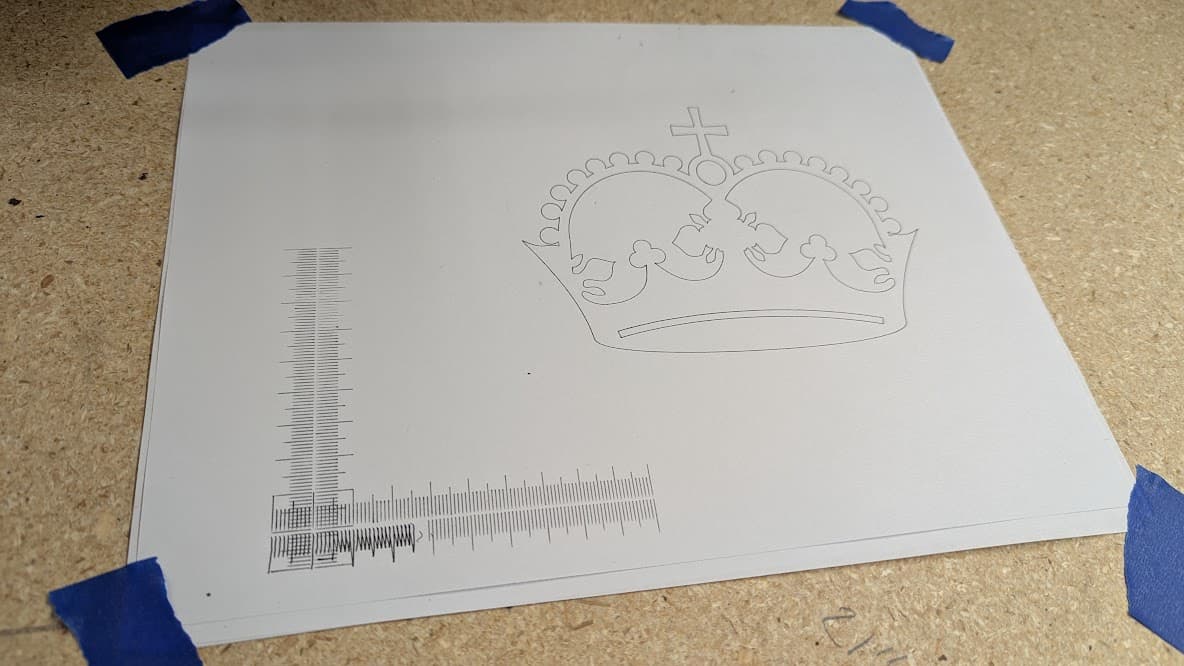
The problematic parts of the ruler were entirely due to the pen slipping in the zip ties. And I didn’t include a ruler in the photo - but I assure you it matches the marks perfectly. This is far more accuracy than I was ever able to achieve with my old machine!
Oh, and the paint dried on the murder kitty and my girlfriend was excited to place it above our back door:
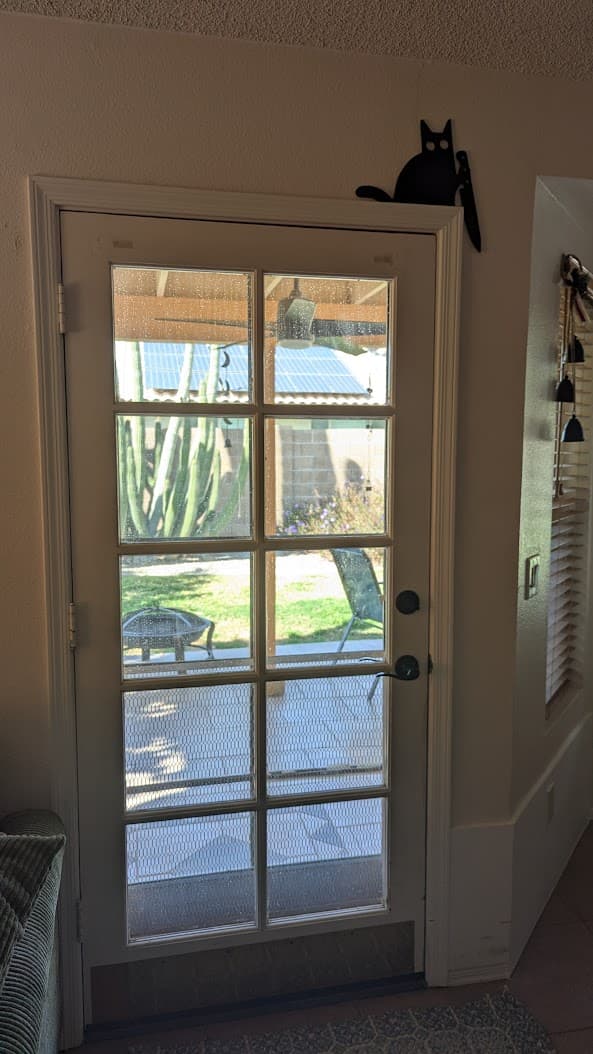
I may make another though - I realized that the one I saw online a few months ago actually had a notch in the knife so it looked like the cat was taking a slice out of the door frame. Didn’t notice this one didn’t until after it was over the door.
Guess it’s time to start designing a new needle cutter optimized for LR4 mounting ![]()