Well, it’s finally time. I’ve been saying for about 8 years now that I want to update my MPCNC but it kept getting put off. First because @Ryan had a tendency to tease new revisions just as I thought about doing an upgrade - then I’d be distracted when they finally released…then because life changed and I just didn’t get to use my MPCNC very much. (My wife died unexpected in Aug 2018 and I suddenly found myself a single father of an 8 year old daughter which meant I couldn’t sneak out to my shop very often.)
But - my daughter got older and more independent so I was able to start doing projects again. Except by that point the CNC table had started to collect…stuff. And I just didn’t have time or place to deal with it. However I met someone new and things reached the point we recently bought a new house together and I now have a garage again for the first time in 17 years - no room for my big 4’x4’ table from the old improvised shop…but…I do have room for a 3’x8’ workbench again.
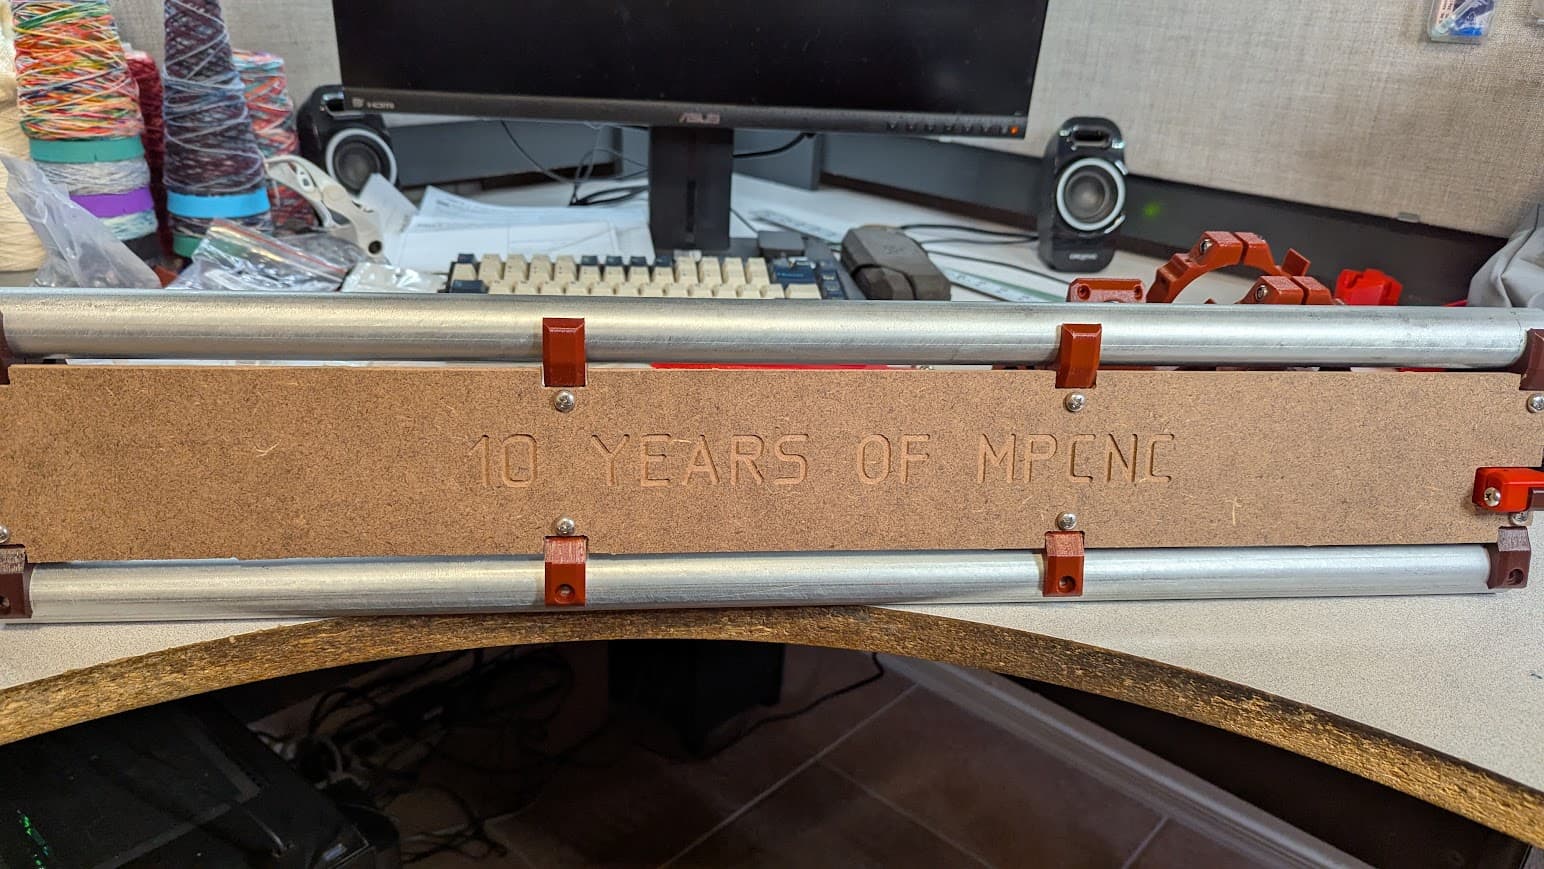
With the LR4 plans hitting right as I bought the house I figured it was time to get serious about an upgrade. Just placed an order in the v1 store for some XY plates and a jackpot (and a few other bits) so it’s getting serious and I figured it’s time to start a thread.
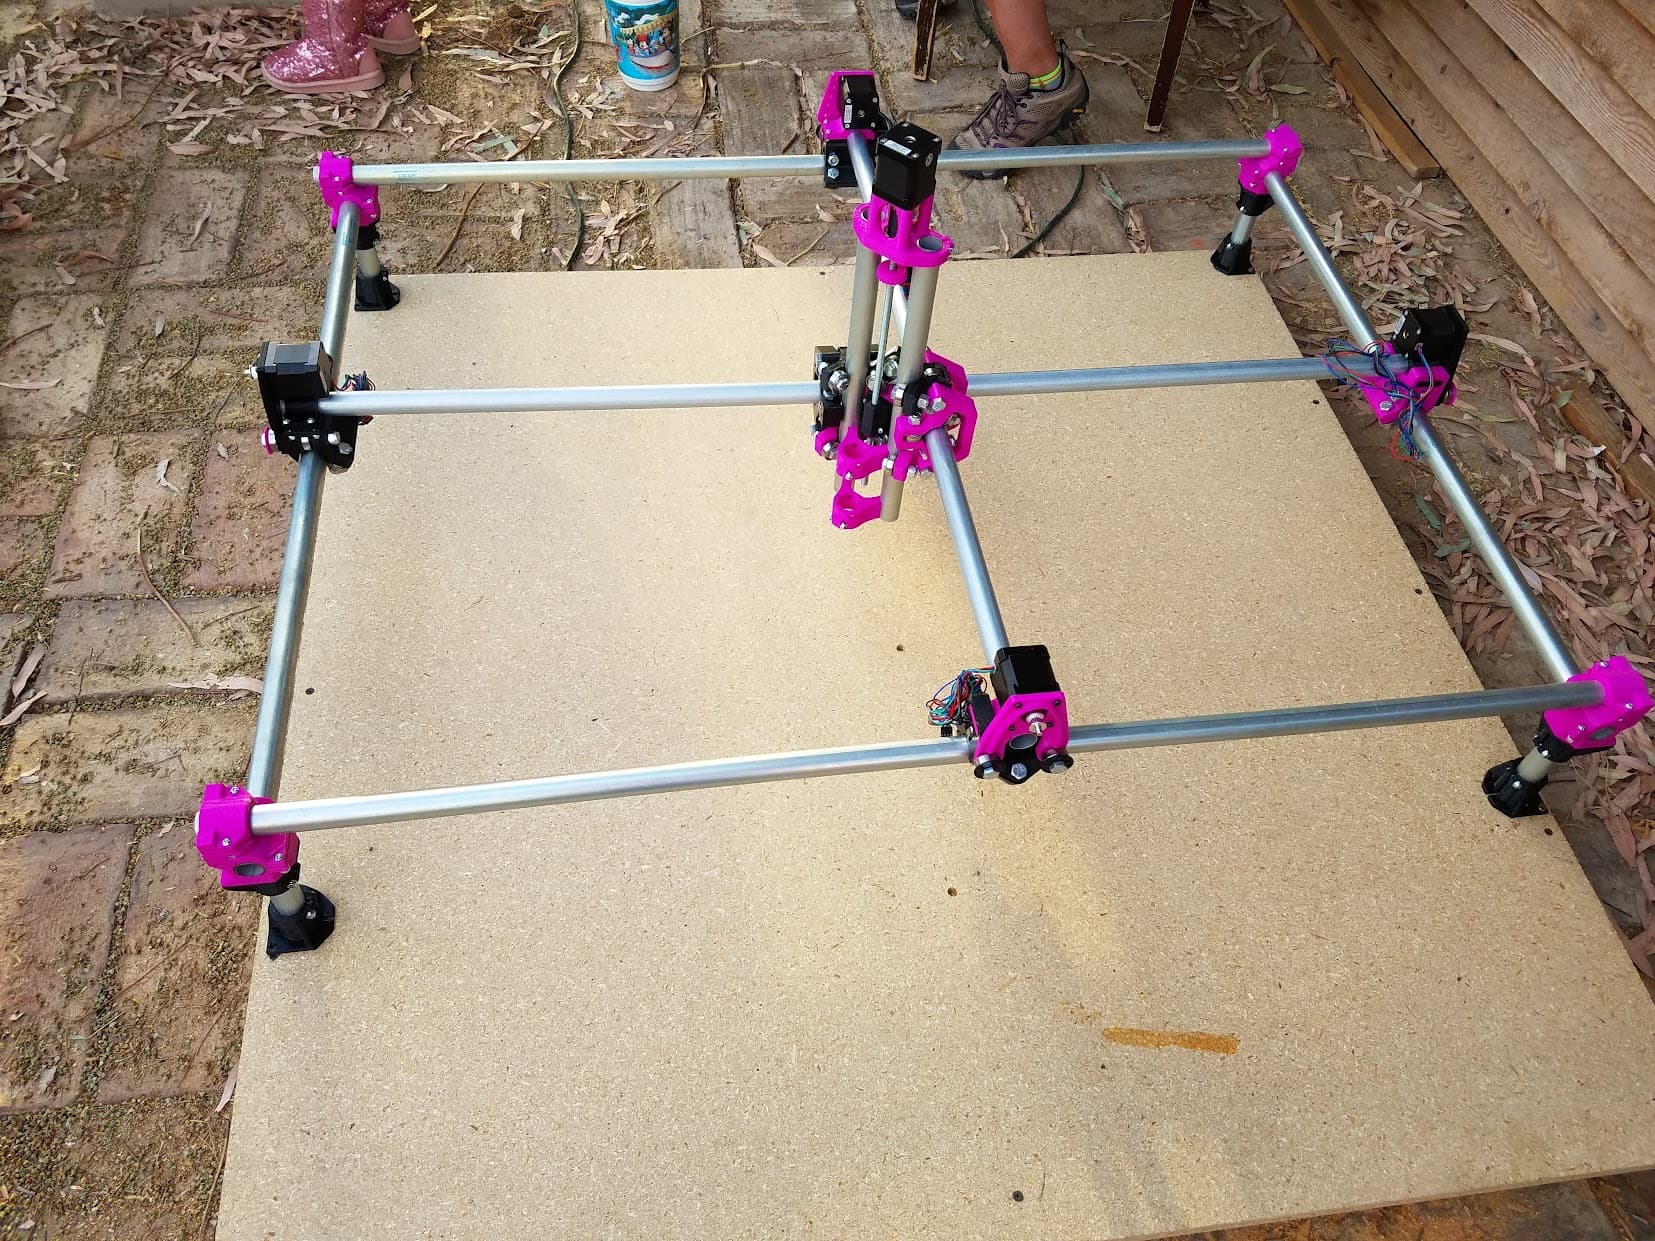
Oh - yesterday was also the 9 year anniversary of my first MPCNC assembly:
That first assembly really got me excited. I had just built my first 3D printer at the end of Dec 2015. I heard about the MPCNC but kind of blew it off…until @dkj4linux posted on the Flite Test forums about his needle cutter and the MPCNC he was using it on. By the end of February 2016 I was happy enough with my printer I started printing parts for a MPCNC.
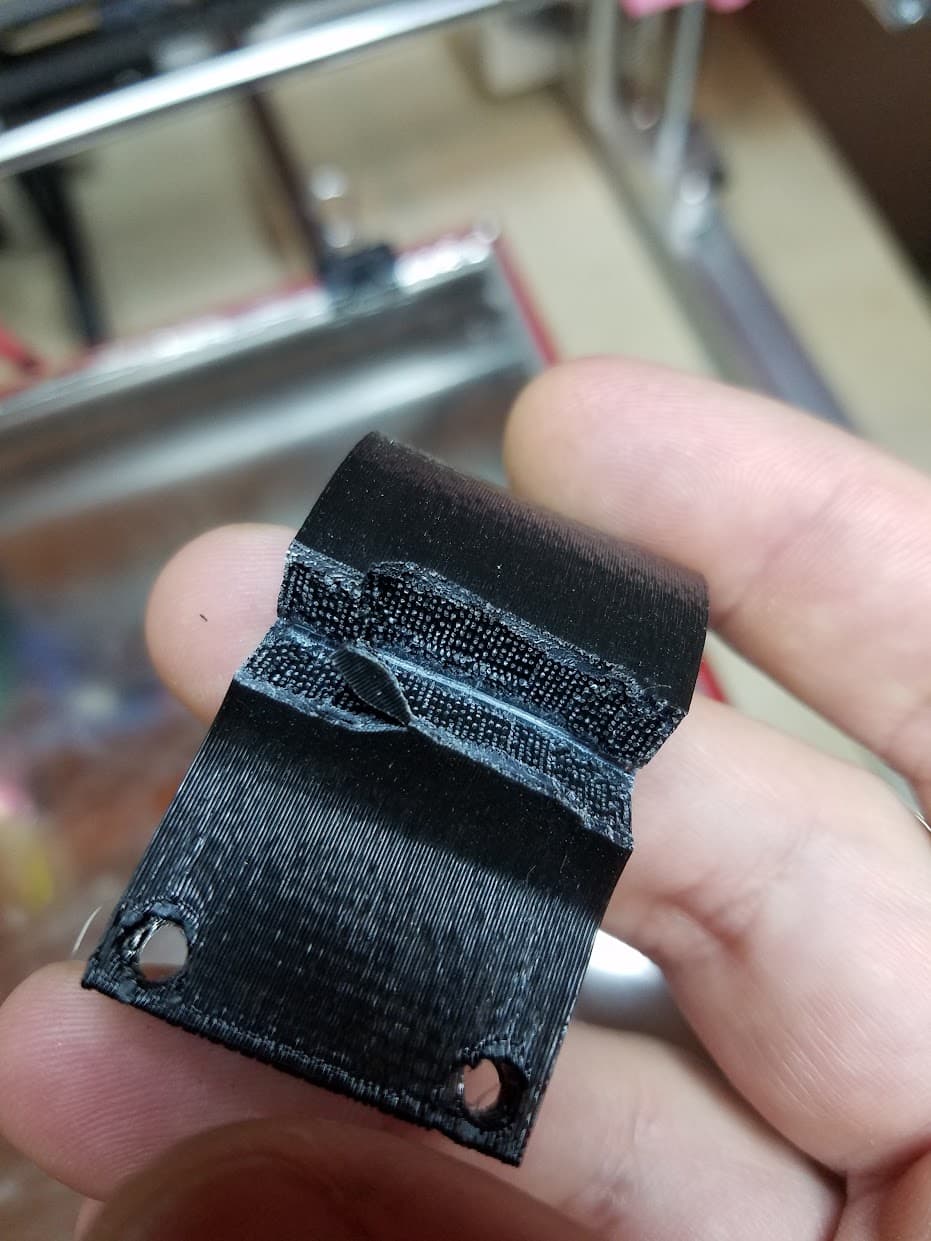
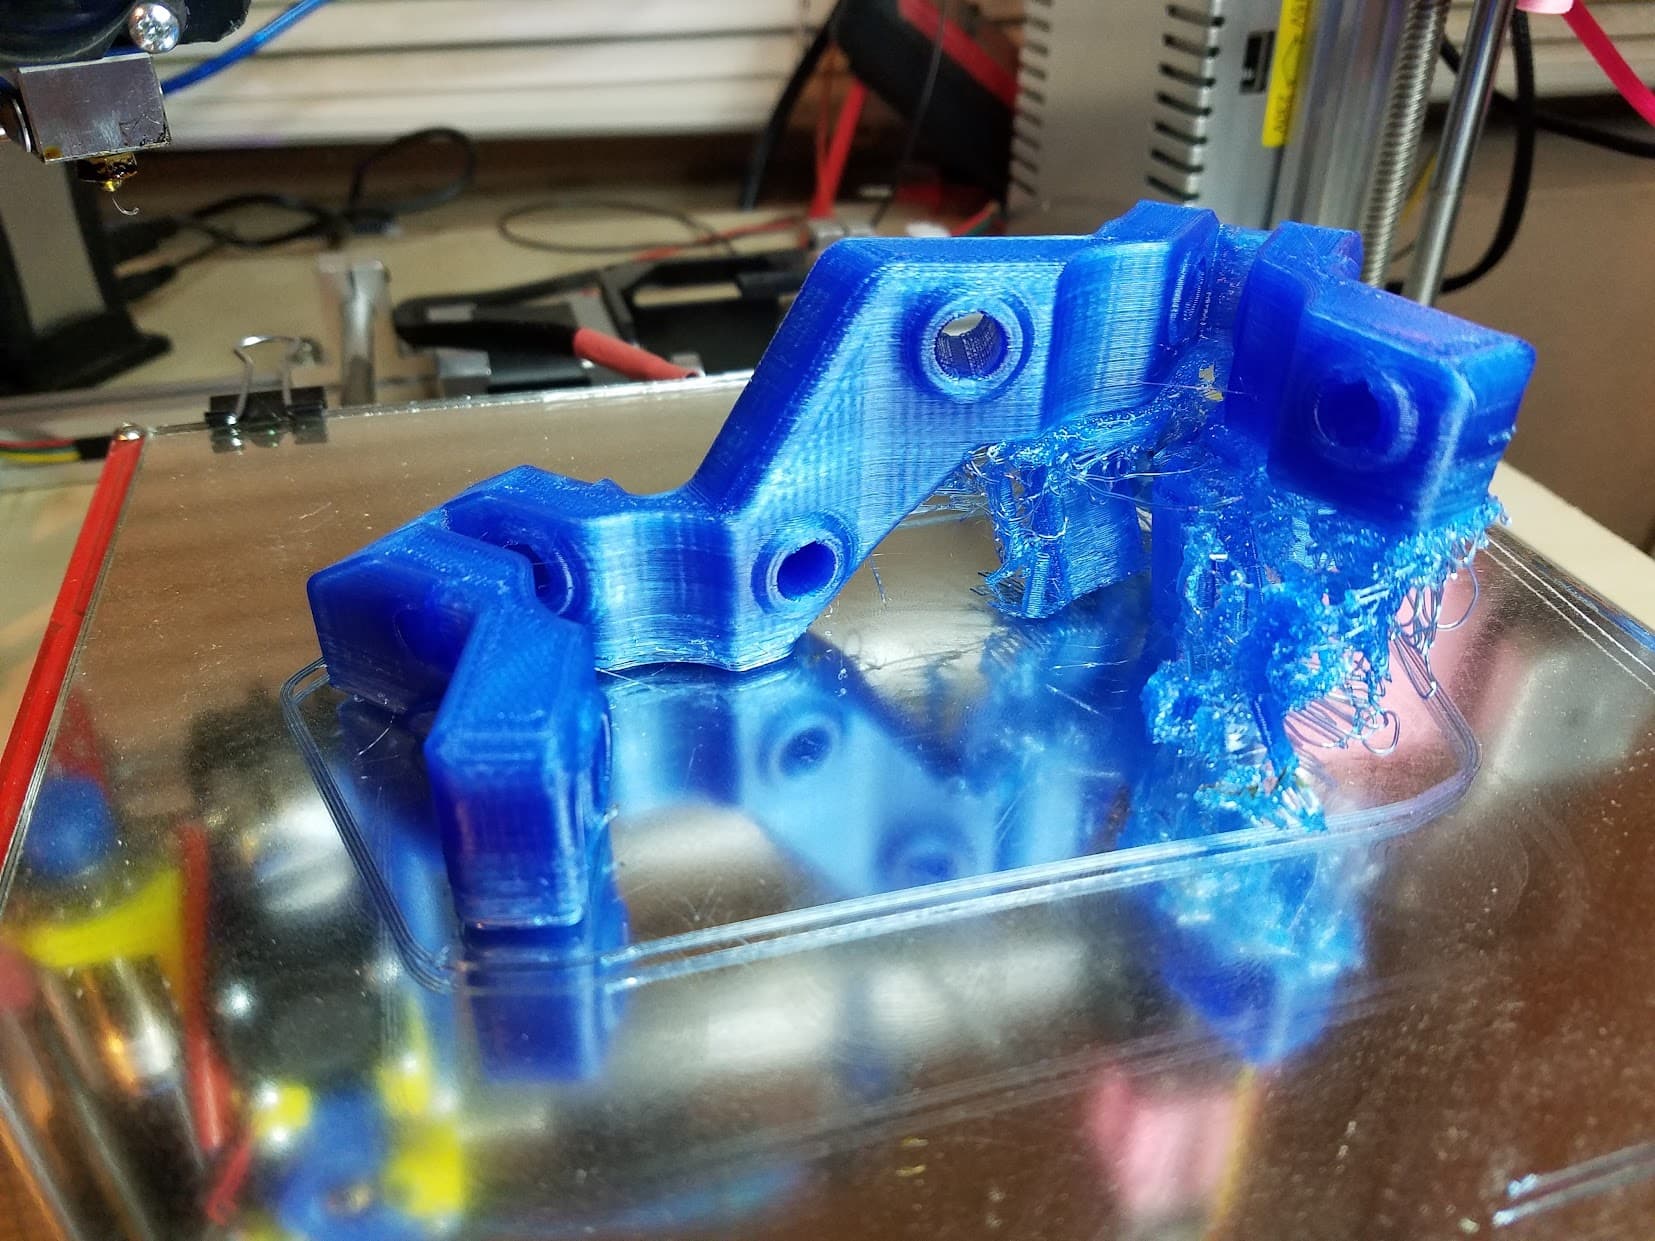
That first try didn’t go so hot. The black filament was absolute trash - I had ordered Hatchbox but Amazon sent me eSun and it was by far the worst roll of filament I ever used from any vendor. Parts were breaking just sitting on my desk with no stress on them. And not just layers delaminating - they were splitting across the layers even. It was really frustrating - but I kept going.
This part broke just sitting on my desk unused!
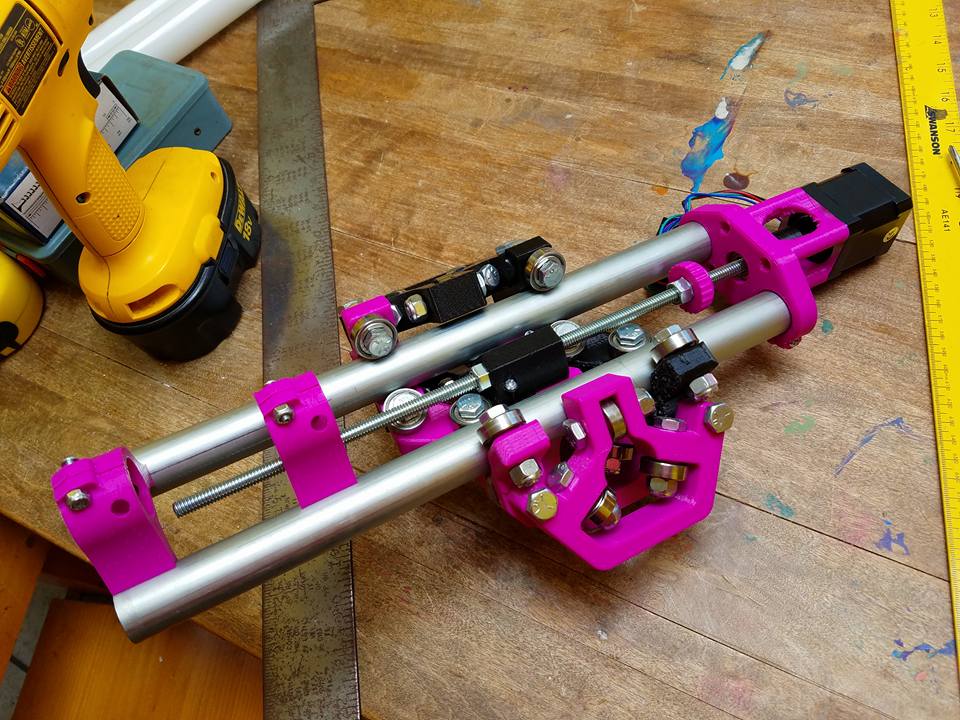
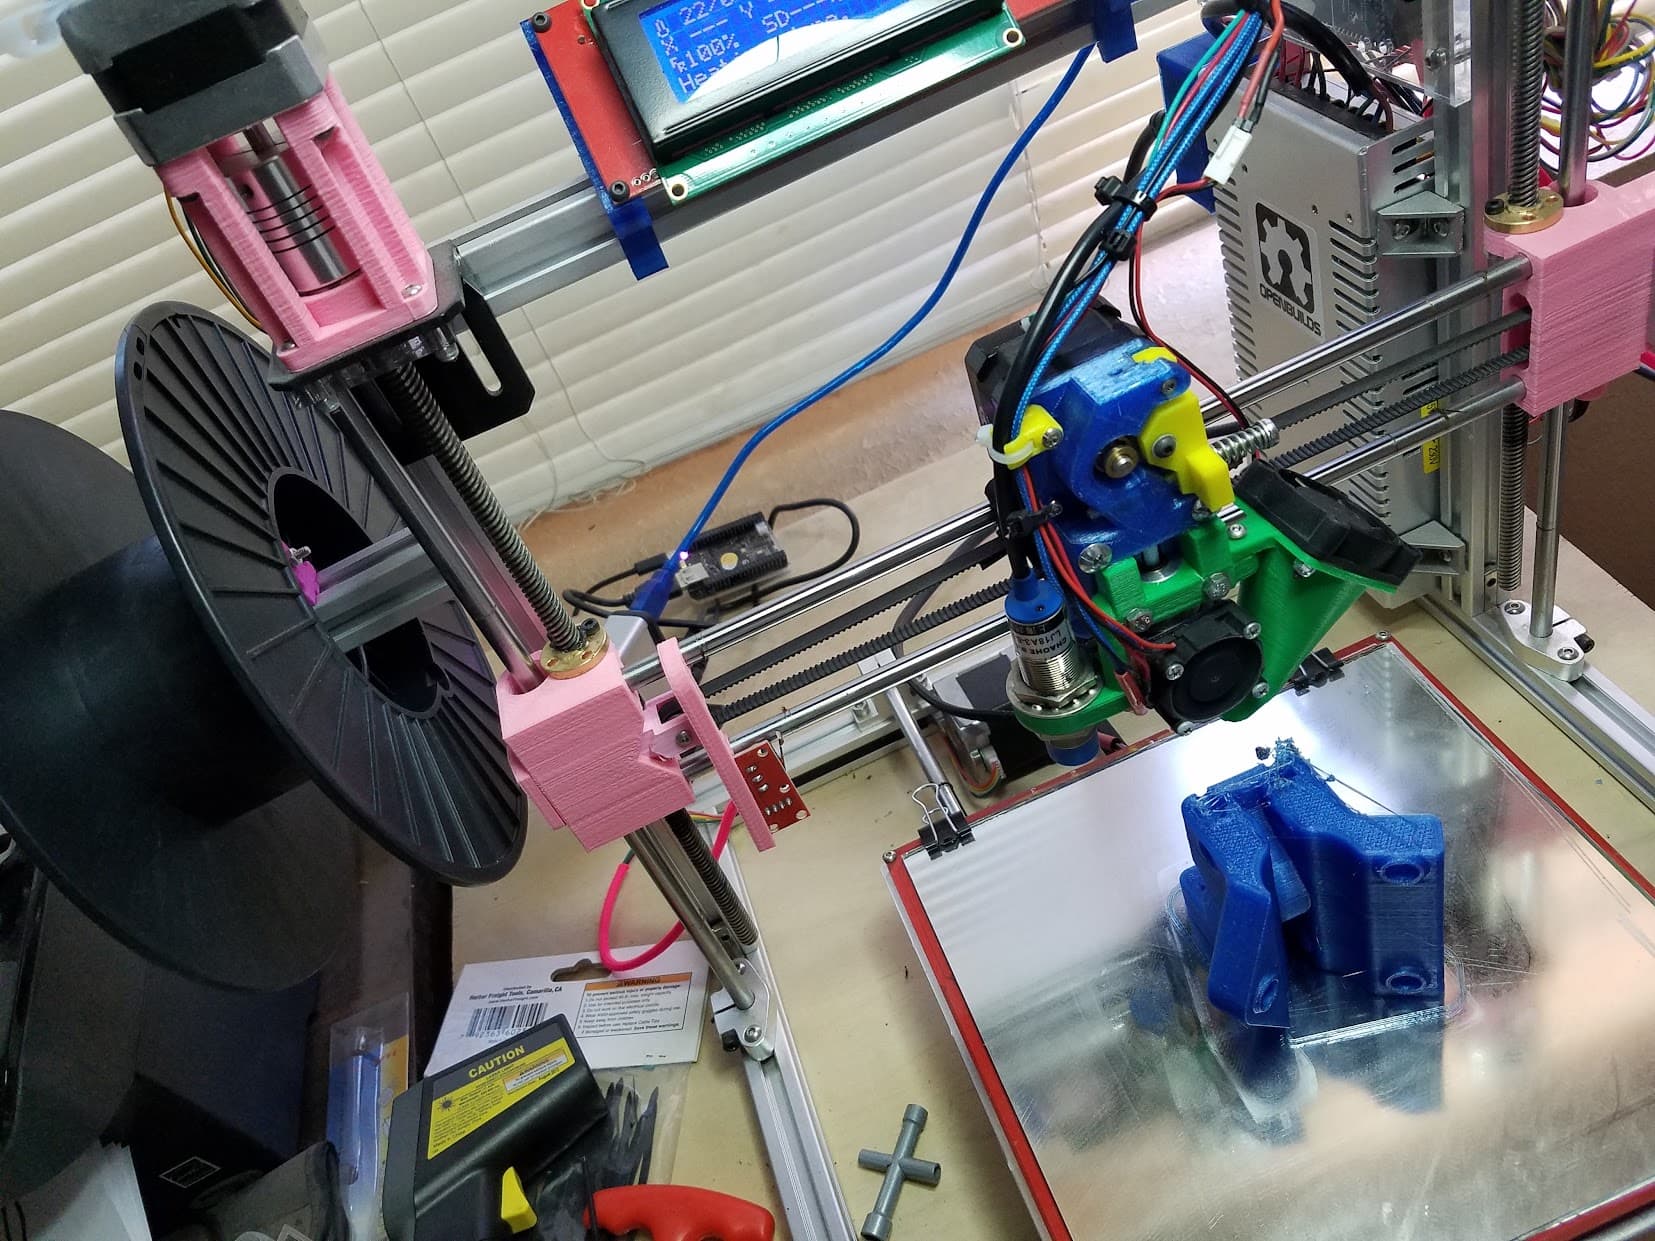
Then I had issues with a few of the prints in the pink/purple Hatchbox PLA:
This wasn’t due to the filament or Ryan’s design - this was an extruder issue on my printer where it would sometimes just jam and create a weak layer ![]()
So - I would up building a new extruder and decided to start from scratch on the MPCNC.
I also decided to switch to PETG despite the risk of loosing stiffness because the machine would live in my old office which is a freestanding building in my old backyard with it’s own AC…and I knew that if the power went out the AC wouldn’t come back on and I’d often go a week or two without noticing. Living in the desert where it’s regularly 115+ in the shade I was really worried about PLA parts holding up out there if the power went out.
So I printed everything in PETG…and then realized that a 4’x4’ table was a bit bigger than my initial measurements had led me to expect and this was NOT going to fit on my dining room table after all. (My plan from the start had been to work with 20"x30" sheets of foam board and it just seemed easier to make a 4’x4’ table rather than one just barely big enough to hold a machine big enough to work with the size material I wanted. Plus I’m American and male so it’s hard to resist the “Bigger is better” mentality ![]()
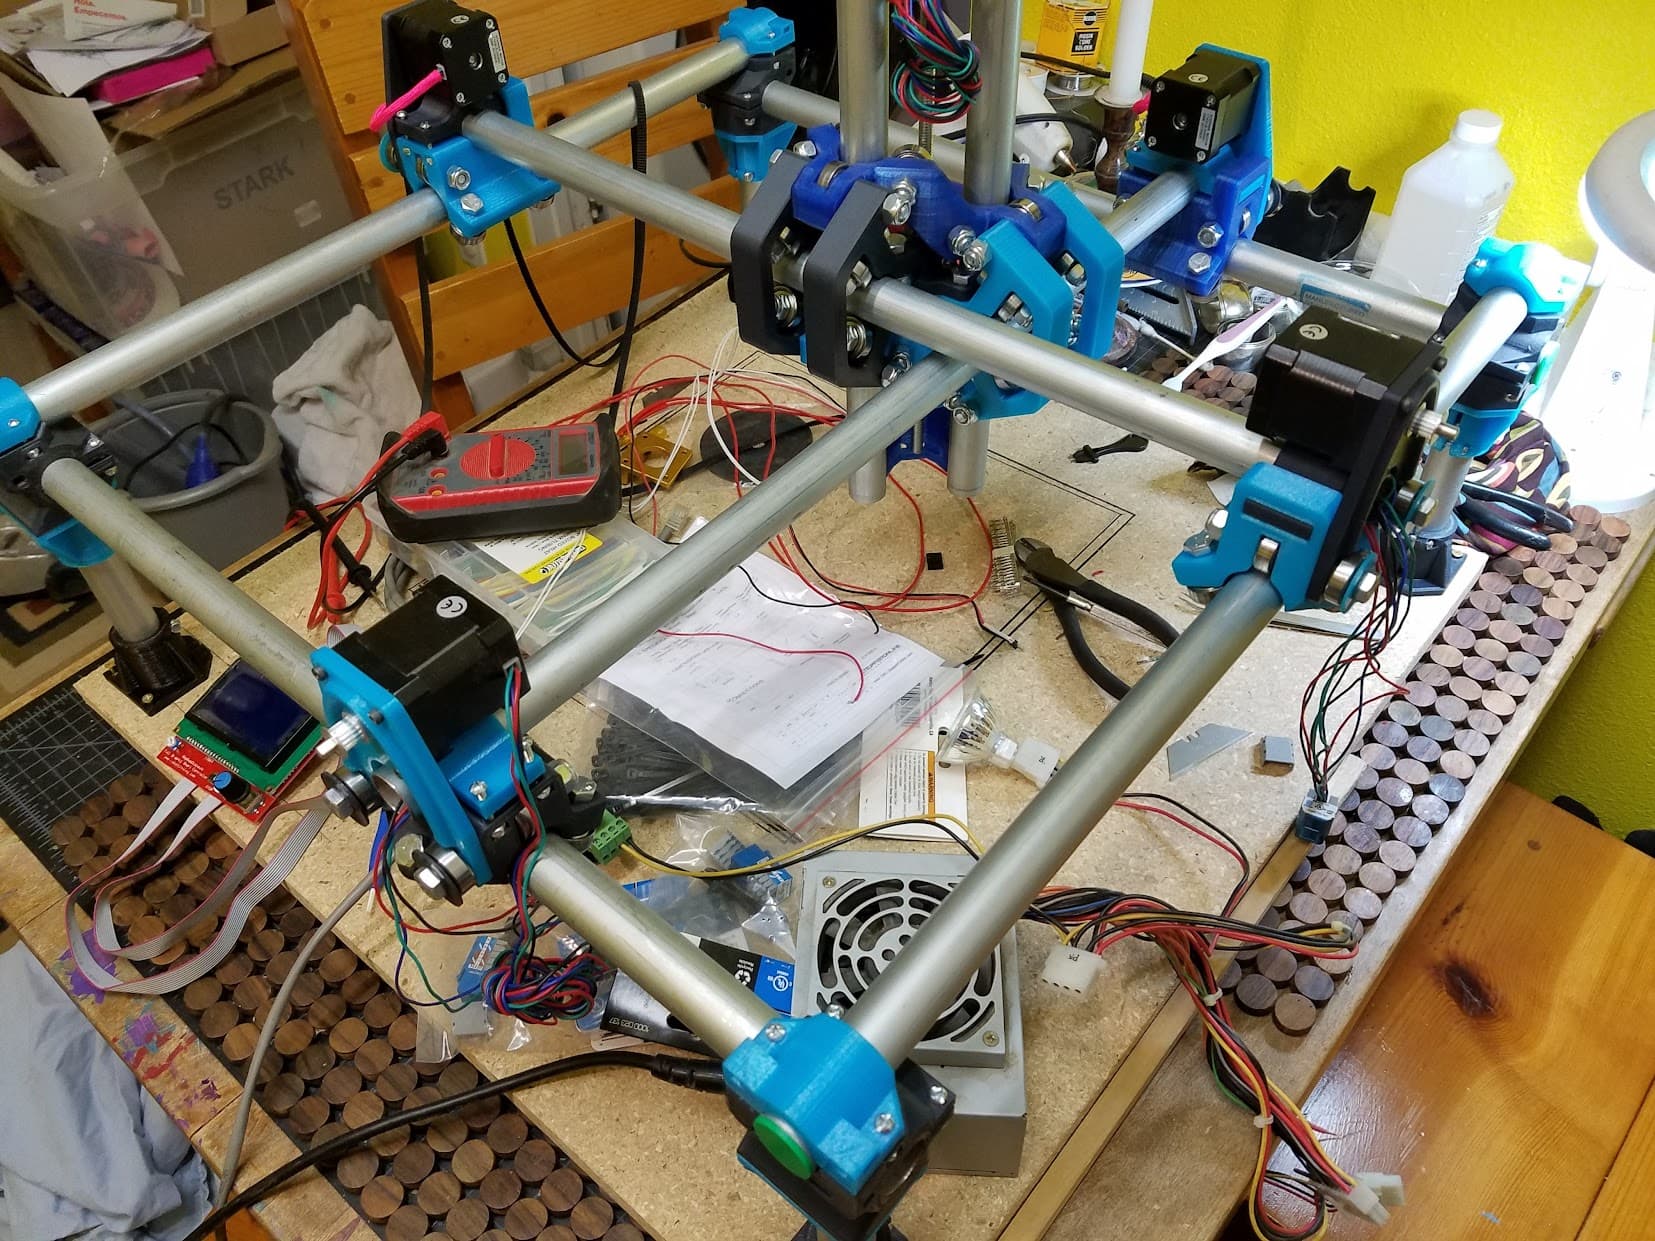
My plan was a 3’x4’ machine which I test assembled with the failing parts:
Deciding to be more reasonable I switched to a 2’x2’ machine to start and make sure things would actually work:

I still had major issues with the black PLA and some weak pink parts - so continued fixing my extruder and reprinting in PETG. Printing the early core parts proved difficult due to issues with supports back then:
And a few lost games of filament chicken:
But…I did get usable parts. April 1st 2016 I started rebuilding the 2x2 with PETG parts - sharp eyes may pick out a few more black bits that broke in unexpected ways:

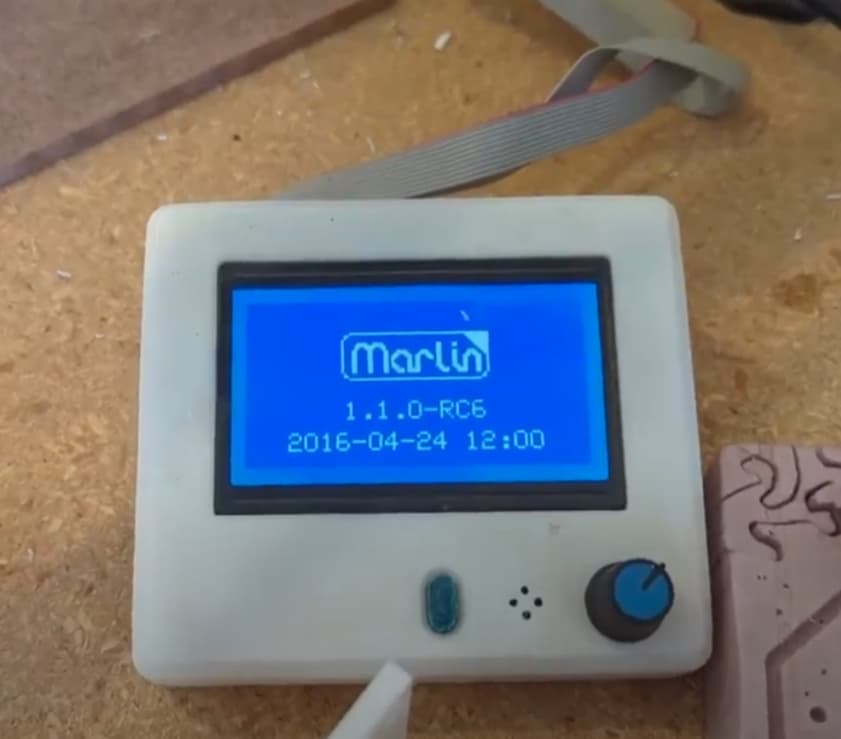
By Apr 30th it was looking like a machine and moved under it’s own power for the first time:
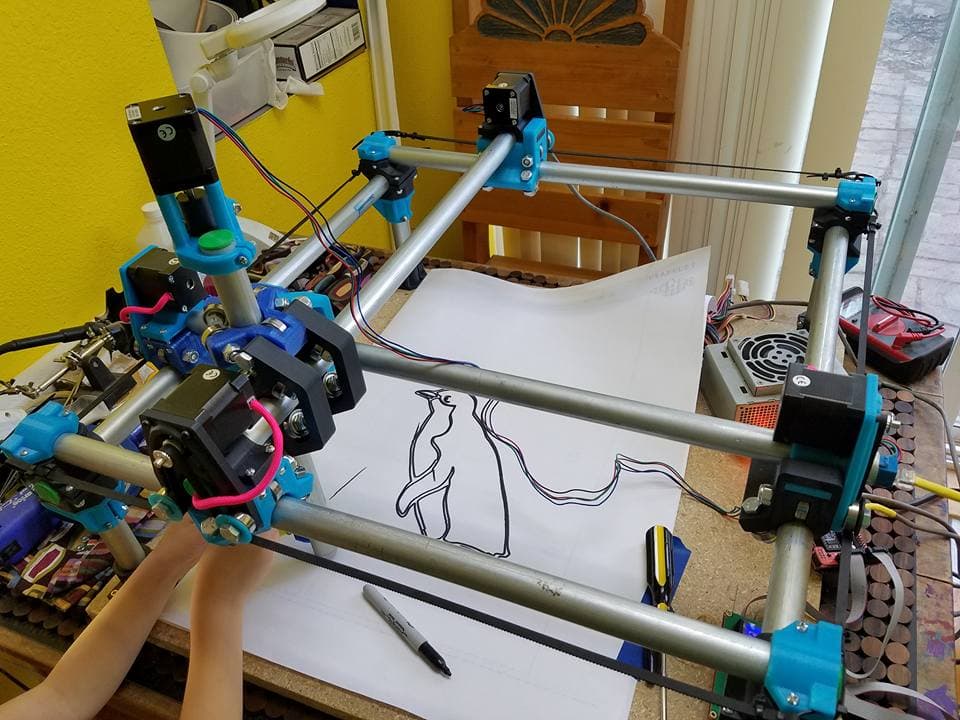
May 1st I had my first successful test - this was before the crown was decided on as a first test and my daughter was obsessed with penguins so:
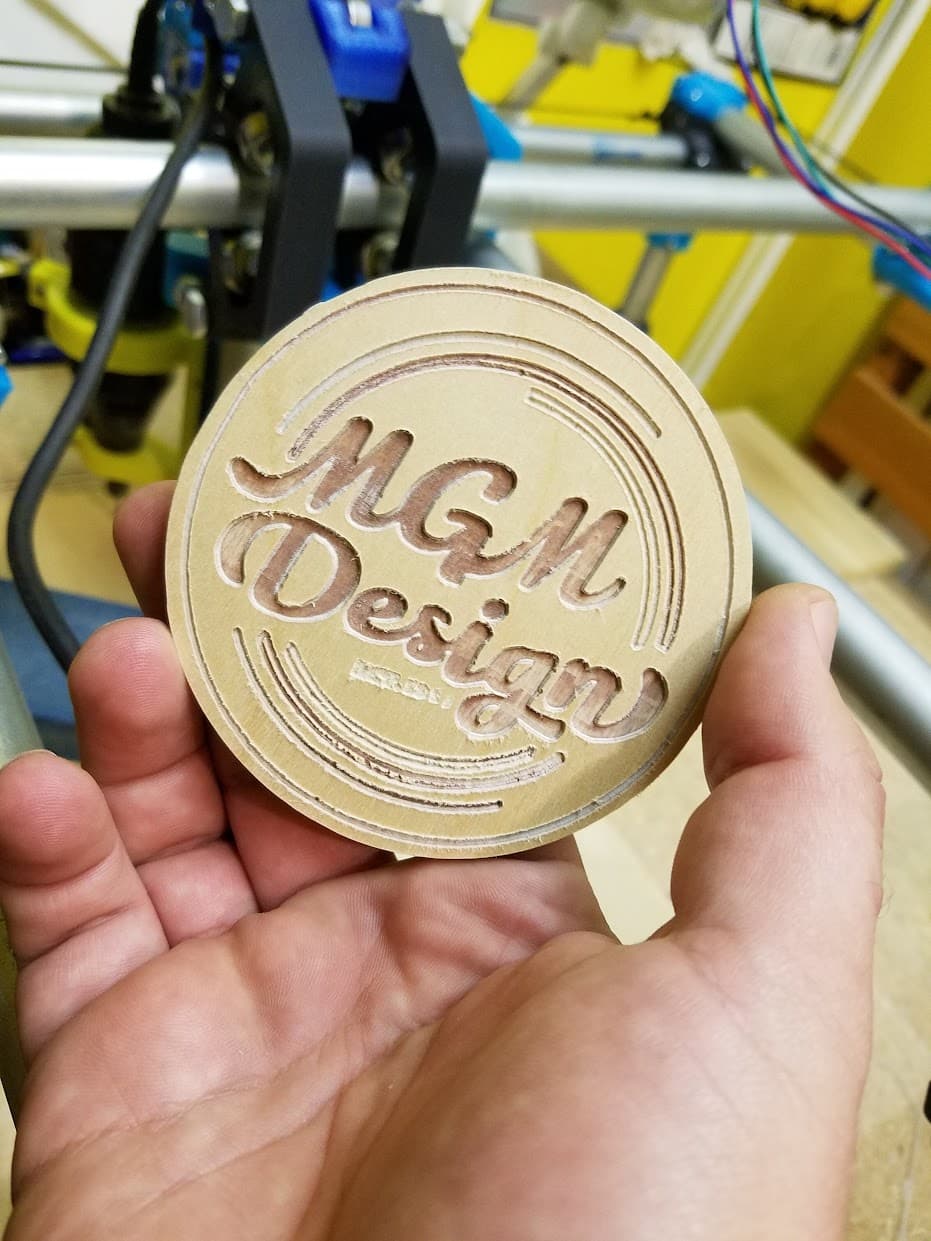
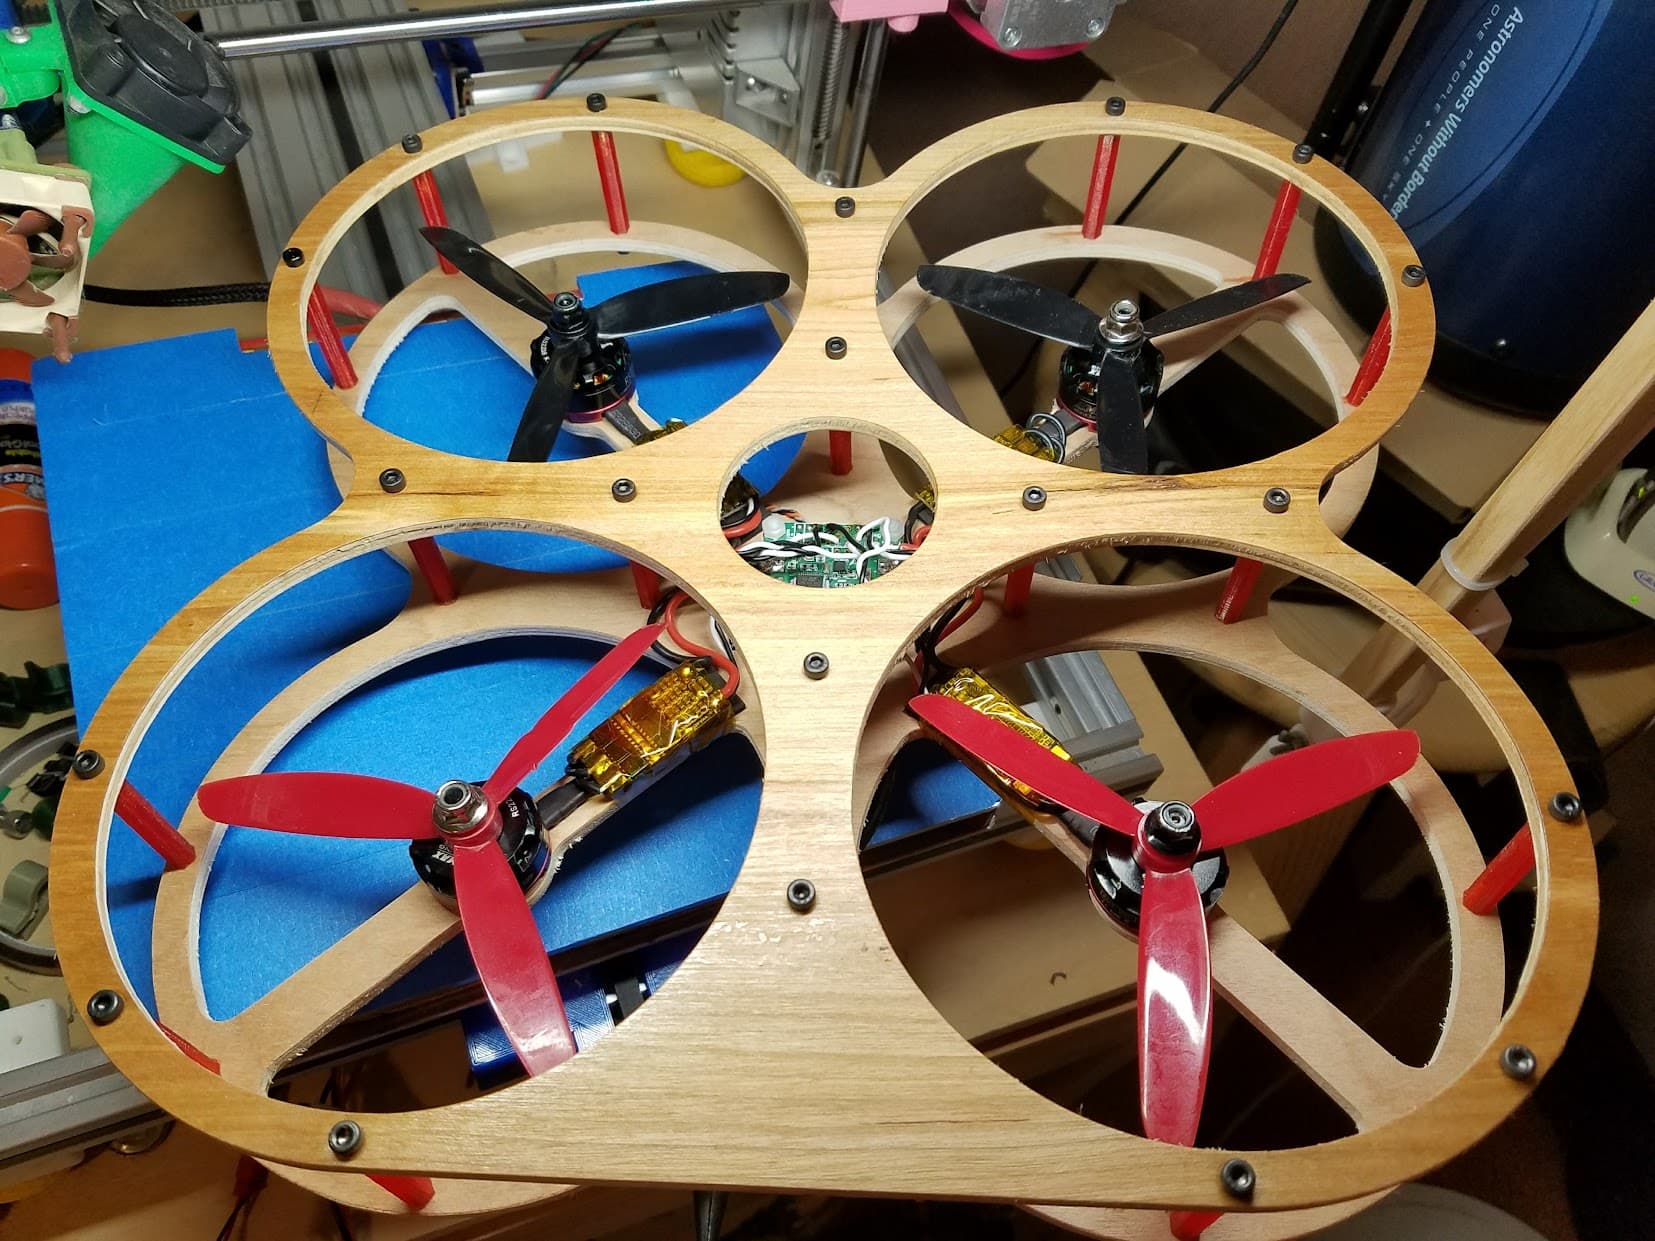
From there things picked up - a few days later I strapped my dremel to it and cut a few bits of acrylic for a quadcopter and a couple of 1/8" plywood coasters with my companies logo before burning out the dremel.
Then I fell down the needle cutter rabbit hole. My first attempt worked but definitely had issues:

But it was enough to convince me the original plan was a good one so I started making room for the 4x4 table:
By May 30th I had cleaned out my office and got the big table fully ready:

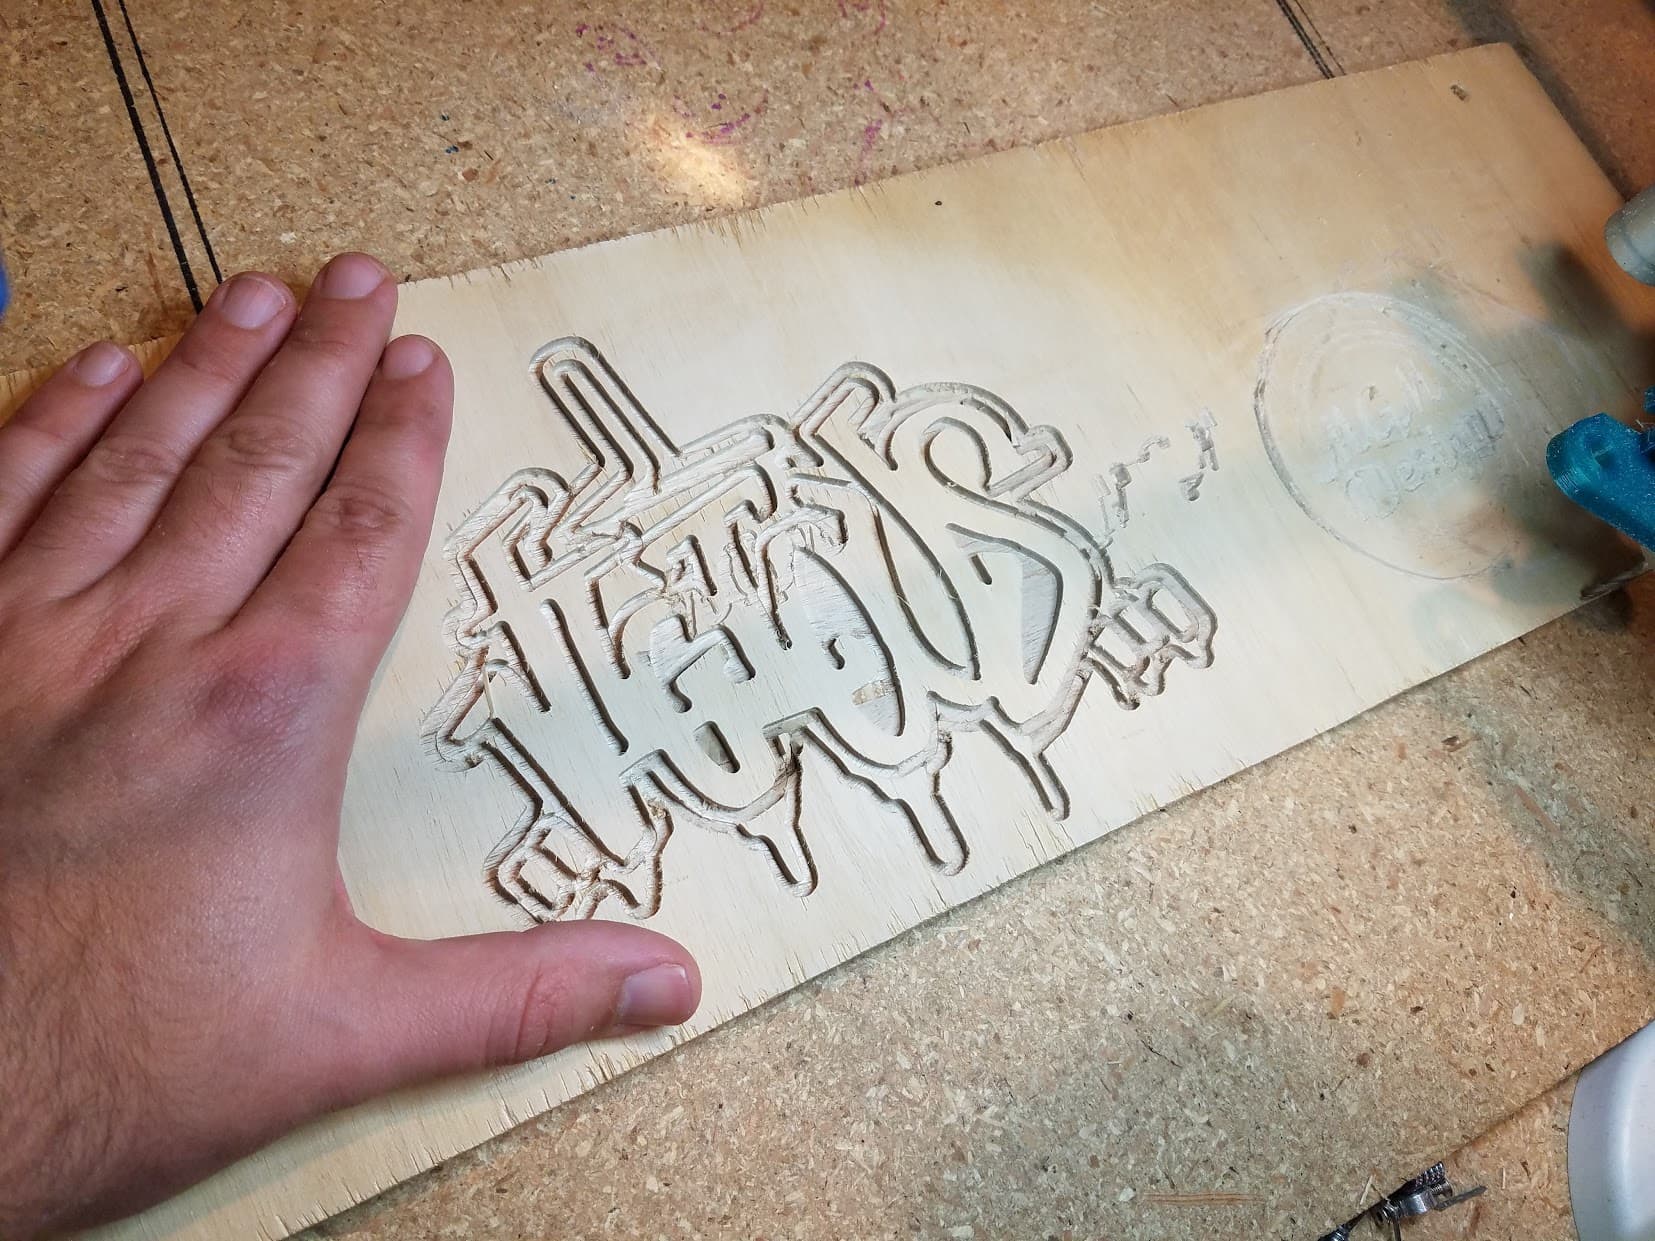
End of August I had replaced the dremel with a dewalt trim tool that was then recommended as a spindle and made one last cut on the 2’x2’ machine with the test file that preceded the crown fully expecting that when the machine was expanded I would no longer be able to work in wood due to the lower rigidity:
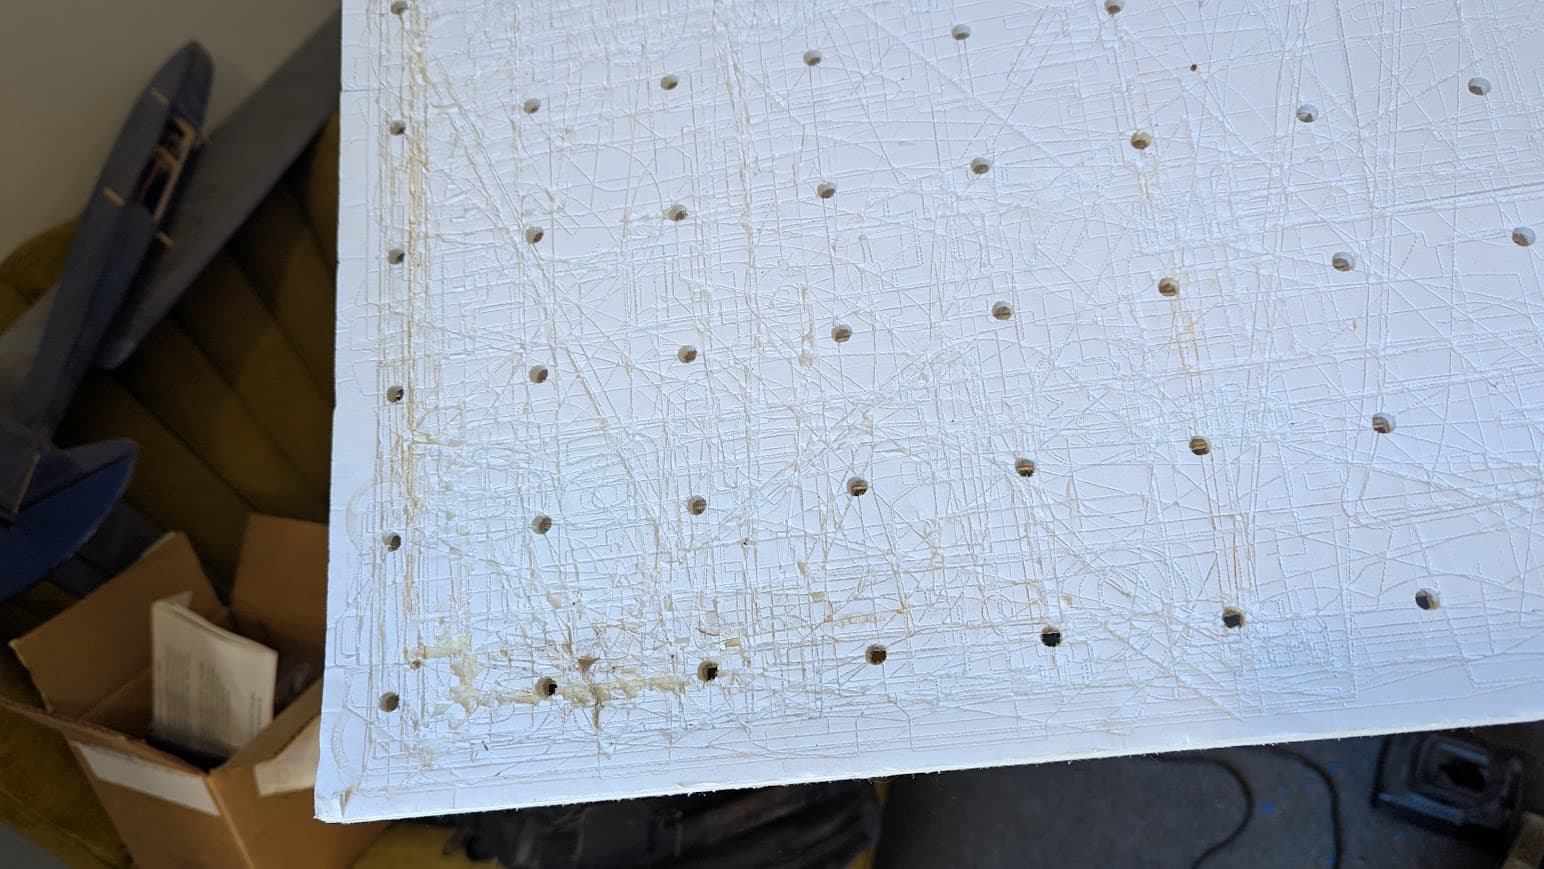
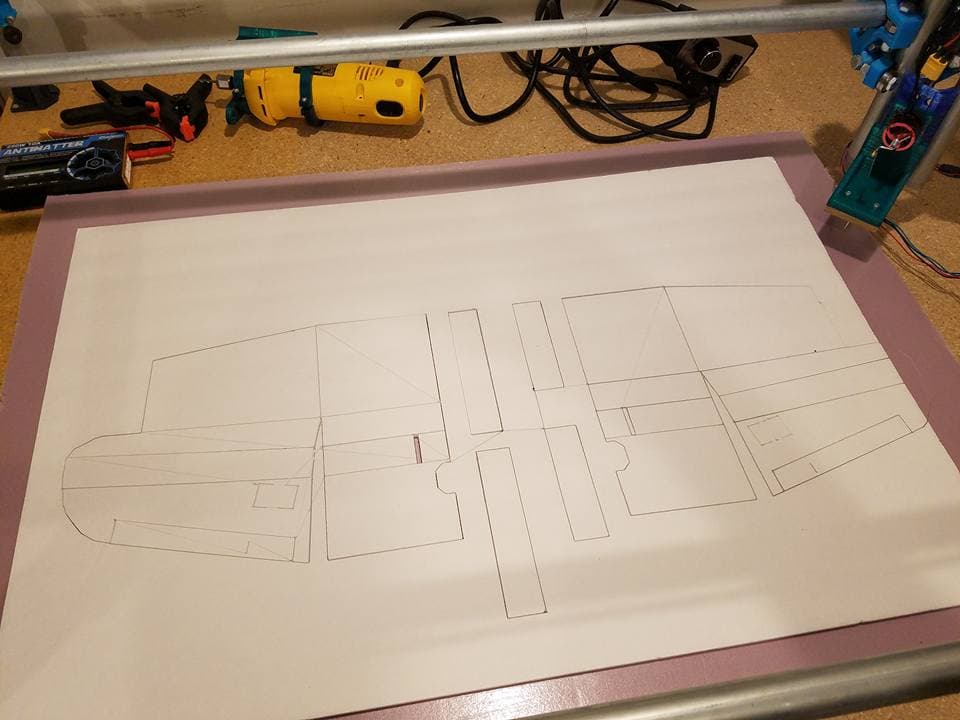
Early sept I was cutting full sheets of foam:
There were still issues with my Z (you can see where the needle dragged between moves) but things were looking better and better.
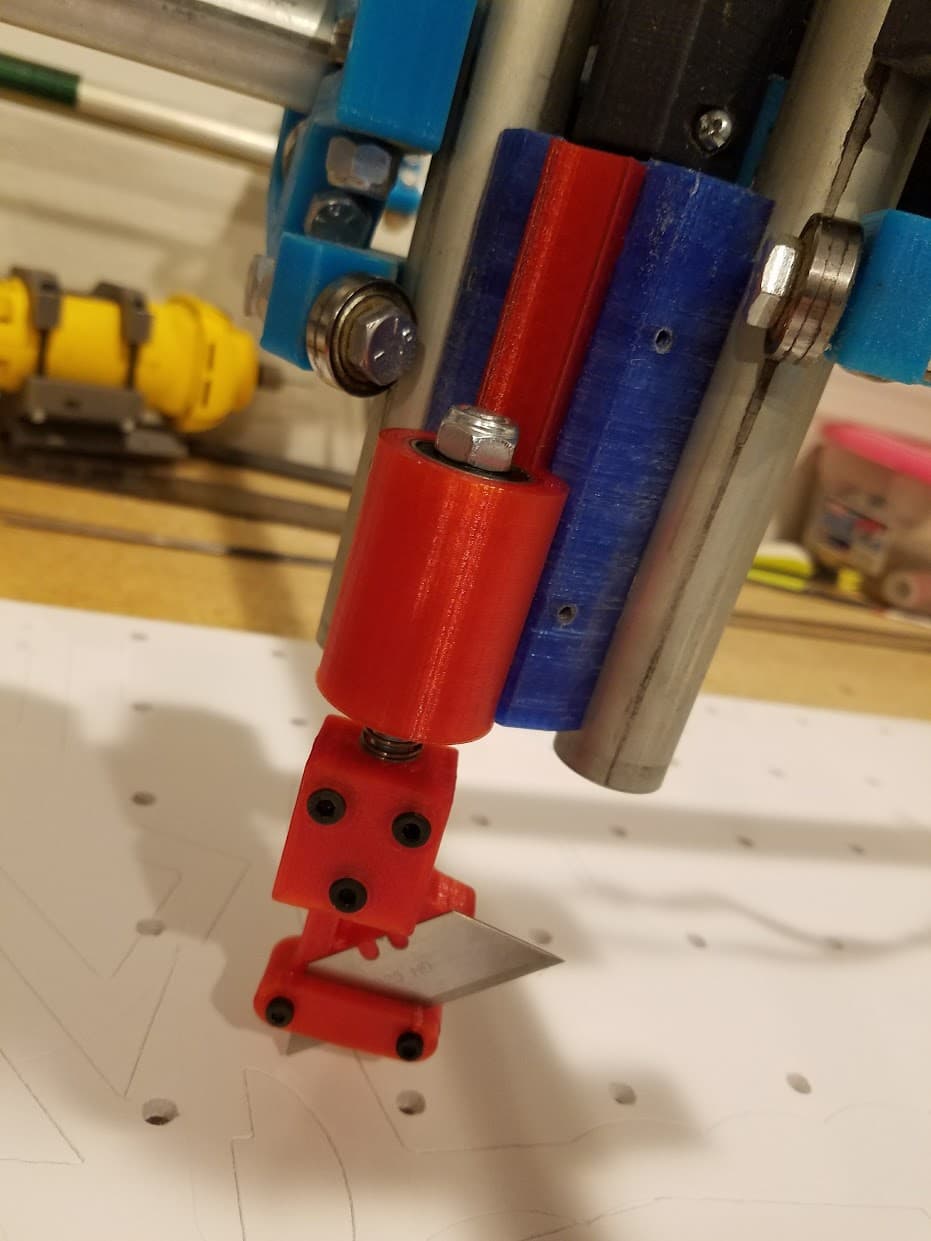
I experimented with the small drag knife but my z wasn’t reliable enough to really use it…I also experimented with a larger drag knife.
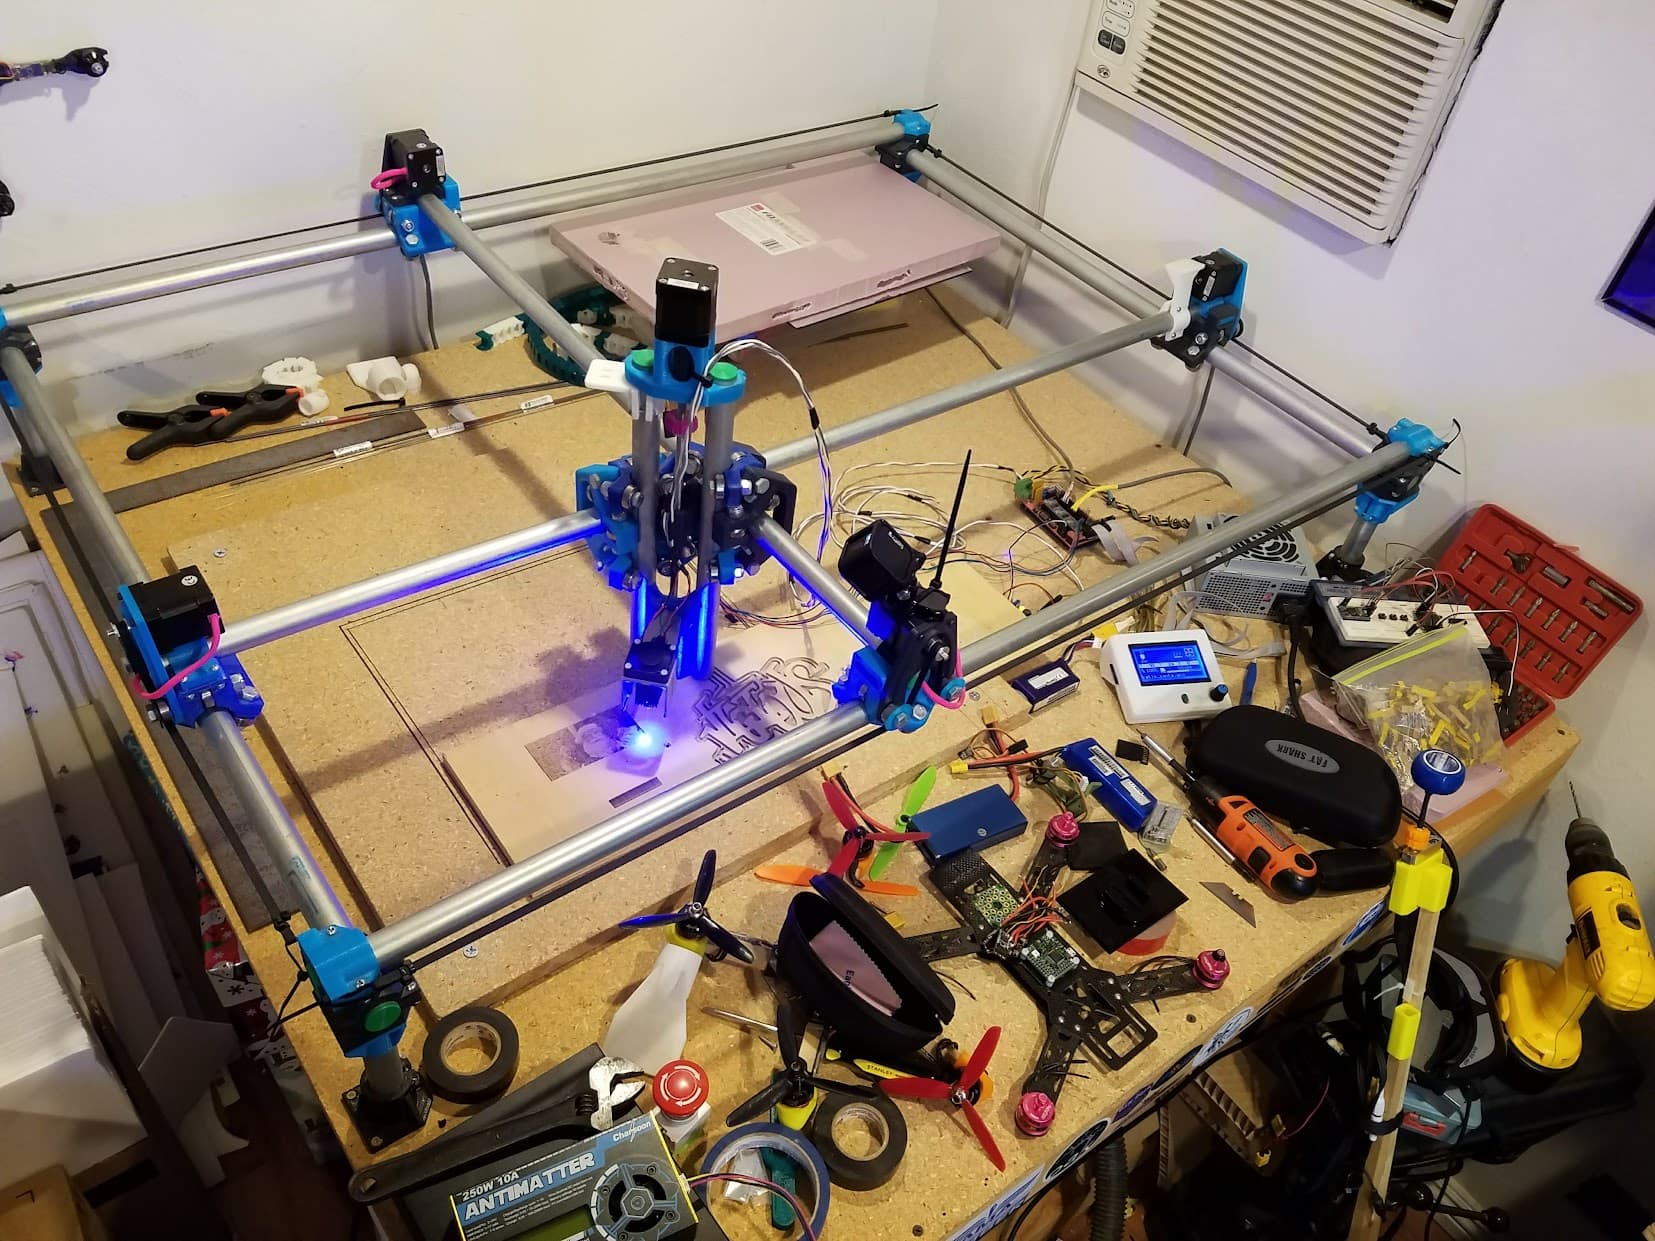
Then I added a laser:
My main focus continued to be the needle cutter though - and I even won 2nd place in an Instructables contest where I entered my then current design: https://www.instructables.com/CNC-Needle-Cutter/
And continued to refine the needle cutter to the version I stuck with:
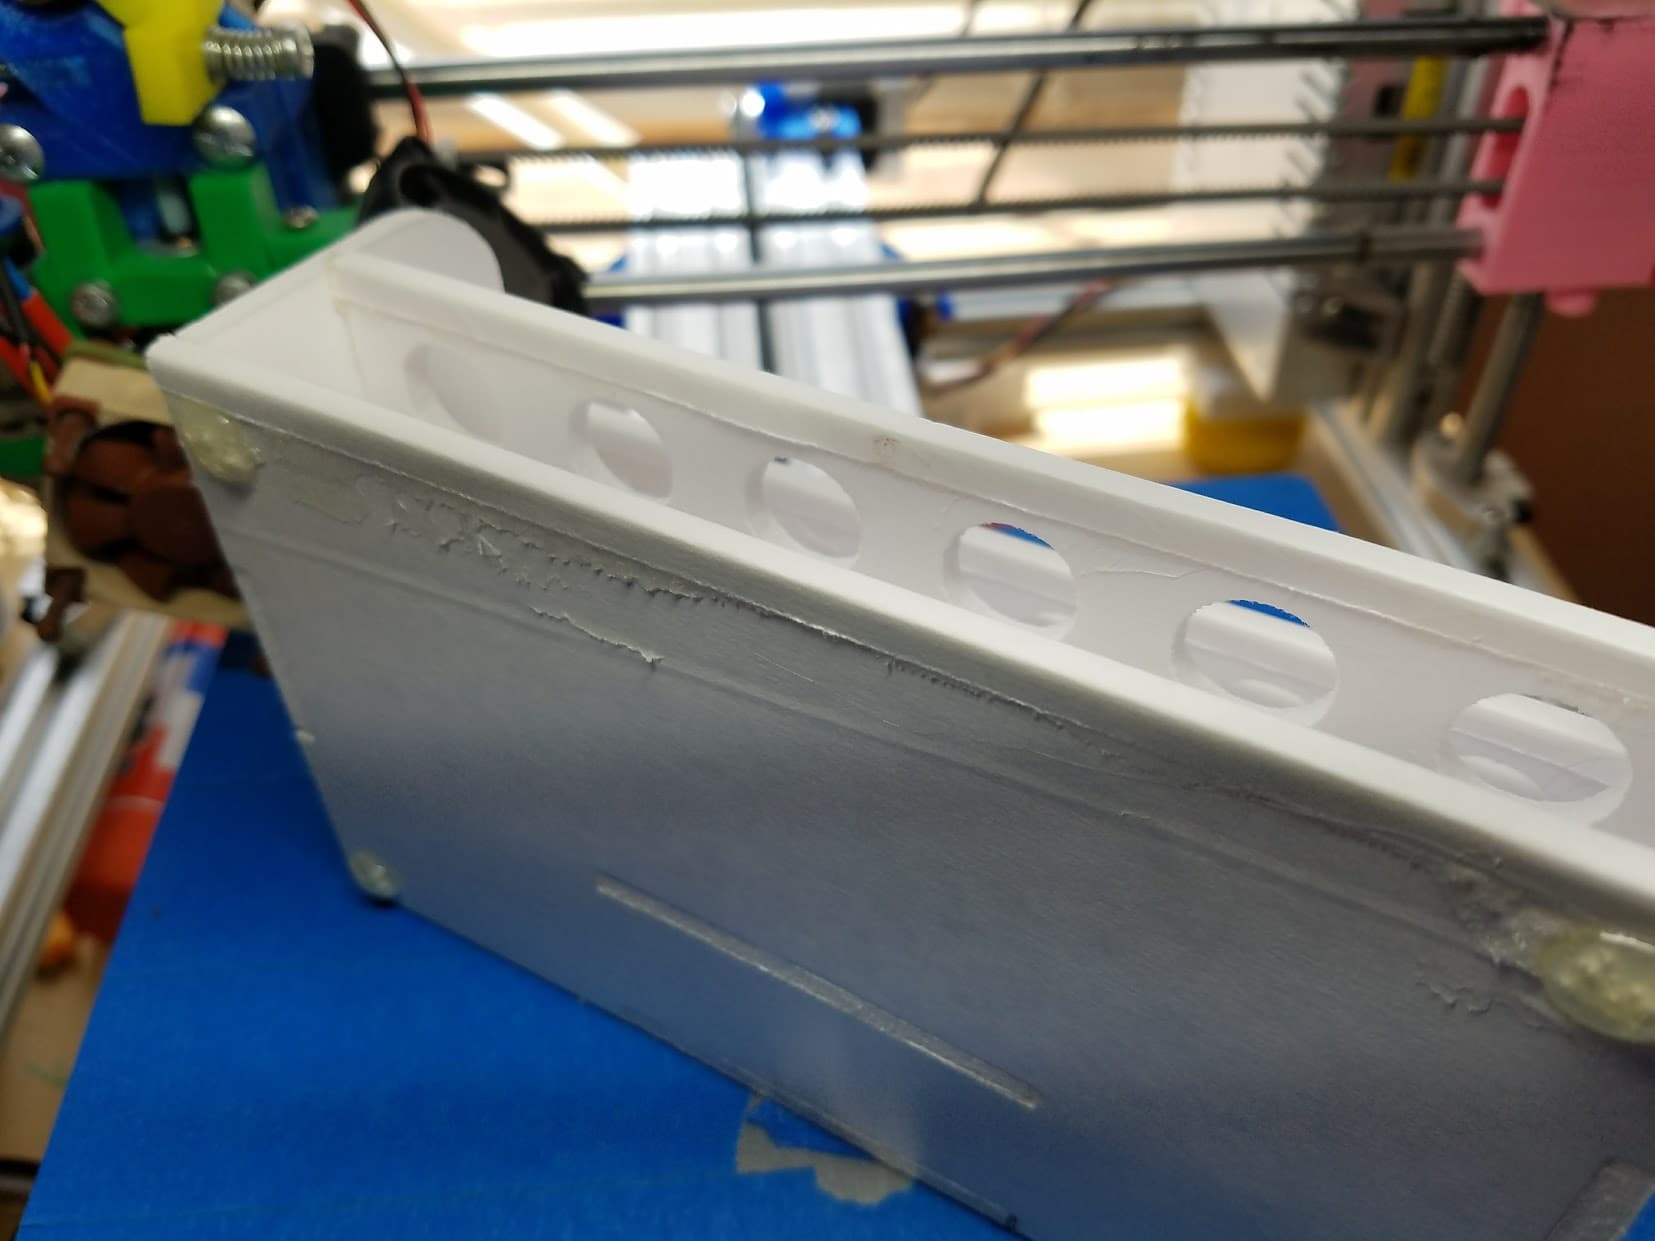
My foam addiction got strong…I was buying it by the case from dollar tree and making all kinds of things out of it. This little stand for ink vials included nice touches like leaving the paper on one side of cuts extra long so it could wrap around the edges for a super clean finish:

With the 2017 eclipse approaching I designed and made a few eclipse projectors for my daughters class:
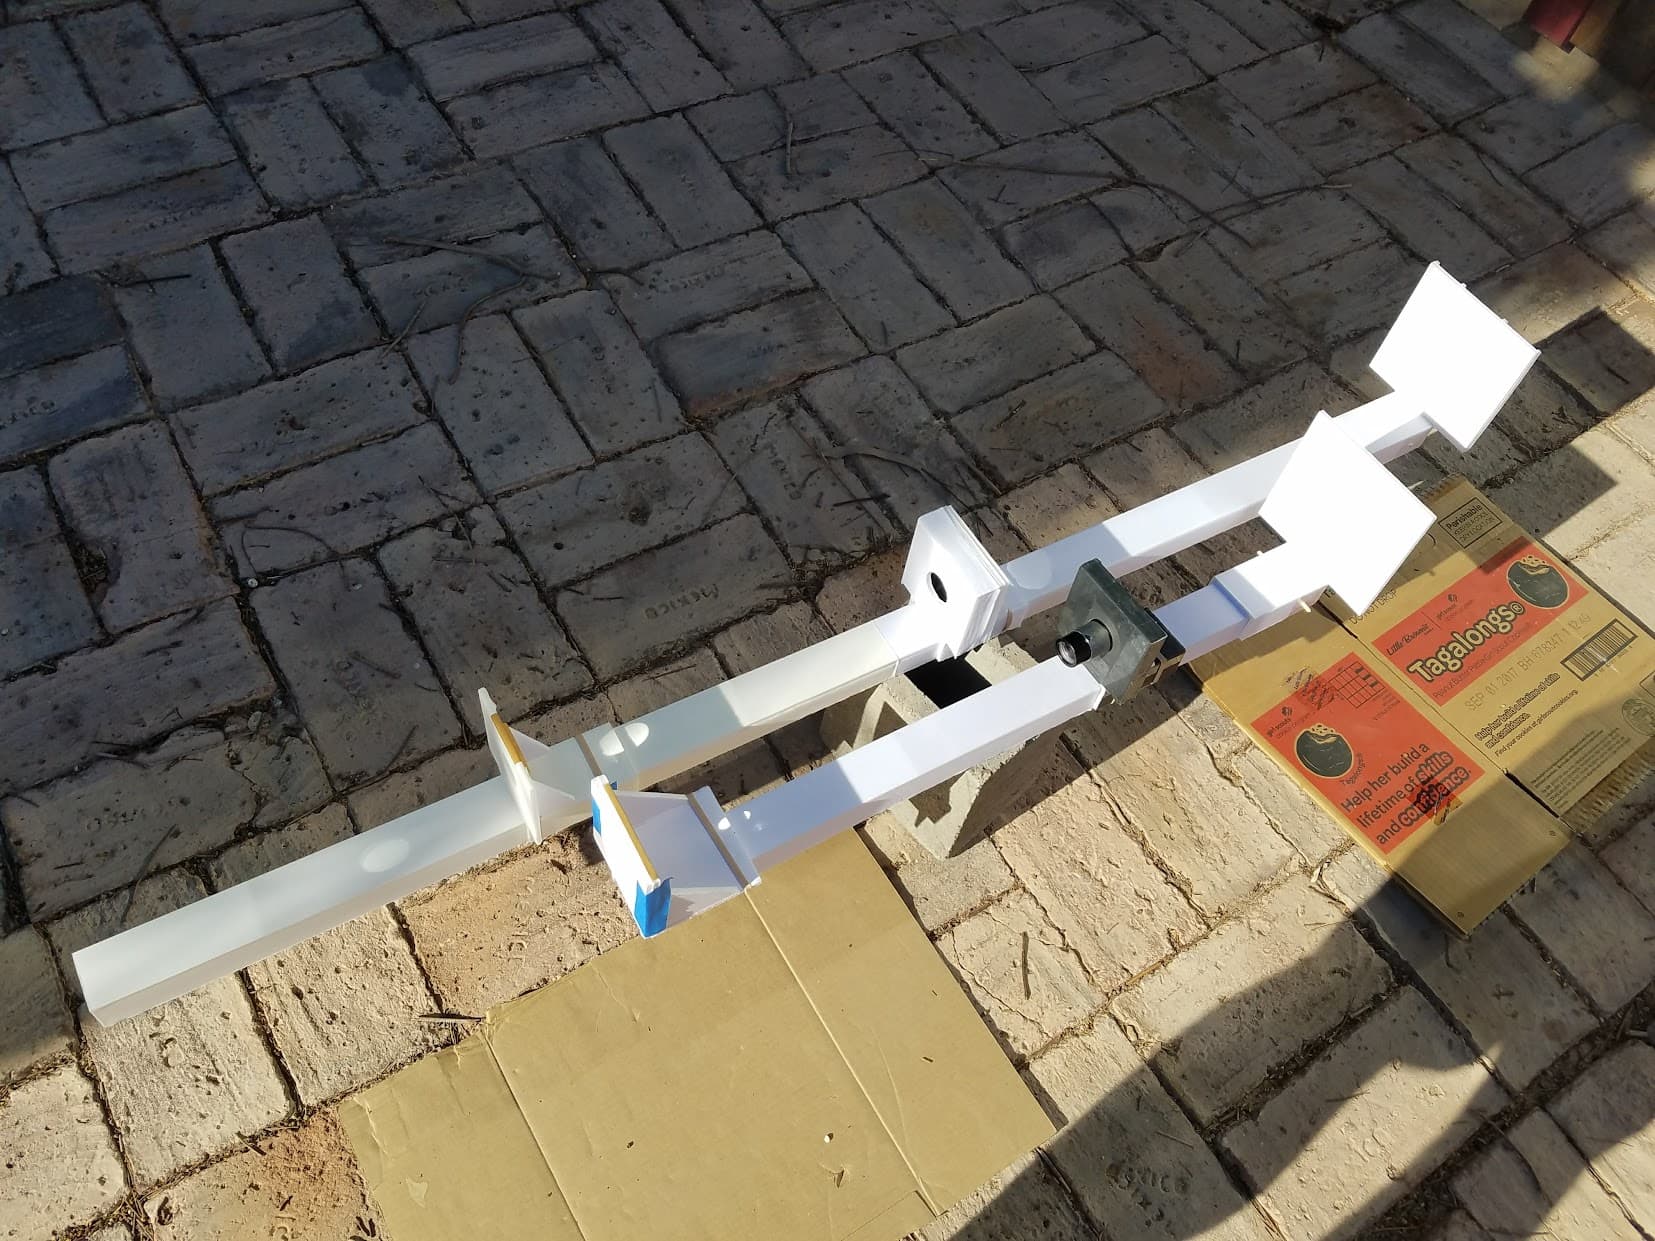
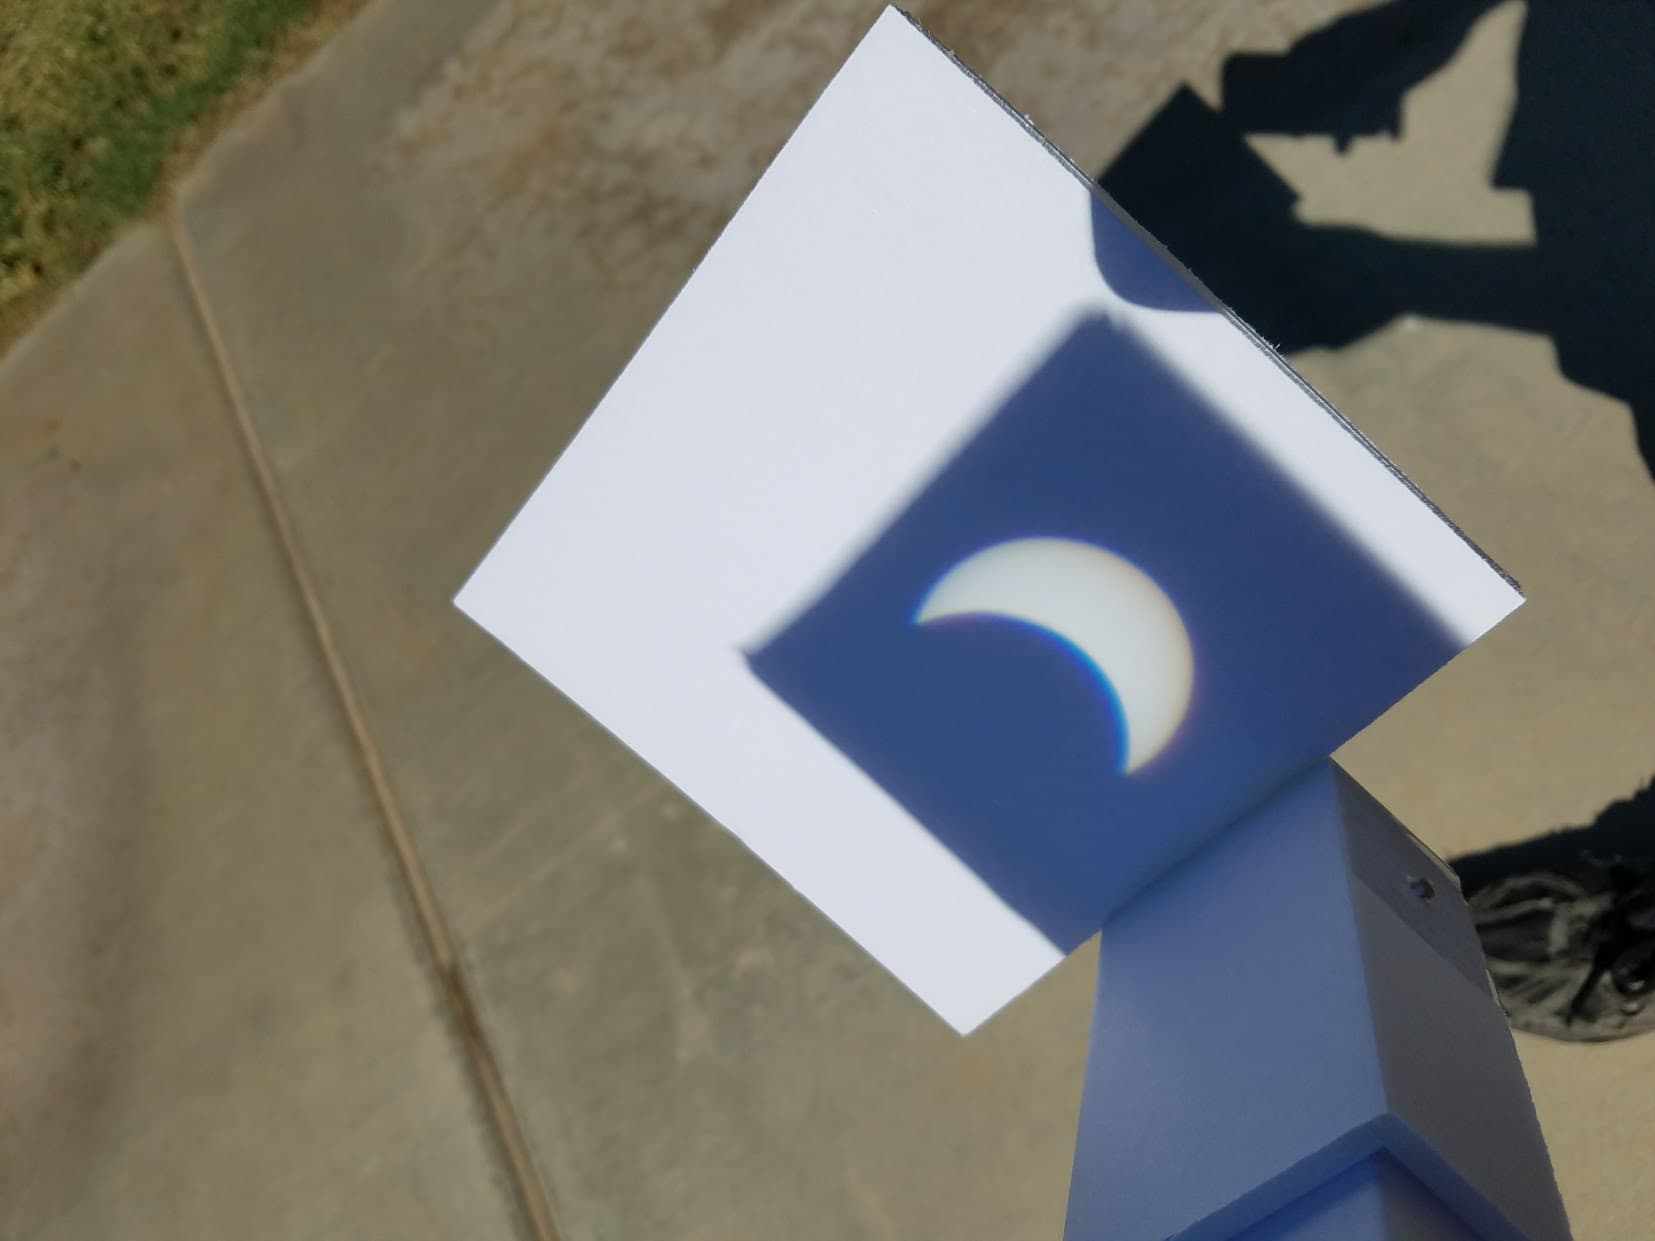
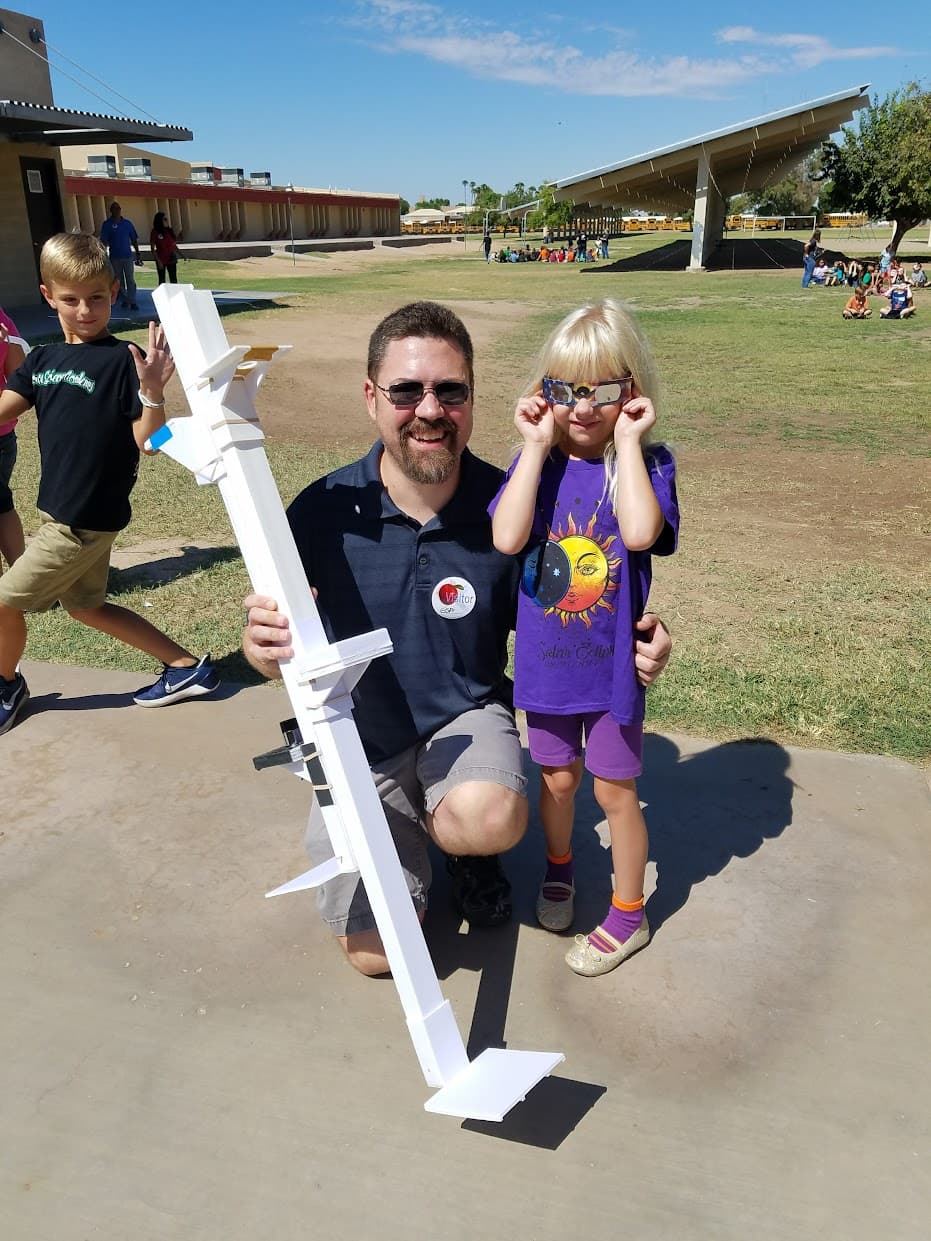
They were a hit and some of the kids liked them better than their eclipse glasses!
The machine was actually stiff enough made from PETG and at this large size that I could still cut plywood. Talk of the low rider started and liking the idea I started building an original Low Rider:

(Note - I was too cheap to buy roller blade wheels so I designed a multi-part print with 2 piece PLA/PETG center and TPU tire to use instead)
I never finished assembling the machine though as I didn’t have room for an additional table and didn’t trust it enough to replace my then current machine. I would up sending the plates off to someone else and still have a box with all the prints and harware I just found a few weeks ago cleaning out the old shop.
I was doing a lot of RC flying at the time and made all kinds of flying things with help from the MPCNC:
I even helped a friend cut parts for a different CNC design they wanted to try:
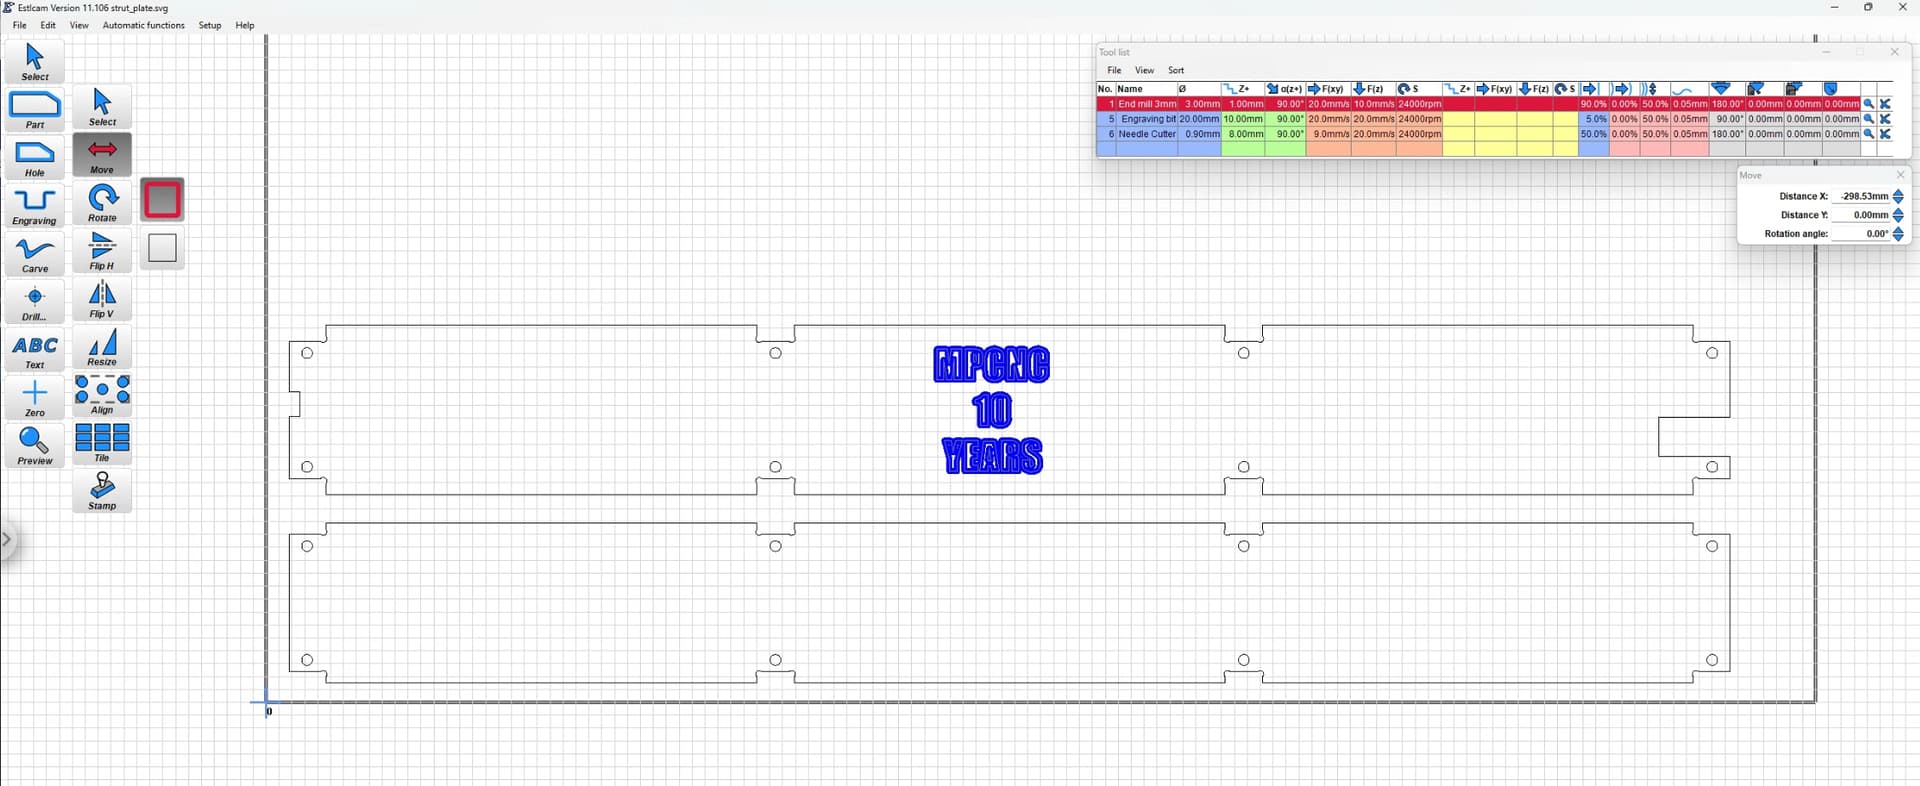
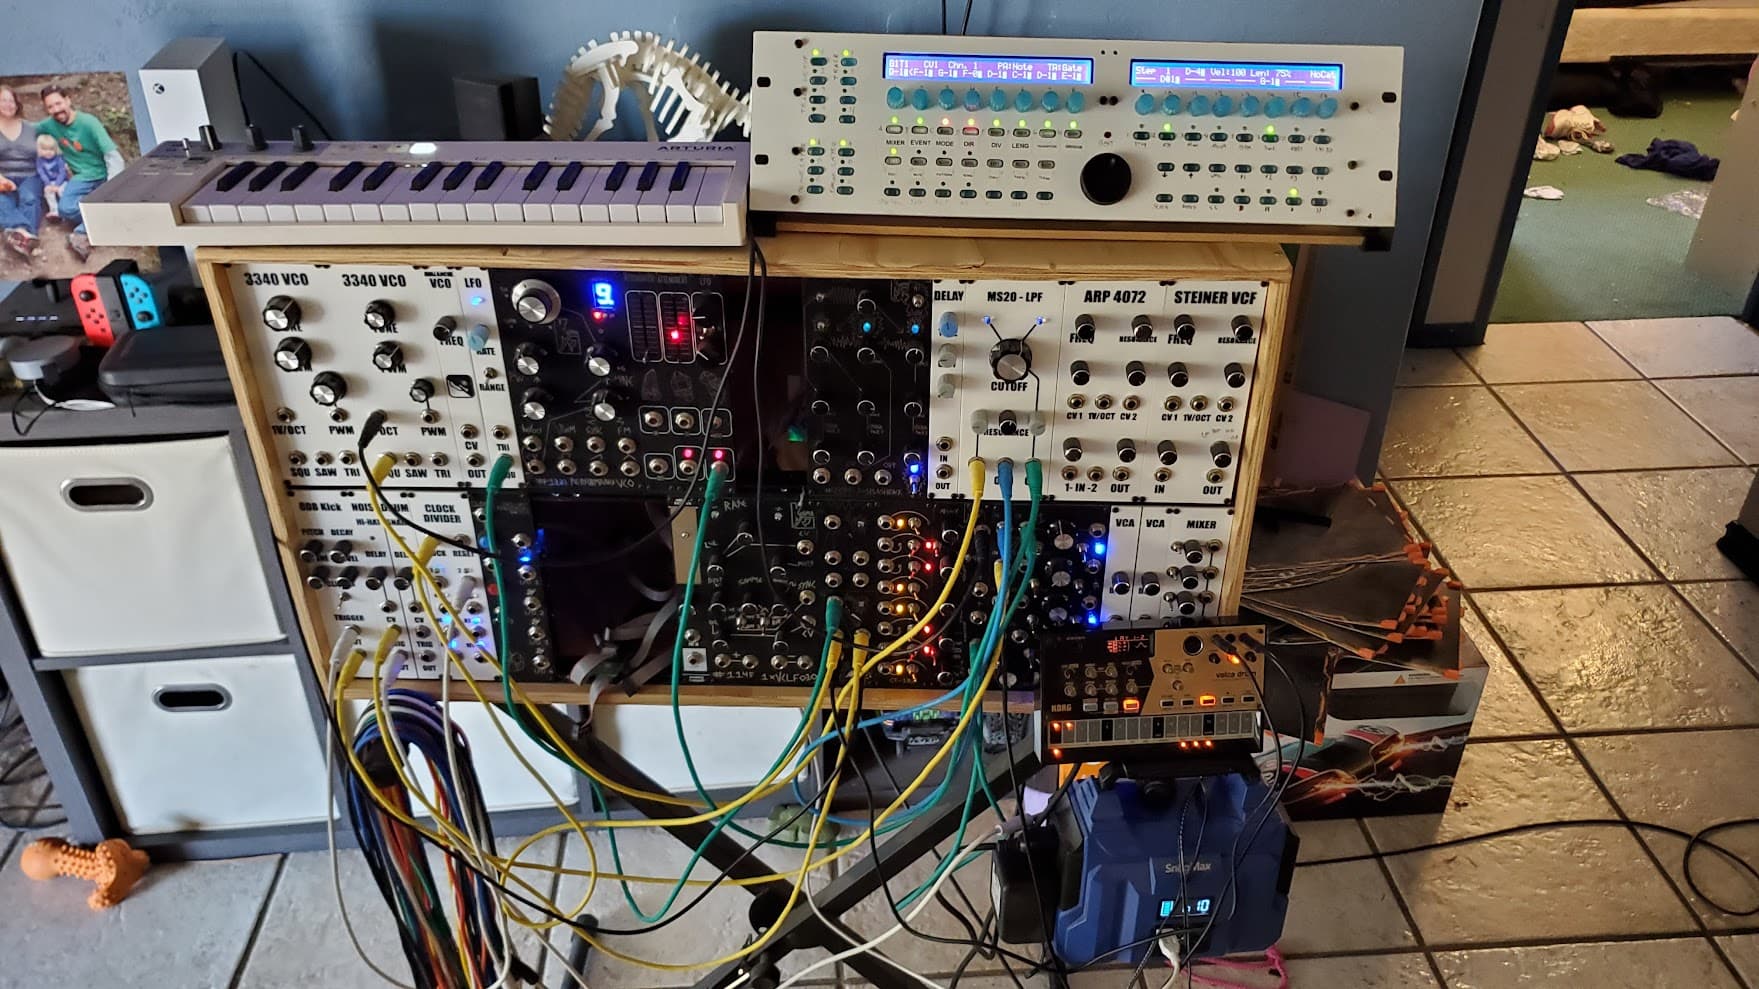
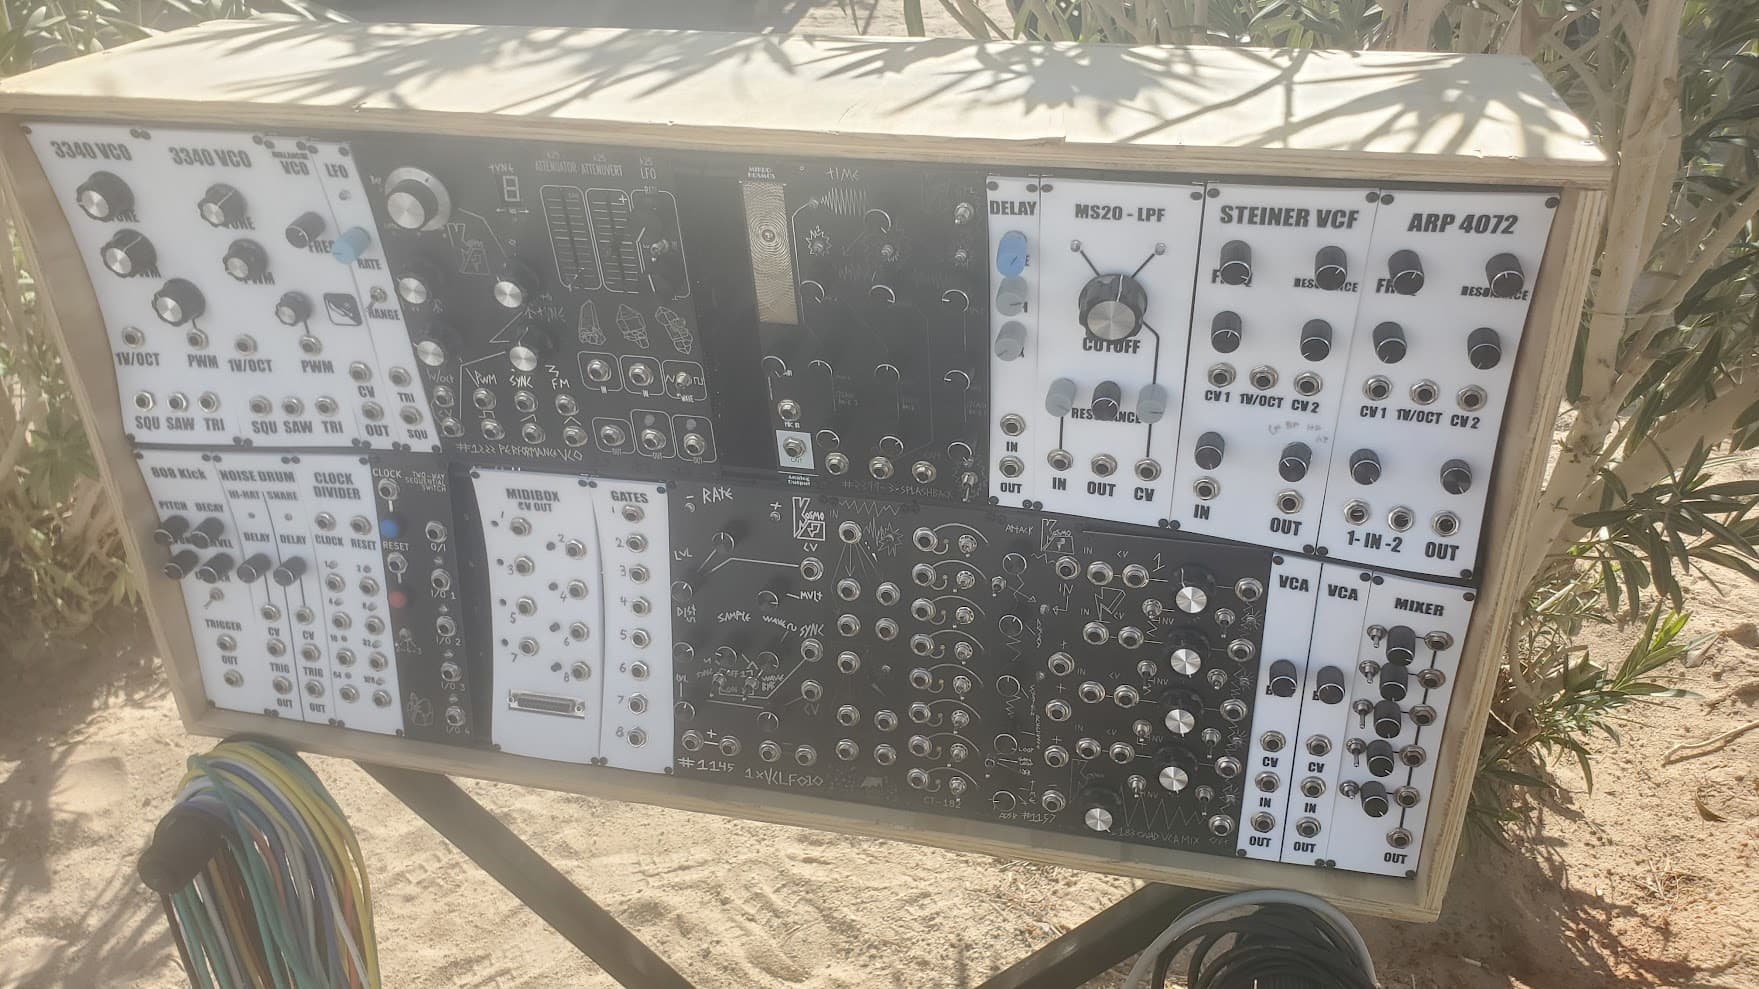
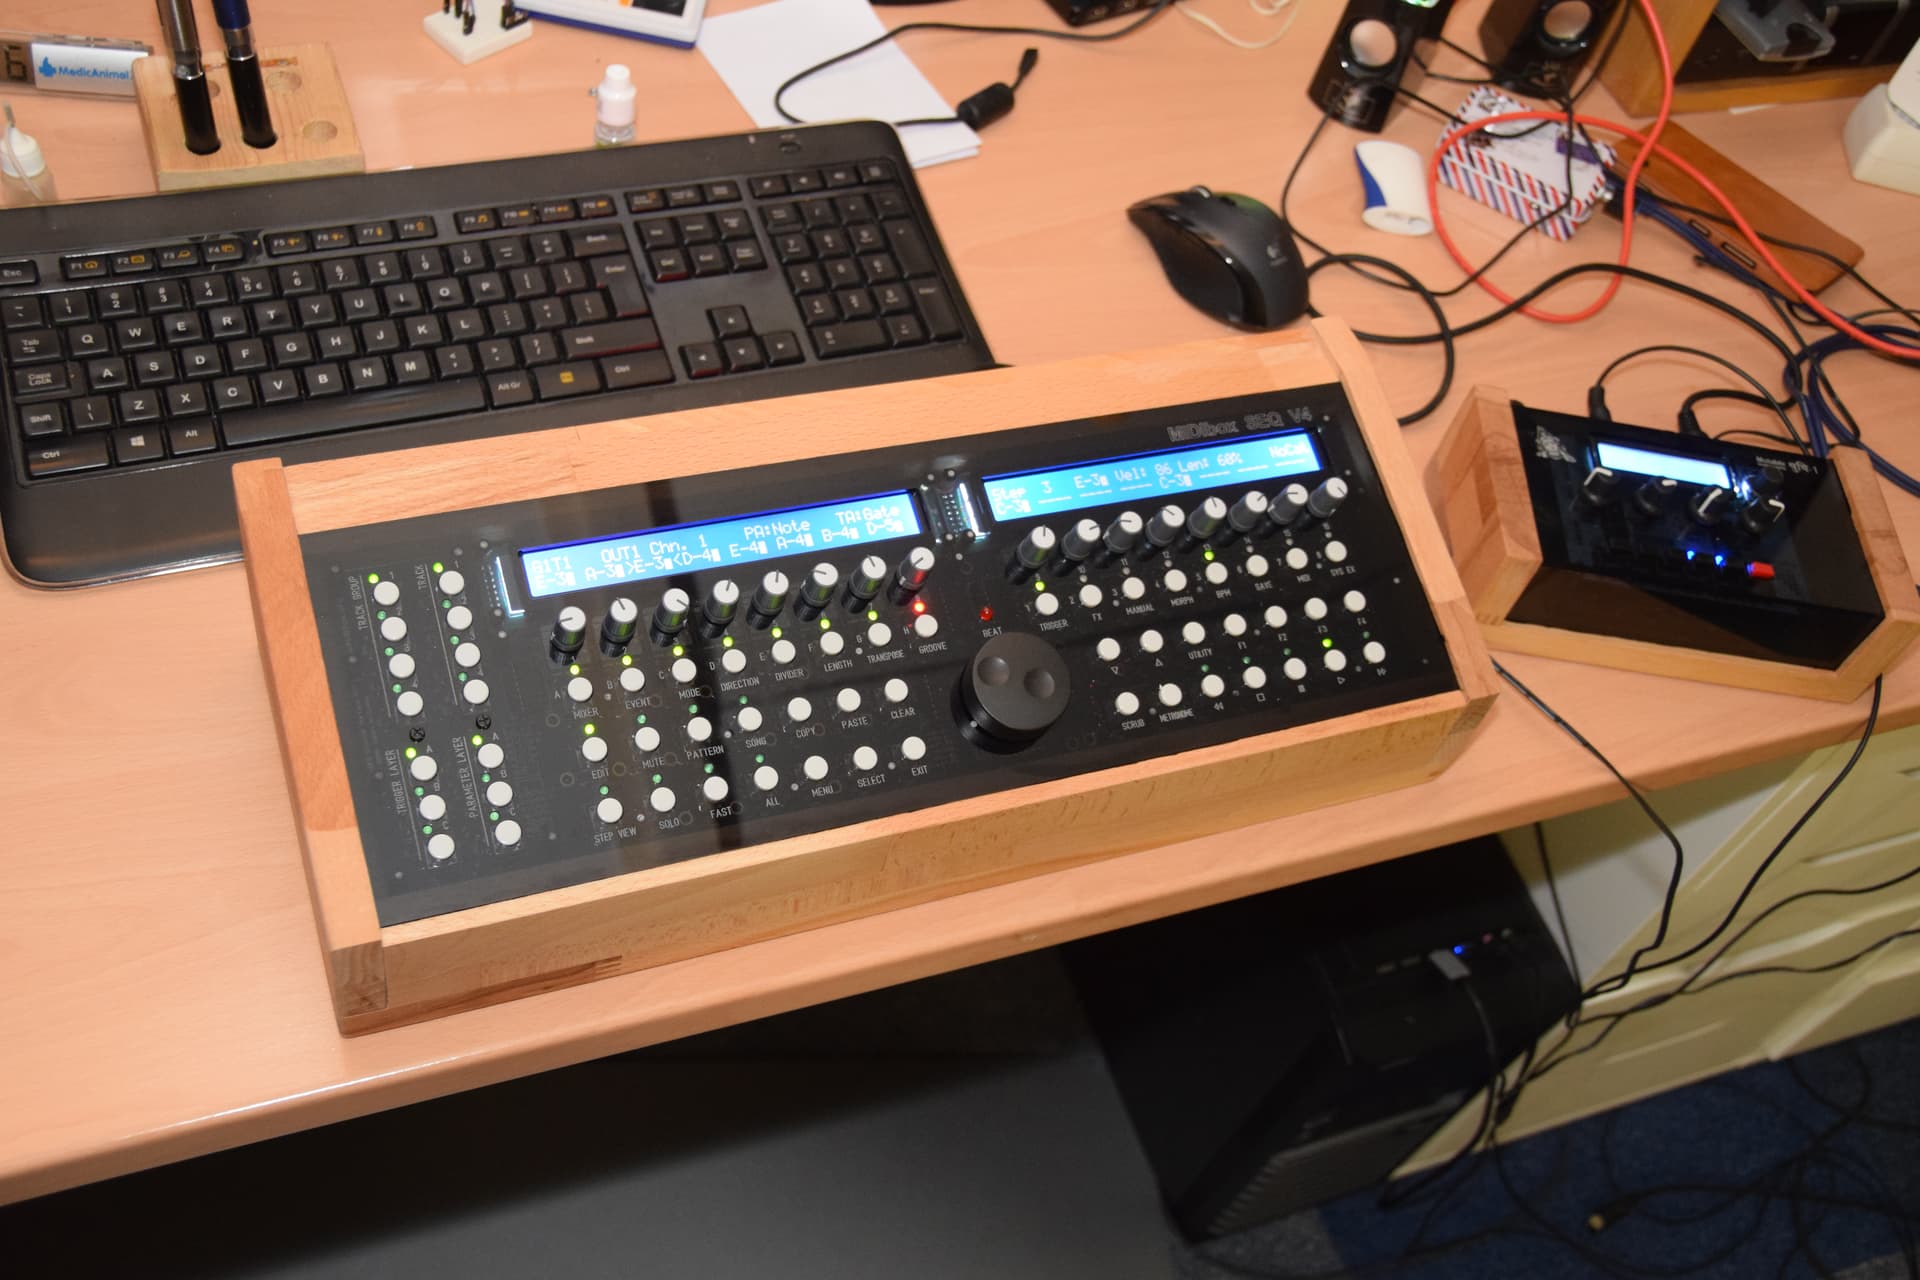
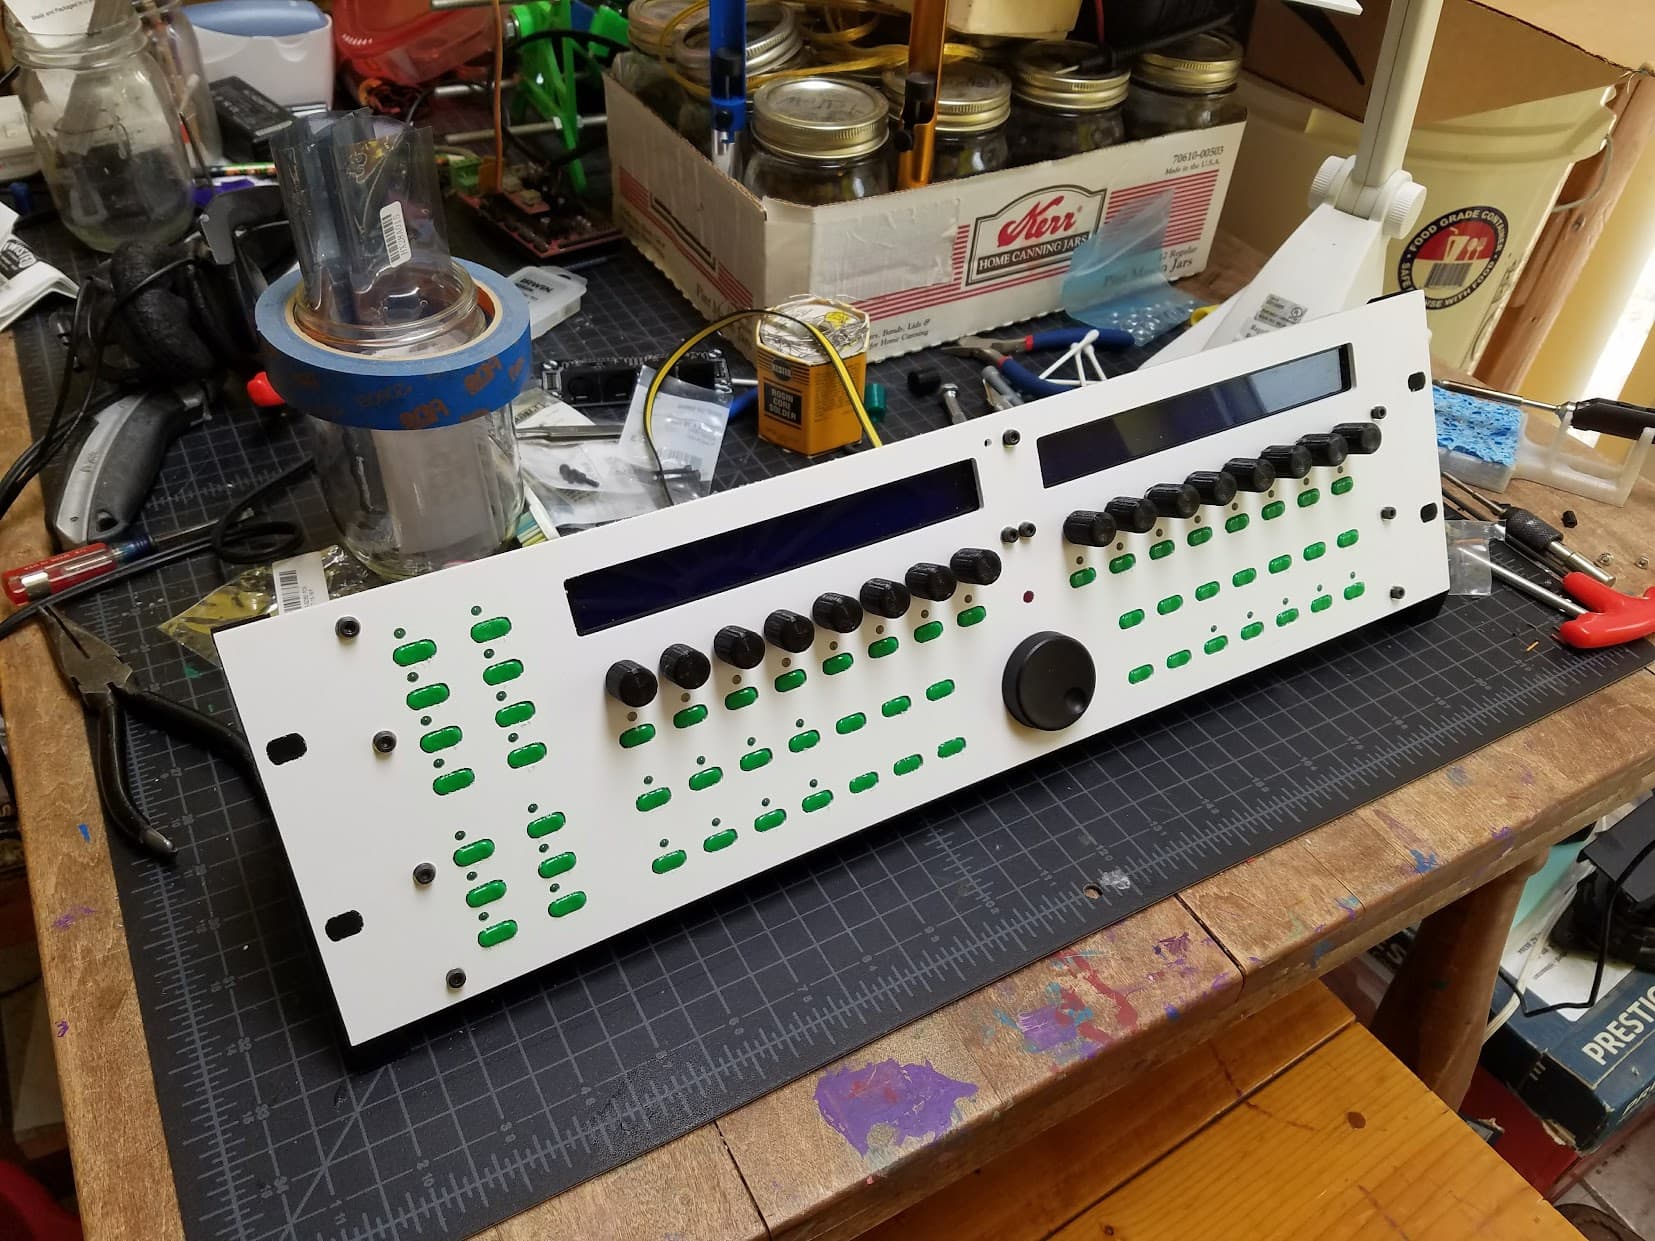
I also cut a faceplate out of PVC sheet for a MIDI sequencer I had started building 10 years earlier but set aside because I didn’t want to spend money on the face, buttons, and a case. But now with the 3D printer and CNC I could just make all of that:
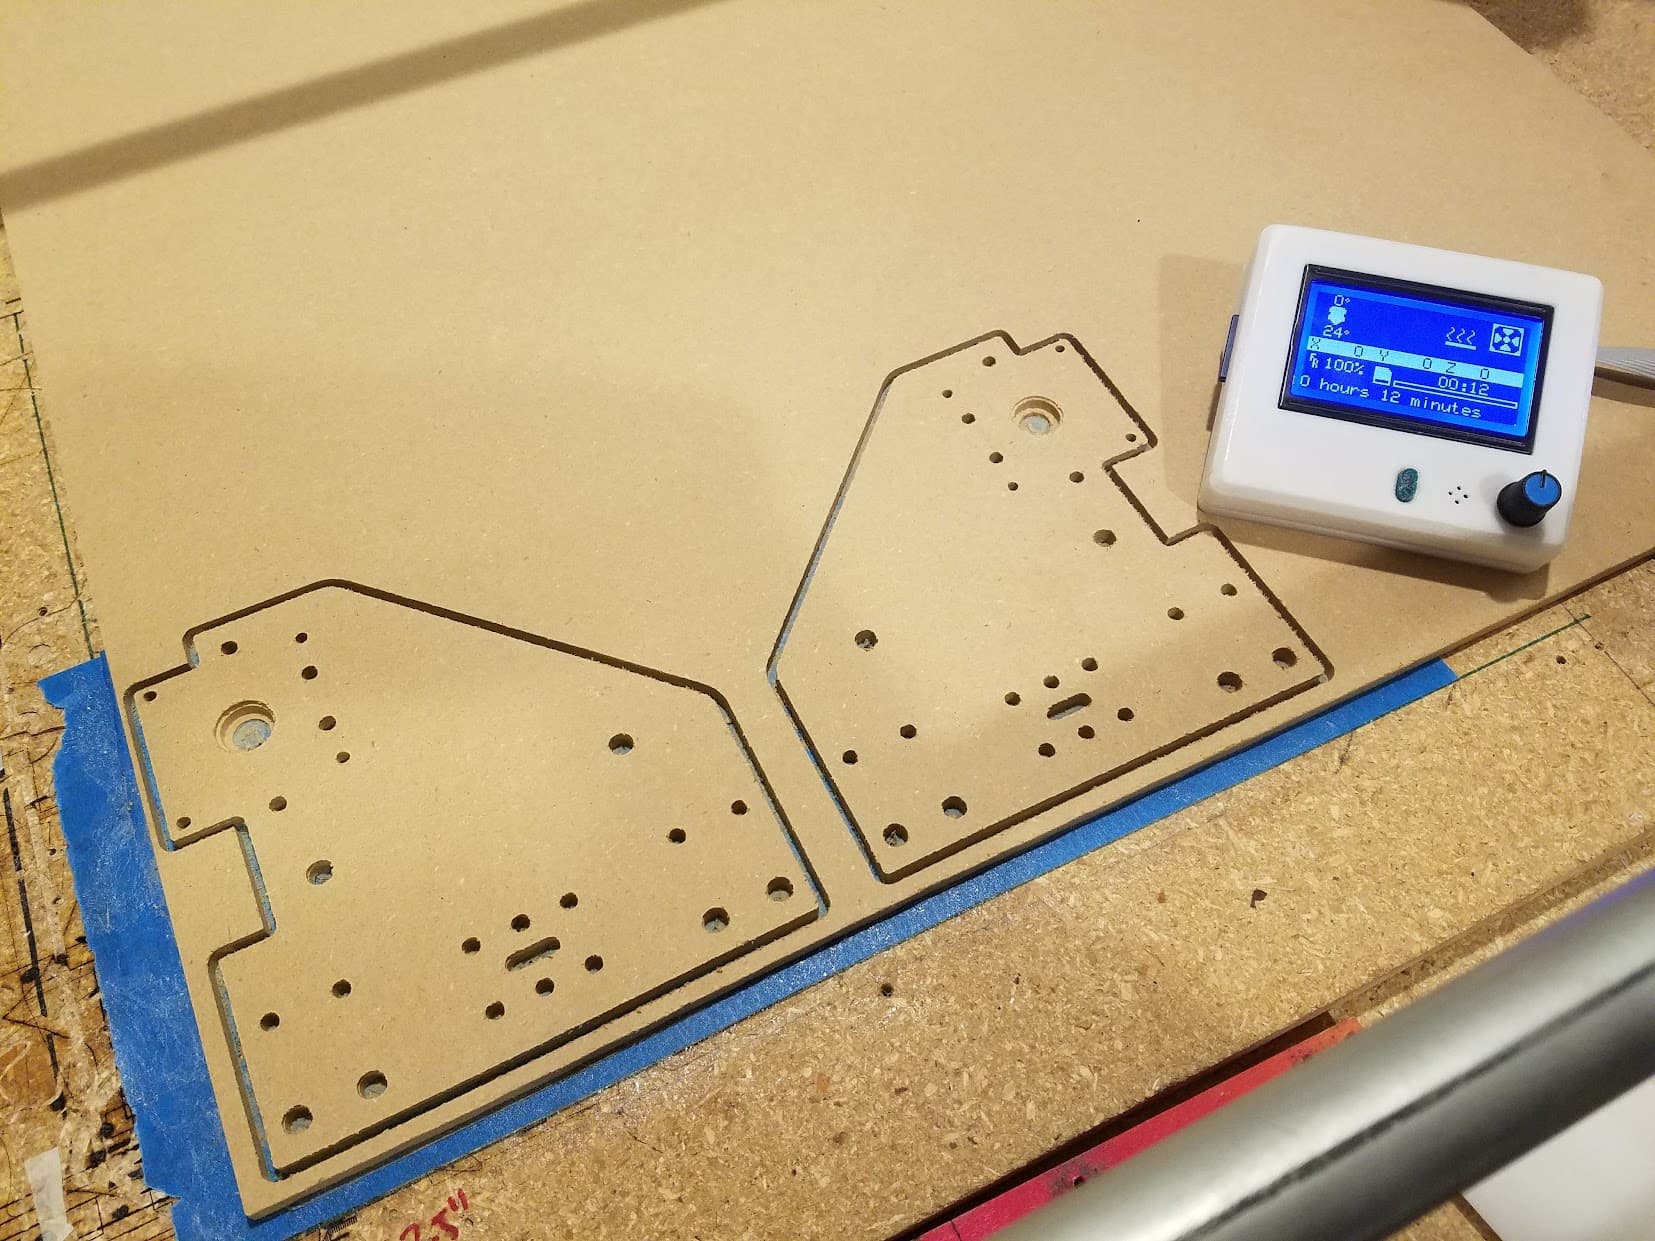
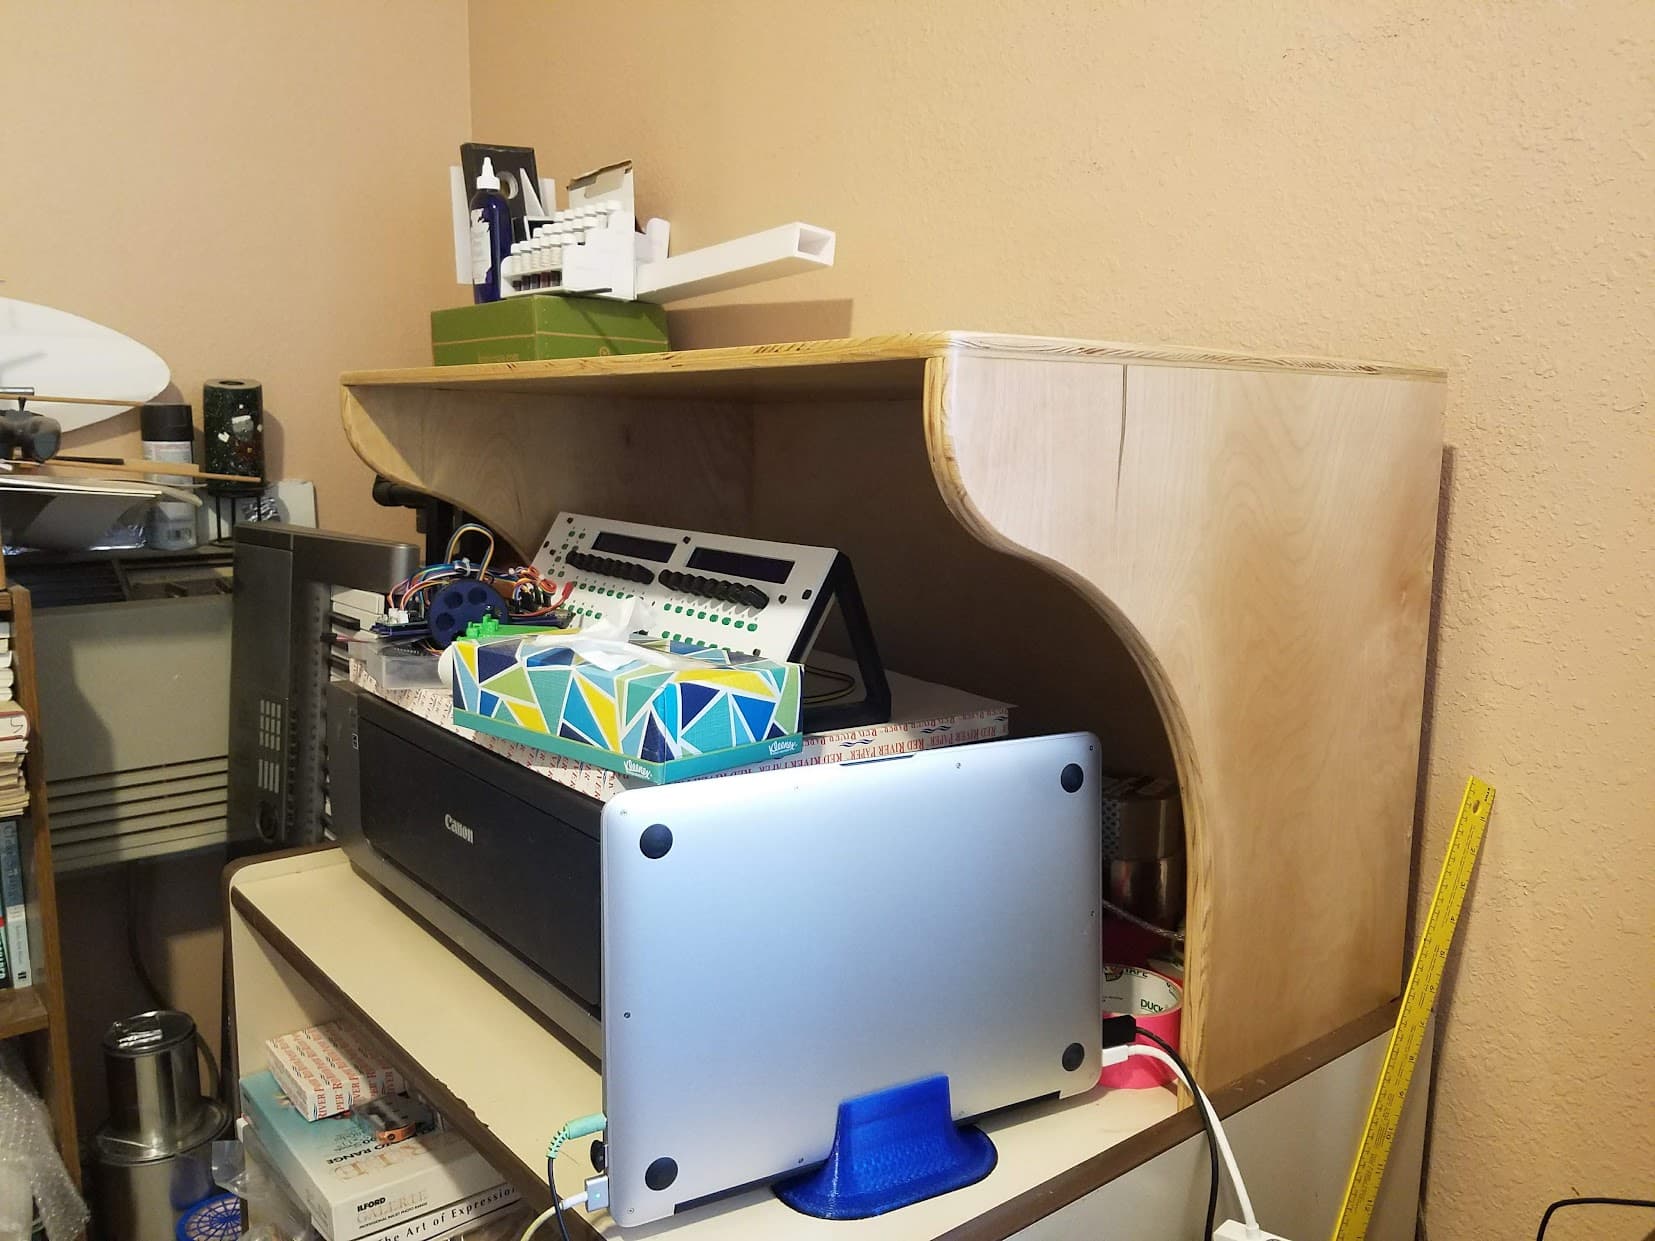
I couldn’t do big plywood reliably…but I was able to cut 1/4" MDF easily so I made templates out of MDF I used with an edge trimming bit to make larger things like this shelf for a desk:
I was having a ton of fun with the MPCNC…by now the Burly version had come out I think and I really wanted to upgrade…but the old workhorse kept going and I was loathe to be without it so kept putting off upgrades.
Then in Aug of 2018 my wife died. That put a stop to almost all CNC work for me. I occasionally dusted it off to help my daughter with some girl scout or school projects…but I just didn’t have time for the more in-depth projects I had started to enjoy.
I bought a K40 C02 Laser thinking it could be a nice inside project to tide me over…but found dealing with cooling and ventilation to be more of a pain than it was worth. I had to stick with 3D printing and electronics for my projects.
It made for a few interesting years with some interesting projects - but they’re pretty far off topic for a thread that’s already getting pretty far off topic!
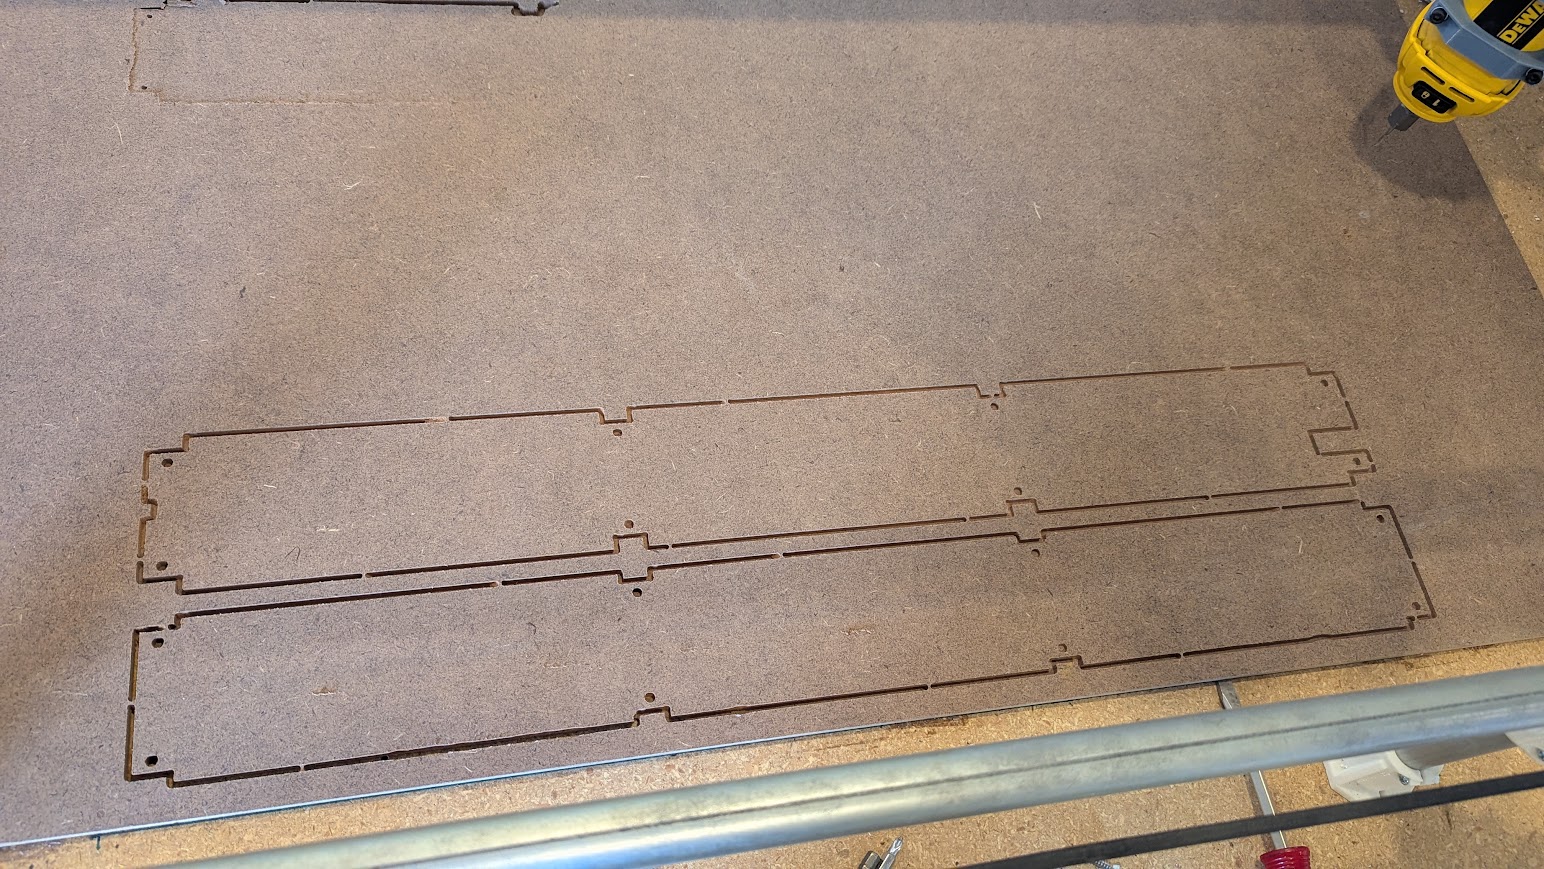
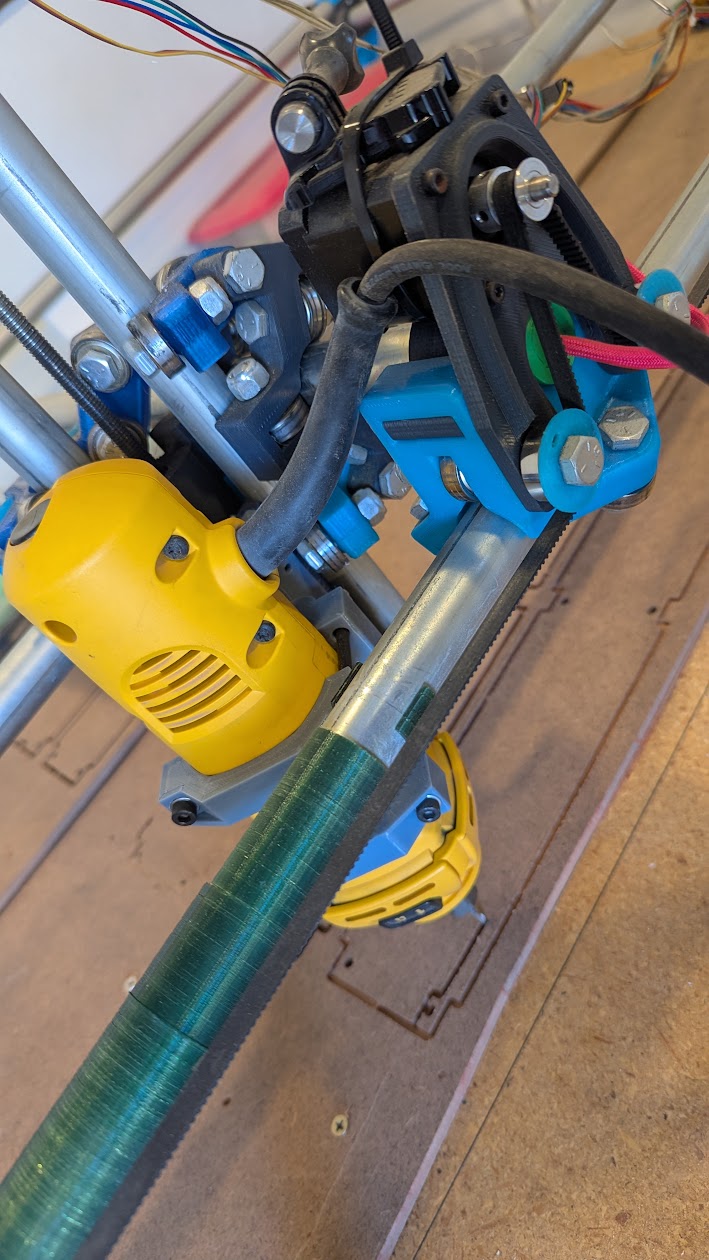
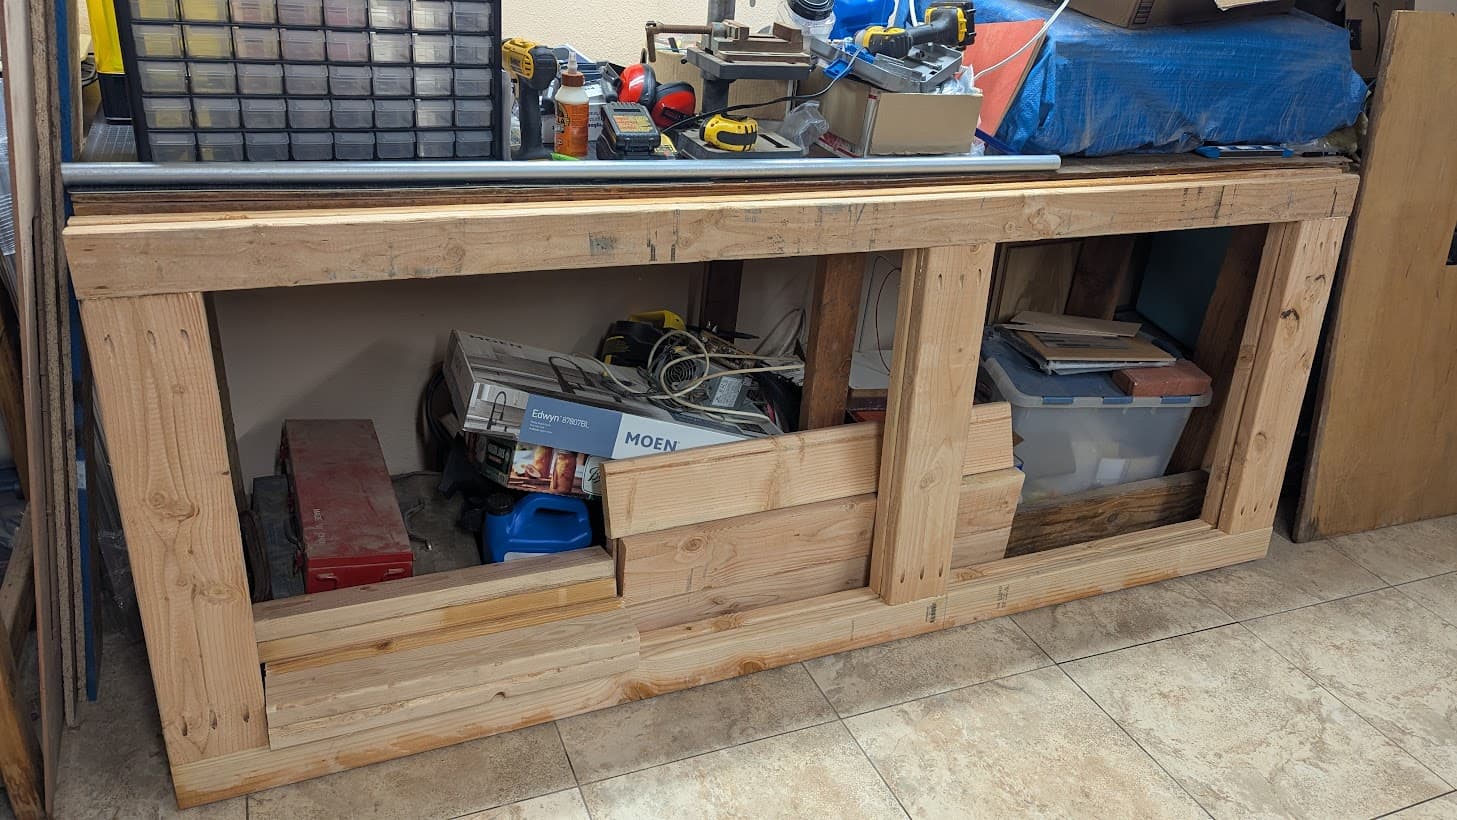
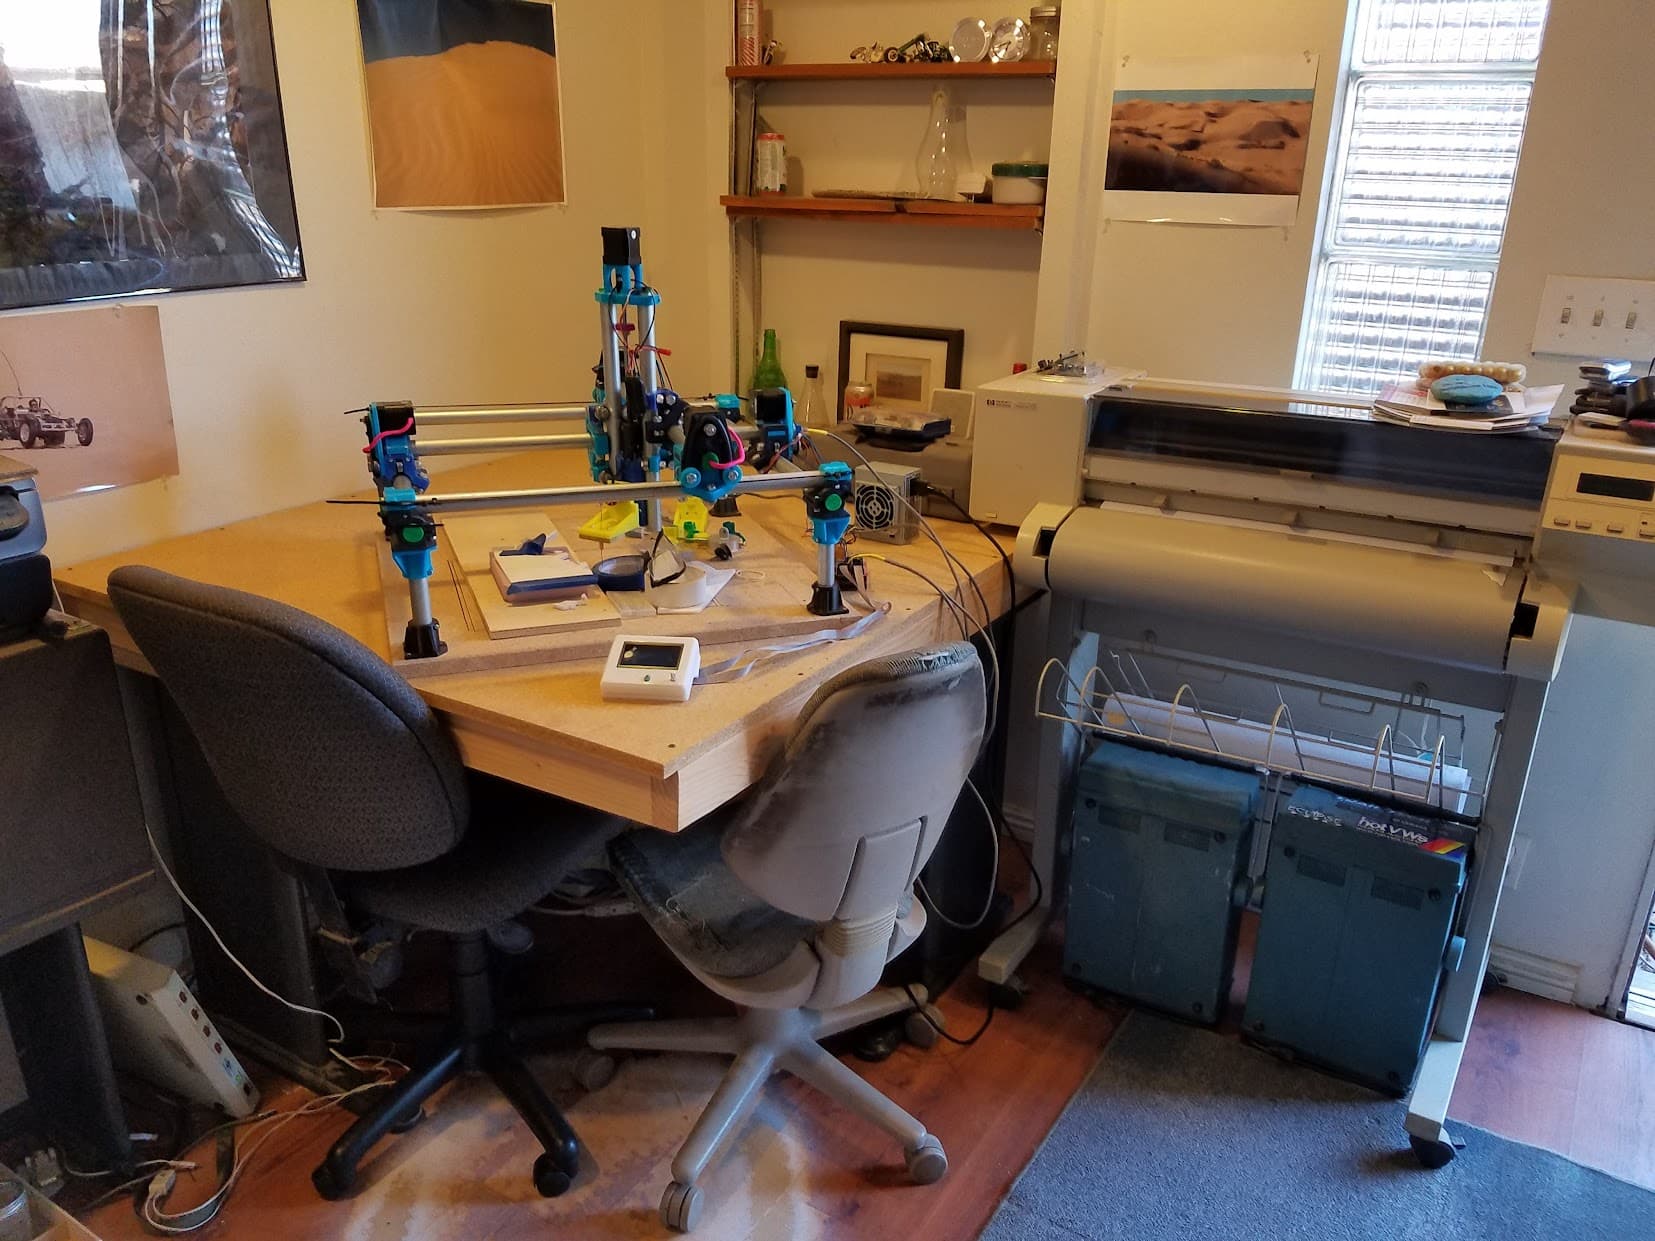
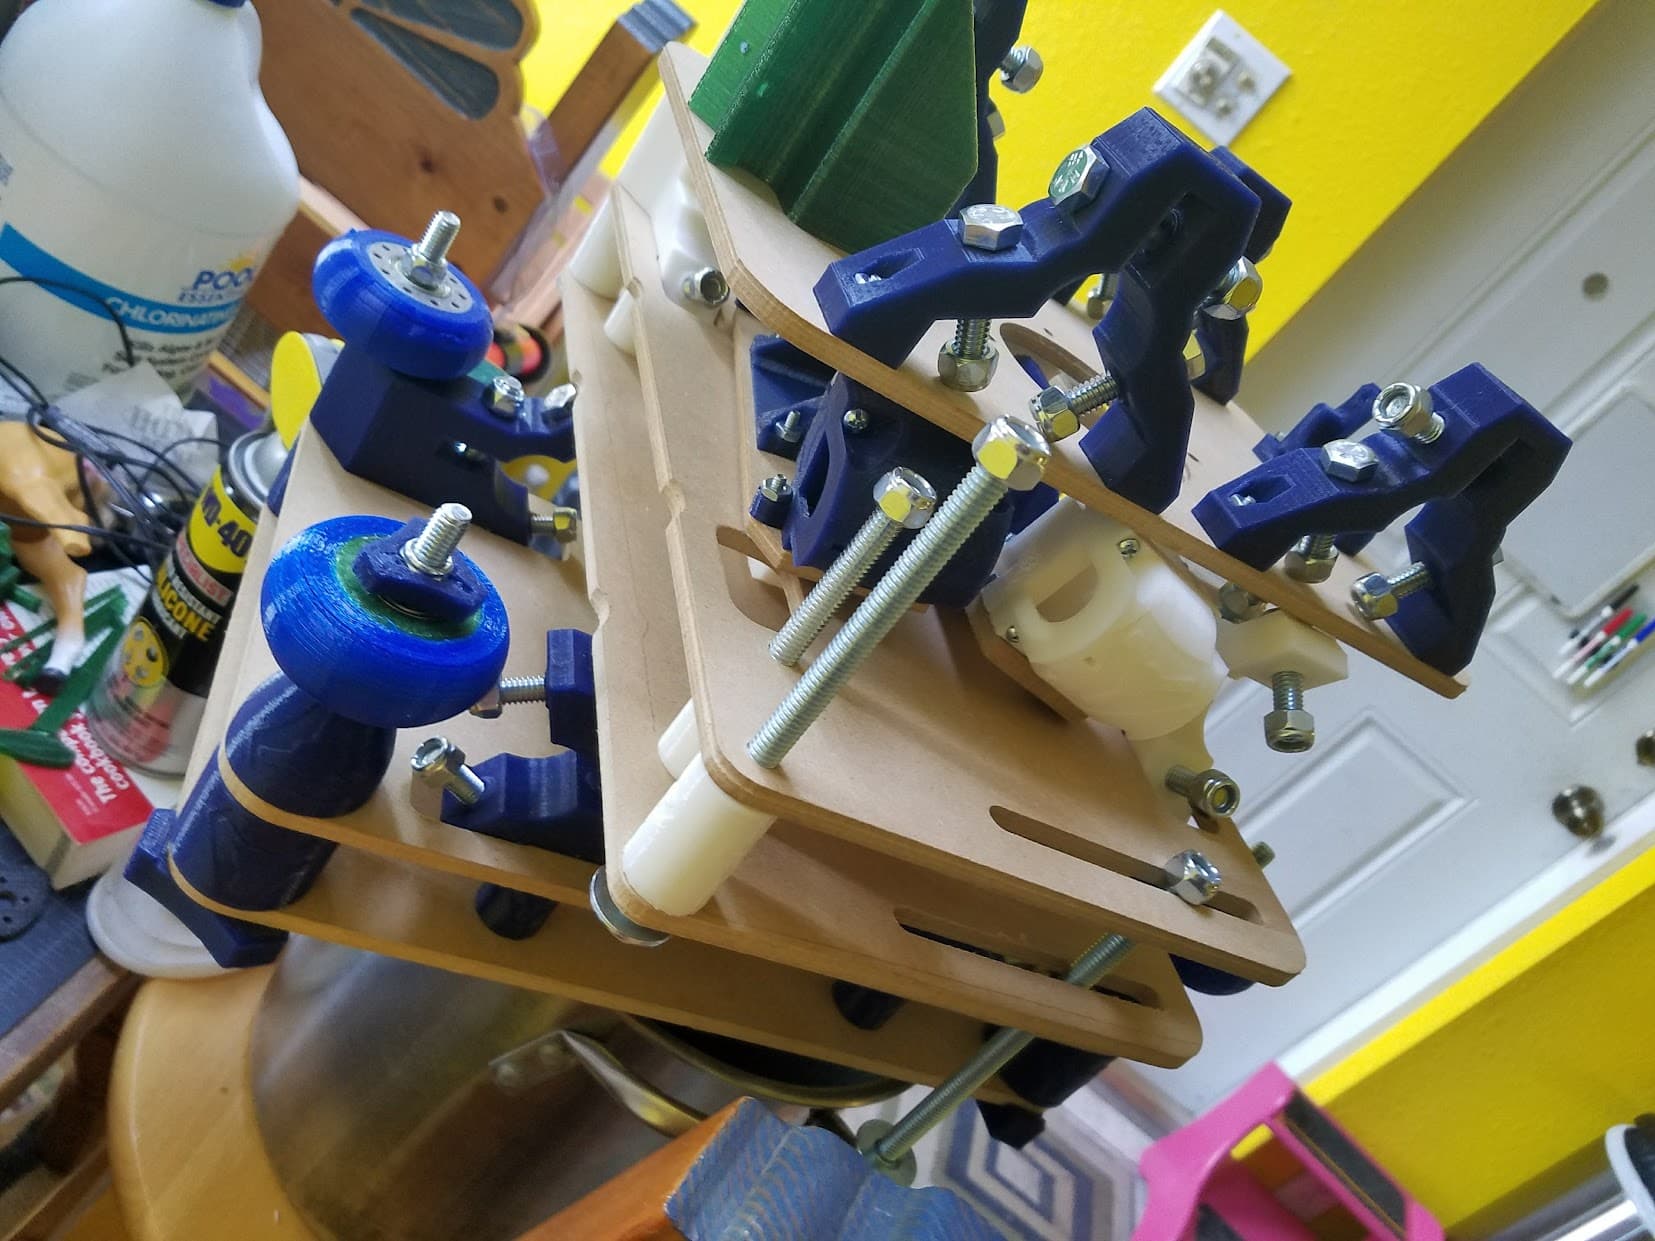
In October I bought a new house - and while I’m not yet fully moved out of the old house I am moved into the new house and really enjoying having a garage and workbench again. So with the release of the LR4 it was time. Two weeks ago I started printing parts and this week started test assembling:
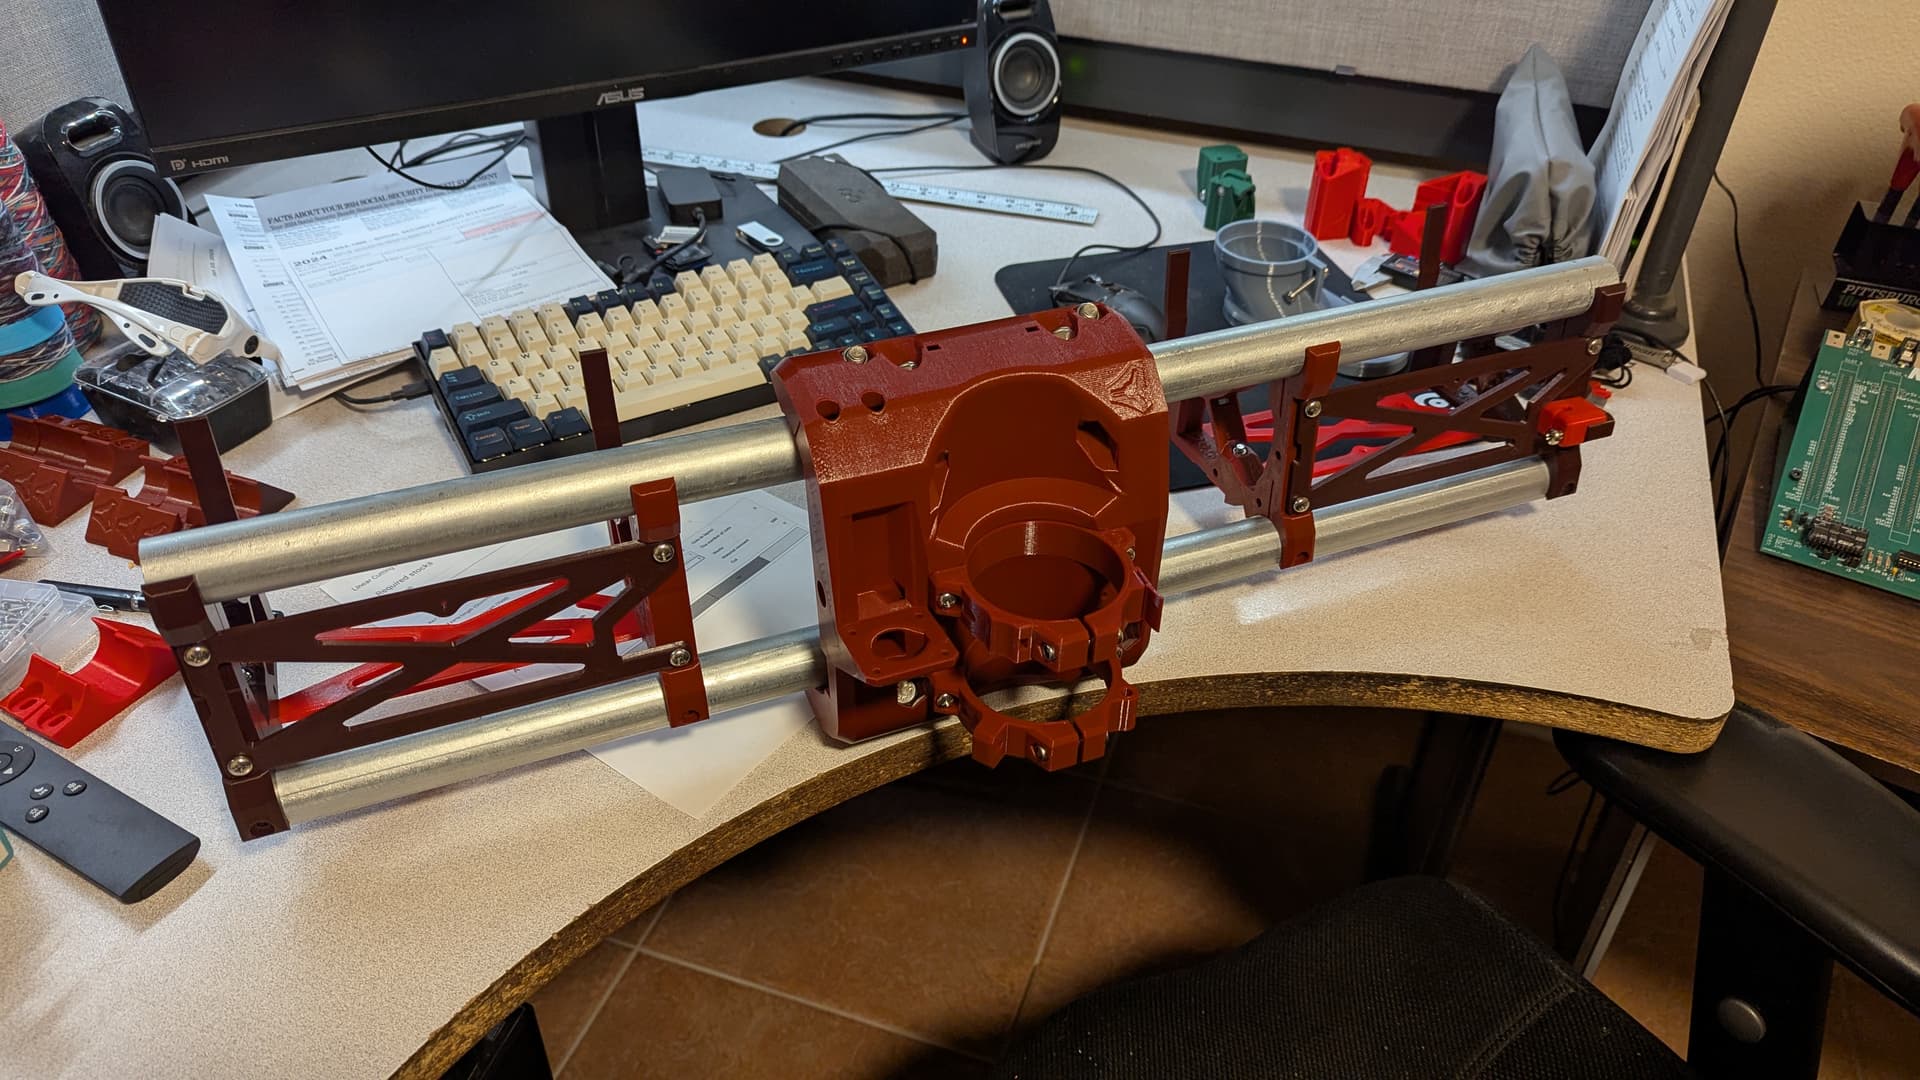
Funny side note - the “cinnamon” filament the core and 2 of the supports are printed in I actually bought before I made my old MPCNC! But it was stored well and hasn’t shown signs of brittleness and it went well with the spool of darker brown I had on hand that the other supports and YZ plates.
The new machine will be a bit of a harlequin as continuing with the theme of me being too cheap for my own good I’m just using up existing spools of filament instead of buying new. Though I am trying to keep things a little “planned” looking.
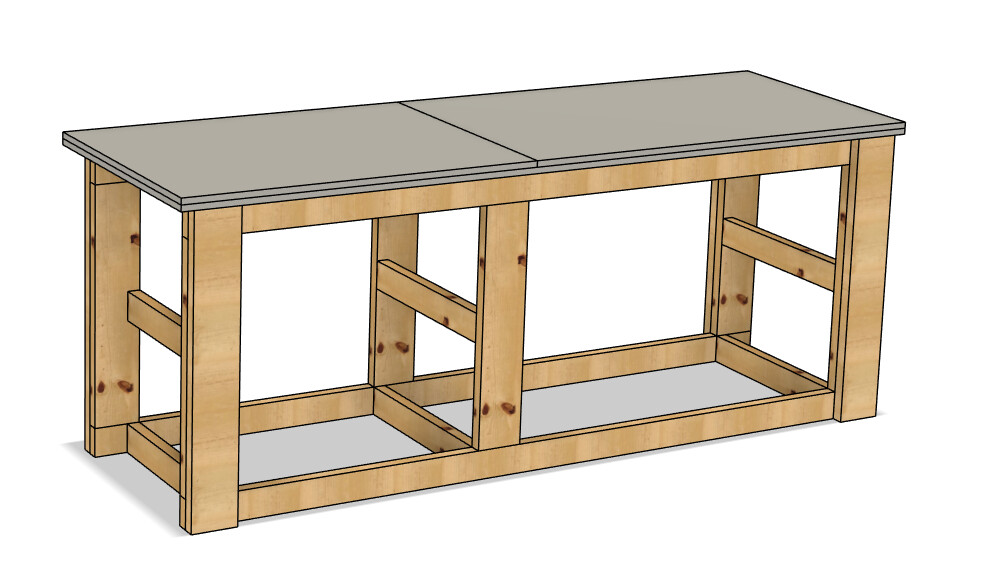
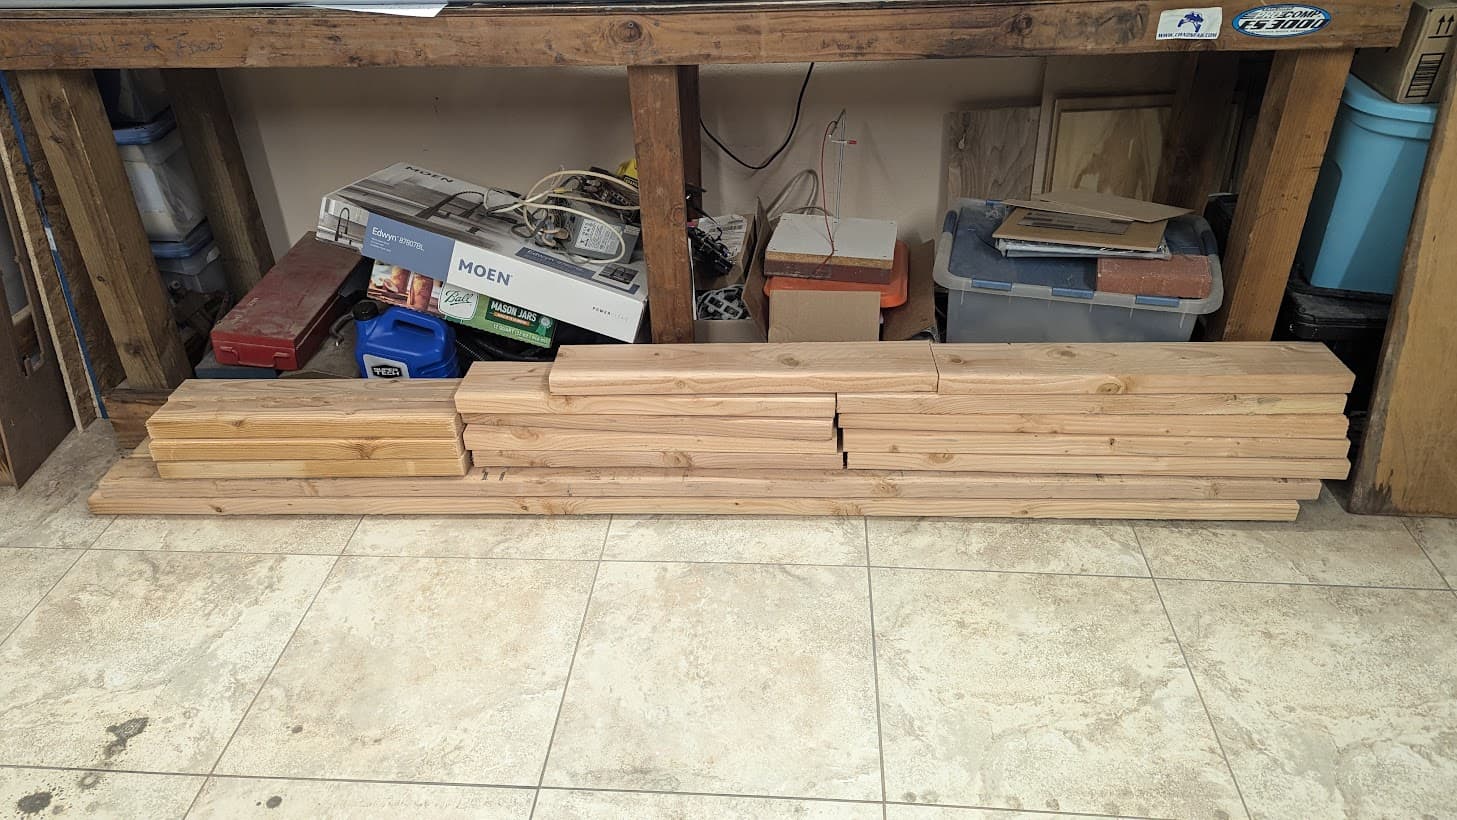
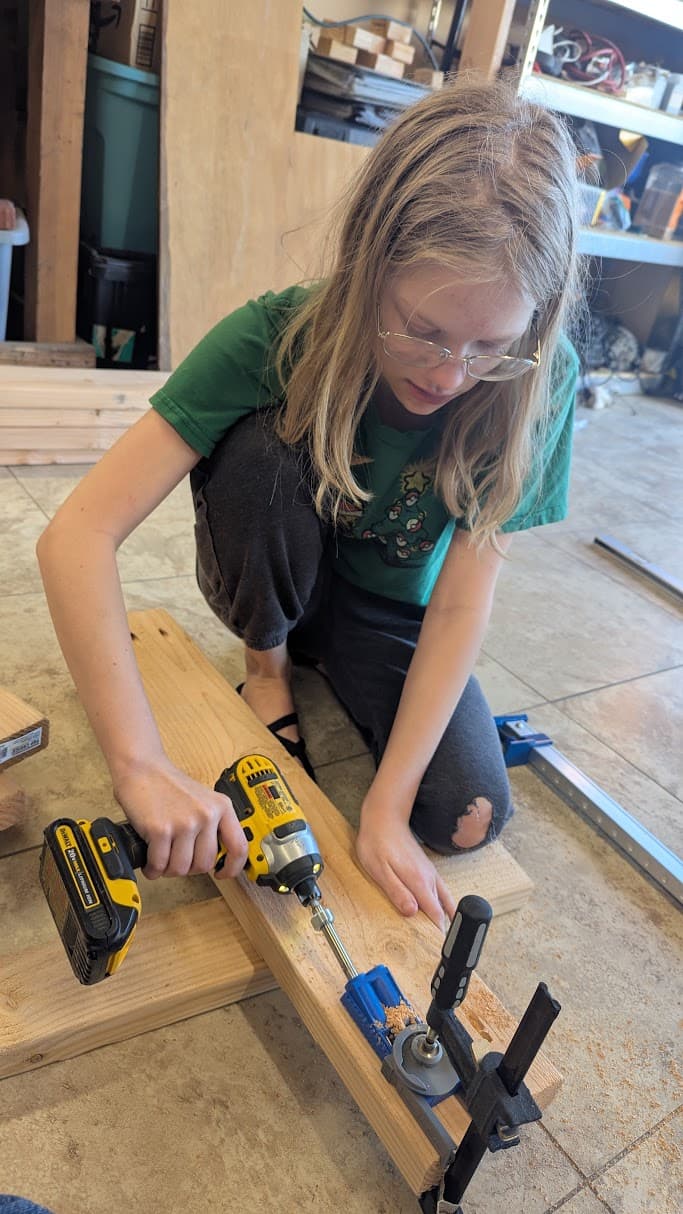
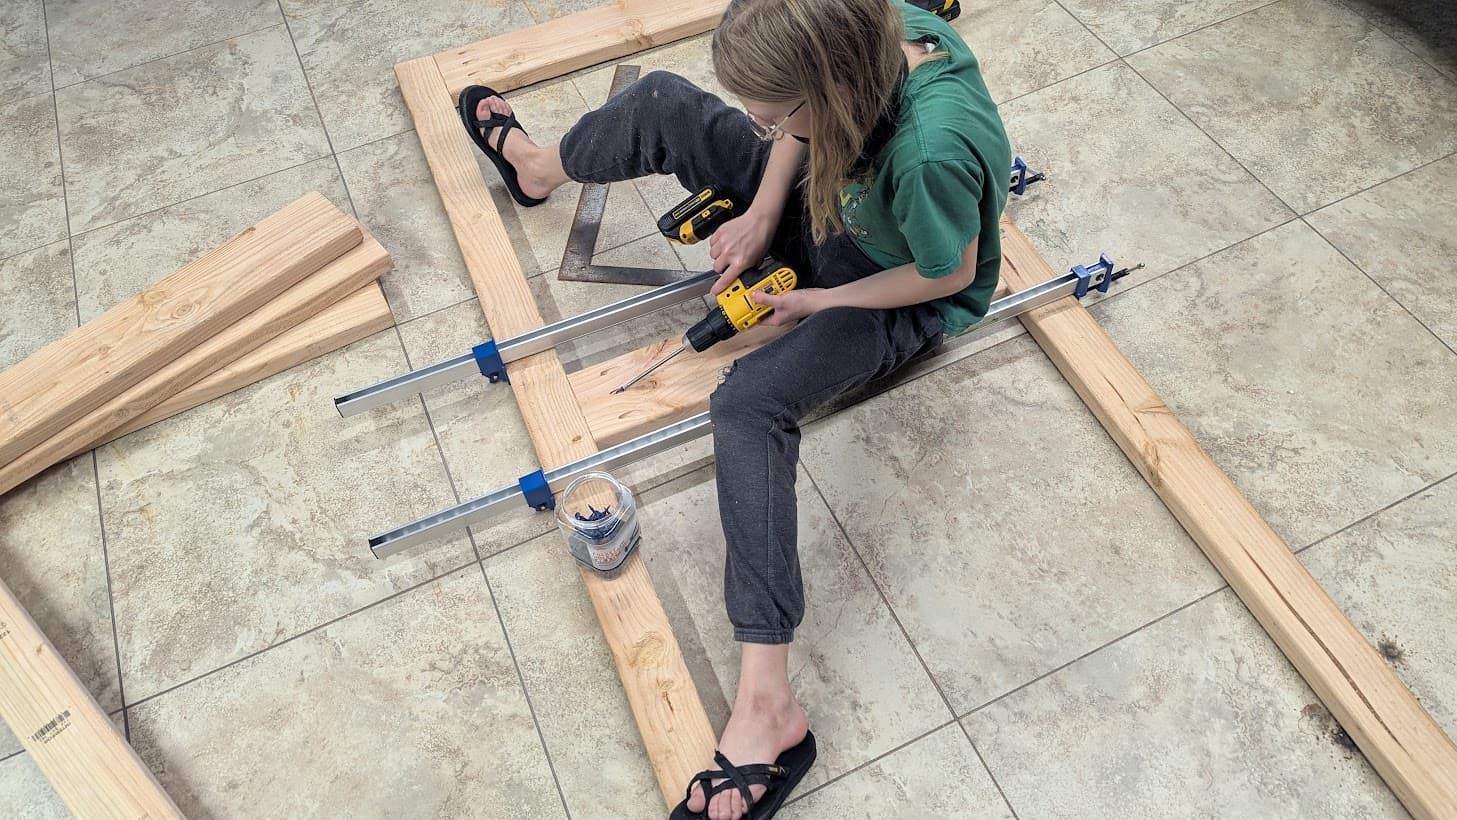
Anyway - just hit pay on the order for a jackpot and plates…so hopefully I’ll have more progress to share soon. This weekend I’m hoping to find time to build a replacement for my old workbench…new machine will have a 21"x31" working area…but the bench will be about twice as wide so I could expand it if I feel the need.