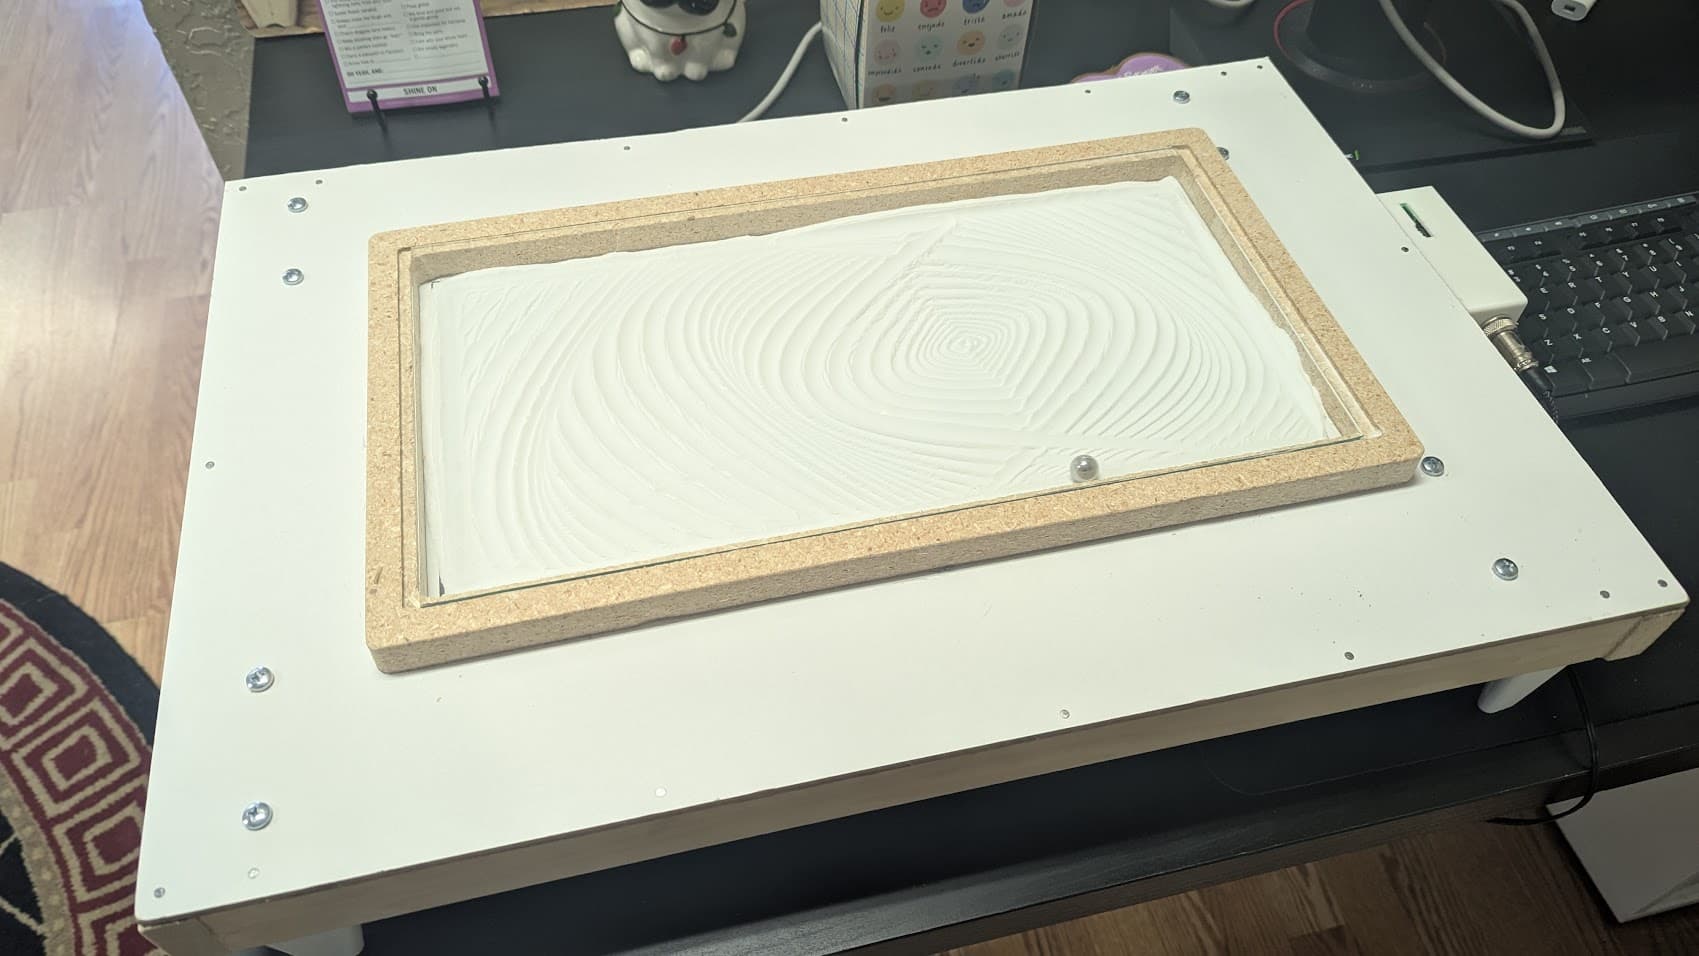
Sunday I fired up the LR4 and finally made a top-frame for the prototype table:
Of course I screwed up again. The first attempt I sized the frame to the piece of glass I bought…and it almost worked. But the inside pocket cuts were very slightly undersized so the glass didn’t quite fit. The glass wasn’t really the right size for my table but I was trying to rush and my glass cutters were still at my old house so I sized to the glass instead of to the table.
But since then I brought my glass tools over to the new house so I figured I can cut the glass down to size now and should design it to fix the actual “drawing area” instead of designing to fit the glass.
I also added some rounded corners just because I could. I was going to try and engrave a decorative bead into the top as well…but decided not to push my luck as I really wanted to bring the table into work this week and didn’t want to do that without glass over it.
The problem is I didn’t bother to check the dimensions of the glass this time. The first time I was worried that the X axis was a little tight but that was a few weeks ago so I forgot about that. As a result my glass is slightly too narrow. It still protects things enough that I felt ok bringing it to work…but looks like I’ll have to pickup a larger piece of glass to do it “right”.
The office was excited to see it - but disappointed that it was a static display as I wasn’t able to get wifi to connect. And the only USB-C cables I found around the office were power only so I couldn’t connect over USB to fix the wifi issue. Until I remembered that I had a USB-C cable in my car…which had a plug that didn’t fit into the opening in my case…sigh. And the plug had a hard metal case on it so I couldn’t just carve it down…double sigh.
But - I had brought a bag of tools in since I had to figure out what happened to the office pinball machine (bad news there…the 5v rail on the MPU board is reading 24v so something has failed quite spectacularly and probably destroyed every IC on the early 80’s era PCB which is really tricked to do rework on…that’s going to make for some frustrating evenings.) The toolbag included a nice sharp knife and some snips which I was about to use to mangle the opening allowing the USB to fit.
Turns out when I initially updated the WIFI settings I messed up and changed the AP settings instead - got those sorted out and we were finally able to enjoy a bit of zen table action for the afternoon ![]()