The polarity won’t matter, but the switch terminals will. Use the Com and NC (normally closed) terminals on the end stop switches. The probe will be normally open, but I believe that’s already accounted for in the board configuration.
Thanks I saw that. Hope to get the belts all attached today. Again always amazed at each step. I might have said this I read all of the instructions a couple times and does not make sense until you actually do the assembly. Then it makes total sense when you actually do it.
I’m old enough when we used car repair manuals and it was so similar. You read the instructions, look at the pictures and it is just confusing. Then when you actually go to change your starter or what ever it’s clear as a bell.
![]()
3 Likes
Very exciting last night!
It’s alive!
My LR4! Very cool.
Love the FluidNC but am in the phase of learning “I don’t know what I don’t know”, I am moving into the phase “I am now realizing all that I don’t know”
- Can someone help with the simple macro for using Ryan’s touch plate?
- How do I find the limits of travel?
FluidNC Wiki was down this morning but up now.
Thanks
2 Likes
Best thing is to set up your start gcode to include it. Then you dont have to remember to probe before the start of the job. You can find all the info for that on the milling basics page. If you are trying to probe to set Z level then there is a probe section on the FluidNC WebUI
Home the Machine. Zero your axis. then manually jog until you get real close. then go 1mm at a time until it goes thud, subtract 1-2mm from where its at and that is your max. Thats how I do it anyways lol
2 Likes
Perfect Thanks!!
I will refresh myself on the probe. Wasn’t sure if GRBL different from Marlin.
1 Like
It is a little bit but not completely different
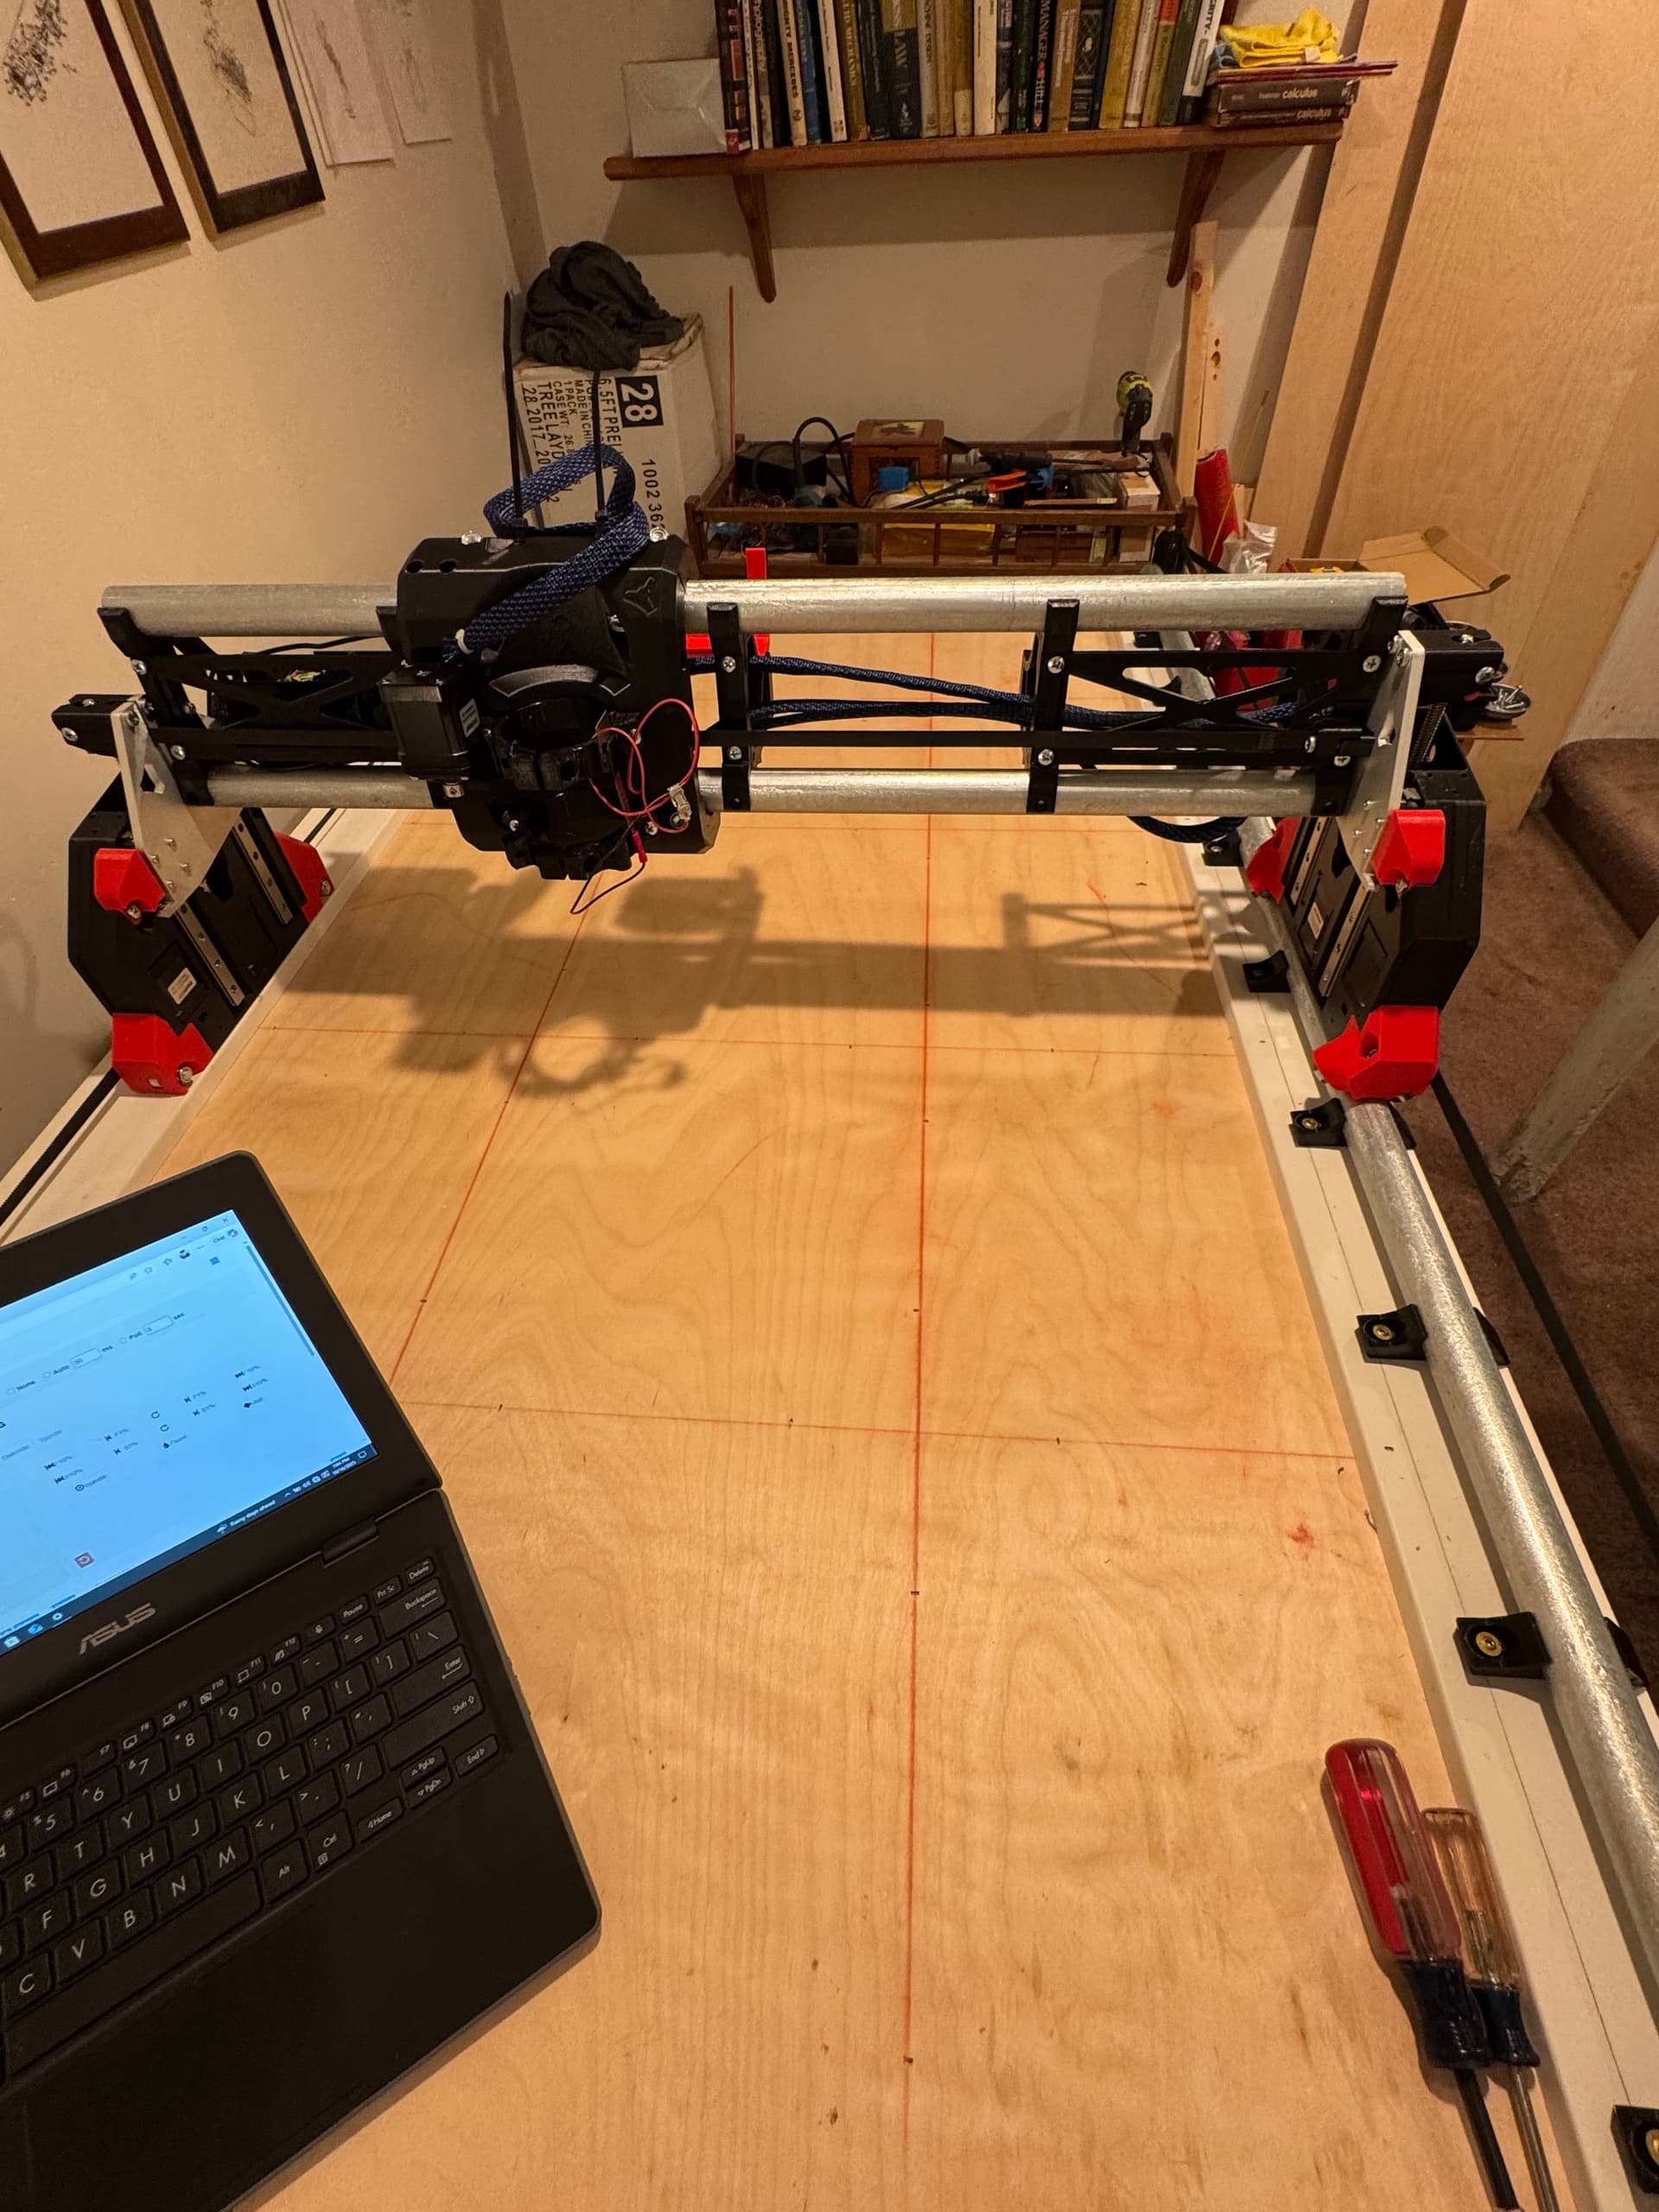
Exciting time. Really loving this build. I checked the squareness and am at about 3 mm so I will fine tune. But overall happy. I know 2’ x 4’ (600mm x 1200mm) isn’t very big but seems so much larger the my 400 x 400 Primo.
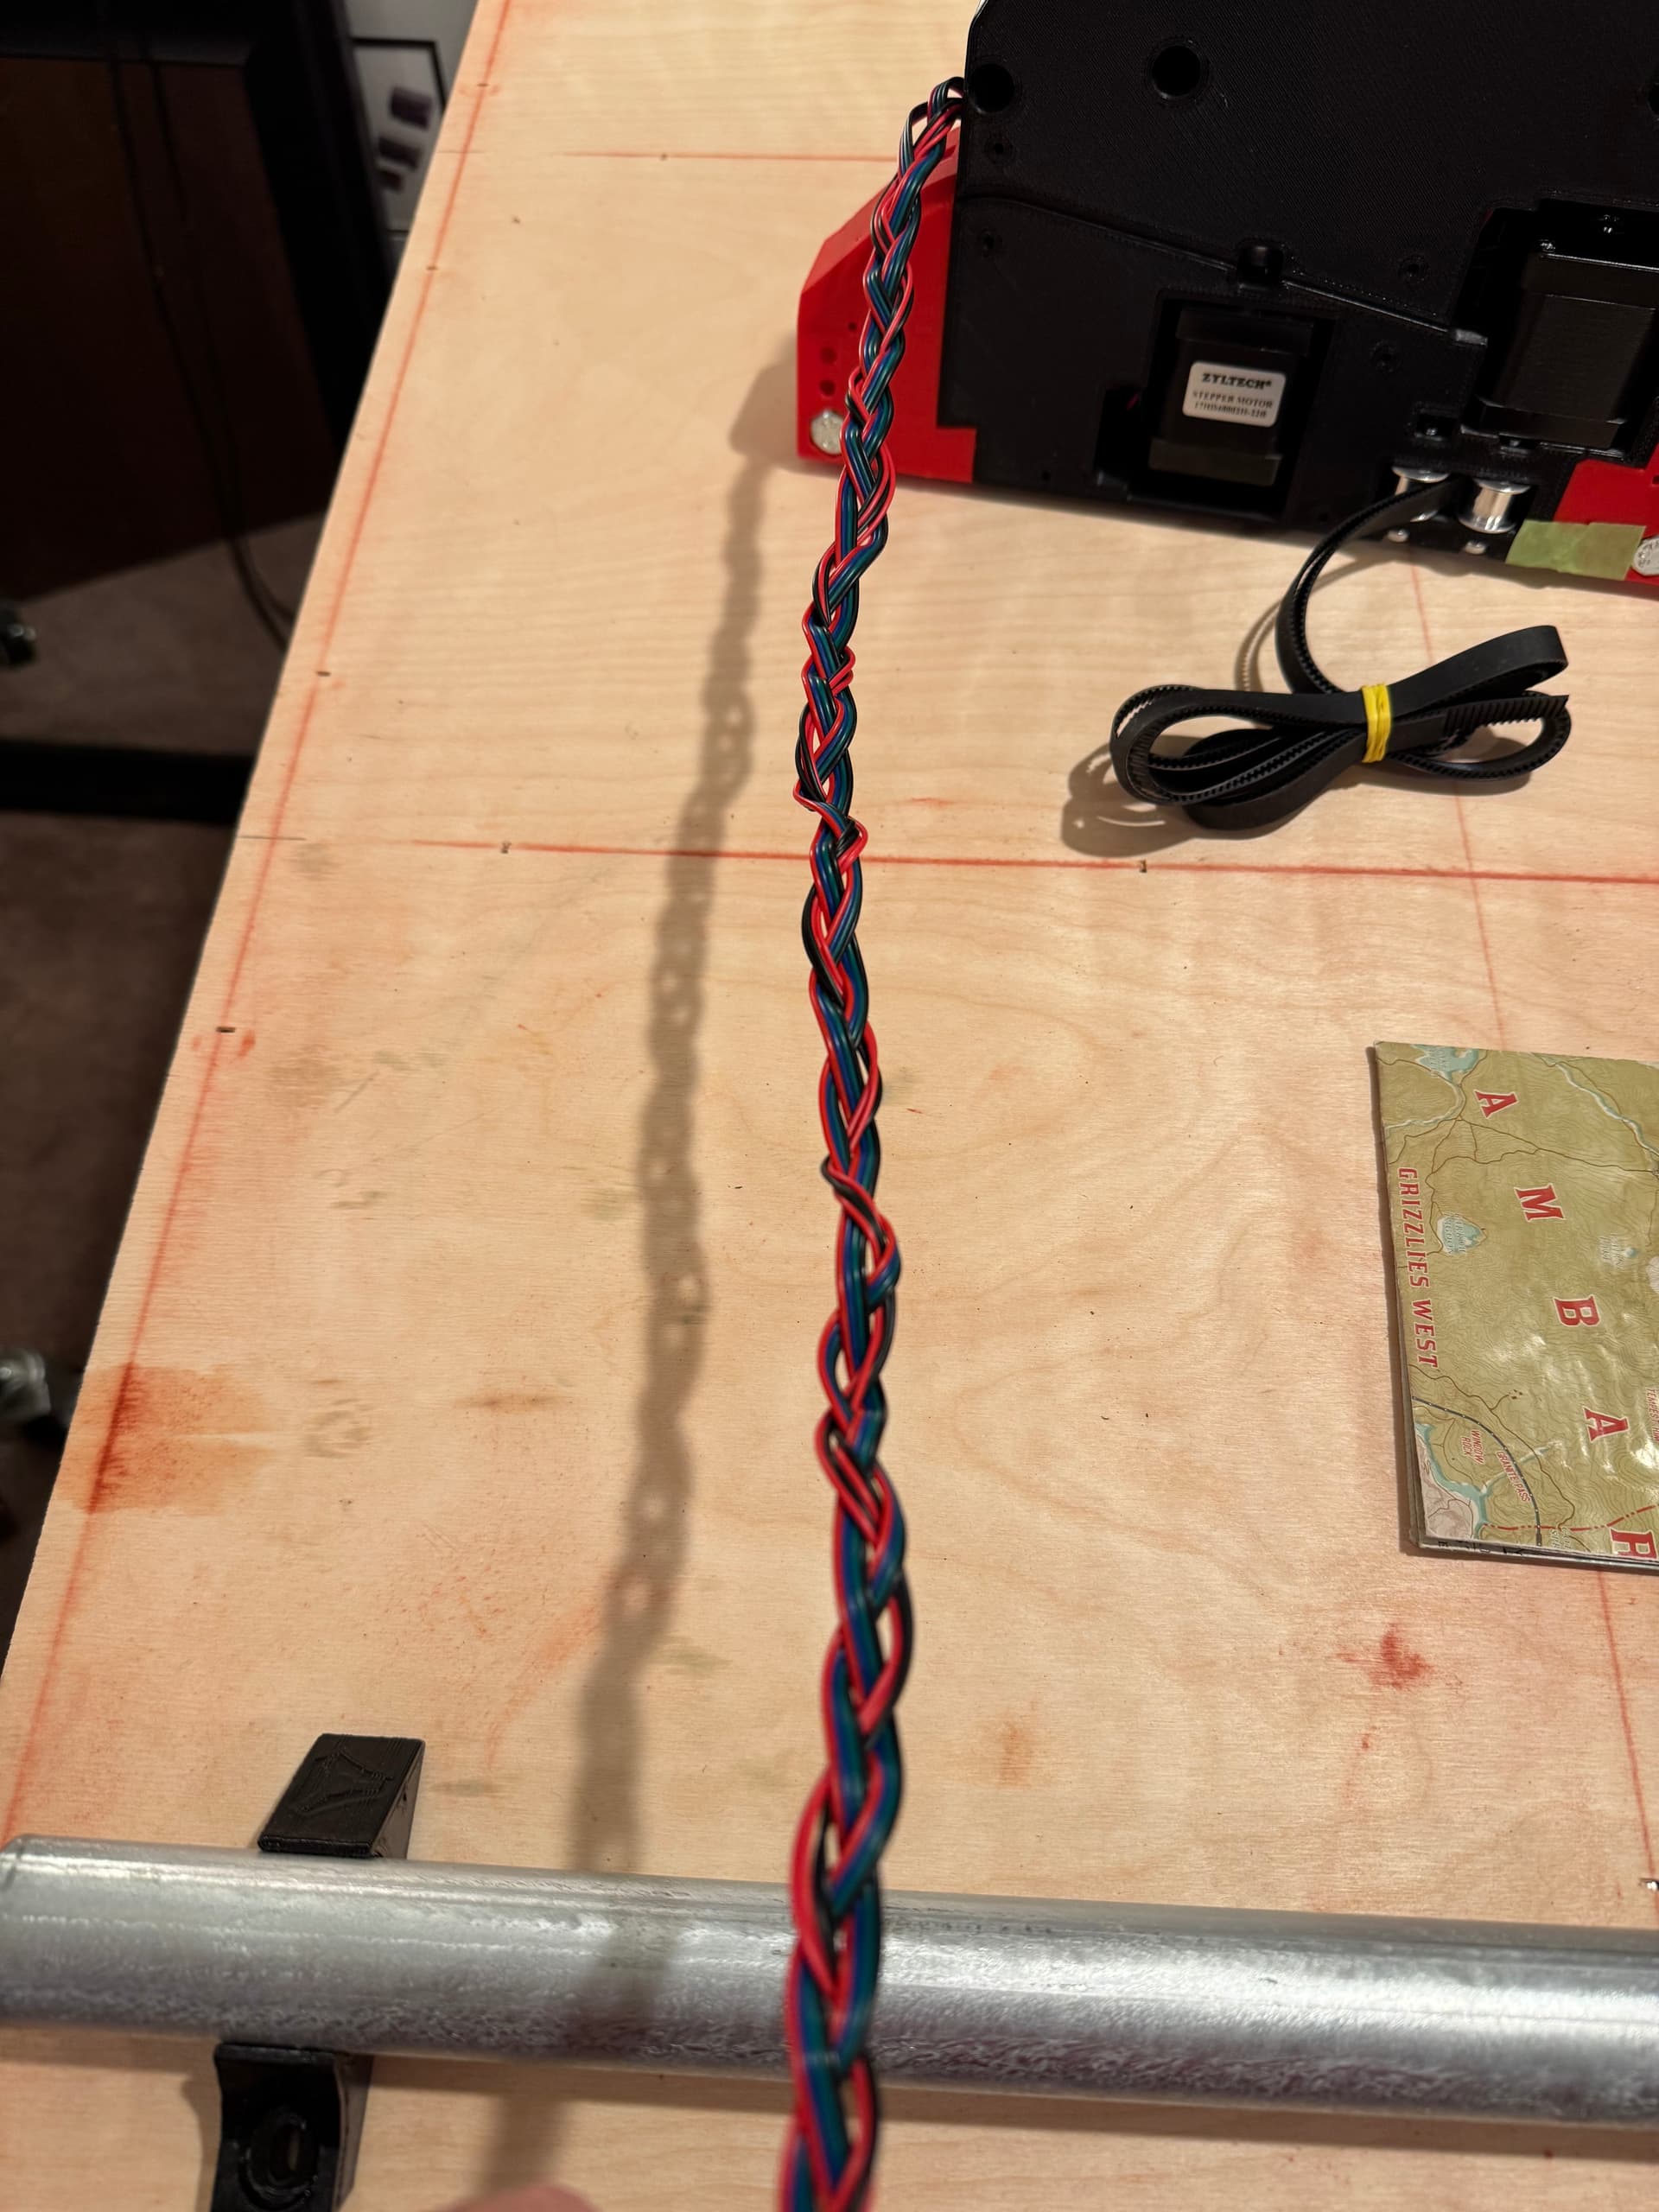
For fun and to keep them together I braided all the wires. Only takes a few minutes (have two daughters I was called to duty a few times ![]() ) I ended up still putting the sleeves over them.
) I ended up still putting the sleeves over them.
Question: I did not take a pictures but my X min side Z axis of the beam lowers the moment the power is stopped. Is this normal? It seems some use space blocks to lock the beam when not used. I have not lubricated them yet. I did put in the cross screws but I have it completely loose?
TIA
1 Like
Yes, normal.
If you park the core at XMax and turn the power off, that side should drop as well.
Yes, A “park” gcode is highly recommended. I use mine to Home Z, Home X, lower Z 100mm, $MD power off steppers. I thought I had on in the milling basics page, I will make a note to double check.
1 Like
I’m sure it’s there. @Jonathjon pointed that out to me for the probe info and I was happy to see there was a lot of updated info there.
As I was experienced with the Primo I did not go there to refresh on the updated info .
Thanks
Trying to cut my Struts. But also struggling a little from Marlin.
LOVE the new WebUI but have a few trivial questions.
Do I continue to post questions on this thread I started on my build? It is handy to find my questions and answers. But not sure.
What is are these settings for?
Reports?
…..and the F commands?

Thanks!!
F is for feedrate, S is for laser (PWM) power.
The override is a quick way to increase or decrease the current settings (I think)
Reports is how often the UI updates. If you tick poll 3s for instance during a job you’ll see the terminal update every 3 seconds.
1 Like
If they are small, conversational Q&A, the build thread is good. It will be harder for people to find them when they have the same questions, but the context of your build is helpful and when they do find the posts, they have everything they need to see the whole story.
If it is an involved question (unfortunately, it is hard to tell when you start), a new post with all the relevant info is better. It keeps everyone focused on that problem, and less on your progress.
Keep 'em coming!
3 Likes
Thanks that makes sense. I am in the final stages of the build. For me it is a couple steps forward then one back ![]() I do realize I need to just get way more familiar with the Lowrider and the new interface.
I do realize I need to just get way more familiar with the Lowrider and the new interface.
Happy I am mostly done with my Lowrider V4. Not sure any of use ever a fully finished with any of these builds. On my Primo I was always tweaking and adding but that’s the fun!!![]()
It was a fun and impressive build (design). Congrats to the Ryan and the team. Such an impressive endeavor.
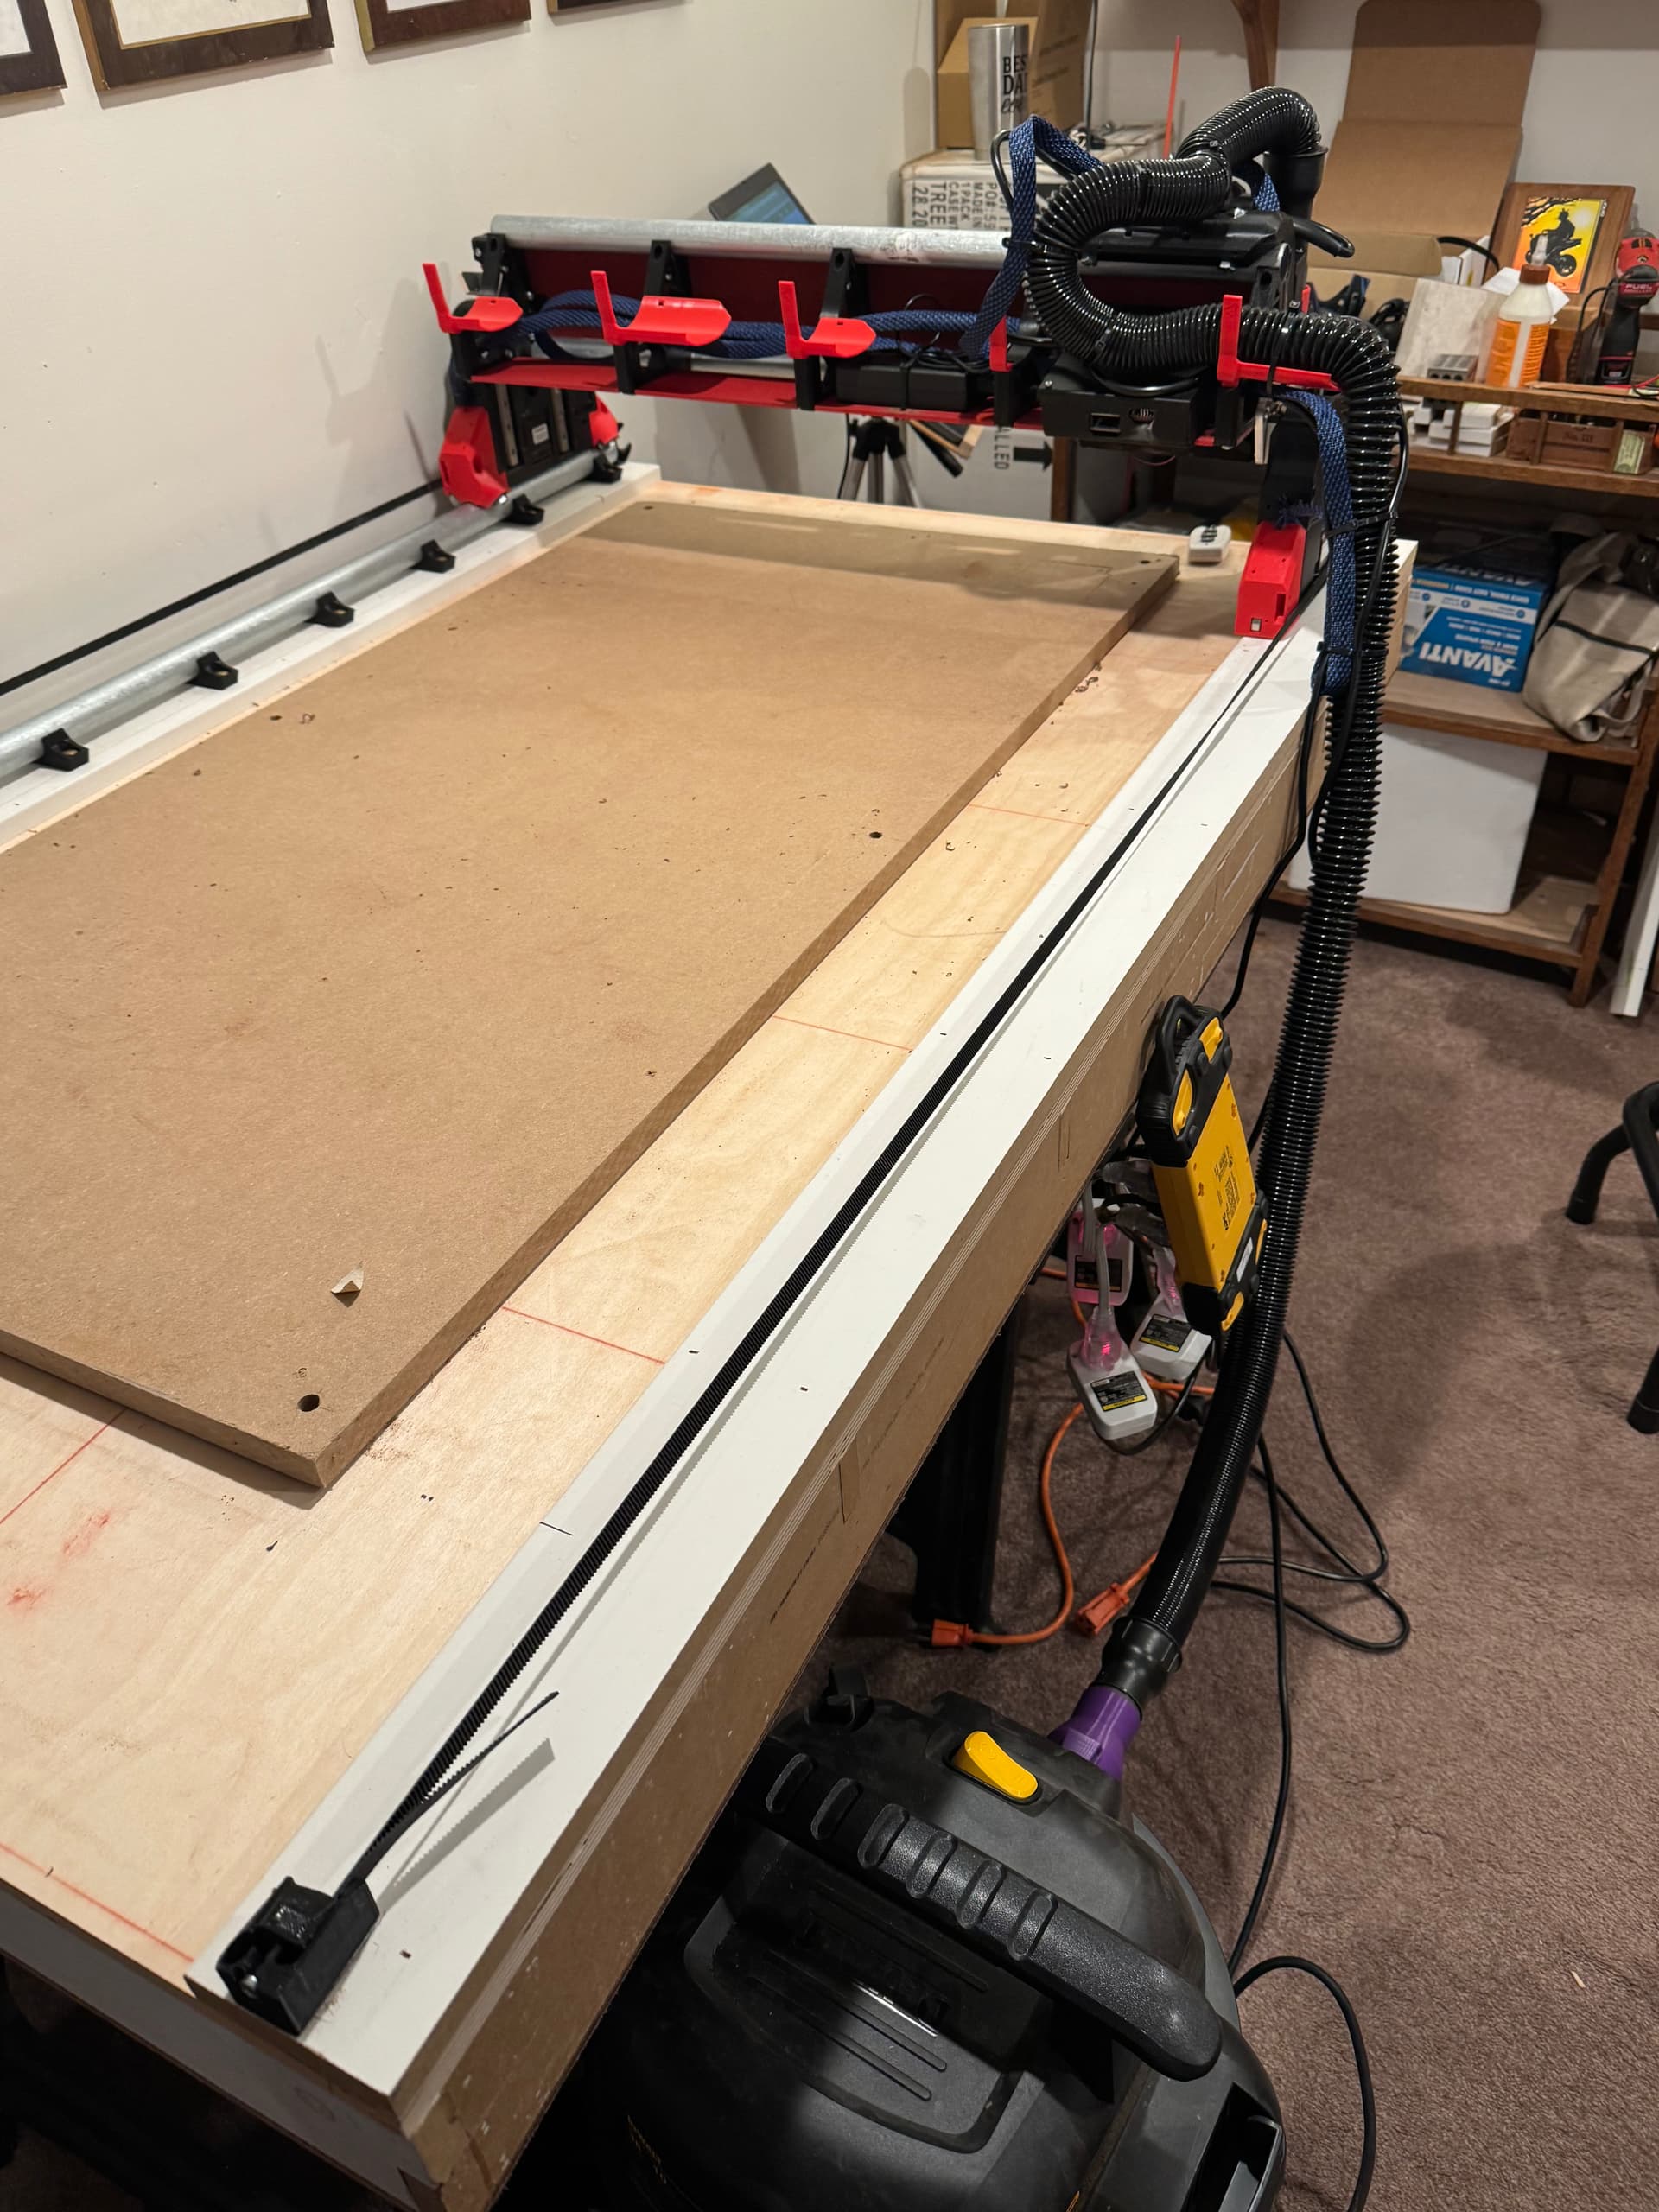
I do need to figure out how to properly ground the vacuum before I use it. but for now don’t need to use the vacuum.
Questions I am a little confused on:
I am pretty square out the gate. Not too bad but it’s only a quarter sheet size build.
When do you use the adjustable end stop screws for the Y0 and Y1 end stops versus changing the setting in the software?
Also for truing the Z I thought I would use my handy 1-2-3 blocks to level out to the lower conduit. Any feedback appreciated on this approach. Also same question the Z end stops are adjustable. Do I tweak the physical endstops or once again do it in the software??
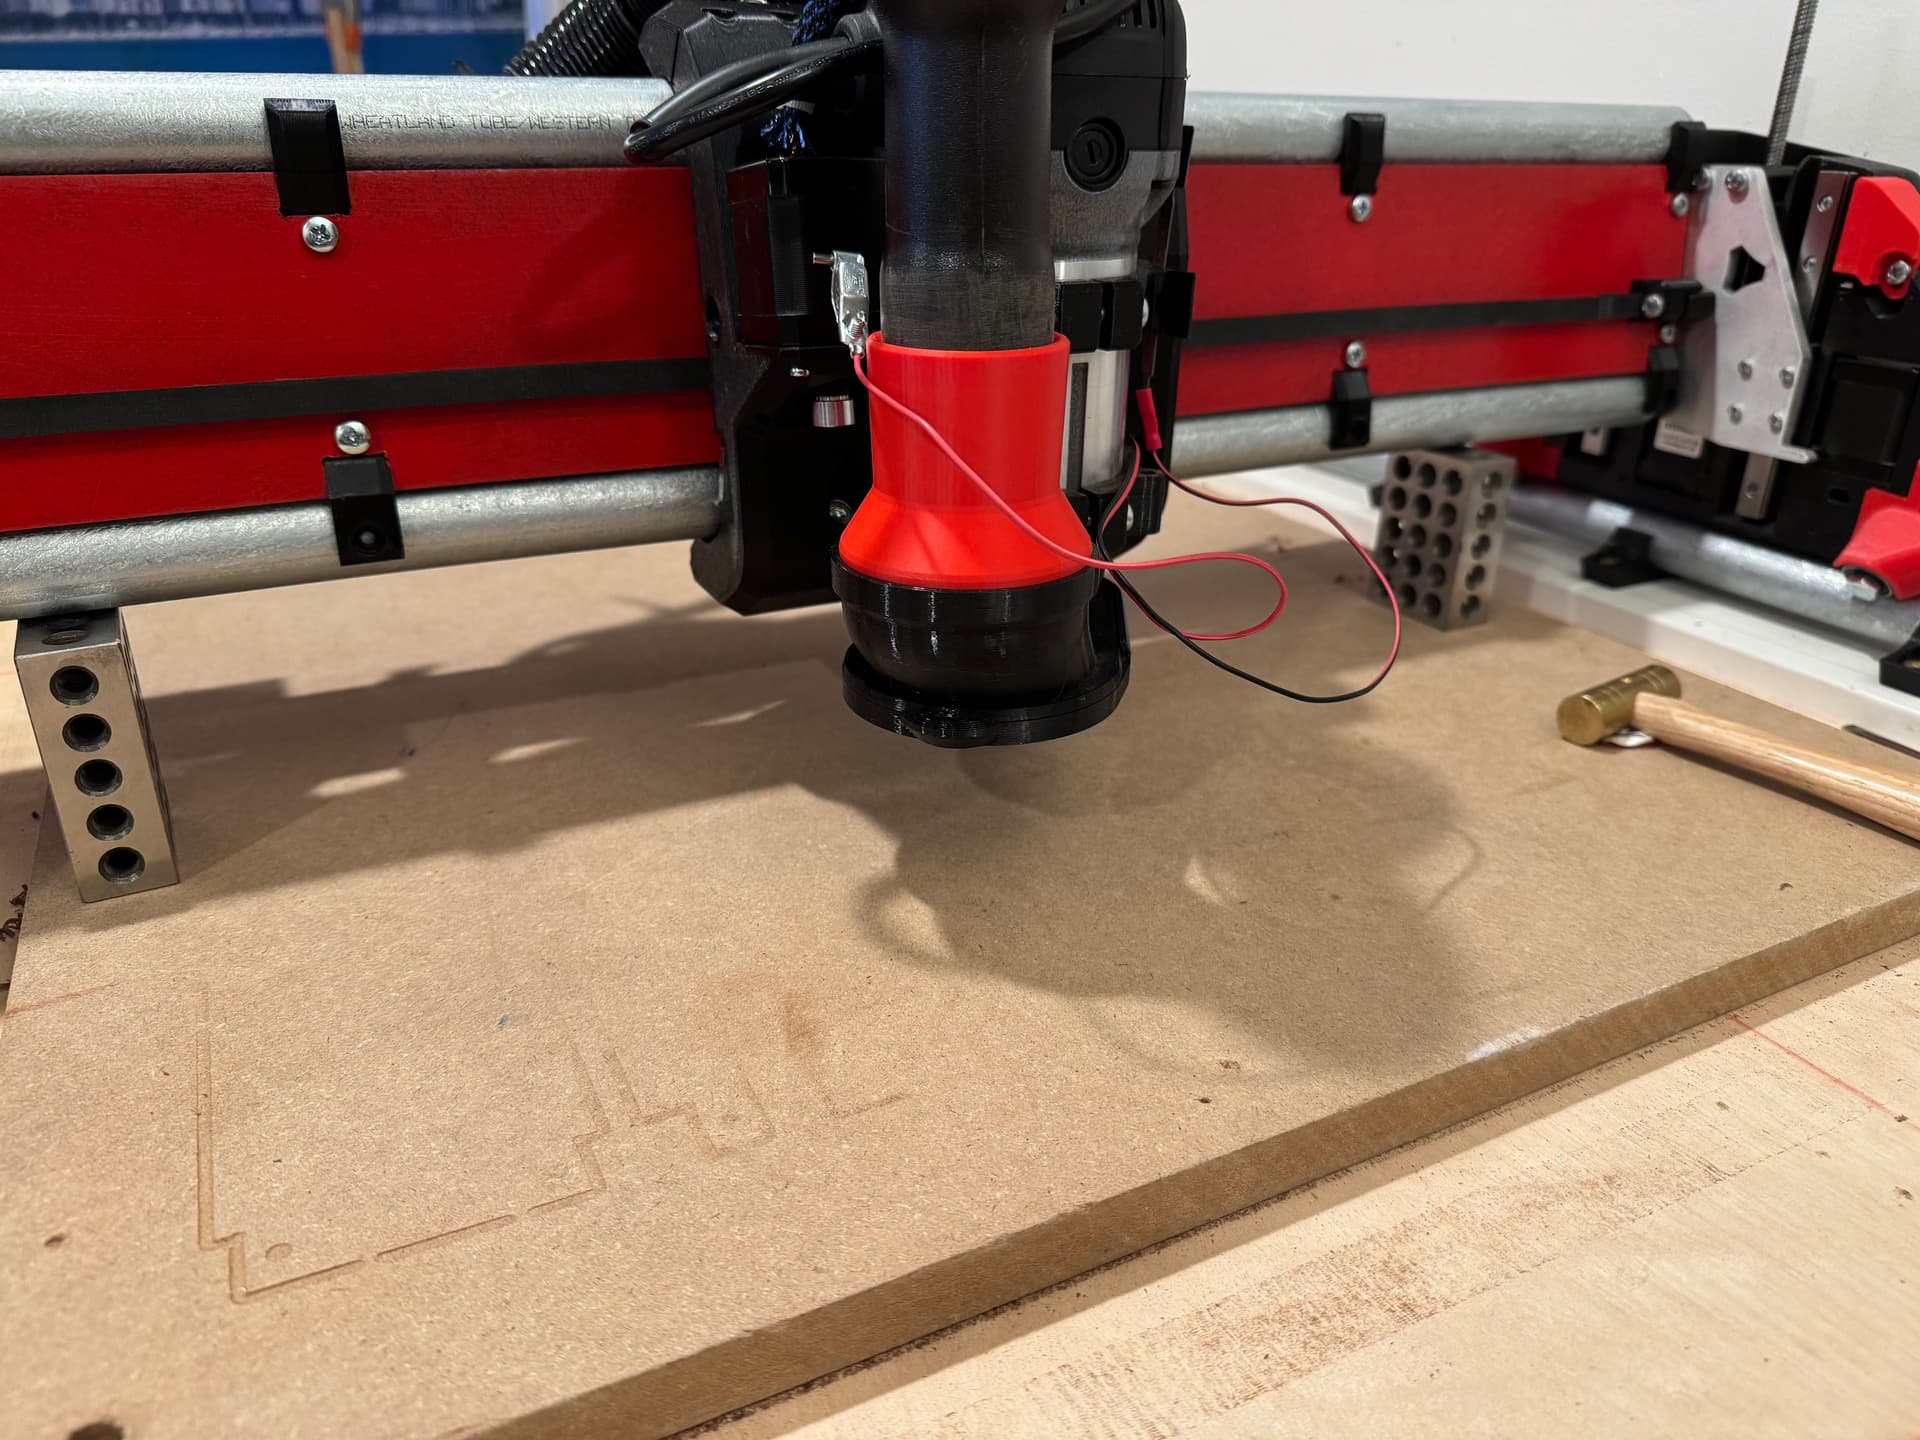
My 1-2-3 gage blocks under the beam. I can baby step Z down to just touch.
TIA!!
If you are under 2mm, software is probably easier.
Software, z is usually pretty good but I always finalize with the software offset. I added a little gcode example in the instructions.
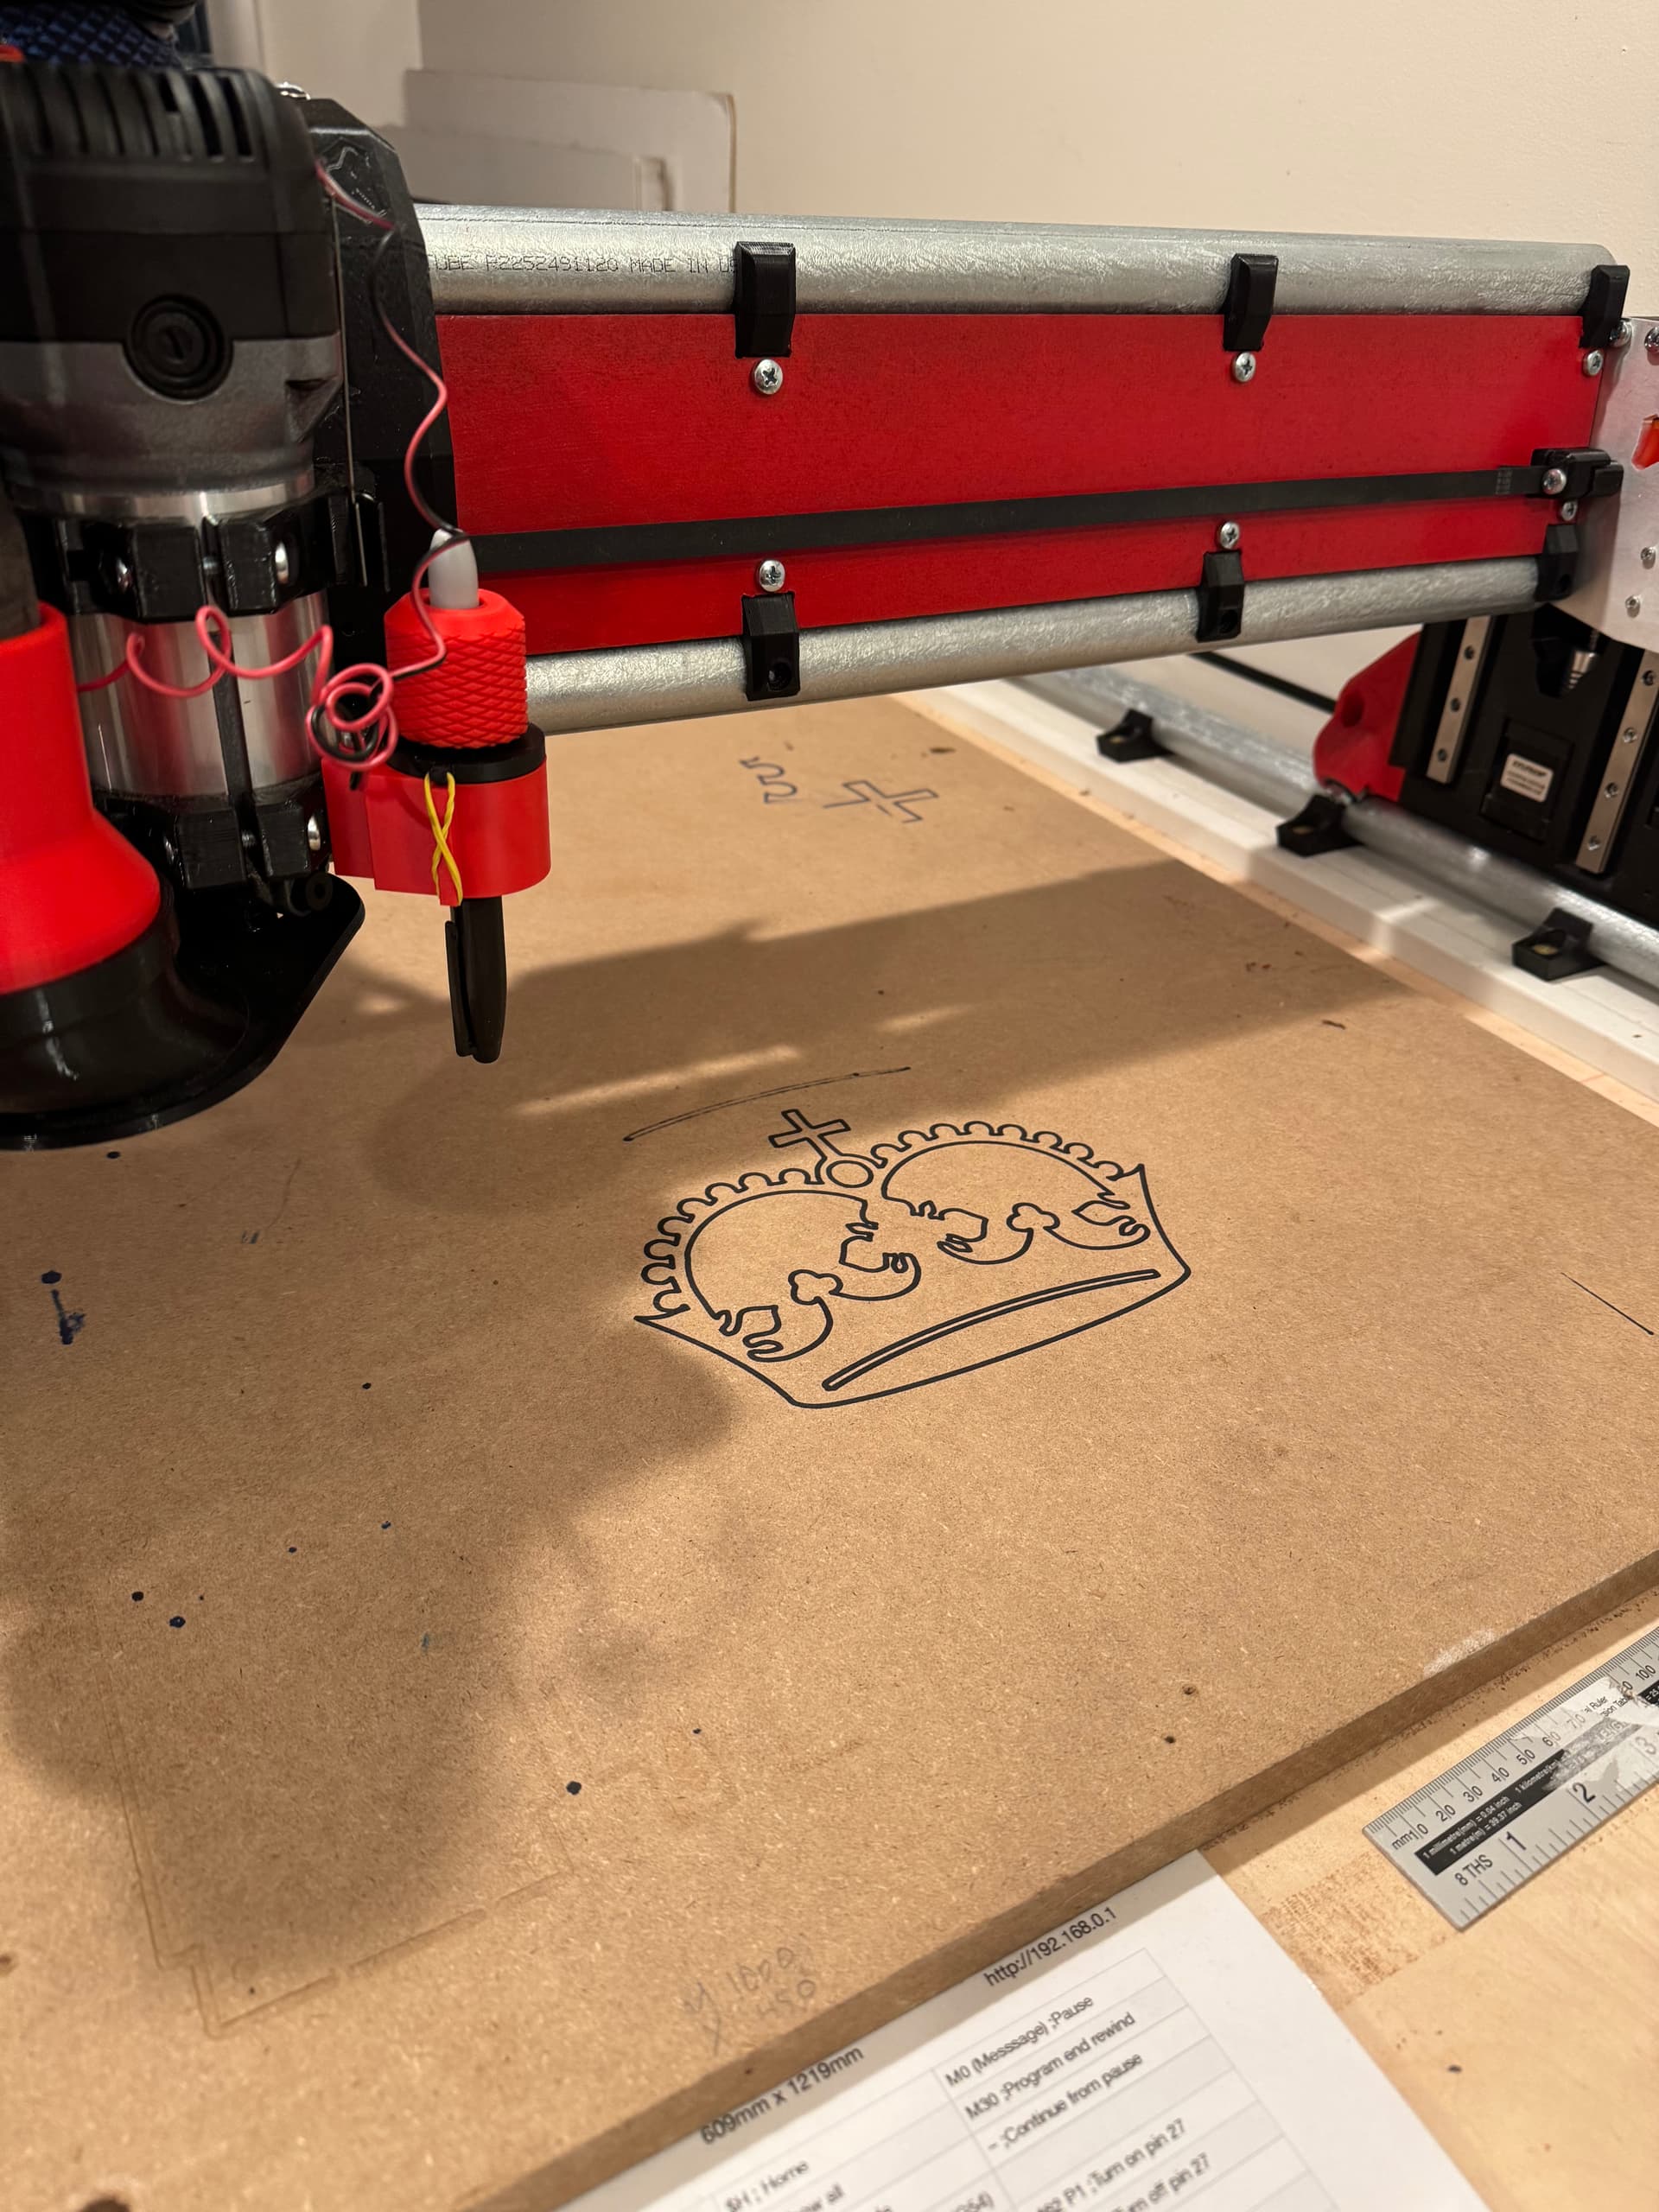
I have been massively enjoying my LR4. So much I want to name it but my wife thinks that’s creepy. I wanted to demonstrate for the family that visited yesterday and I thought using the marker and drawing the crown is always impressive and not so noisy.
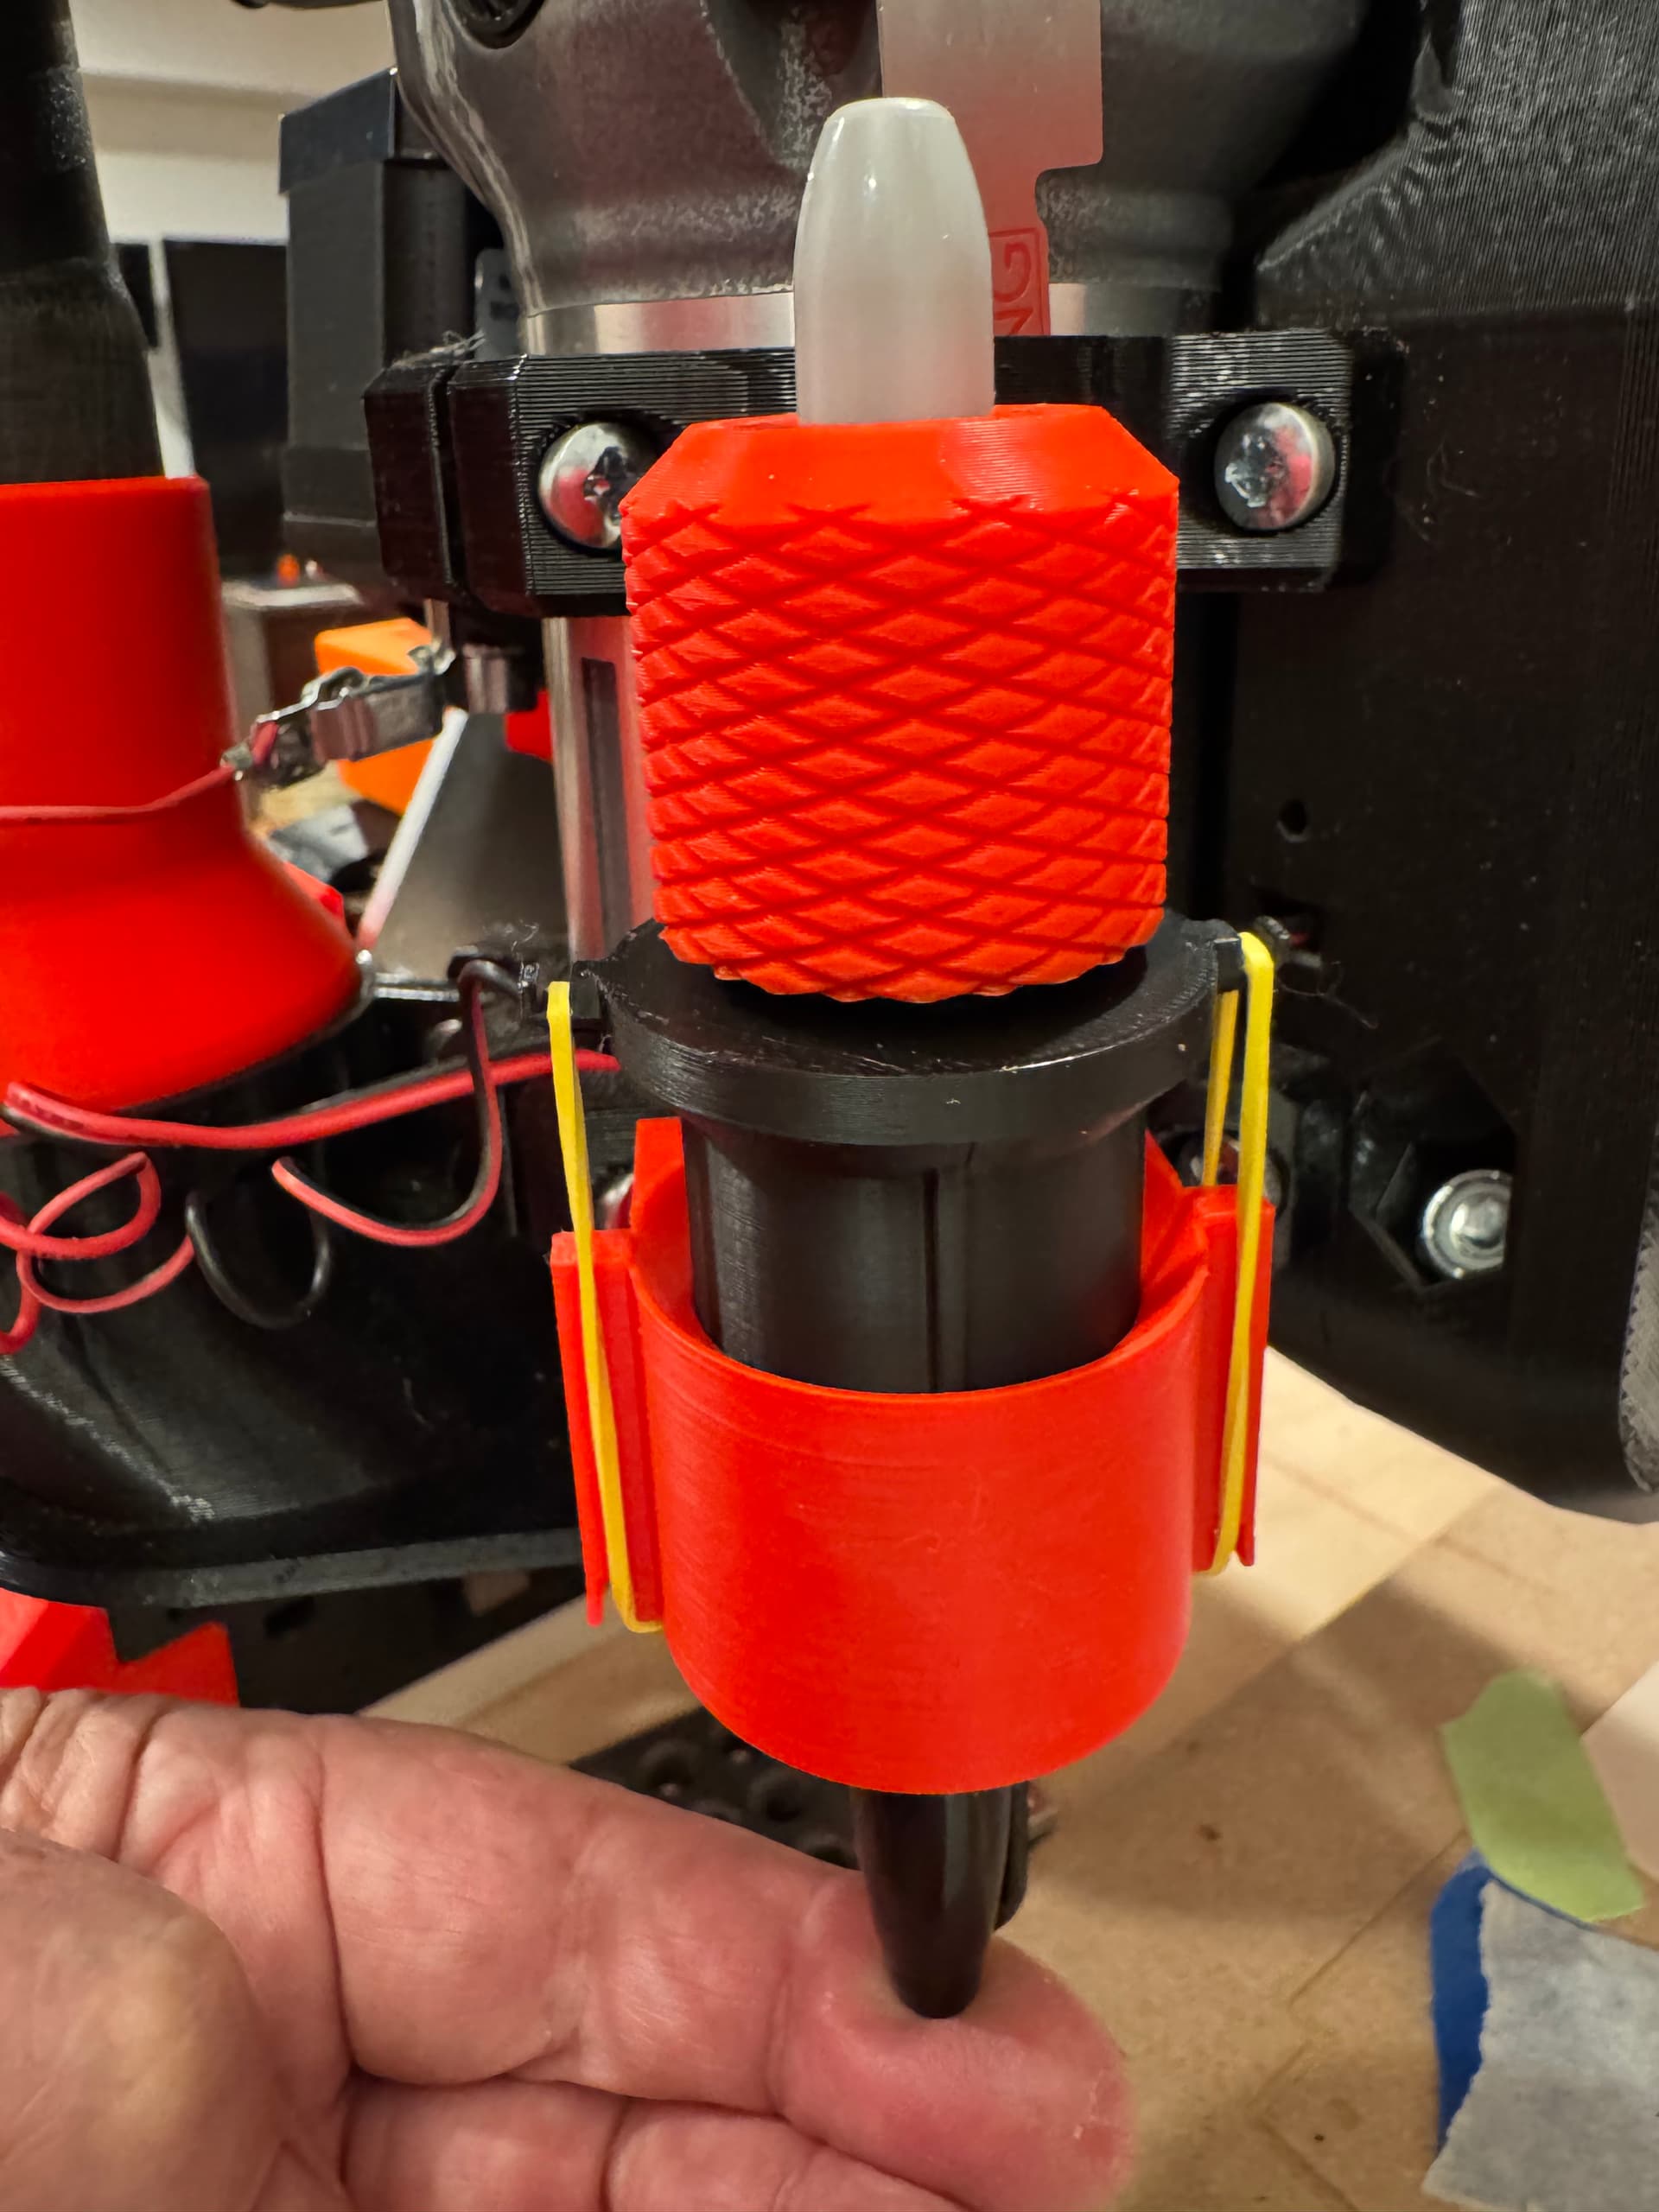
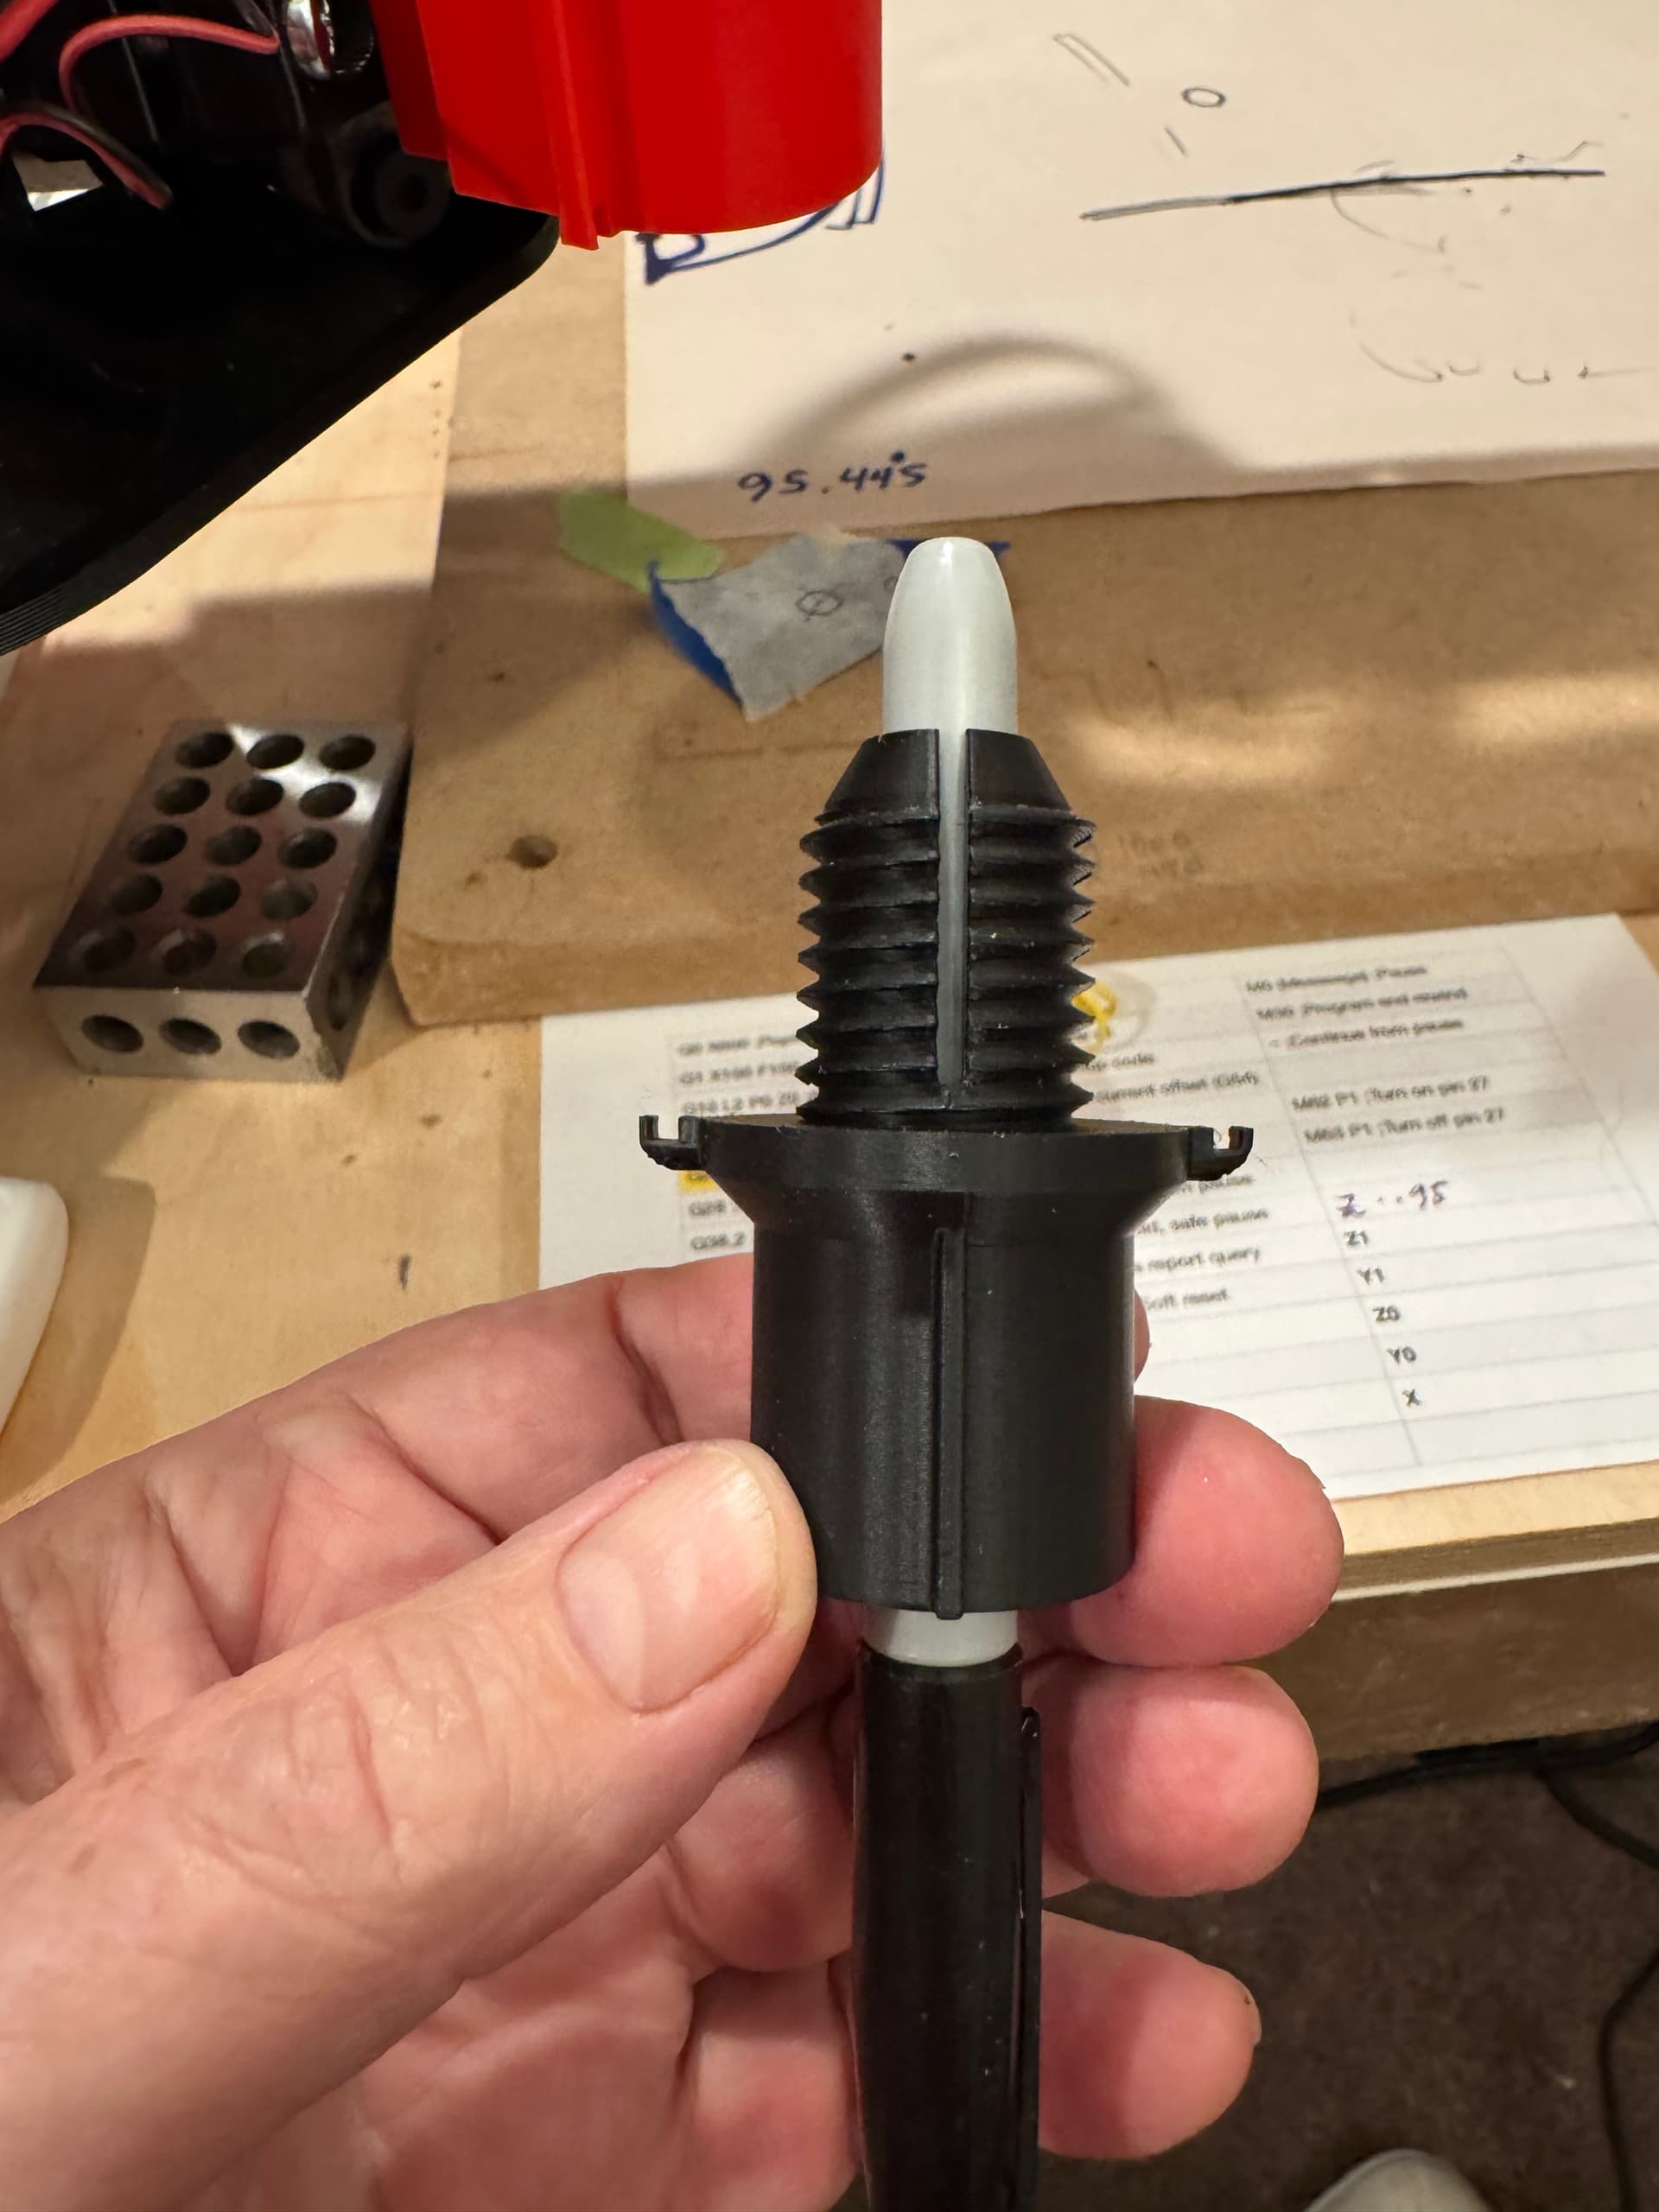
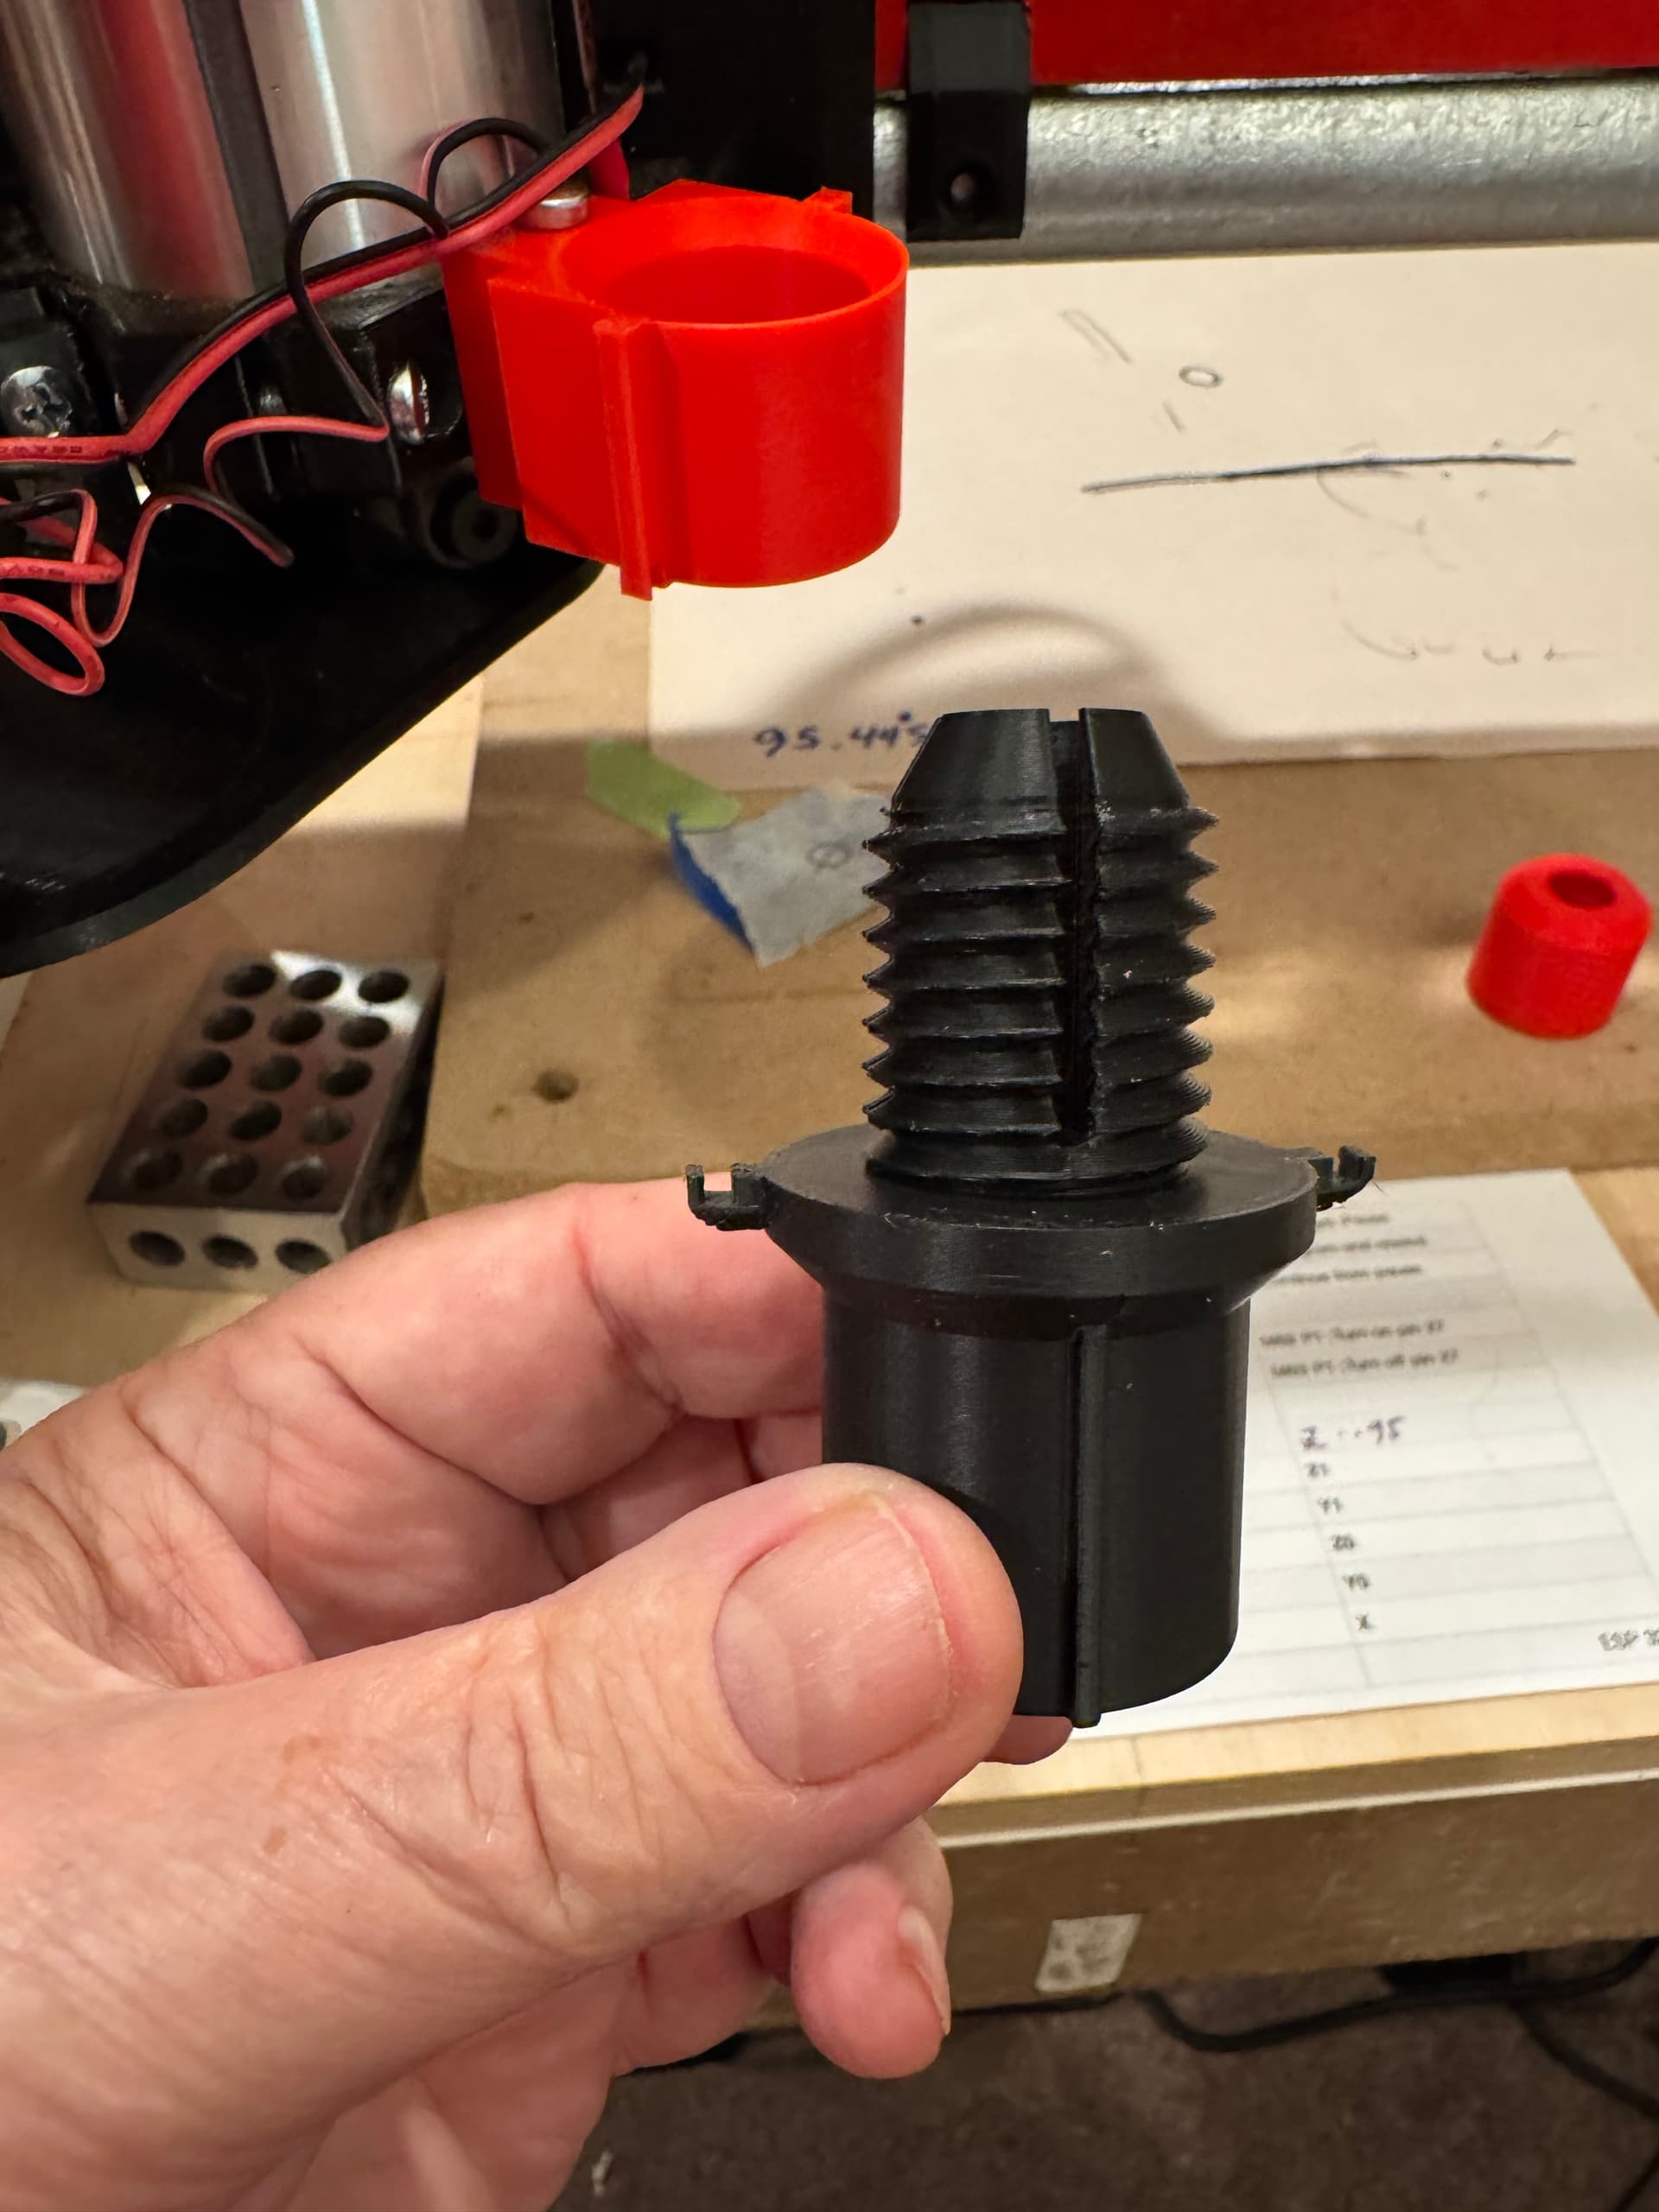
I decided to design a universal penholder that I could use rubber bands for the flexible “give” and also mount to the handy provided hole on my Makita mount. Happy to say it turned out nice. Had fun showing off at Thanksgiving ![]()
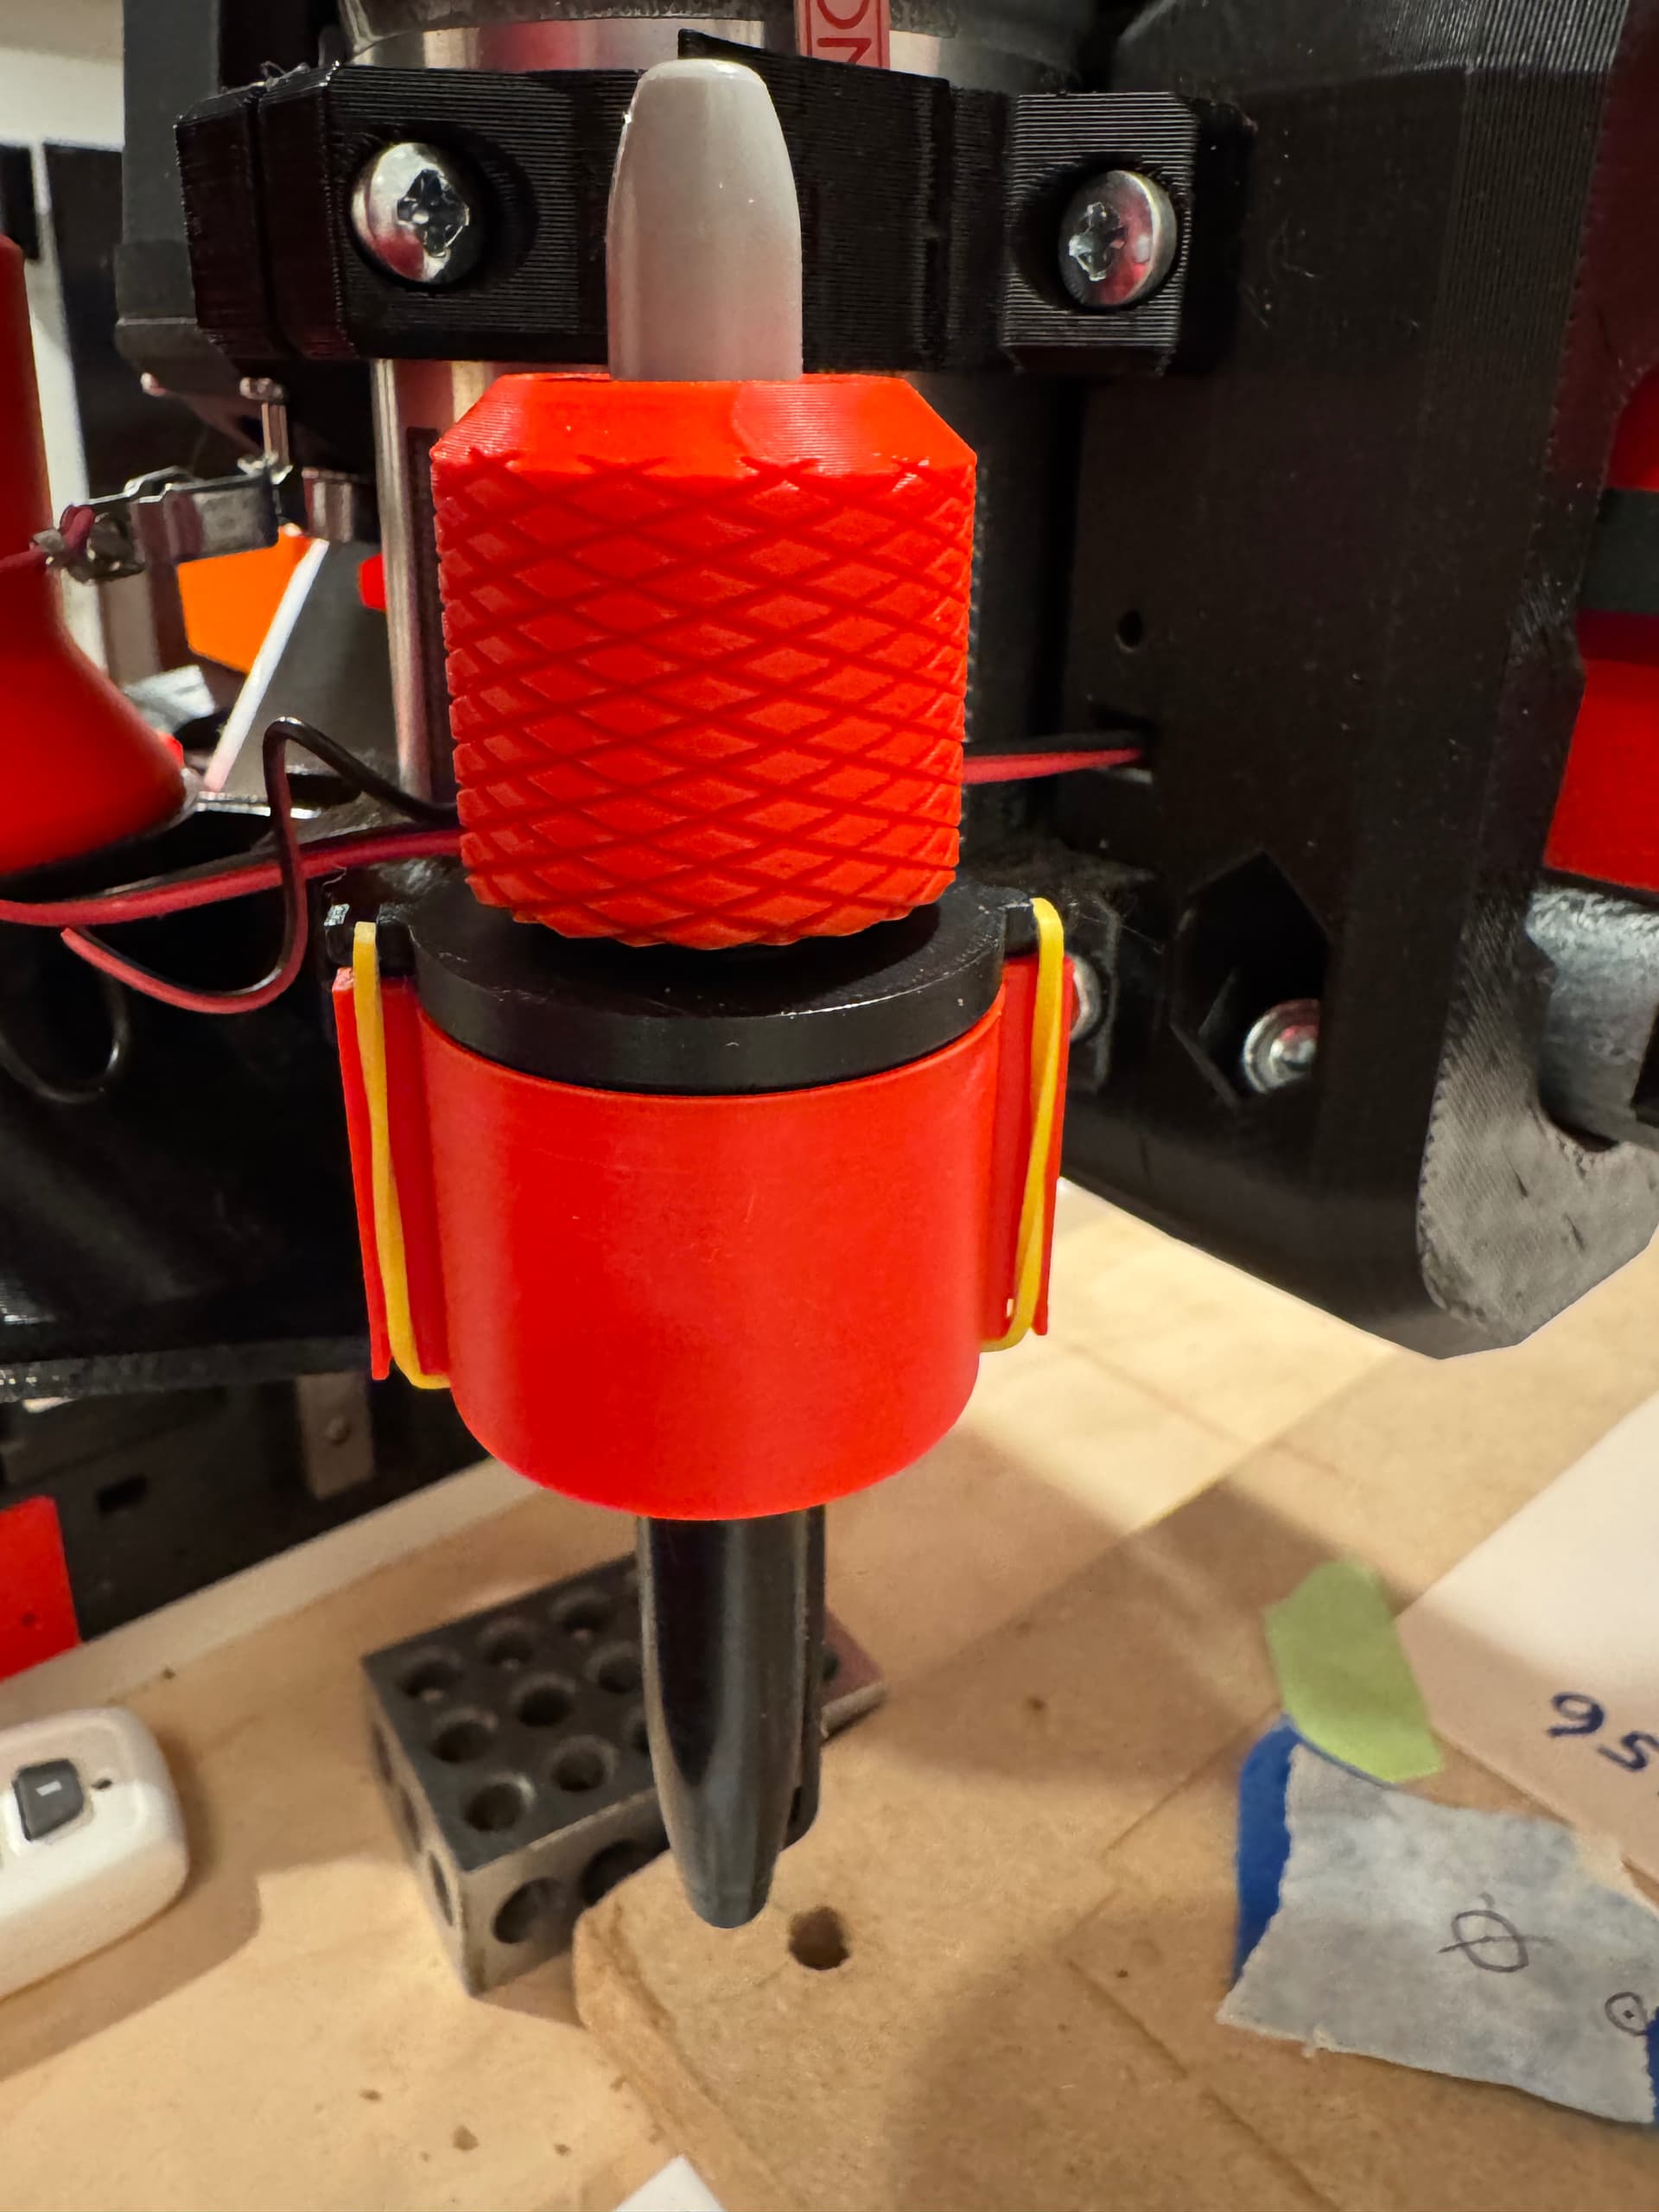
I used a split collet to hold the Sharpy. And the rubber band of your choice.
14 Likes
How did the drawings come out? Any crowns?