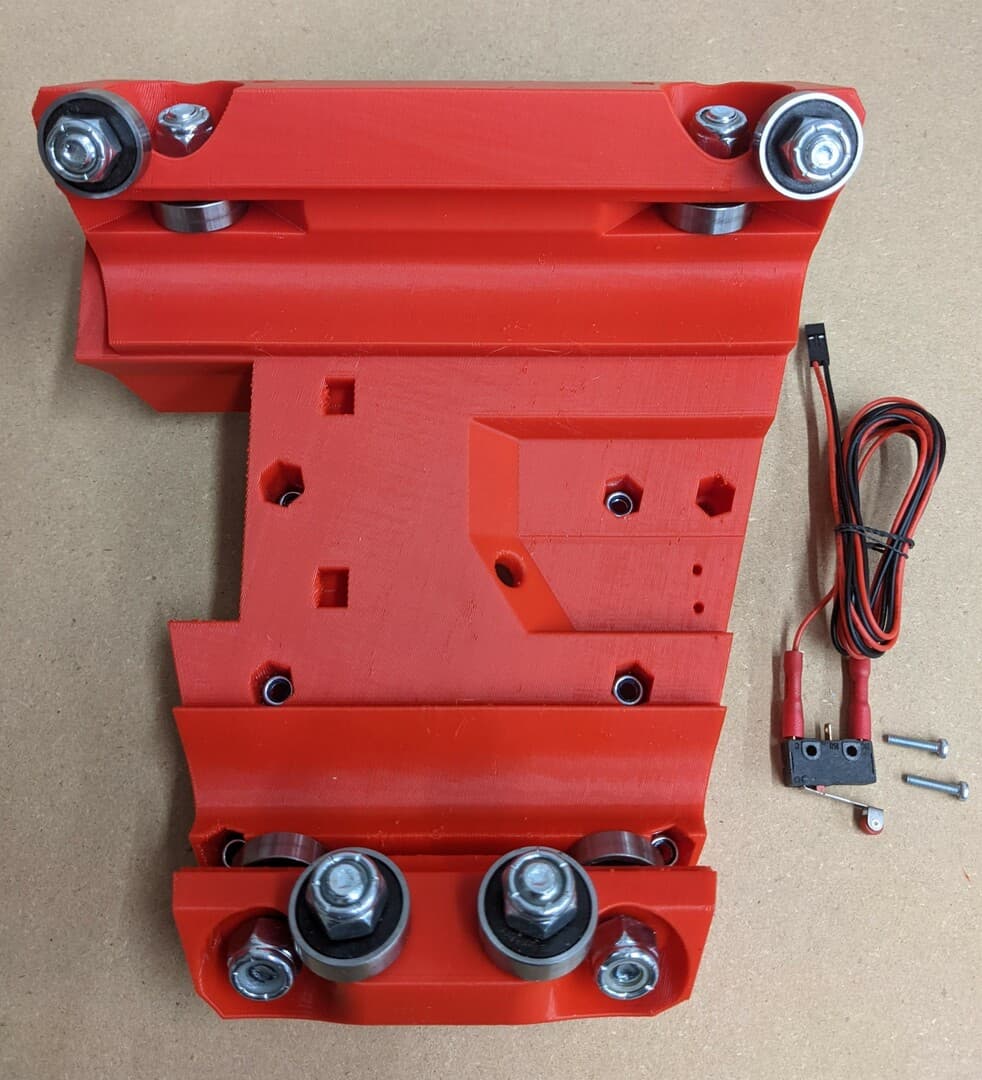
Nuts are all accessible Should be the bolt into the holder
1 Like
I am 99.9% sure that I did that the other way around, inserting the nut into the hex depression, and then turning the bolt head.
My reasoning is that the holes tend to be just a little tight, and the threads on the bolt can help seat it if you screw it in all the way. This is also the way that the M5 hardware all has to be in order to work, so I extended it to the M8 (5/16") hardware as well.
In my defense, mine was built as a part of the beta program when there were no instructions… but I definitely don’t have any problems with anything protruding where it should not.
2 Likes
Hey there Ryan, not certain why but after homing my lr3 and using my touch plate that keeps a separation of the touch plate thickness between my stock and my bit edge.
I keep bottoming out when i hit print can you please take a look at what can be wrong please
crown 1mm.gcode (29.2 KB)
You do not have any homing or probing starting gcode.
It is all found on the milling basics page, specifically right here, Milling Basics - V1 Engineering Documentation
You need to do the homing and probing in your gcode to be the most effective.
1 Like
As Ryan said…you need the homing Gcode. Be sure to use the one for LR3 not the Primo.
Also if you go on Estlcam under Setup, CNC Program. Click the Text Tab. there are a few tabs under that. Put each of the codes from the page Ryan linked there under each corresponding tab.

Once you put it there click save settings and name it whatever you like. After that each time you make a new job it will automatically be added for you.
2 Likes
For my G92 Z0.5 command , ,y touch plate is 10mm thick just confirming i will update this because of this reason
Yes that needs to be set at the thickness of your touch plate. The tiny touch plate Ryan sells is .5mm which is why the code is set up that way. That’s what the majority use.
1 Like
I order for all of this to happen I need to manually plug these commands in on the screen just confirming?
Yes. Once you do that and save it then you wont have to do it anymore. But make sure you put the commands for Start, Tool Change and End. You will need all 3
2 Likes


I take it that got you up and running. Hopefully so! If you have any more issues or questions make you a new post and ask away!


It did everything as for the preparation portion
The cuts supposed to last for 3 minutes but it was stuck @ 1% this entire time
Did it make the cut?
It made 1 cut that’s it hovered for the rest stuck @ 1% I don’t understand why
Crown Cutt.gcode (29.4 KB)
It should paused waiting for you to attach the probe and hit resume.
What is actually happening is your Starting gcode is wrong.

Line 1-3 are missing the “;”

You have them in this picture so you must have removed them after it was taken.
In the start code, where it has Z0.5 on the homing command, you would need to change that to Z10.0 if your touch plate is 10 mm thick. That 0.5 is the code telling the machine that the touch plate is 0.5 mm thick. So that code needs edited to adjust to the actual thickness of your touch plate.
Currently this is whats on my thumb drive can you highlight so i can address it also @DougJoseph i remeasured it was 8.9 my fault

The main issue is still the first three lines, nothing will work after that.
1 Like
If that is what is on your drive you did not share current screenshots of your settings. That makes it very difficult for us to help you.
1 Like


