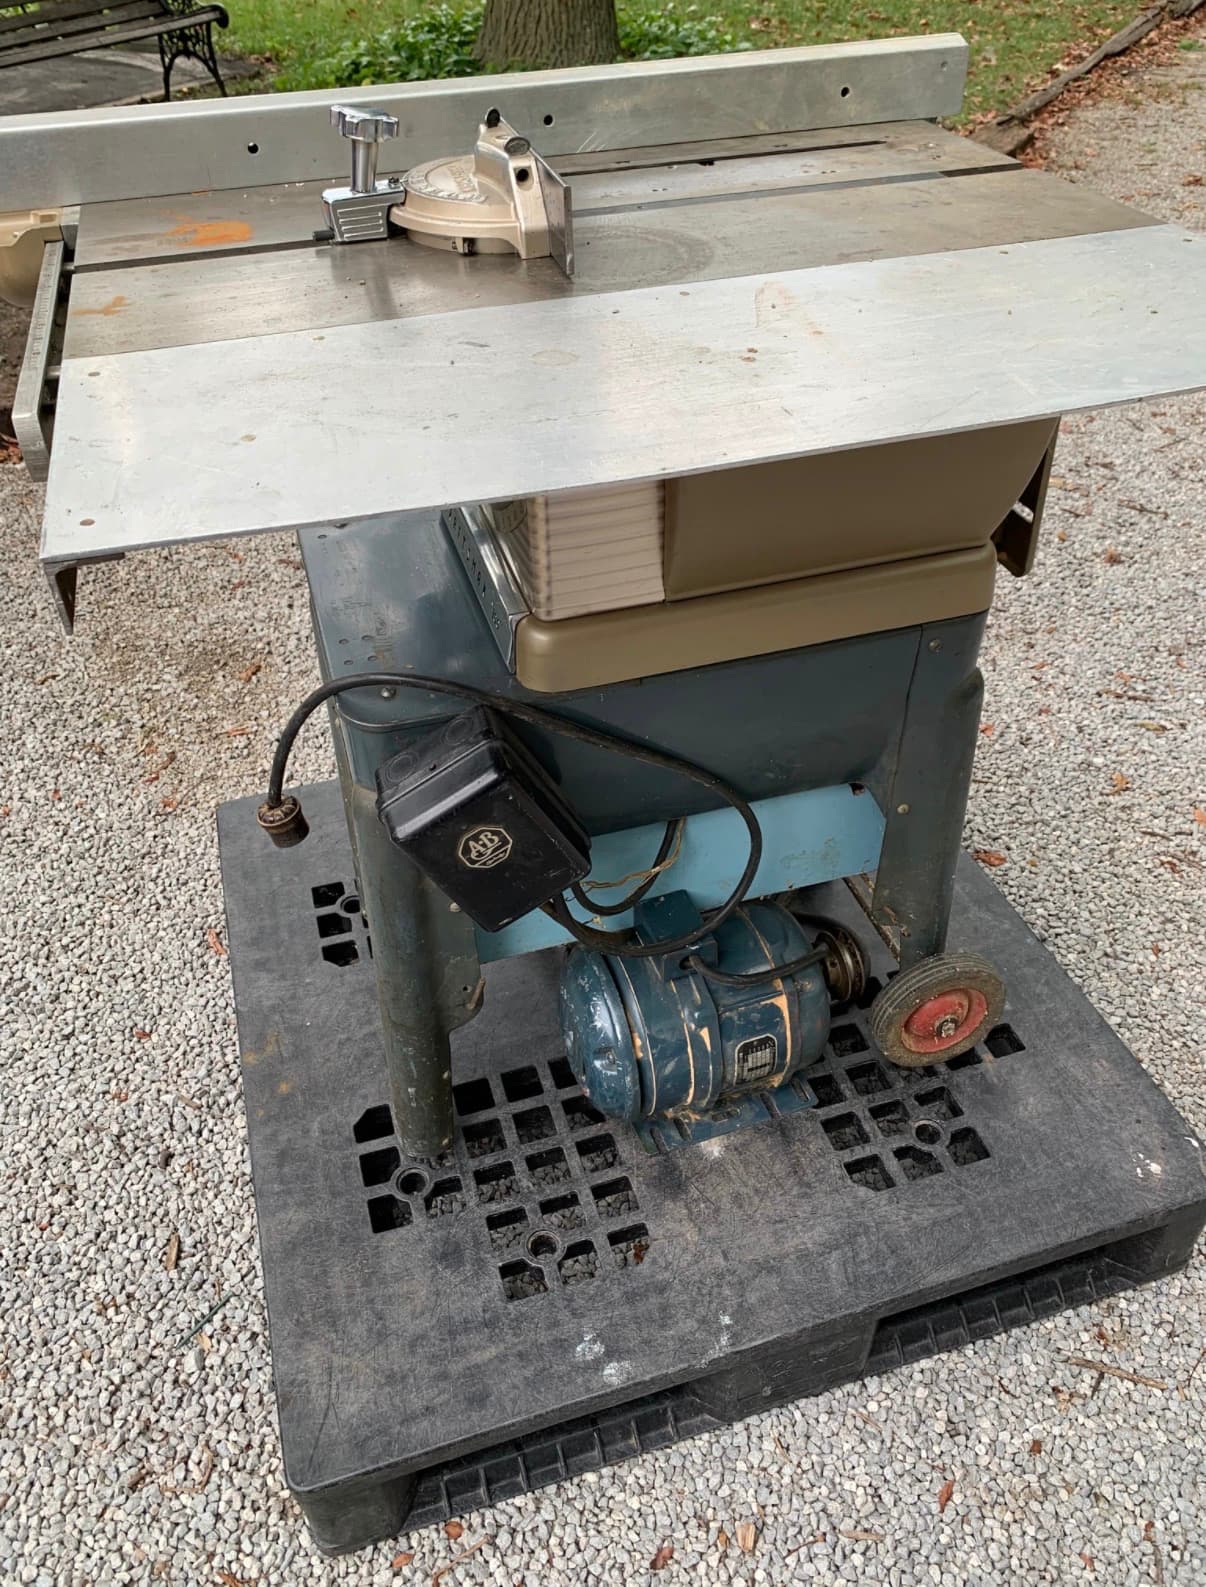
Hey all, I need to call upon the brilliant minds of the forum to help me out with an electrical issue with my new-to-me table saw: a 1977 Craftsman “100”! Every time I try to turn it on, it trips the GFCI outlet in my garage. The circuit is 20 amps and the GFCI is 20 amps, I just swapped in a brand new outlet to test that but it also trips instantly. Previous owner was a nice older gentleman who I believe when he said it worked for him, he did say he wired it from 220 to 110 for me, so I’m thinking that’s where the problem is? Problem is, idk much about electrical yet (other than swapping an outlet and soldering stuff lol) and I have no clue how or what to test for. Hoping someone can give me advice? Really looking forward to using this thing!


Most of the time when I have rewired a motor between 110/220, there will be a junction box on the motor that the 110/220 from the switch comes into. Then there will be a diagram written on either the motor or in the junction box showing which wires go where for each voltage option. It looks like the box you are showing is the contactor which is different than I’m used to seeing. Is there also a box on the motor? If not, the voltage selection is probably made in that contactor (which probably isn’t wrong, just different than I’m used to).
It looks like a nice old motor. Baldor is a good brand.
See this picture for an example. It isn’t mine, but it is a cover from the motor box which shows which wires from the wall go to which wires from the motor. Do you have a cover like that?

Thanks a ton! The motor does have a box like that, I’ll take a closer look at it in the morning and will report back ![]()
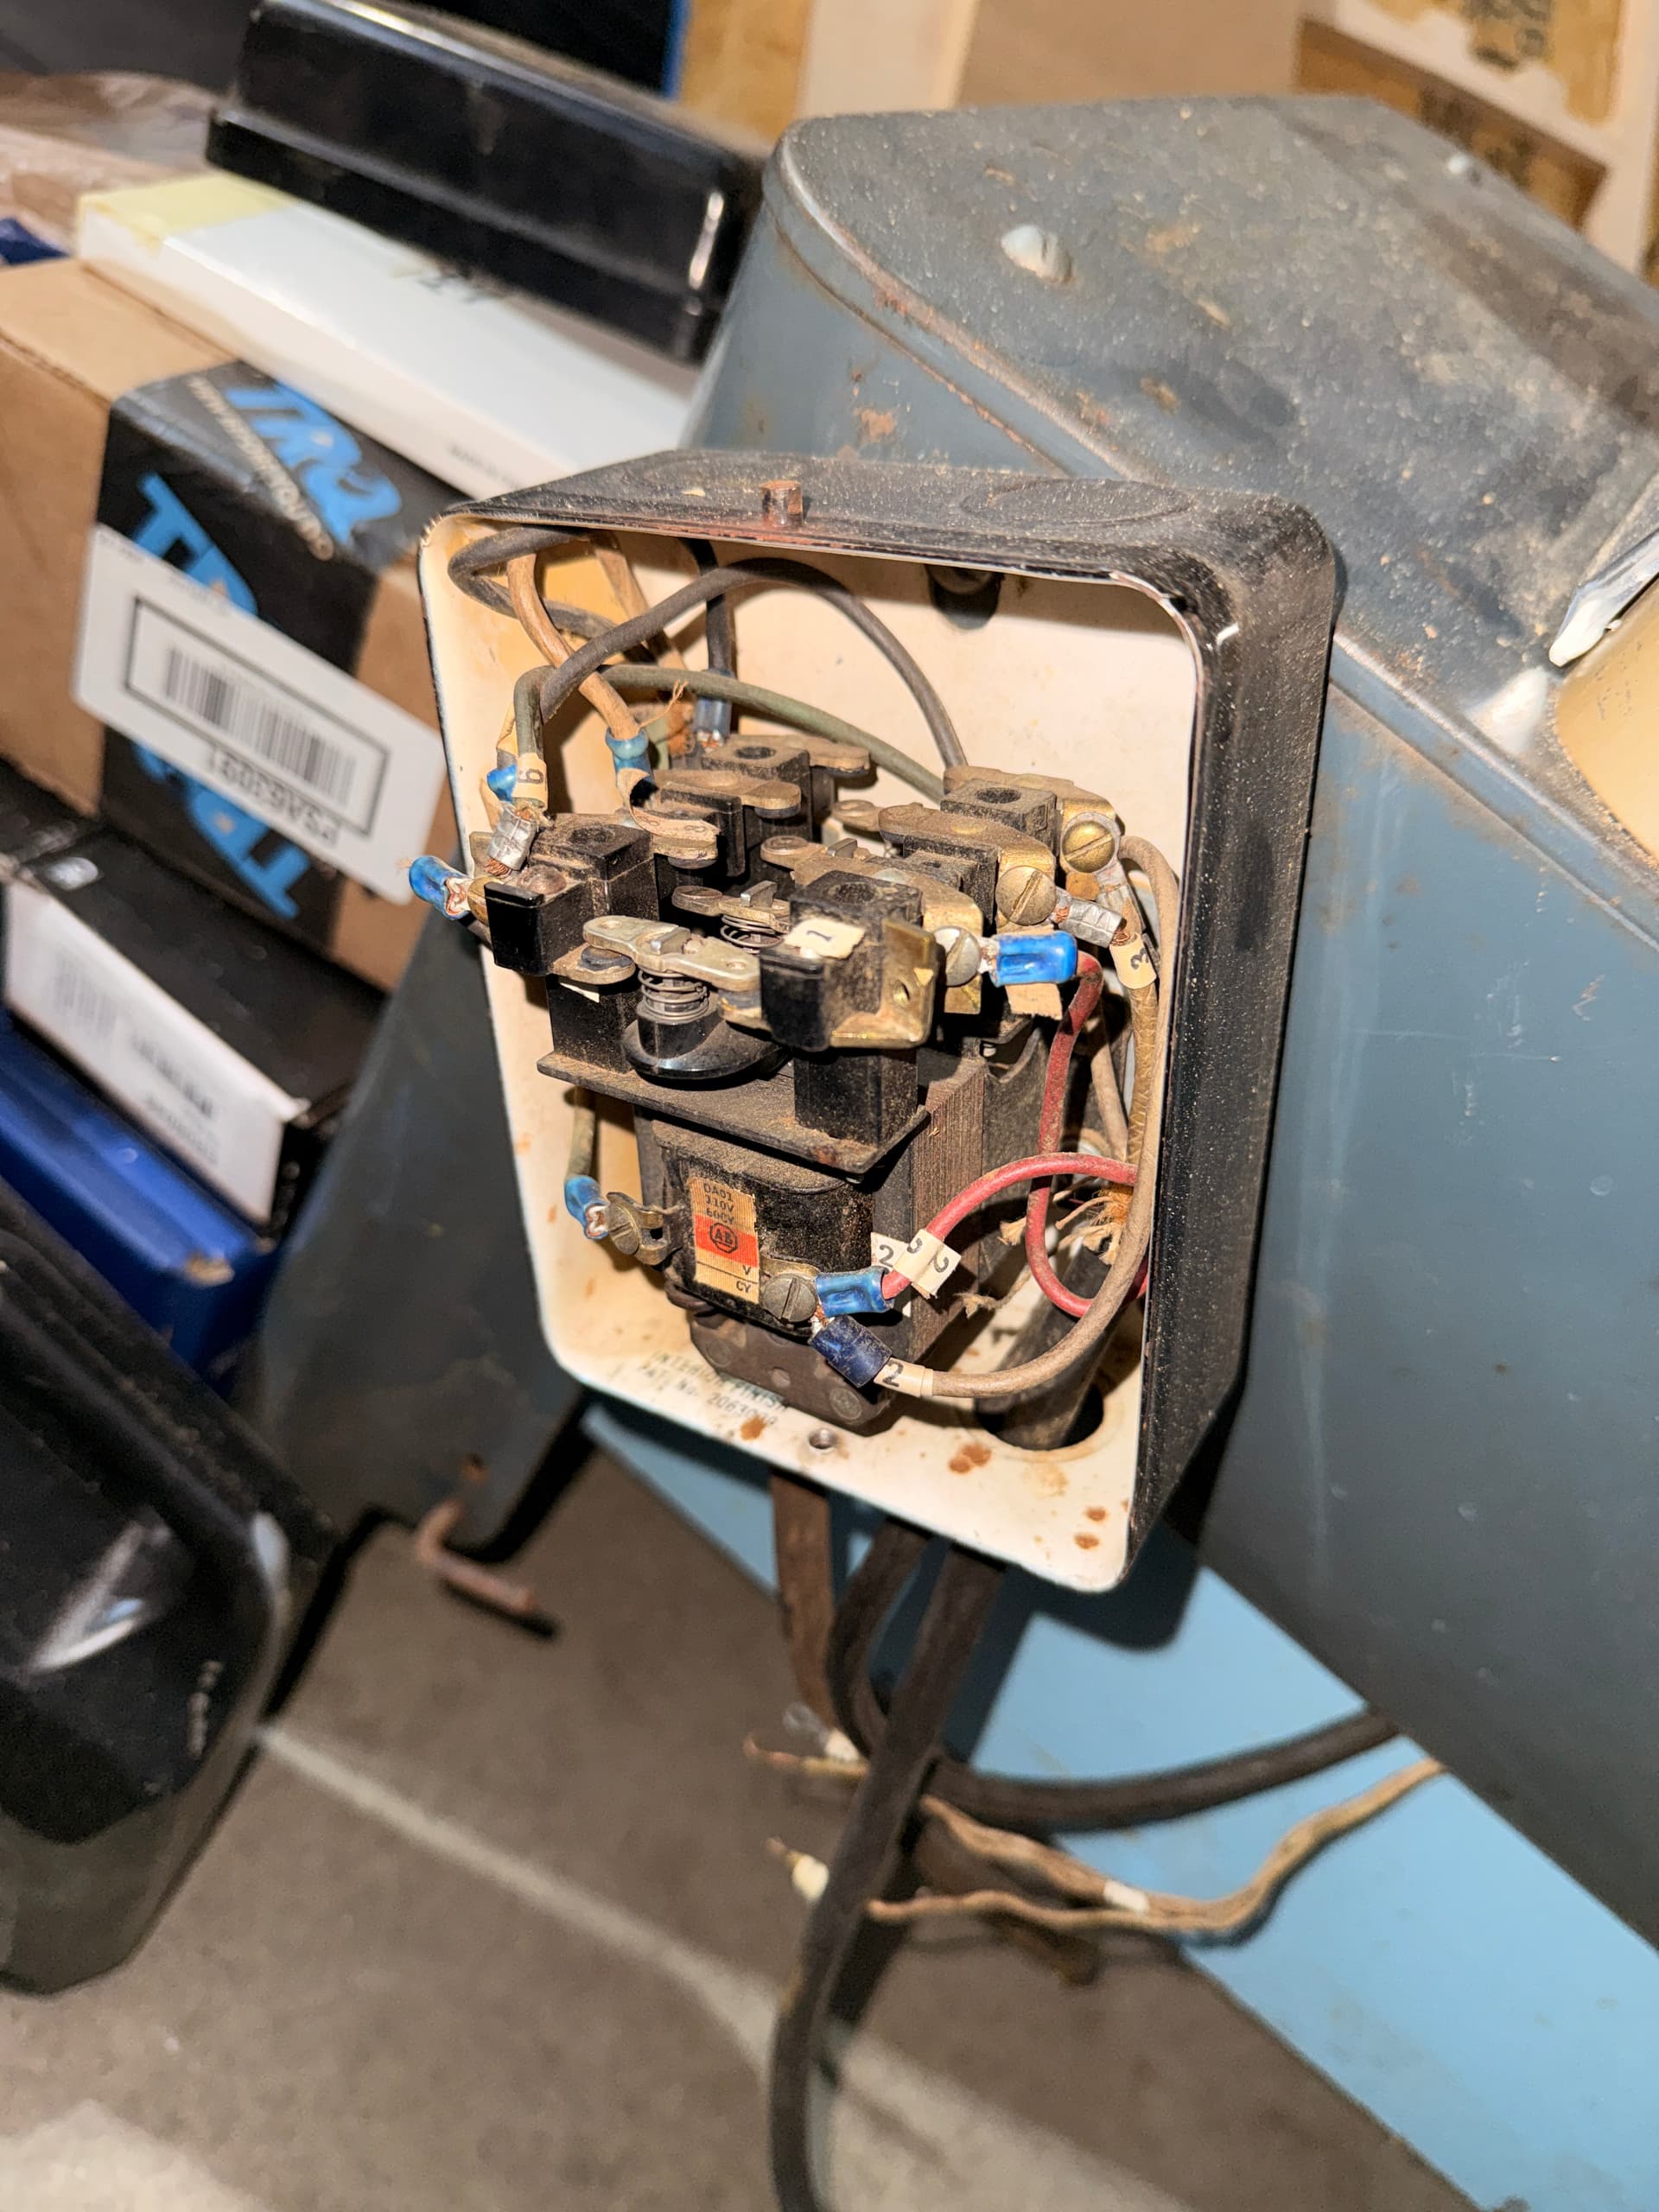
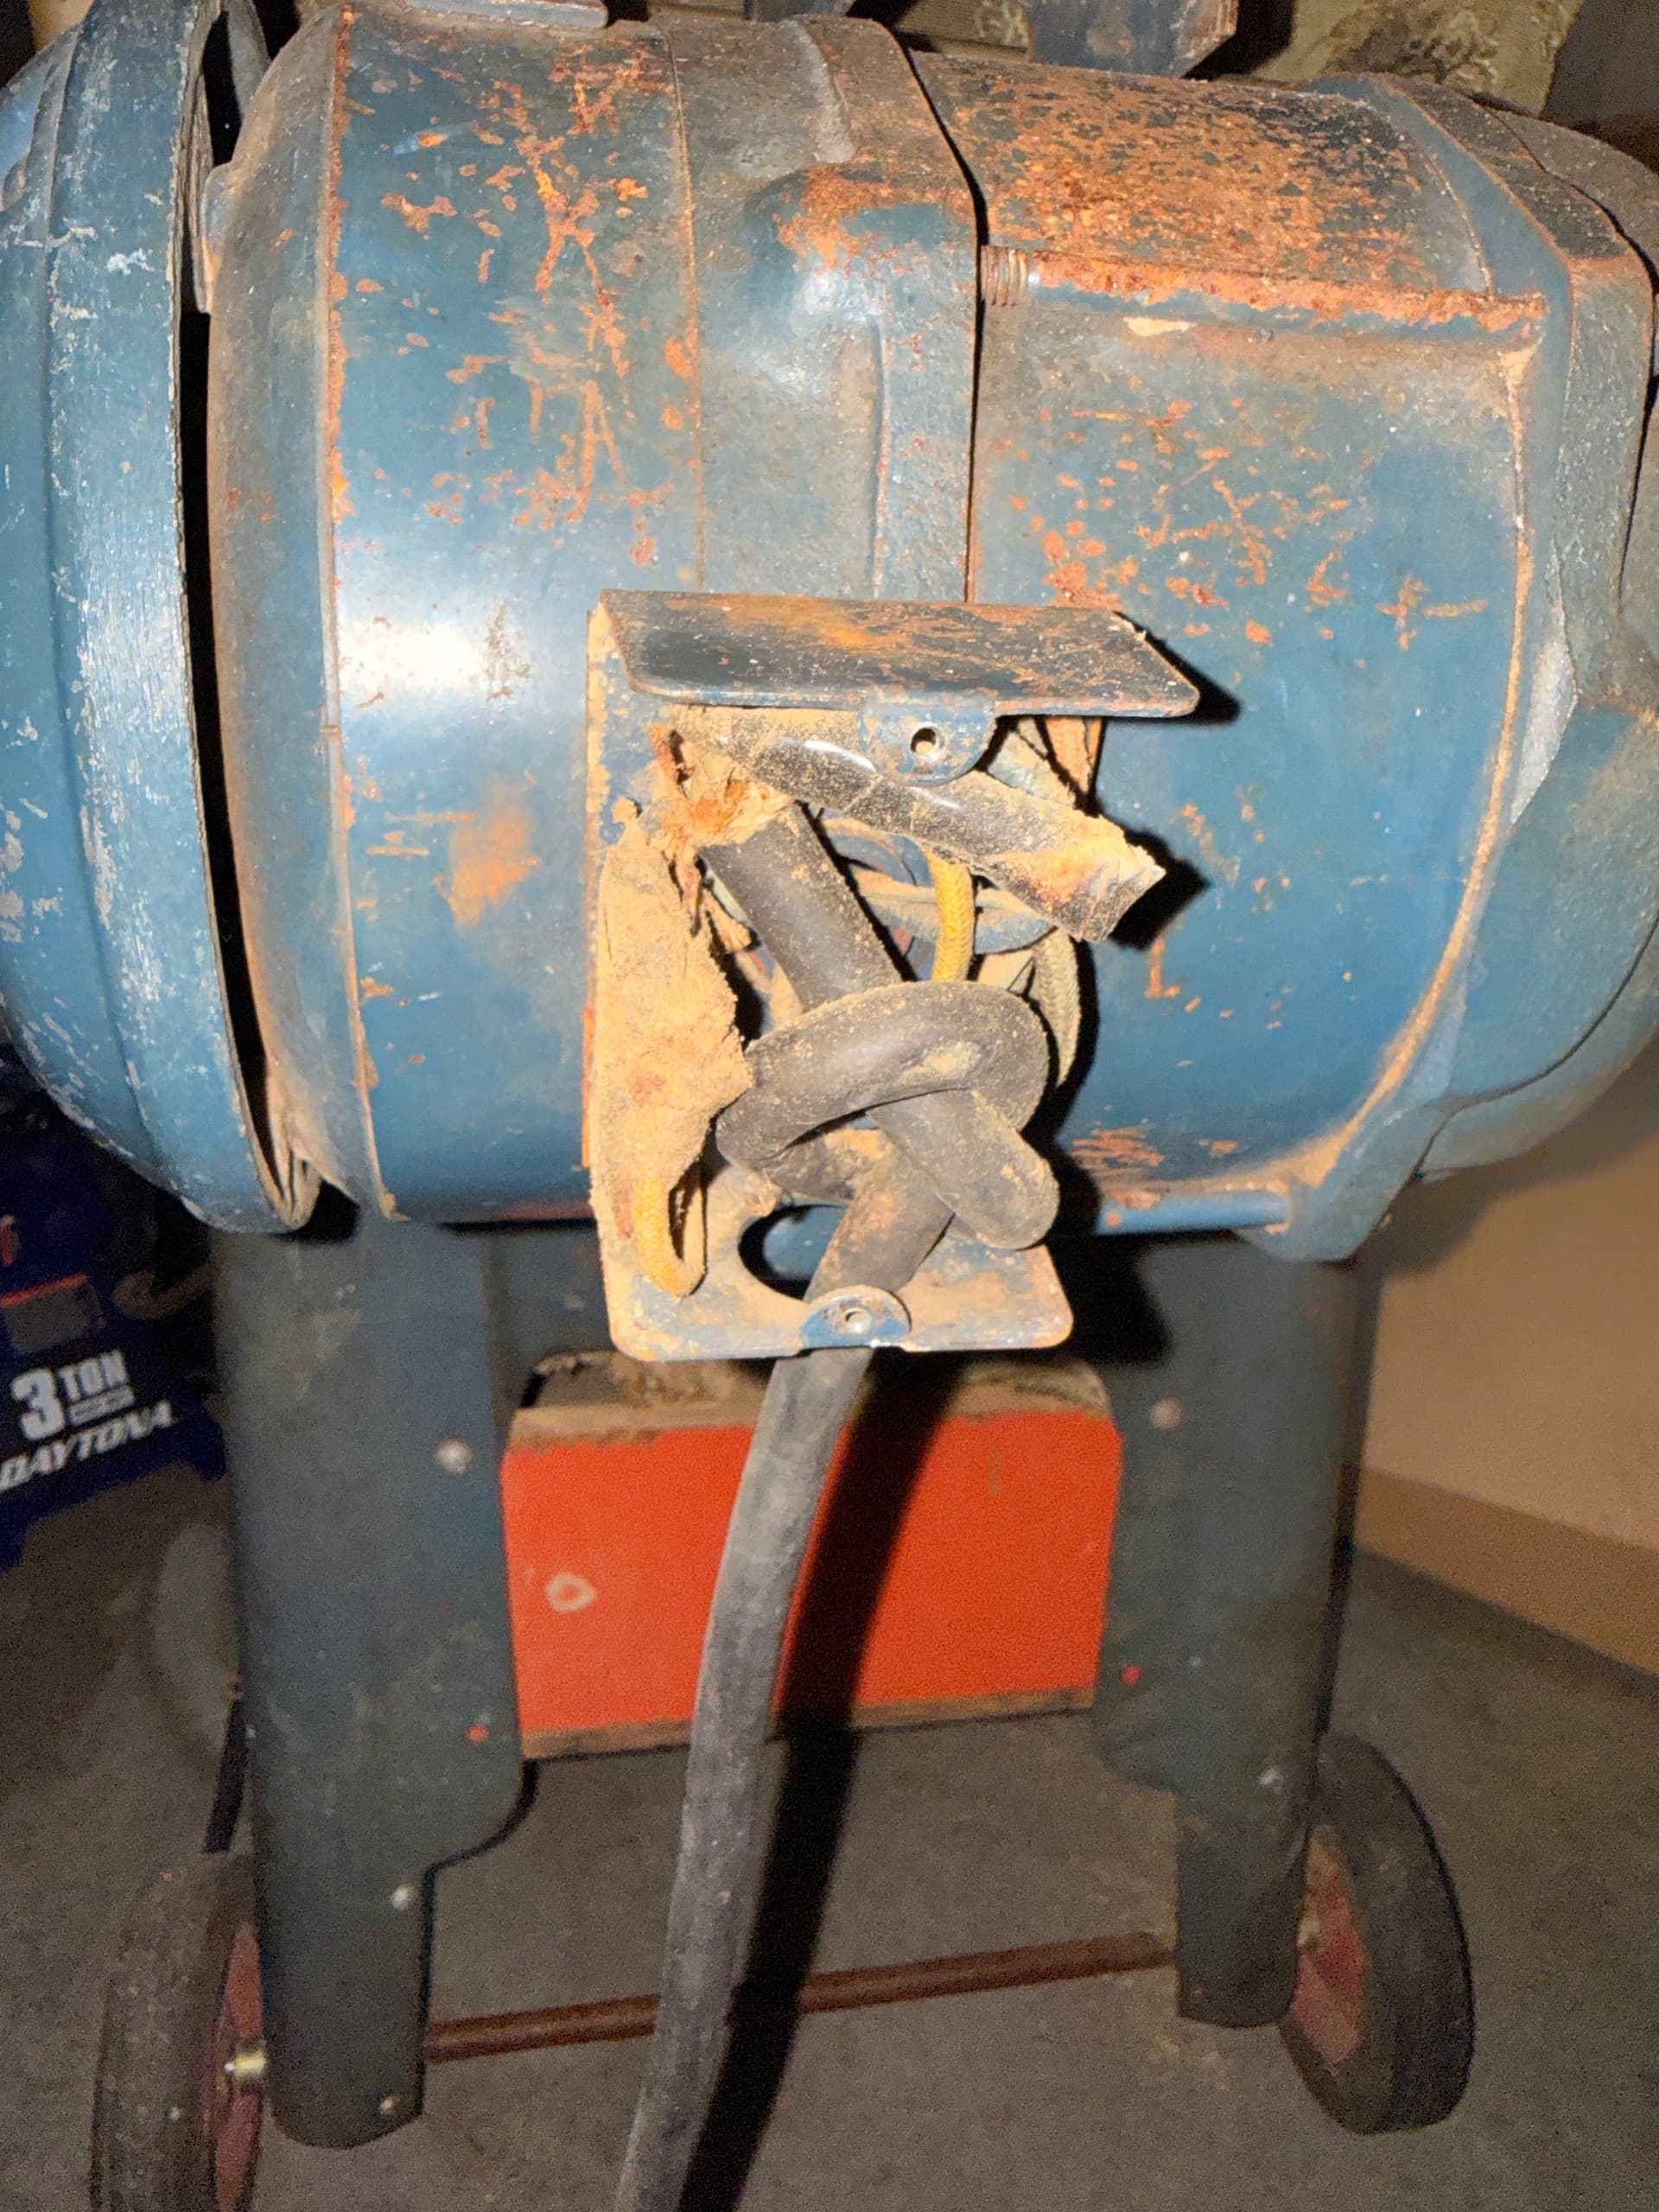
Pic from the listing, motor removed and showing the box:
With it having a contactor as well, we might be a bit out of my comfort level for internet debugging, but I would definitely look under the motor junction box cover that you see in that picture as well. But it seems likely both the motor and contactor would have needed modifications to switch between 220 and 110.
In a side note, in that picture I can see that the cord comes out of the motor junction box without any support. You might want to add a fitting to help hold the cord securely and to keep vibration from wearing a hole in it. You’re looking for a knockout cord clamp or cord grip I think, although I’m not sure of the size. Not this exactly, but something like this.


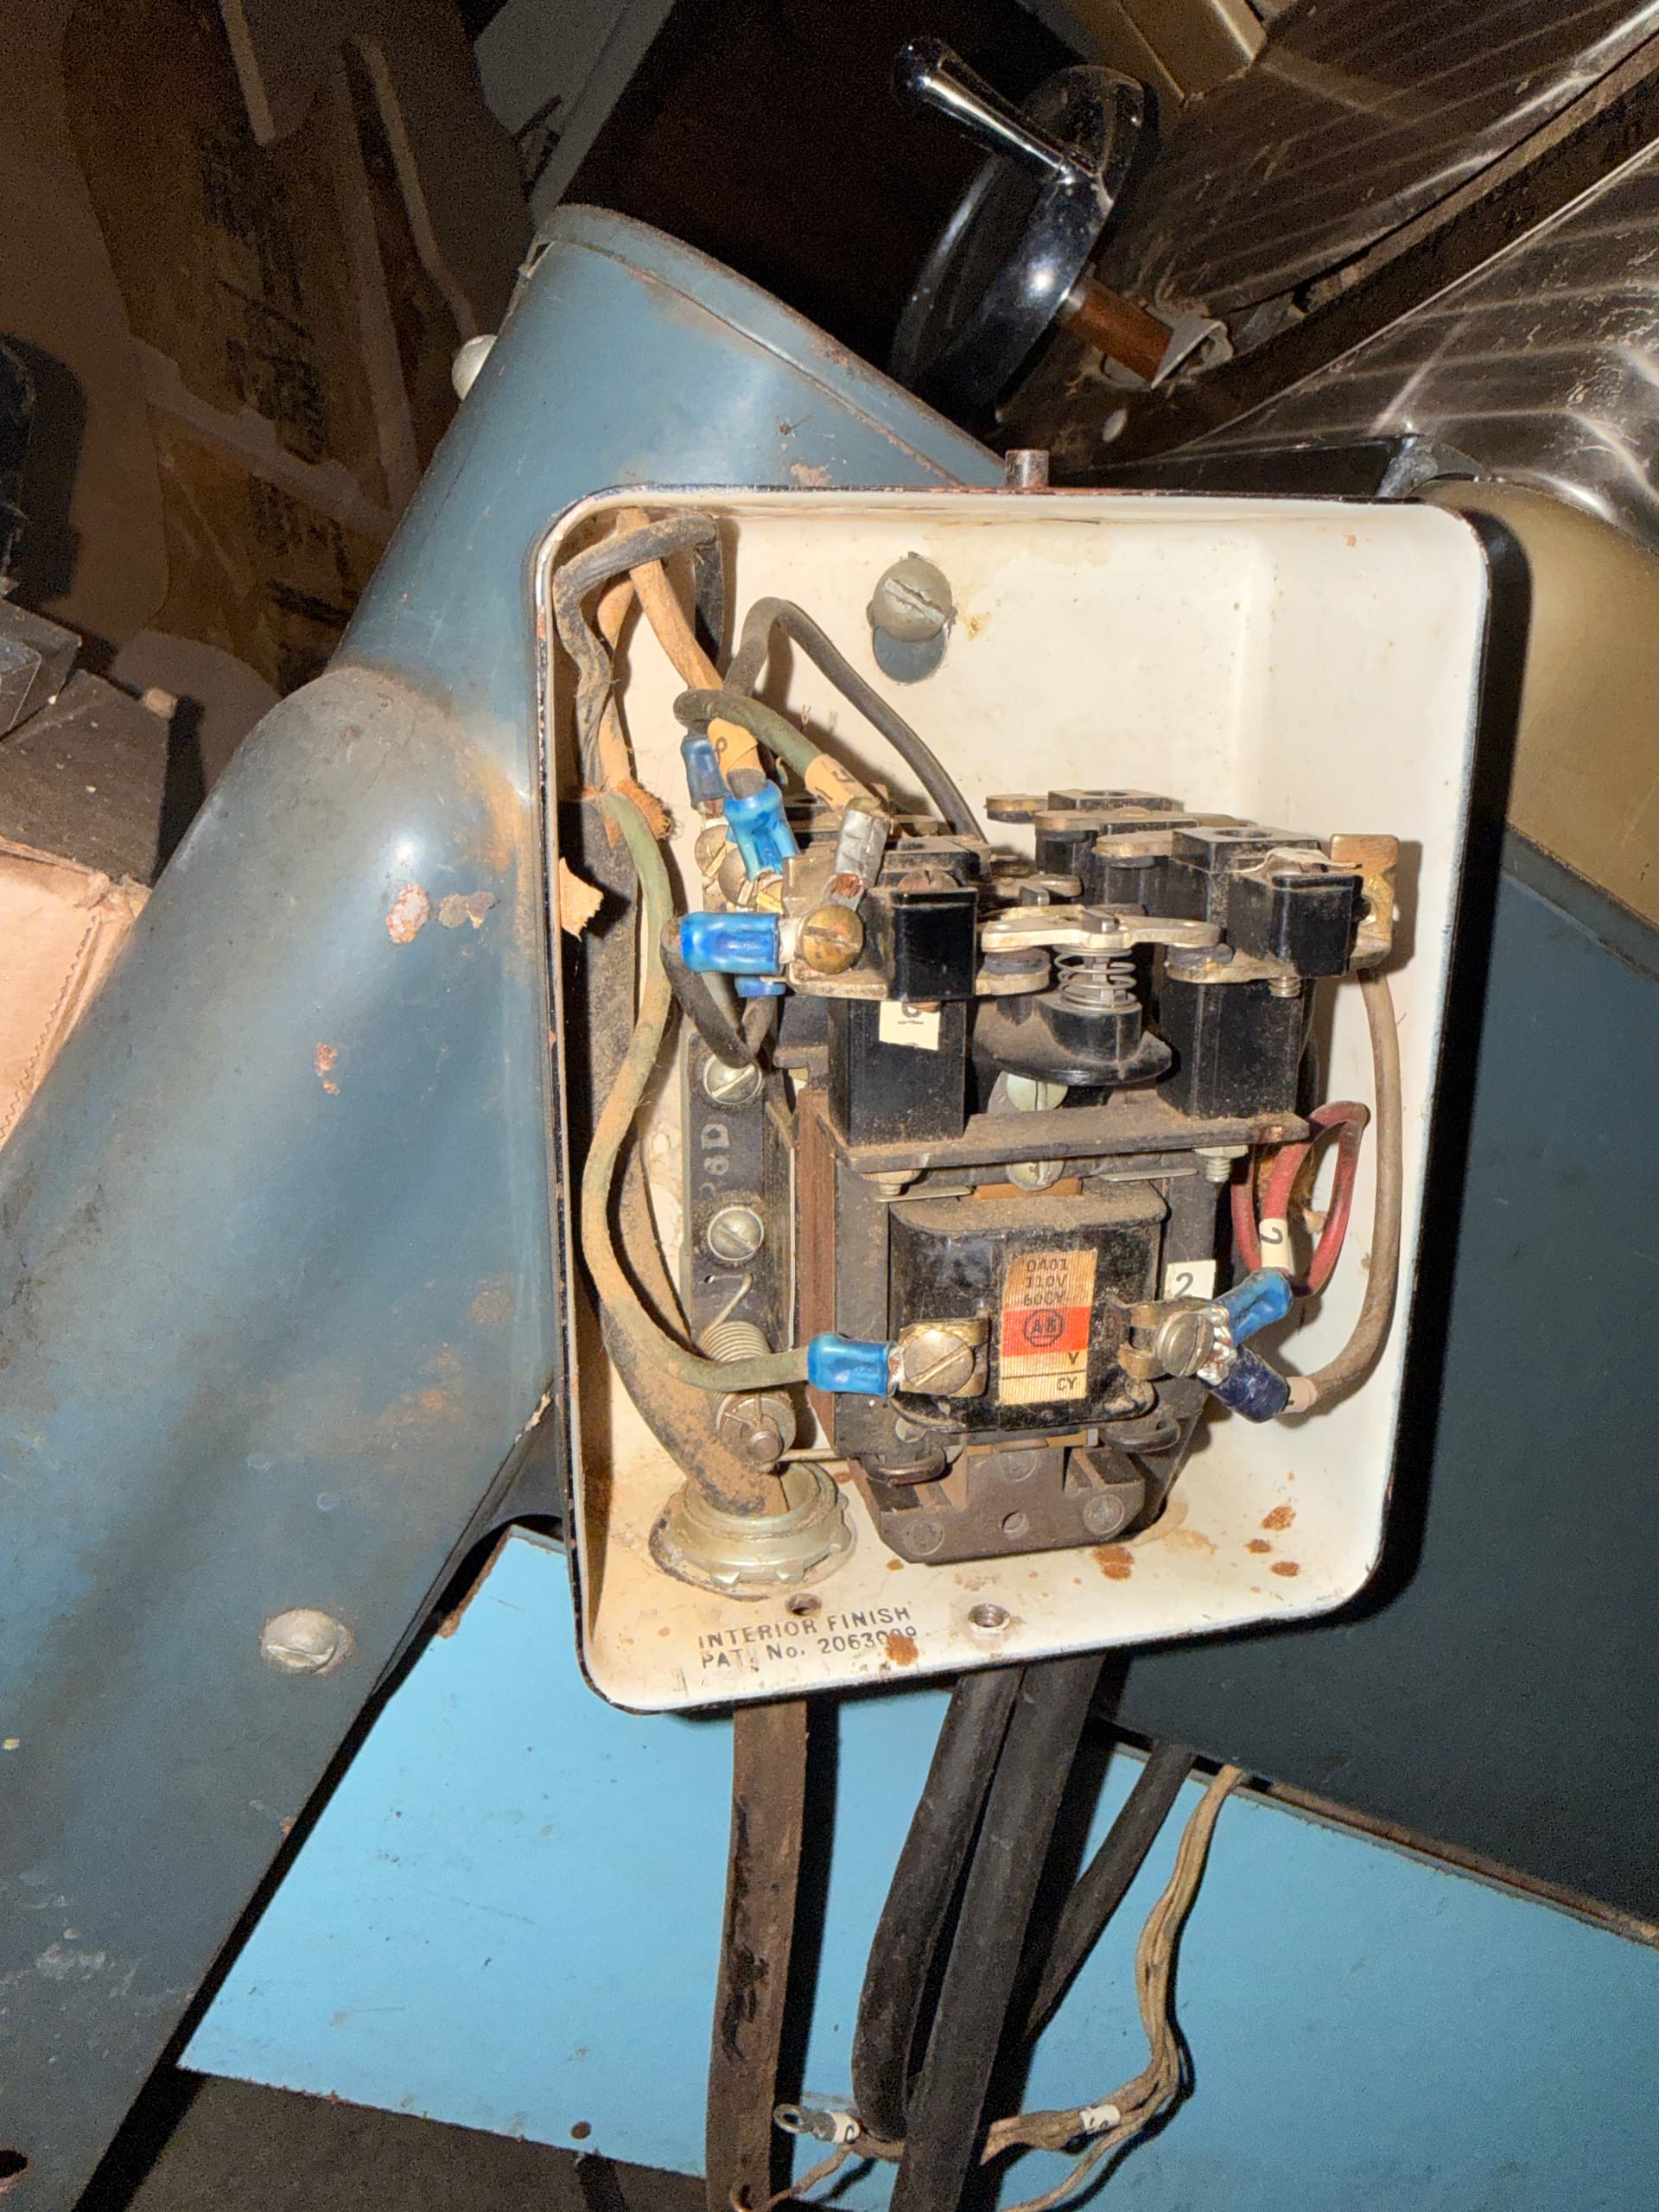
Alrighty I got the box off of the back of the motor, it had saw dust in it and was hard to open because of the dust, so I think it’s safe to assume it hasn’t been opened/changed recently?
Tried to separate the wires from the nest for a clearer picture:


I checked the inside of this box and the lid to the contactor, but neither have a wiring diagram ![]()
Okay, so it looks like there are four wires coming out of that motor and that they just are all routed to the contactor, with the voltage switching happening in the contactor. It is odd to me that there aren’t any simple wiring diagrams on any of the covers or on the motor. Without a diagram, I don’t want to tell you wrong on wiring it up. I’d recommend a local electrician at this point, or just someone more confident than me ![]() .
.
I really appreciate you!! You’ve given me a lot of great info I didn’t have before, now I’ll look into the contactor wiring and see if I can find a similar one to reference ![]() . An update on what I’ve done today:
. An update on what I’ve done today:
The contactor cover might have a wiring diagram, but it’s been thoroughly painted over, and the paper is super flimsy around the edges so I doubt solvents or scraping would be good ideas of getting the paint off ![]()
I might have had the belt tension too tight, it was hard to move by hand. So I figured maybe the motor was bound up and exceeding some limit, tripping the GFCI? But even with the belt completely removed, it still trips instantly. I can also move the spindle easily enough by hand, and it turns smoothly no grinding/abrasive sounds or feeling at all.
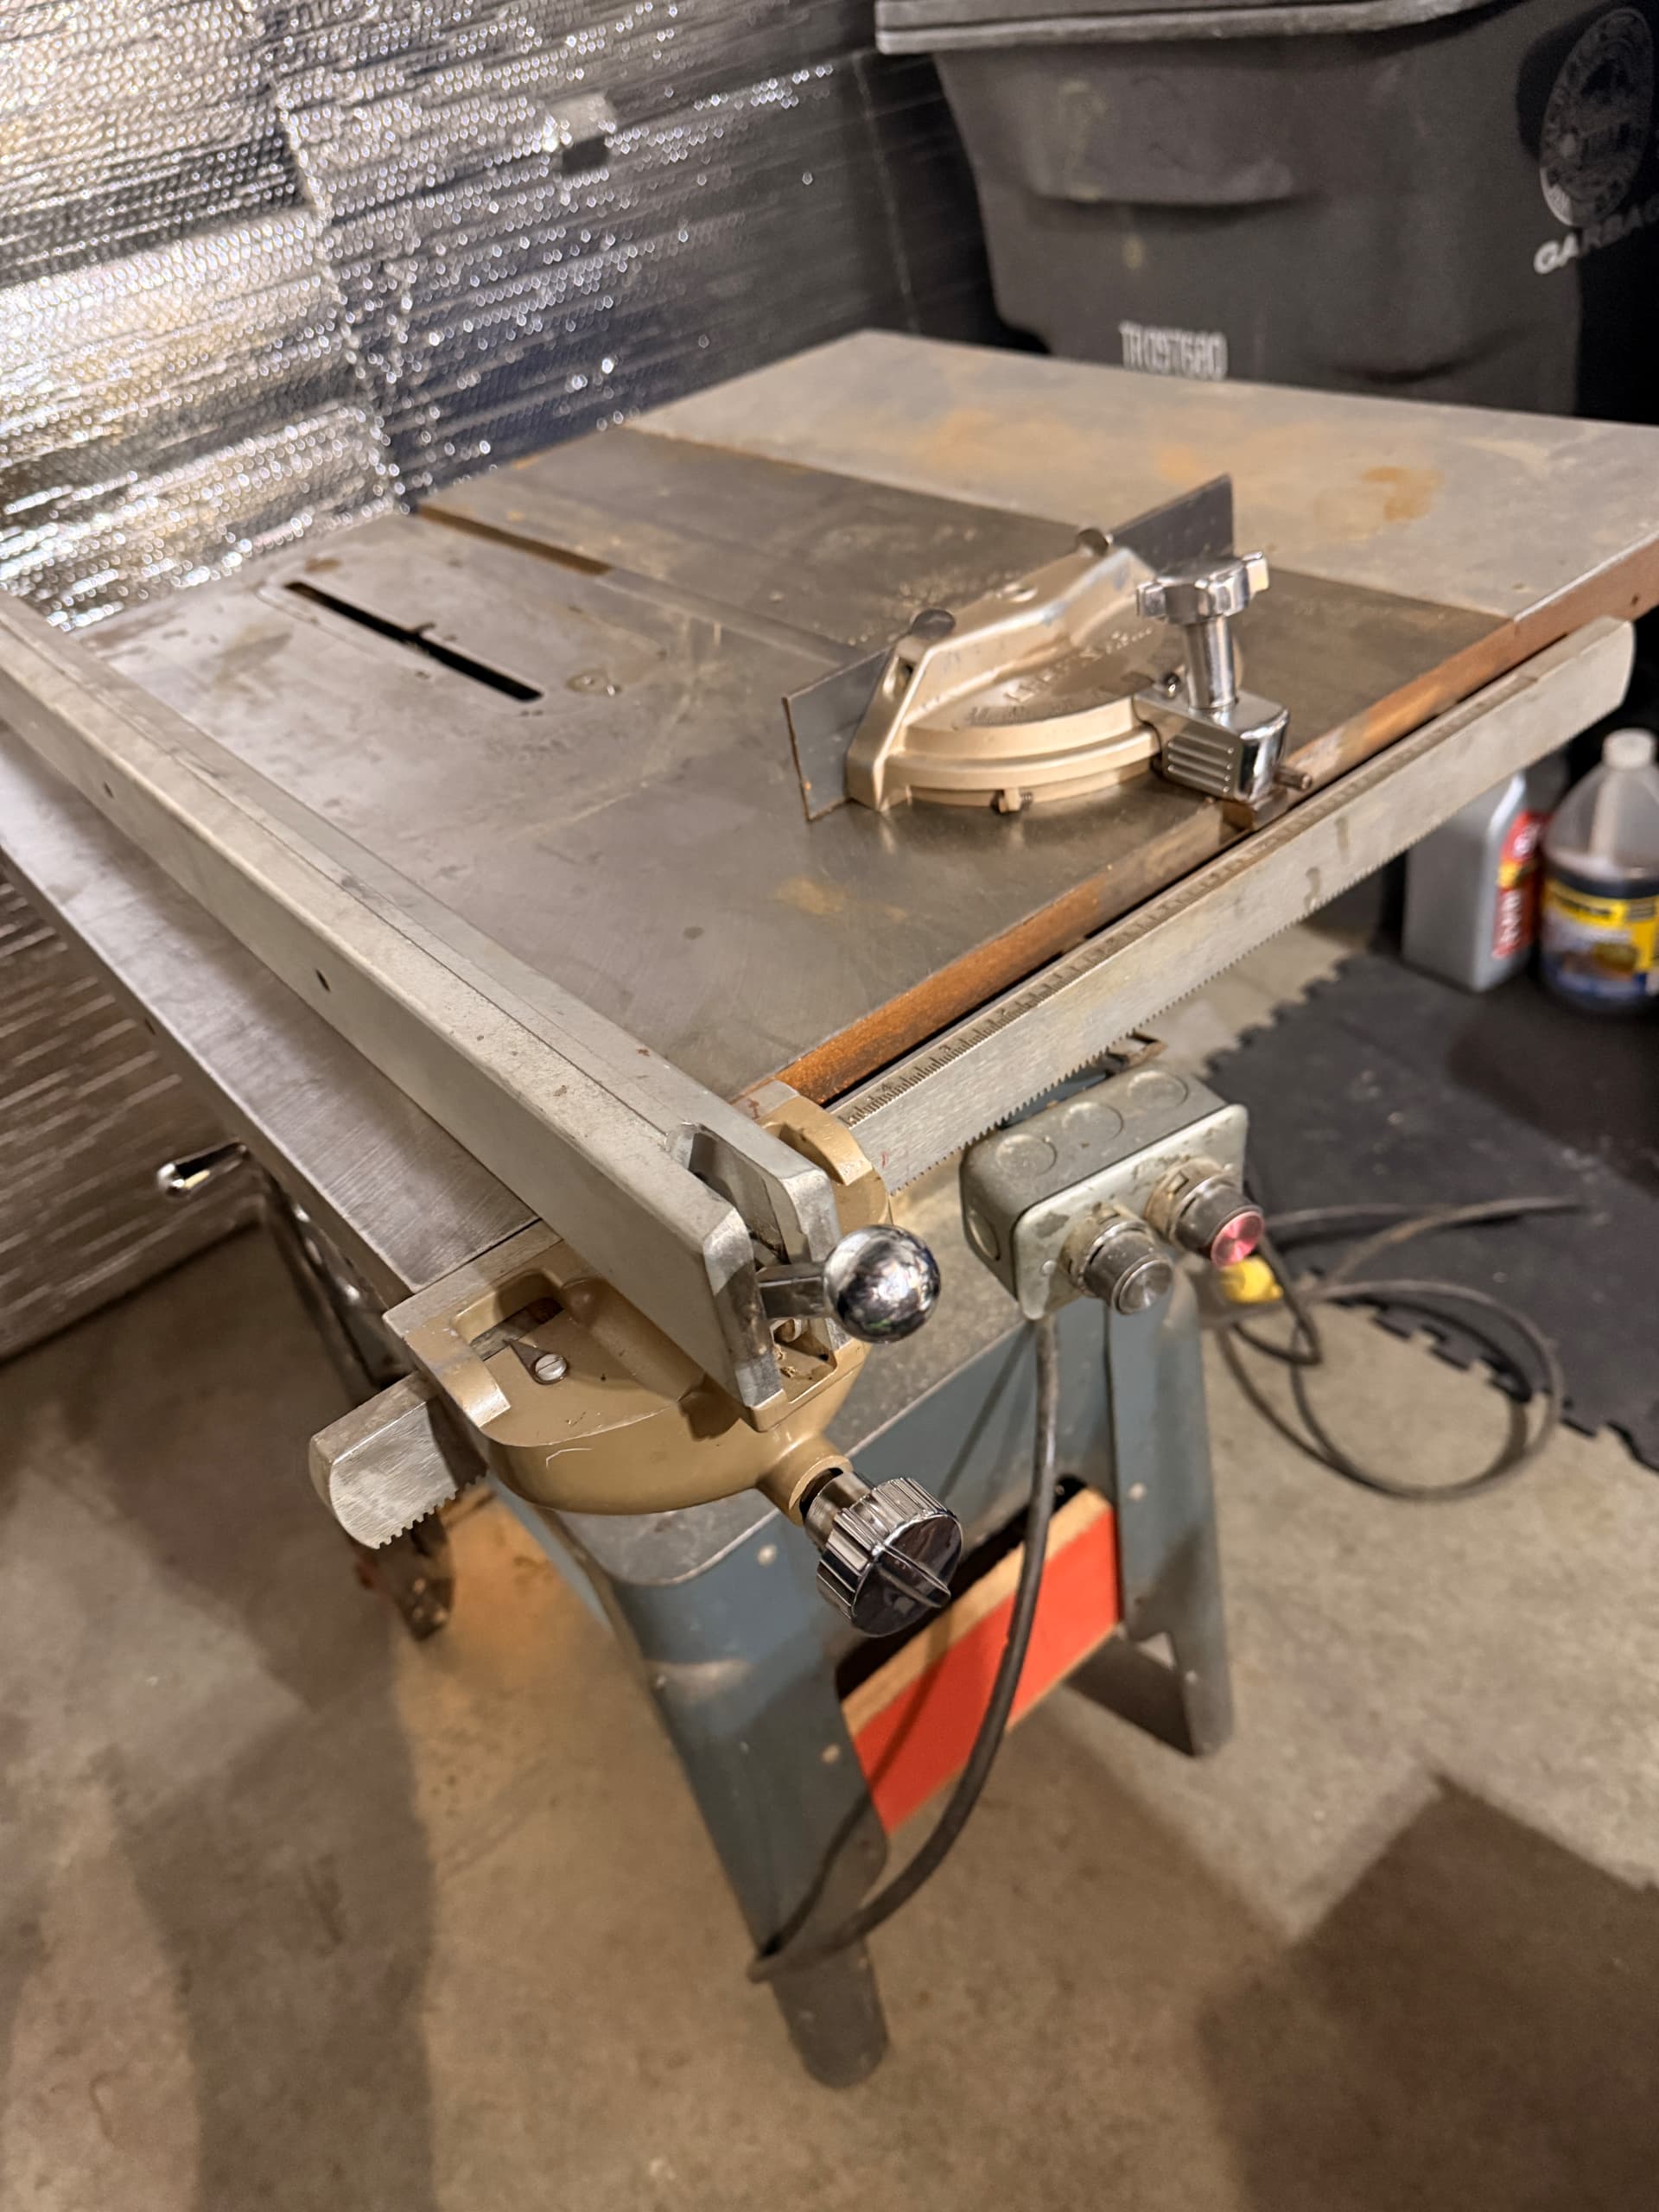
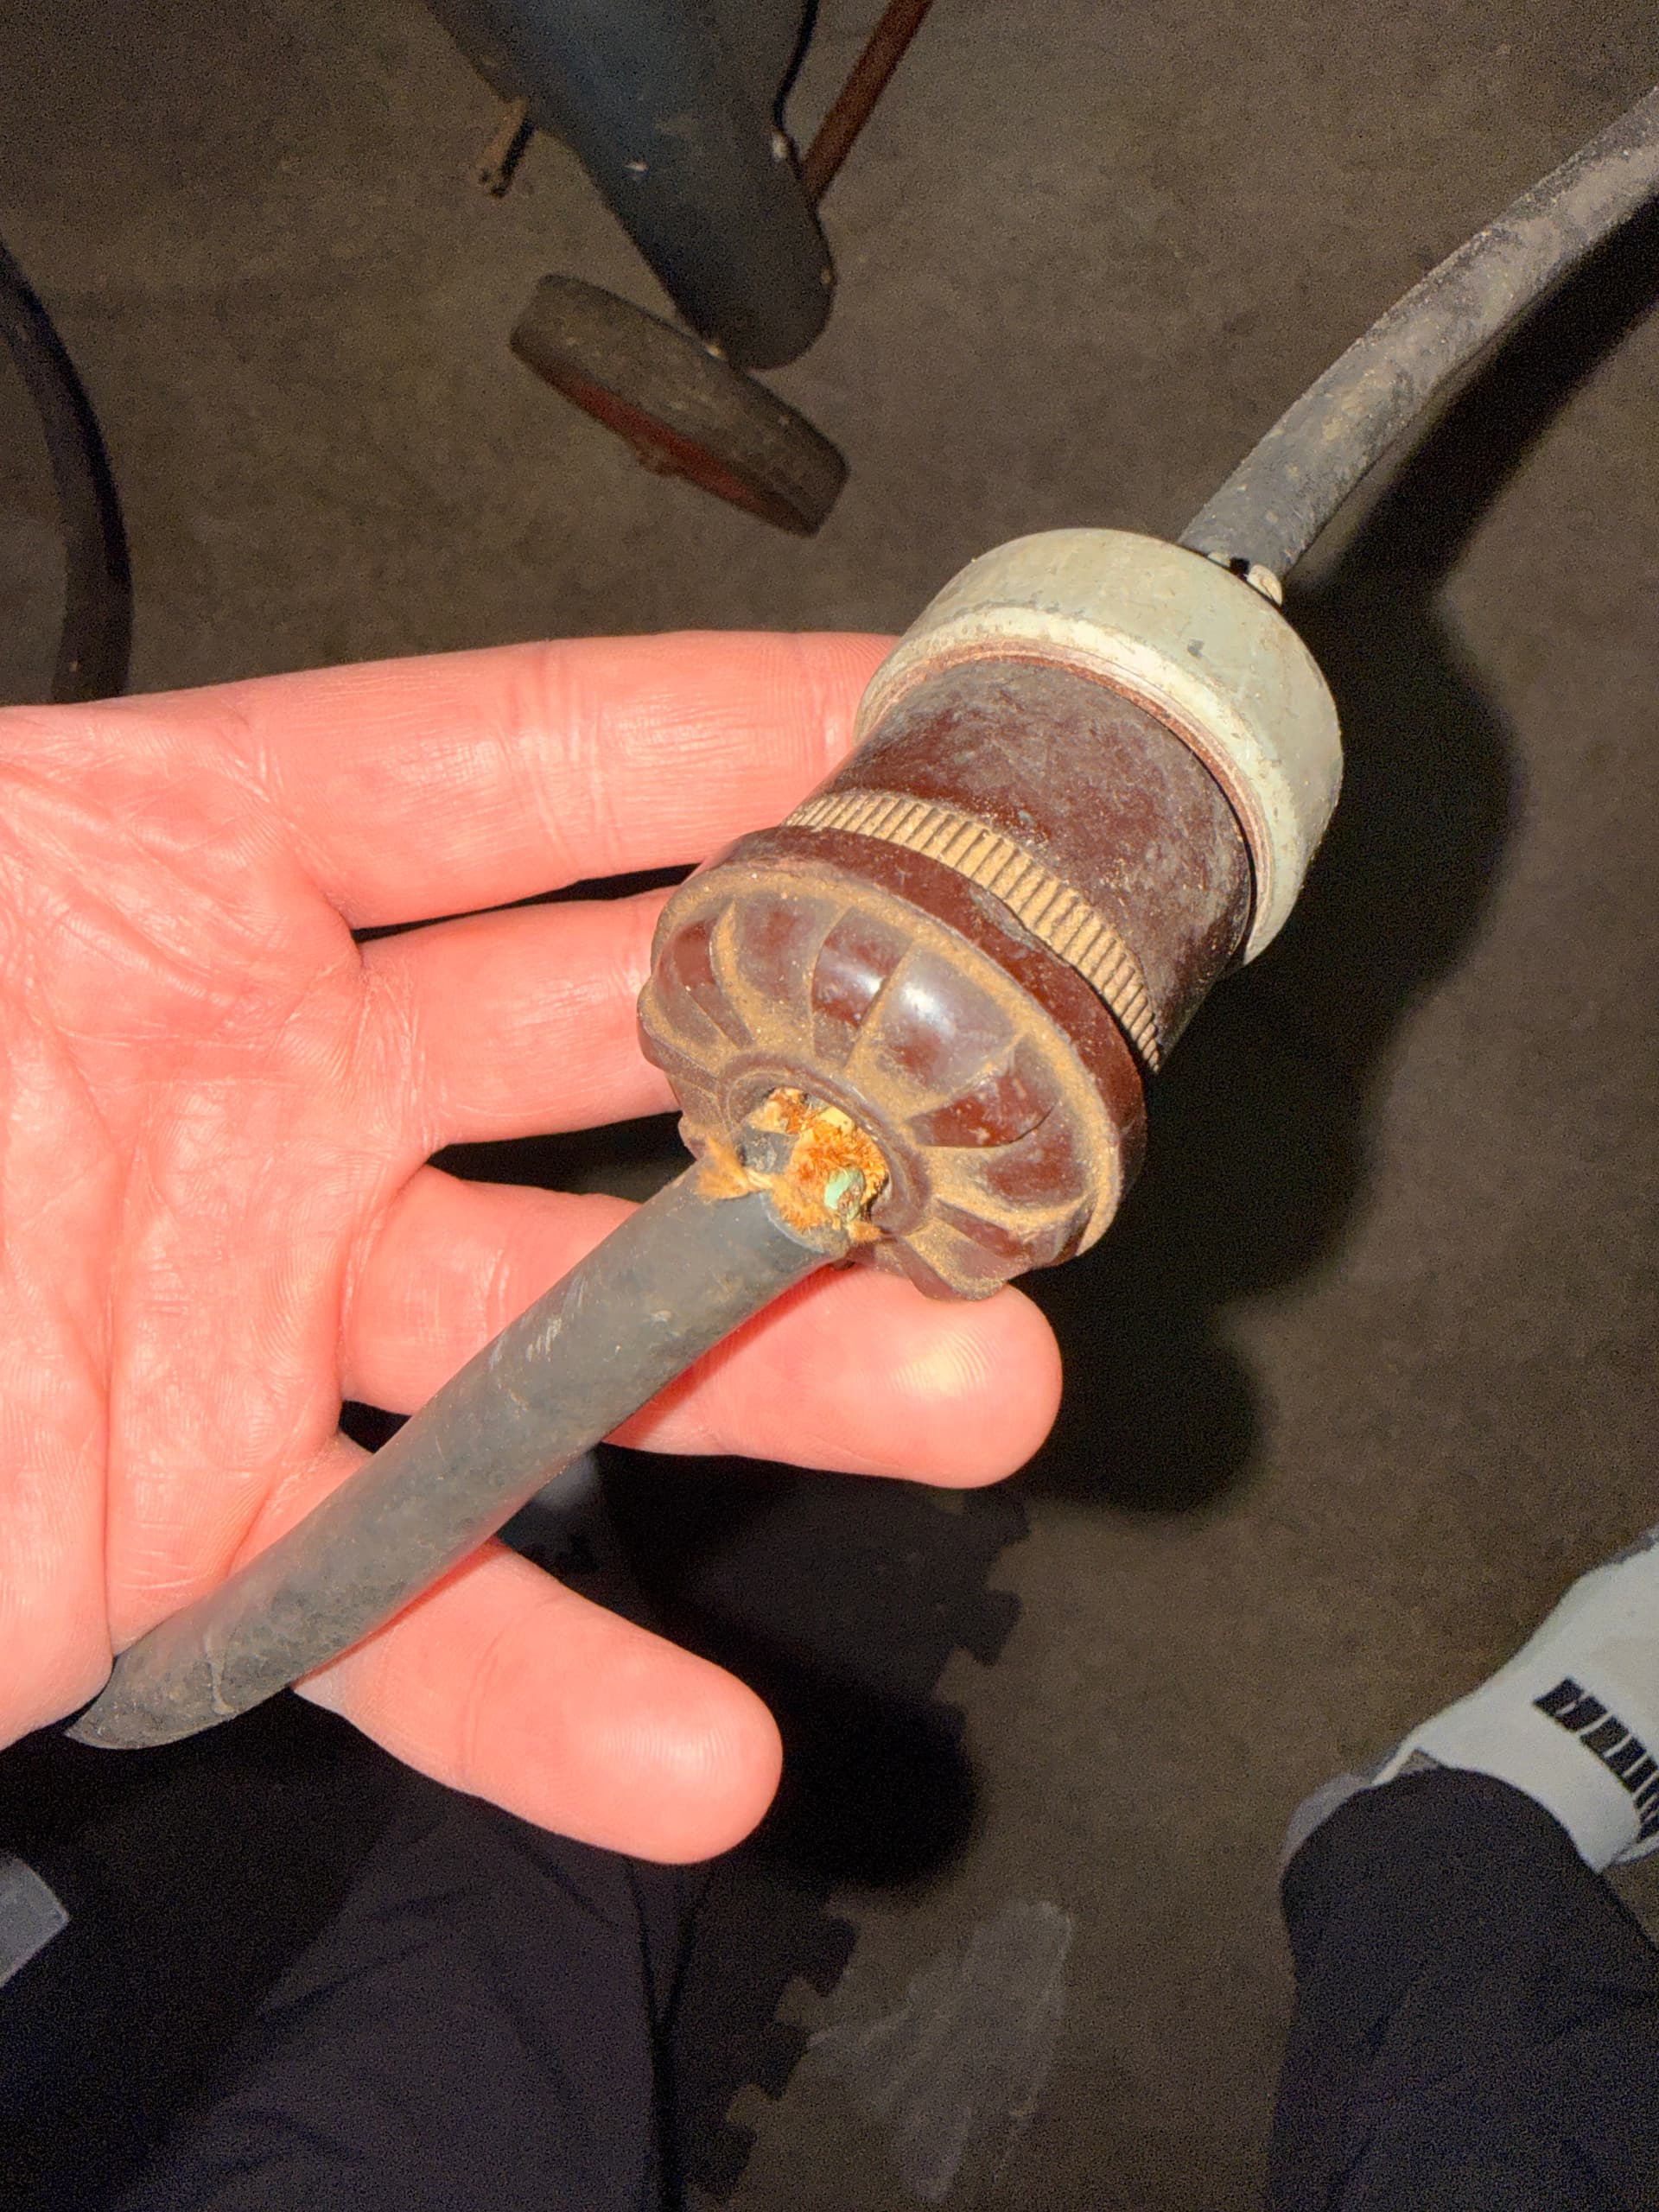
RE: your note about protecting the cord at the connector, that is great advice because this part of the wiring/plug is looking a little sketchy (pic below). Should I be testing stuff for continuity to find a fault (reminder idk how to do that but will gladly learn), or should I be trying to find a wiring diagram to match up with? Or something else? ![]()
I would be doing both of those steps, but I’m familiar with both.
Don’t try to run an old 3/4 H.P. brushed motor on a GFCI circuit. Or find a GFCI specifically designed for inductive motor loads.
If you want to be careful, check the motor windings for shorts to the frame/ground.
Thanks for the help! This makes sense to me, I just finished watching this excellent video: https://www.youtube.com/watch?v=aml0VGzNXEo he says the inrush to start the motor can be 6-8x the running amps (8 amps at 110v), which would be 48-64 amps, which is obviously wayyy above the 20 amp limit of the GFCI.
I’ll look into a GFCI rated for inductive motor loads, my initial searching isn’t getting me anything that specifically says it’s rated for that, but I will keep looking. Thanks again!
Yep, this was it! I temporarily swapped recepticals #1 and #2, so the GFCI is now the second outlet in the series, and the first outlet is non-GFCI. I plugged the saw into the non-GFCI outlet, and it fired right up! Runs like a top for how dirty it is ![]() Major thank you to both @dos and @haathi for all your help!
Major thank you to both @dos and @haathi for all your help!
I’m so stoked! I cleaned it out pretty good with the air vortex gun (must have compressor attachment) and shop vac.. it’s a saw so it’s just gonna get dirty again soon lol. The fence is perfectly parallel to the blade, used a laser to measure 4 locations on the blade and they were all identical… or at least they were once I used the lever lock on the fence lol. Even without it locked, it was within 1/16” across the blade. It is so quiet and smooth too, I want every tool to be belt powered now haha.
The miter slots measure exactly 19.0 mm throughout, so I’m gonna be making all kinds of sleds lol.
I wanted to do a quick test cut to really feel like I finished this journey, and the blade it came with was so dull it couldn’t cut some soft plywood lol. I smelled the burning wood half way thru the cut and killed it. Ah well, another excuse to go to harbor freight, I hear the Herc saw blades are v nice. Also when I went today there was an 8” Herc bench grinder in the return pile.. with coupons etc. it would be like $85 pre tax ($200 regular), and I’ve been thinking about it all day… ![]()
I really would ask an electrician to bring it up to code…
Yeah so turns out the blade is actually fine, I put a new one on it and it also bogged down. I tried everything I could think of and spent a long time YouTubing for a solution. I finally found out it’s just because a 3/4 HP is like half of the recommended HP, some guy did a thorough rebuild of one and experienced the same bogging down I did. His was at least 1 HP and still bogged down.. he replaced it with a 2 HP and it cut through a 4x4 easily!
I’m not sure what the previous owner was cutting with a low power motor, but it’s a bummer. Time to find a bigger motor for cheap/free and figure out a use for this one lol
Well, it was wired 220v before, maybe had more power then.
Great point! I happen to have an unused 220v circuit (I swapped out an electric drier for a gas one, saved a fortune in utilities lol) so it looks like I’m back to learning how to re-wire the contactor! Which will be much better now that I know it’s wired properly for 110v, so I have that starting point when finding a wiring diagram. Sounds like a much better time than throwing money at a new motor that’s gonna need 220v anyways ![]()

Alrighty some more progress made:
- I had the tension adjustment screw too tight, the motor needs to move closer to and further away from the saw as you adjust the blade up and down. The weight of the motor keeps the tension
- With tension adjustment free, I was able to cross cut my little 1” x 3/4” thick plywood piece! But then it bogged down trying to cross cut a 2x4
- For some reason I decided to leave it running for an extra minute to just observe it. It turns out it takes a long time to hit max speed! It’s like it starts, then 20-30 s later it’s speeds up, but then another maybe 45 s later it really speeds up
- After I let it speed all the way up, I was able to cross cut a pretty stout 2x4 that was from a tree center, but only barely. I’d use my miter saw for this normally but wanted to test something stout.
So I think it’s mostly working as intended, provided the user tensions the belt properly and allows the motor to reach top speed. Will continue researching about the long start up time and see if some cleaning and lubrication could make it run better!
This sounds really wrong. The motor is on or off, it should also have a motor brake. Do you at least have a riving knife?
Got some help from Reddit! The motor and arbor pulleys were misaligned, I thought I had them but I must not have tightened the bolts down enough. I slid the motor like an inch to the left, and they match up with a straight edge now :). I also realized that my test cut piece was not only from the middle of the tree, but it also had a knot in it! Moved it to a knot free spot and was able to cut thru the 2x4 well enough! I’ve got a 60 tooth blade on it now because it’s all I had on hand, but it’s brand new and thin kerf at least! So it bogging down on the knotted 2x4 is totally fair with the wrong blade on it ![]() .
.
Now that I know it works, I’ll invest in some 21st century safety equipment and dust collection (and a different blade)@Tokoloshe appreciate you always looking out <3
Yeah, sorry about that, but with table saws you can’t be careful enough. I think I posted the Handreichung of our German woodworkers union before on how to operate those machines safely. ![]()