Ok good, it’s not just me then! I think I just wanna be done with the painting lmao
Yeah. You just need a few big projects where the paint doesn’t cure, or ends up with sticky blobs and you will change course. 
FWIW, I have never painted anything to this level of quality that is that big. You’re doing great.
Thanks man! Means alot coming from you! I was really scared after I started shooting it, I checked the weather channel and it said humidity was 95%. So I might get there tonight and find out it didn’t cure haha
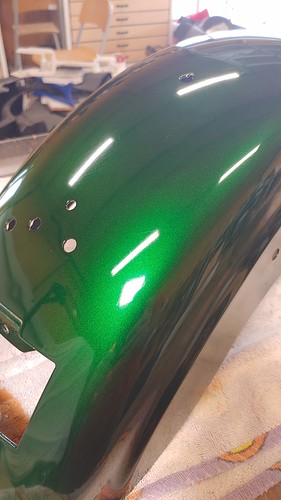
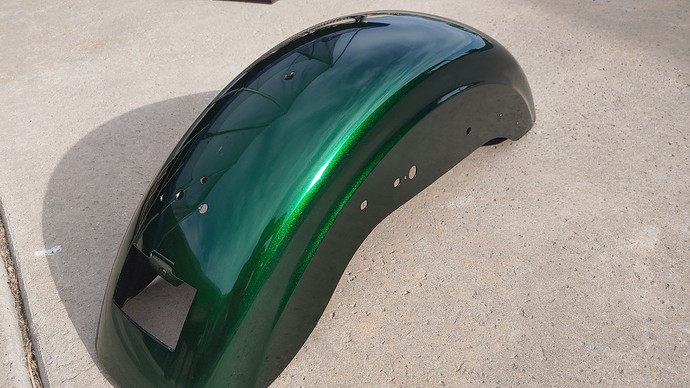
Or finish a motorcycle fender with a candy paint job and 12 coats of paint… 2 hours of cutting and buffing only to have the buffer slip off the edge of the fender and chip the paint.
Can’t patch candy, so it’s a do over…
It is pretty, though.
That IS gorgeous! Sucks to hear that happened tho. Sounds JUST like my luck with things too. But actually, to think of it, your story brings a question to mind…
Why didn’t you just come paint my cabinet for me? 


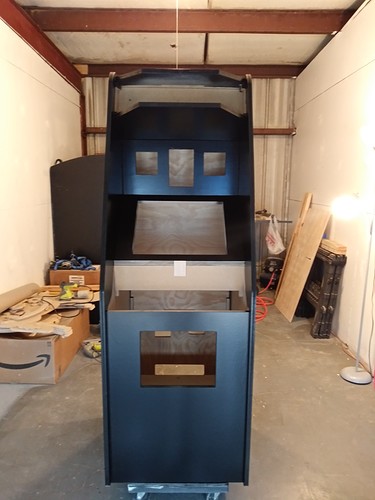
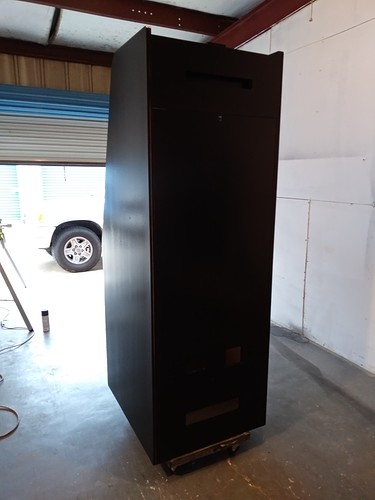
So. As the story of the Dragon’s Lair Arcade Cabinet progresses, I’m happy to say, I’m done painting! No pictures today tho because, I mean it looks exactly the same, just another coat put on it. Some touchup, hit some thinner spots and went back to double check anything I might have missed. Painting. Done.
I will however probably grab some 1500-3000 grit and wet sand next weekend, giving it a week to dry fully before I touch it again. I have enough paint left over for touchups after I look it over once she’s 100% dry.
Which brings me to my next question for you pros. I can wet sand oil based paint on wood right? Just to kinda smooth things out, in case I spot any orange peel, etc. I’m not interested in clear coating, or polishing so to speak, but I think a wet sand if it can be done, would make it super smooth. Can’t wait to hear back from you all about that. And your ideas and suggestions. I know it was mentioned 600 grit during the painting stages, but I’m asking about this wet sanding because I have zero intentions of putting another full coat on this cab.
So, I also got all of my carriage bolt heads primed and painted black. After next weekend’s final sanding and touchup, we’re putting this bad boy together! Y’all excited? I know I am!
Gonna stop by the depot tomorrow after work and grab some 2" swivel casters because I like to be able to roll my cabinets around vs those annoying leg levelers which make it impossible to move on carpet.
Life is good, thanks for following along on my weekend painting project. 

Too expensive to bring all my gear 
Well. I think she’s coming home this weekend! I’m gonna let the paint cure for 7 days before I touch it as stated earlier. I might still go back and hit it with 320 then wet sand with 2000, but not sure. It’s a really smooth finish as is. So I might skip that part. I mean it’s an arcade cabinet. Most of all you’ll see is the front anyway. And I doubt anyone is gonna walk in and say “Oooh! Orange Peel!” lol
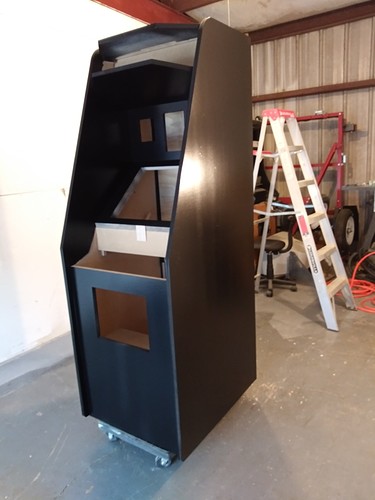
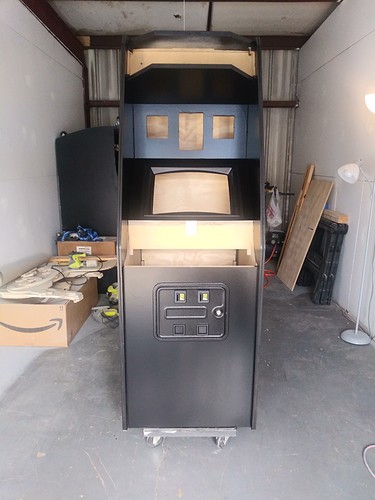
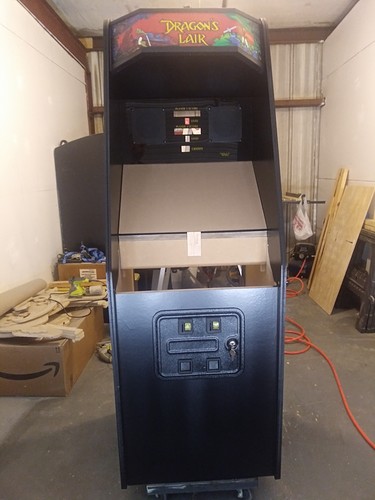
So here it is. Fully painted and unmasked… Are ya ready? Are ya?
There are some runs on the speaker panel I didn’t catch in time. But a plexi goes there so I’m not too worried about it. This is actually why I was thinking about wet sanding it all smooth. But then, no one will ever see that once that plexi is on there. You’ll see what I mean soon, because that’s actually the first thing I’m going to install.
The light seems to make it look like a streak on the side, but it’s not really there. Or at least I didn’t see it until looking at these photos anyway.
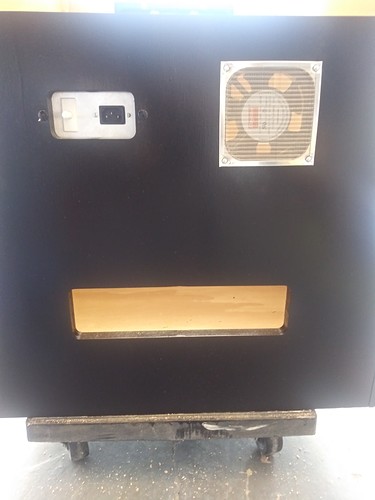
And the badonkadonk. I mean the back.
Overall, I’m very impressed with my HVLP spray job. for the first time, I think it coulda been way worse, but it turned out great and took me a fraction of the time. So win win for me, since I HATE painting. With a passion.
Anyway, I’ll go back up there friday morning and put the swivel casters on it and throw some moving blankets down in my Z71 and bring her home to assemble.
I still look back and think 'this is the reason I built a CNC machine. For the purpose of building a replacement Dragon’s Lair & Space Ace cabinet. I can actually remember when it was just a thought. And here we are, a reality now, and I’m about to have my most prized possession back in working order 
Again, thanks Ryan for your innovative thinking, and the rest of the gang for being so cool and supportive.
Parts came! happy dance Parts came! happy dance
I’m going right to my shop tomorrow morning after my shift, and putting this thing together 
More to come soon. REALLY SOON.
So. I’m happy to say, the build is complete. Well, almost. My side art will come tomorrow then I can put the monitor in. BUT the cabinet is 99.97% done.  I didn’t reach my goal of having it home today, because it was hot, and I think I over did it to be honest. I worked 10 hours last night at my regular job, then went right over and began putting the parts on the cabinet. I just got wore out I suppose. All good, it’s supposed to rain tonight, but mostly clear Saturday and Sunday, so I’m good. It’ll still be here at my house this weekend.
Let’s check out some pictures!
First thing I did when I got to my shop, was installed the coindoor. Gotta make them quarters yo. I still have to get the red coin reject buttons. I sure forgot those.
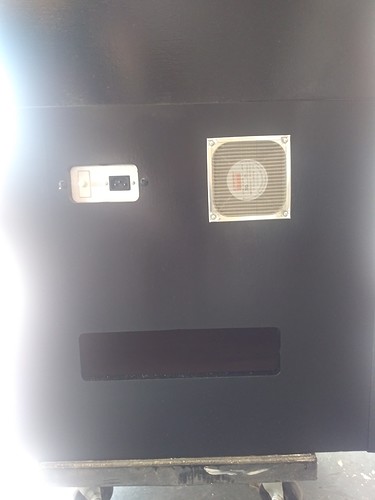
Then onto the power plug, switch and fan.
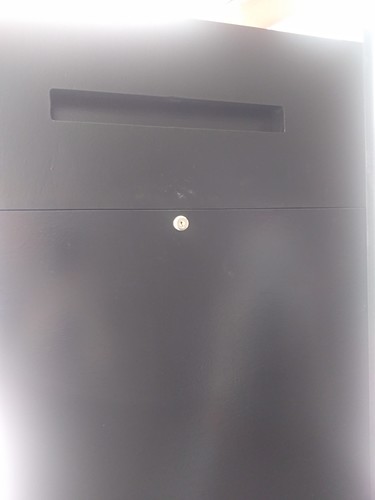
I’m super excited at this point. LOL It’s got a lock.
And another view of the power switch, plug and fan. I think I’m just proud of how everything fits to perfectly. Had to show it twice… LOL
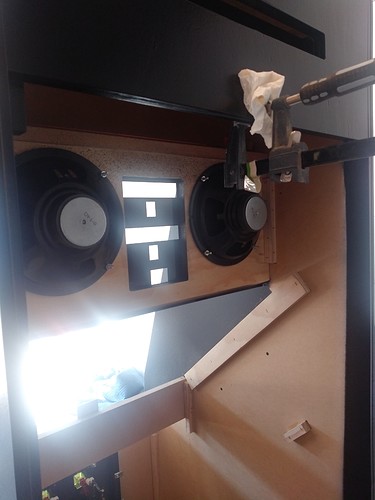
Then onto the marquee, marquee light, monitor plexi, score board plexi, speaker grills and speakers.
8" thunder! JK, they’re like… 25w haha I had to glue a piece onto the inside there where the clamp is. Forgot about that when I was building it. That’s a 1/4" piece of wood that the lock latch catches on, since it’s longer than the wood is thick. I don’t know why they did that, but that’s how it was on my original too.
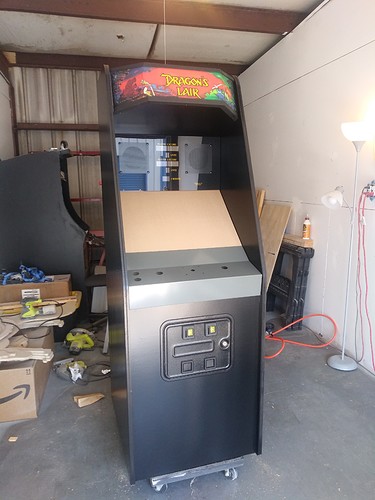
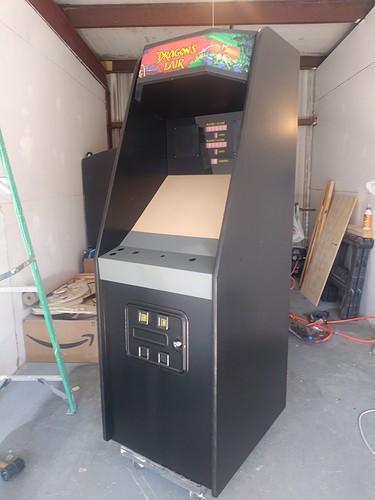
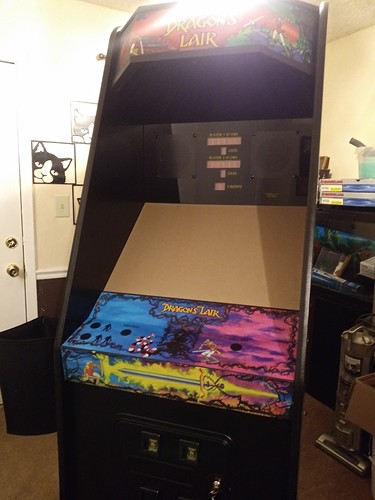
The MONEY SHOT! WHAT??? Control panel installed, at this point I’m hitting my stride! Yep. We’re almost on to the electronics.
T-Molding installed. Leather textured. I actually love that part of an arcade build. It’s such an easy task, and it makes your work look professional and clean.
Now… The next photos, are going to say it all.
Look at that beauty.
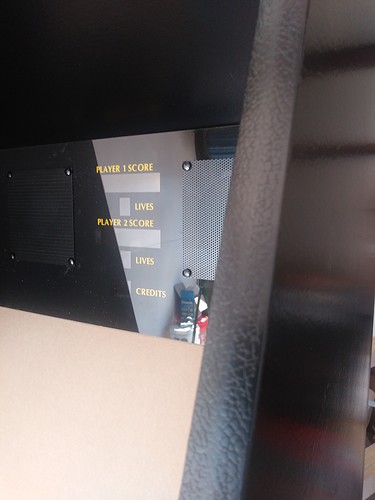
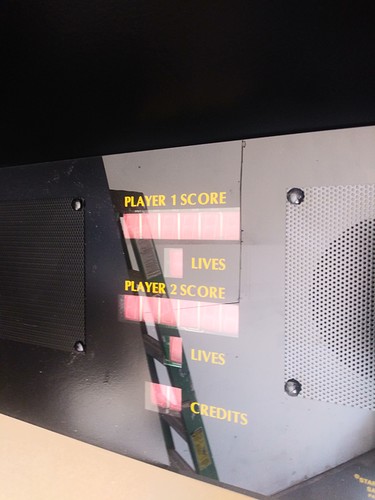
And the scoreboard, installed. Only thing left now, is put the side art on tomorrow when it gets here, the control panel overlay, and then start on the electronics in it and wire it all up.
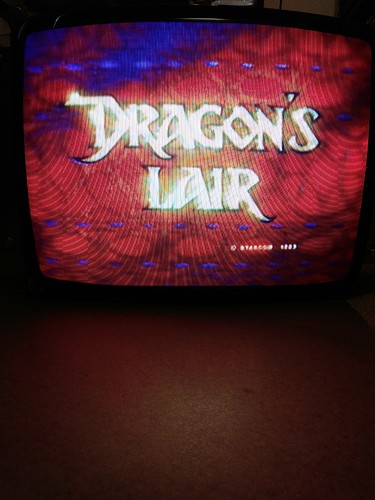
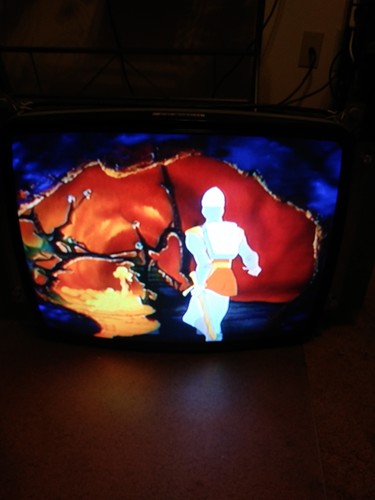
Just a lil eye candy for ya… Not a bad picture for a 40 year old monitor… Zero burn in at all. That’s what fresh caps will do for them tho. Make them vibrant and pretty again.
PS - The hardware works too  I’m ready to play this thing already!!!
And just because I’m happy… She’s home. 
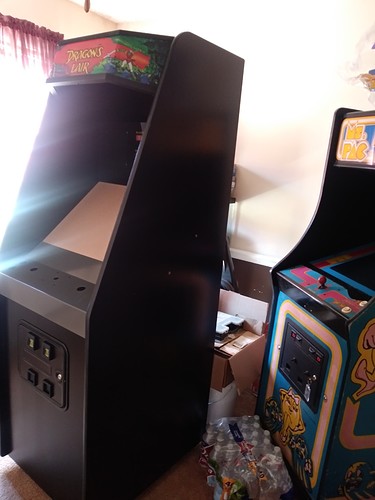
Now I’m waiting on the side art to arrive today via UPS. I will explain why that is the next step. On a Dragon’s Lair, the monitor bolts to both sides of the cabinet. Through holes. As you can see those 2 holes in the side. Dragon’s Lair, unlike alot of arcade machines, the bolts go through the art work too. So instead of jumping in and putting the monitor in, I’m waiting til the art arrives so I don’t have to take it back out. Those things are heavy. Remember your old CRT TV’s? Yep, exactly like that. So now we wait. On UPS. Go figure.
PS, Again - I looked at this photo for 5 minutes trying to figure out what that weird thing on the wall above my Ms Pacman… Looks like a stain? Maybe a spirit? Nah, My wife had put a gigantic Sam’s Club pack of Toilet Paper up there. I didn’t notice until I went back down there to see what the hell that was lmao
UPS didn’t show up with my side art. 
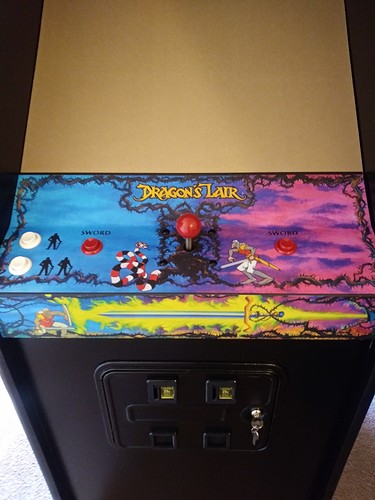
But I’ve still got plenty to do  Control Panel Overlay, done!
Gotta put the joystick and buttons in. But, after breakfast.
whistles
Hope all my photos aren’t getting on y’alls nerves 


Control Panel populated 
Fun fact. I had to rob 4 leaf switch button holders from other games that are not working at the moment. Leaf switches are the only way to play these classics, and it’s true to the 80’s era as far as feel. Micro switches, are for MAME cabinets, because they click and feel ‘cheap’.
Also, that is a genuine NOS Wico Joystick, exactly the same model used in Dragon’s Lair cabinets. I managed to save the 2 I had from my originals, and I’m really glad I did. For you arcade enthusiasts… You know the value of a true Wico. The cheapest I saw on Ebay the last time I looked, was over $300.
NO!!! Keep them coming. That machine looks fantastic.
Thanks!
Do you do the graphics yourself? And where do get them printed? Are they gigantic sticker?
They are reproduction pieces of the originals, done by scans back in the day to preserve them. The only officially licensed place that did the Dragon’s Lair art just sold their last pieces. BUT, you can still find people online to print them. They’re sticky, uv resistant laminated lexan or something like that. Super thick stuff. I got mine from quarterarcade.com but there are a ton of arcade art printing places, like escapepodonline.com. phoenixarcade.com etc. Art is pretty readily available. But definitely not cheap!
