OK, @vicious1 I just got my first use of the new dust shoe on LR4 (the machine was the RC3, but the shoe was the new one with only that slight tweak I made). The shoe works fabulously. The bristles function wonderfully. I think I could count on one hand the number of tiny dust bits that escaped. Super awesome. I was using a 1/8" bit to drill and cut 19.7 mm deep (and pocketing about 13 or 14mm deep) in OSB, so it was not the most grueling challenge, but I can tell by watching it that the functionality will be great regardless of what I’m cutting. If I get a chance to cut some MDF I’ll report on that.
4 Likes
Excellent news! My spoil board surfacing from last year was one impressive Dune - style dust megastorm!! Looking forward to a slightly less epic mess!
1 Like
i surfaced mdf with the dust shoe and there was pretty much no dust escaping from the shoe.
1 Like
EDIT / UPDATE (Nov 12, 2024) to add Printables link:
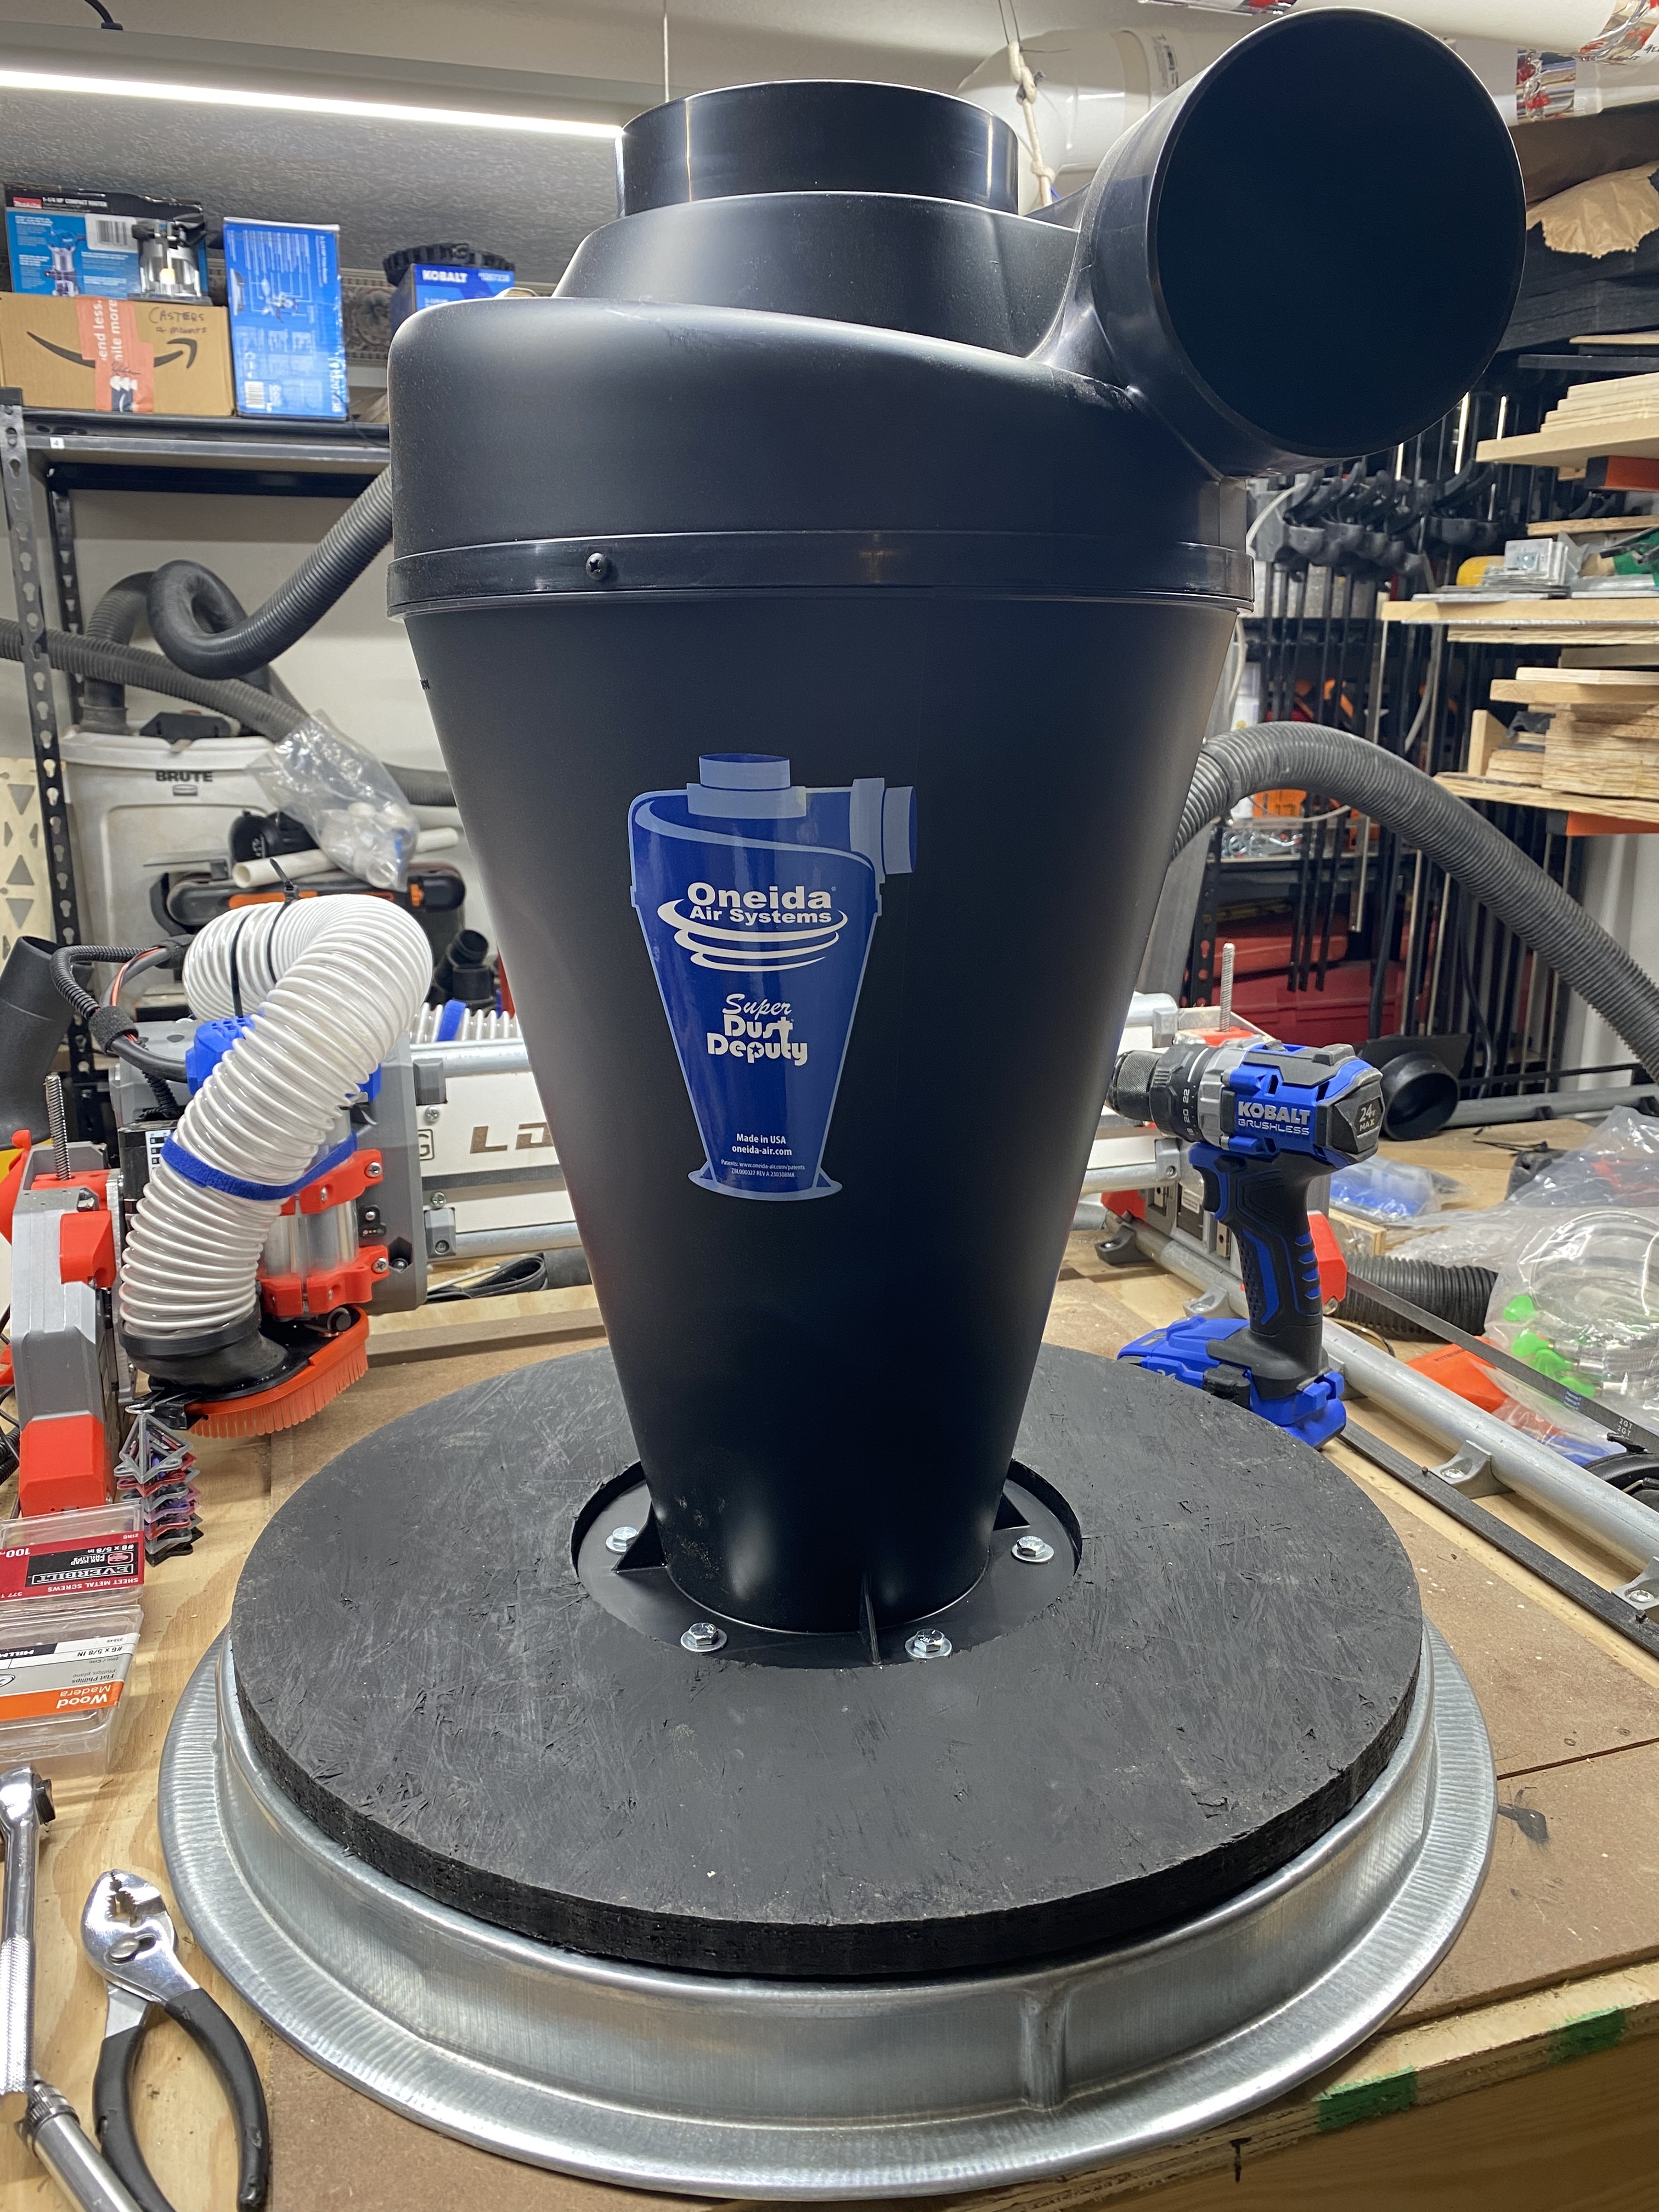
I used LR4 (RC3) to cut some weathered “Avantech” (sp?) brand OSB to create a new lid for a trash can being turned into dust collection bin for Super Dust Deputy 4/5. Between a little sanding and some black enamel RustOleum paint, the fact that it was weathered won’t matter, thus it’s being salvaged instead of thrown away.
I videoed the drilling, pocketing, and cuts, but I have not edited or posted video.
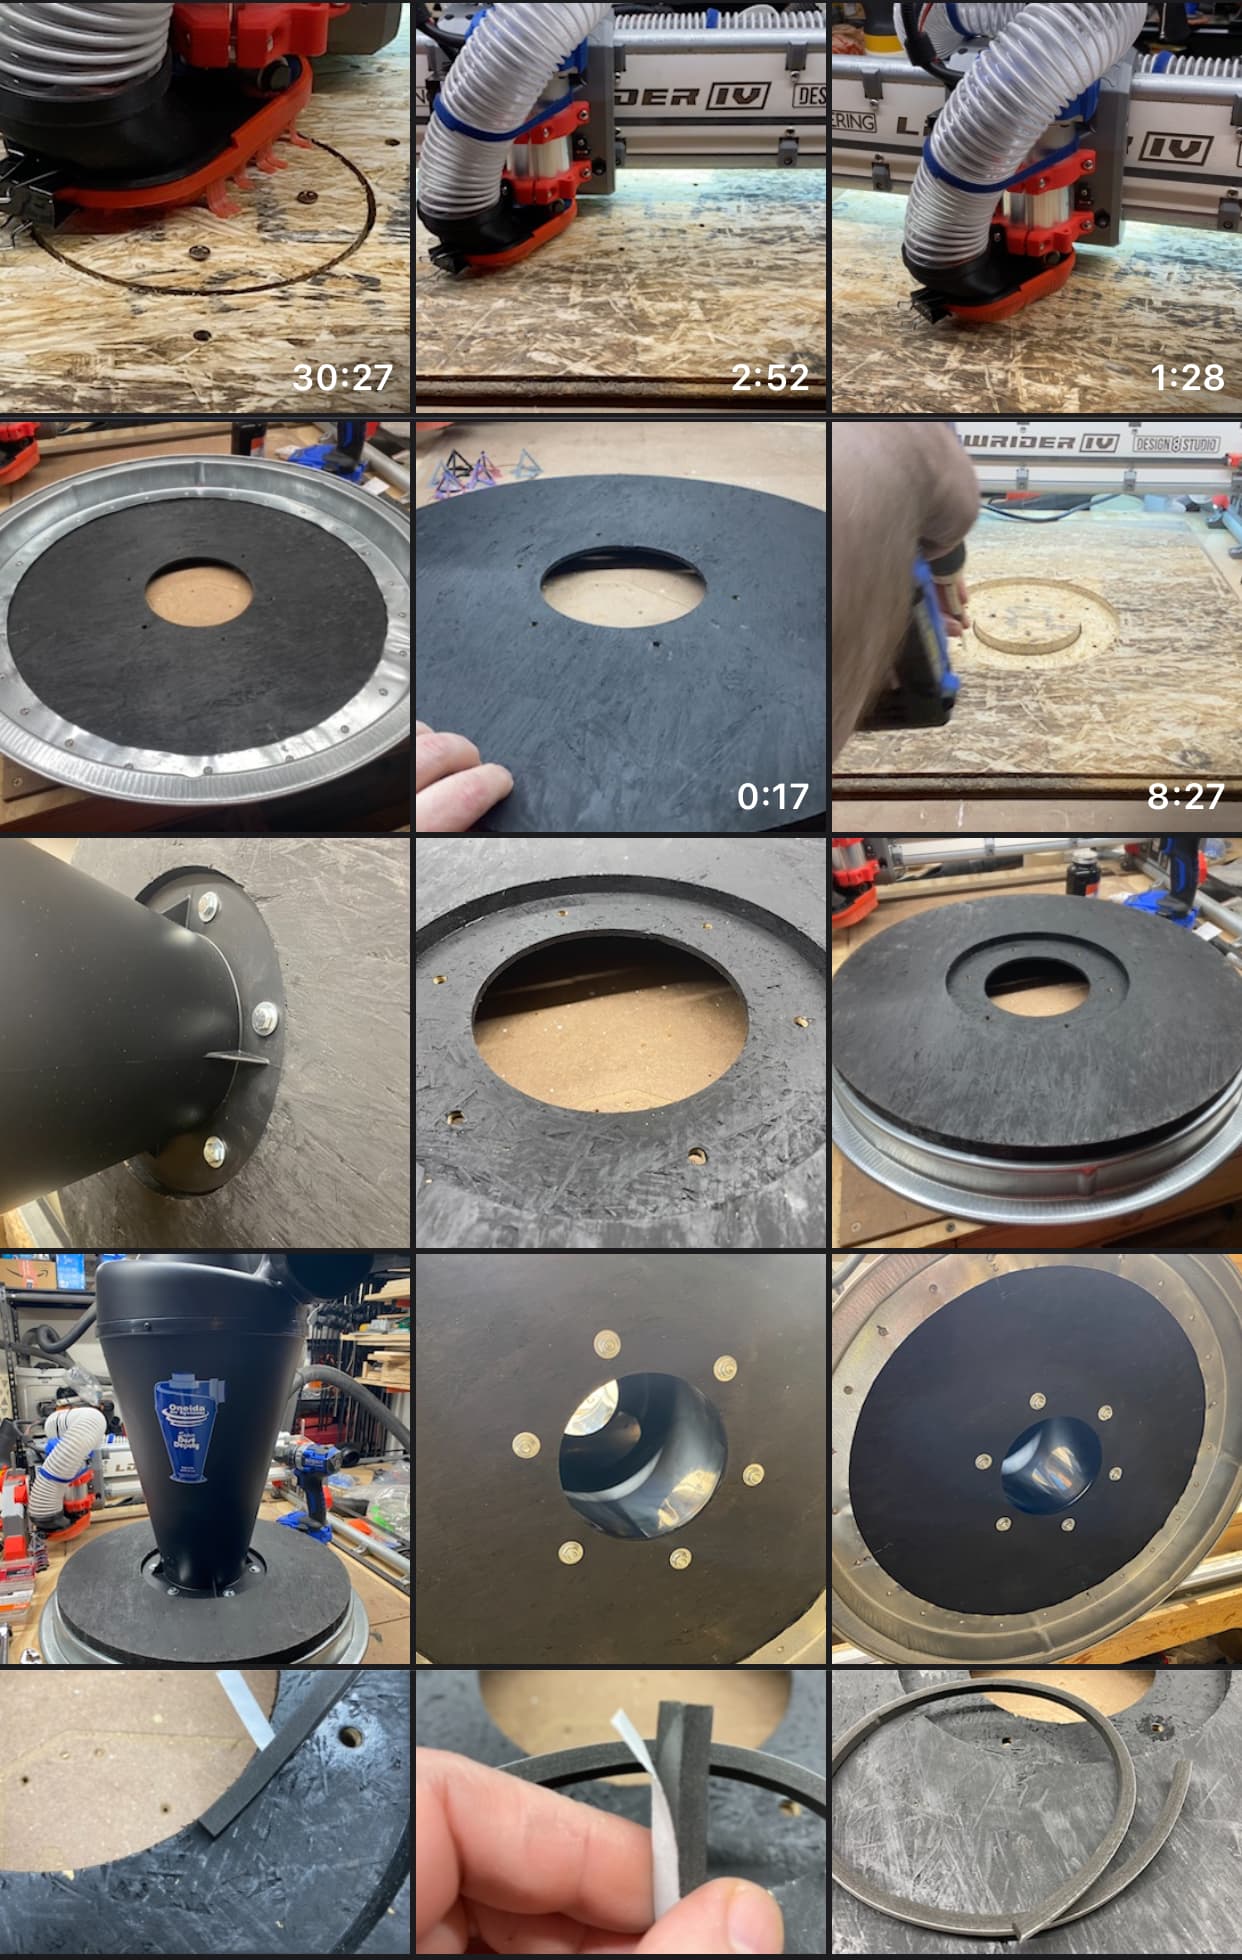
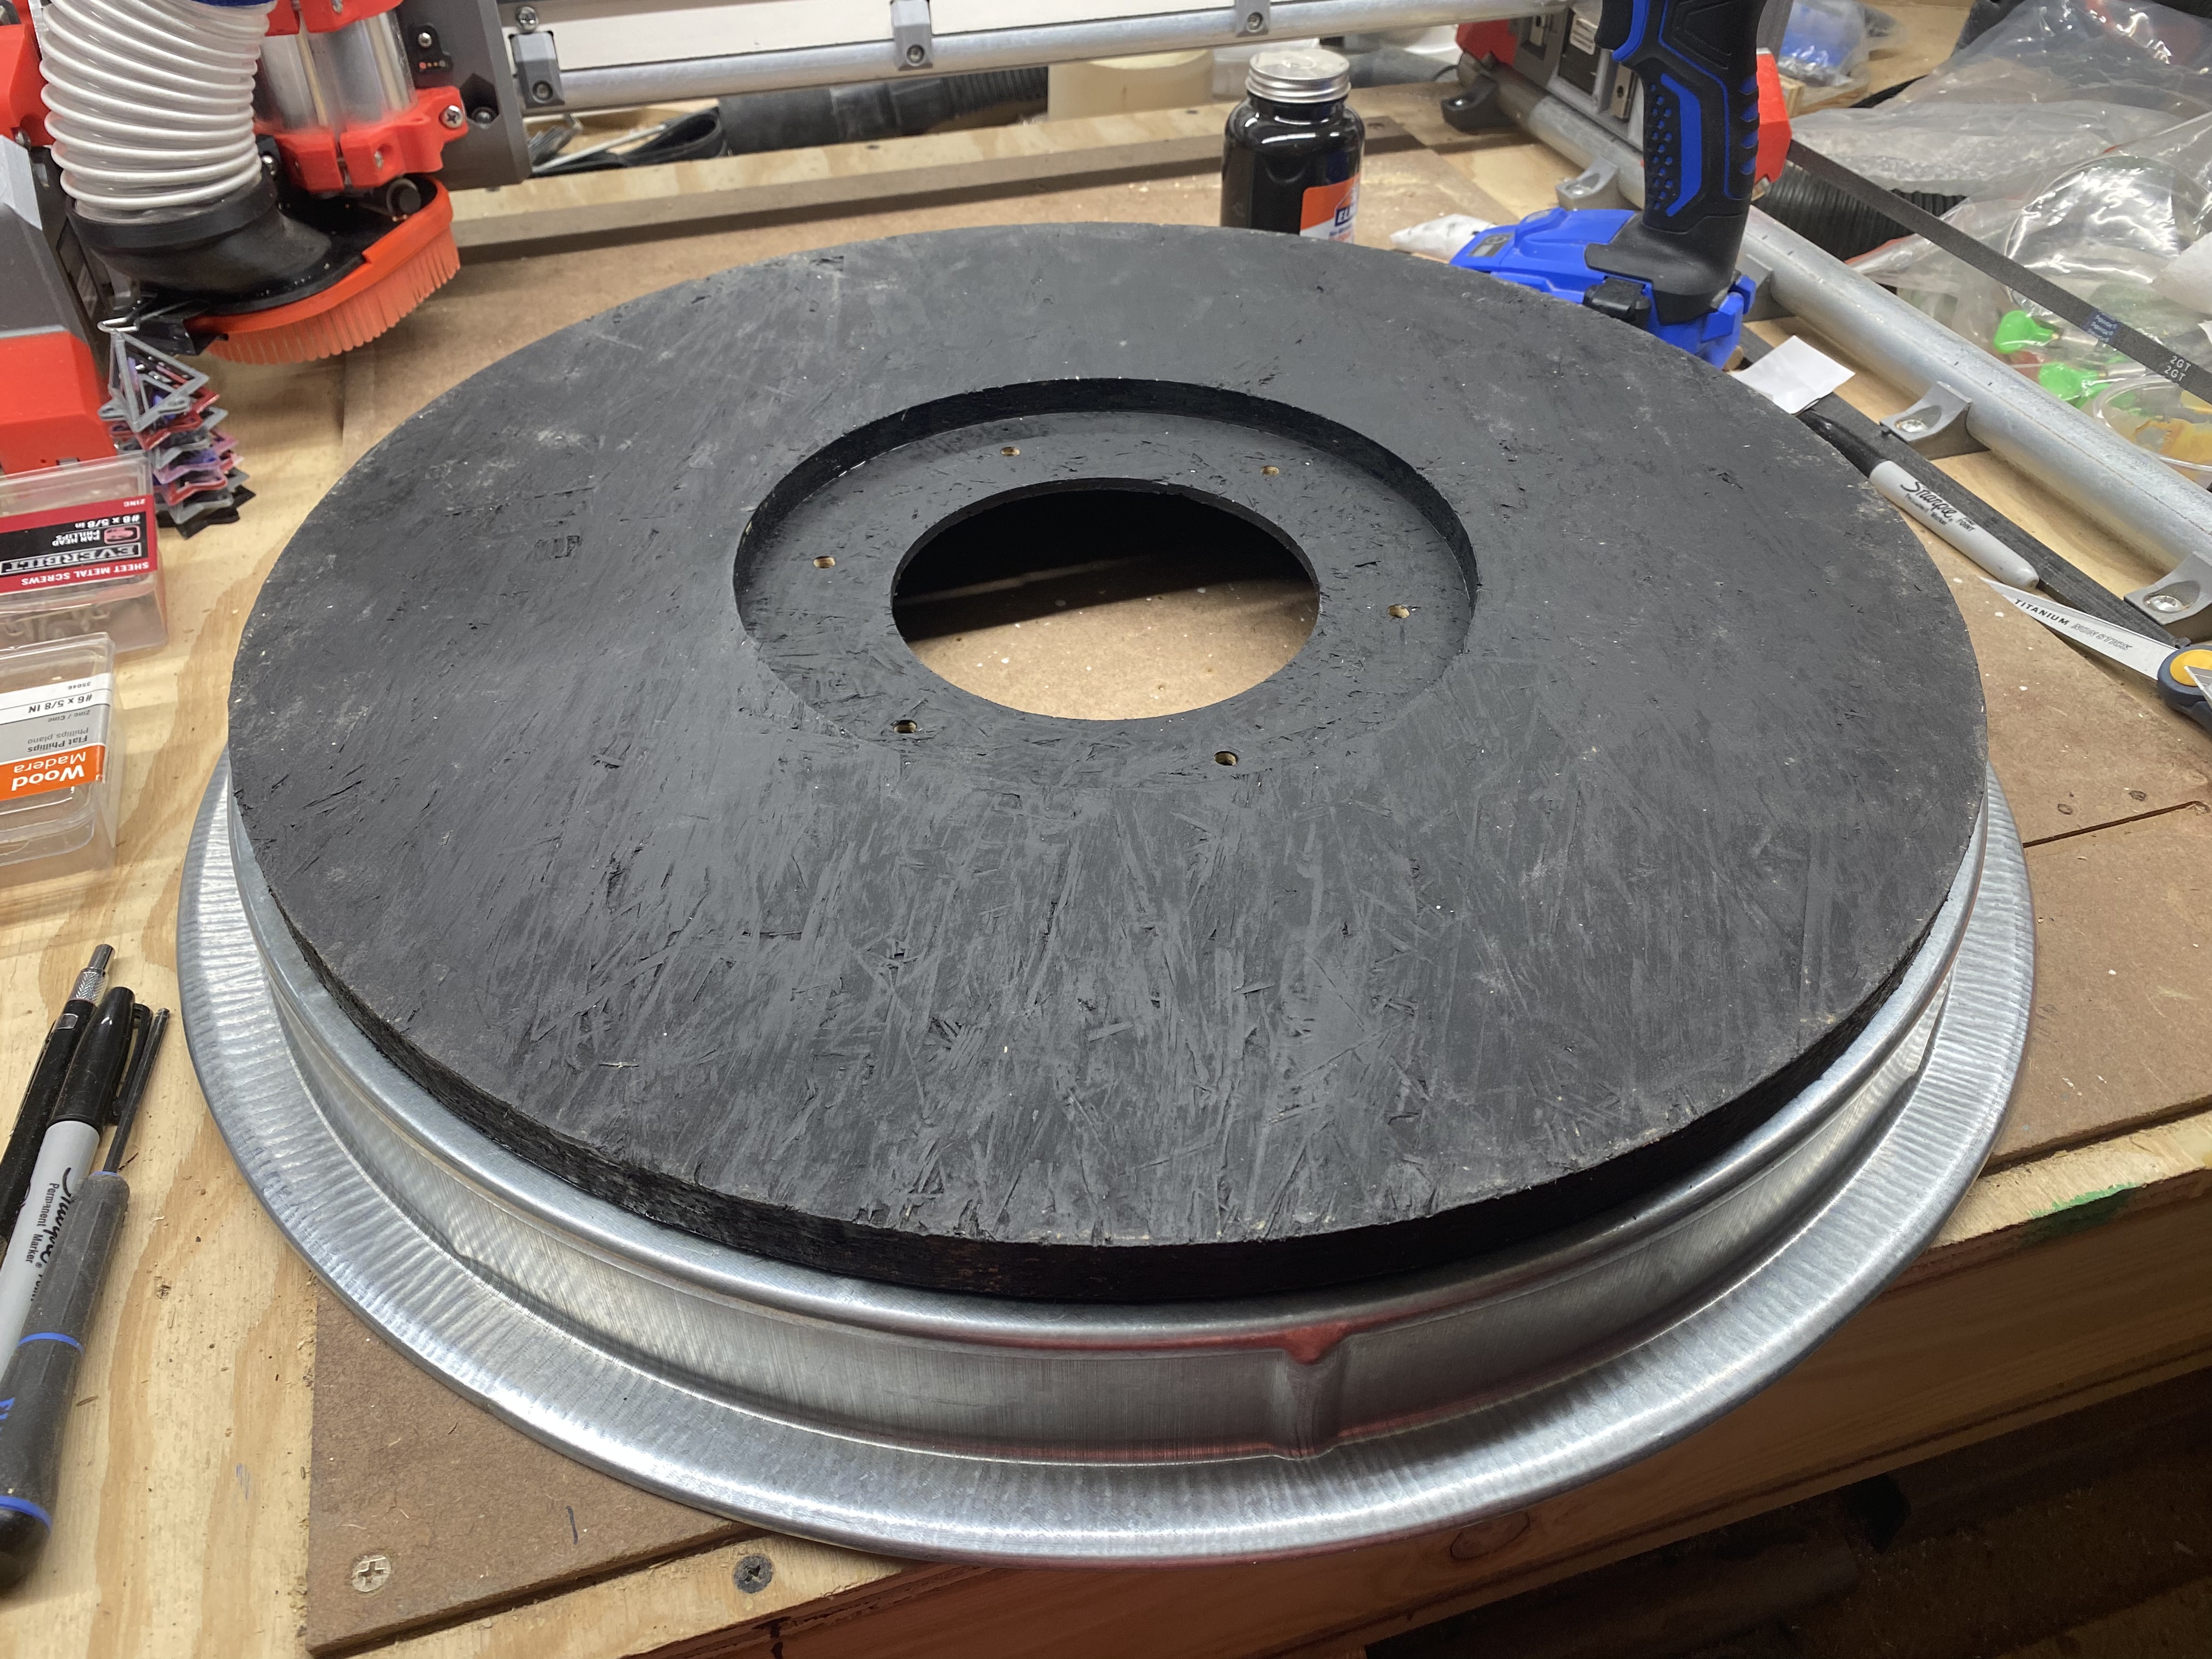
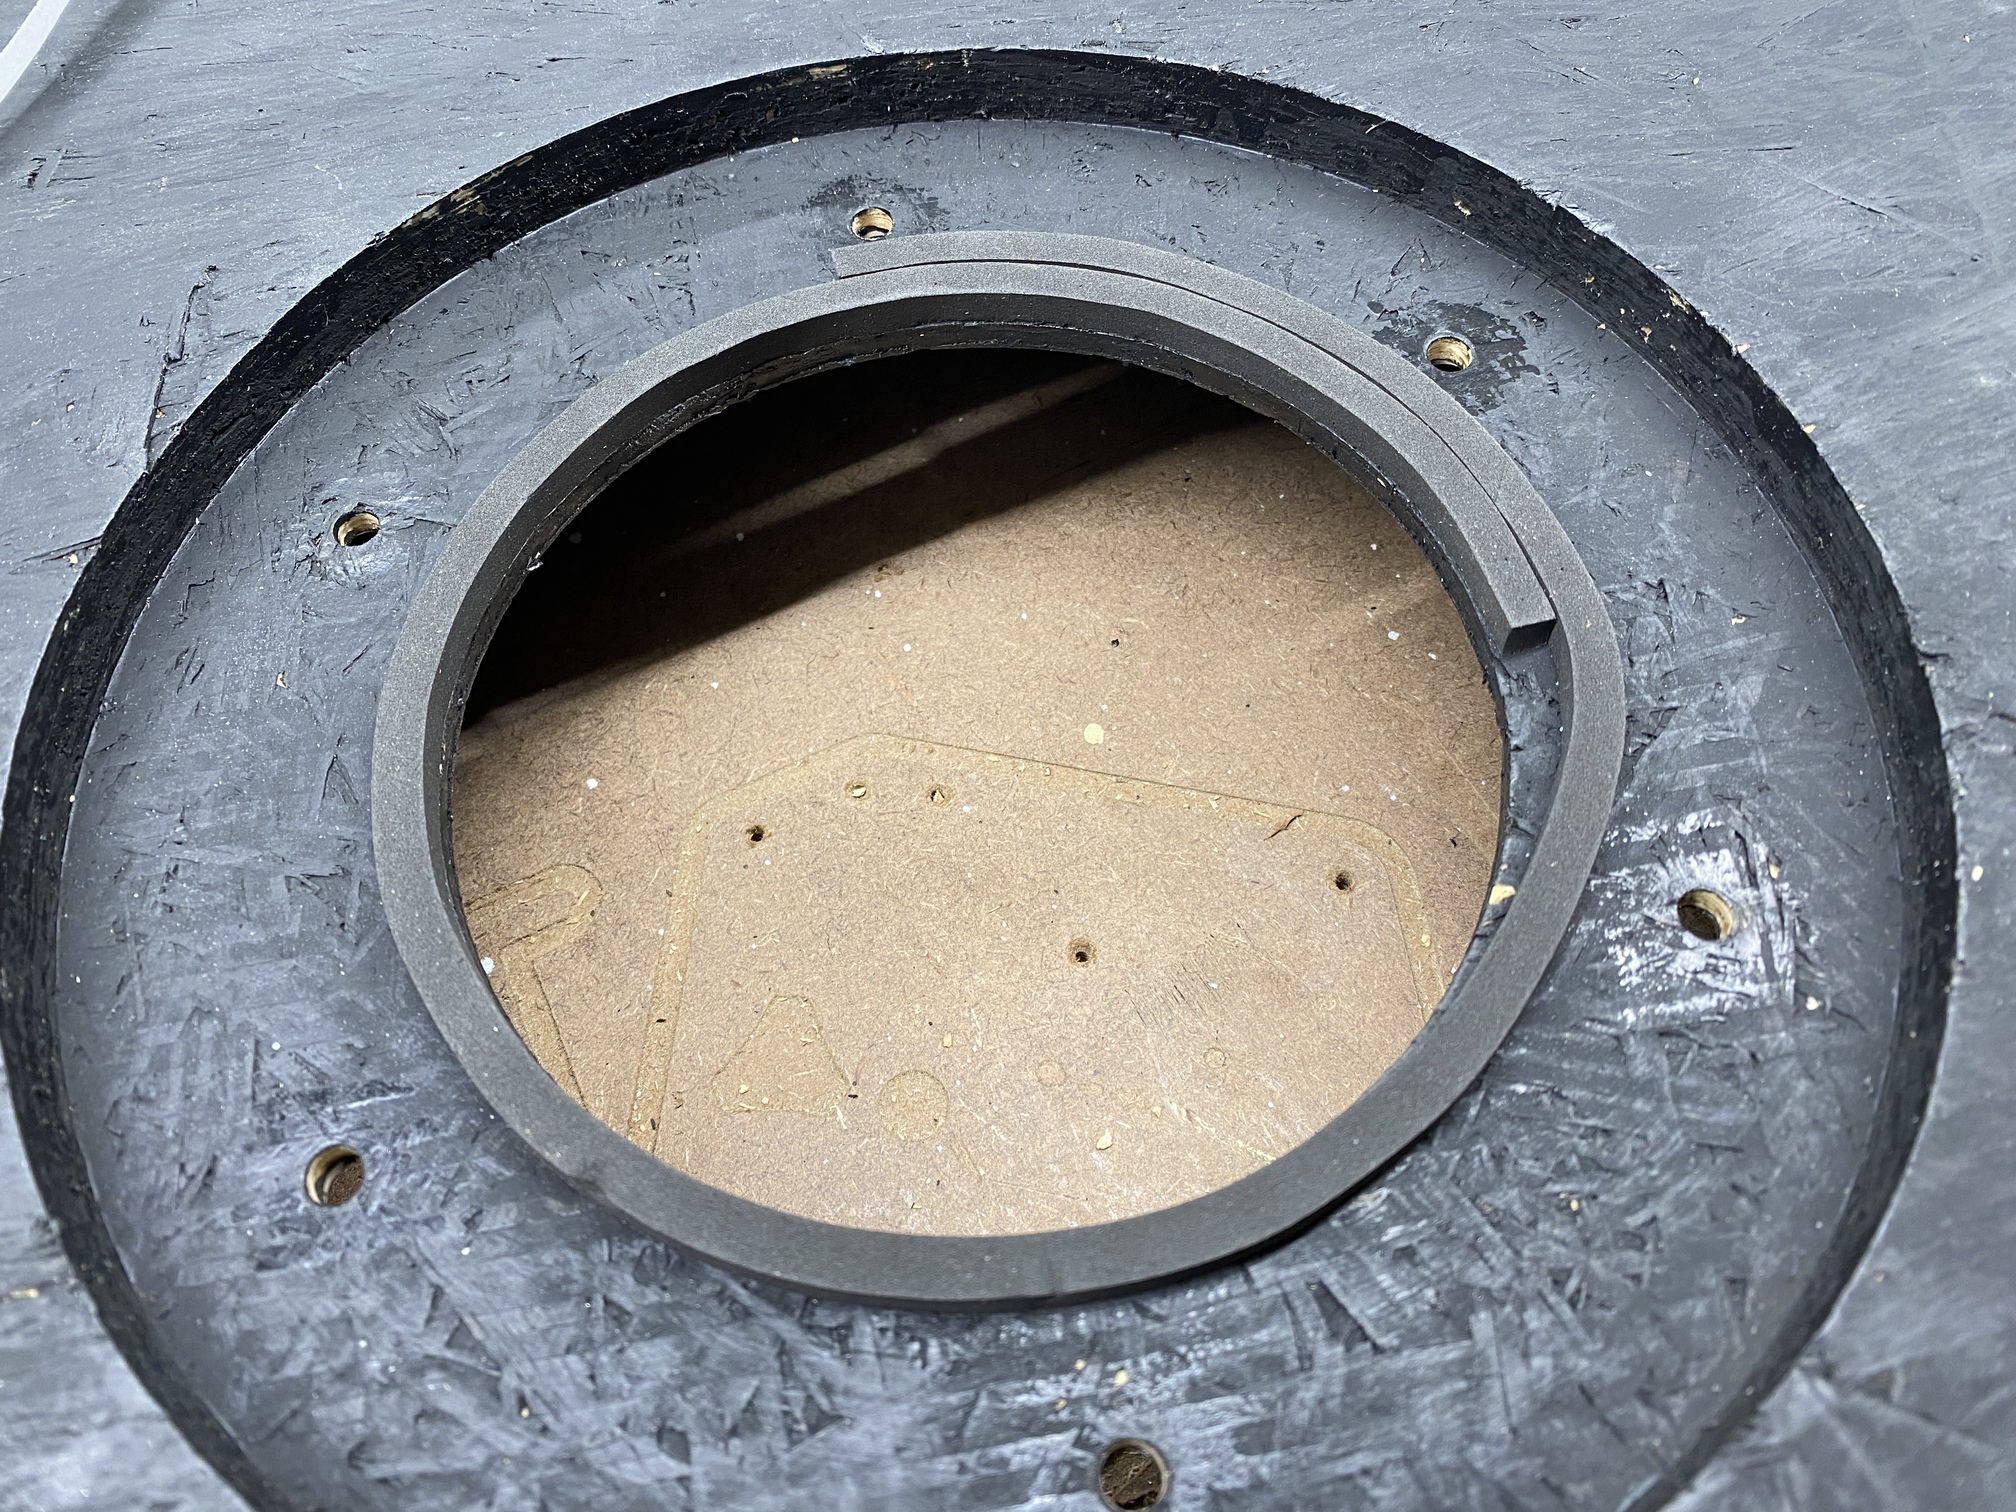
The top of the new lid. Pocketed simply because the provided bolts were for a lid no thicker than 1/4" and “I could so I did.” LOL.
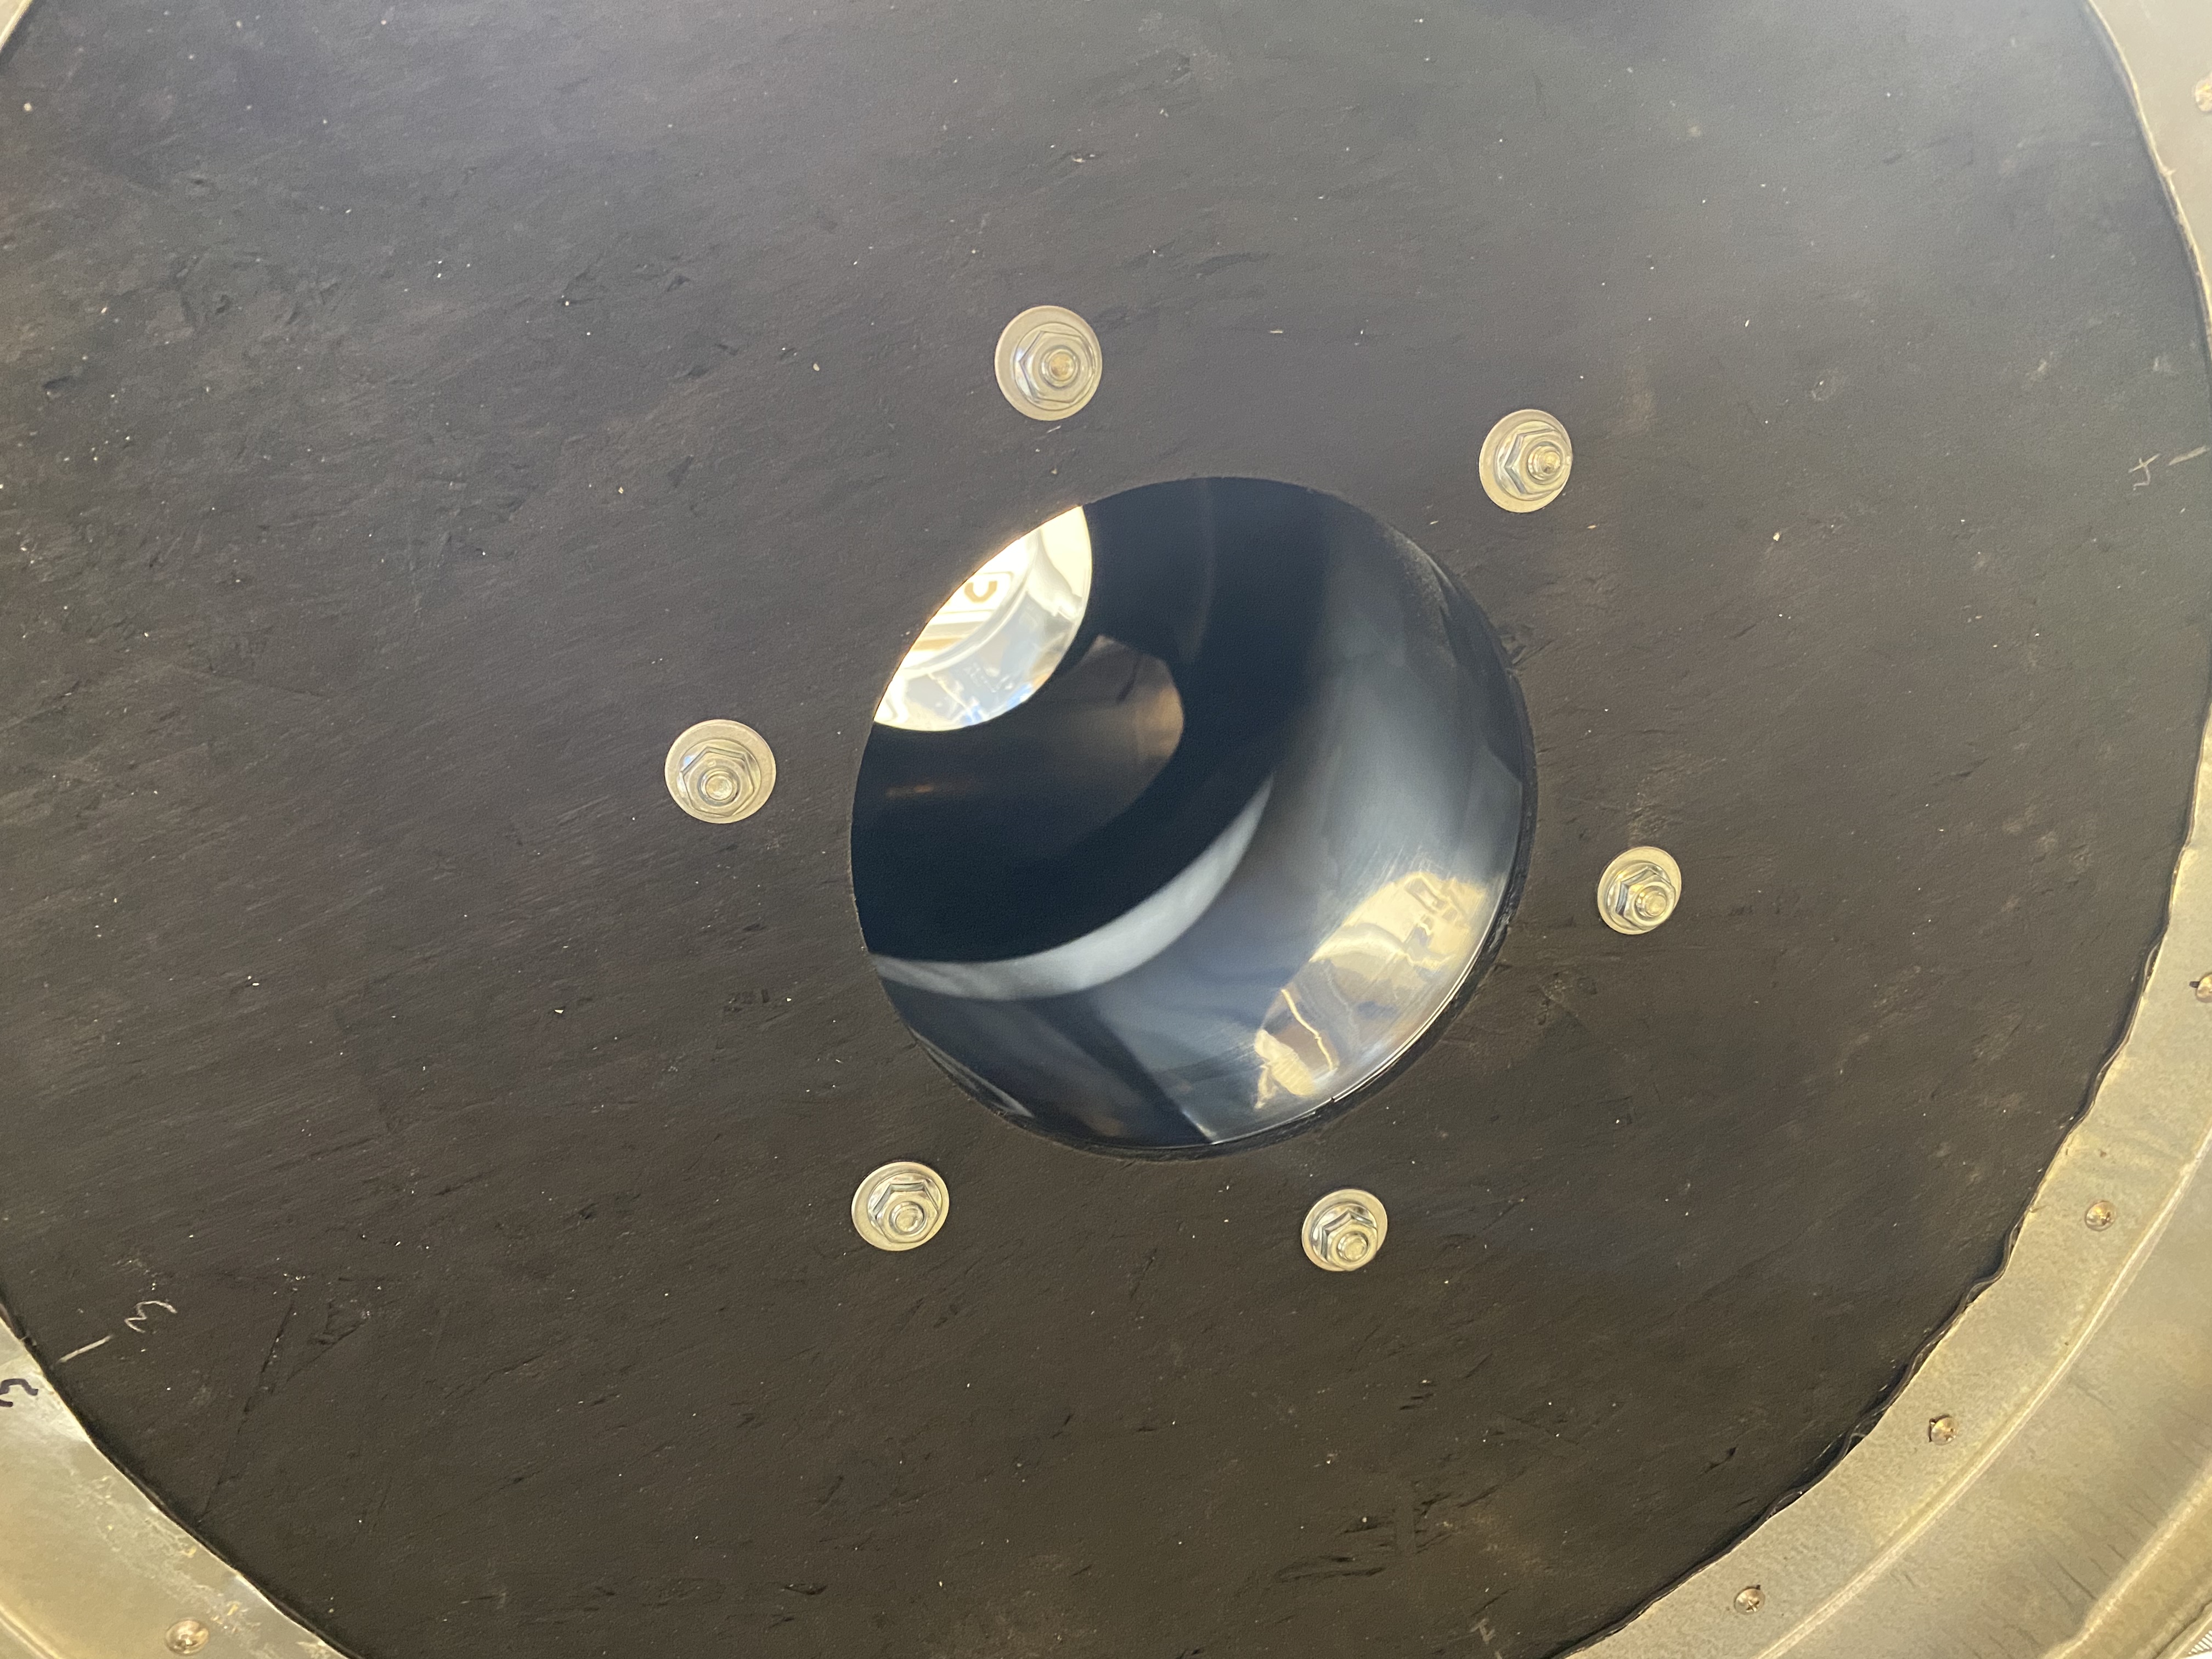
The pocketed area was about 1 or 2mm larger than the base of the Super Dust Deputy 4/5, for easy fit. Shown below.
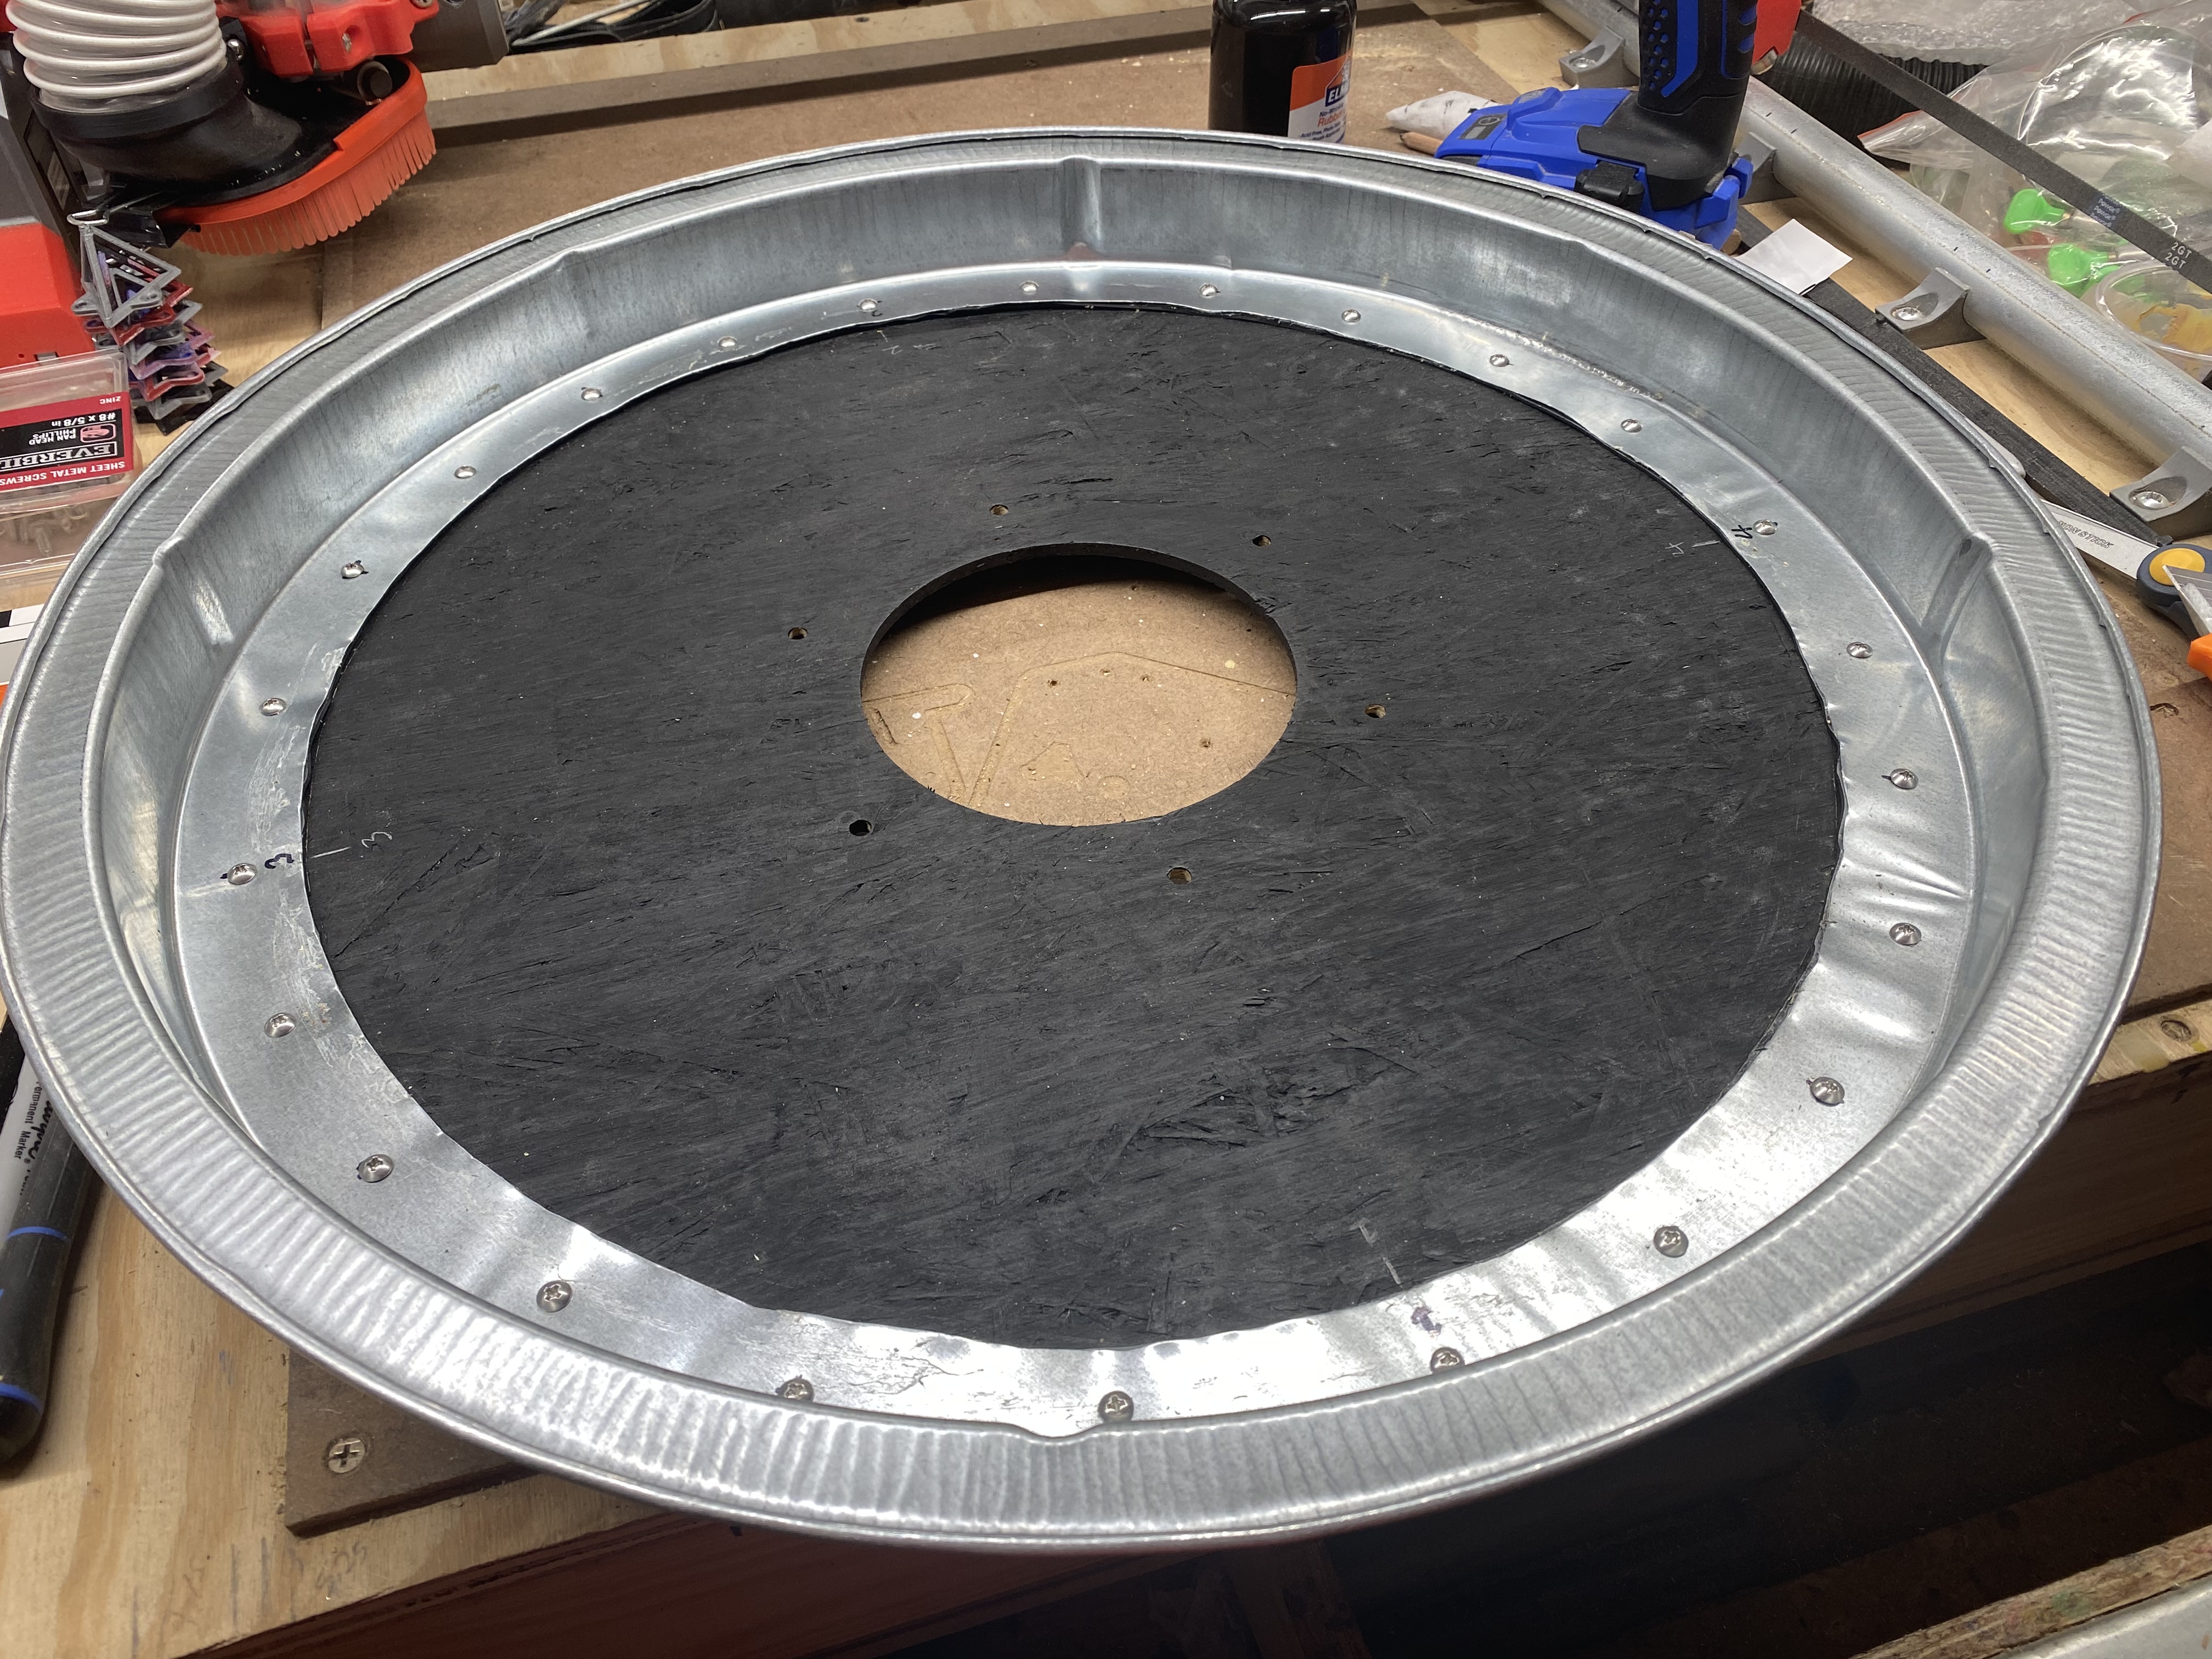
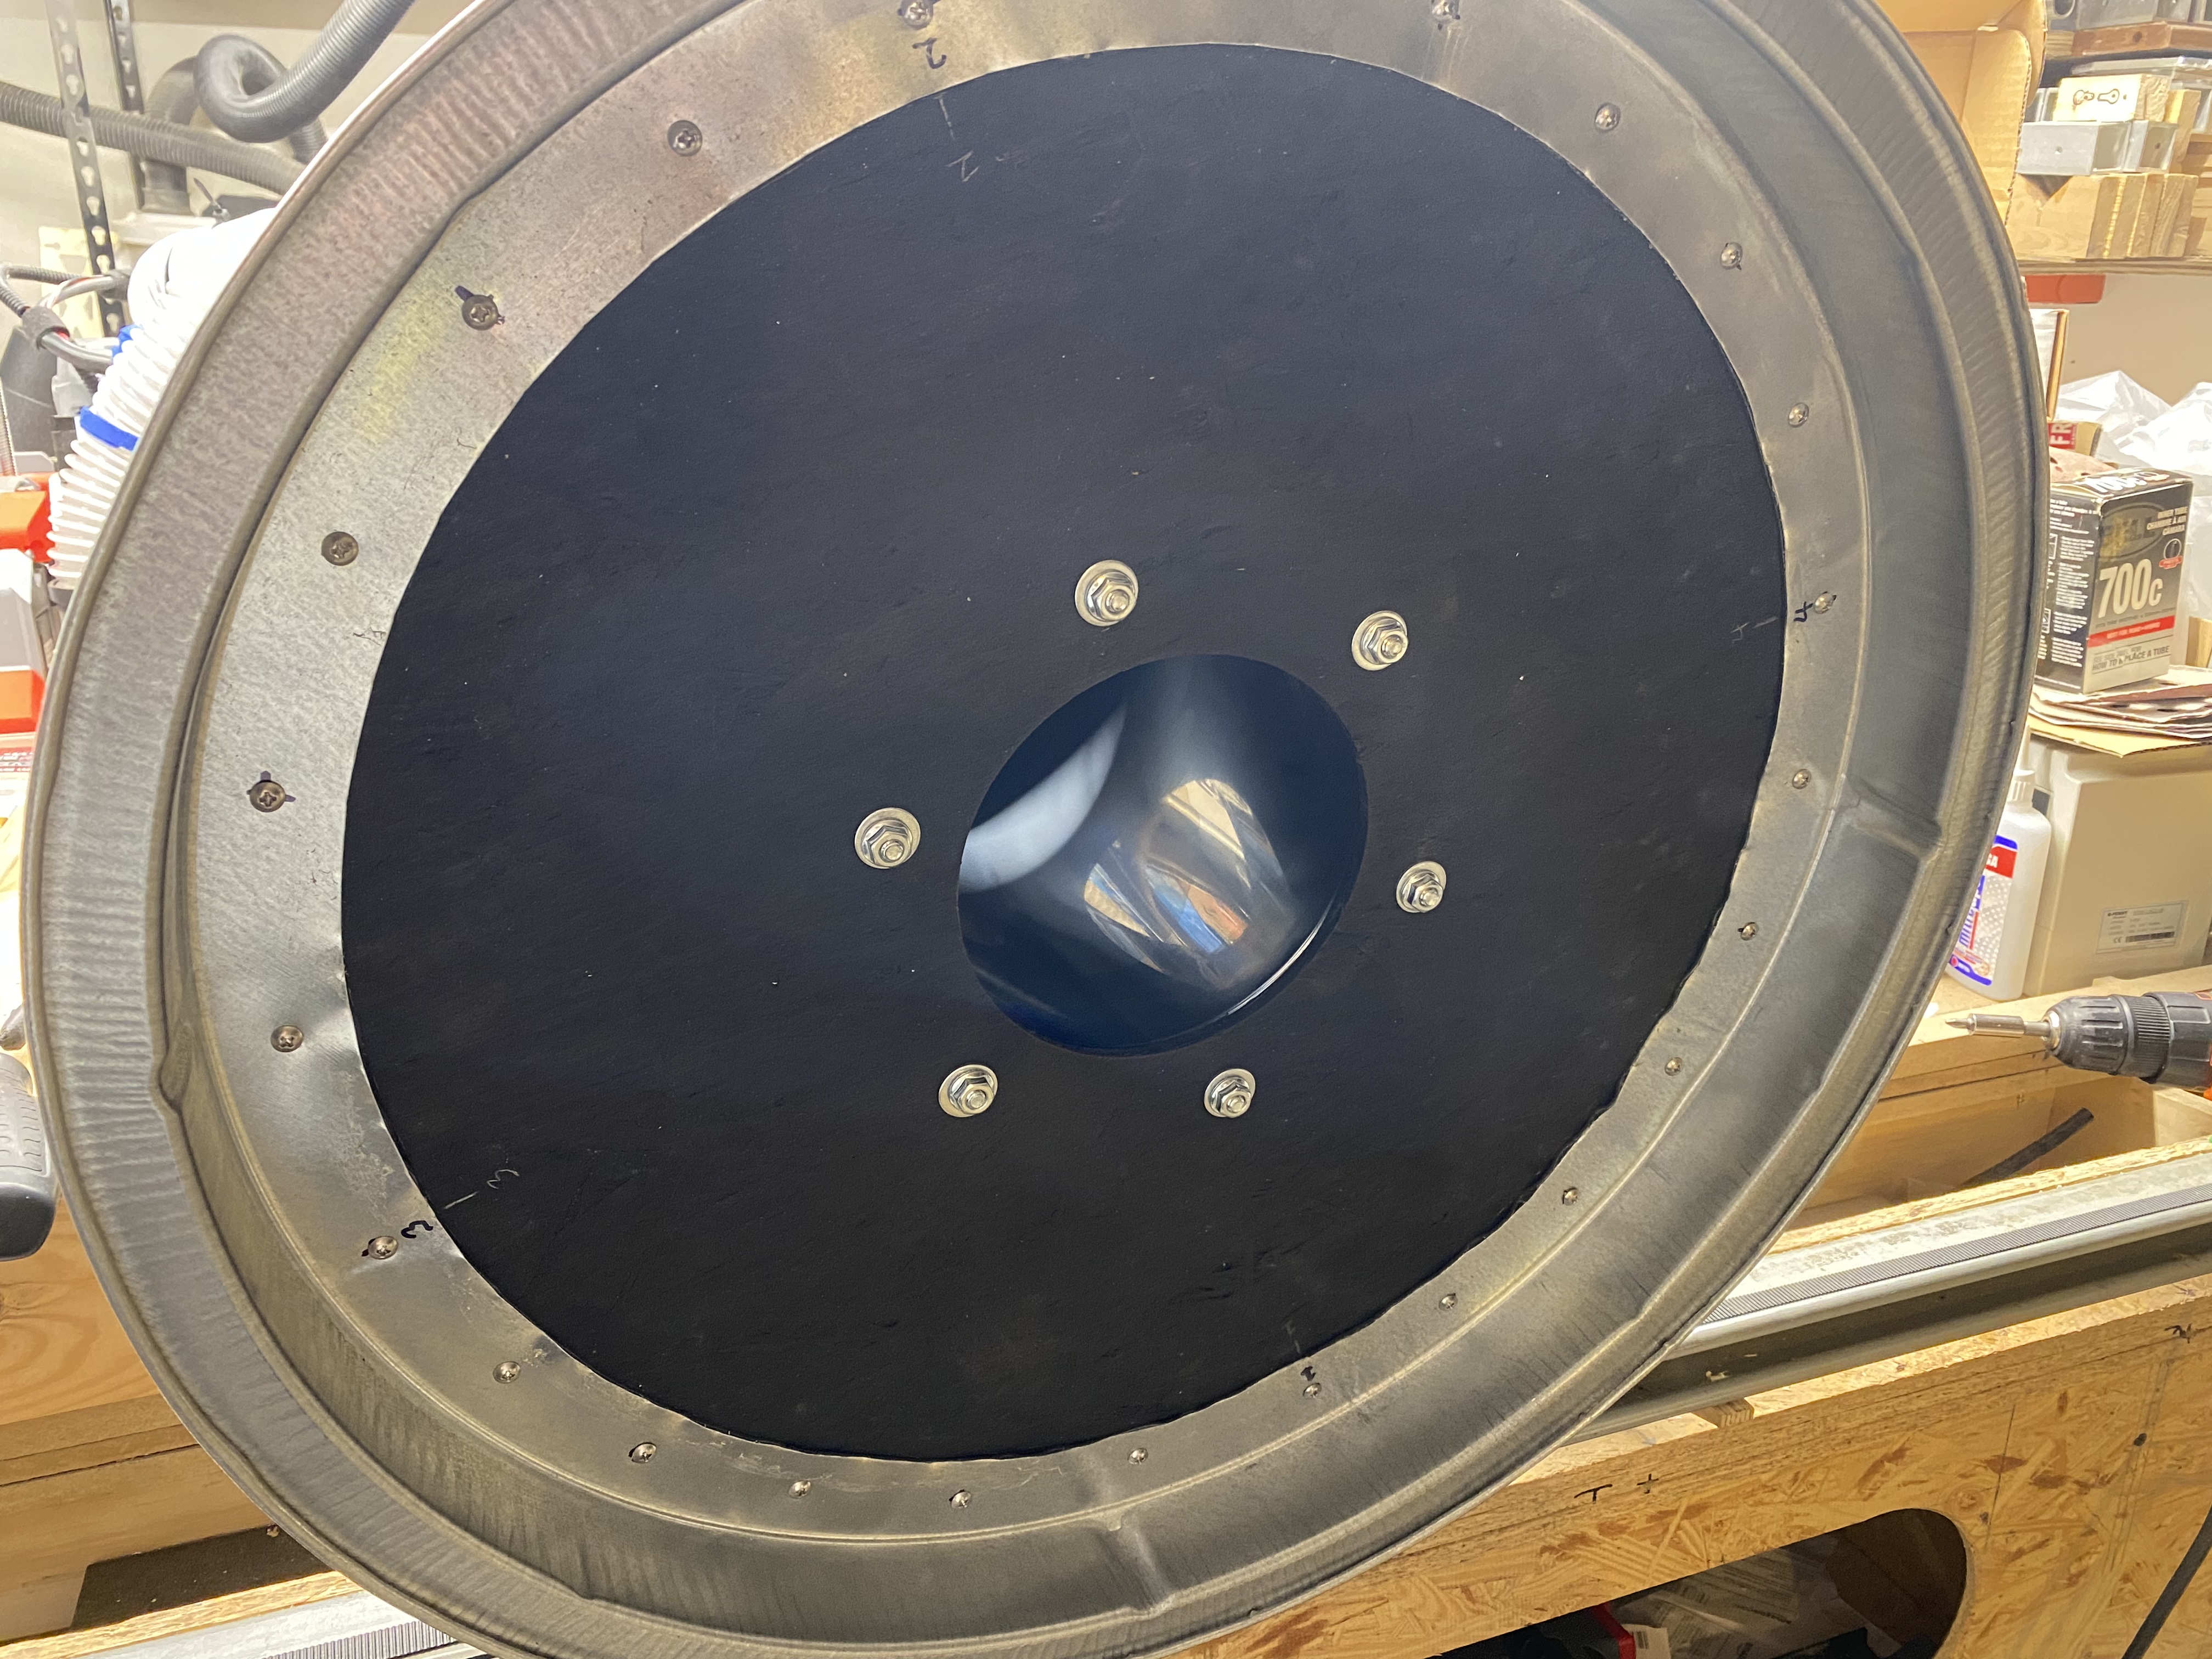
The under side. The trash can’s lid had a domed shape to it, so I cut most of it off, leaving only the outer “disk” which was “mostly flat.” I cut a bicycle tire inner tube to use as a gasket for attaching the wood to the metal trash can lid.
Pocketed it with the same 1/8" bit I did the drilling and cutting with. Only took slightly longer, and I got to be lazy and not bother with a tool change to a 1/4" or something.

Test fit of bolt hole locations.
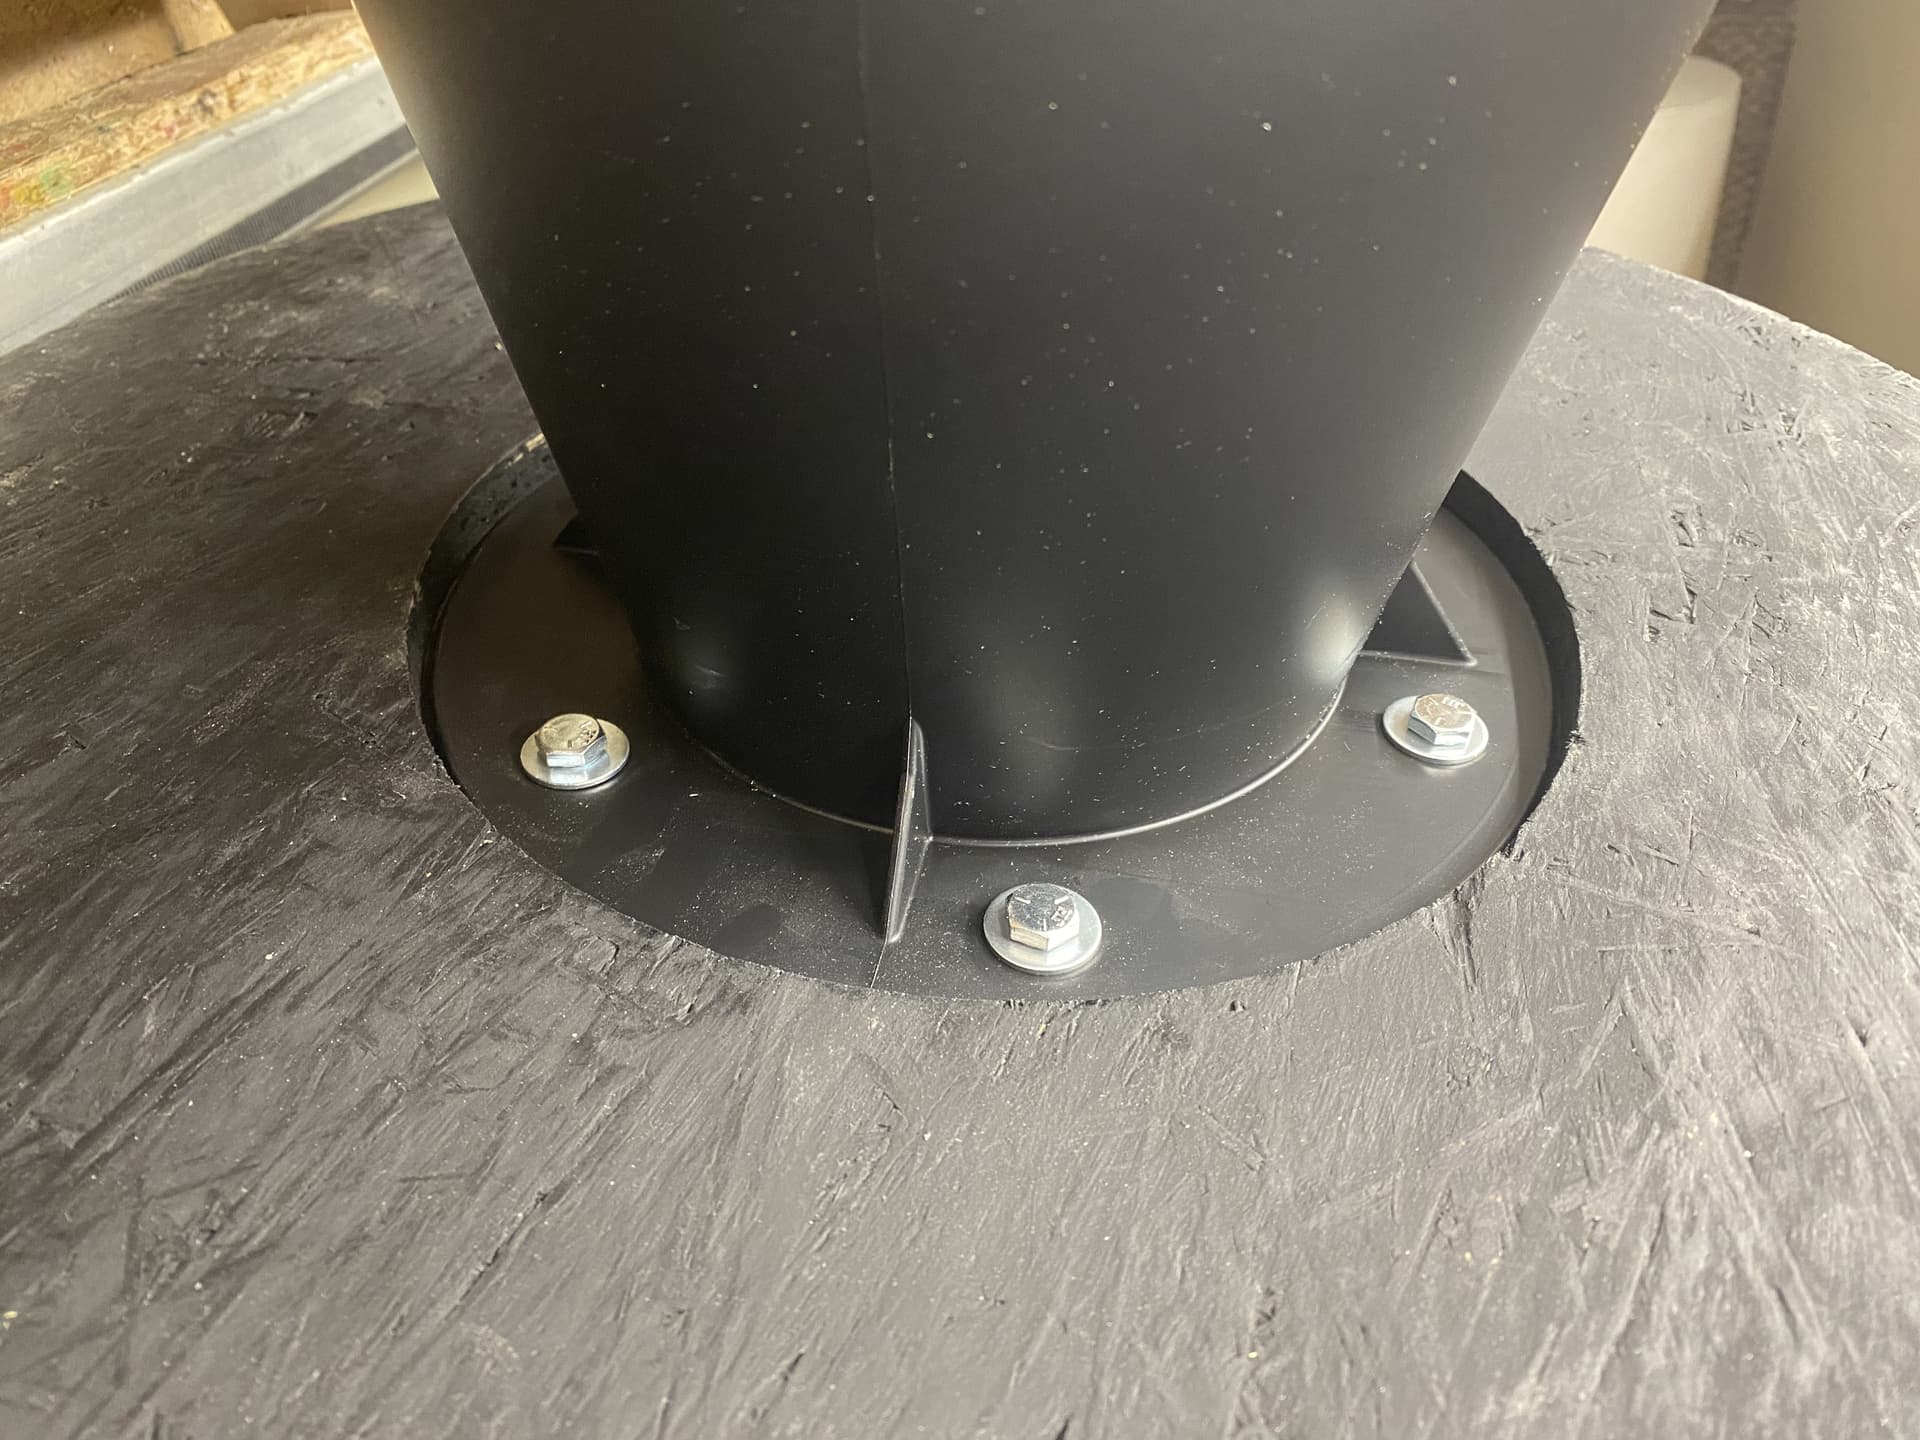
Test fit of bolt hole locations.
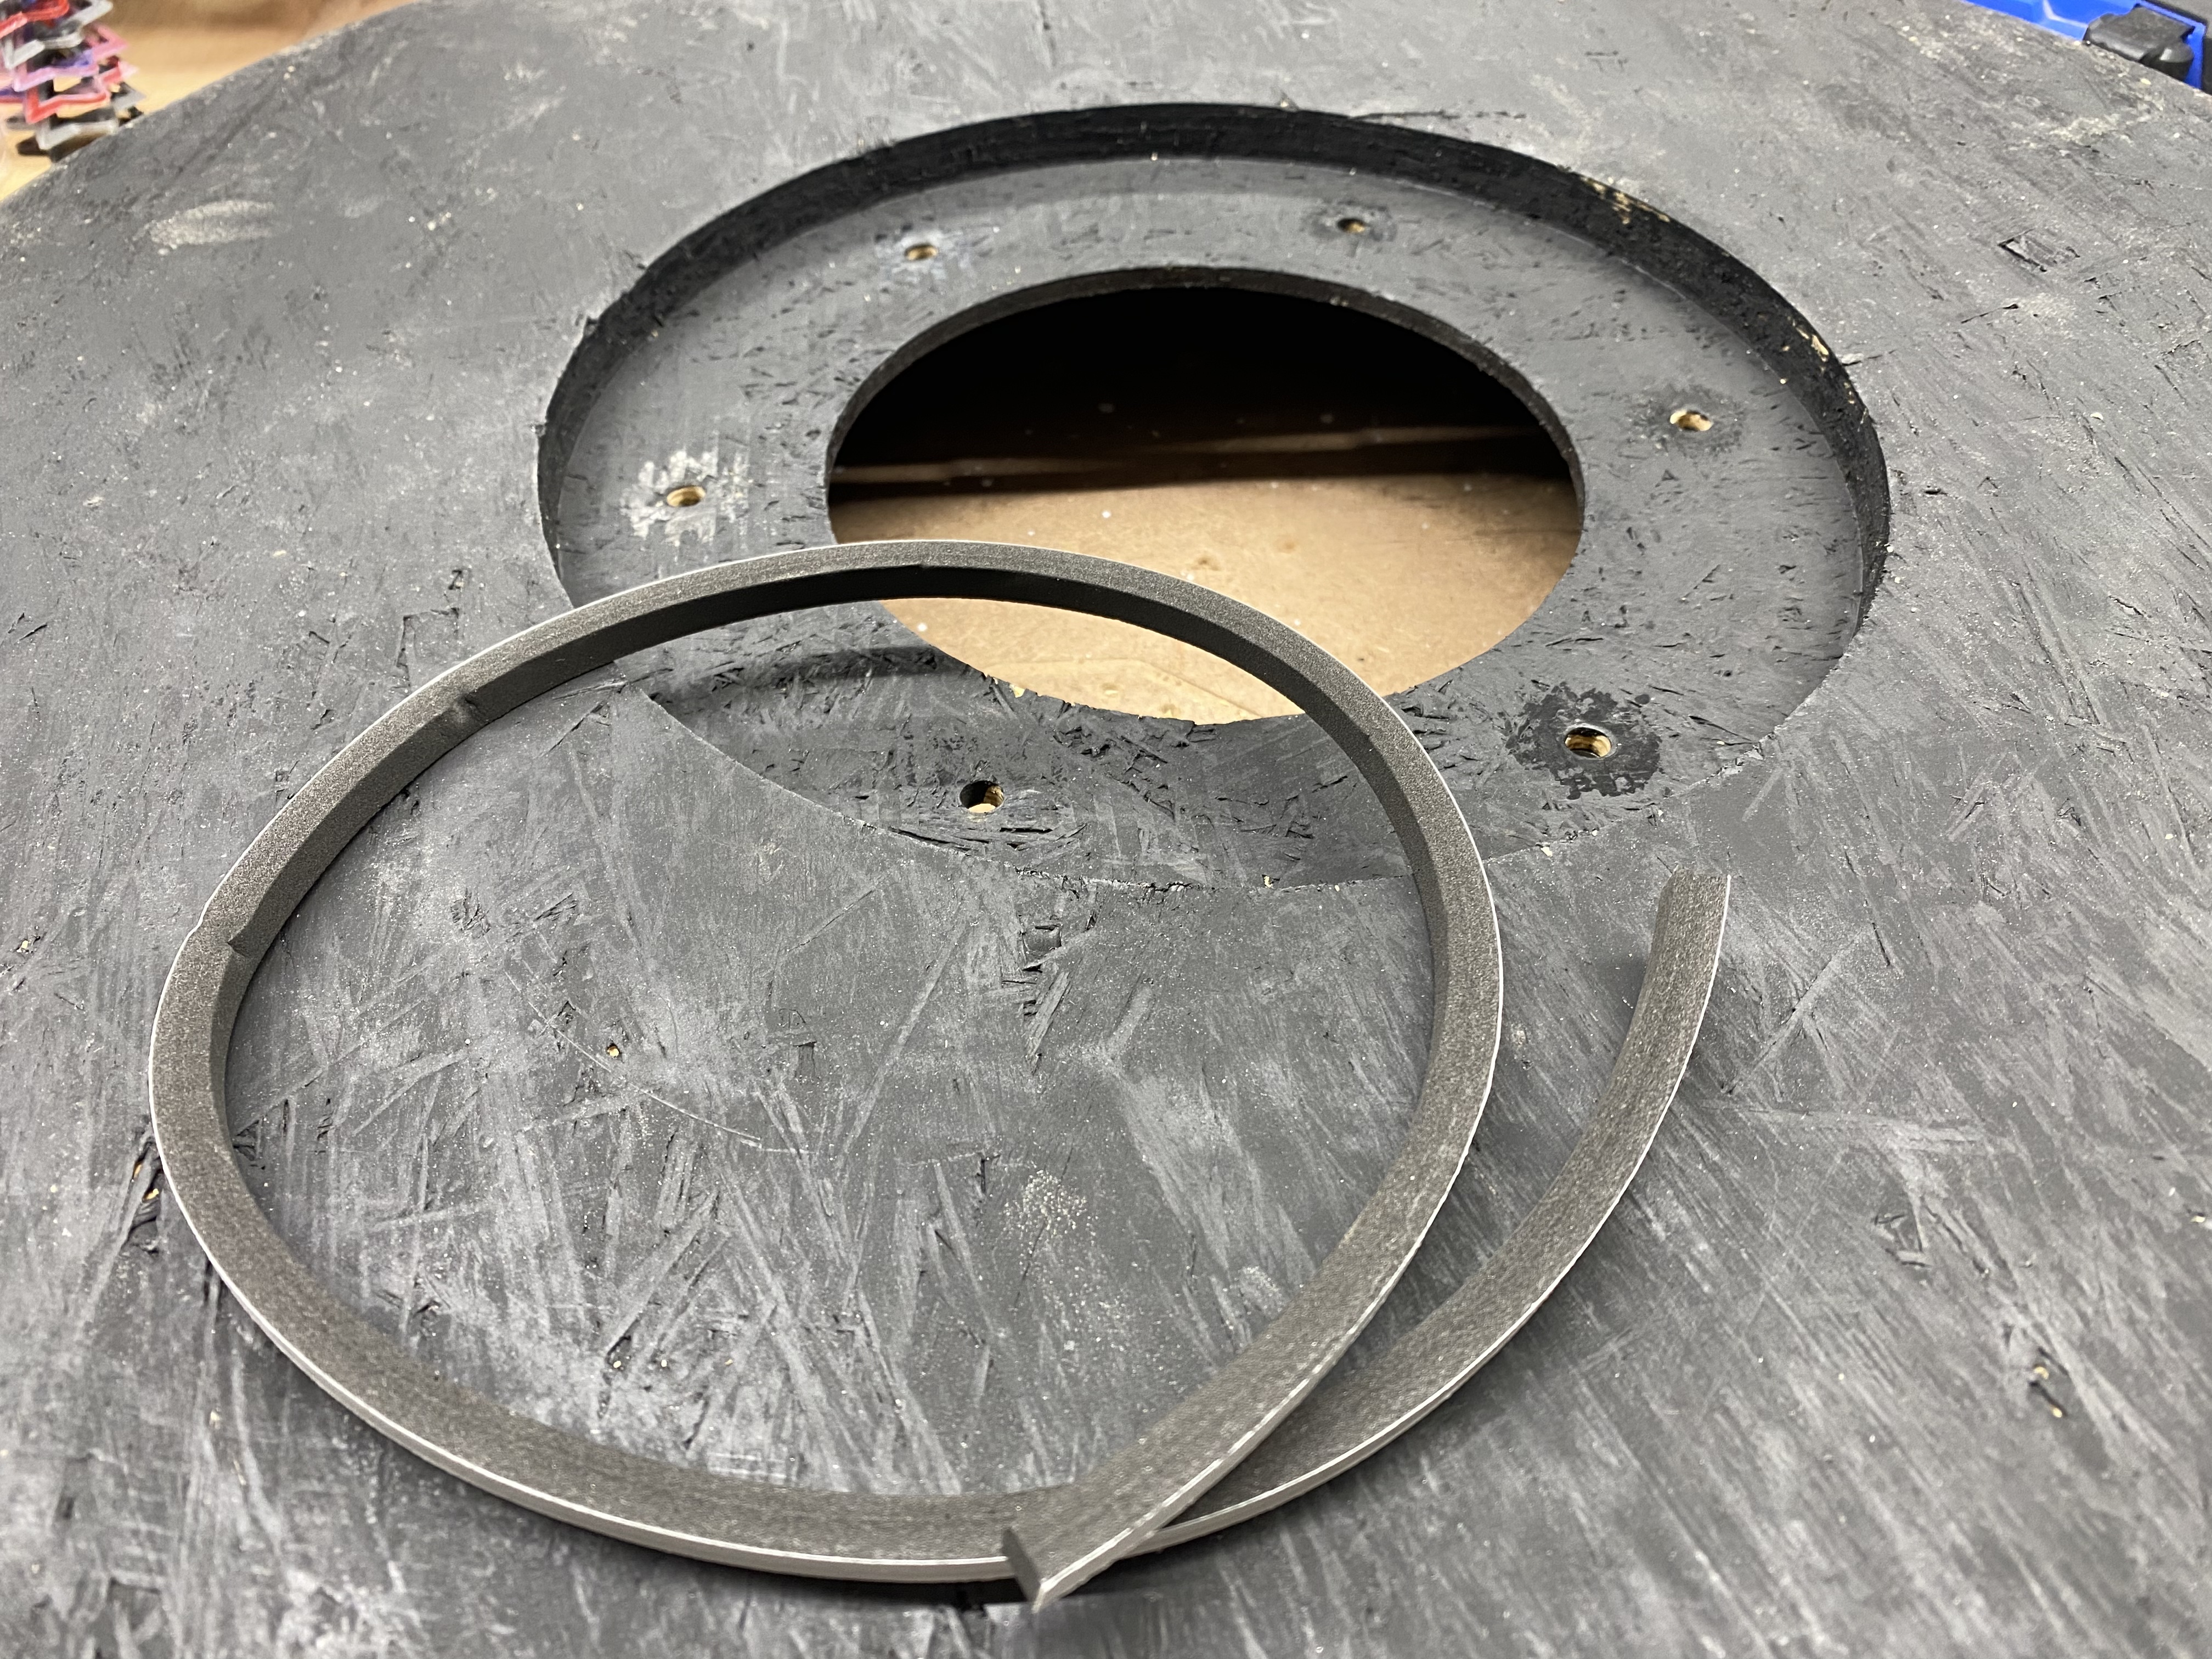
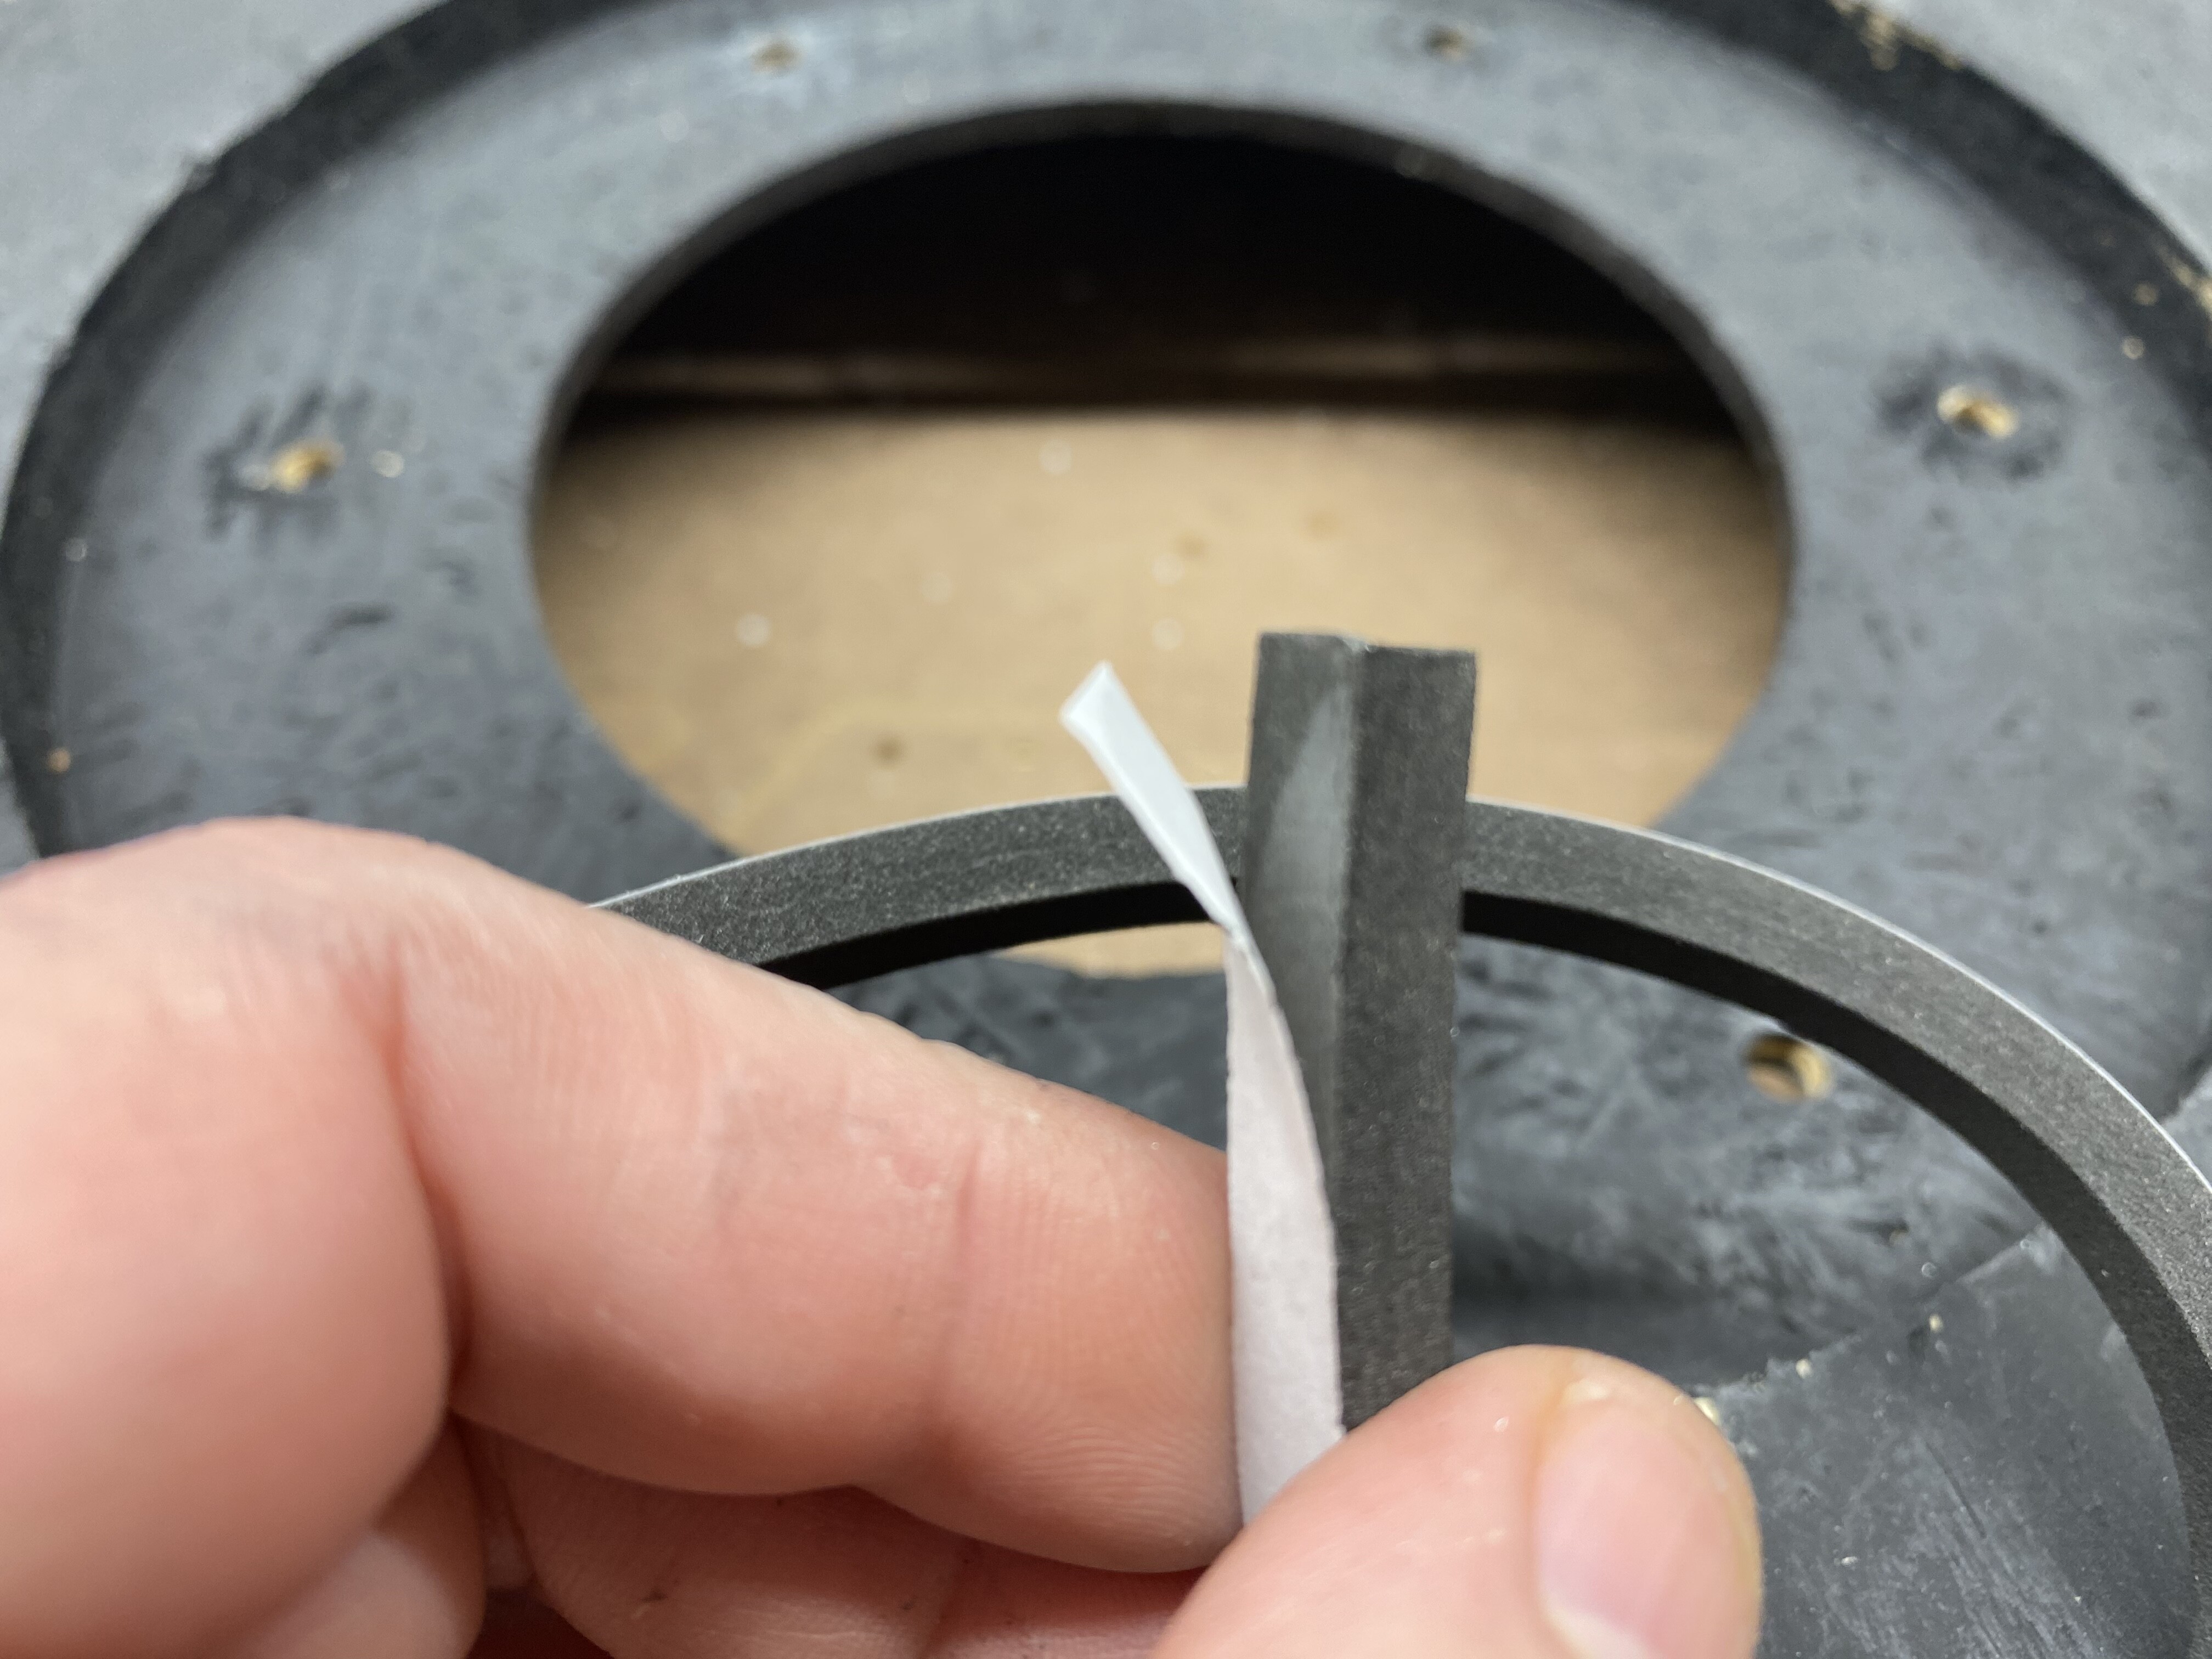
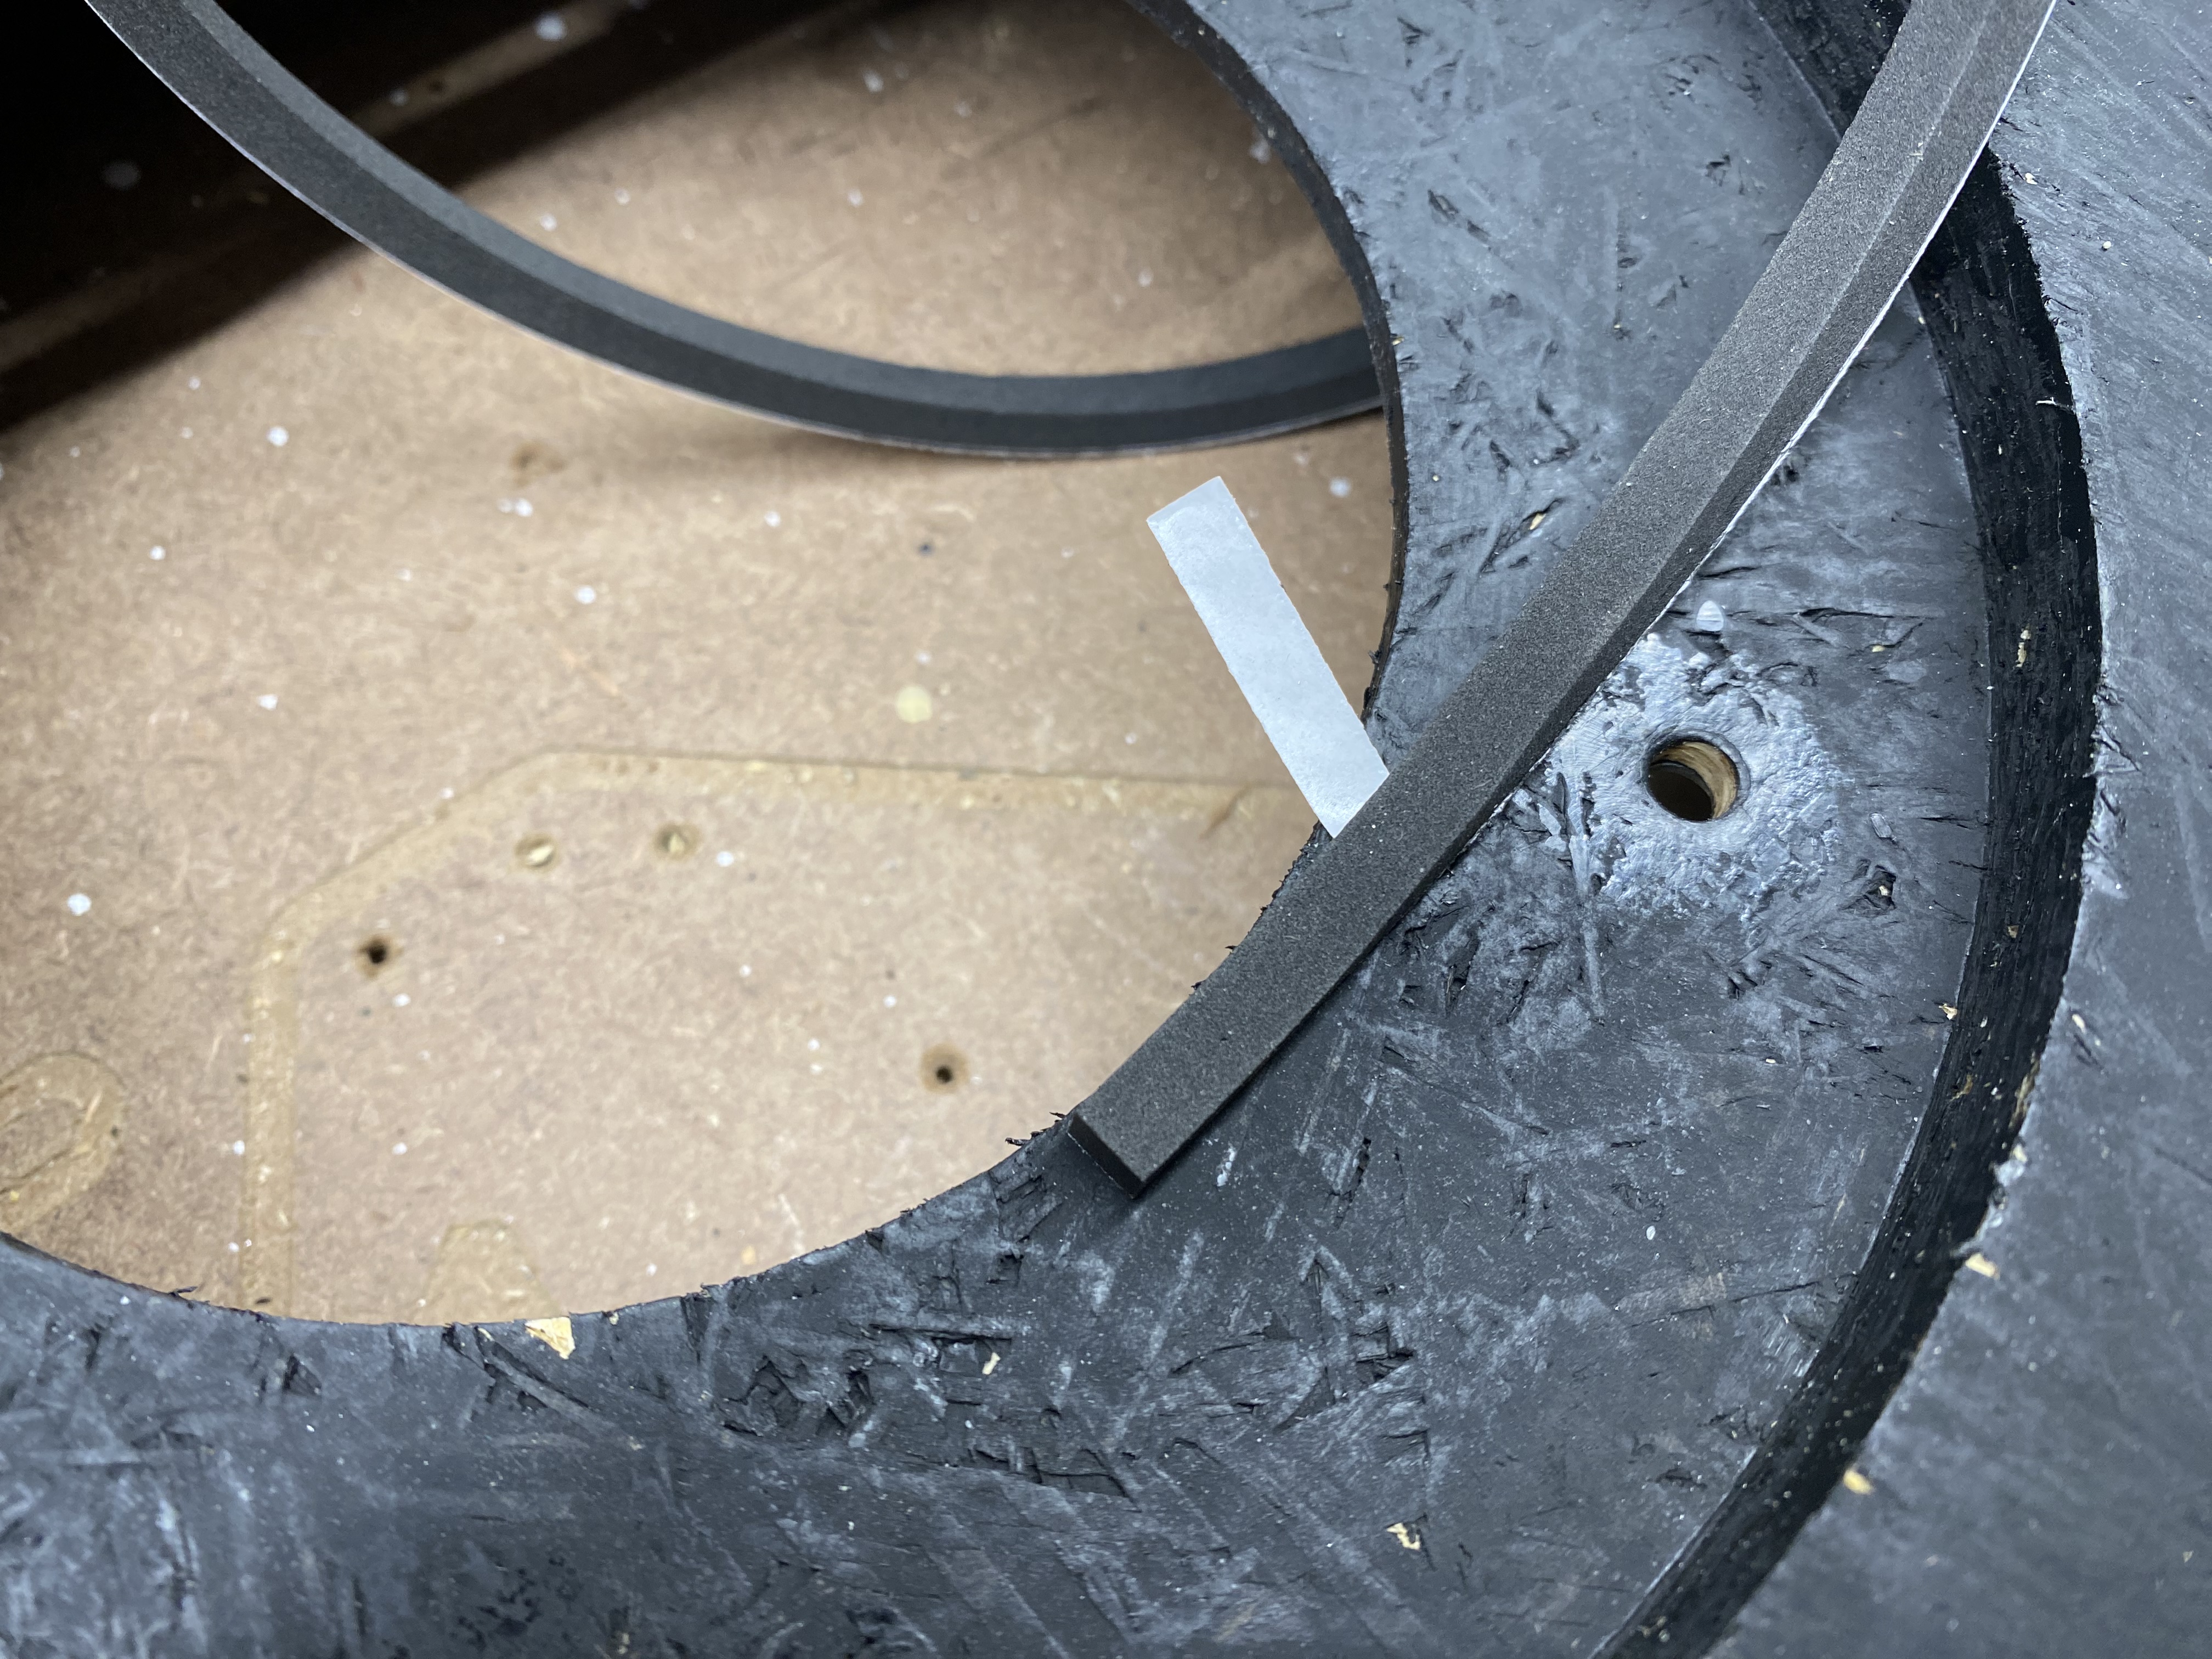
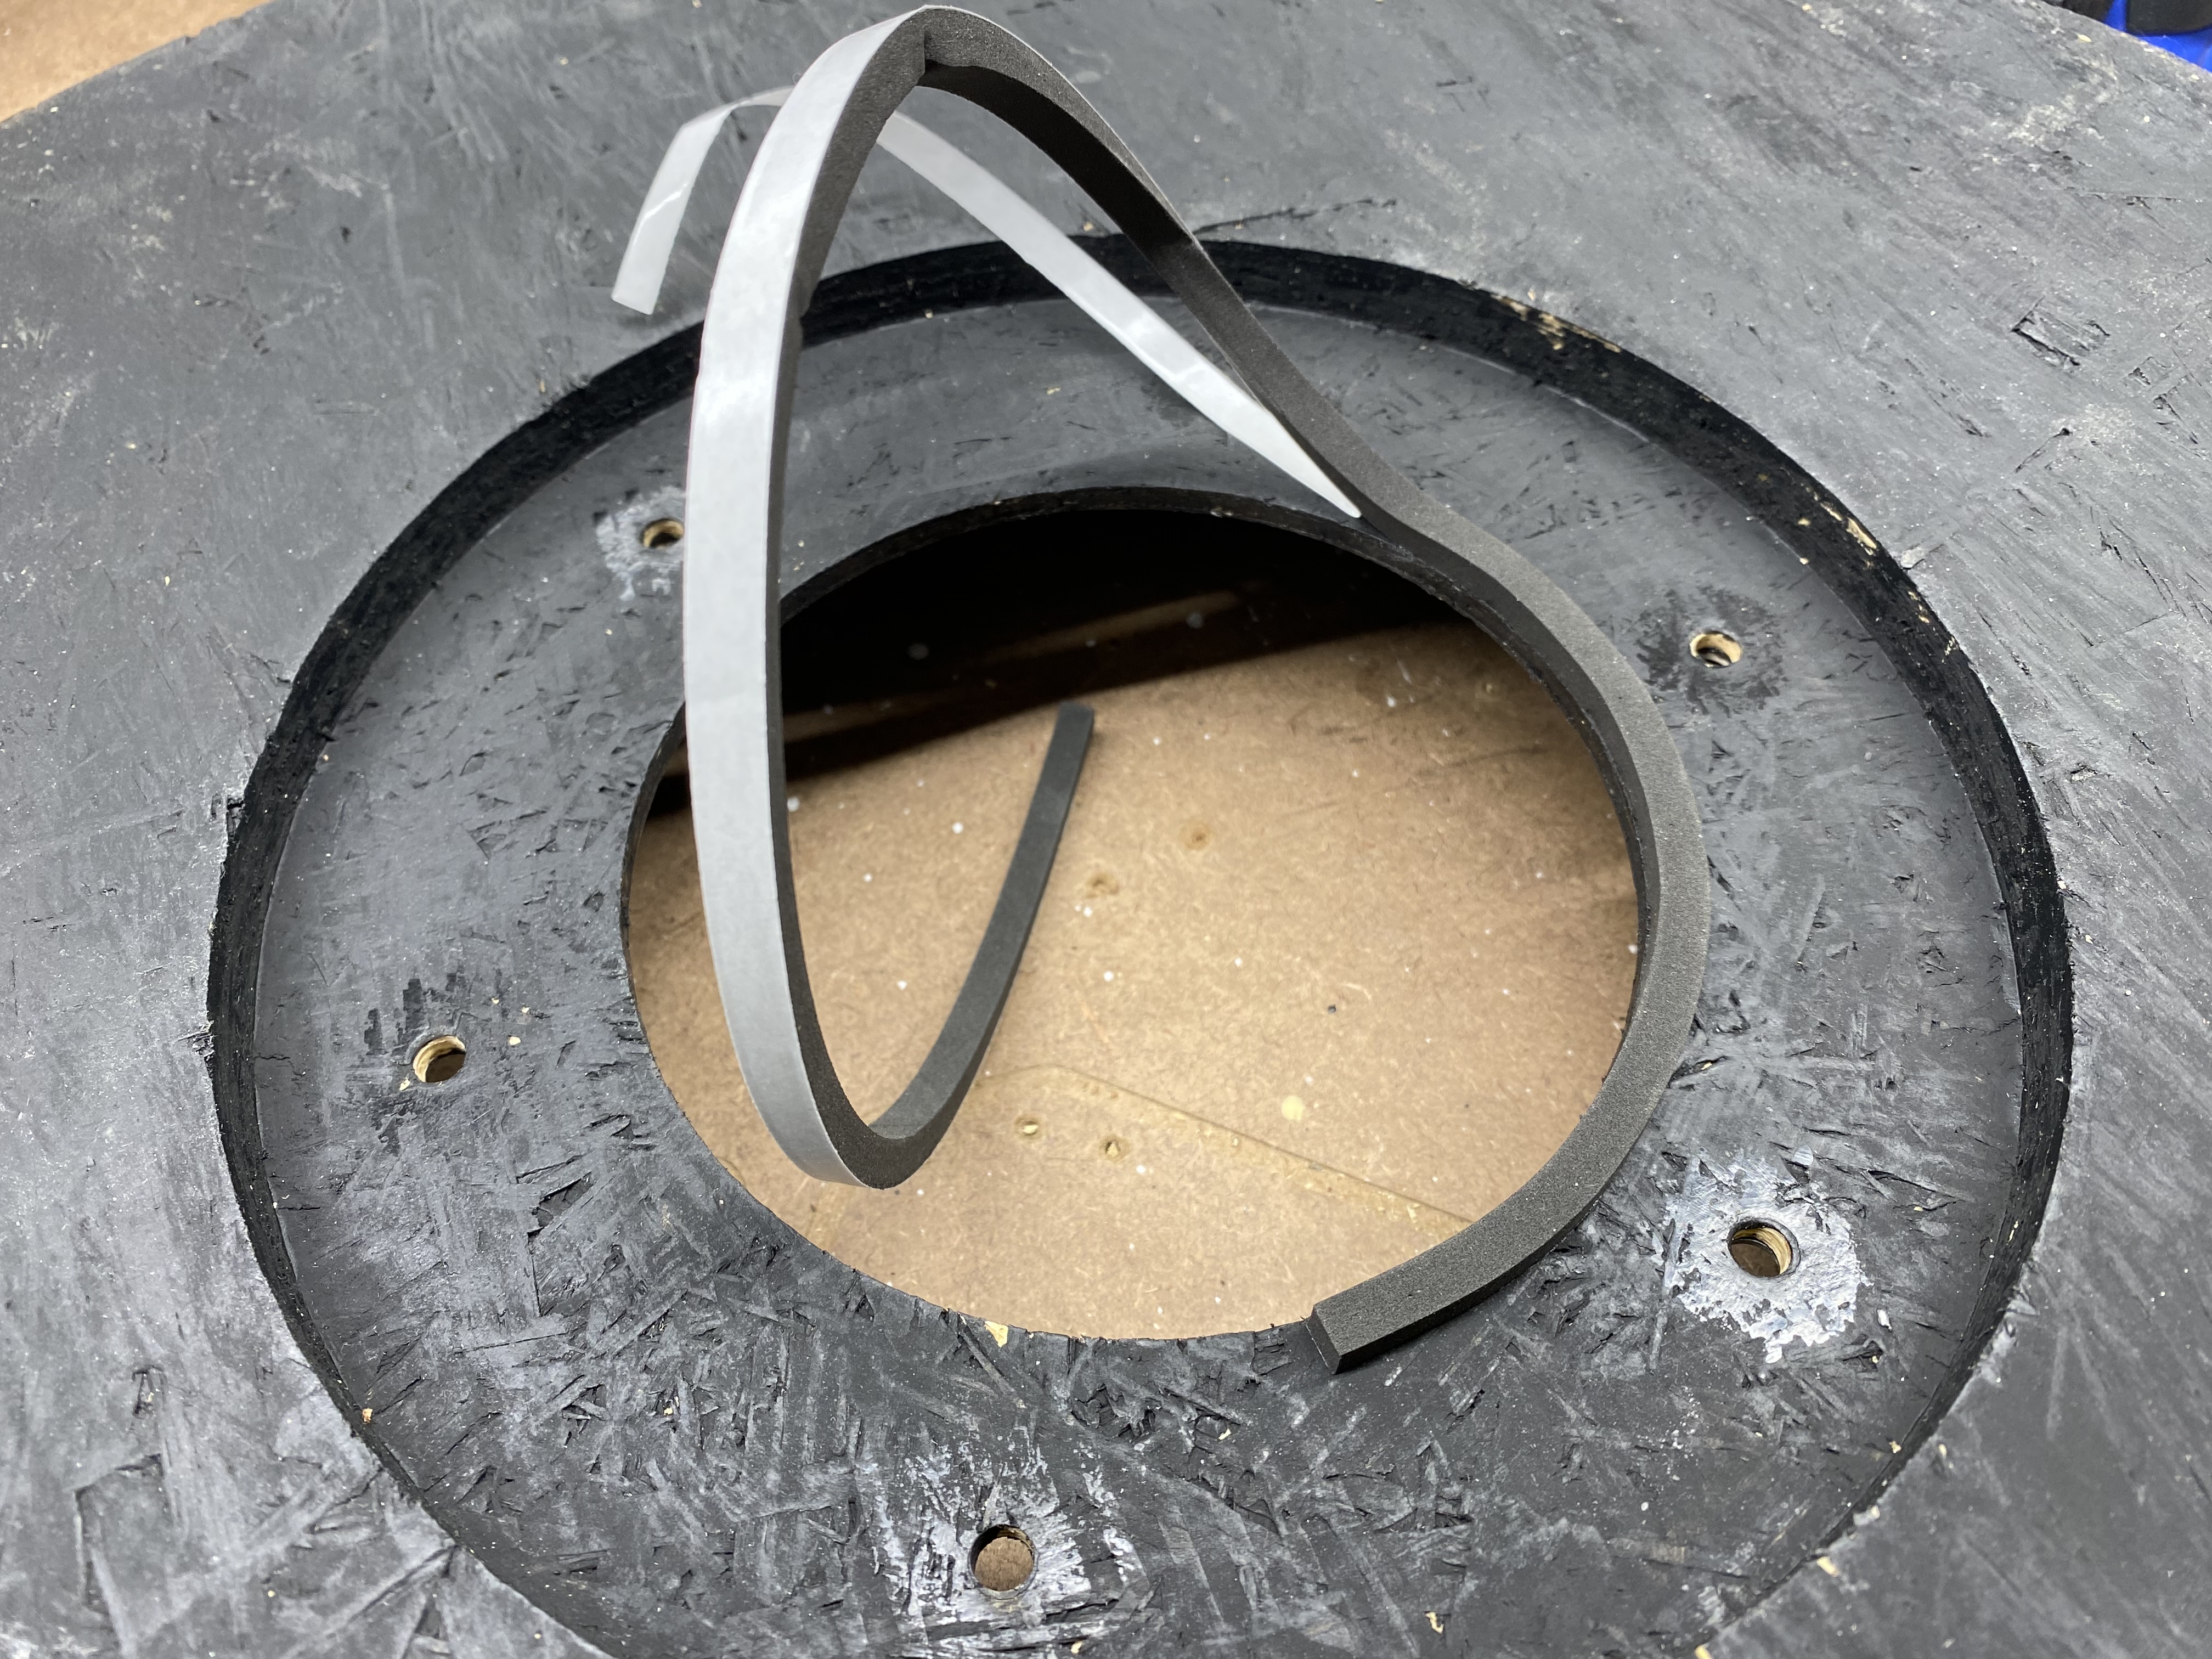
Time to peel and stick the foam gasket provided with the Super Dust Deputy 4/5.
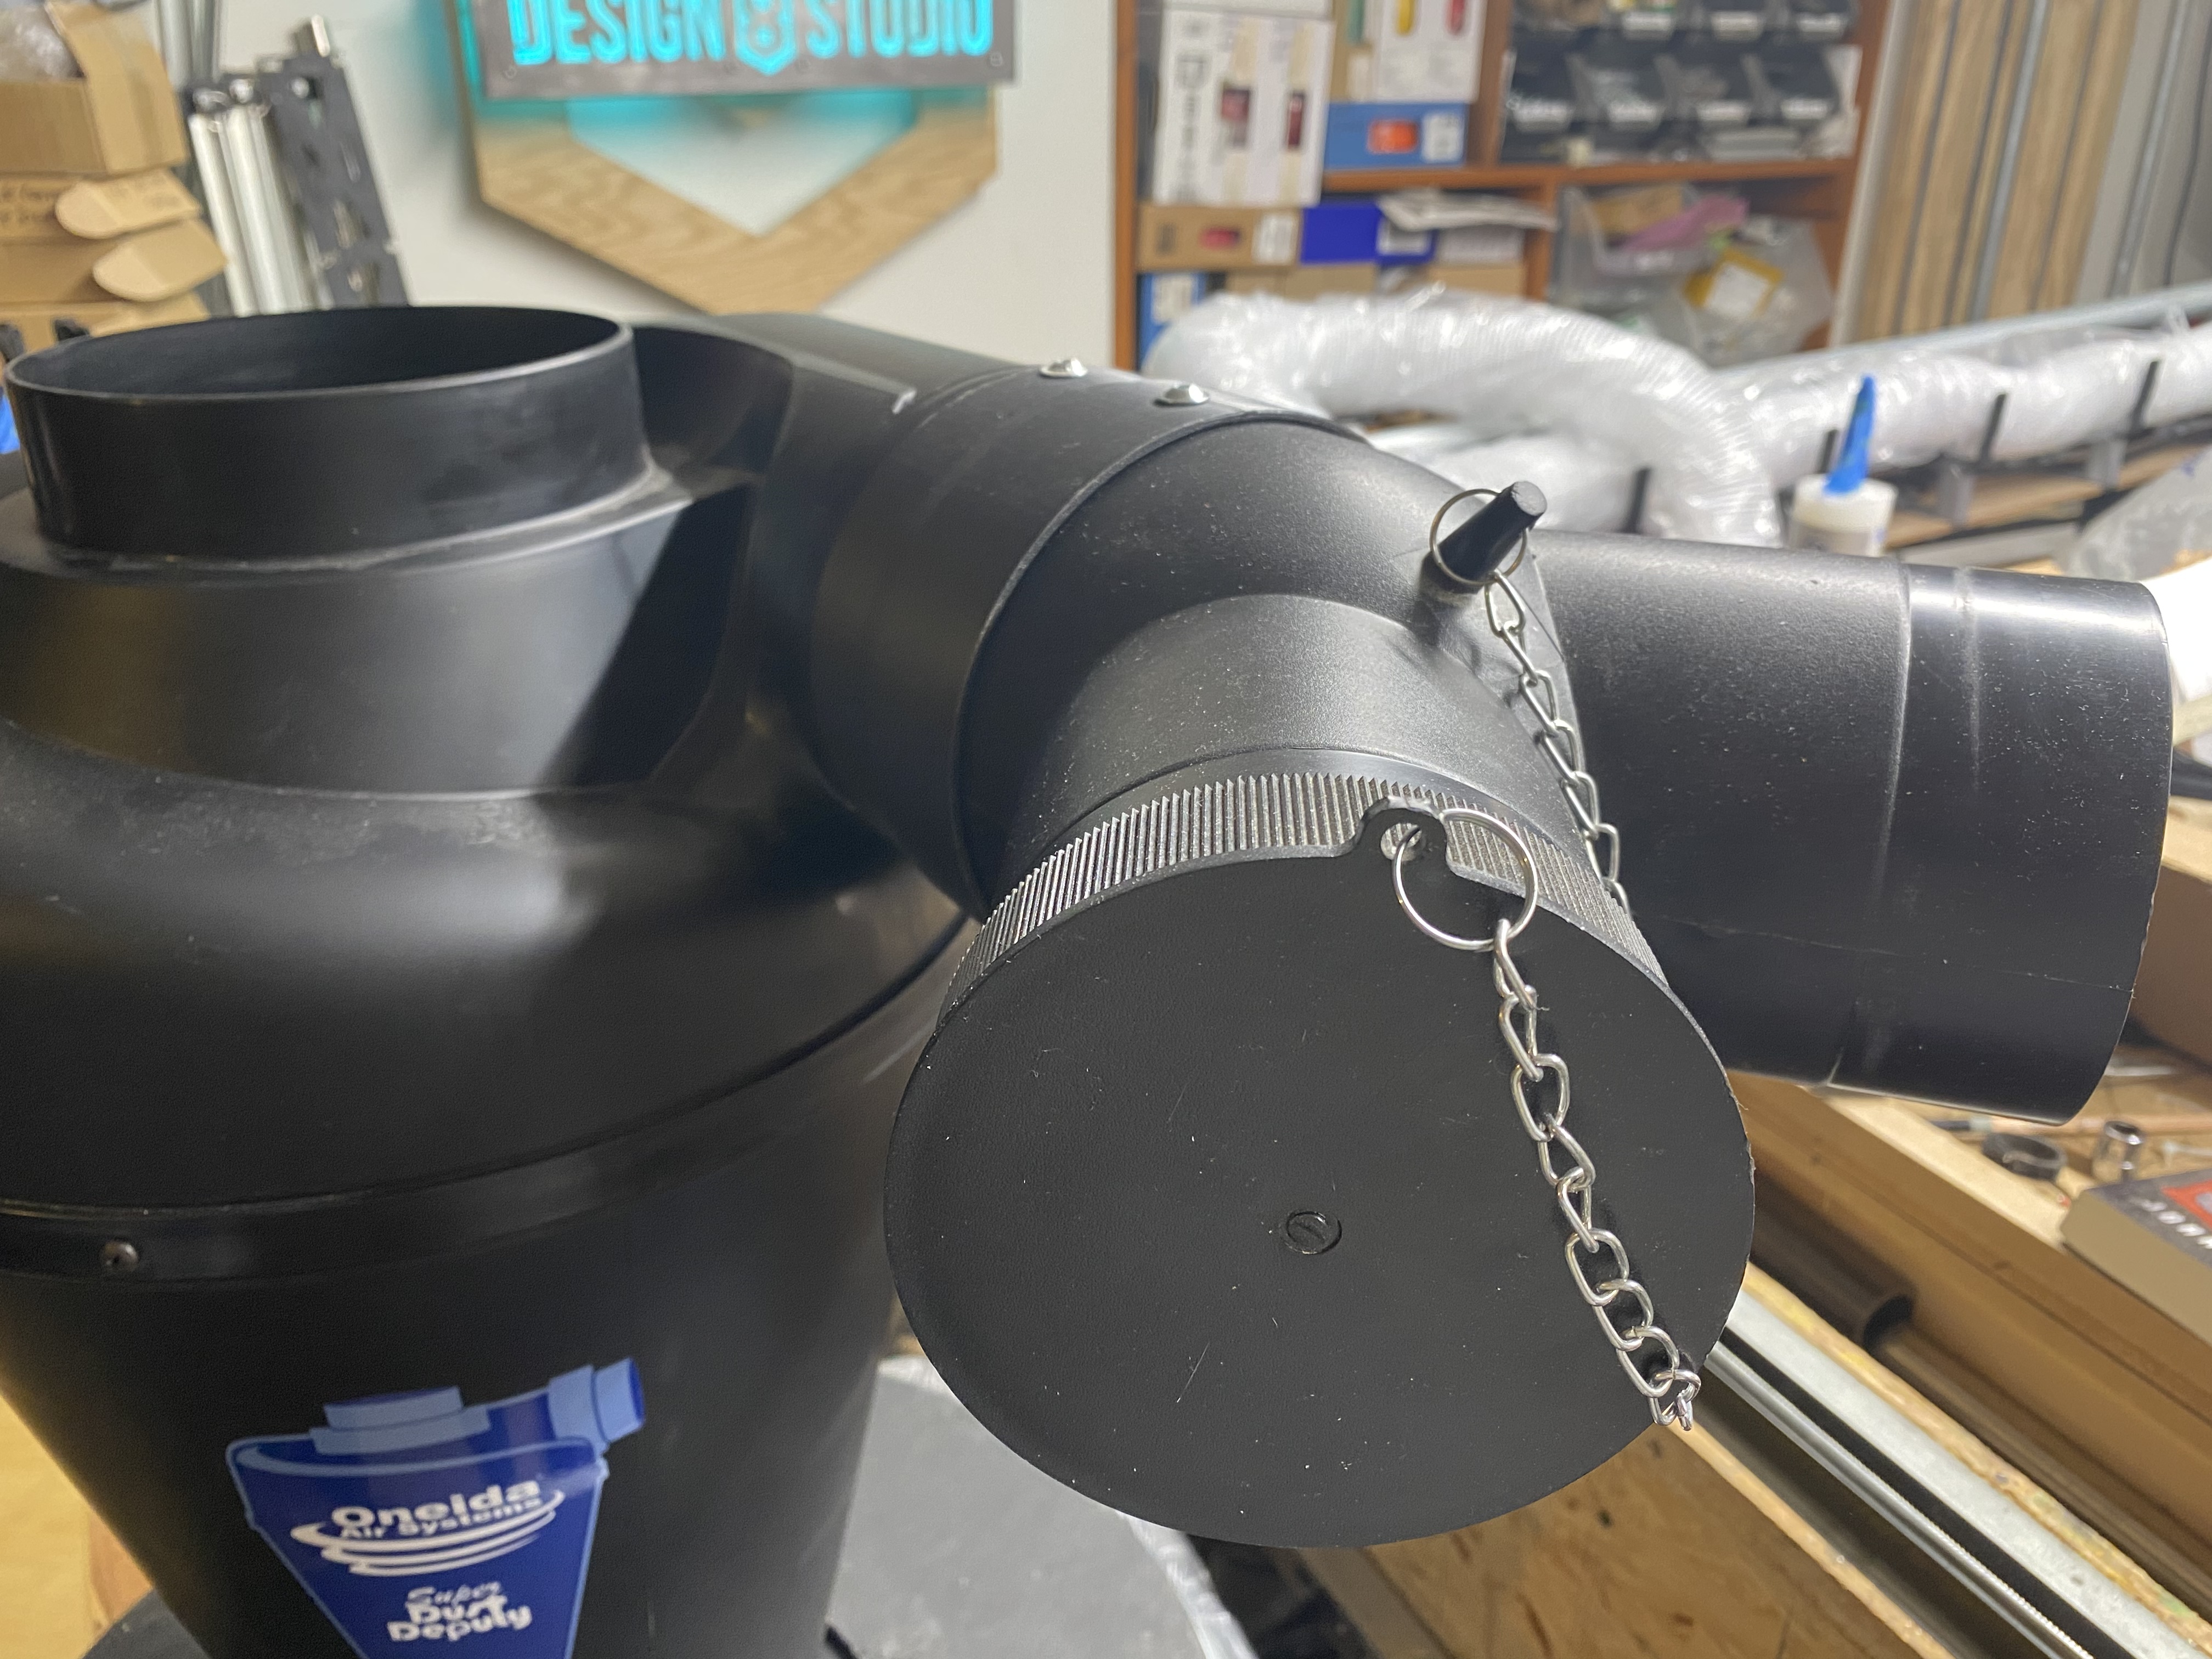
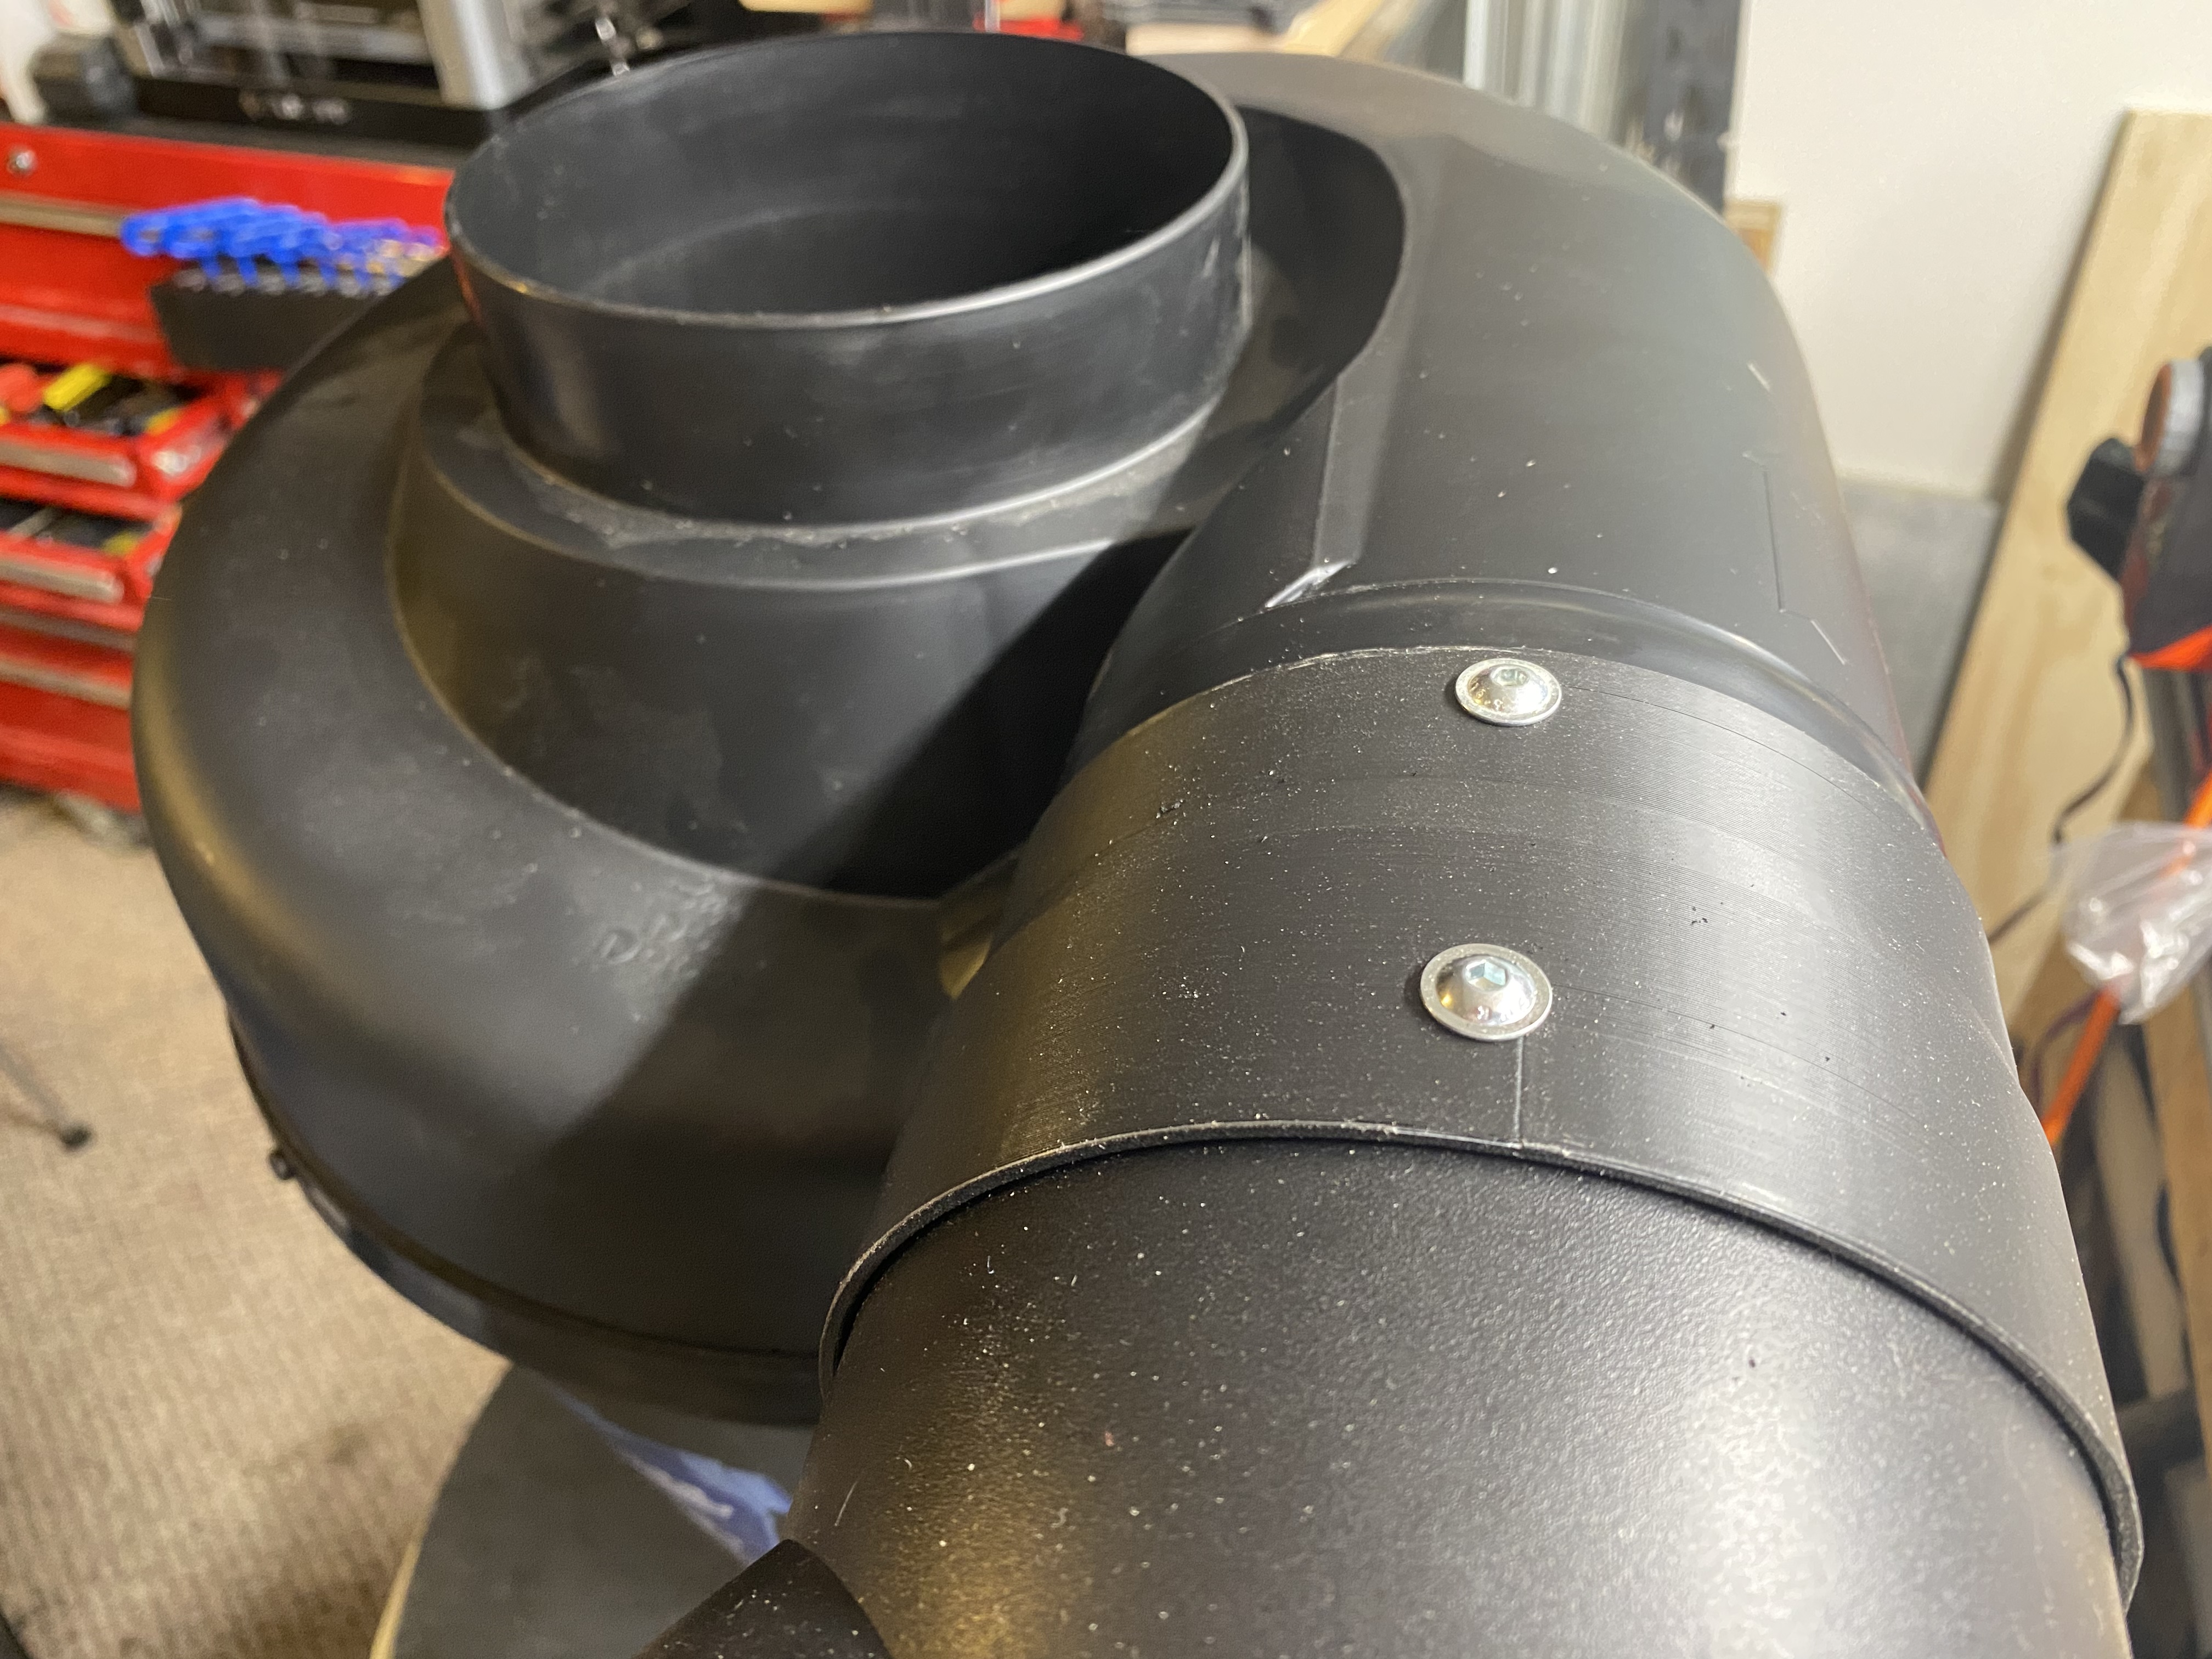
The Harbor Frieght Dust Collector comes with a 2-into-1 joiner at its dust-air inlet. It’s two 4" into one 5".
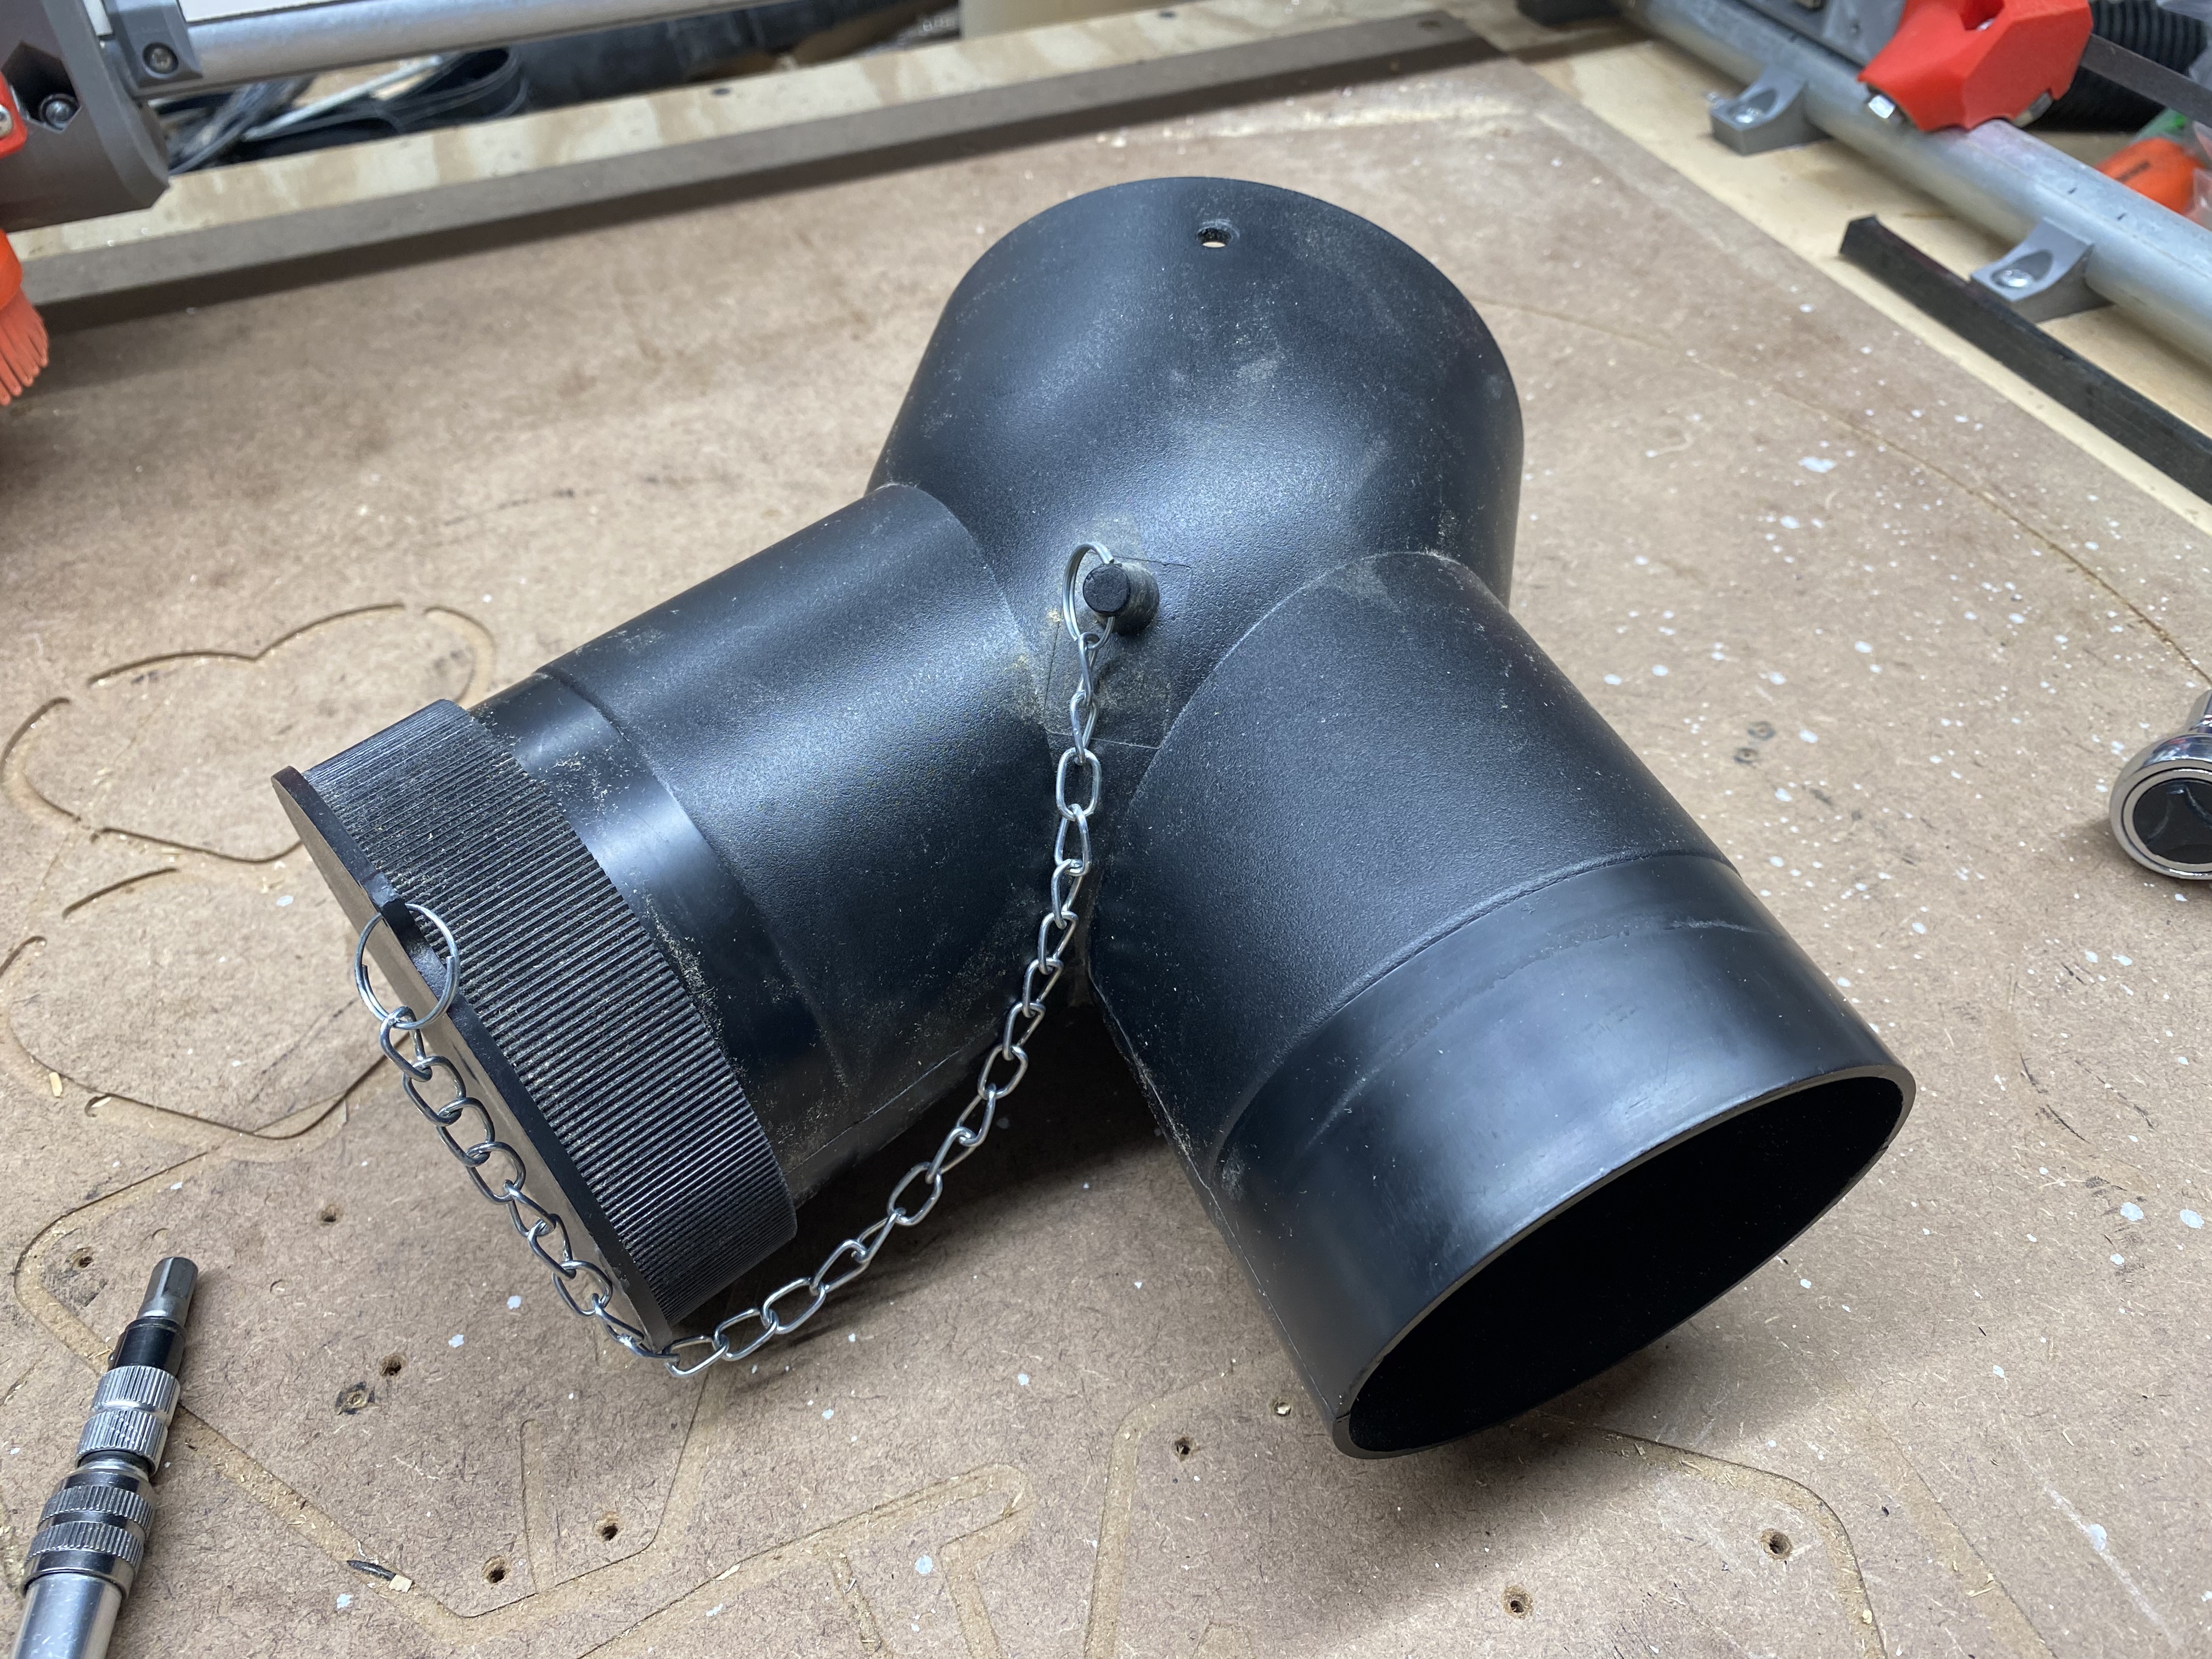
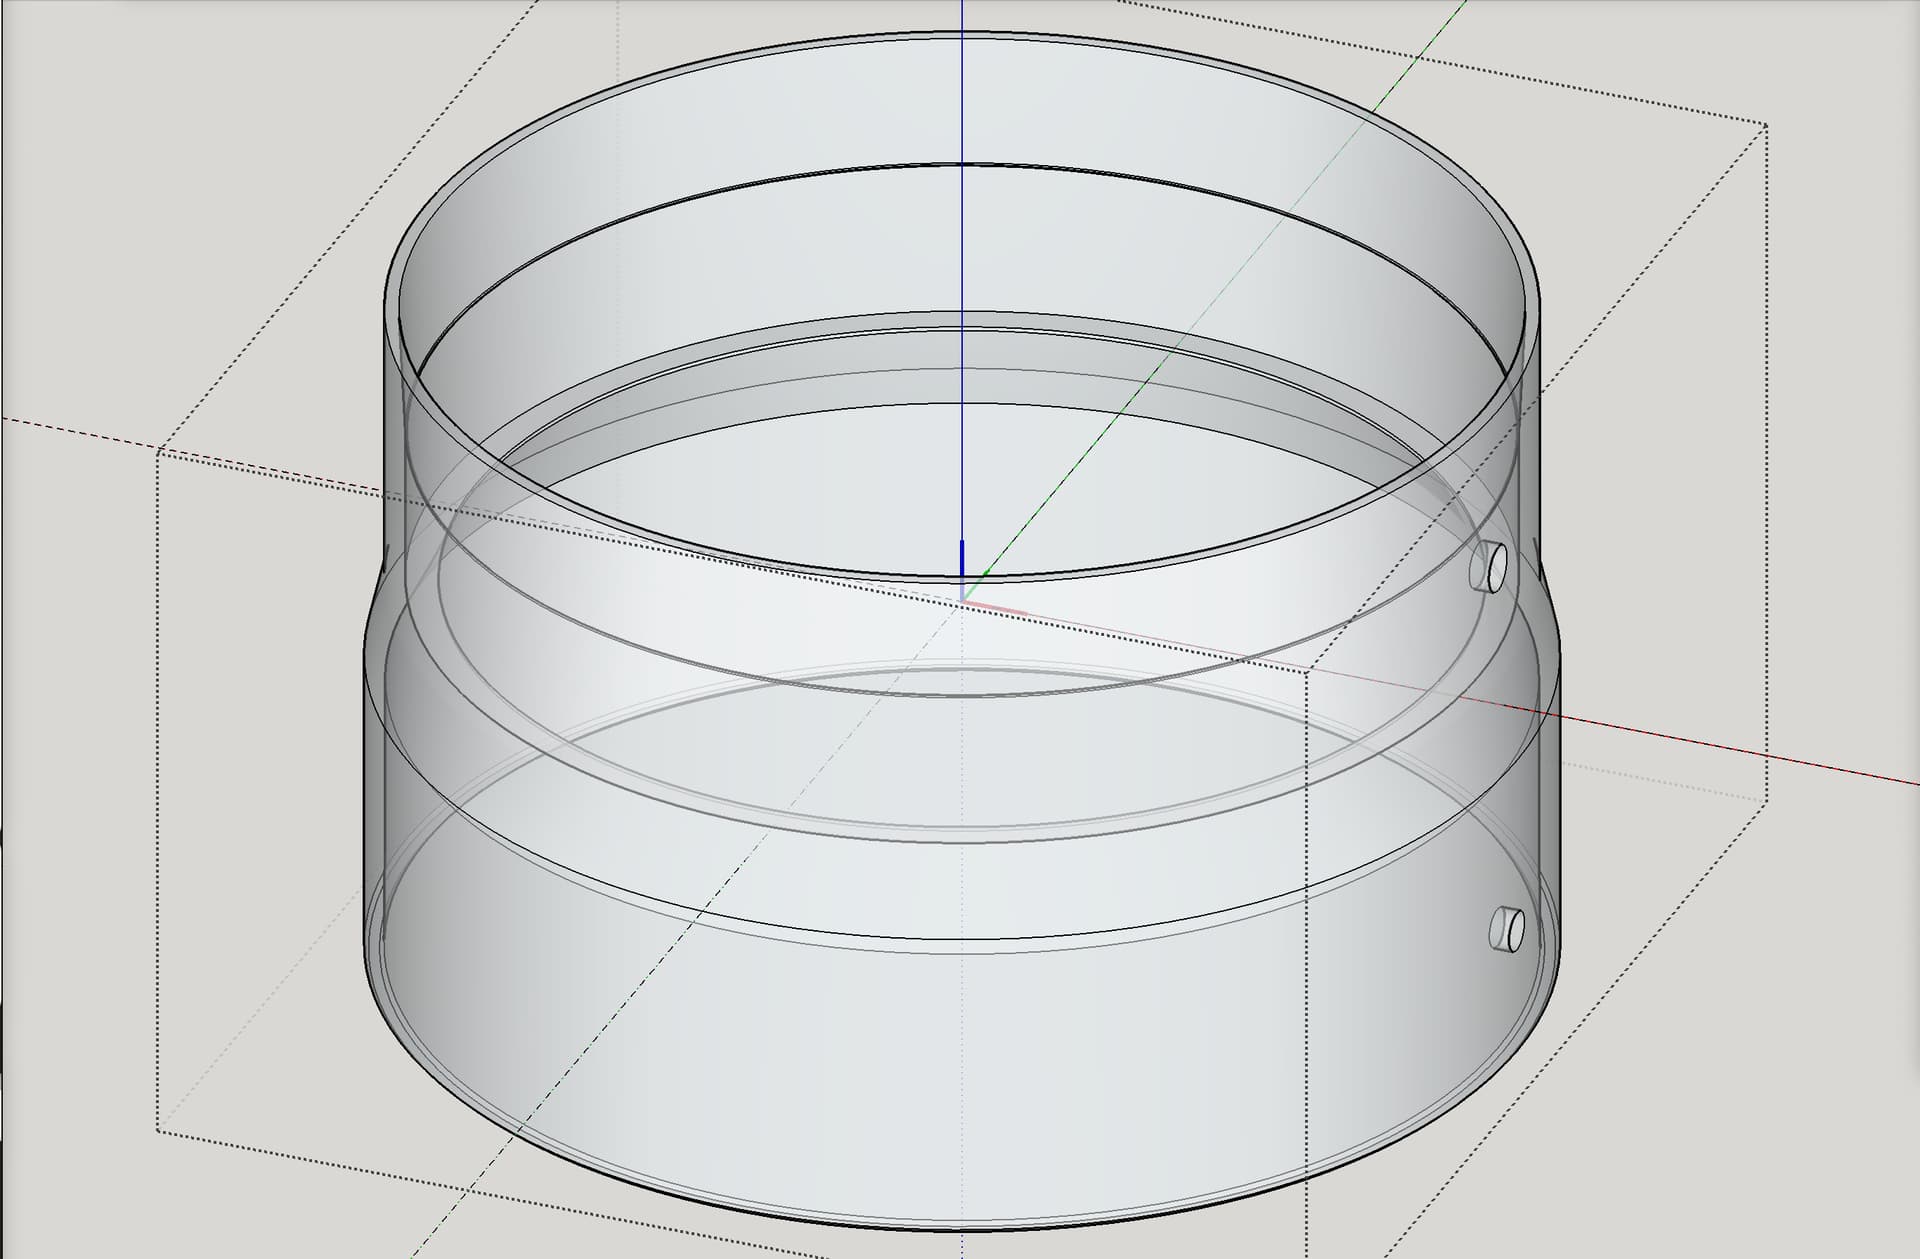
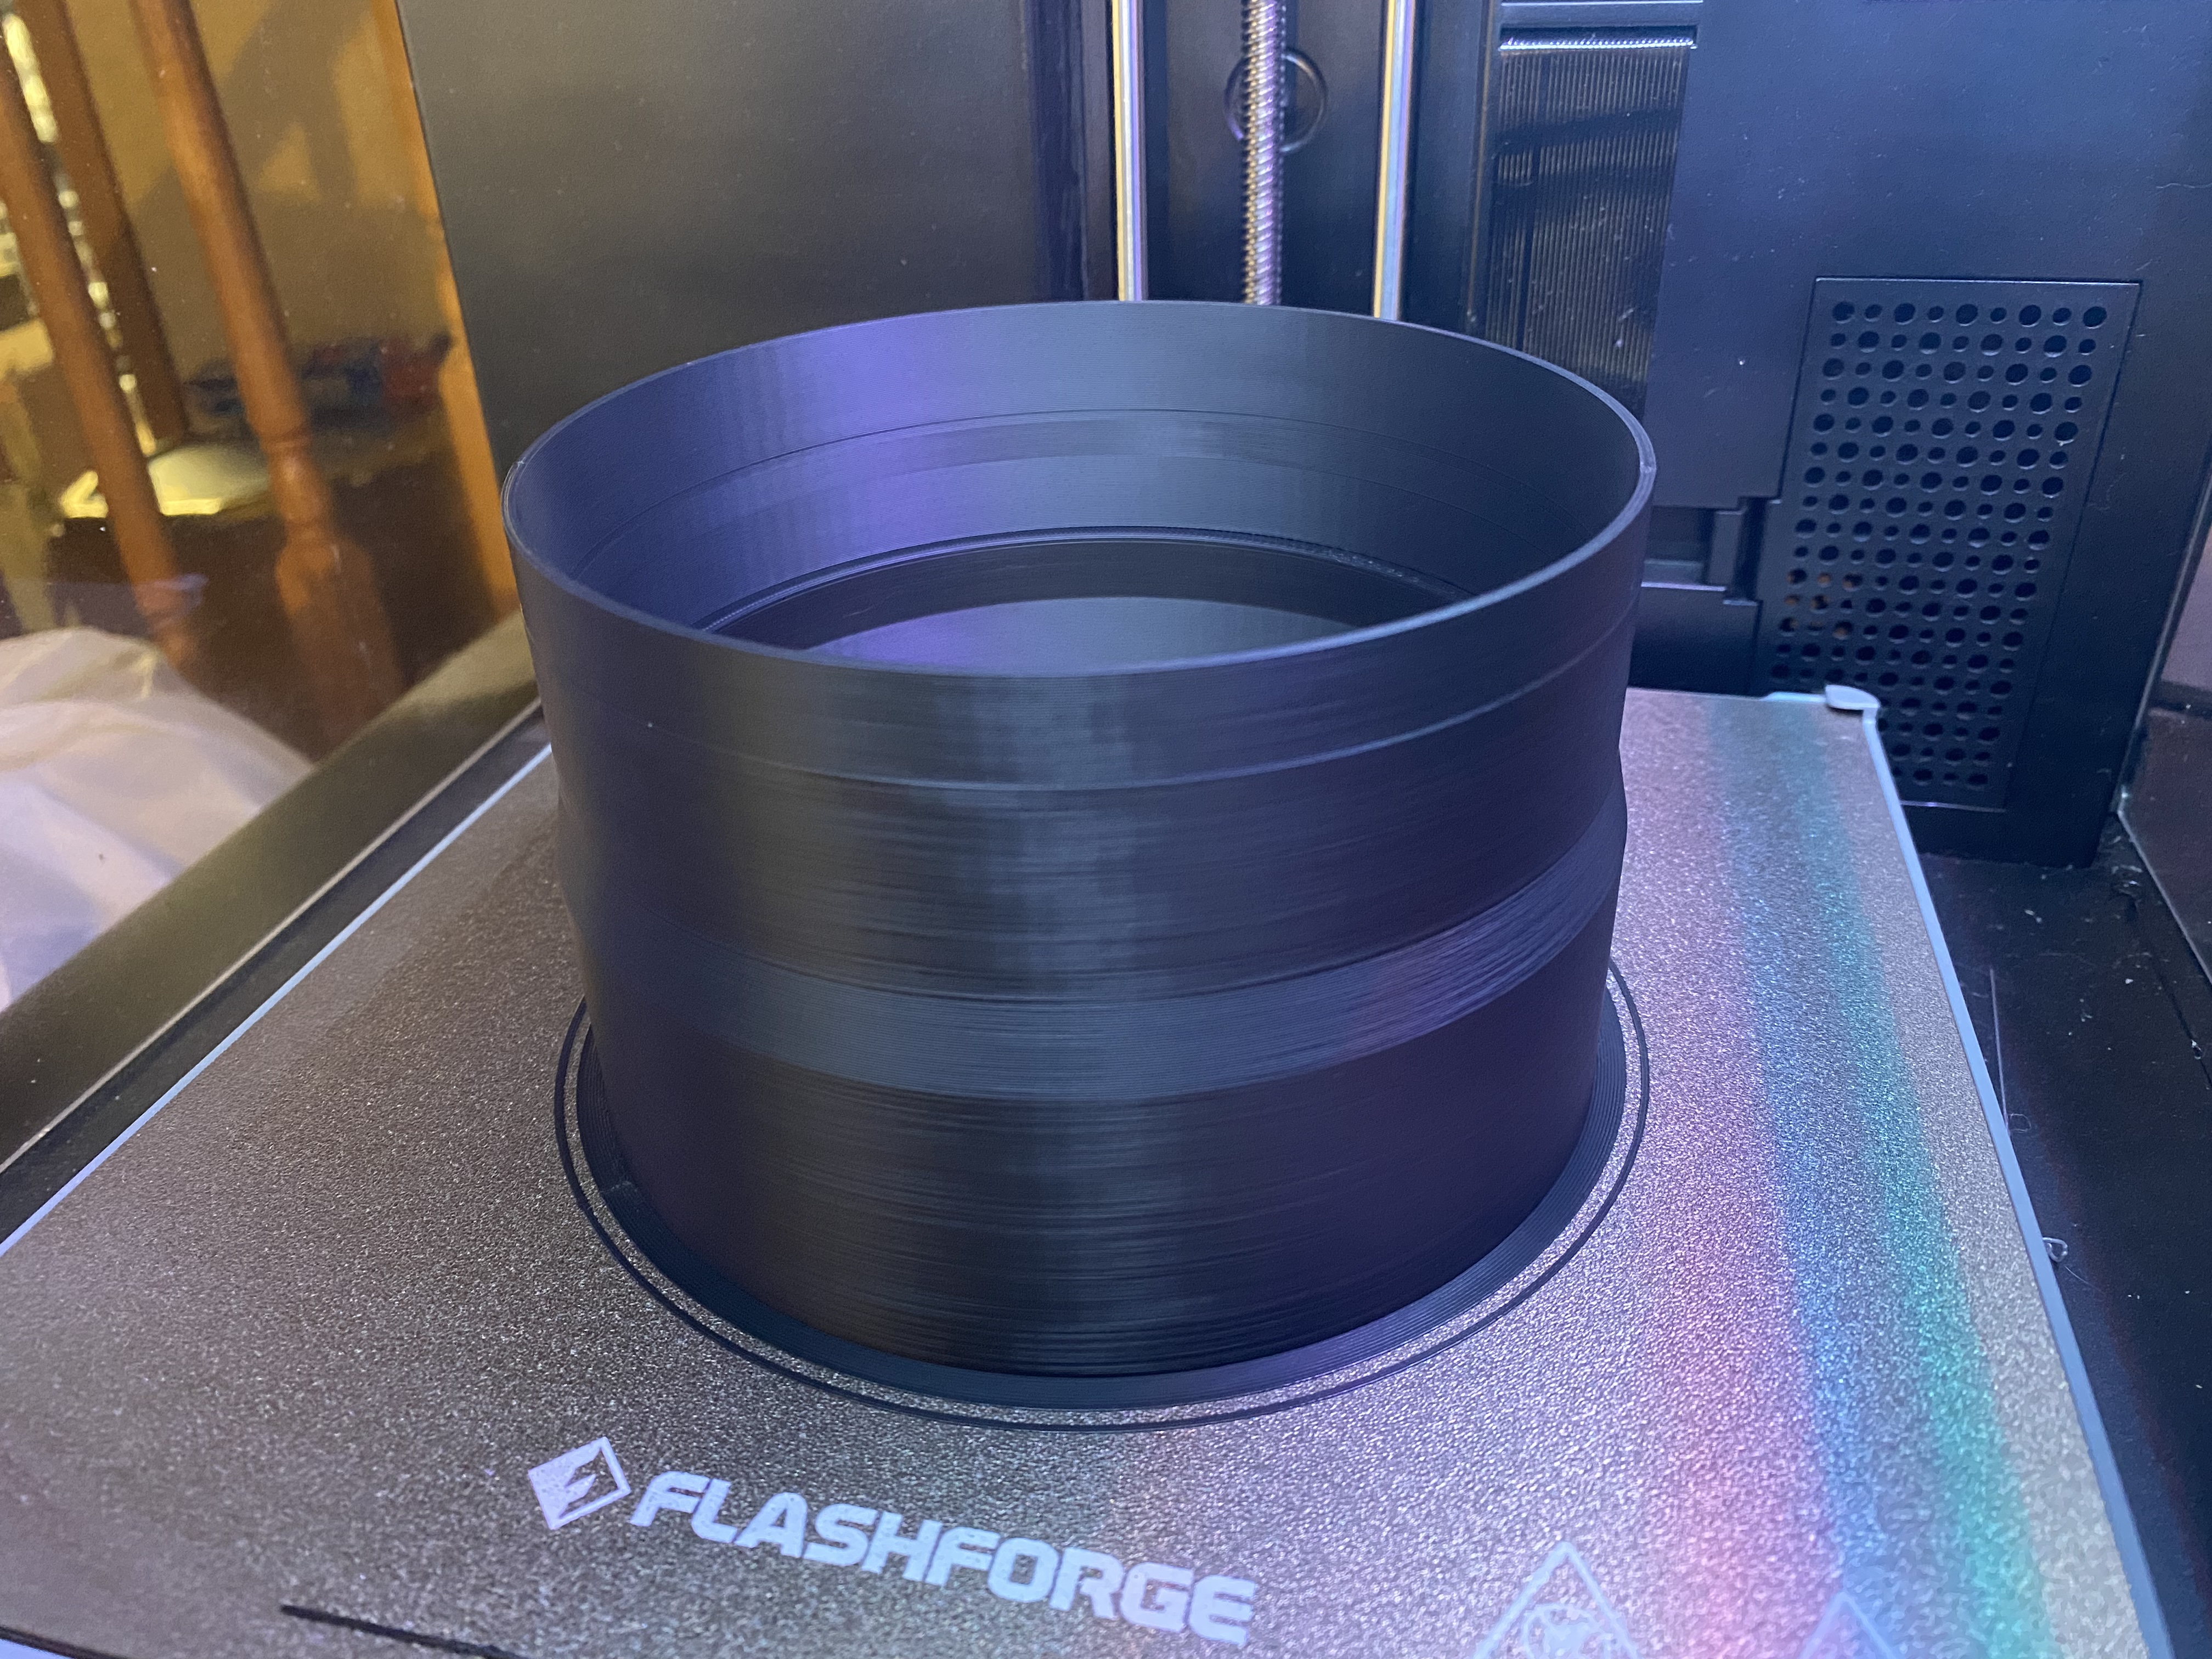
The Super Dust Deputy 4/5 can receive either 4" or 5" in from a tool hose, and either 4" or 6" out to the dust collector. Comes with two adapters (they both can either change the 5" in to a 4" in, or change the 6" out to a 4" out). But I want to preserve that 5" in and that 6" out. For the 5" in, I modeled up an adapter in SketchUp, which I am currently printing.

3 Likes
![]()
4" x 2
Area of a 4" circle = 12.57 in. sq.
Area of two 4" circles = 25.14 in. sq.
Compared to:
5" x 1
Area of a 5" circle = 19.63 in. sq.
… one 5" is almost as big as two 4" … that is, one 5" is 78.12% of two 4".
And compared to:
6" x 1
Area of a 6" circle = 28.27 in. sq.
… one 6" is bigger than two 4" … that is, one 6" is 112% of two 4".
Just the step file or fusion file would be great but even the STL as is would be cool.
Using a plane cut and shortening or extending the middle section to the correct width is relatively straight forward - its the profile and hinges I wouldn’t do as good a job as you have on!
1 Like
Now it’s a trashcan, not a trashcan’t! ![]()
1 Like
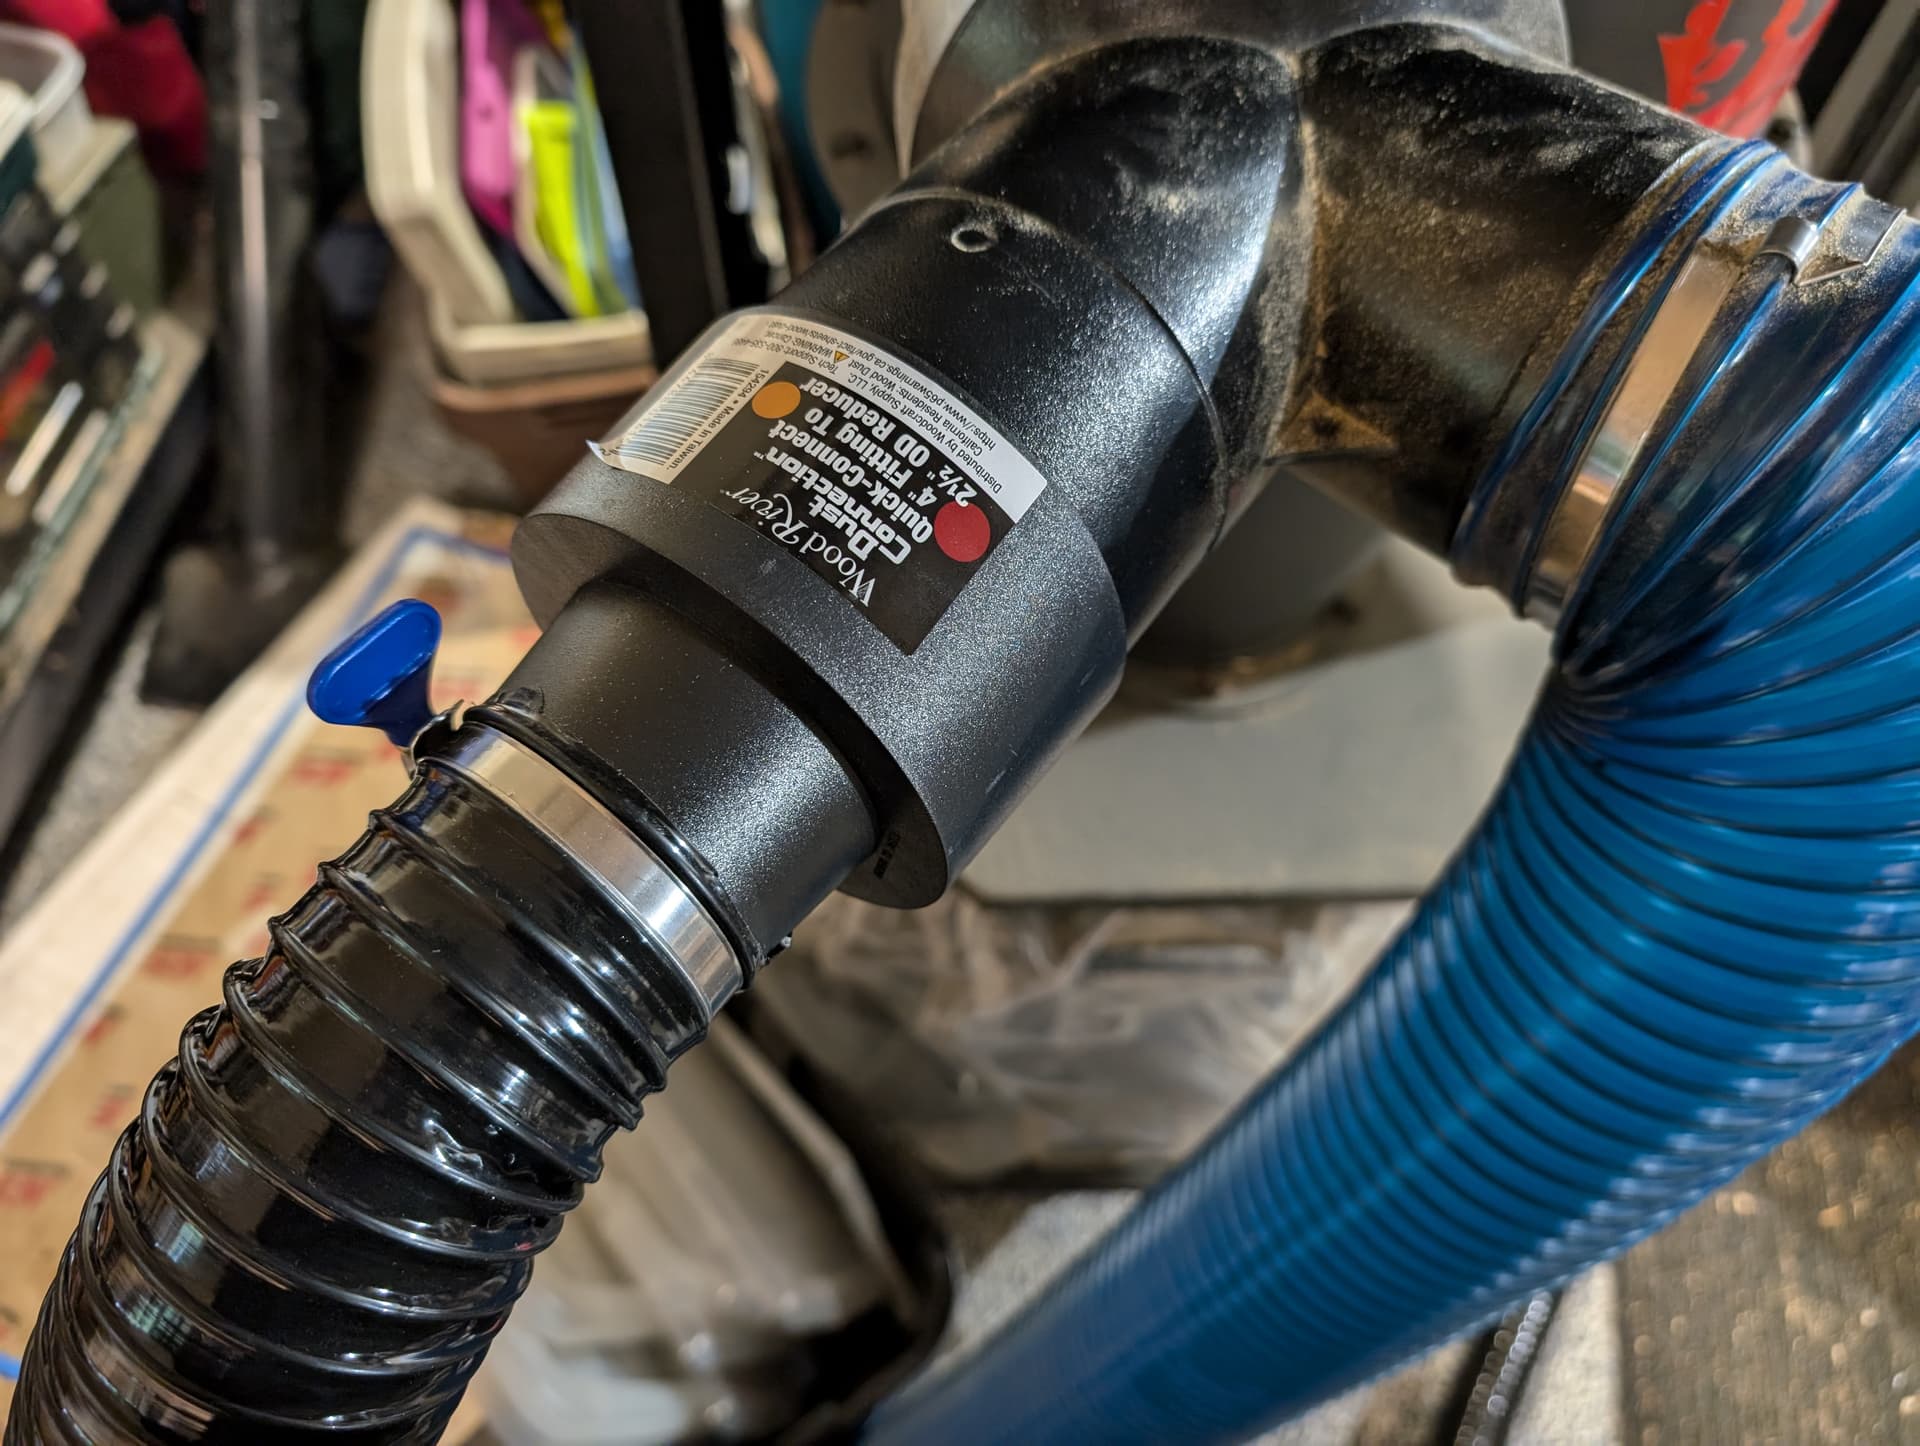
Thanks for this, made me decide to go ahead with a 2.5", A=4.9 in^2 hose instead of my 1.5", A=1.76 in^2. More than twice the area! Not sure exactly how that would work out for airflow, but sure seems like a big jump. I’m still adapting it to my 4" dust collector, but should get some substantial benefit with the bigger hose.
1 Like
Great! My understanding is that with a dust collector made for 4" hose / pipe, you want to stay at 4" for as close to the tool as you can, and if you have to reduce, make the reduction no smaller than 2.5" and as short a run of that as is doable. My Harbor Freight dust collector is made to support two 4" runs (I’m not sure if it supports use of two 4" running simultaneously?). I never use two 4" at the same time. Almost always, the 4" is getting reduced to 2.5" — relatively close to the tool / machine. It seems to work quite well.
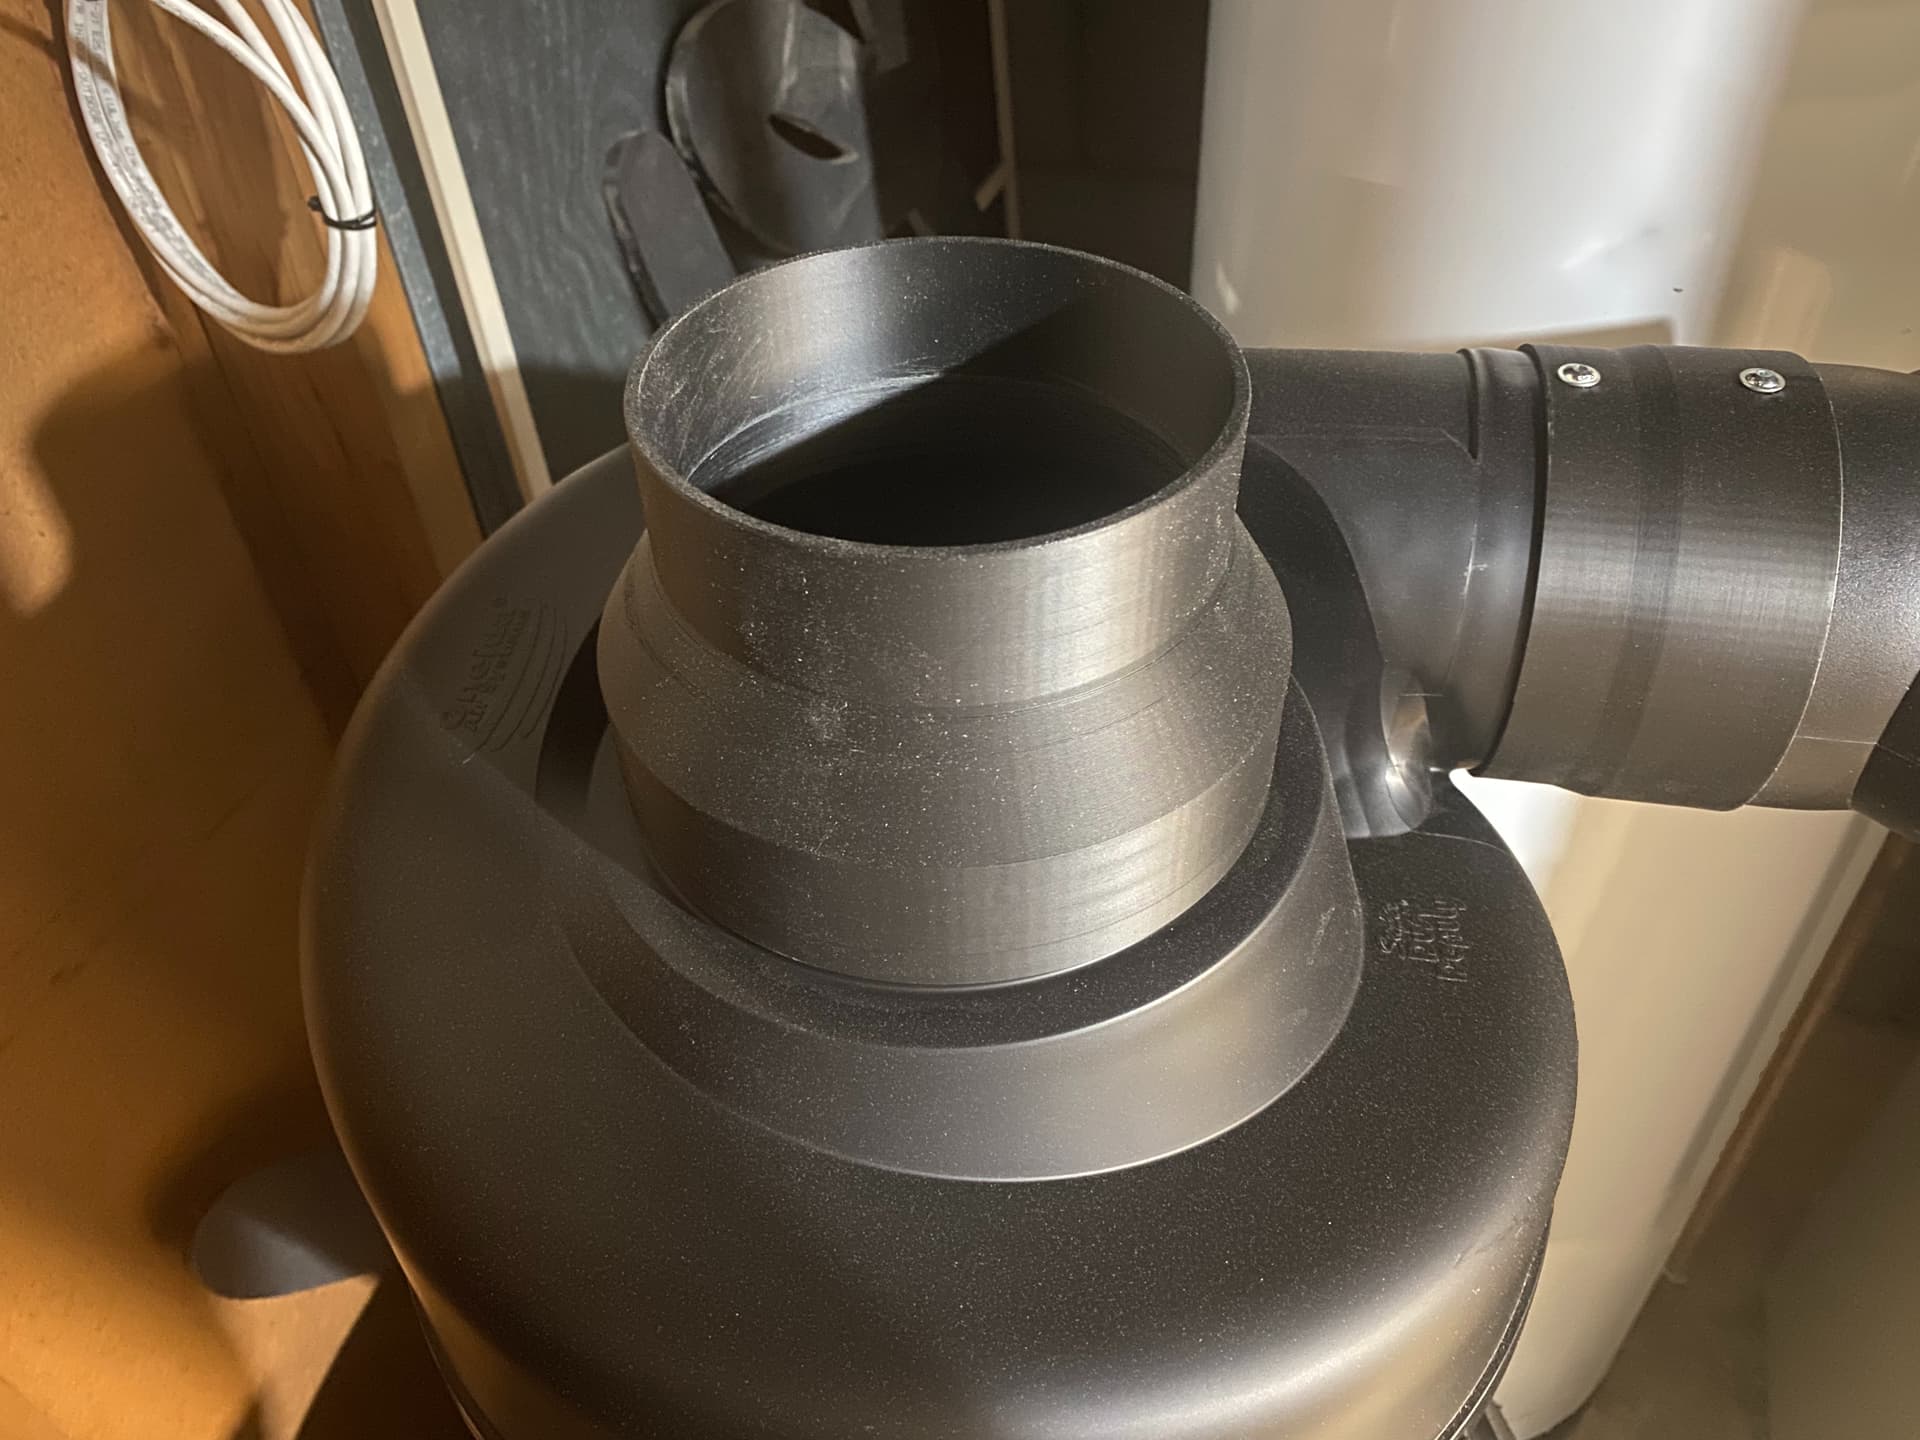
Soon I will connect to the 2nd stage with the Super Dust Deputy 4/5, and will try to report back what that looks like for LowRider dust shoe.
If you cannot get ahold to an injection molded one in time and affordably, they can be printed!
1 Like
Also, I wanted to mention one printable model in particular. This one
If you have ever had a store bought, injection molded one get clogged with fine dust and need cleaned out to be able to seal, then you know it’s a bit of a headache. The one shown here, has it so the end can be be popped off, to shove the fine dust out the end, with a closing of the gate type motion, and then snap the end back in, friction fit. Like, like.
(Not my model. I heard about in a YouTube video.)
1 Like
The link for the printable item mentioned in this post is here:
Also, here’s a link for the adapter for the “Y” (posted about above) as well:
The Skinny
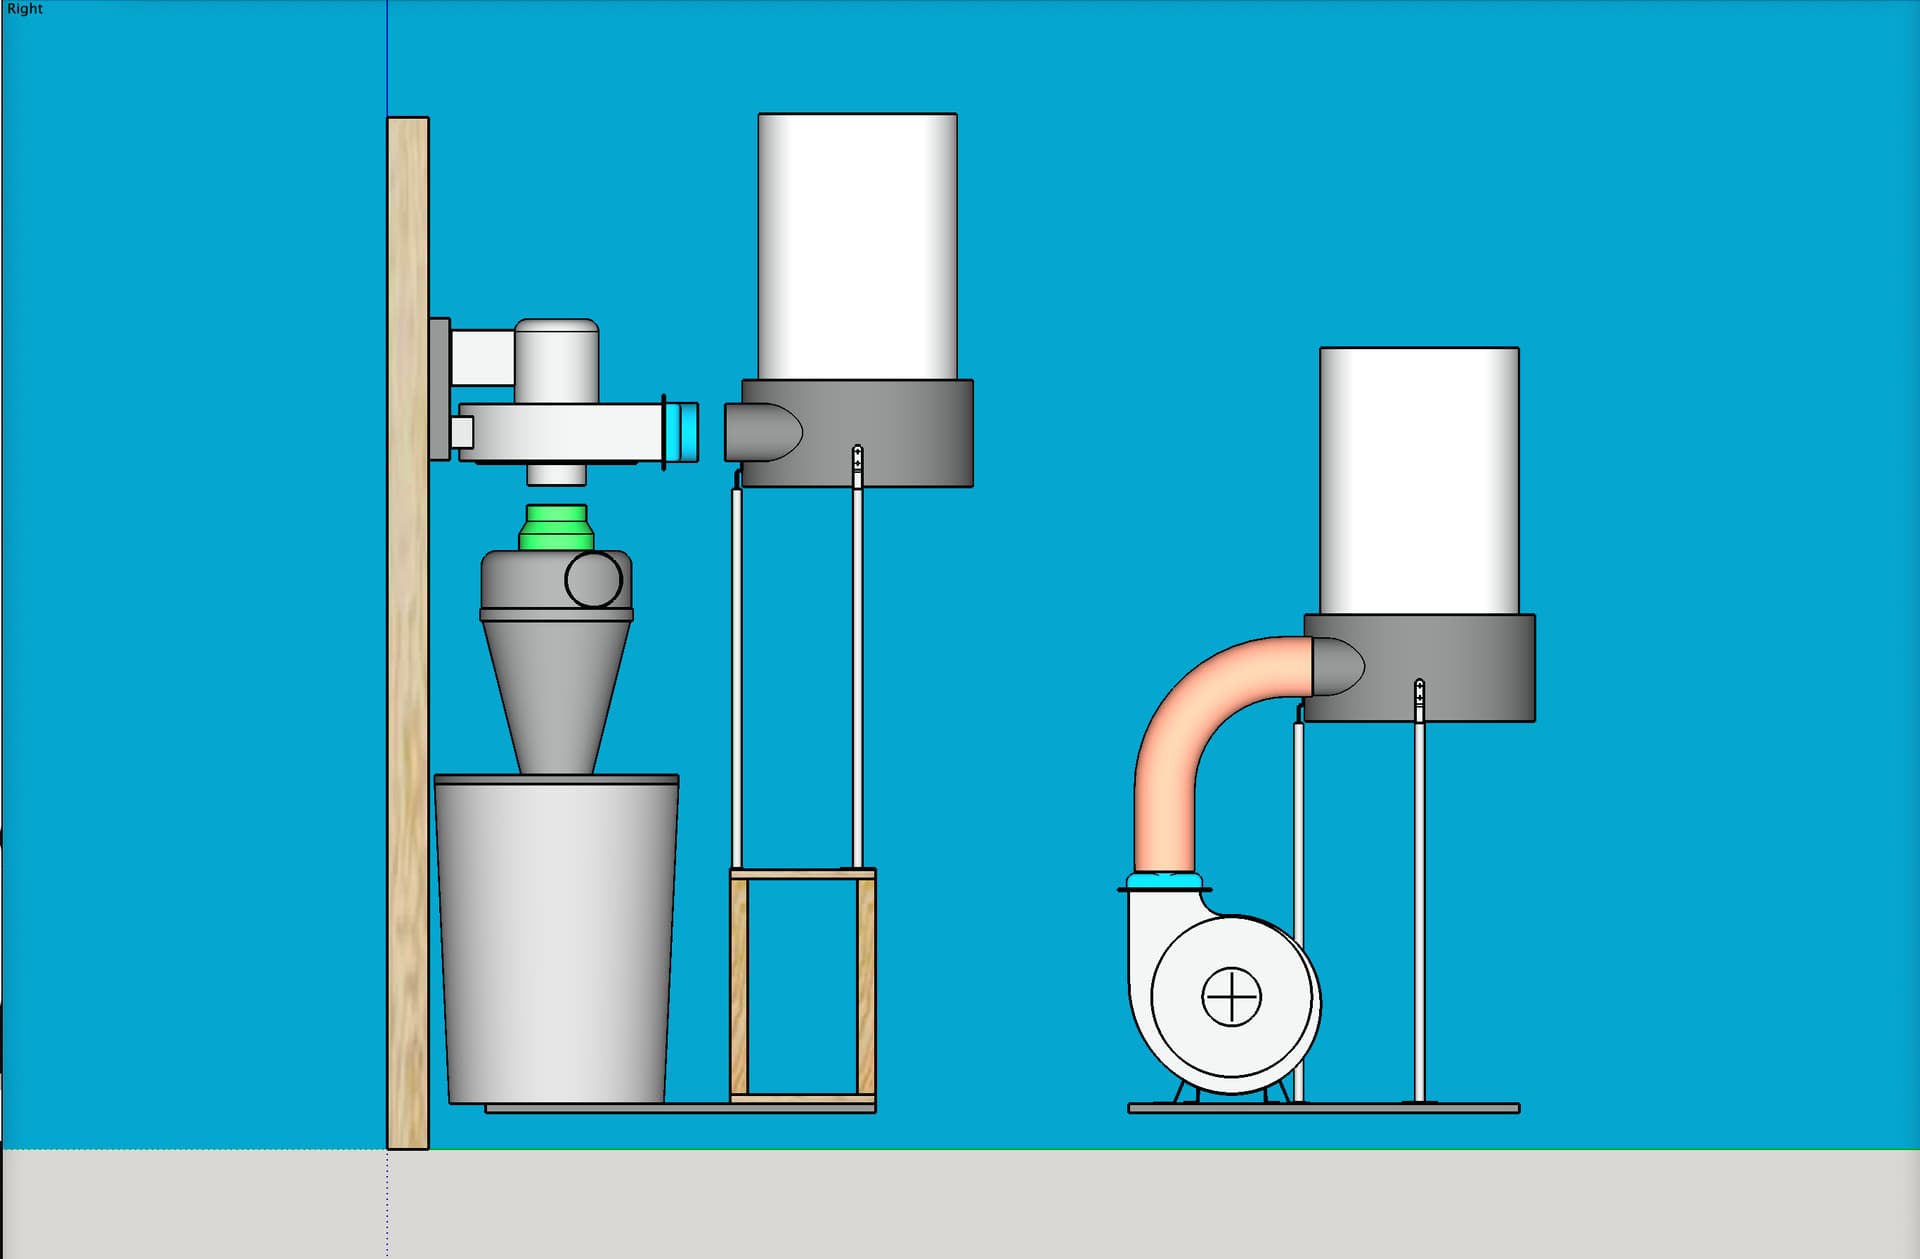
Ok, so I mocked up my stock, store-bought Harbor Freight 2HP dust collector, so I could plan for rearranging its parts to make my setup 2-stage instead of 1-stage.
In real life the stock factory version was positioned on the left, but in these screen shots, I (virtually) moved it to the right so it could be compared with the re-arranged version now on the left.
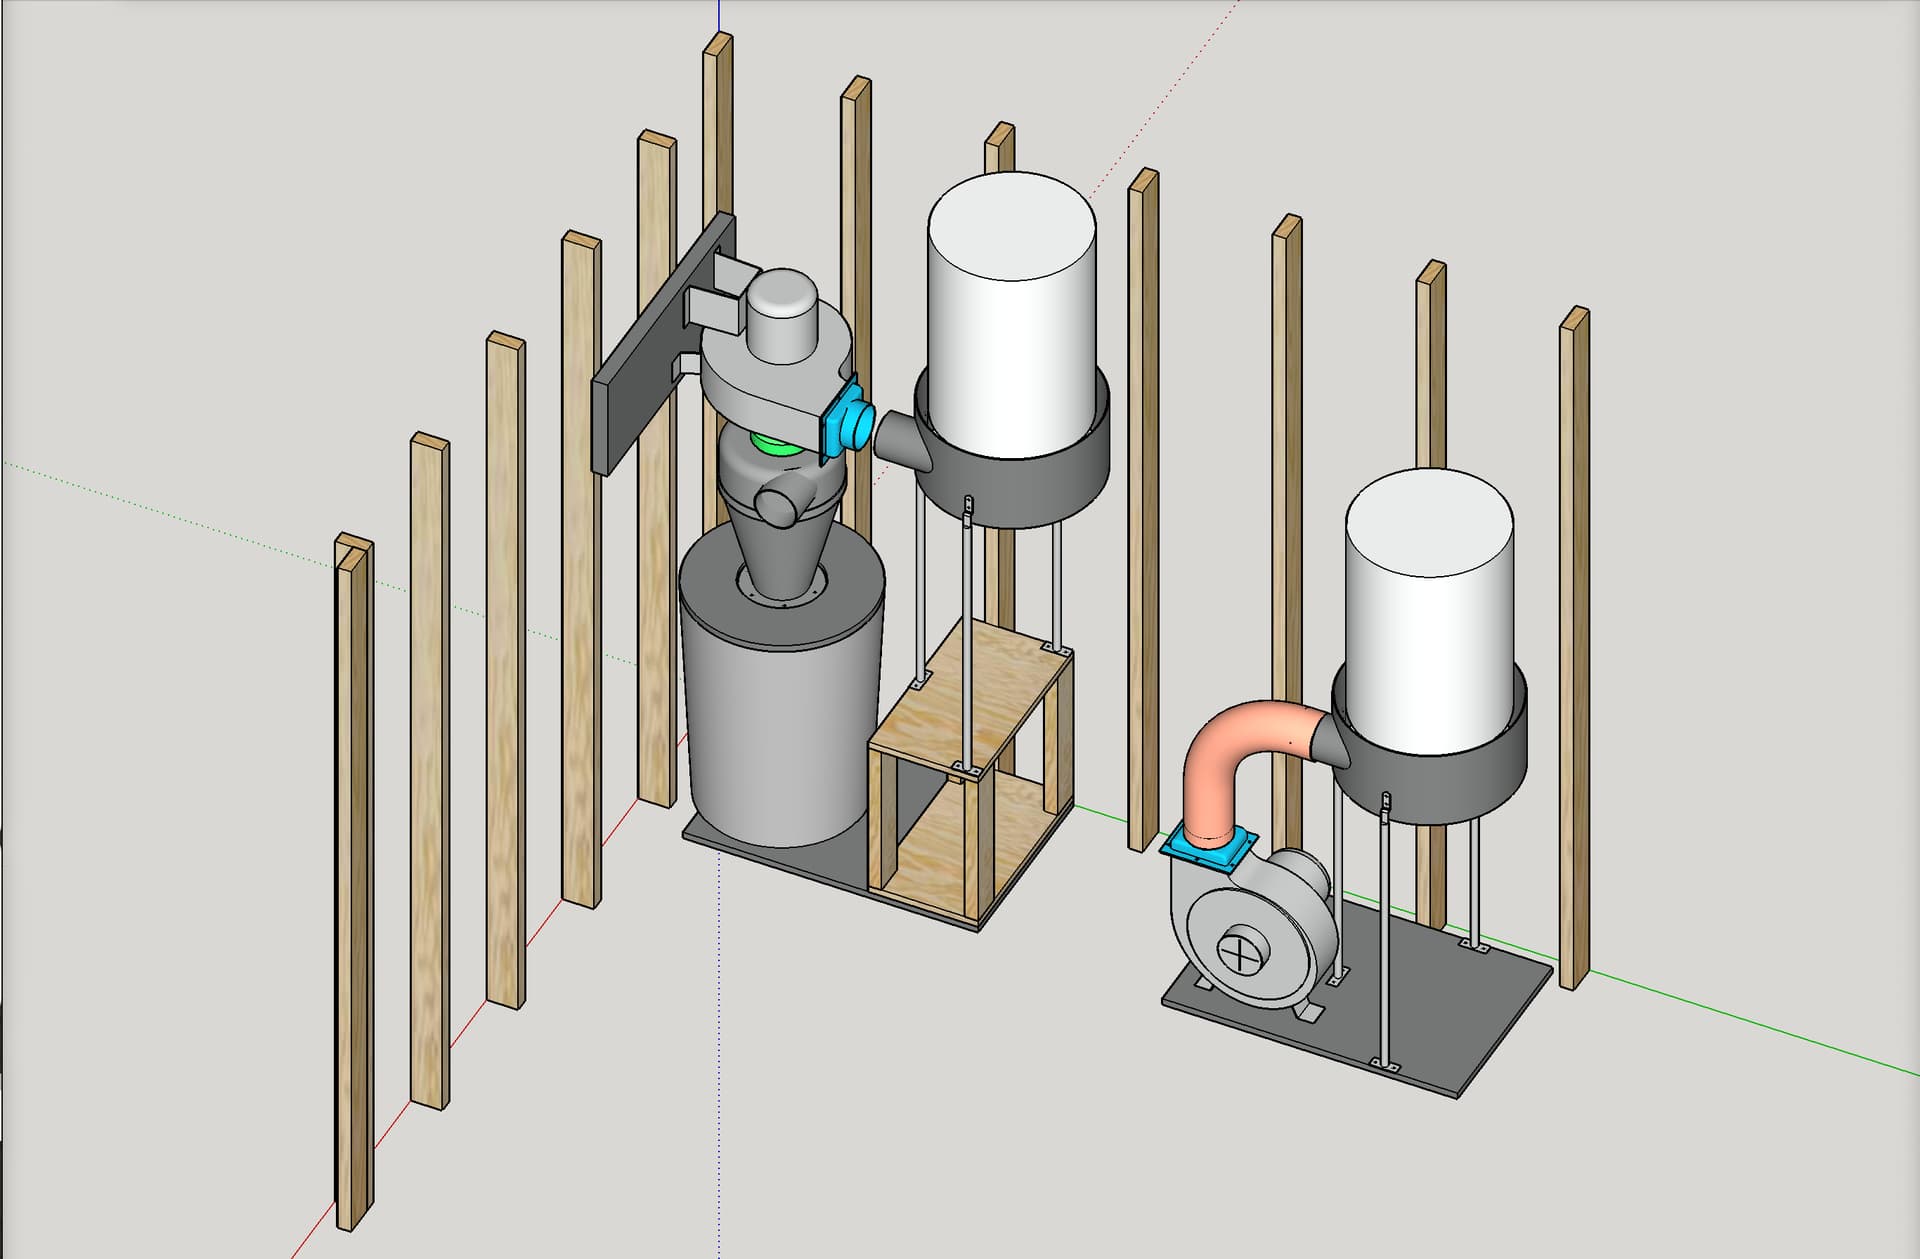
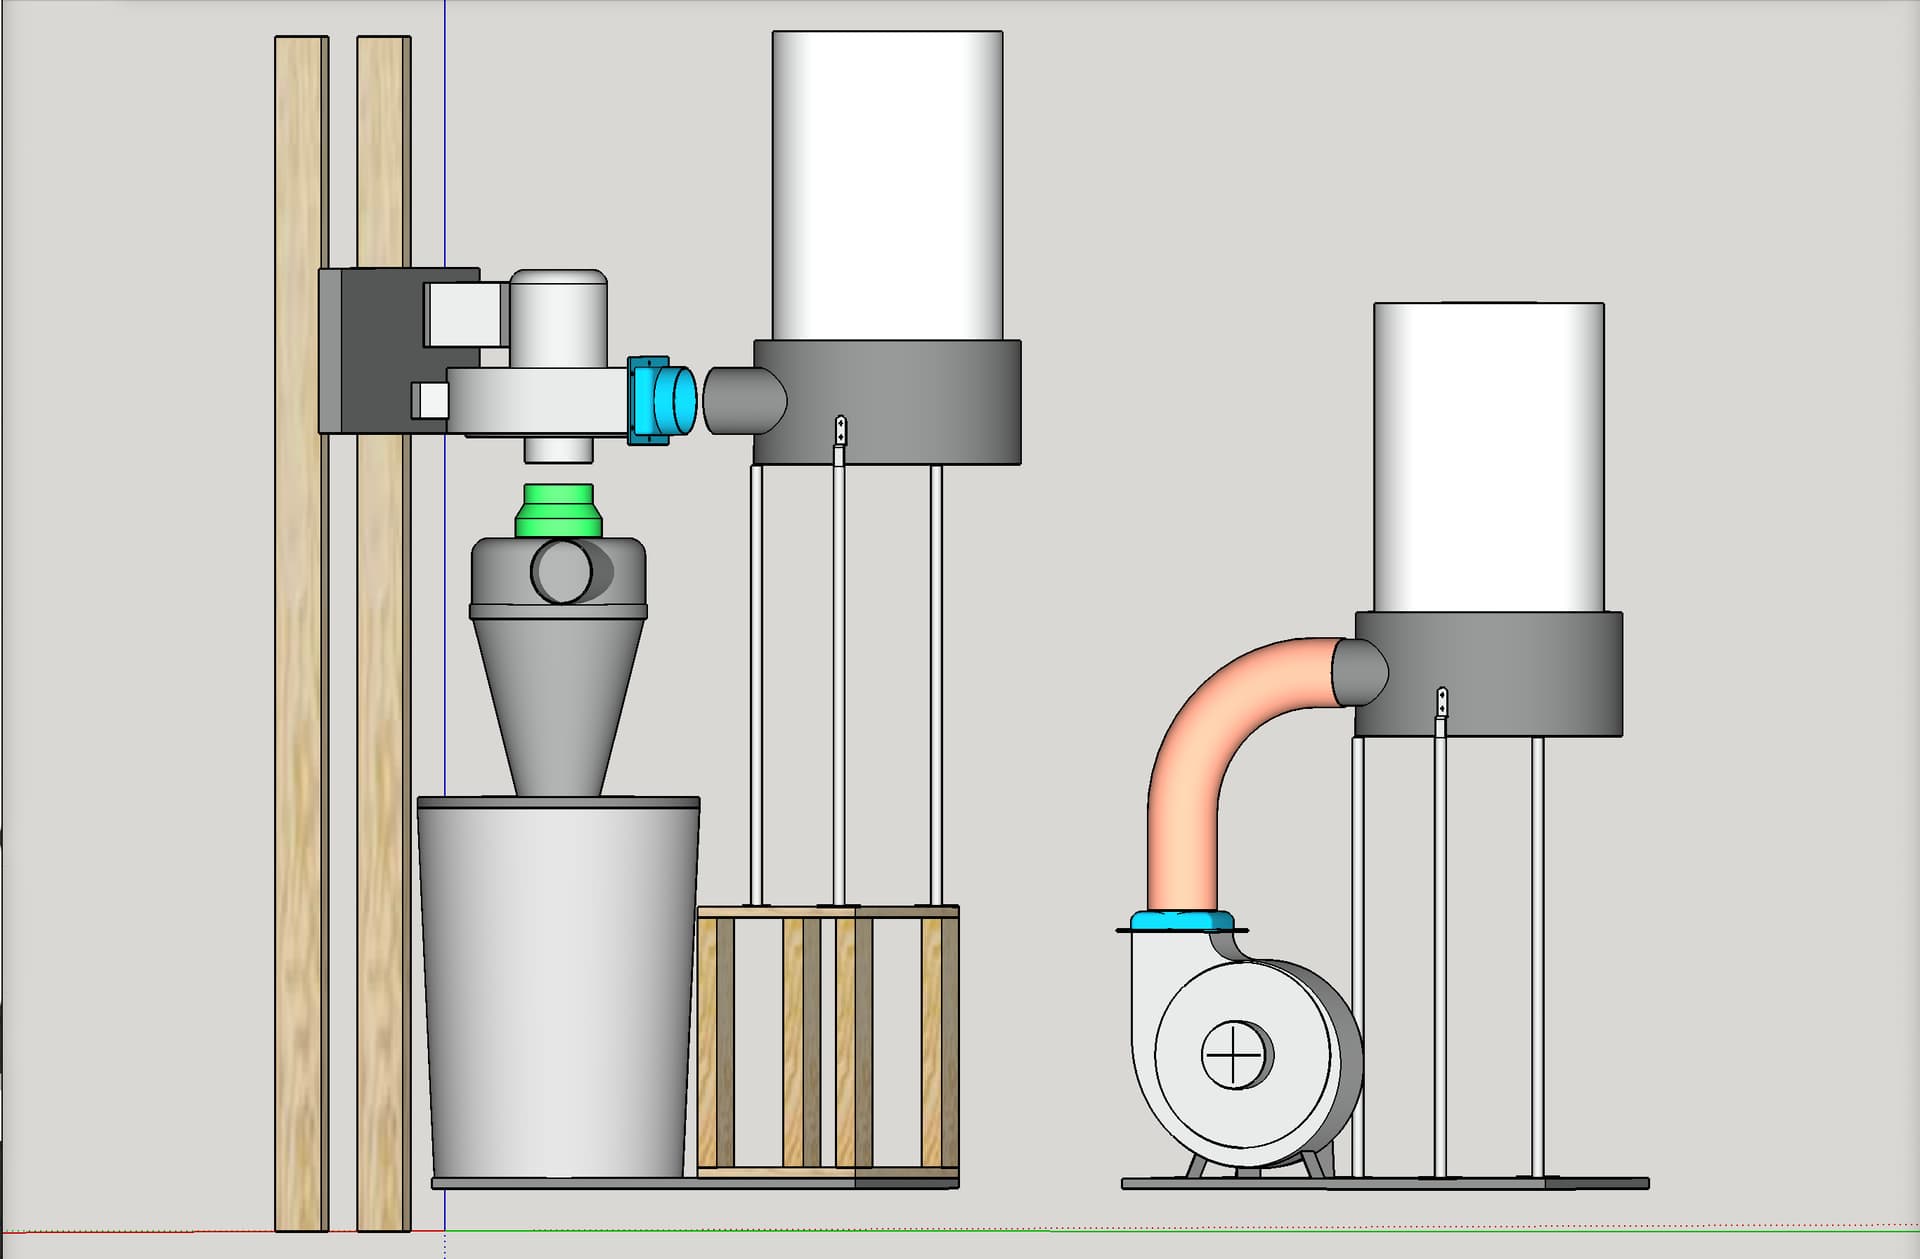
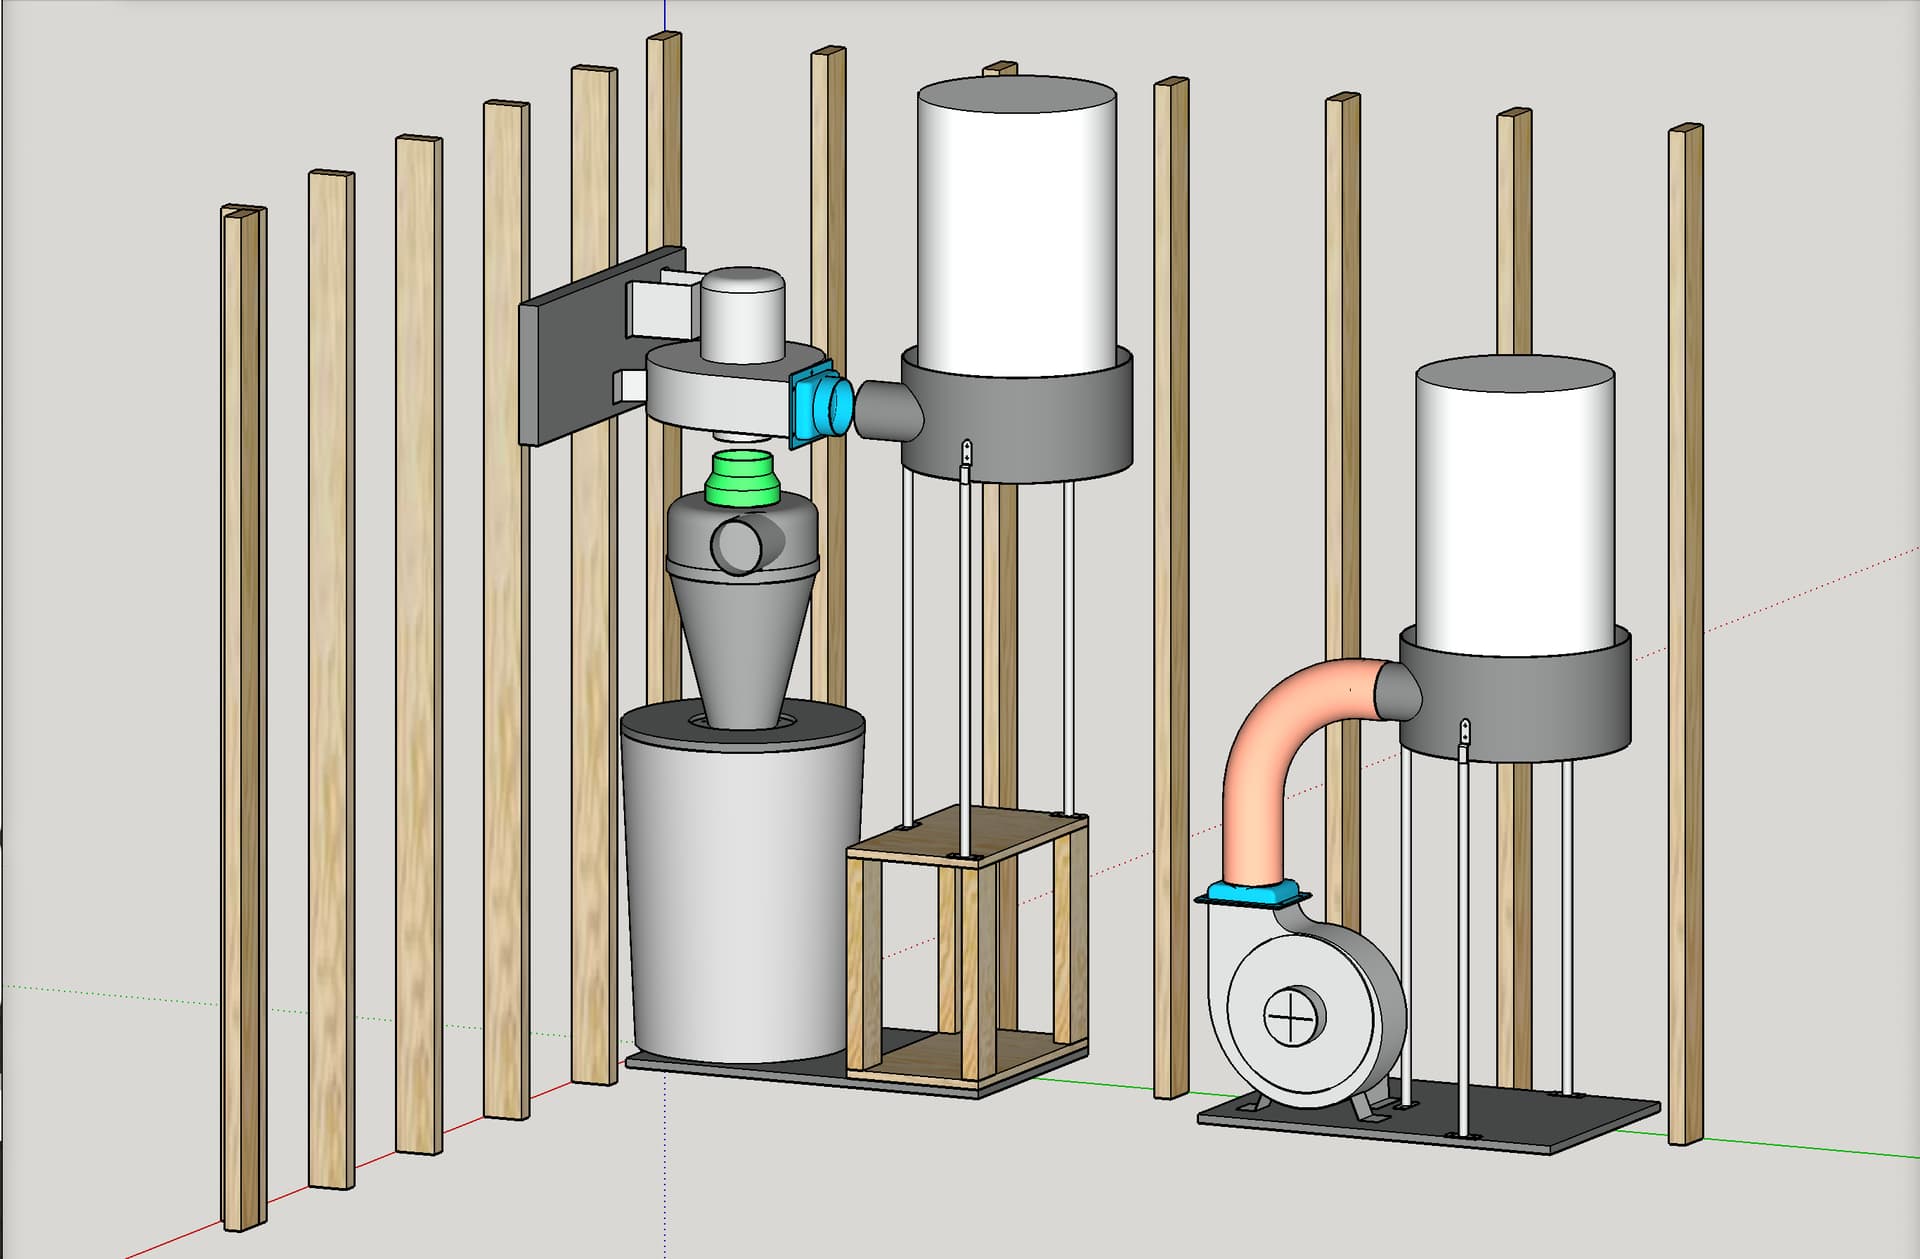
In the stock configuration, the stock hose (marked in salmon color / pink color) is a factory 5" diameter hose. By cutting two portions off, one slightly shorter than 5" in length and another slightly shorter than 6" in length, I will be able to connect the “Super Dust Deputy 4/5” to the blower motor, coming from the 3D printed adapter marked in green, going from 6" down to 5" inlet on the blower / impeller area, and will also be able to connect the stock, factory 5" air outlet on the blower motor, marked in blue, to the 5" air inlet on the separator ring. The white cylinder on top the separator ring represents either the factory bag filter or my pleated canister filter. The empty area under the separator ring would either have the factory plastic bag, or in my case, my trashcan that attaches to a DIY quick-connect MDF ring feature that I had previously modeled and made.
The model currently does not show the casters on the base, but I have the base floating about how high it is on the stock casters.
The basic idea is that I will build a wooden box, attach it to the base, and attach the support rods that hold the separator ring, thus elevating the separator ring to the new higher location. This will also nudge the separator ring closer to the end of the base, allowing room for the new galvanized steel trashcan my “Super Dust Deputy 4/5” is attached to.
2 Likes
You use diameter instead of radius.
4"x2:
Is a radius of 2". So an area of 4*pi in2. For 2 it is 8*pi in2
5"x1:
Is a radius of 2.5". So an area of 6.25*pi in2. 6.25/8= 78.125%
6"x1:
Radius of 3". So an area of 9*pi in2. 9/8= 112.5%
The ratios are the same. But all of your areas were 4x larger than they should be. Keeping the pi as part of the unit makes the result a little cleaner, but it doesn’t chage the result much either.
2 Likes
Good catch. Mind fog is a terrible thing. LOL
I fixed my post, and will update one other place I made the same mistake.
1 Like
Looking good, that dust collection is going to rock. May I ask where you got those EMT plugs? I can only find 3/4" ones on printables, but figured I’d ask before I design my own. Unless you bought yours off Grainger or something, which seems un-Doug-like.
1 Like
I’m getting close.
Indeed, I designed them myself. The issue with them is that when the EMT are cut with a tubing cutter, it results in a significant bur on the inside lip. Getting bur removed is a bit tedious. So then, do you design them to fit with the bur? Or not? As sure as I post one made for a bur, somebody who cuts with a chop saw says my print does not fit. If I design to fit without the bur, someone who cuts with a tubing cutter says they don’t fit. I’m sure there has to be a way to design a “compliant” plug that can pop over a bur and fit both ways, but I have not taken time to develop that. LOL
Any time that you cut with a tubing/pipe cutter, the next step should ALWAYS be to de-burr the inside of the tube/conduit/pipe. This is a bit of a safety thing on larger pipe/conduit, as the sharp edge can act as a knife edge on either your finger or whatever you are pulling through the conduit. For small copper and steel tubing, it is required in order to properly flare the end for creating a seal on the fitting.
Or at least, that’s they way I was trained back in the day!
1 Like