Gets too thick. The thing on youtube is small. Mine holds 600x1200 sheets.
I’ve never managed to get my dry boxes below 20%!
I really need to do some research on making some dry boxes for all my printers. Y’all with that low humidity have it so much better than you realize lol
Yeah, I feel your pain. You may or may not find something useful in THIS thread.
We’re going through a dry patch at the moment, but here’s the current humidity readings at 12:45am - just as well it’s cool, or I’d be up all night on the computer instead of trying to sleep!
Oh! and welcome to tomorrow everyone!
I made those dryboxes (Printables), combined with magnetic connectors (Printables). They are really good (when you add a little spacer between the rolls).
I only need to fasten a few screws for the back strut plate, drag chains for X and I need a button for the autosquare, but besides that I am done.
Running the lowrider with 8000mm/min for travel. I did try 20000 just for the lulz, but one motor was skipping steps and it ended up twisted. Nothing broken though. I also rammed into an endstop, but I was able to bend it back.
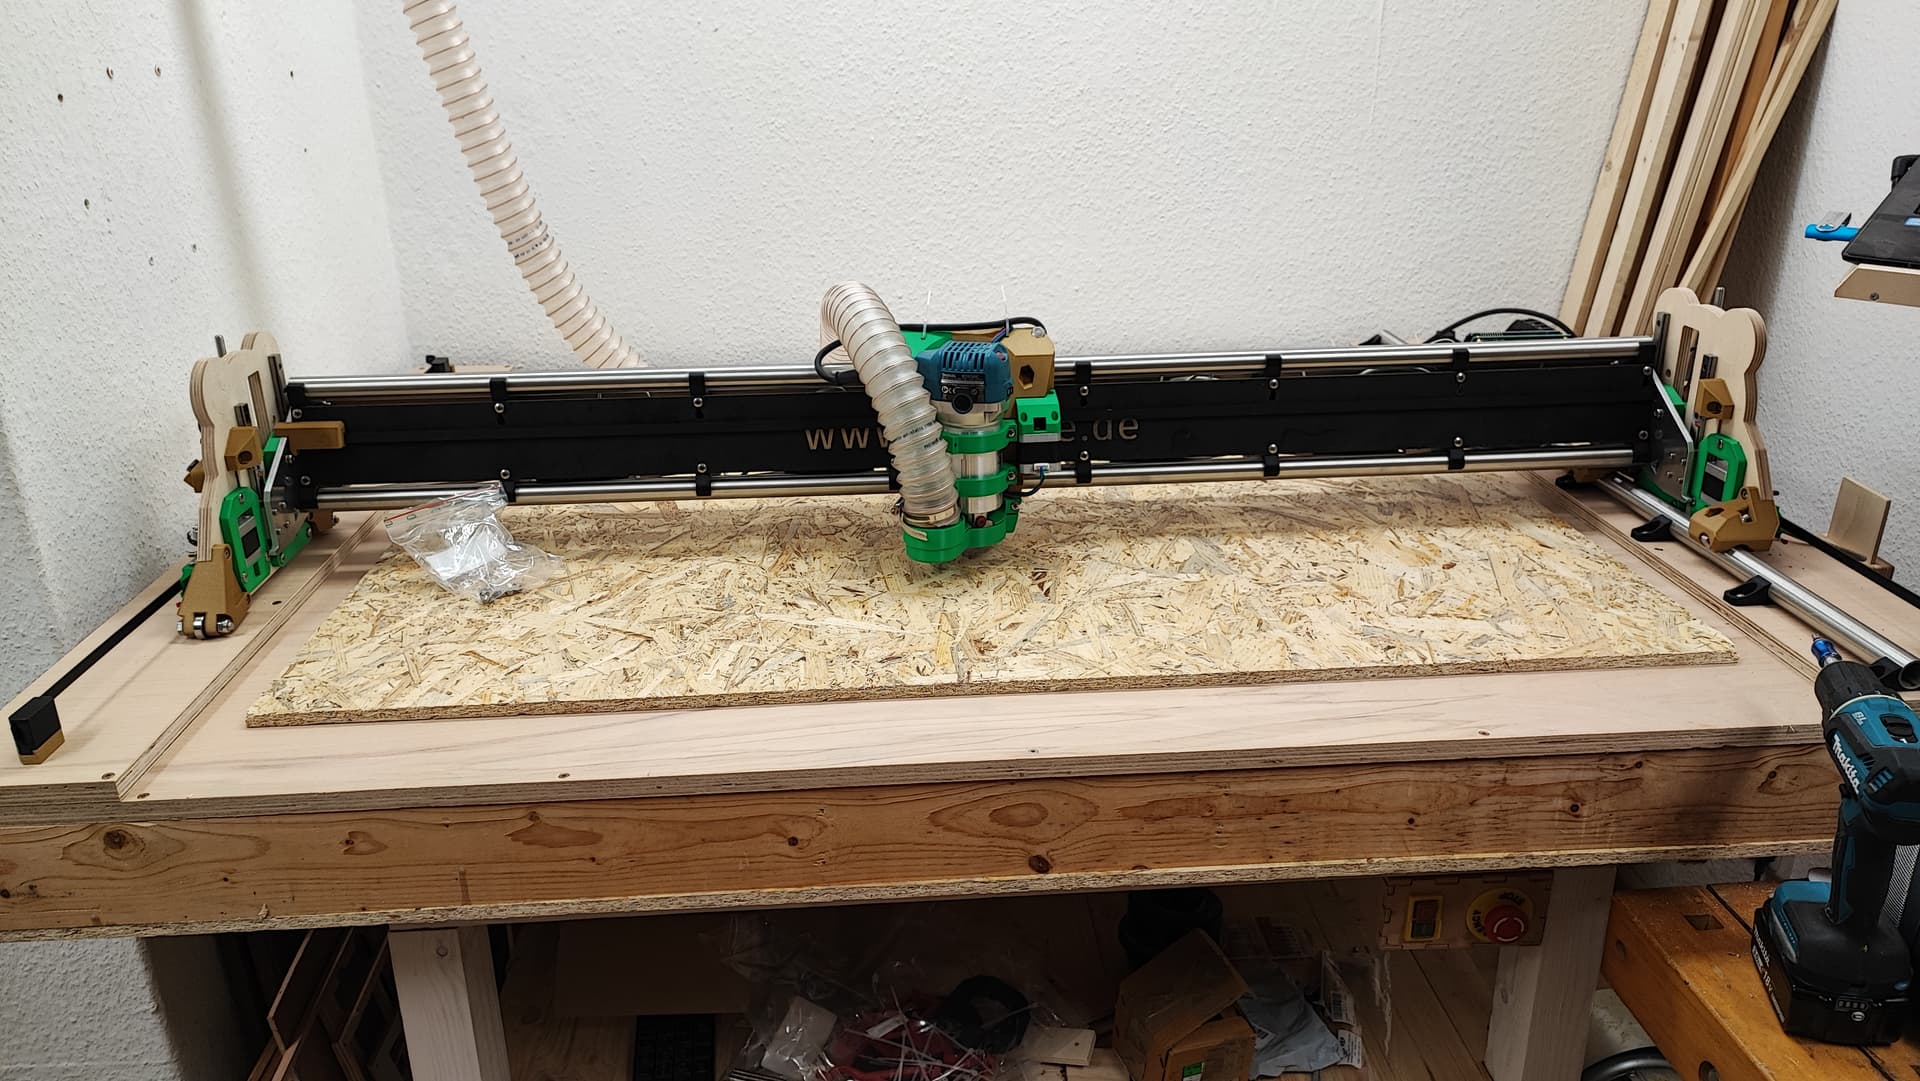
Temporary spoilboard in place for cutting the control box.
Not sure?
Yes the item in the video has a different size, but it was meant more on how the thing is constructed, as I am not sure if 1 or 2 venturi systems would pull enough for large formats (and how much air your compressor needs to pull).
If you’d take a 10mm multiplex and glue a 5mm mdf onto it, you have an acceptable thick spoilboard of 15mm?
The channels for the vacuum table get cut in the table. I just hid the pipes in the torsion box, in the last version they were below the table, just didn’t look good. On top of the grid I am going to put an MDF board as spoilboard. I have a two-stage sidechannel blower that does a good job holding large workpieces. Small ones do not work though.
Oh ok, now I understand.
Regarding the small pieces, it makes sense as there is a) a smaller area for hold down and b) probably you are loosing capacity around the object. You could try to cover the unused areas with for example plastic so you can obtain a larger vacuum.
Yeah. Best to always stay on the loose side. A few test cuts of pen plots will verify tension easily. When you do the squaring you can verify the total length per belt.
First work done with the lowrider! It just sounds softer when moving, over are the times of the chatter in the middle.
I have a 0.22mm difference between the two sides on Z, I think I can live with that. The other axis’ seem to be on point, though I could only roughly measure.
Gold was empty 3 minutes before the end after 5h21m… Ugh. Now the front is black, the last 2 layers…
Thanks for the design @DougJoseph.
Cool! If you get a chance, also post your make on Printables!
Re: the black on last bit: two-tone can be stylish.
There it is! I printed two of the holders and screwed an aluminium profile on it that I still had from the Primo. Works really great. Thanks Doug!
Looks awesome! You are rockin that gold!
Looks great! Where did you get that cable chain?
It’s printed. AR cable chain on thingiverse. Will post a link later.
Sorry, took a while. There is a bigger version as well but it has linearity problems. The linked, 20mm version, works very well.