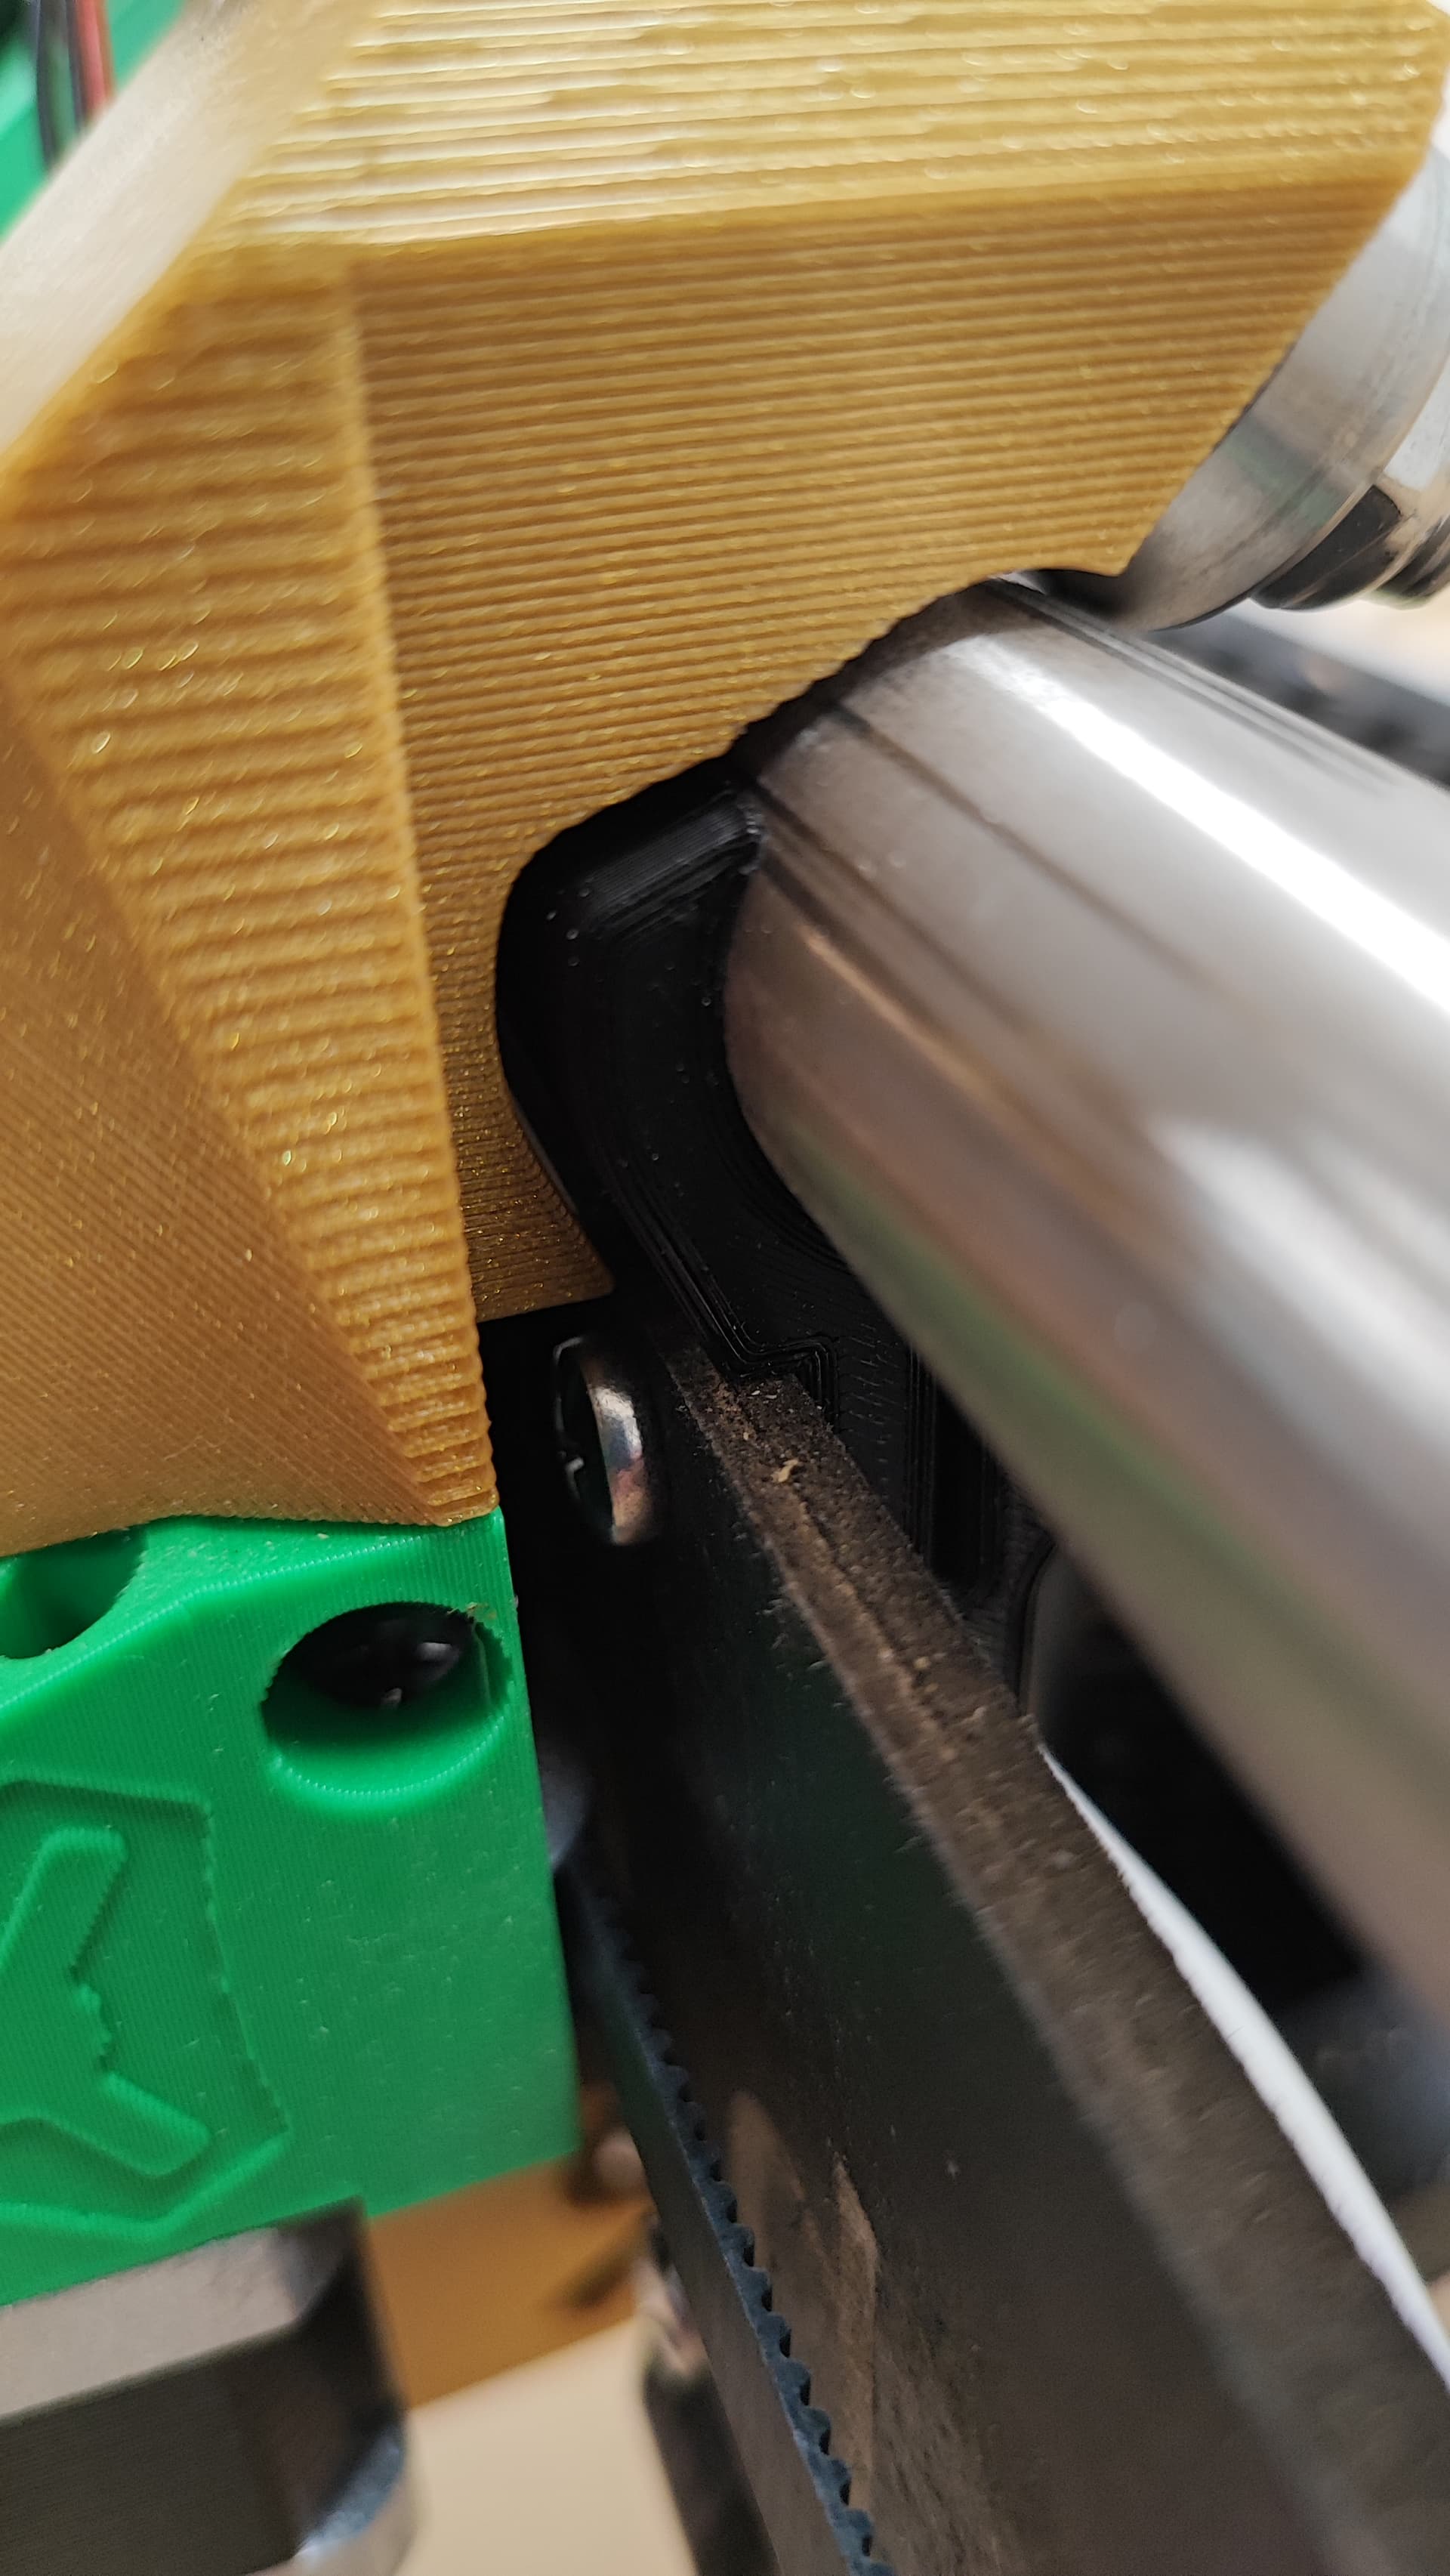
Der Froschkönig - Lowrider 3 in Oldenburg, Germany

Not sure if the clicking sound is a good indication. On mine it makes the sound when moving, though it is firmly in place.

1 Like

@vicious1 You are not going to love it: When I tighten the bolts at the bottom more, to the place where I can hear the scraping on the braces, the error nearly vanishes (all the other bolts are snug, checked them twice). I would have to tighten them a bit more for the error to completely vanish (my wife interrupted my testing), but then it would like, really scrape. I also noticed that if I tighten the one a bit more, the other one does not make contact any more in some places, so they really have to be tightened equally.
I still think that this might be connected to the 25mm OD version, the plastic on the braces is not as thick as on the other versions, so maybe it bends more easily, pushing the rail out? I am still trying to figure out a good solution, but I guess I will have to tighten it more, see if that works and then file down the braces a bit.
The screws for the struts are barely touching (did that a few weeks ago, we discussed it in detail here), so that’s not the issue, those pushing the rail out (which would actually be good so the core would be a bit tighter…). :smiley:

Before I start changing parts maybe we should do a printer calibration check. Print something on your printer that is large and rectangular. As big as possible, from there we need to see if it is the size it is supposed to be and second if the diagonals are the same.

These are triangular parts and if your printer is skewed at all you will be printing significantly smaller or larger braces.

2 Likes

So like the first 5-10mm of a full bed square/cube.

1 Like

Will do. :sweat_smile:

Top is fine:

Bottom right now scrapes:

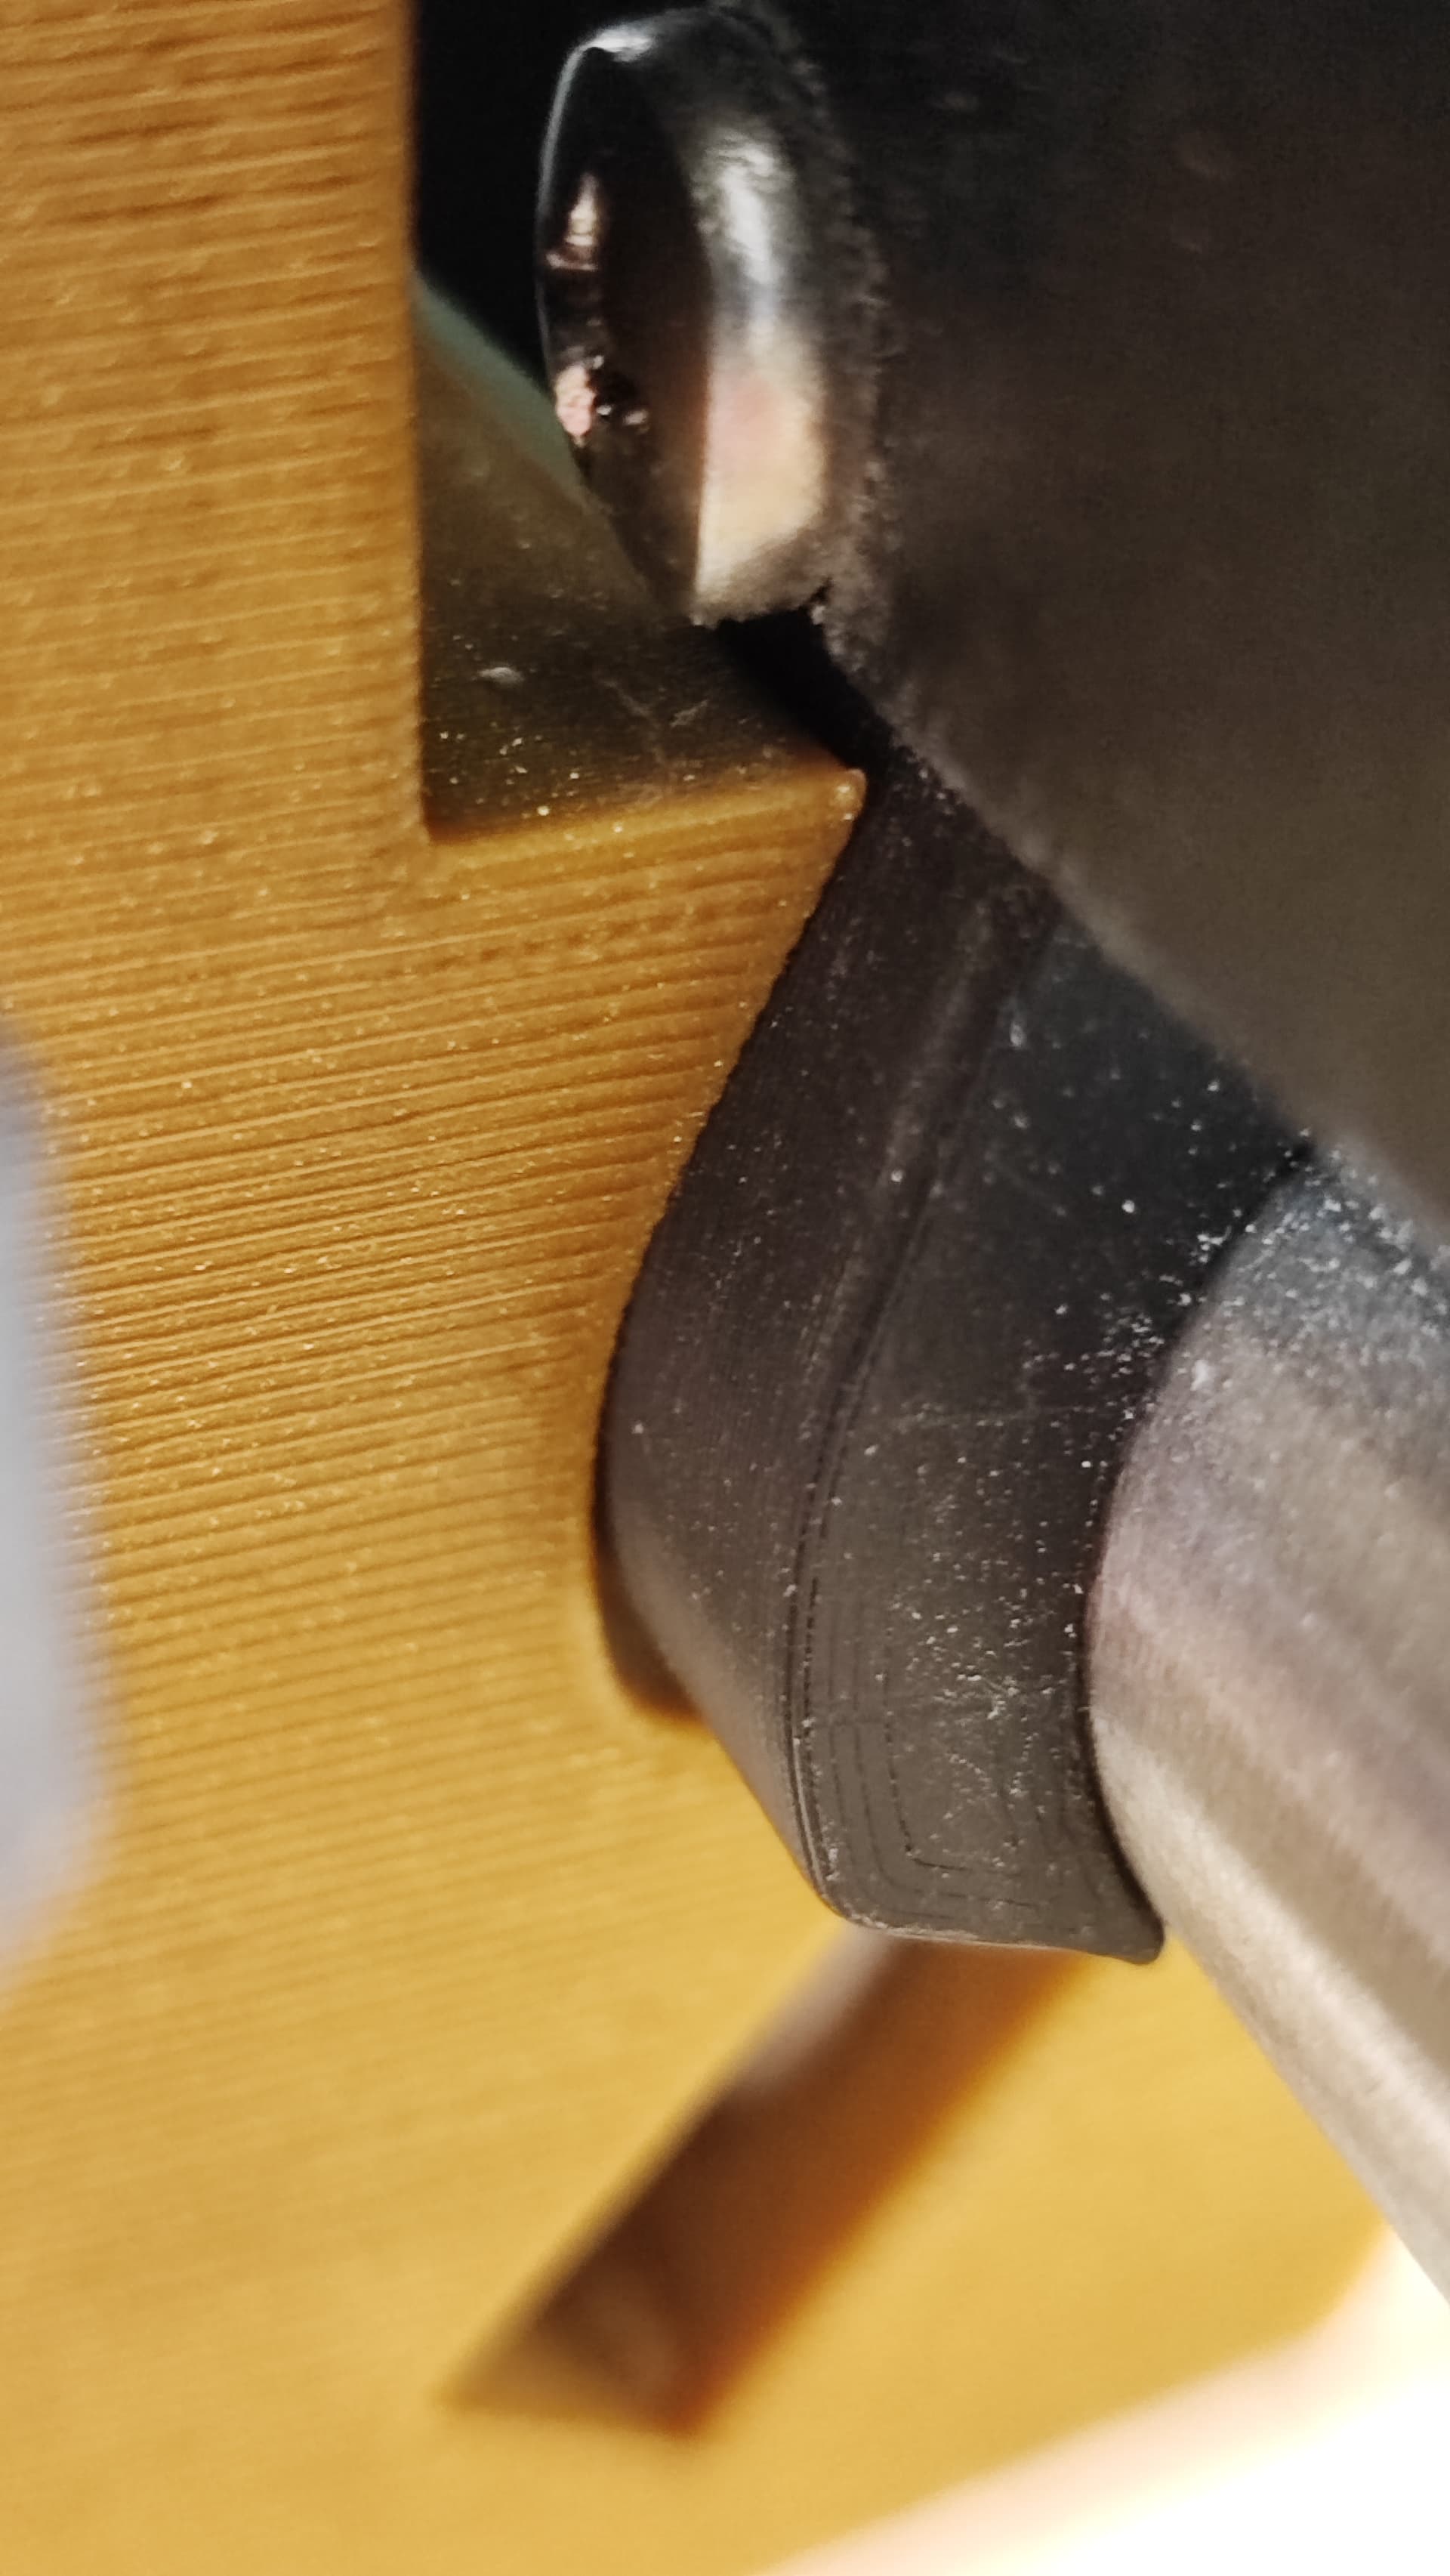
Bottome left is fineish, but close to scraping:

I think it should more look like the top rail, shouldn’t it? -_- Even if I have it really loose and can wobble the core, the gap at the bottom does fit a sheet of paper, it’s hair thin, but not more. Is that right?

Printed a square. Seems you are right…

Hasn’t been an issue before for any print, not even the Primo, but for those huge brackets it seems to matter. Damn… :smiling_face_with_tear:

My questions above still stand: shouldn’t there be a lot more room at the bottom? Could the gap on the core be made wider to allow for some error.

Appreciate the troubleshooting/debugging going on here.

Is (or should…) first layer height and speed be a configurable CNC setting in EstlCam/CAM software?

1 Like

I meant first pass… :smiley: Was missing the word. :stuck_out_tongue:

Then some part is loose. I had that on my Primo for ages and it was one screw I took ages to find. Drove me crazy.

When your brackets are the right size it will be a perfect gap on both sides.
With your printer that far off your brackets appeared to have printed a few mm too small…considering each bracket is only a few fractions of a mm different from the next size that is huge.

I know it is a bummer but I would tune that printer physically and reprint the braces.

2 Likes

Thanks Ryan, that’s a bummer and explains a lot of my previous problems. All of the thoughts you put into it wasted because my printer isn’t square. I am sorry! :frowning: It all boils down to this. F…

They are not too small, just not triangles but triangles that are a little crooked. :stuck_out_tongue: I just looked at my print orientation, the bottom is in front, so the back is 1.5mm lower than the front which means the top is also a little further back, which would explain why it is pulling it back by a mm. That’s the mm I am missing at the bottom.

I think I might just sand them down, the only thing they should not do is break, but they basically are only holding the rails in place, right? :smiley: Or can I sand that edge of the core down? It does not really fulfill any purpose, does it? If I took half a mm off, I’d be good. (You know I am always good for a quick fix, like with the old Primo core that was off and the modified braces… :D)

It’s a Prusa Mini, there is no way I know of to tune it with its single arm. (/edit: There seems to be a way! Will print another square.) -_- Could you take a close-up picture for me how it looks like with yours at the bottom? That would be nice. :slight_smile:

Could I maybe print them oriented towards me with the front? Then the bottom rail would be a mm further out. The top rail has got lots of space, it would not miss a mm.

1 Like

Prusaslicer will allow you to rotate the part when printed. Make the front face parallel to an axis and it will probably at least be the correct distance, though the rest of the geometry will be off a bit.

Better to square the printer anyway.

Marlin firmware has a correction factor for skew. You can tell the firmware how much skew the physical printer has and it will correct for it kind of the same way it corrects for bed level. I don’t know how Prusa printers go for firmware, but that may be a potential solution to the problem as well.

The distances are okay, it is really only the geometry being off, that’s the problem. :slight_smile:

I am trying to figure out how to square it, the first try didn’t work. It’s only got the stupid arm that is a little crooked, and I am not sure how to uncrook it, since it is only those two axis with linear rails and one leadscrew.

Will check, thanks. /edit: I checked, the Mini does not have it, MK3 does… Uff. The cantilever burden. Manually making it better is not really easy. :smiley:


When it is skewed the purple and blue dimensions are not right. So something on your print is longer than is should be and something is shorter than it should be.

Don’t forget your core is also skewed in some way at least in the XY…and you have not checked for XZ or YZ skew.

Now if you print something tall at a 90 to XZ the YZ you can check if those are off or not.

This is just one of those things 99% of people never even worry about. When dims are critical, a whole new set of tuning comes into play.

TT’s Calibration page doesn’t even touch on this, just axis movement distance, which should always be perfect. I print the temp struts as tests for my XY then I have a tall thin cube that I print left to right, and front to back to verify my builds. It takes me 2-3 days to tune my printers for this. This is also the main reason I ditched the V3 MP3DP, it just moved to much to be considered stable.

2 Likes

Ssssssh! I checked YZ, that’s fine, should check the other one as well. And yeah, you are right, the core is skewed as well. Big oof. But at least one can compensate that with endstops etc. Your picture shows better what I meant, thanks.

The funny thing is: It only really shows with those small finger joints. The earrings are fine, the load is lower there and there is a finishing pass of the V-bit. With trochoidal it doesn’t seem to matter too much either (or the parts are large enough for it not to matter). But I want it to be good in every way. :stuck_out_tongue:

If you want a quick fix…

Shim your Rails in the braces. A few pieces of paper should move the rails apart enough to make it work. Maybe a soda can shim?

1 Like

This sounds pretty smart, it would push the rail out a bit more. But it might also push the brace out and make it rub more… Hmm… but also a good idea.

OR I could just wait until the PLA has rubbed off and the sound vanishes… :smiley: You can hear it rub, but it does not slow the CNC down, it does not really care… :sweat_smile:

On a positive note: my touchscreen and mini pc from ebay arrived. I have a fully functioning 21-inch touchscreen for my monitor holder (it didn’t have a stand, but I don’t need one) and a PC that is faster than my 15-year-old laptop… :smiley:

1 Like