Cutting acrylic panels for MP3DP

I think the github approach is great. I’ve been telling myself for a months I need to do something to organize my thoughts and save the things I’ve come across, etc. for all the things I’m researching/planning, but never really thought about using github for this. So you’ve inspired me to do something similar and try to be more organized about it

2 Likes

That is what I’m running on both of my LR3s so should be good to go!

2 Likes

While this is on my brain. I have an update for you for this if you want it.

Quality - Great
Material - Aluminum
Bit - Carbide Single Flute Long – V1 Engineering Inc
DOC - 7mm (that’s what I have tested to but I think it could easily go more)
Plunge Angle - 90°
Feed XY - 20mm/s
Feed Z - 4mm/s
Speed - ?? See Above??
Coolant - 25psi air with just a hint of IPA
Notes - Trochoidal Milling: Stepover 10% Width: 50% Oscillation: 0
https://youtu.be/wTbvzWy-f1o

2 Likes

Thanks for the info @Jonathjon. Have added to https://github.com/aaronse/v1engineering-mods/tree/main/lowrider3

Quality Material Bit DOC Plunge Angle Feed XY Feed Z Speed Coolant Notes / Source
Alu V1E 1/8" Carbide single flute 7mm 90deg 20mm/s 4mm/s RPM? 25psi air + hint of IPA Trochoidal Milling: Stepover 10% Width: 50% Oscillation: 0
https://youtu.be/wTbvzWy-f1o

Cheers!

1 Like

NOW I realize what you meant by speed LOL… 12,000 - 15,000 RPM

Quick update… Thank you @jeffeb3’s and @vicious1’s, your settings wisdom and offset tip engraving bit suggestions, they helped guide me to better results. Ended up not needing the Bowflex Dumbbells, for now.

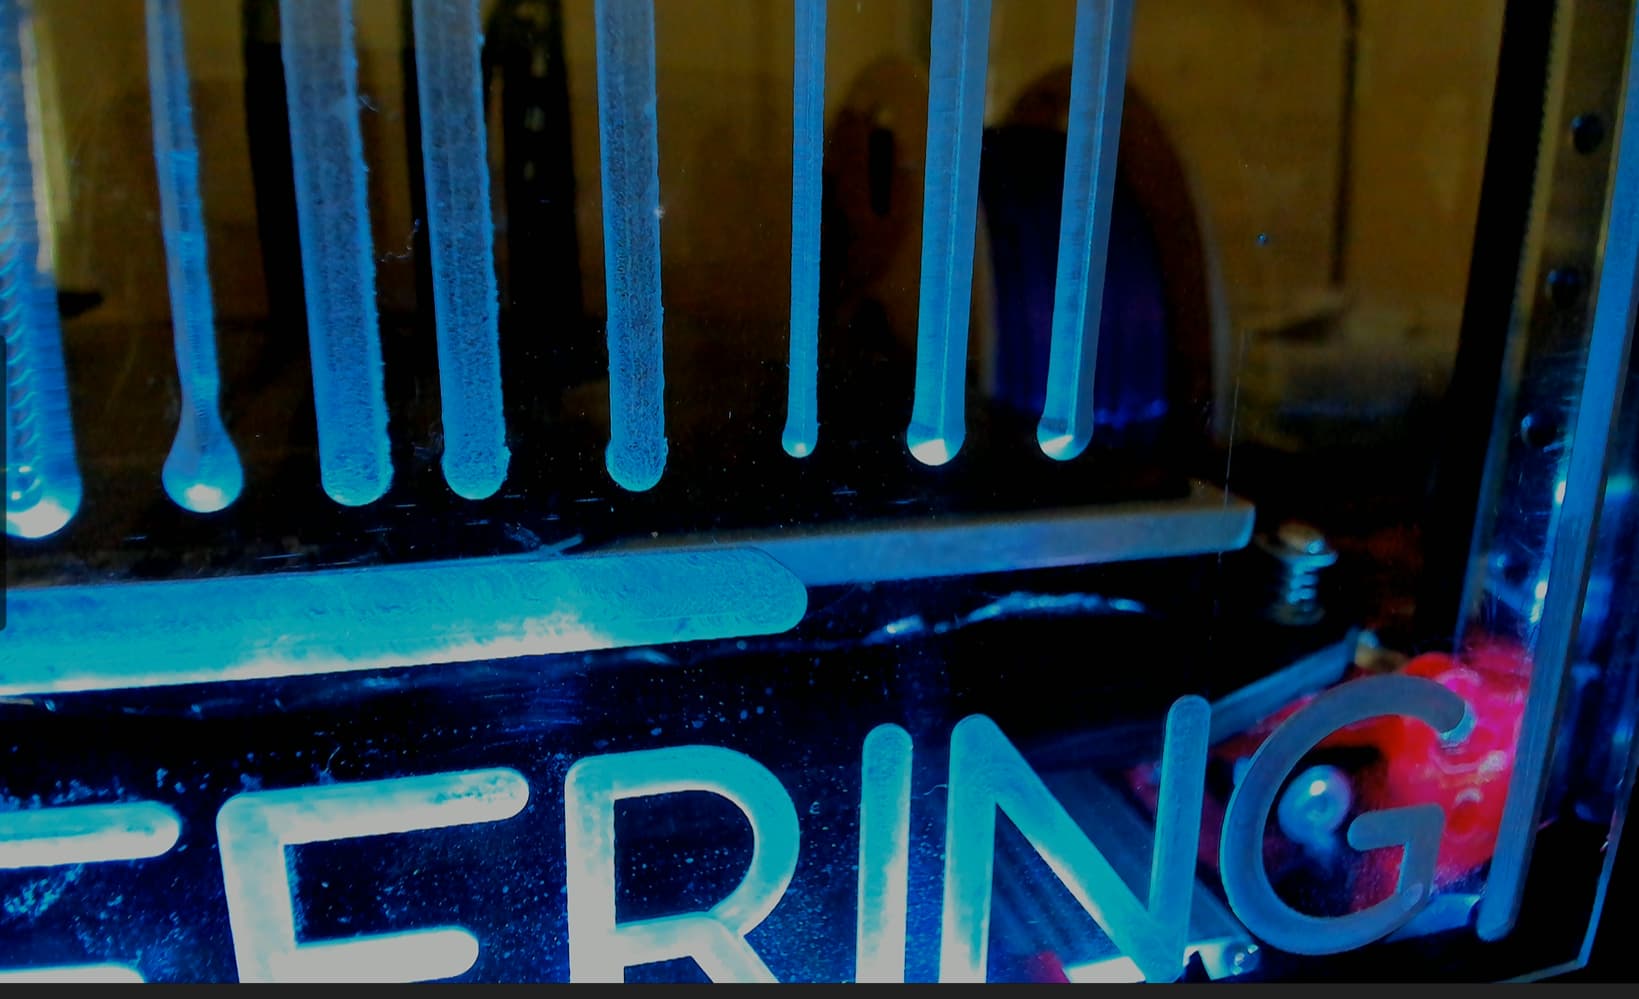
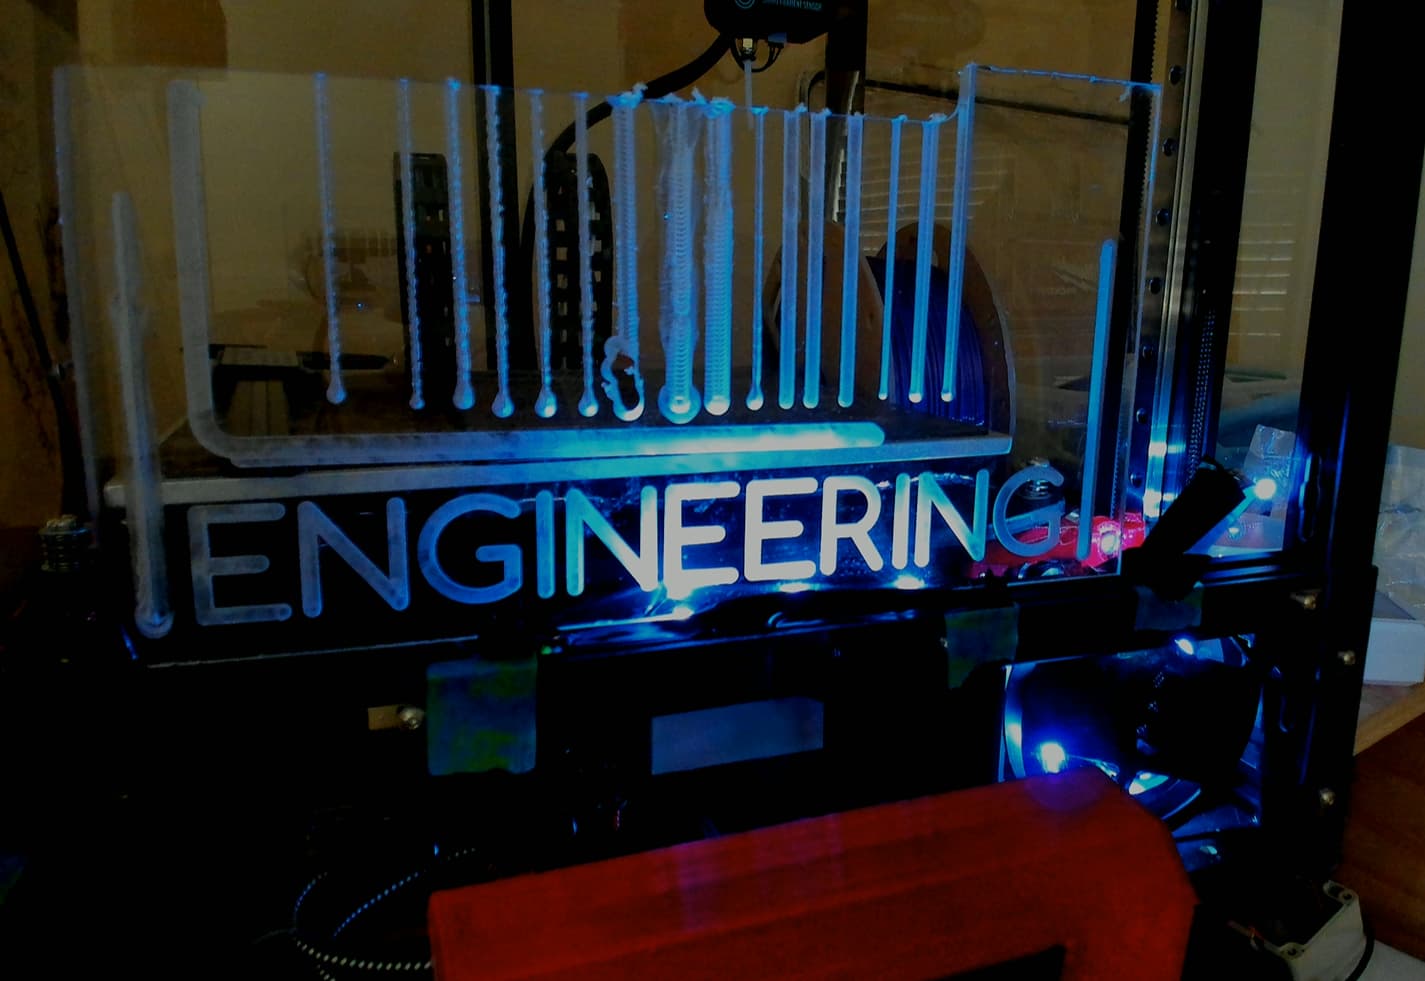
Vertical test lines on the right were created using 1/8" 60deg engraving v-bit, then going over again with 1/4" v-bit helps get wide v cuts. This was with the 4 flute 1/4" v-bit I have already. Hoping the arriving 2 flute v bit and curved bits will do even better.

Seeing pear drop like deeper holes near where the bit plunges at beginning of a path, still need to tune Z feedrate, depth of finish pass, maybe other settings too?

That looks WAY better!!! Good job!!! What DOC and Feed Rate did you settle on? Also what speed on your router?

Thanks Jonathan. Was going to hold off from sharing details until am happy with the cuts. Incase this helps, am currently using…

But not ideal, the chips are not clearing, but then I didn’t bother to rig up compressed air or cooling other than a Vac without a shroud, or decent suction. Still tinkering, when not doing other things I should be focused on :roll_eyes:

Using this 1/8" V bit 60 Degree Engraving Bit, with offset point (like Jeff suggested) for initial carve to get desired depth…

Note, am still learning about edge lit stuff, doesn’t look like deep carves are a good idea anyway?

3 Likes

My bad. I was just curious as they looked good. better than anything you or i have seen so far LOL

Ahh ok now i get what he was saying. I don’t currently have anything like that in my arsenal. Might have to do some more amazon shopping LOL. Going to wait and see how these blunt tip ones do first.

Best thing I did was rig up my mist coolant setup on one of @DougJoseph Kinematic mounts. So easy to slap up there. I leave the 8mm tubing in the beam with the wiring and vac hose ready to go for when i need it. Tomorrow I’m going to see how well polycarbonate and IPA play together. Will be sure to post results.

You might be on to something here. I bet the deeper you go the more light gets taken up by the first thing it hits. Until now all of my experience with edge lit was using a diamond drag bit which only scratches the surface and it get lit up very well. So with that I’m going to try to limit my v carve depth to 1mm maybe even .5mm and see what kind of difference that makes.

3 Likes

Well tried one of the new bits I got. :poop: is all I can say

But I will say that trochoidal milling at full depth on 1/2” acrylic does really well!!

Those look like decent chips to me for acrylic

6 Likes

Finished product

And with a little edge flash lighting lol

6 Likes

Dang, you are a machine. You get a lot done in between voyages. I still have not even made my new table yet. Or rebuilt the LR with some fancy plates.

Yeah that looks really good, like perfect. Might want to share your settings. Seems pretty perfect.

3 Likes

Its amazing what you can get done when you don’t have to go to work every day LOL. And this is my first time with 28 days off. Still didn’t get 1/4 of what I wanted to get accomplished. But while that was cutting I was reassembling the Primo. Hope so see some smoke from a laser tomorrow!!! Gotta figure this new board out though. I cant connect to it at all. USB give me nothing on the computer and I’ve tried 4 different devices to get into it with WIFI. My garage desktop says it connects but its still hooked up wired though my main network so it wont try to hit it. My fire tablet just keeps saying authenticating and then says it failed. Ipad and Iphone both say incorrect password using 12345678. Idk what I’m doing wrong. Hopefully tomorrow will be better LOL. Also have to do some reading and figure out how to hook the laser to this board as well. the list just gets longer and longer lol

Cant wait to see this! Sucks they are only 3/16" but I don’t think 1/4 would have made any difference in these smaller machines

2 Likes

This is what I ran tonight. I really think you can go more step over though. This was like butter. 20-25% should be no problem at all. Maybe even more. And that was 1/2" Acylic with this bit and just air for cooling

2 Likes

What sort of computer, pc/mac?

On a phone when you sign into the wifi, fluidnc, it may or may not ask for the password. After that it usually opens it’s own browser tab. If not got to http://192.168.0.1. On my tablet I had to click a button that said “stay connected to this network” because it did not see the internet.

Mine did that once. I cleared all the browser cache’s and that is where I had to hit the three dot icon and say stay connected.

This is all new to me so I am here to help.

That part is easy, but if you are doing raster we will want to get you hardwired. I have a blurb in the instructions about this. I will fill it in more if we need to.

I keep moving them around just to look at them more. I did the table cad…I just want different legs.

1 Like

I plugged in and lightburn connected right away. I get a connected ping when I plug it in

1 Like

Windows 10

VERY much appreciated!!!

I plan on running it hooked up USB and turning the WiFi off so should be good there.

LOL I get it!

I havent even installed Lightburn on that computer yet lol. Will do that this morning. Im assuming i need the gcode version of the license correct???

3 Likes

Nope… Nada… Just once… it would be nice to not have to aggravate the crap out of you LOL. I swear its like a :poop: cloud fallows over my head any time I try something new LOL

Going to move my questions to the board thread…

Cool. I saved a copy of this for the future!!

Good deal. And just for further info. I set both of those YZ plates up in one cut. Including the “island” for the V1 logo it took just over an hour to drill all the holes and make all the cuts. I didn’t think that was bad. And if I had to do it again today i would push the stepover for sure and it would be even faster

2 Likes