I’m back to build a Primo MPCNC printed in Polycarbonate filament. I’m thinking I will keep it small this time maybe 13.5" x 10.5" x 3" work area. I have a 220Volt 2.2kw 80MM water cooled spindle that I want to use. Would these dimension work ok with a spindle that size? Are there any mounts for a 80MM spindle?
I’d like to eventually try cutting aluminum. I have to make a part for my dad’s 1964 Oldsmobile Dynamic 88 Convertible that he handed down to me after he passed away. I need to make a bracket to hold the bell crank so that the transmission will shift correctly.
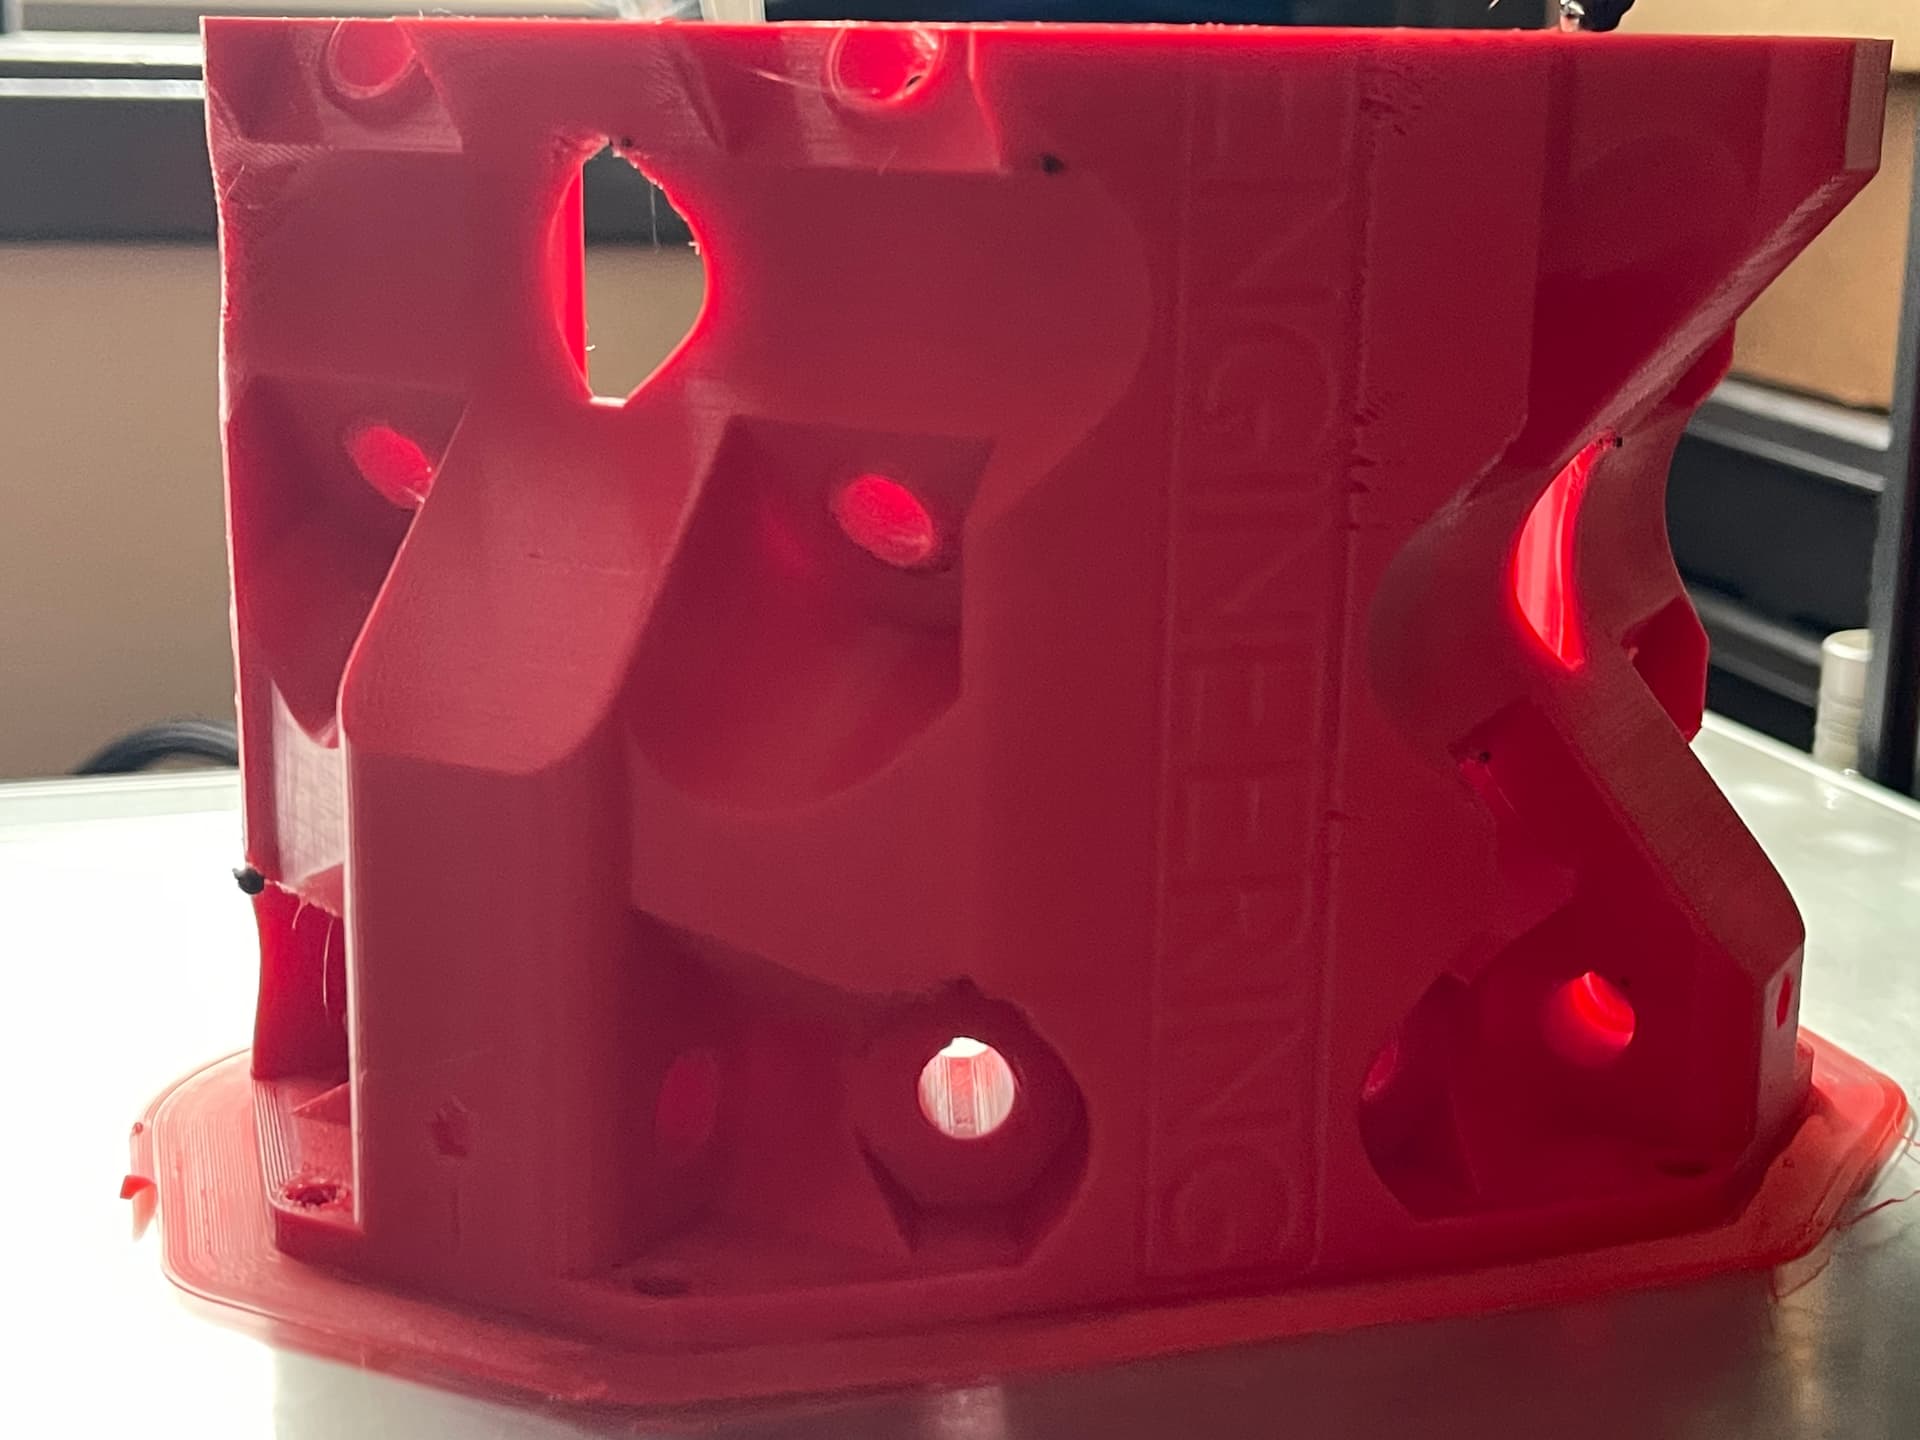
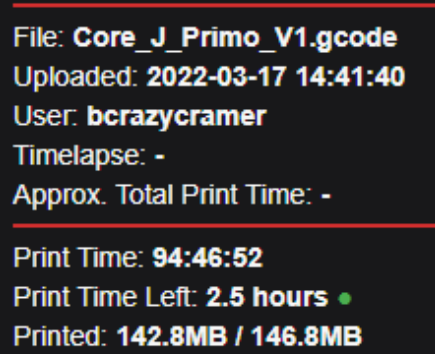
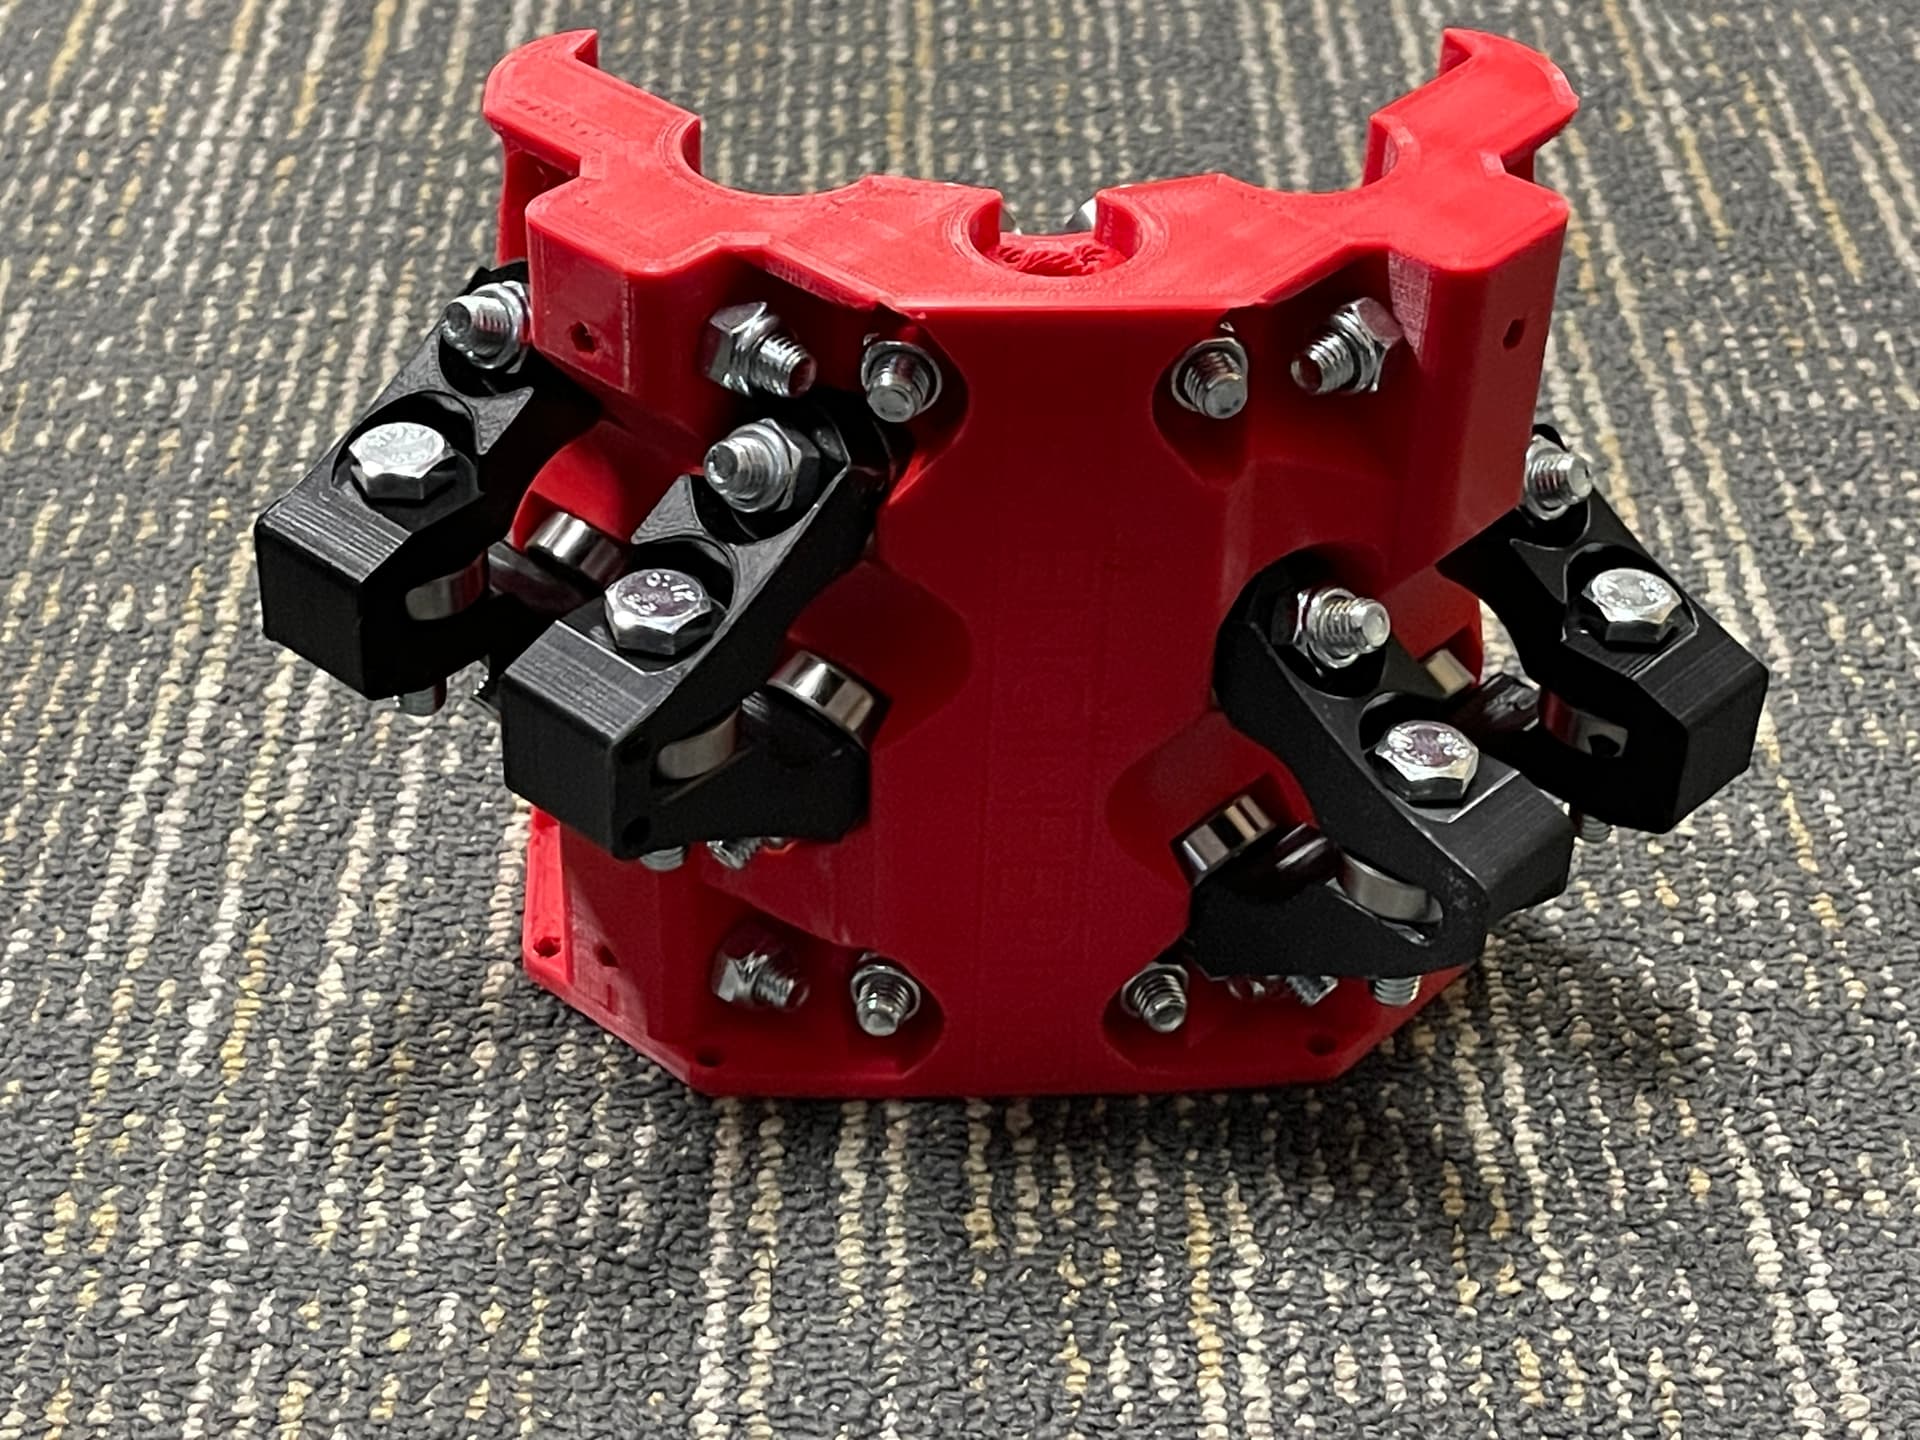
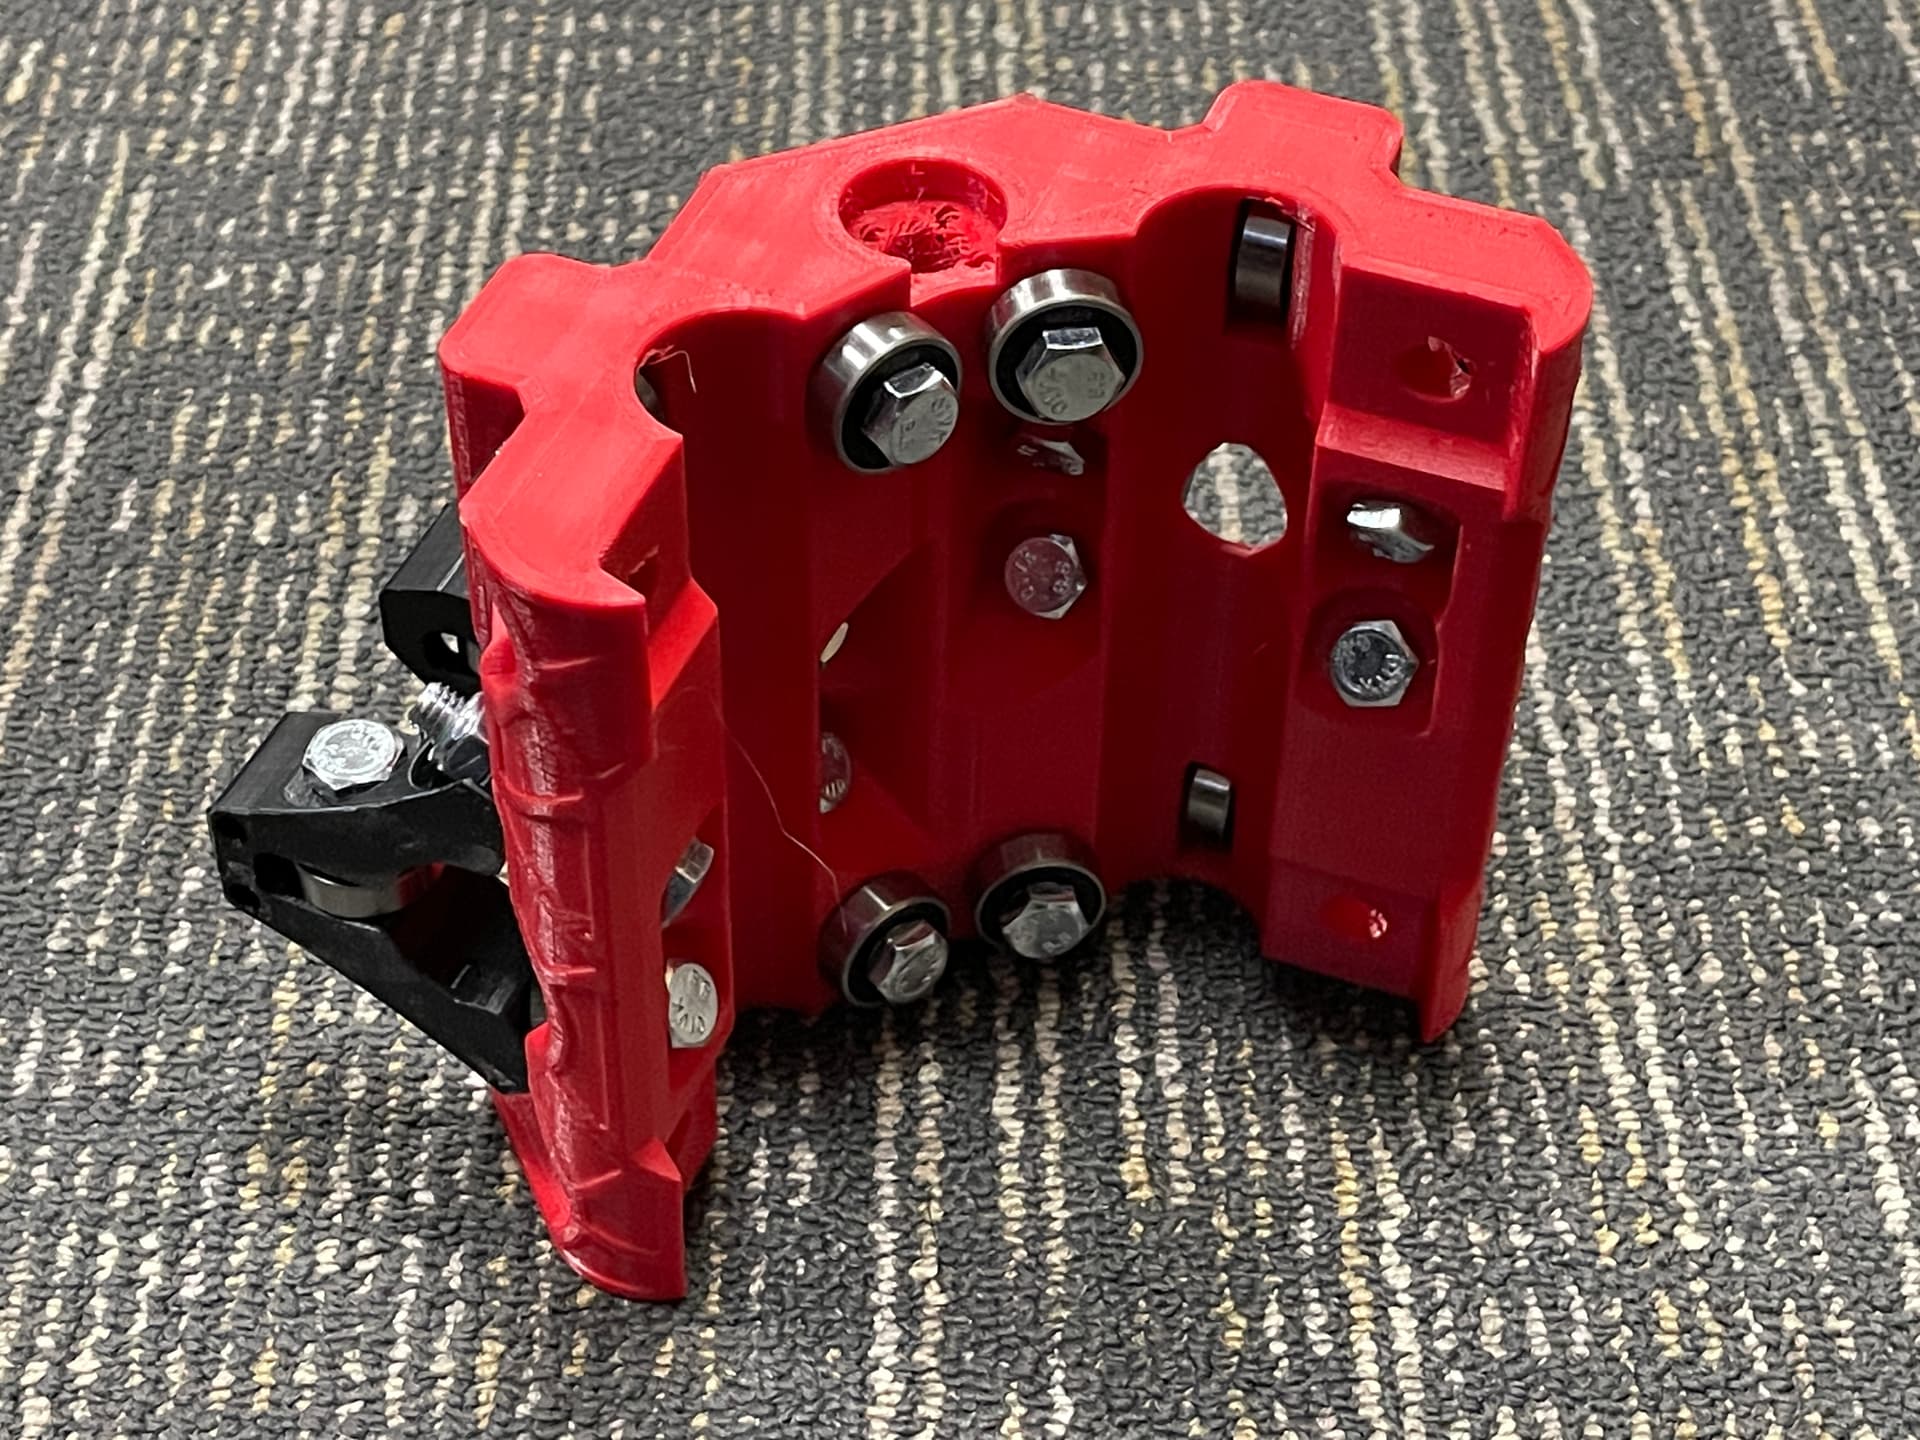
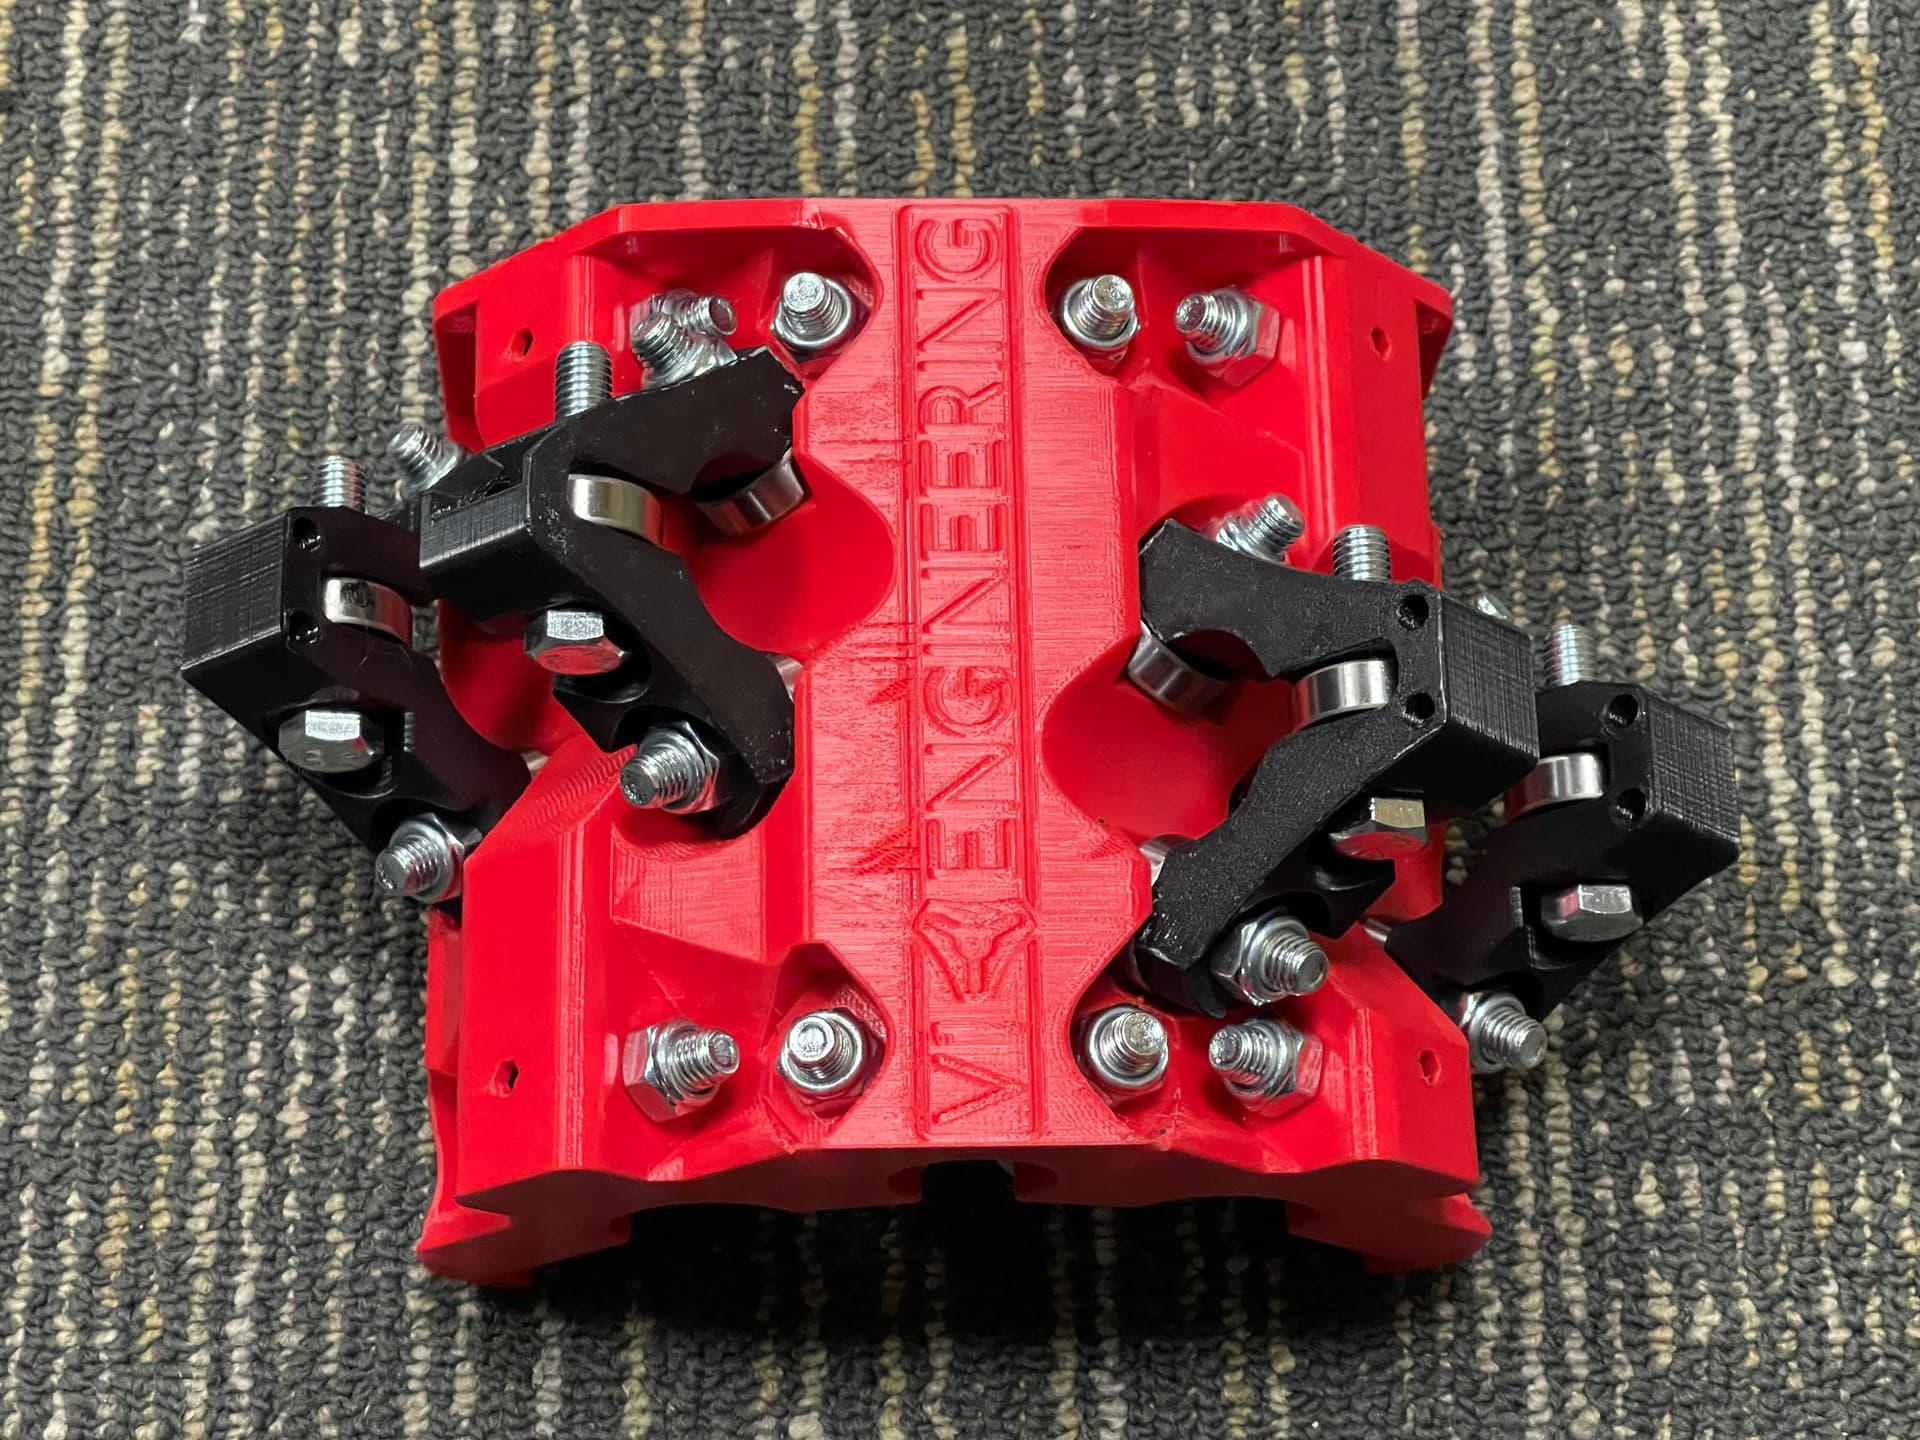
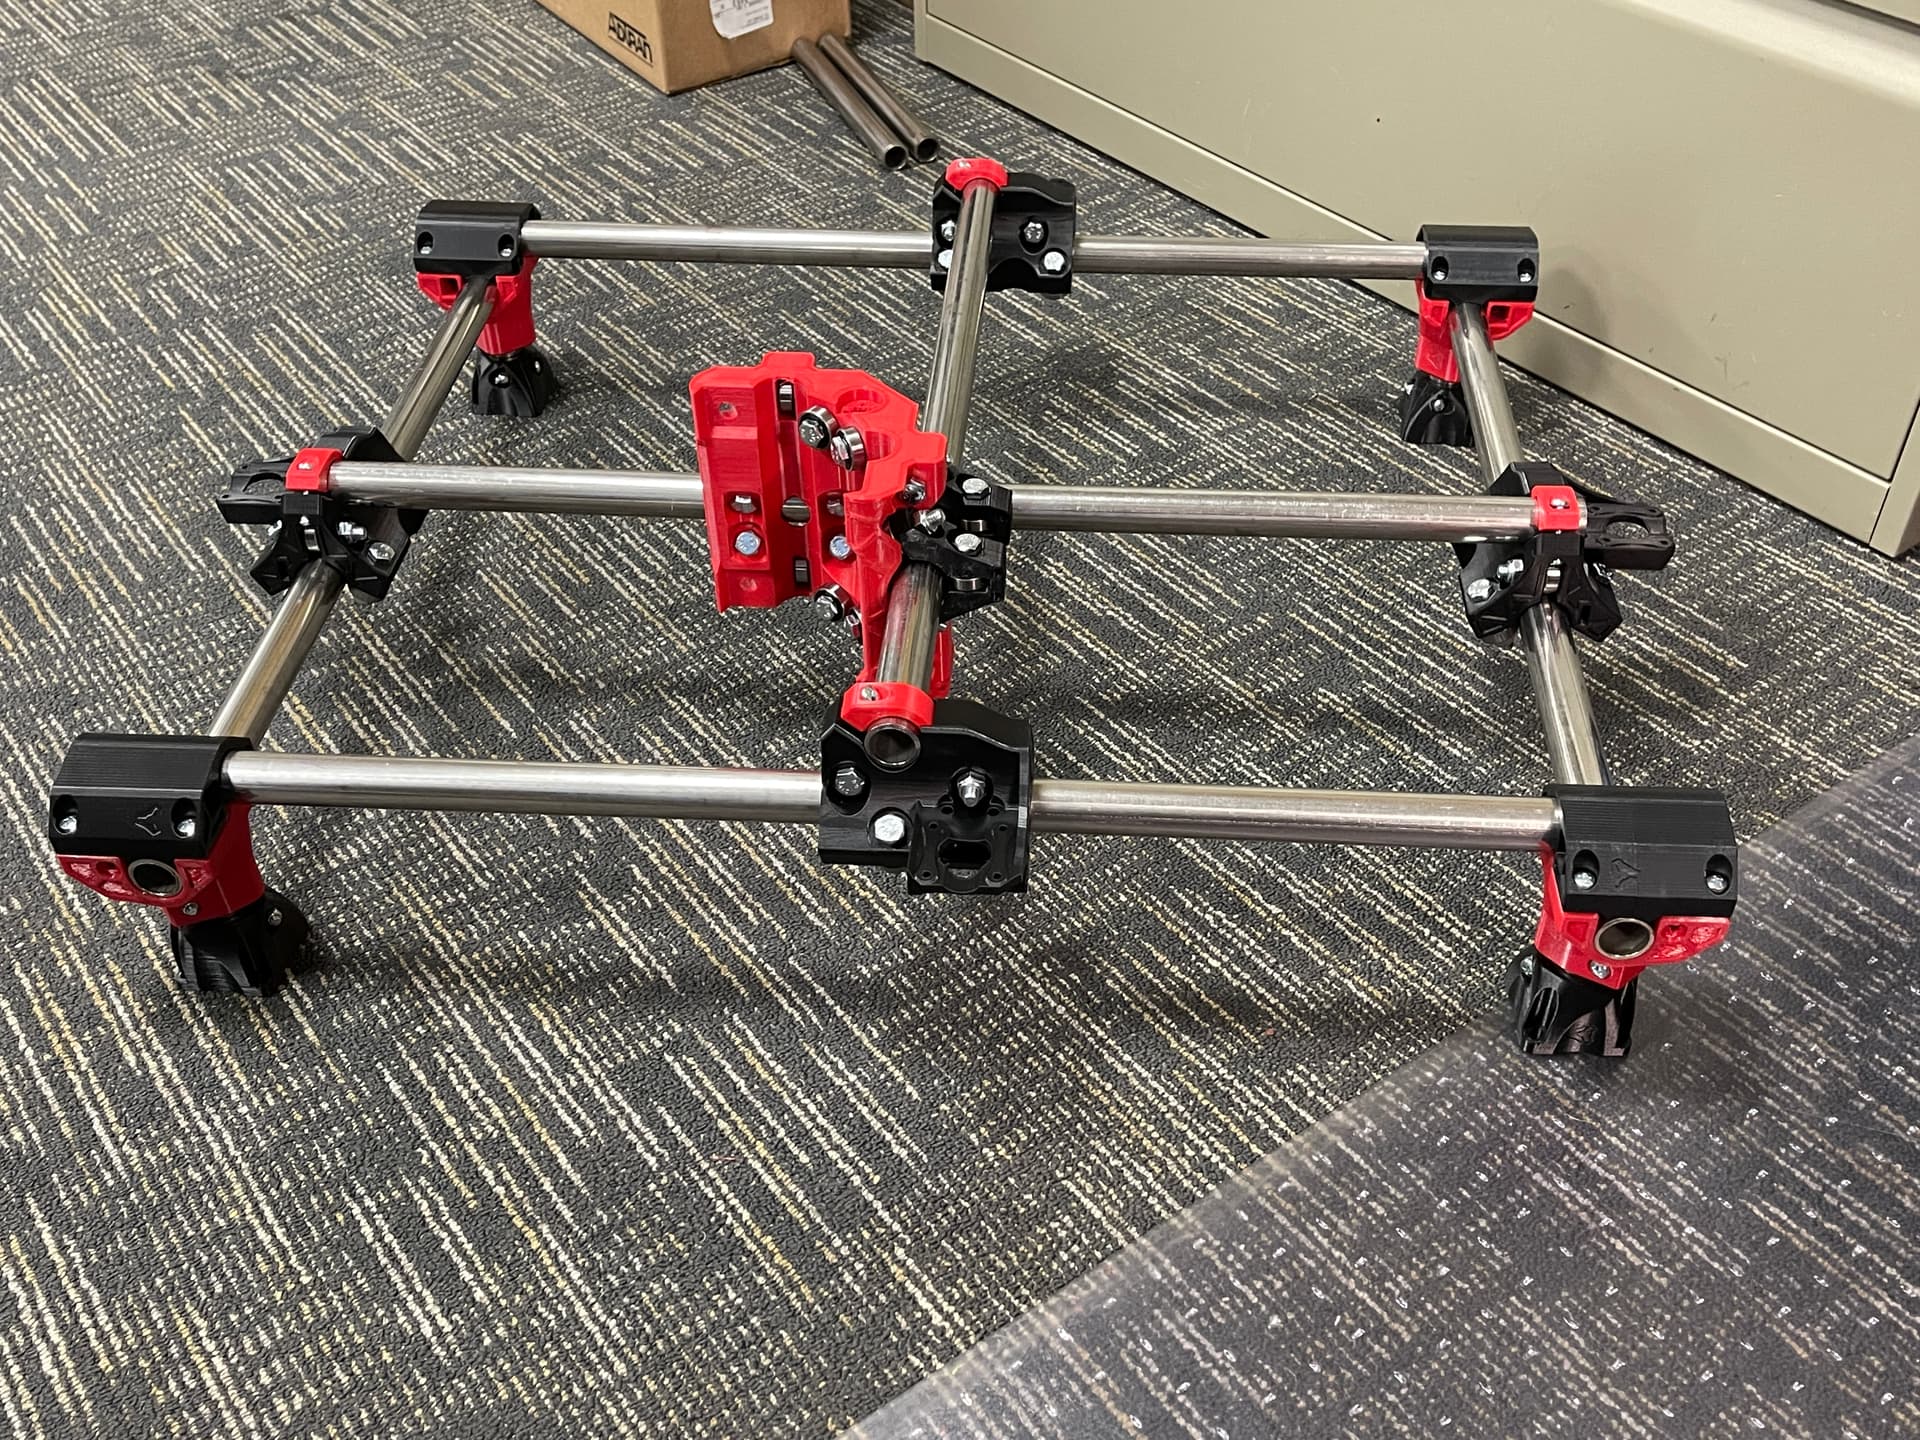
I’m printing the core now. 72 hours down and it shows a day left of printing.
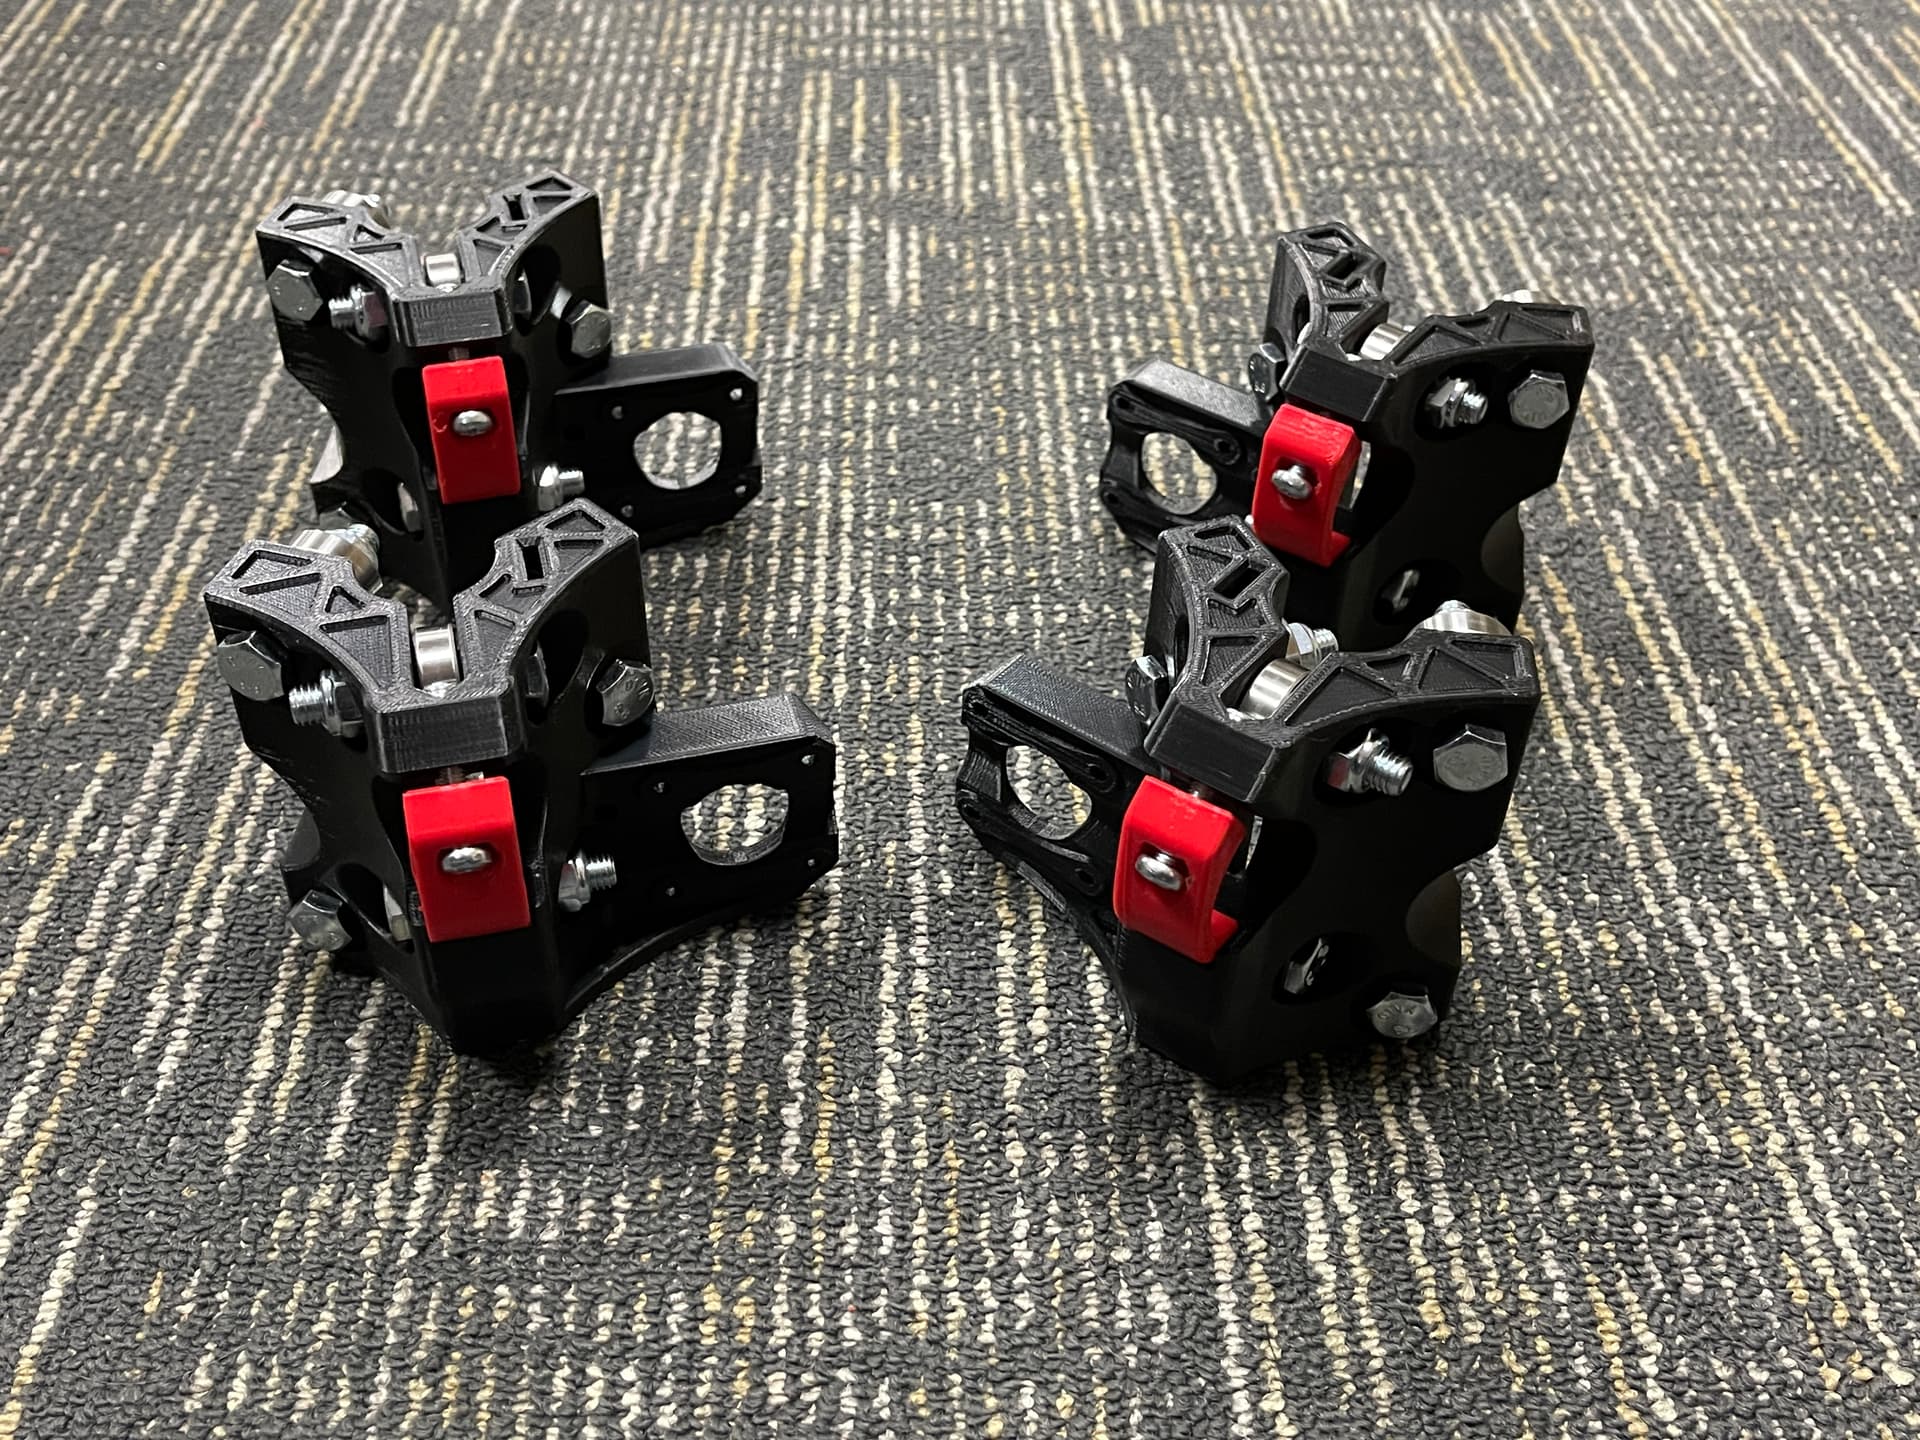
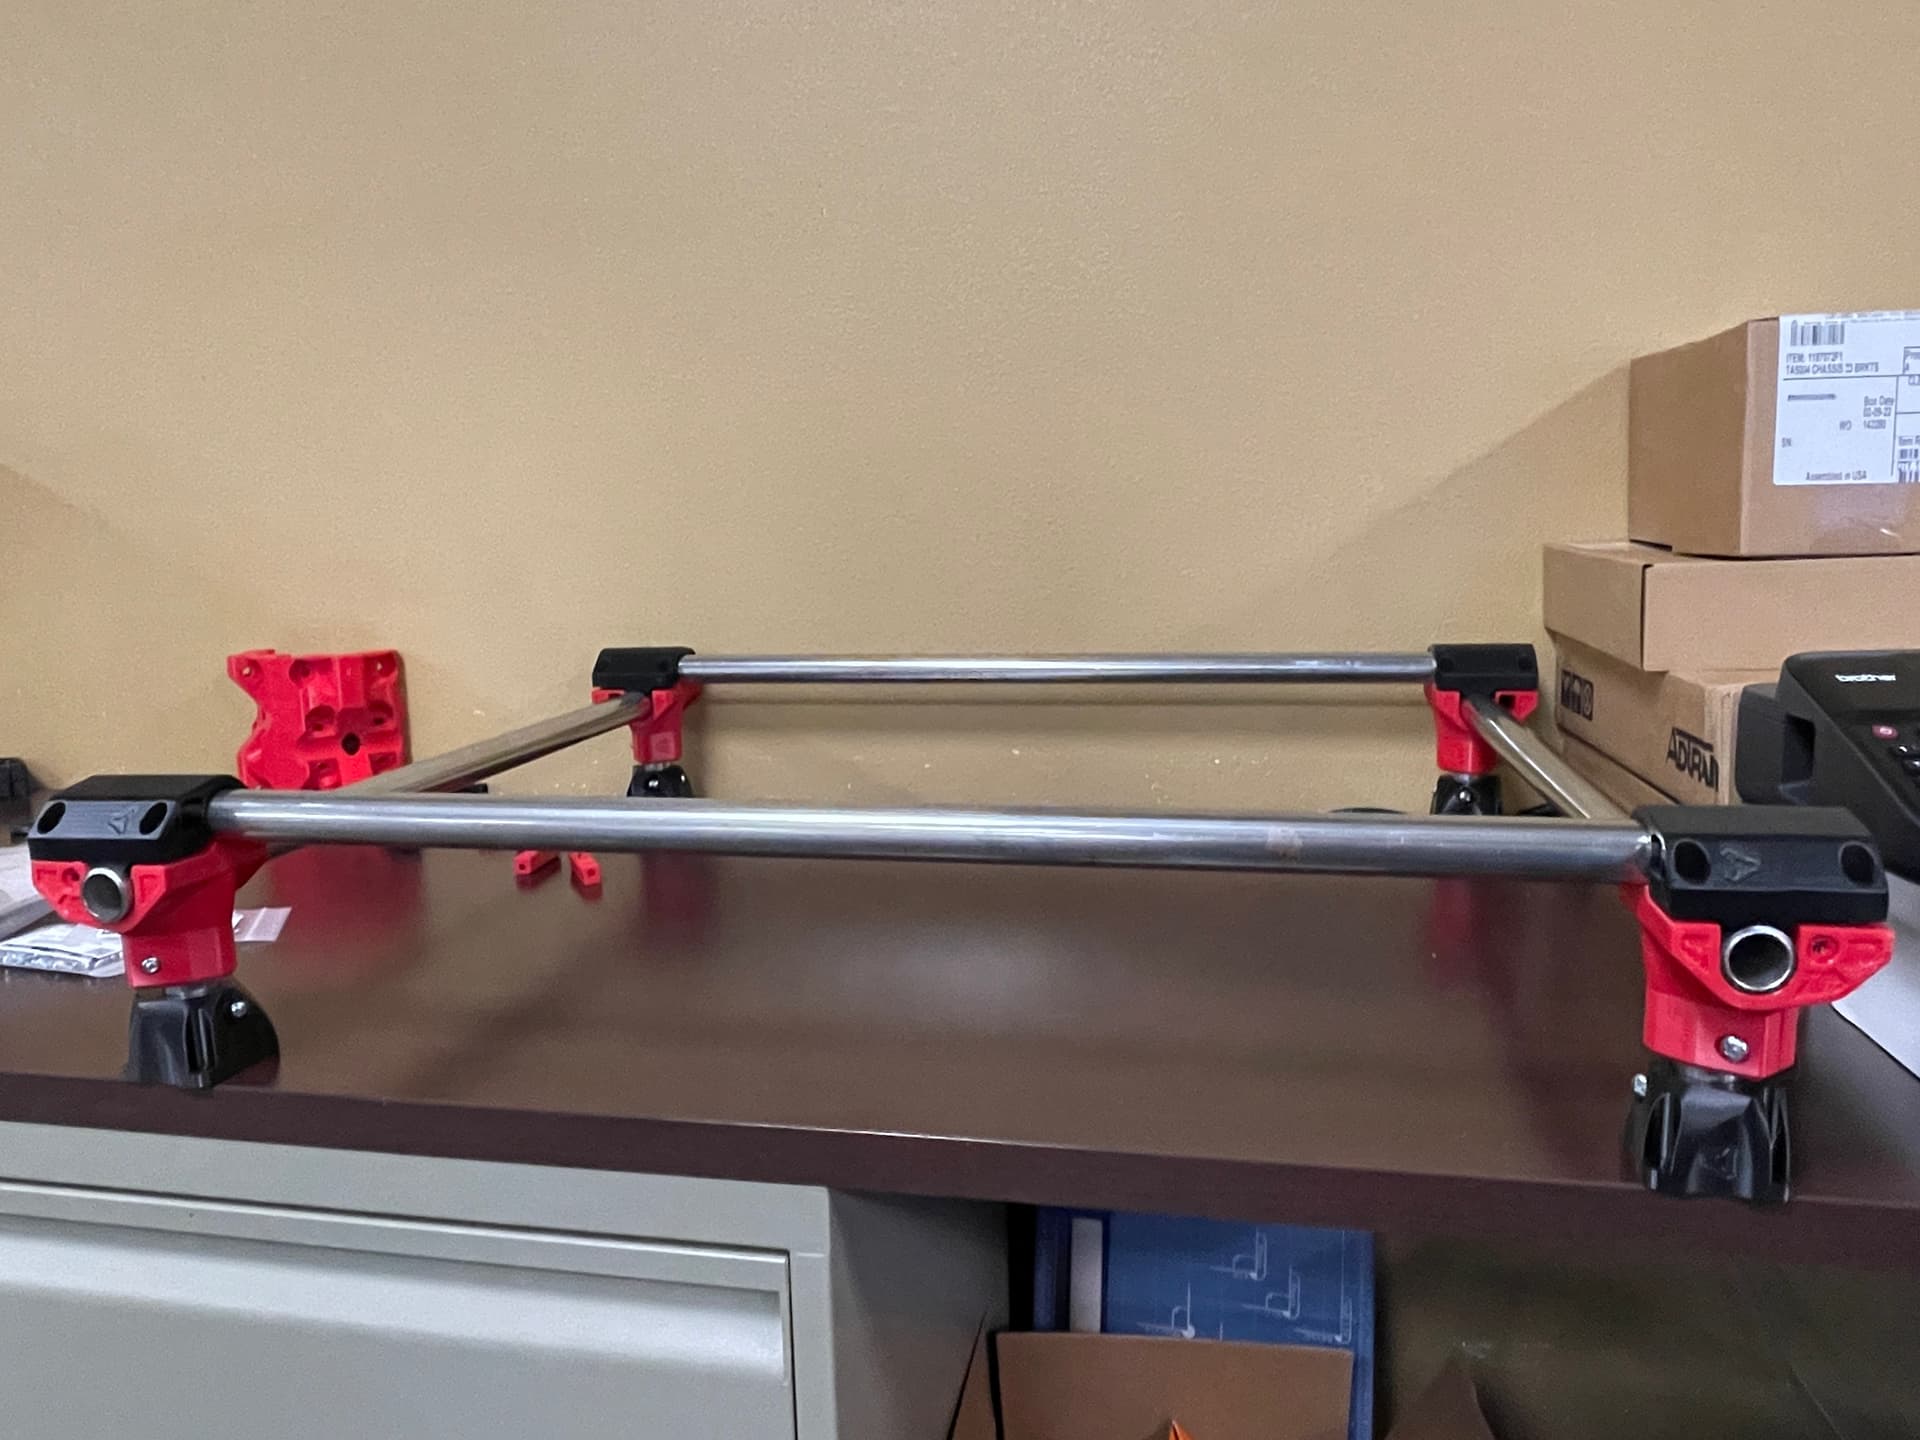
As you can see I don’t exactly follow the directions. I need to find a board to mount it on. I ordered some belt and need to find a few stepper motors that I’m sure I have as spares.
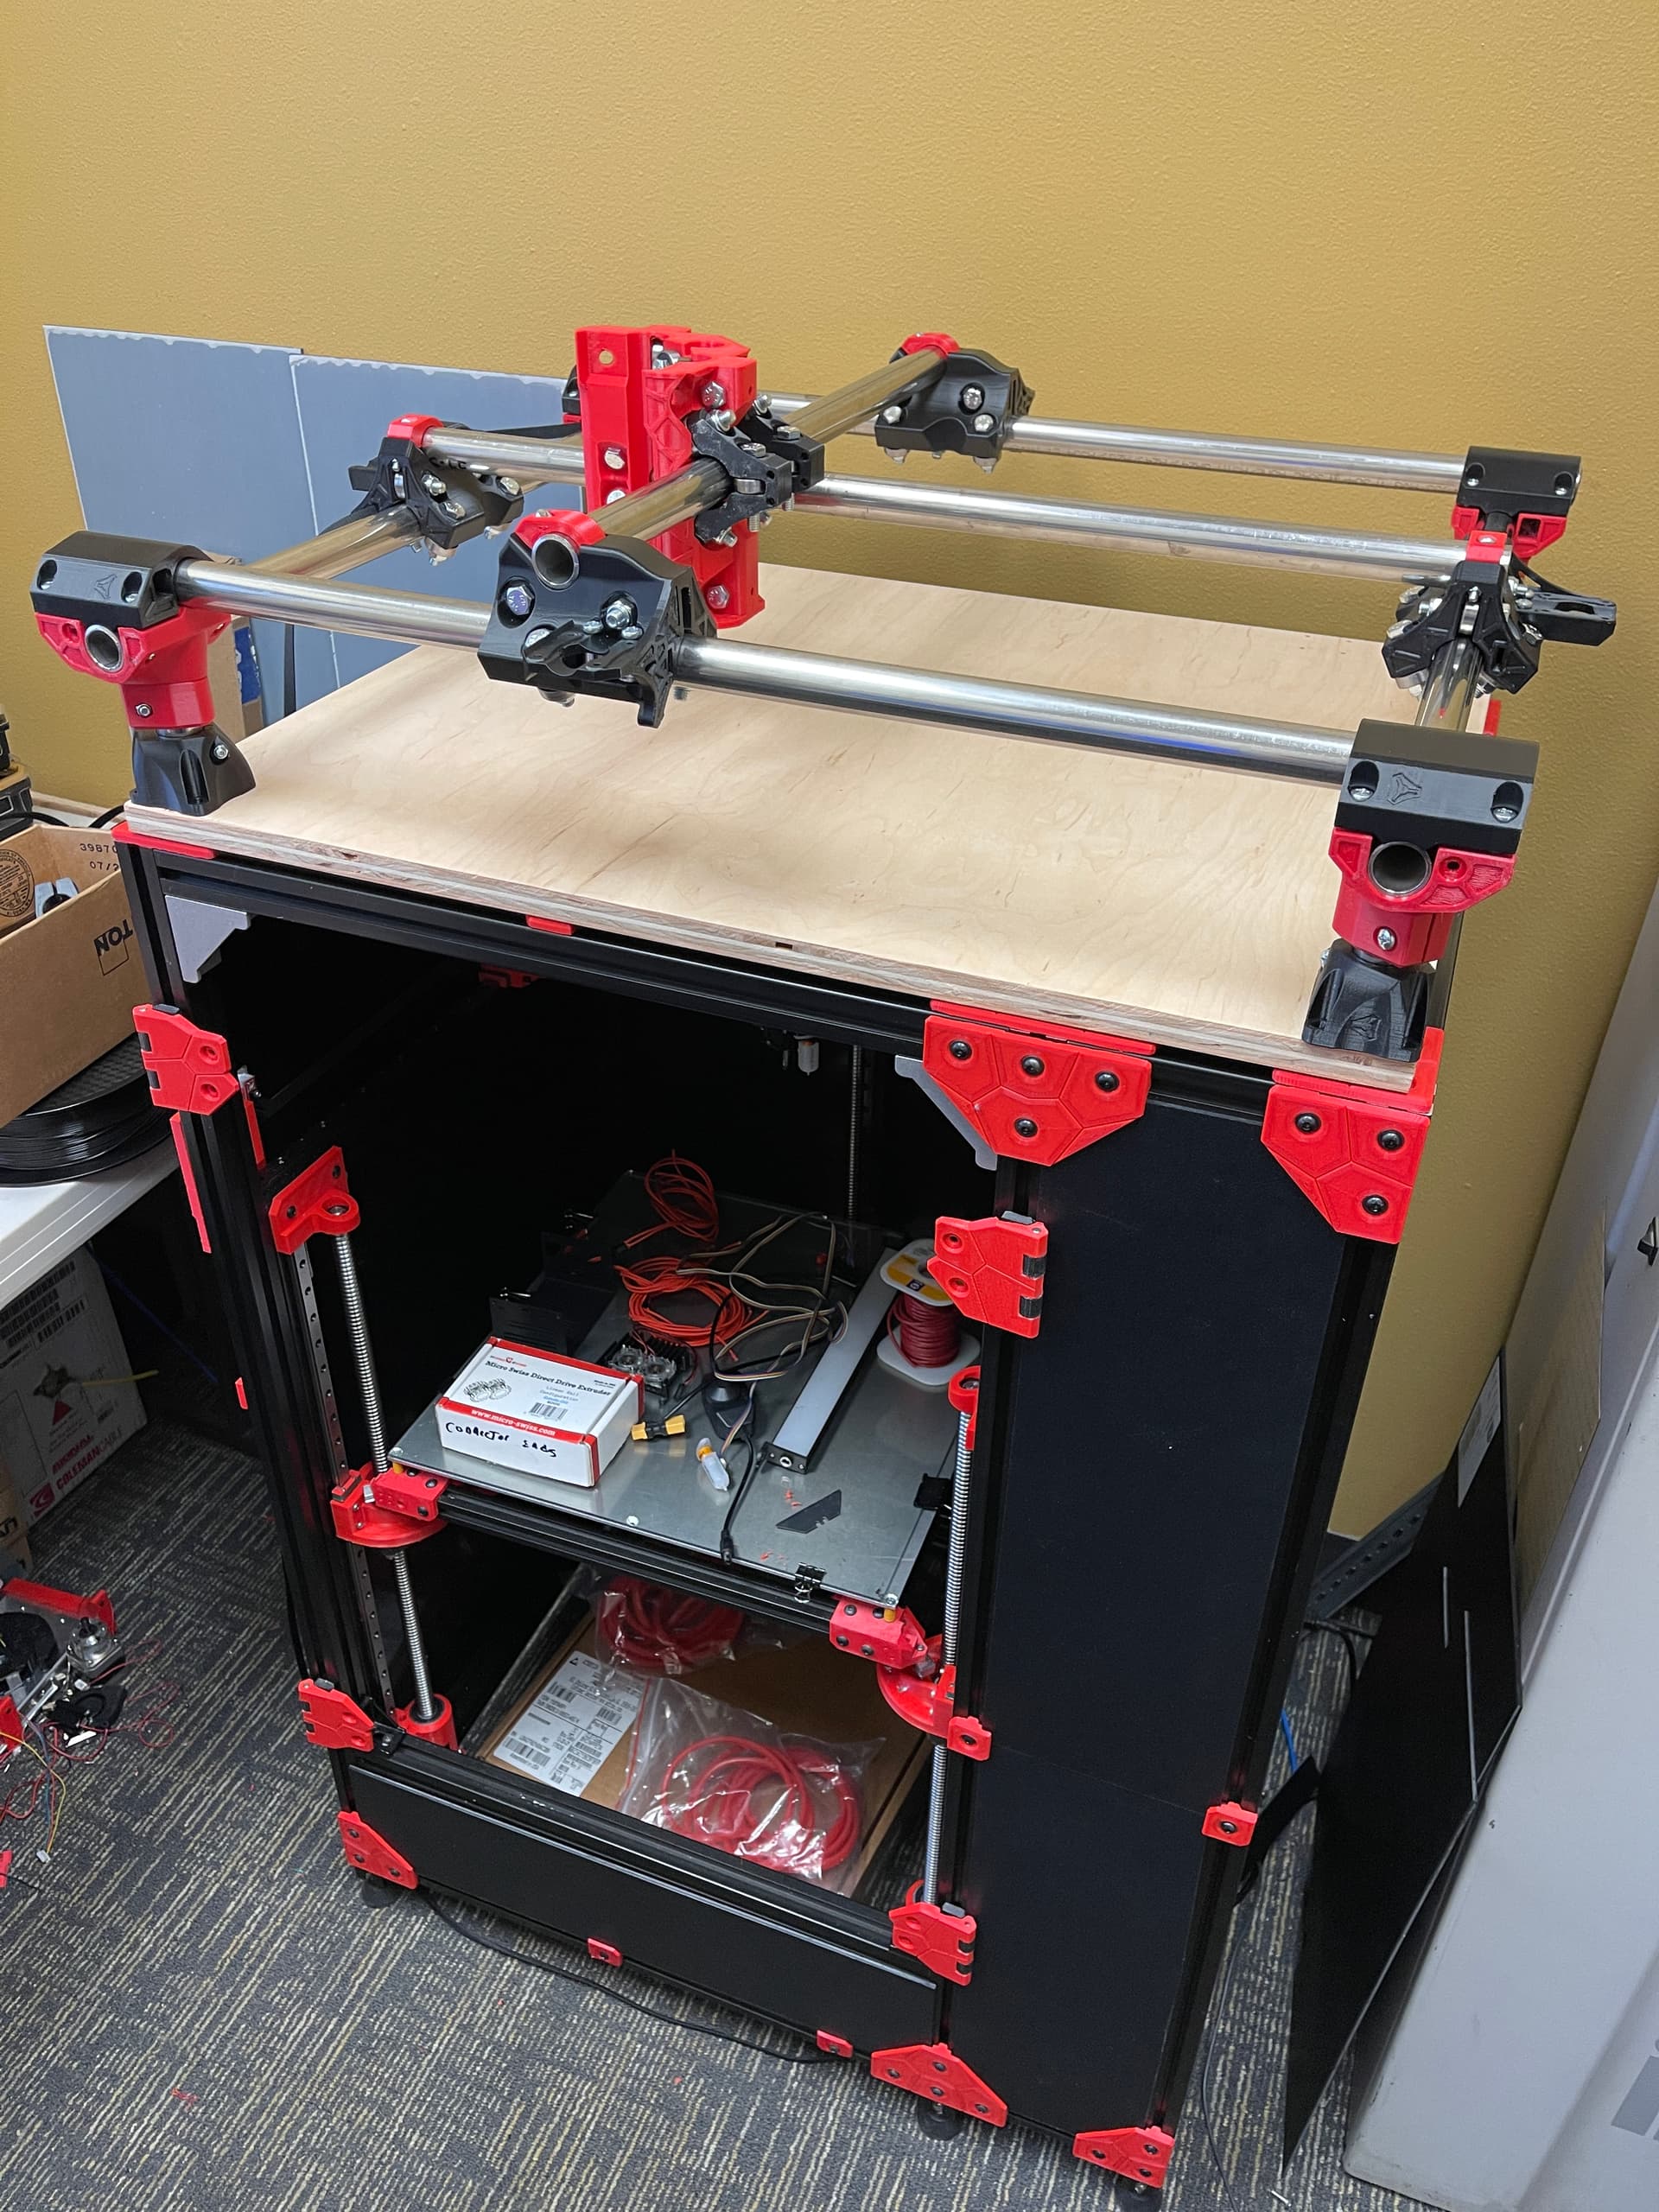
This seems like a good place to put my MPCNC until I get it working. I really need to find some 3/4" screws so I can mount the feet and get it all squared up. I can move the core around very easy the way it is now.
Seems like a good place even after it’s working, hehe! Looks like you added an extra helping or 2 of walls on your parts… I did the same and like the results (mine took about 50hrs IIRC). Especially with PC, you will be able to crank down a lot more on bolts without cracking stuff. BTW, your parts look good for being printed in PC… takes balls to print a primo core with extra walls in PC, even with an enclosure! What temps do you run for hotend and enclosure? I’m considering buying a roll to play with myself.
Edit: Noticed you have a priority to mill some alum to make a one off for your car project. That’s a perfect reason to make a primo! Nice you will start with a 2.2kW spindle… that should help a ton. There are others running H2O spindles here, but not sure if they have 80mm (mostly 65mm). Thingiverse likely has some options you might be able to use to mount, or at least remix to make something work.
The PC+ filament is from Snolabs. It prints really nice. Usually 265C and somewhere around 90-105C for the bed and no enclosure. Your first roll of PC+ from Snolabs you can get a 25% discount.
I kind of wish I wouldn’t have went with the moto… bigger is better on the H20 spindle. I will need to find a 80mm spindle holder.
I need to figure out what board I’m going to use. I see there is the SKR 1.2 at the shop. I’m getting a BTT Octopus Pro V1.0 for the printer below my MPCNC. Would that work on the MPCNC?
Yeah, pretty much any printer board can be made to work with mpcnc. However if you don’t go with an officially recommended board, then you have to sort out the configuration with relatively less support. There are lots of knowledgeable and helpful folks here that can help you get it working though. IMHO setup is not that hard to do, but I am somewhat experienced with nc machines, circuit design, coding, milling (on bridgeports etc), and editing config files. For a total beginner, sorting things like pinouts from schematics and config files, or setting up features like autosquare might be too tall challenge to figure out the first time around with cnc. Since you seem to have experience from printing enough to be comfy configuring an octopus pro, you likely already have the skills needed to get it working. However, keep in mind if you aren’t versed in cnc, there are already a lot of things to learn that have nothing to do with the controller.
That’s why Ryan’s design and prepackaged firmware setups are so valuable to those beginning in CNC… takes a lot of the time/learning curve out of the way, leaving you to focus on non-print related cnc stuff like CAM, fixturing, machine alignment, probing, feedrates, cutting strategies, etc. I did personally start right off using GRBL on my primo for various reasons, and now I’m running fluidnc on a 6-pack board (so pretty far from “standard”). It certainly is superior when it comes to laser use at least, and it works great with my favorite sender bCNC (which afaik is the only software I’ve seen that can do leveling correction properly… this is critical for PCB milling). So “Mapping your own adventure” with mpcnc does have it’s place if’n you know what you’re doing and where you want to go with it. You have to expect more days of mulling over code and schematics before it’s cutting if you do.
edit: BTW, lol bigger is generally better for mills. It’s just that with all the plastic etc, there’s only so much horsepower you can put into a bit before things get way out of shape. At least with a watercooled spindle (65 or 80mm), you can drop RPM a ton vs the usual trim routers and maintain torque… exactly what you want for cutting alum. You can probably even stick to 2-flute.