I made my first torsion box on a table saw. My new one I made with a battery powered track saw.
To make a router template you should be able to drill the inside corners to give you the corner clearance
Update Apr 21, 2023:
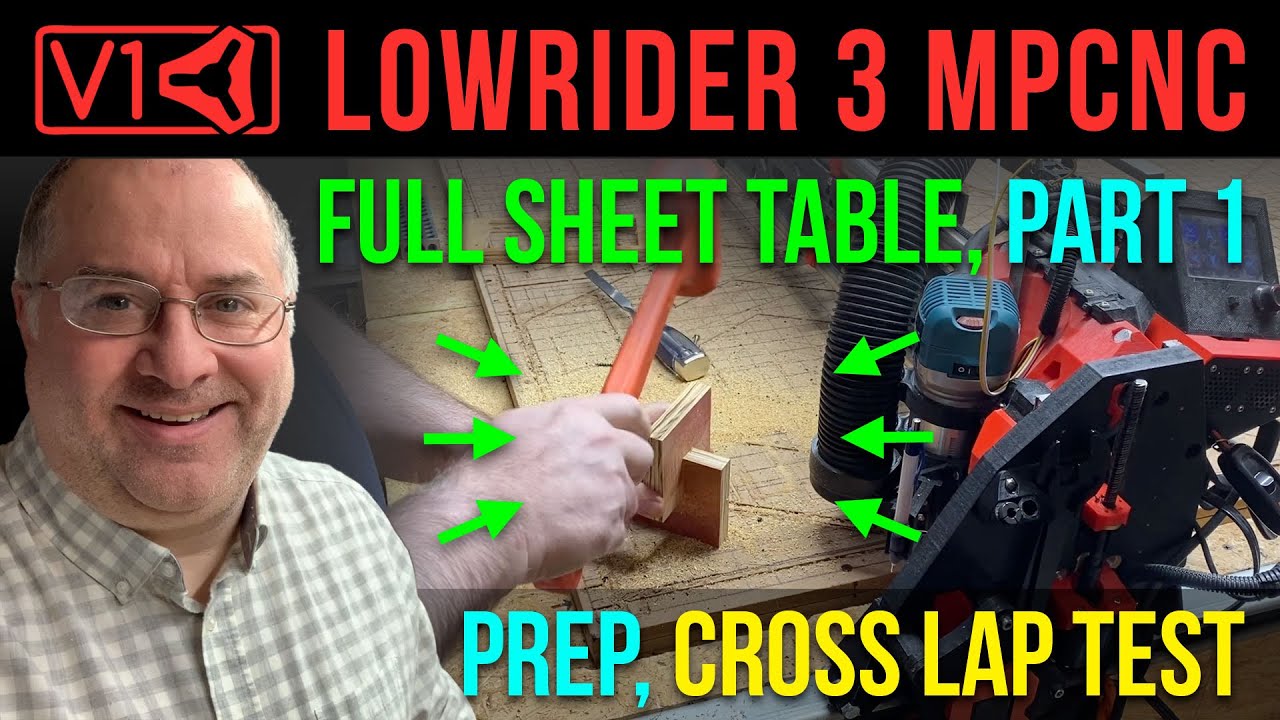
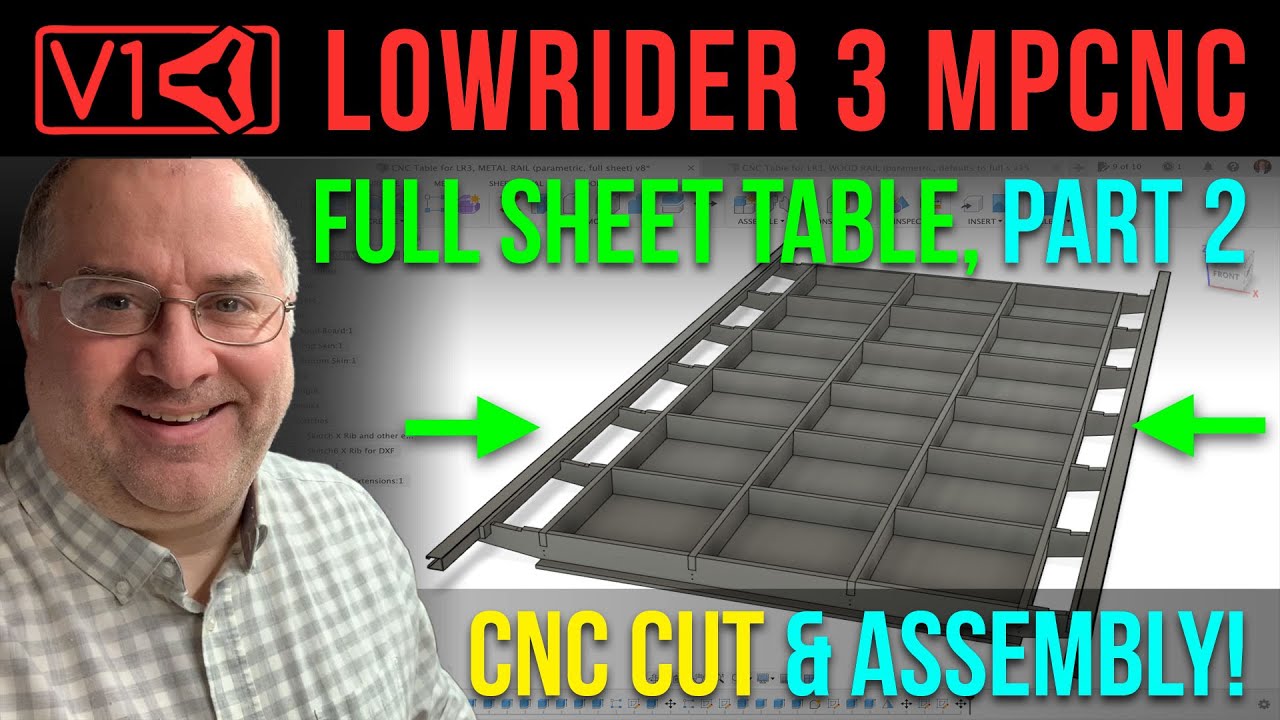
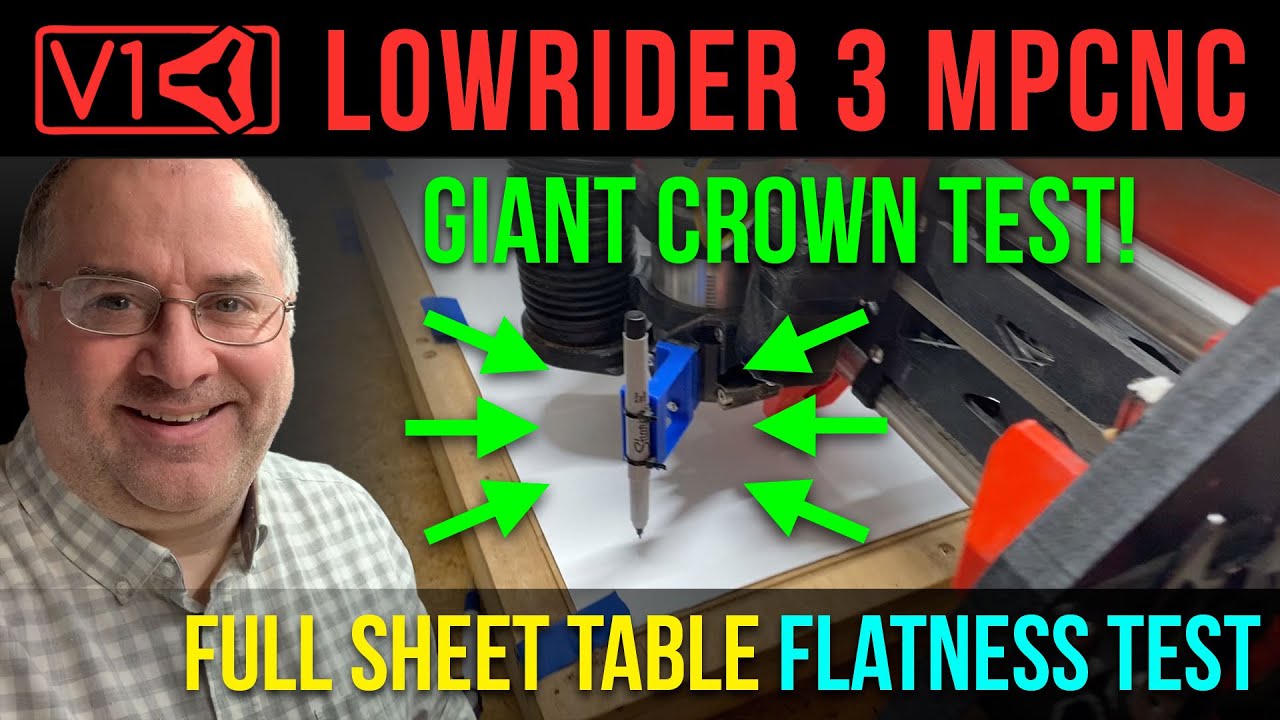
Got the “part 2” video edited & posted. Watch both part 1 (short) and part 2 (full length) to get the scoop on this awesome enhancement of my LowRider v3 CNC capabilities:
For LowRider v3 CNC, full sheet capable table, Part 1, prep & cross lap test
For LowRider v3 CNC, full sheet capable table, Part 2, CNC cut & assembly!
@DougJoseph I spent a while (late!) last night trying to catch up on this forum, and I’m really excited to see the progress on the torsion table. Then this morning I flipped to YouTube during breakfast, and came across your Part 2 table build video – really cool stuff.
One thought I had seeing your rework because one of the ribs got flipped: How about somehow marking one or both ends of the ribs to differentiate them? Could be like “XMIN” and “XMAX” either through-cut or just engraved, or as simple as a single 1/4" hole somewhere in the short overhang and two 1/4" holes in the long overhang, just something that’s easy to put into the design and that makes it a little harder for someone to overlook and accidentally flub things up.
Another “methods of work” suggestion for you: Use a pocket hole drill bit (e.g. Kreg) to drill your pilot and create the countersink in one motion. Even if you’re not using washer head screws like you’re supposed to with pocket hole joinery, the slight flare on your yellow zinc screws shouldn’t keep the screw from snugging down into the hole.
As for the suggestion above for using drywall screws, just be careful also when driving them into the edge of engineered materials, especially MDF, but even most plywood, without a pilot hole. They’re really going to act as a wedge and try to split the material. Screws with self-drilling points like most deck screws and pocket hole screws will work much better.
Keep up the great work!
Thanks for the great idea and tips!!
Another thought that’s probably about 2 weeks (months?) too late, for people looking for straight material longer than 8’… maybe this will still be useful for someone.
Most of us live within reasonable driving distance from a true building supply store (lumberyard), and almost all of them will do “counter sales” to the public, even if you’re not a builder. They will usually stock 16’ boards of 3/4" MDF, raw/unprimed, with square edges in widths from 4" to 12" in 2" increments. I’ve forgotten whether these are nominal widths (like a 2x4 is really 1.5 x 3.5) or whether they’re a true 4", 6", …
These boards are used all the time in interior trim work for door & window casings, baseboards (usually with an added cap molding), shelving, and more. Builders - and their painters - don’t want joints every 8’ in their trim work.
Anyway, if you’re looking for solid, straight material and you don’t need “real” (dimensional, unprocessed) wood, check out your local lumberyard that sells to the building trade. Just be prepared for how you’re going to haul it… those boards get pretty floppy when they get that long. Bring a handsaw or cordless saw to cut it to your rough length at the store if that’s going to be a problem with it hanging off of your pickup’s tailgate!
What download page? I cannot locate it…
It’s linked in the very first post (and other posts). Steve pasted it for you also.
Thank you both.
I am looking to do this and would like to find a post or video showing someone setting this up.
If not, maybe I will have to make one…
That also is in the original post at the top of this thread. I encourage you to at least look at that post. It lists three videos, one of which is a full build of the torsion box. That’s the second video listed below.
Im looking to make a variant of Doug’s table, so this is a bit of a general question in relation to tables and tops.
On the sacrificial top, is there a reason whole sheets are used as opposed to slats?
Like below, I figure the slats would require slightly less material, and be individually replaceable.
Good questions. Need input from those knowledgeable of how to make and use the slat version
A full sheet or slats really doesn’t make a difference, they both serve the same purpose for a spoil/waste board, and there are pros/cons to each depending on your use/needs.
A slat version could be set up to provide T-slots or T-tracks that can be used for hold down mechanisms, where a full sheet by itself doesn’t (unless you cut a grid of holes for threaded inserts).
You are correct on the individual slats could be replaced, but if you ever tram you machine and flatten your surface, you may end up with un evenness when you replace an individual slat.
And lastly, when you are talking the LR, and most are looking to make it 4x2 up to 4x8 (or larger), usually the intent is to be able to make projects that will be of that size, so when replacement is needed, they will be replacing all the slats, and may just feel that using a solid sheet is just easier.
Ultimately it really comes down to personal preference and what YOU feel it best for your machine. Both work and both have their places and uses.
The big reasons I chose to use one sheet are:
- I only have to cut one board
- I don’t have to think about the slats being at different heights/orientations.
But go for the slats, if you like. If you surface them, it should be great. If it fails.for some reason, you haven’t wasted a ton of time and material.
What machine do you have?
I have a LR3 which is build but now just need to build the table.
You can do it! Bootstrap it from a floor-based cut surface…
Haha, I cheated. I found someone with a cmc router that could cut the ribs for me.
Im now doing the spoil board and need some advice.
My cutting area is 2500x1250
In Australia our standard hardware store sheets are 2400x1200
Custom order or building supply stores do sell 2700 or 3600x1200 but it seems harder to get.
Out of the below options what would be the best way to proceed?
- 2400x1200 sheet cut down to 1250x833 - using 3x sheets to make up the spoil board 2x joins running along the x-axis
or - 2700x1200 sheet cut down to 2500x625 - using 2x sheets to make up the spoil board 1x join running along the y-axis
I do also plan to then surface the top, I there any special recommendations on bits for a Makita?


