Getting there…

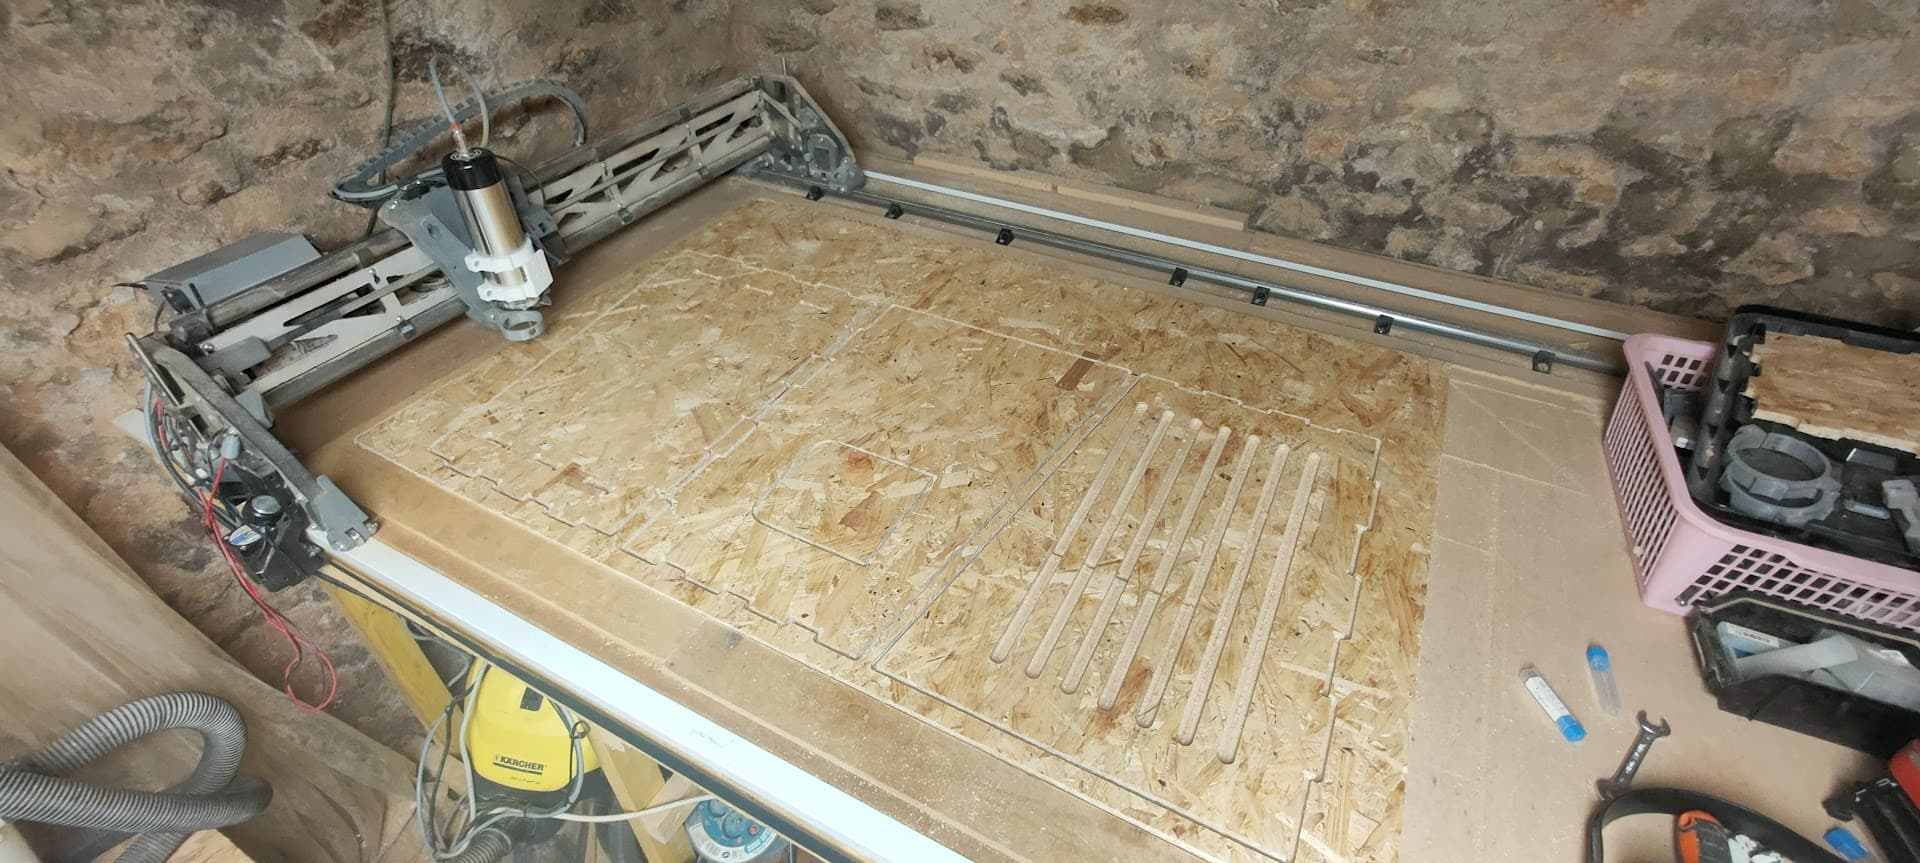

Tolerances are very tight, this will need quite a bit of adjusting in assembly >_<
a.k.a a larger mallet?
More like a rasp ![]()
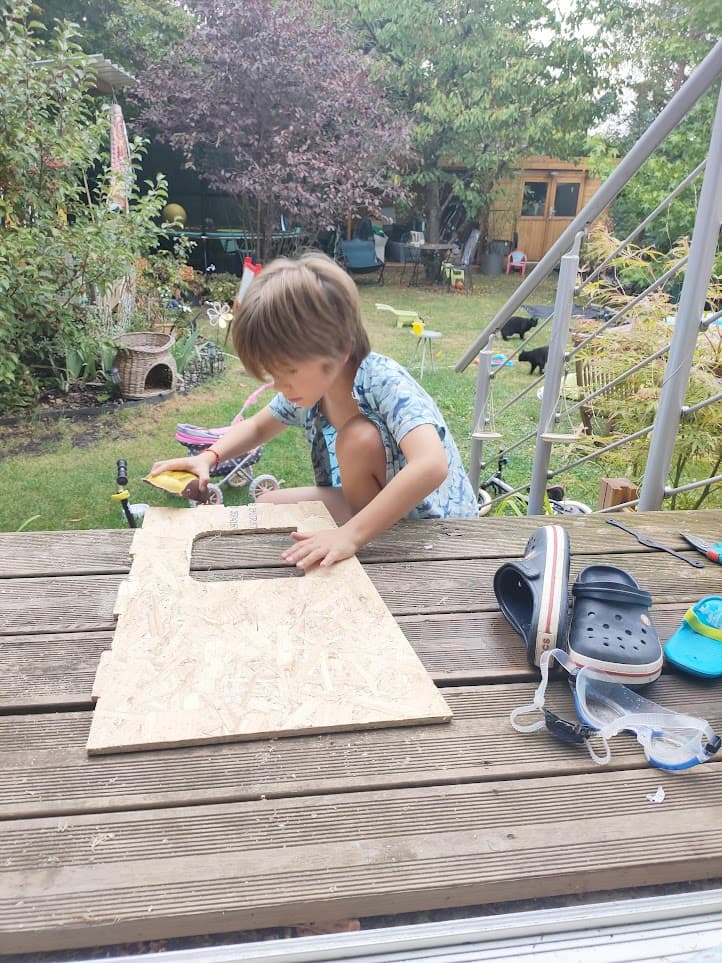
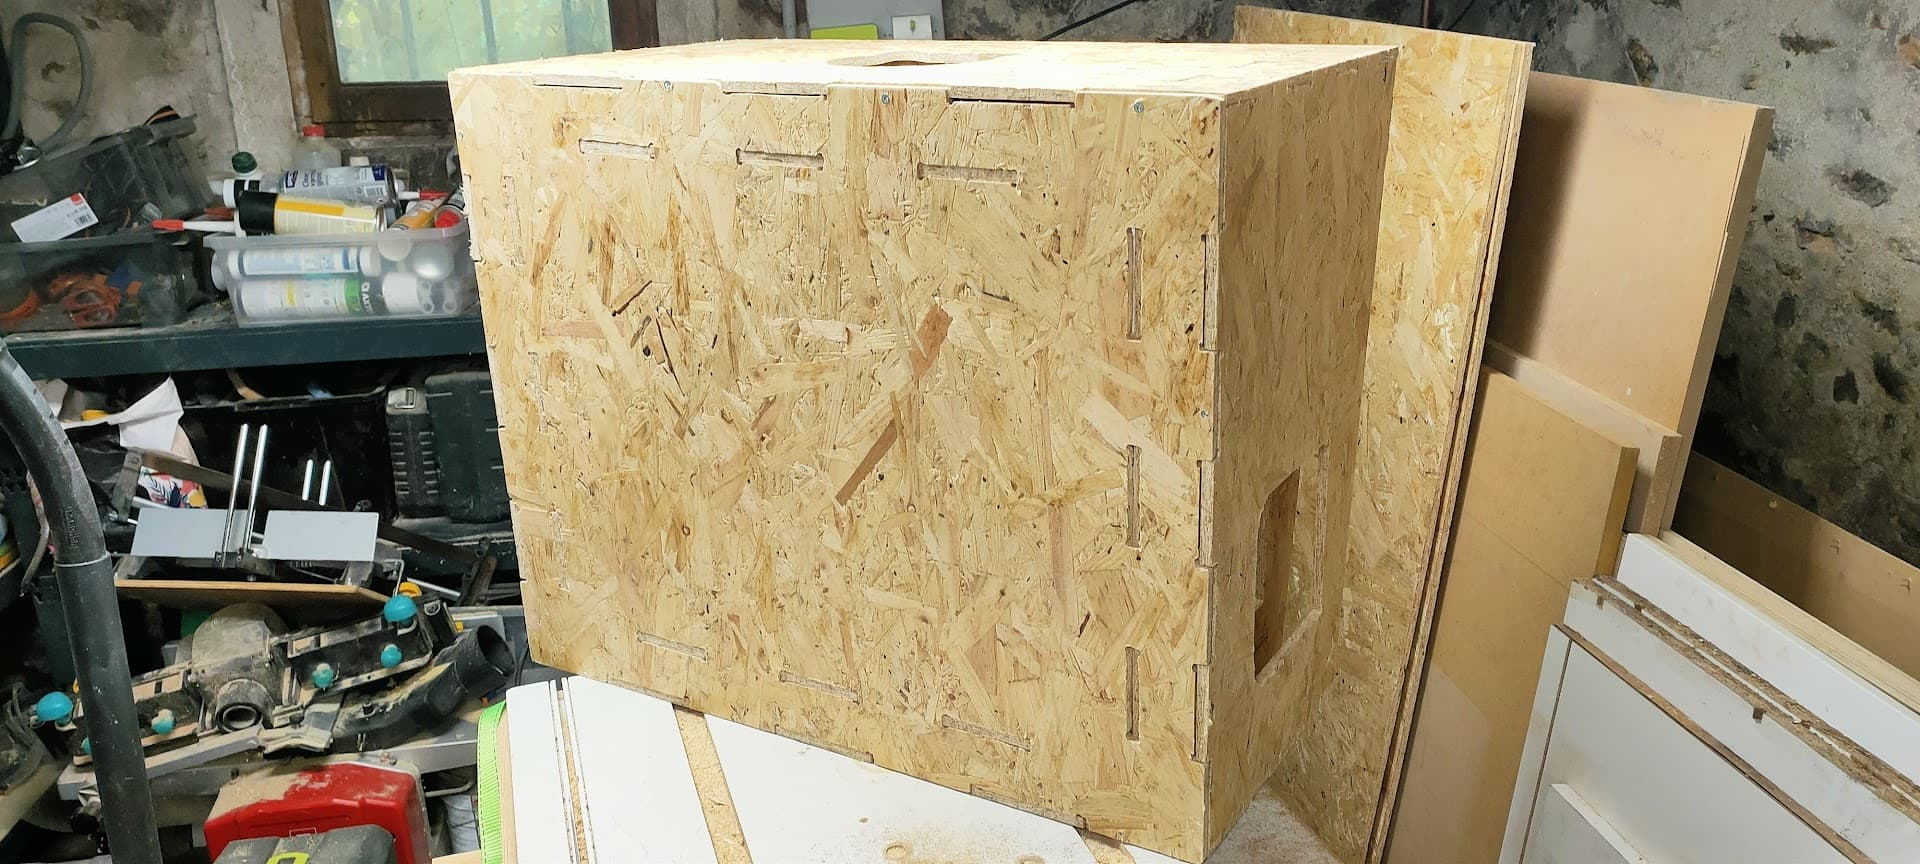
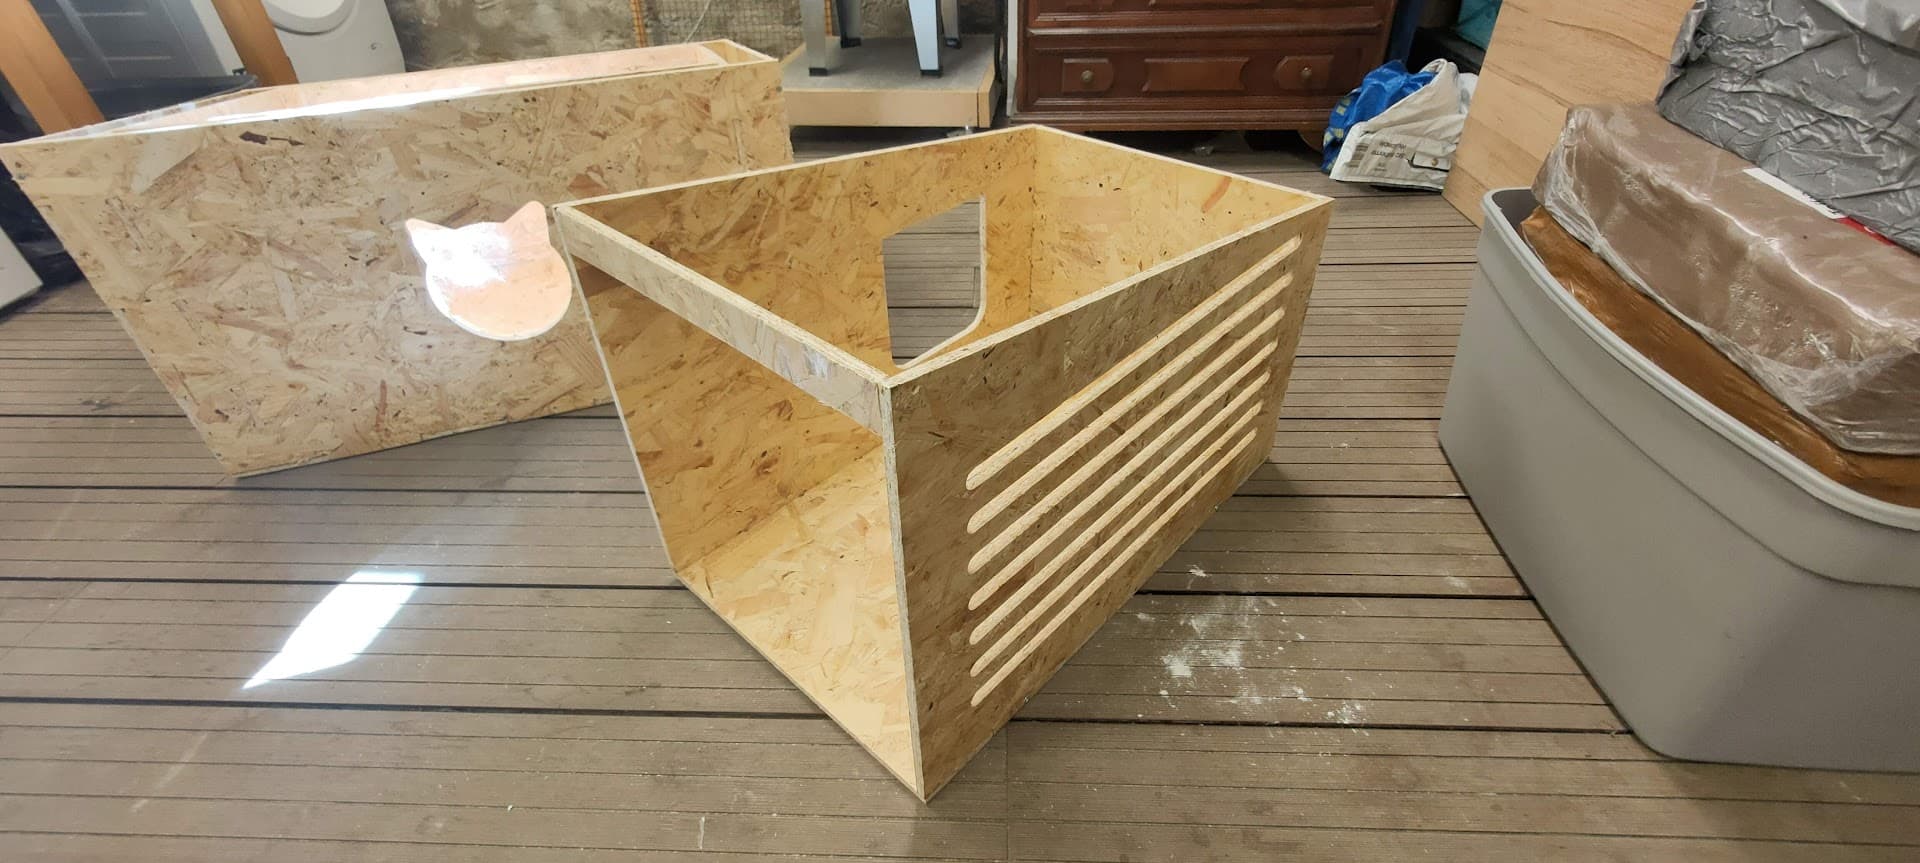
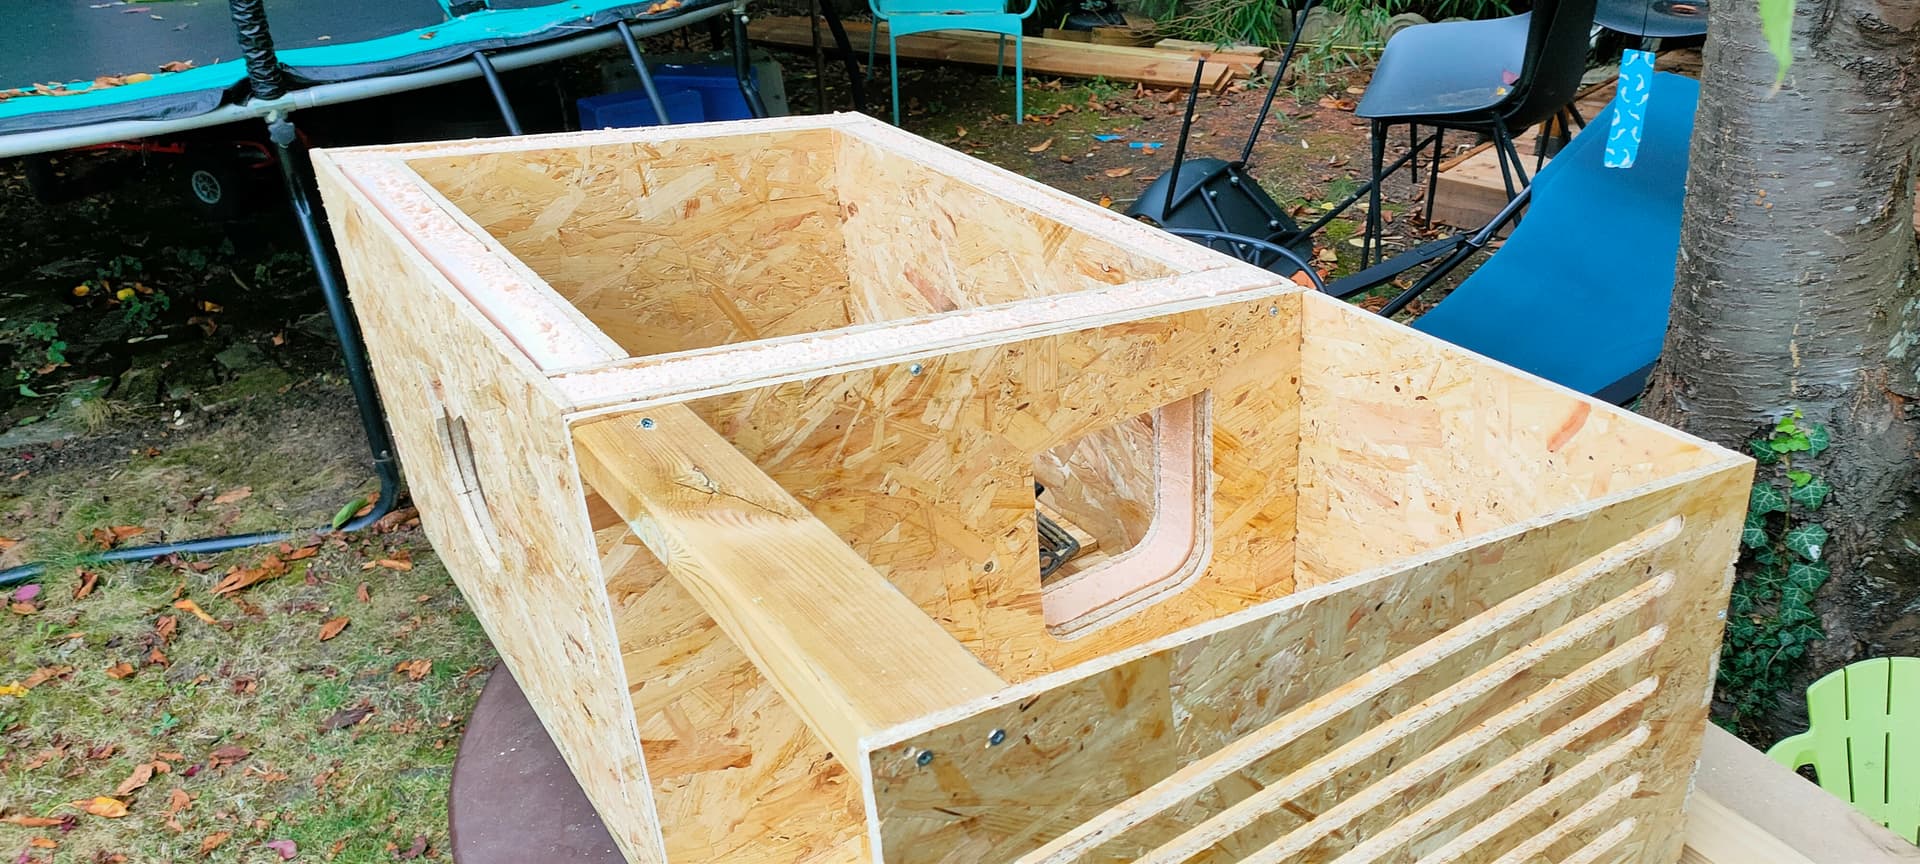
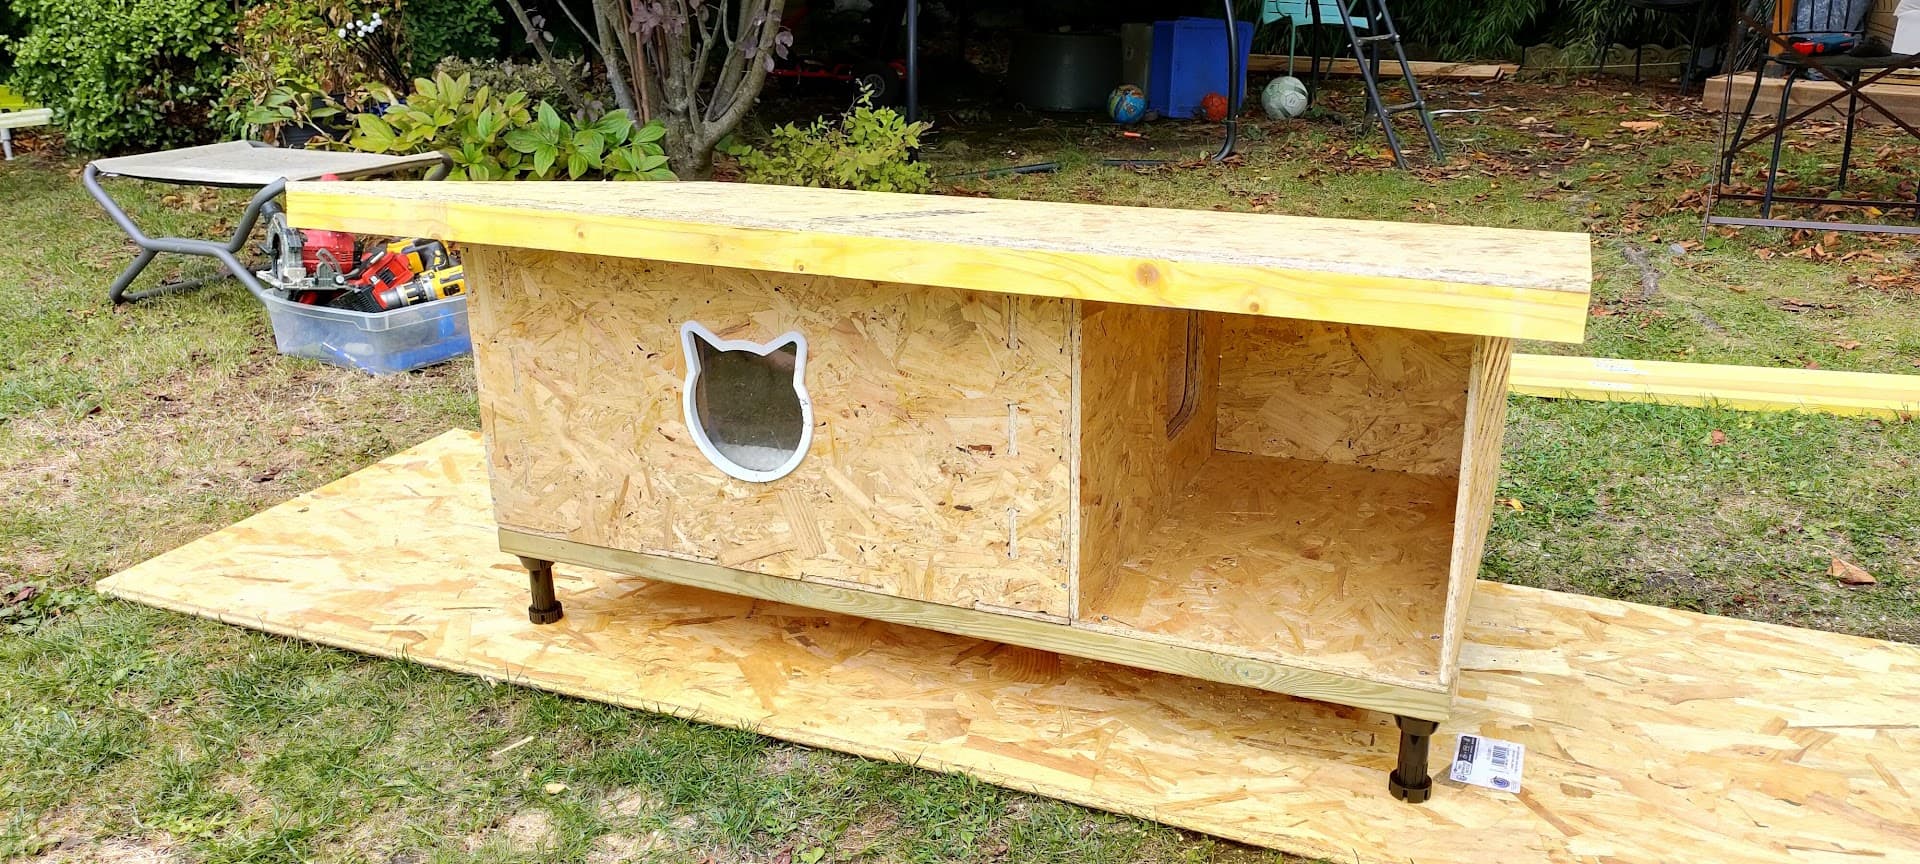
After a lot of cutting, adjusting, and swearing, I’m pretty much done with the structure….
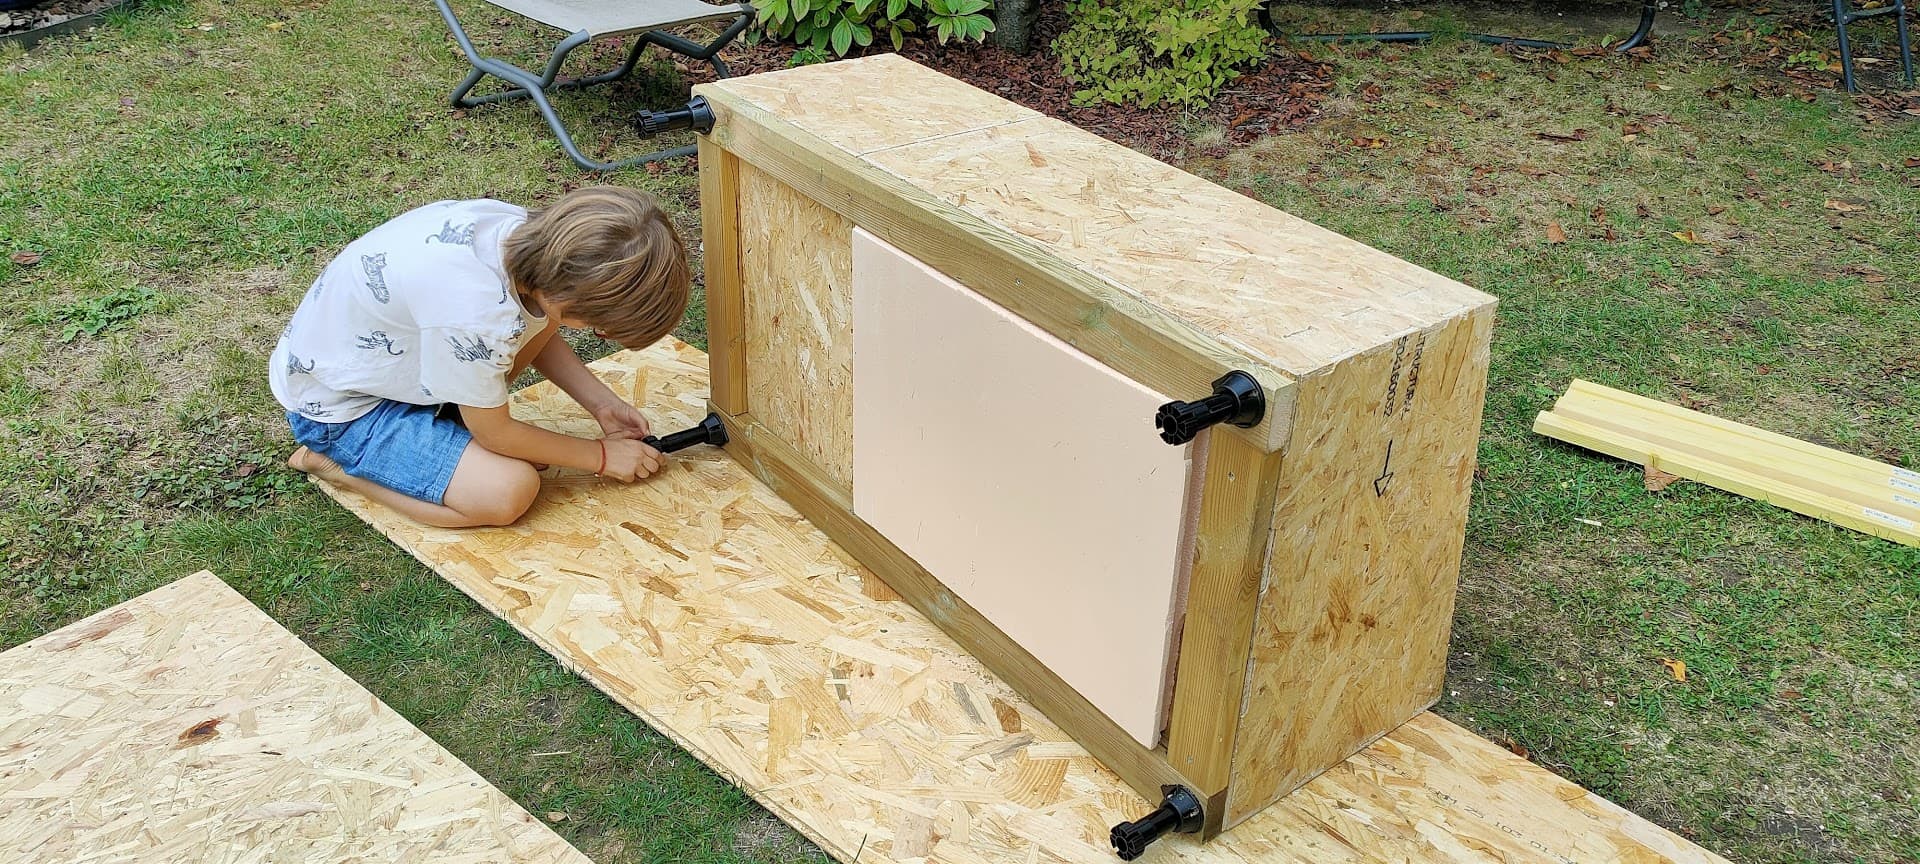
My 7y.o. helped with sanding
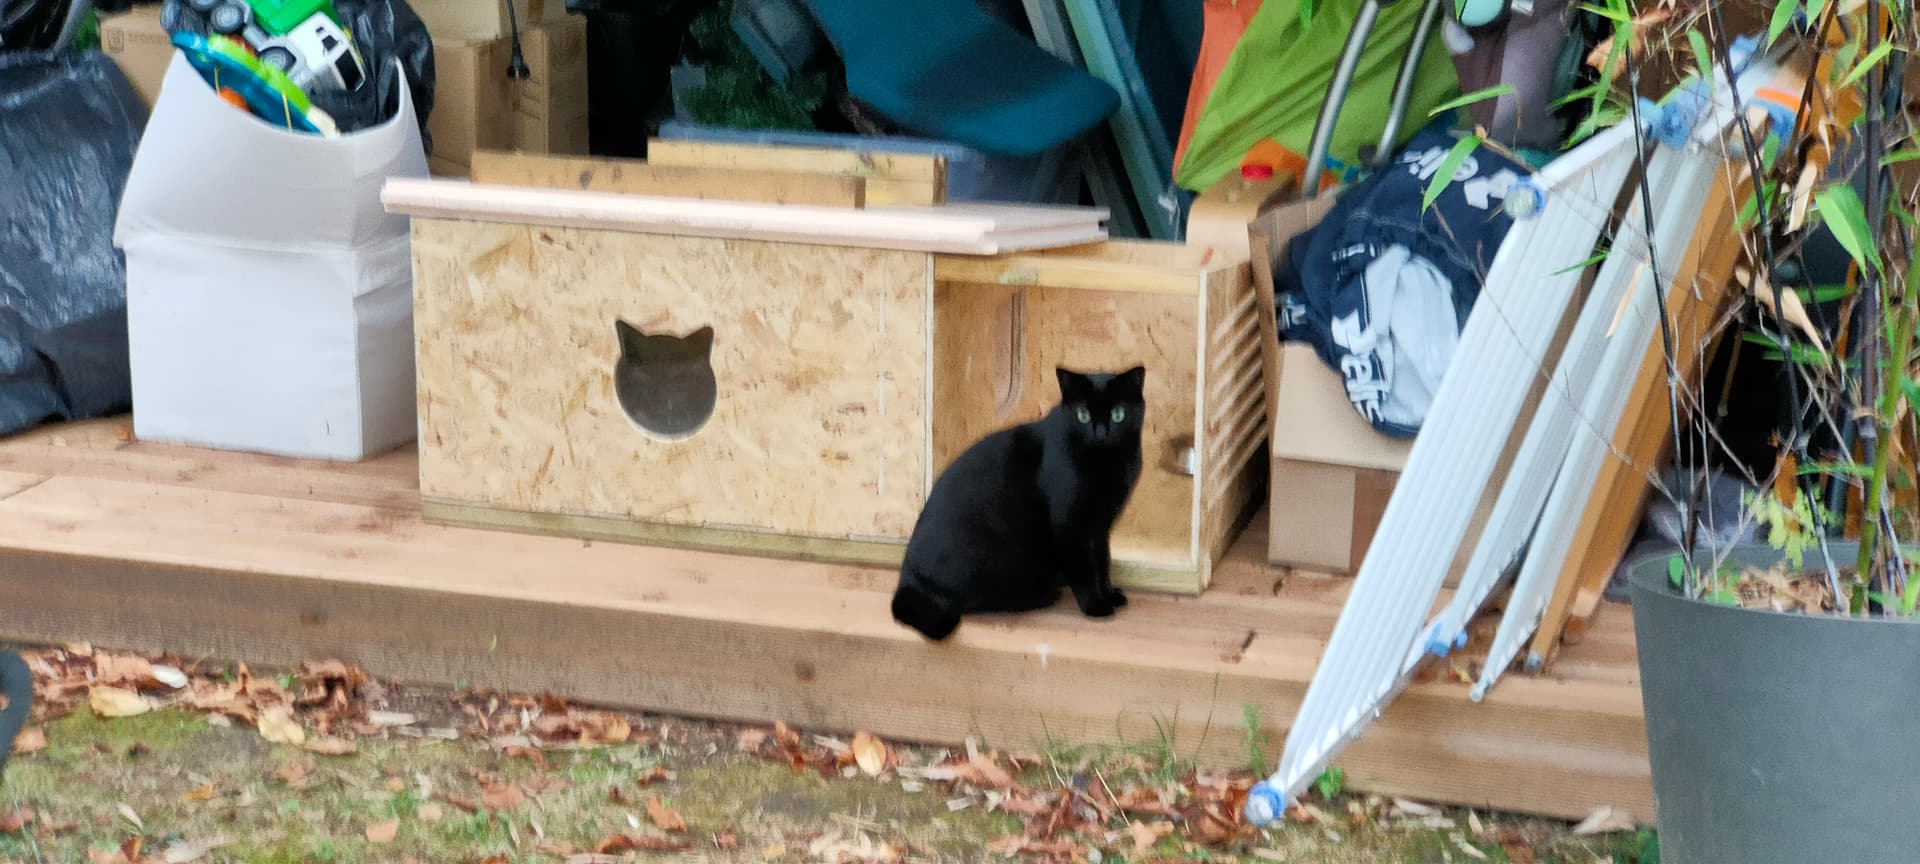
Also , you can see “Willow” and “Patate” in the back, hope they’ll like their new bed…
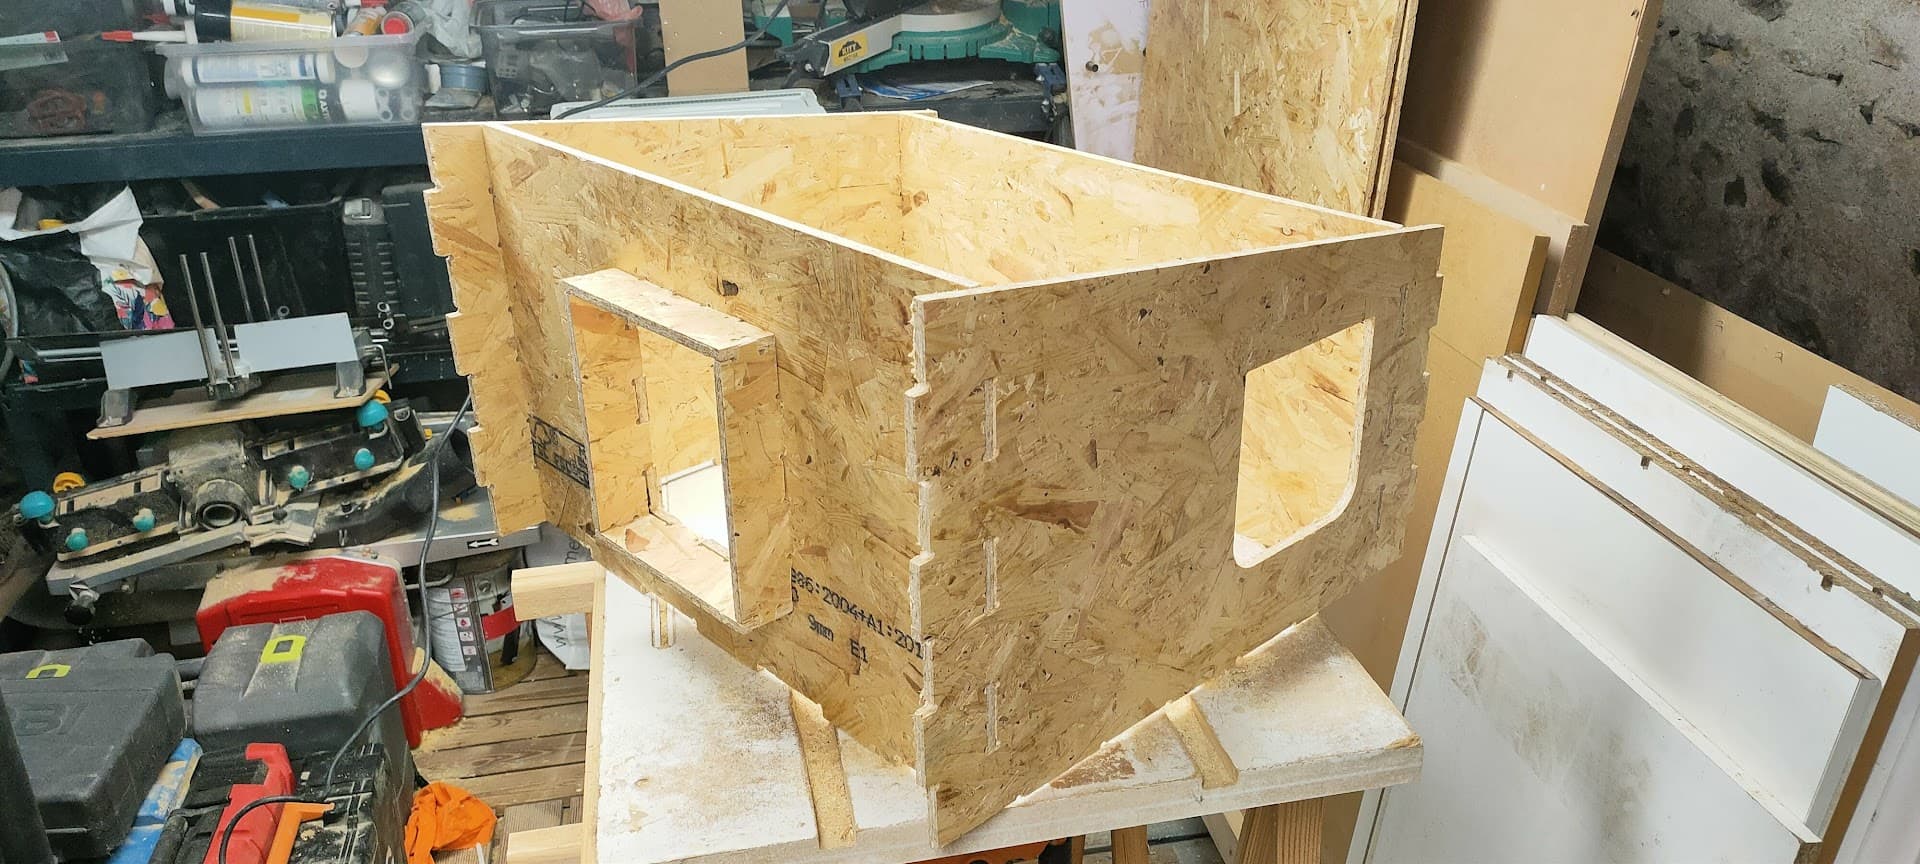
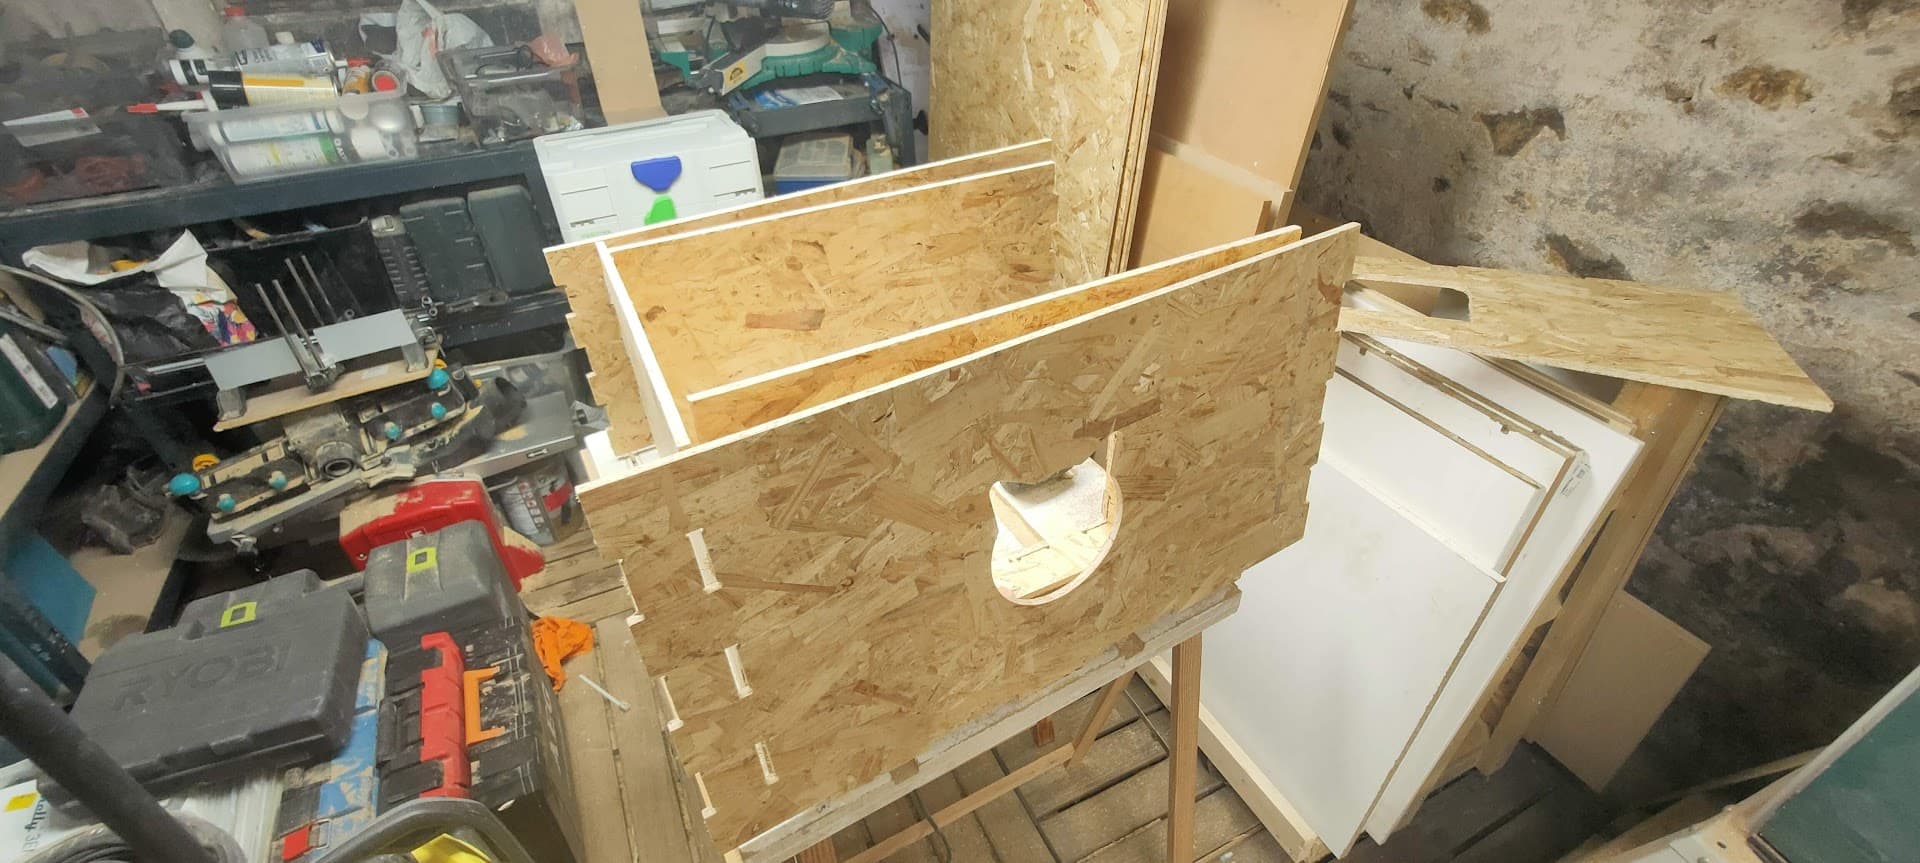
Inner structure
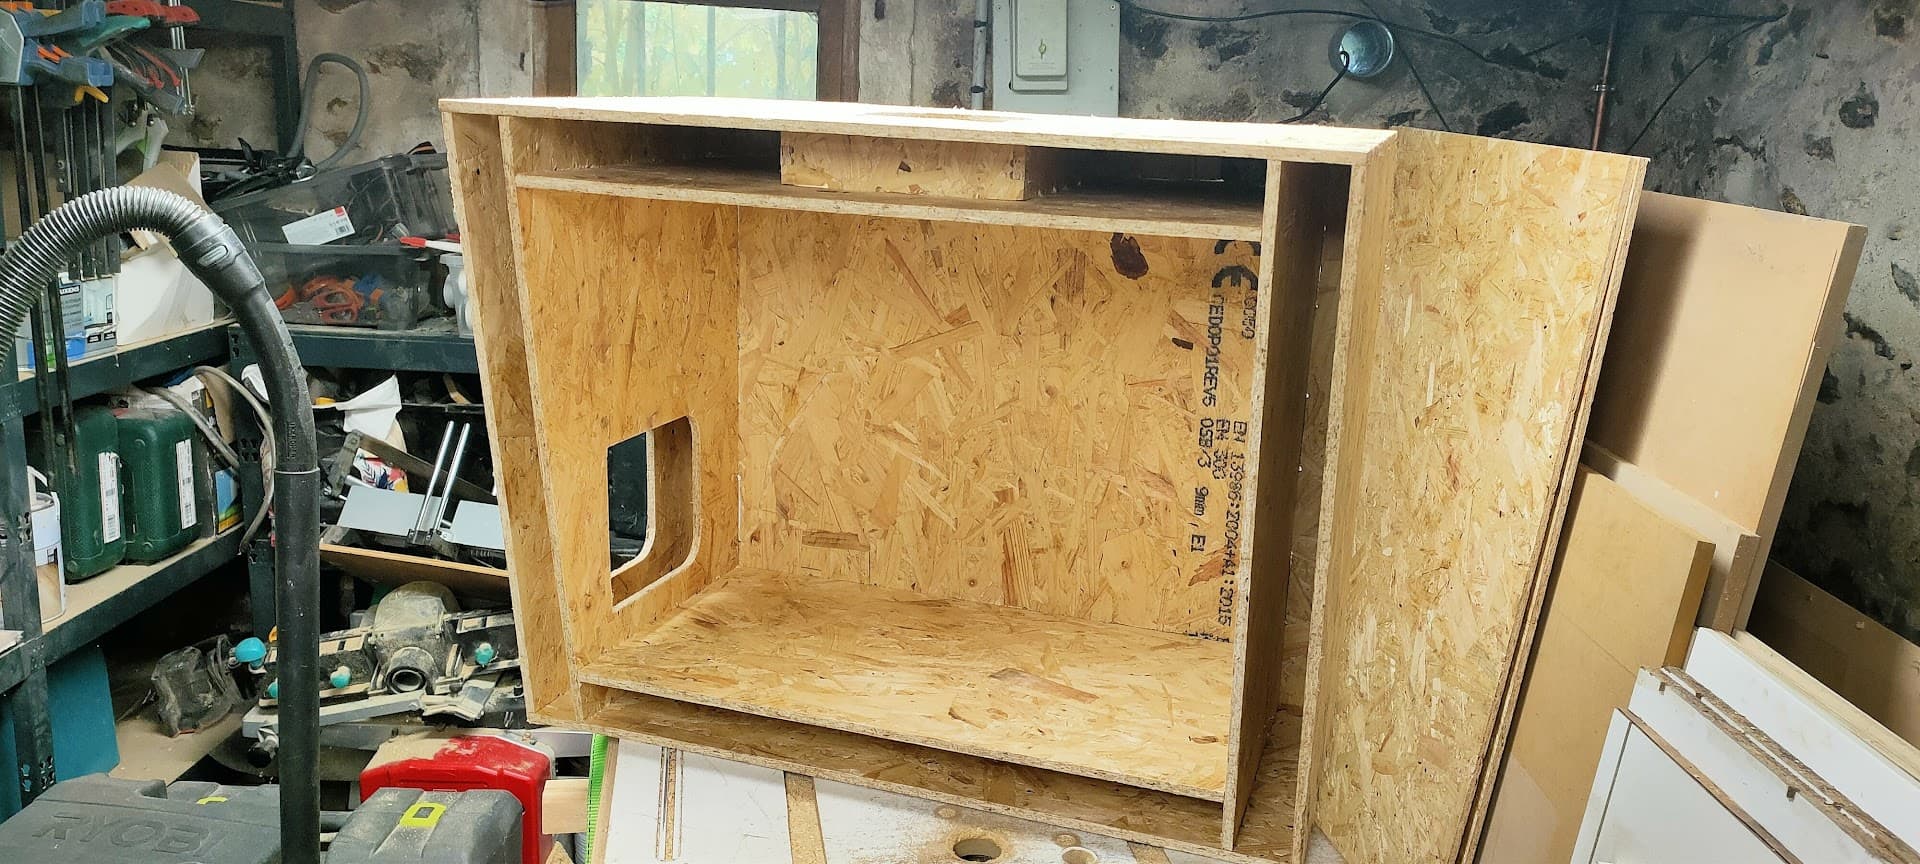
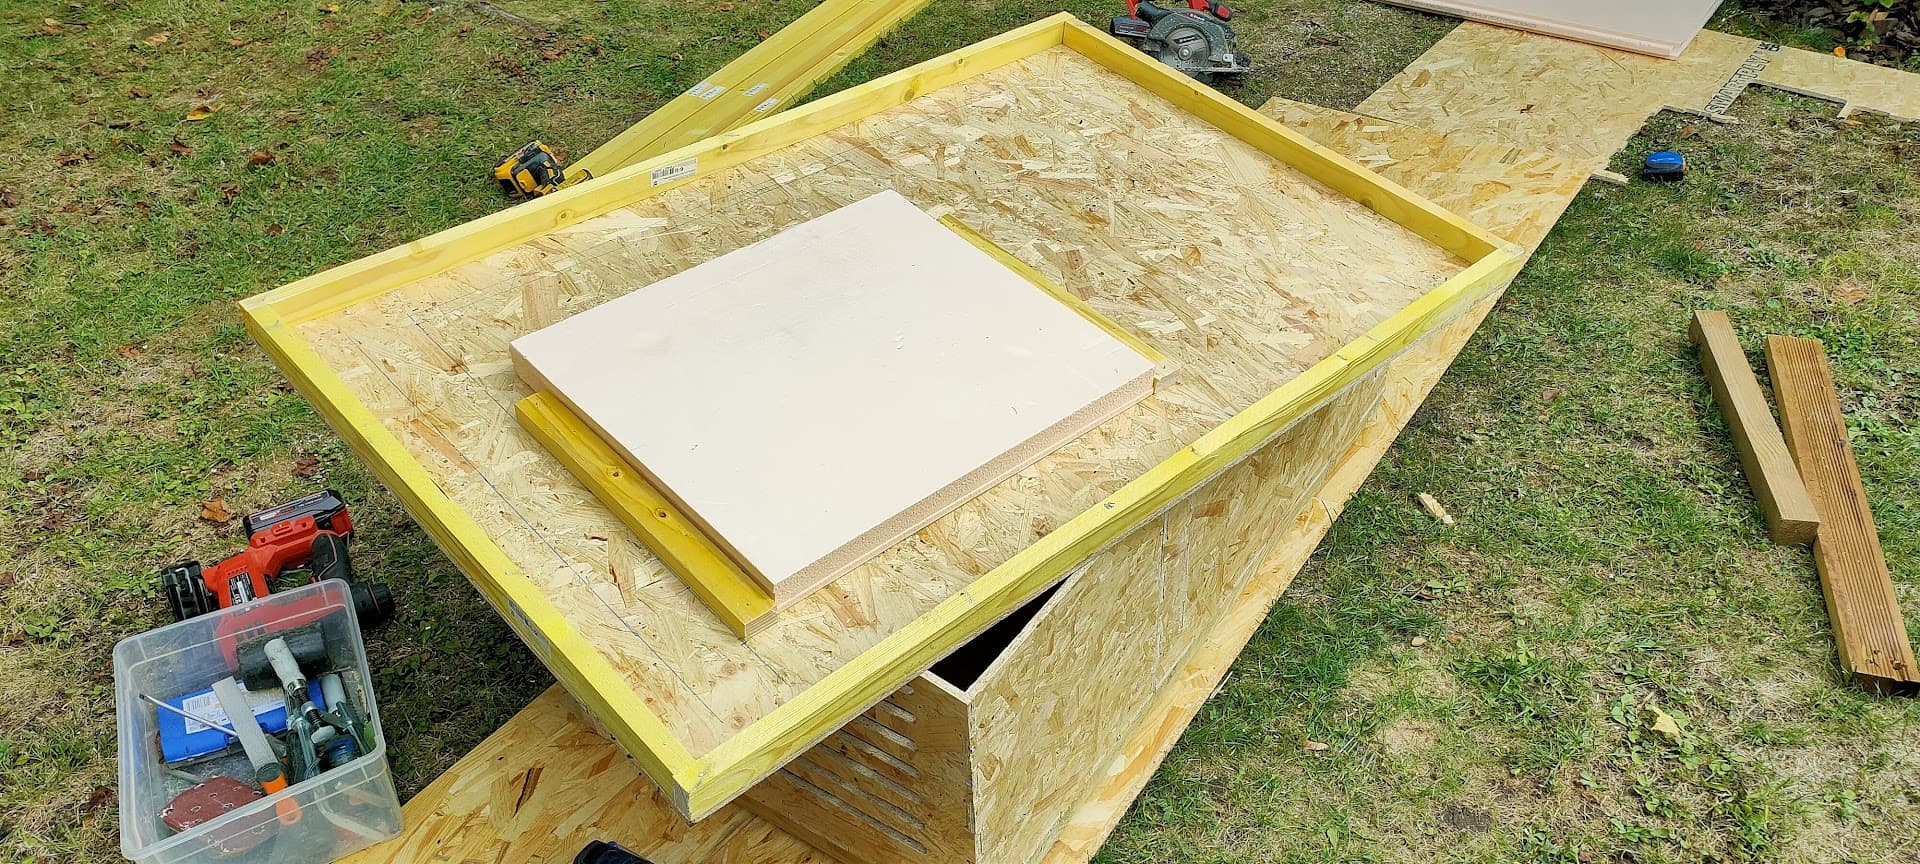
With outer walls added
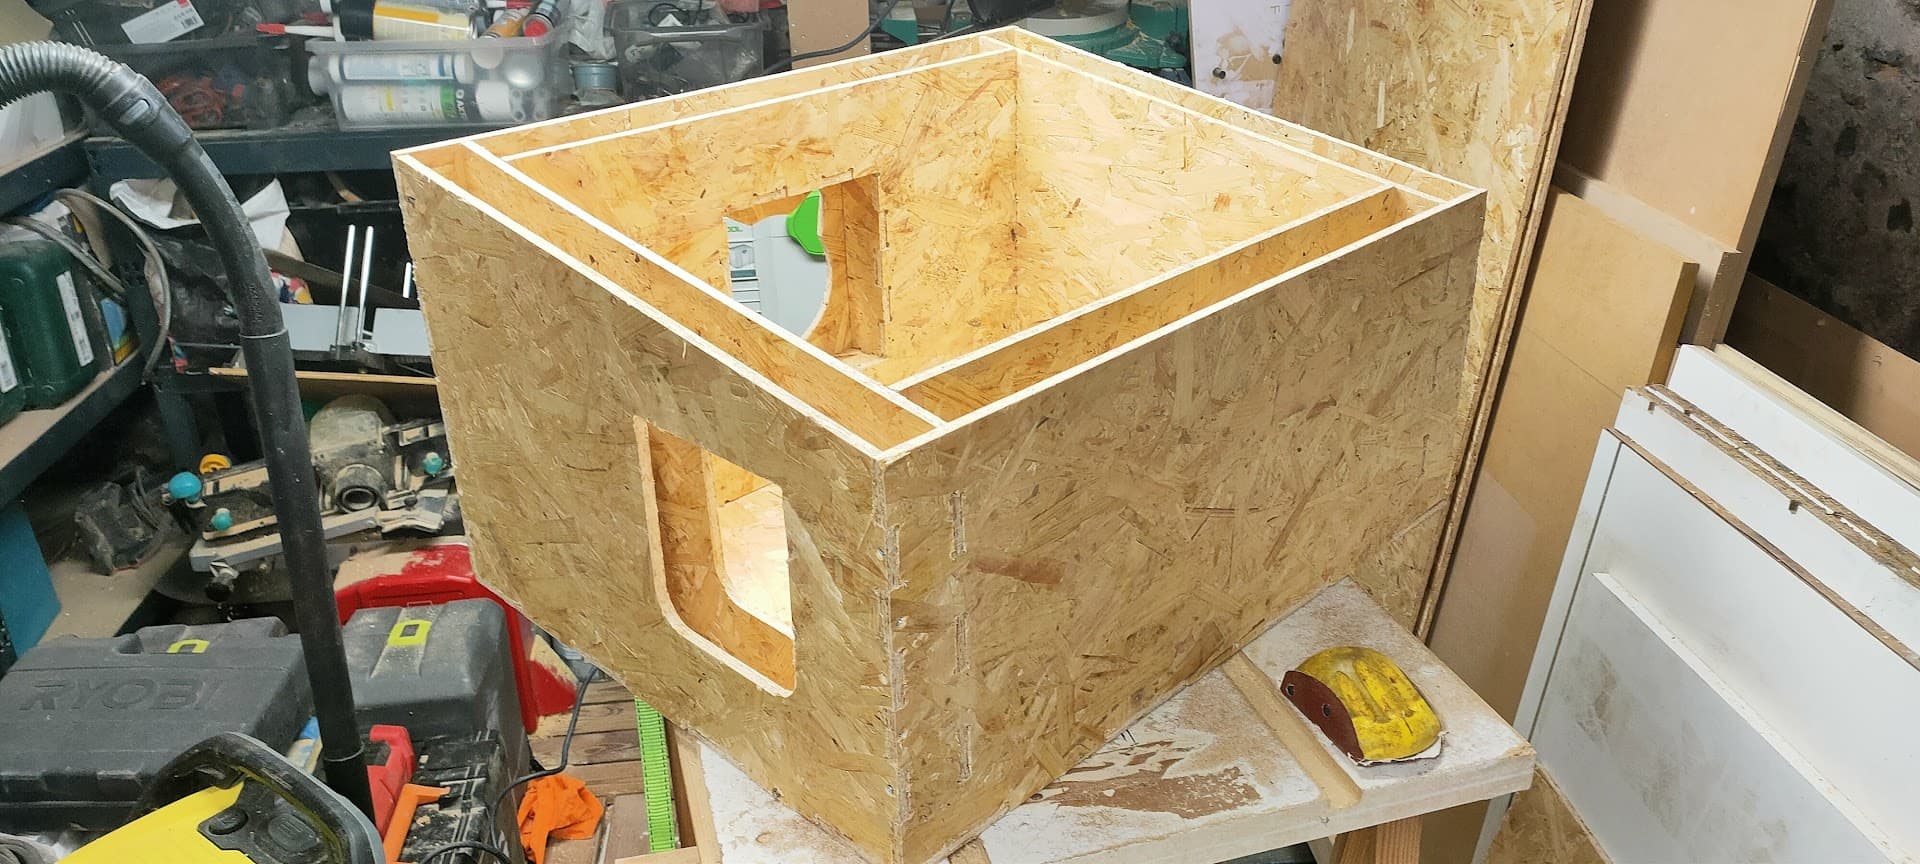
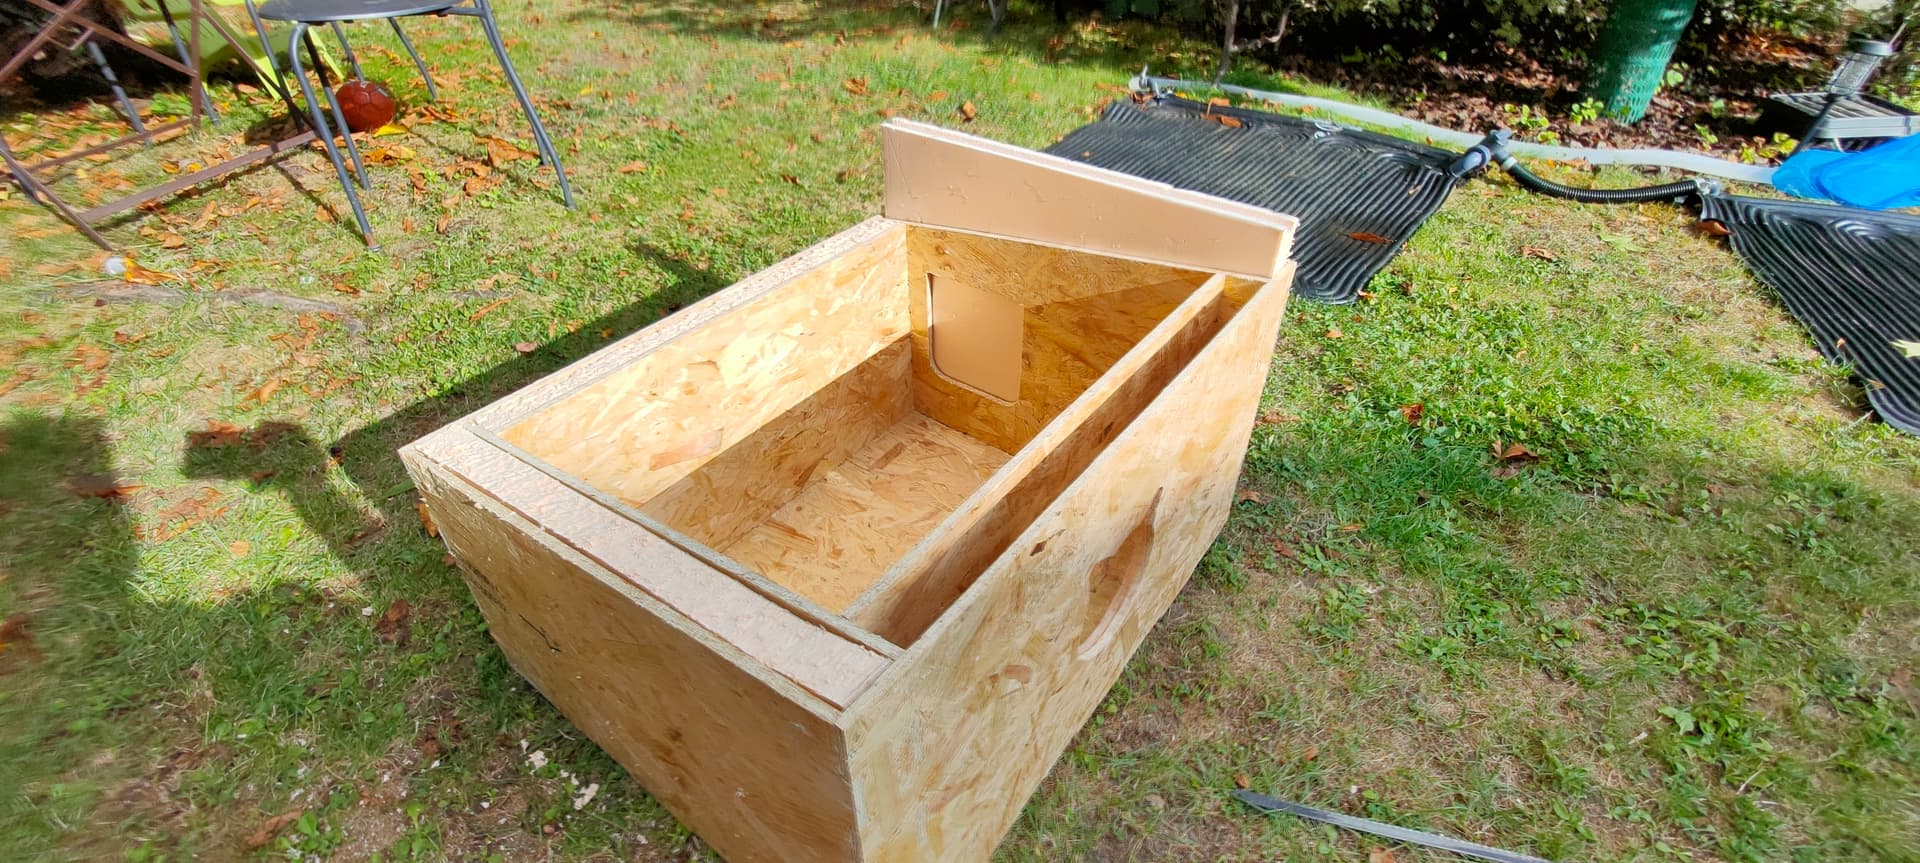
Adding the floor was the most painful part… lots of holes to align, I needed to open a lot of them manually so that it all fit at once
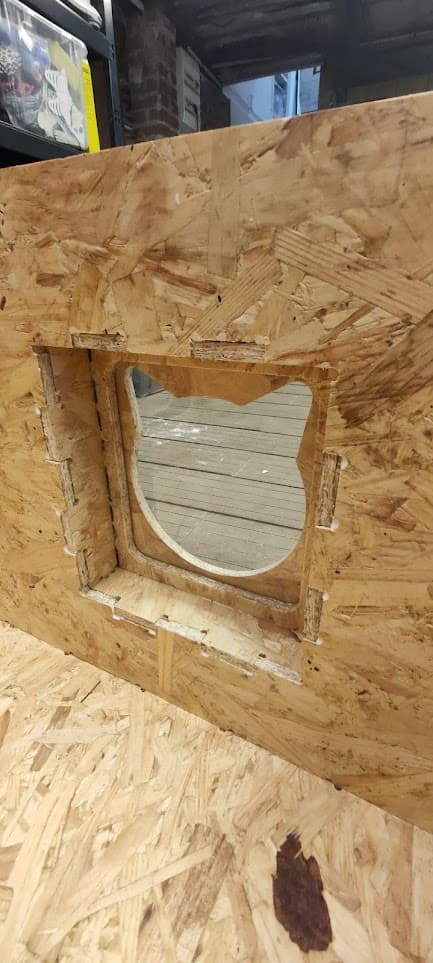
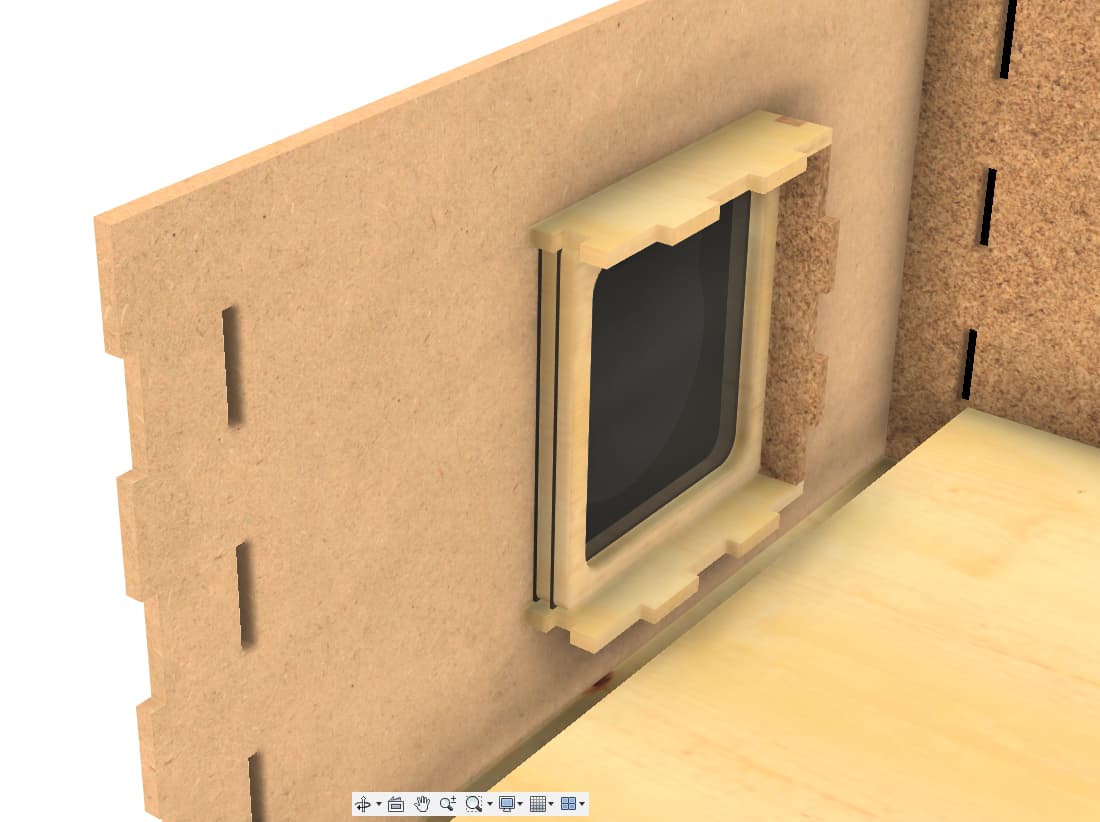
Cut a small square piece of acrylic and assembled the window
Maybe I’ll cut anoher piece for “double-glazing”
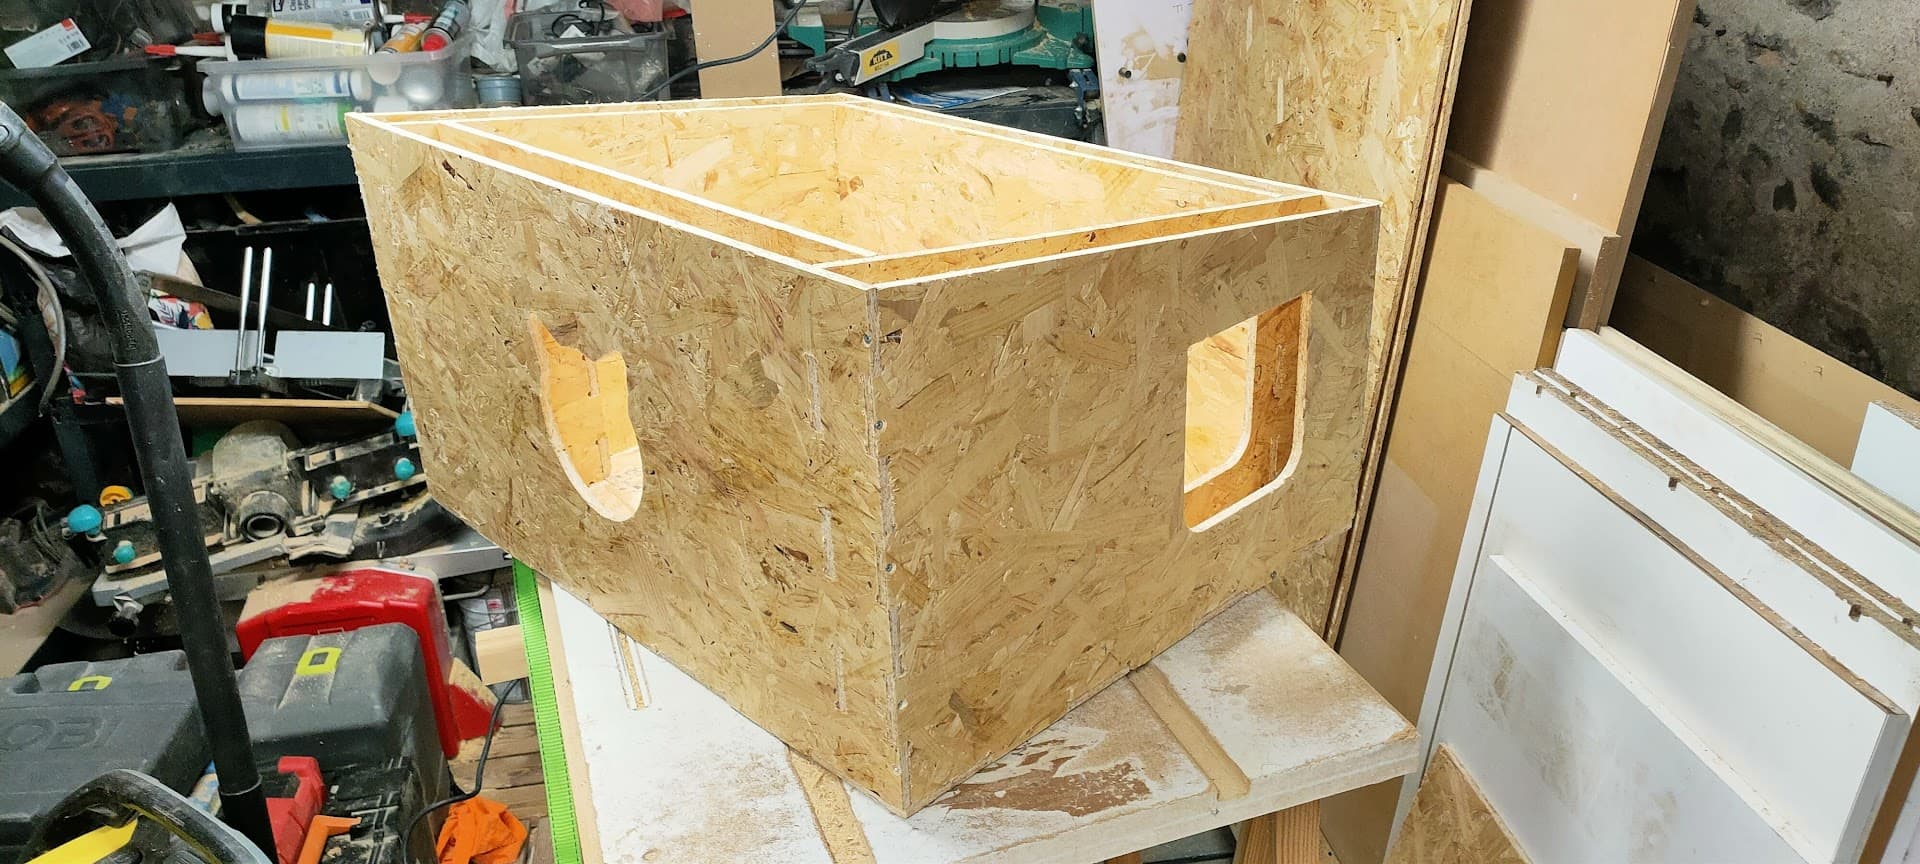
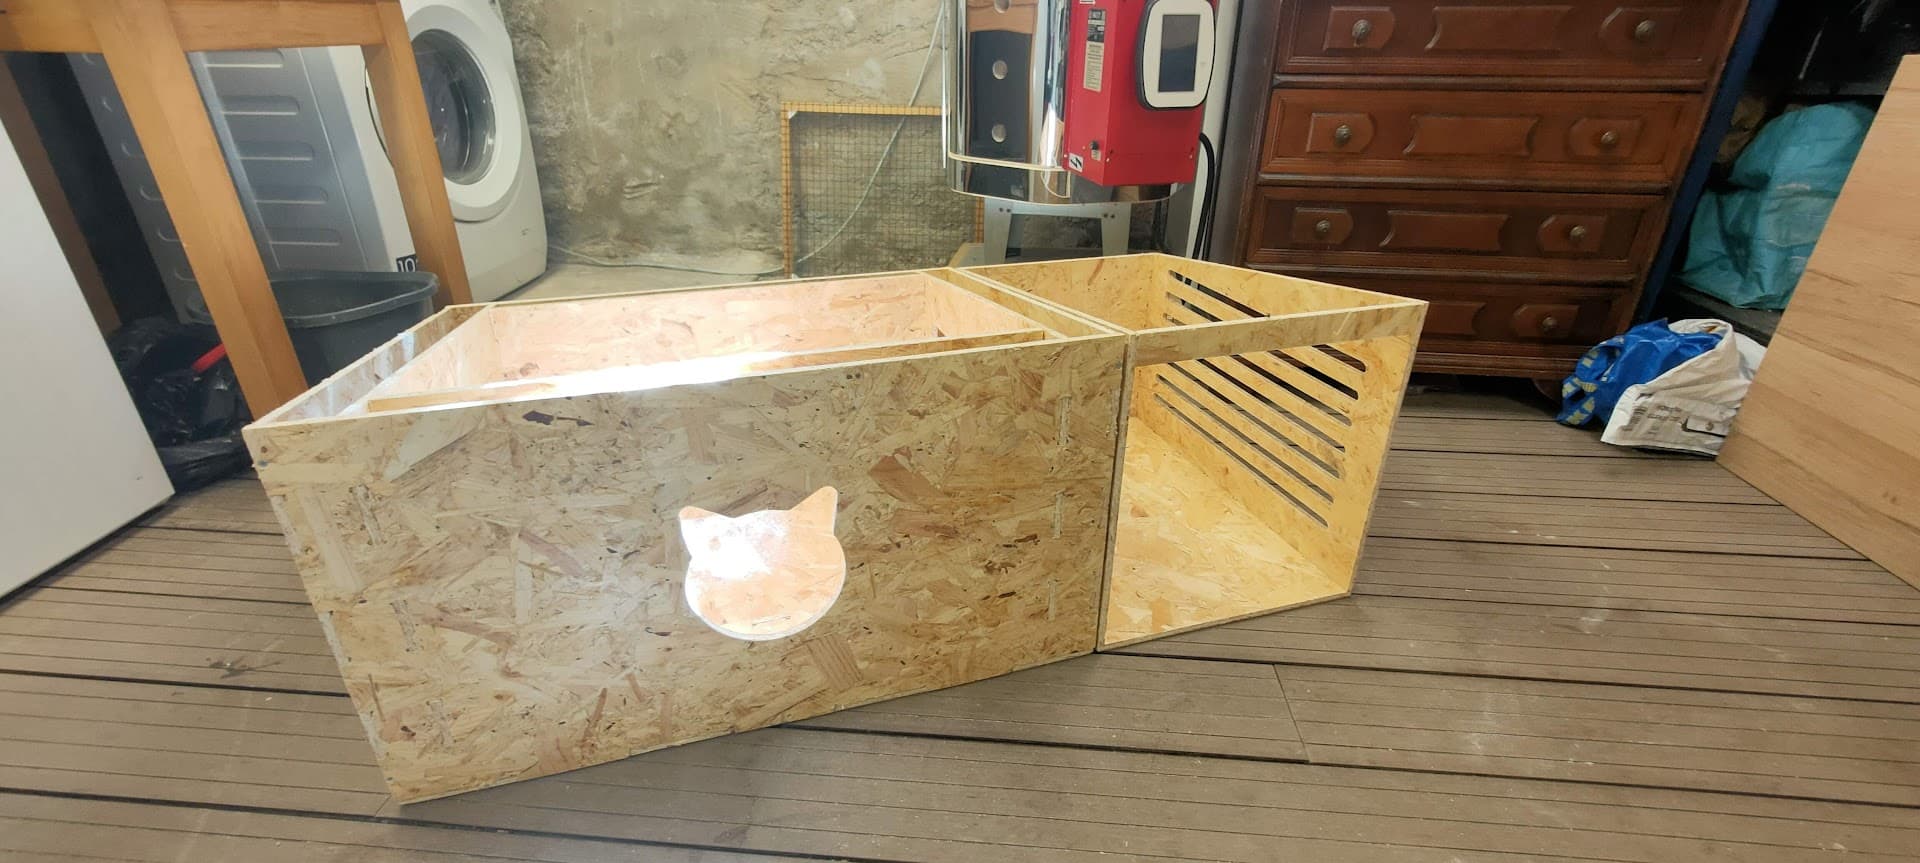
Second module was a lot easier to assemble as I tuned some tolerances, and it had far less complicated joinery
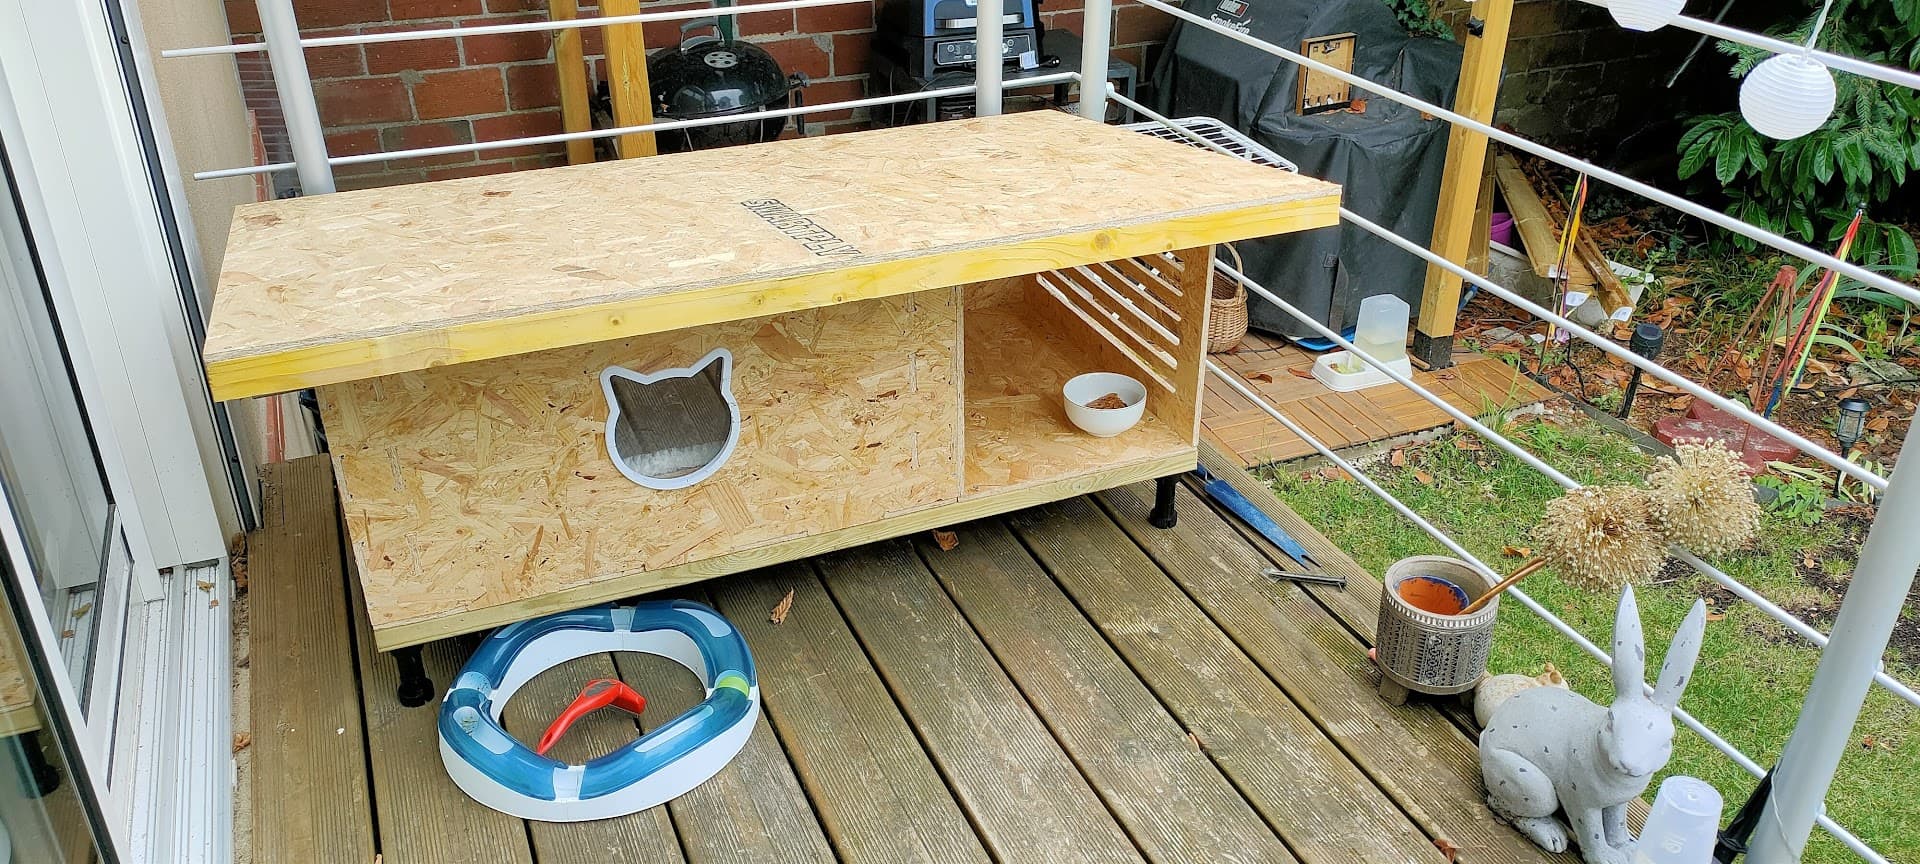
And all together now…
Still need to make a support and legs, and a roof, but that‘s not cnc-ed
For reference, I found that I had to define my 1/8” bit as 3.00mm in Estlcam to get stuff to fit correctly. otherwise tabs were too big, and slots were too small. with the smaller tool diameter definition, everything fits perfectly. I measured the cutting kerf.
Apparently I’m not the only one that found this, so it seems to be a thing…
The overall measurements are correct, too, so it isn’t a steps/mm problem.
Looks fantastic, surprised you haven’t put a solar powered heat pad in there!
My experience of cats is the chances of them using anything is inversely proportional to the time effort and cost you put into it.
I thought it was me getting to old or something. Two different packs of 1/8 inch bits and 2 different cuts. Both from the same Amazon vender. Frustrating
Once you figure it out though, it’s ok. Practically every 1/8" bit that Ive tried to do tab/slot work with works perfectly defined as a 3.0mm bit. I.also get more accurate overall.dumensions that way.
So far, at least my machines seem to be good with the assumption that my GT2 belts are actually 2mm pitch, which makes life easier, and I don’t have to calibrate steps/mm.
I had similar discrepancy between my upcut and downcut bits… pretty frustrating…
You just need to add matching “stock to leave” or change bit diameter to compensate once you know it though…
Are those actually 1/8”? At least on german amazon, you get quite a few 1/8” labeled as 3mm, but they are 1/8”, so 3.175mm.
Could very well be that you ran into the same mislabeling issue.
Most likely. It is hard to measure an O flute accurately, but often, 3 mm is what works. Fortunately, most of my work isn’t critical.
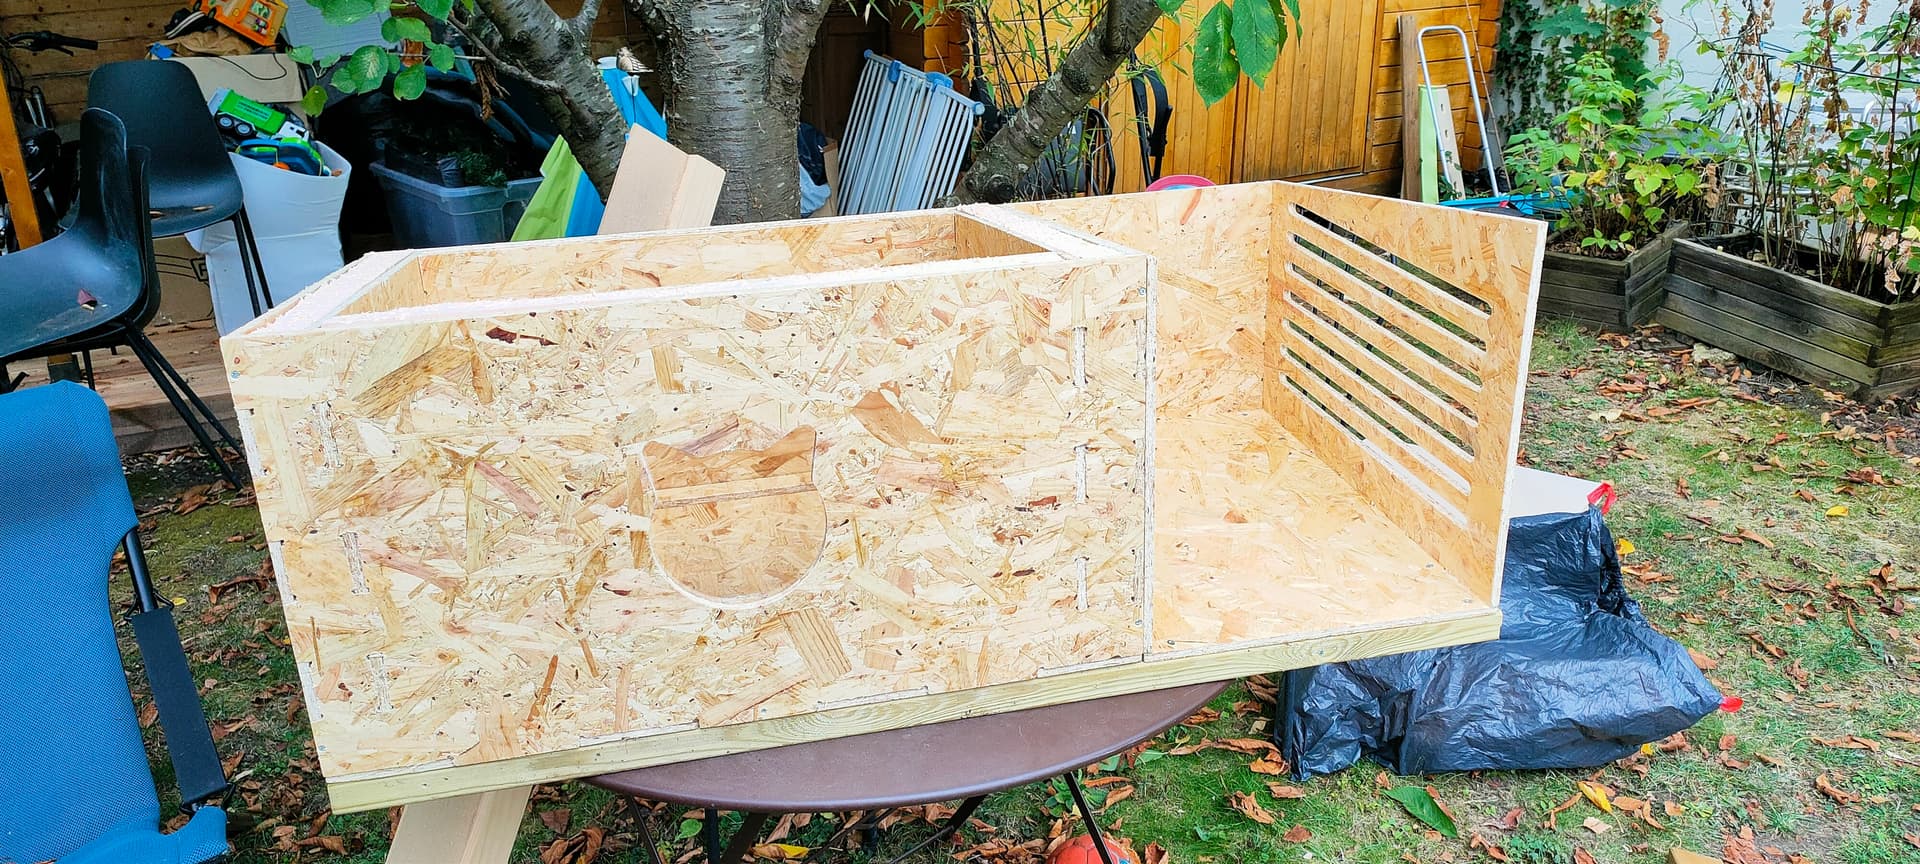
Today after I helped a friend moving out, I managed to cut and fit the foam in the walls
I trimmed it flush with a small blade, and proceeded to join the two modules with a single piece of joist, front and back
Willow is a bit sceptical about my temporary roof
Next picture: cat refusing to go in and sleeping on roof
@Fabien , looking good so far. Are you doing anything fancy to cut the insulation or just using a box cutter/knife with a ruler/guide?
I cut it into squares using a circular and track, fit it in the slot, and then followed the edge of the top with a hacksaw blade to trim
Same thing for the flap opening
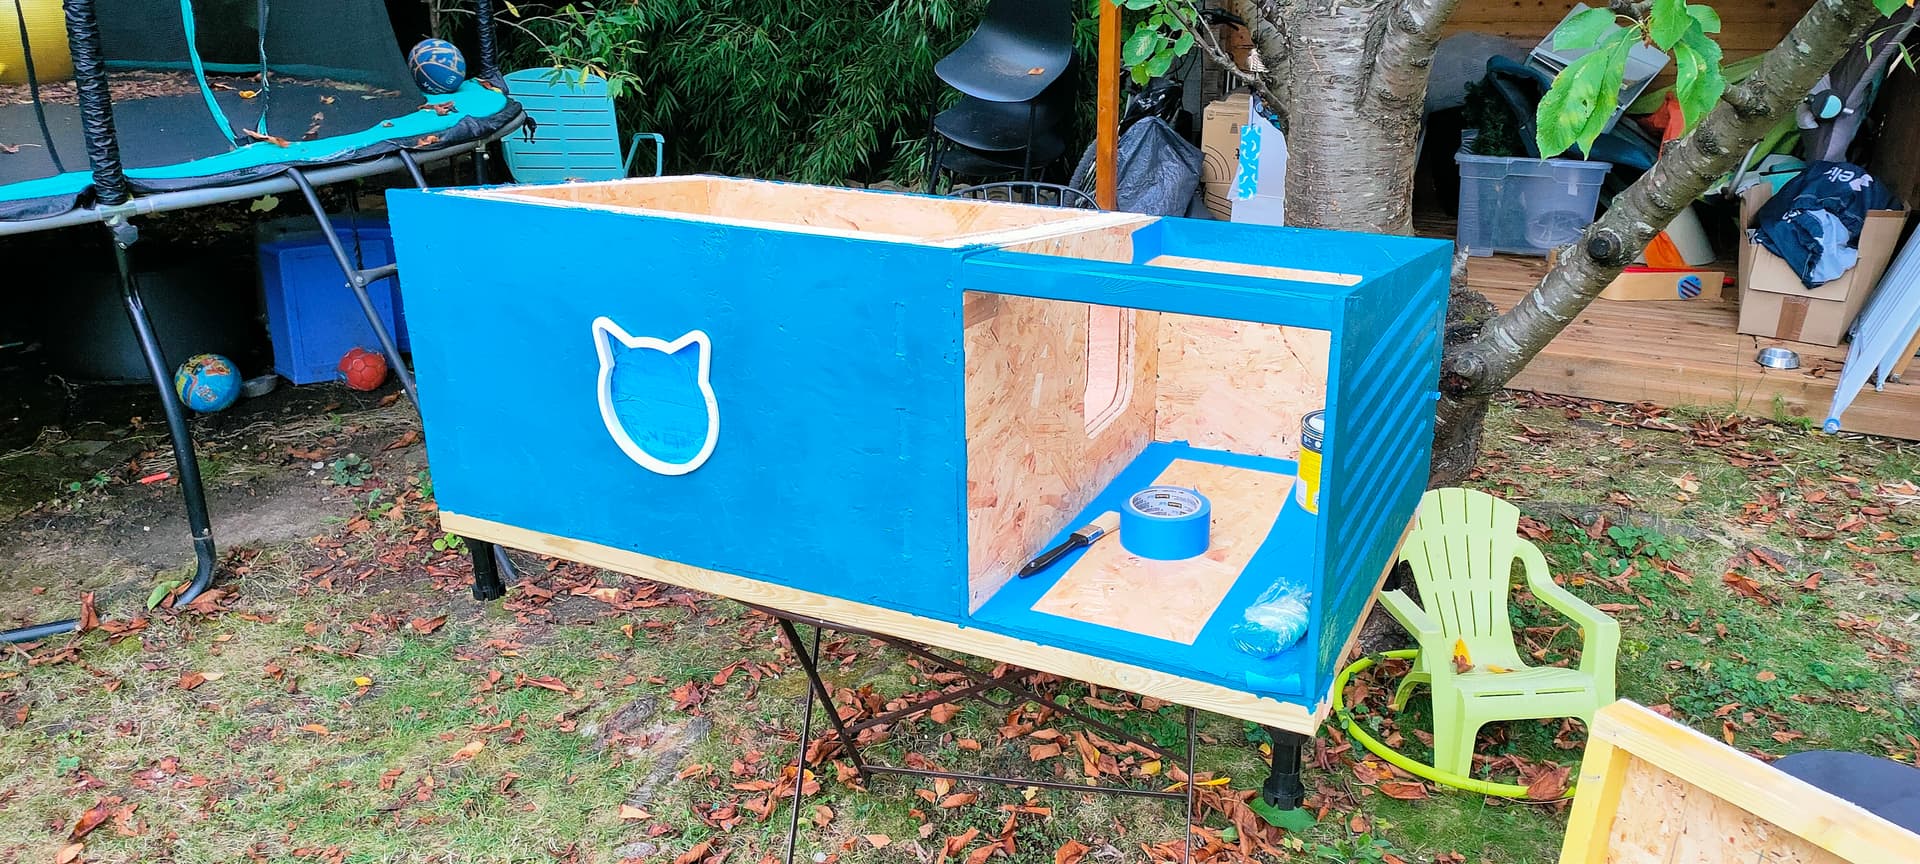
Approaching the end now…
I cut a large panel to make the roof, bolted some tassles and glued a piece of foam above the sleeping side
Added feets and glued some foam on the underside too
Pretty much done now, except for the paint and roof covering
I also 3d printed the cat silohette to make a glass frame and add some contrast when the paint is done
Fits nicely on the terrace in front of the living room
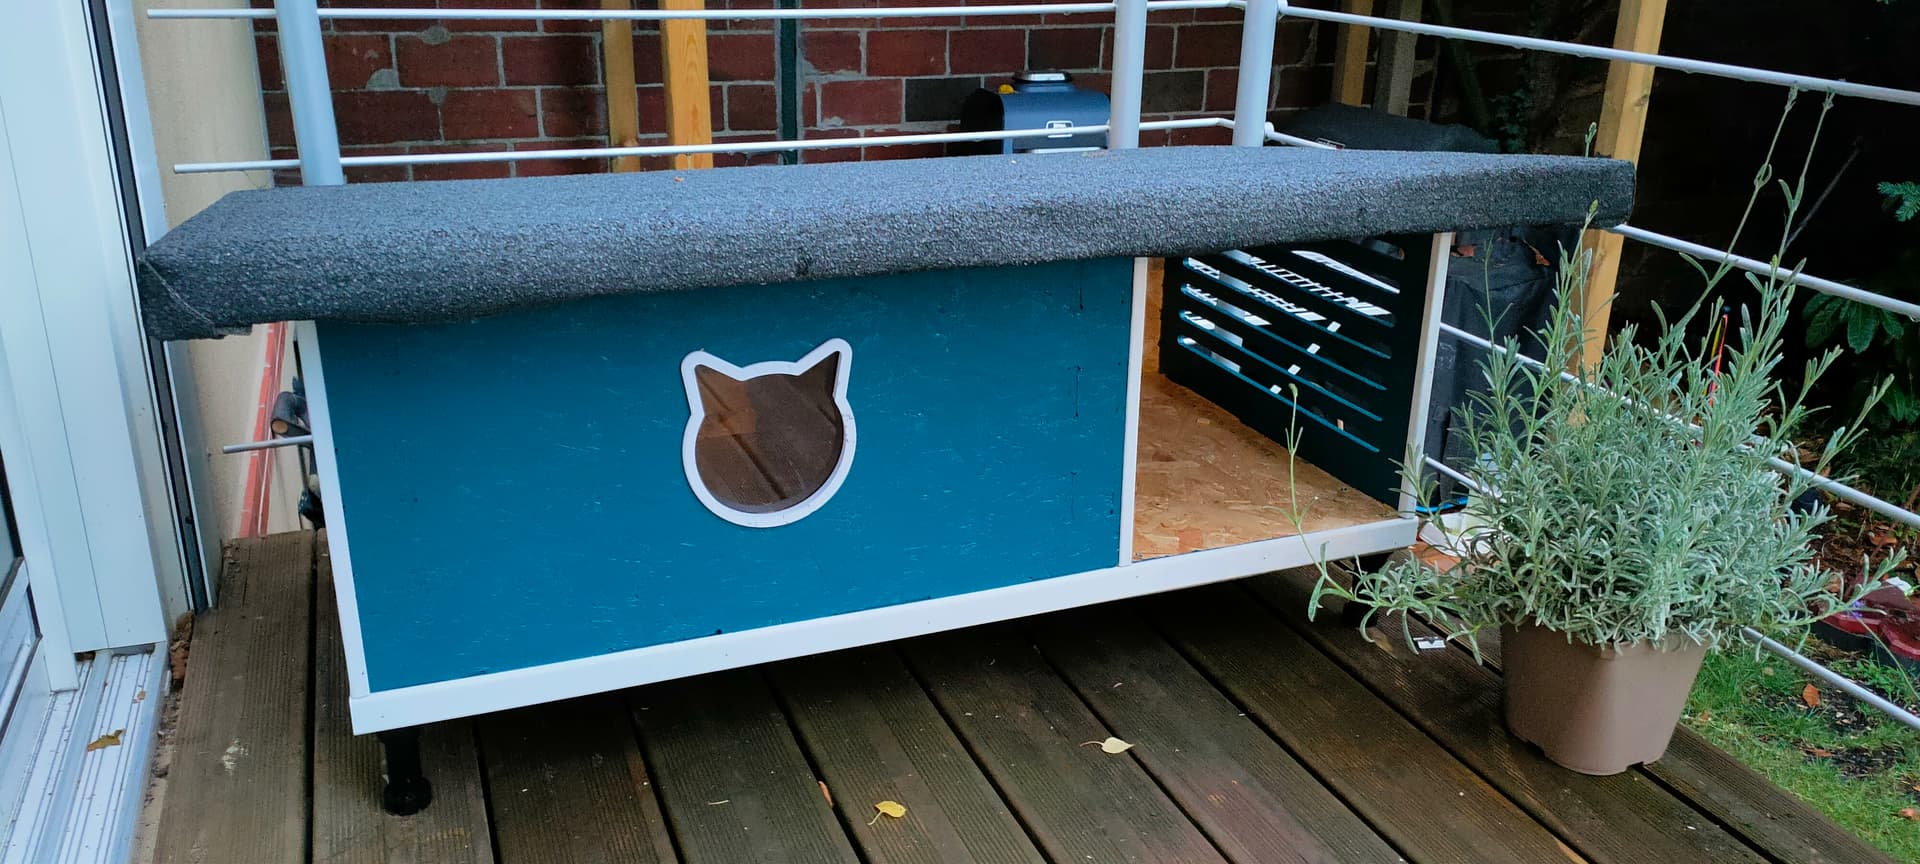
Aaaand it’s done….
Pretty poor lightning as it’s dawn here, I’ll try to get a better pic at some point
Added some white trim, I like the contrast, and it covers the joints nicely
It lacks a bit of trim on one side, I’ll fix that later…
Also, i’ll probably redo the roof covering, I whiped it up real quick, but I’m not quite satisfied
Still have to install the flap too, it should arrive by the weekend