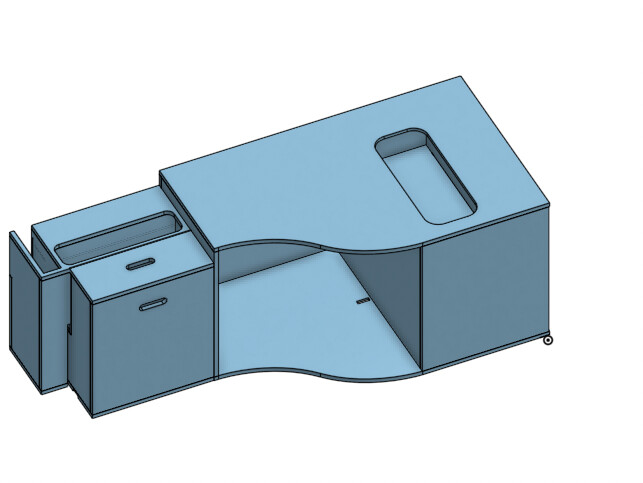
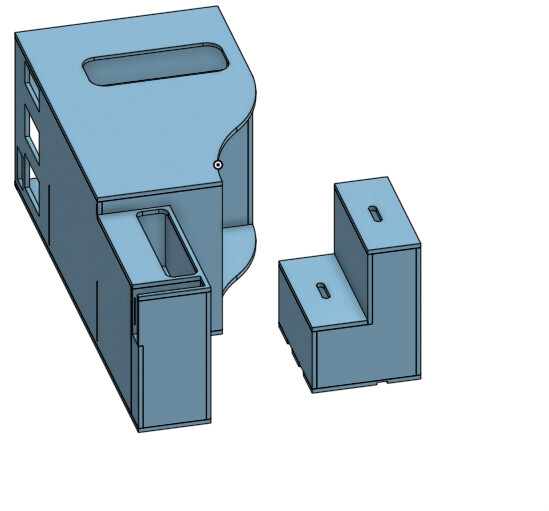
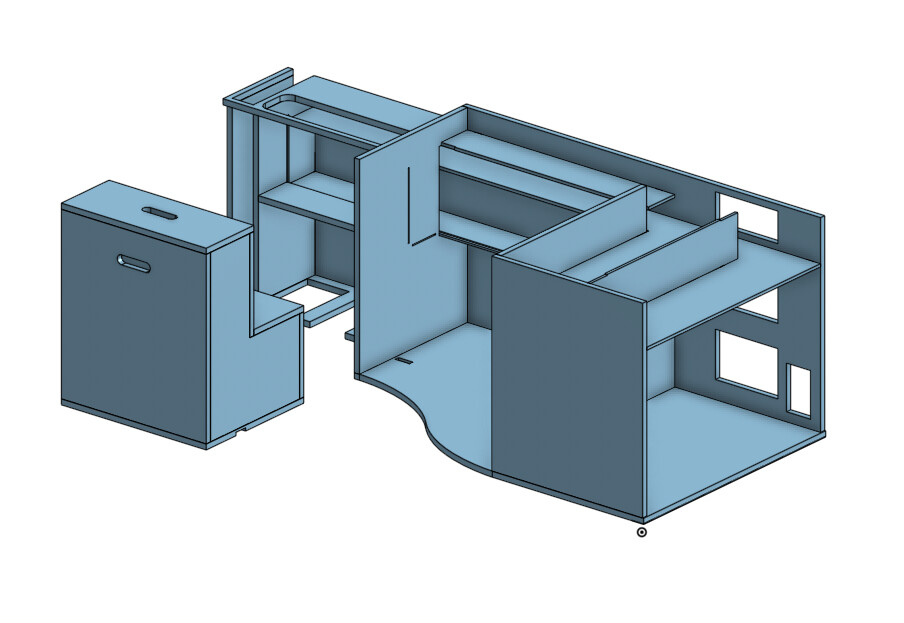
This shows the tunnel areas. I wanted this high so a folded bike’s wheel could go in the mid section.
I originally planed to make this my hand but got pointed in the direction of CNC and the rest is history.
One of the first issues I was the tool I used I could not export the sketches. So I switched over to onshape. Given I was using a CNC I went for a curved mid section.
Note the slight longer piece on the left This was due to my mid build adjustments. See below.
For joining the bits I went for biscuits. I had the plan to not use any screws. I lost and used about 4! I decided against using CNC joints as that was just too much for me at this point!
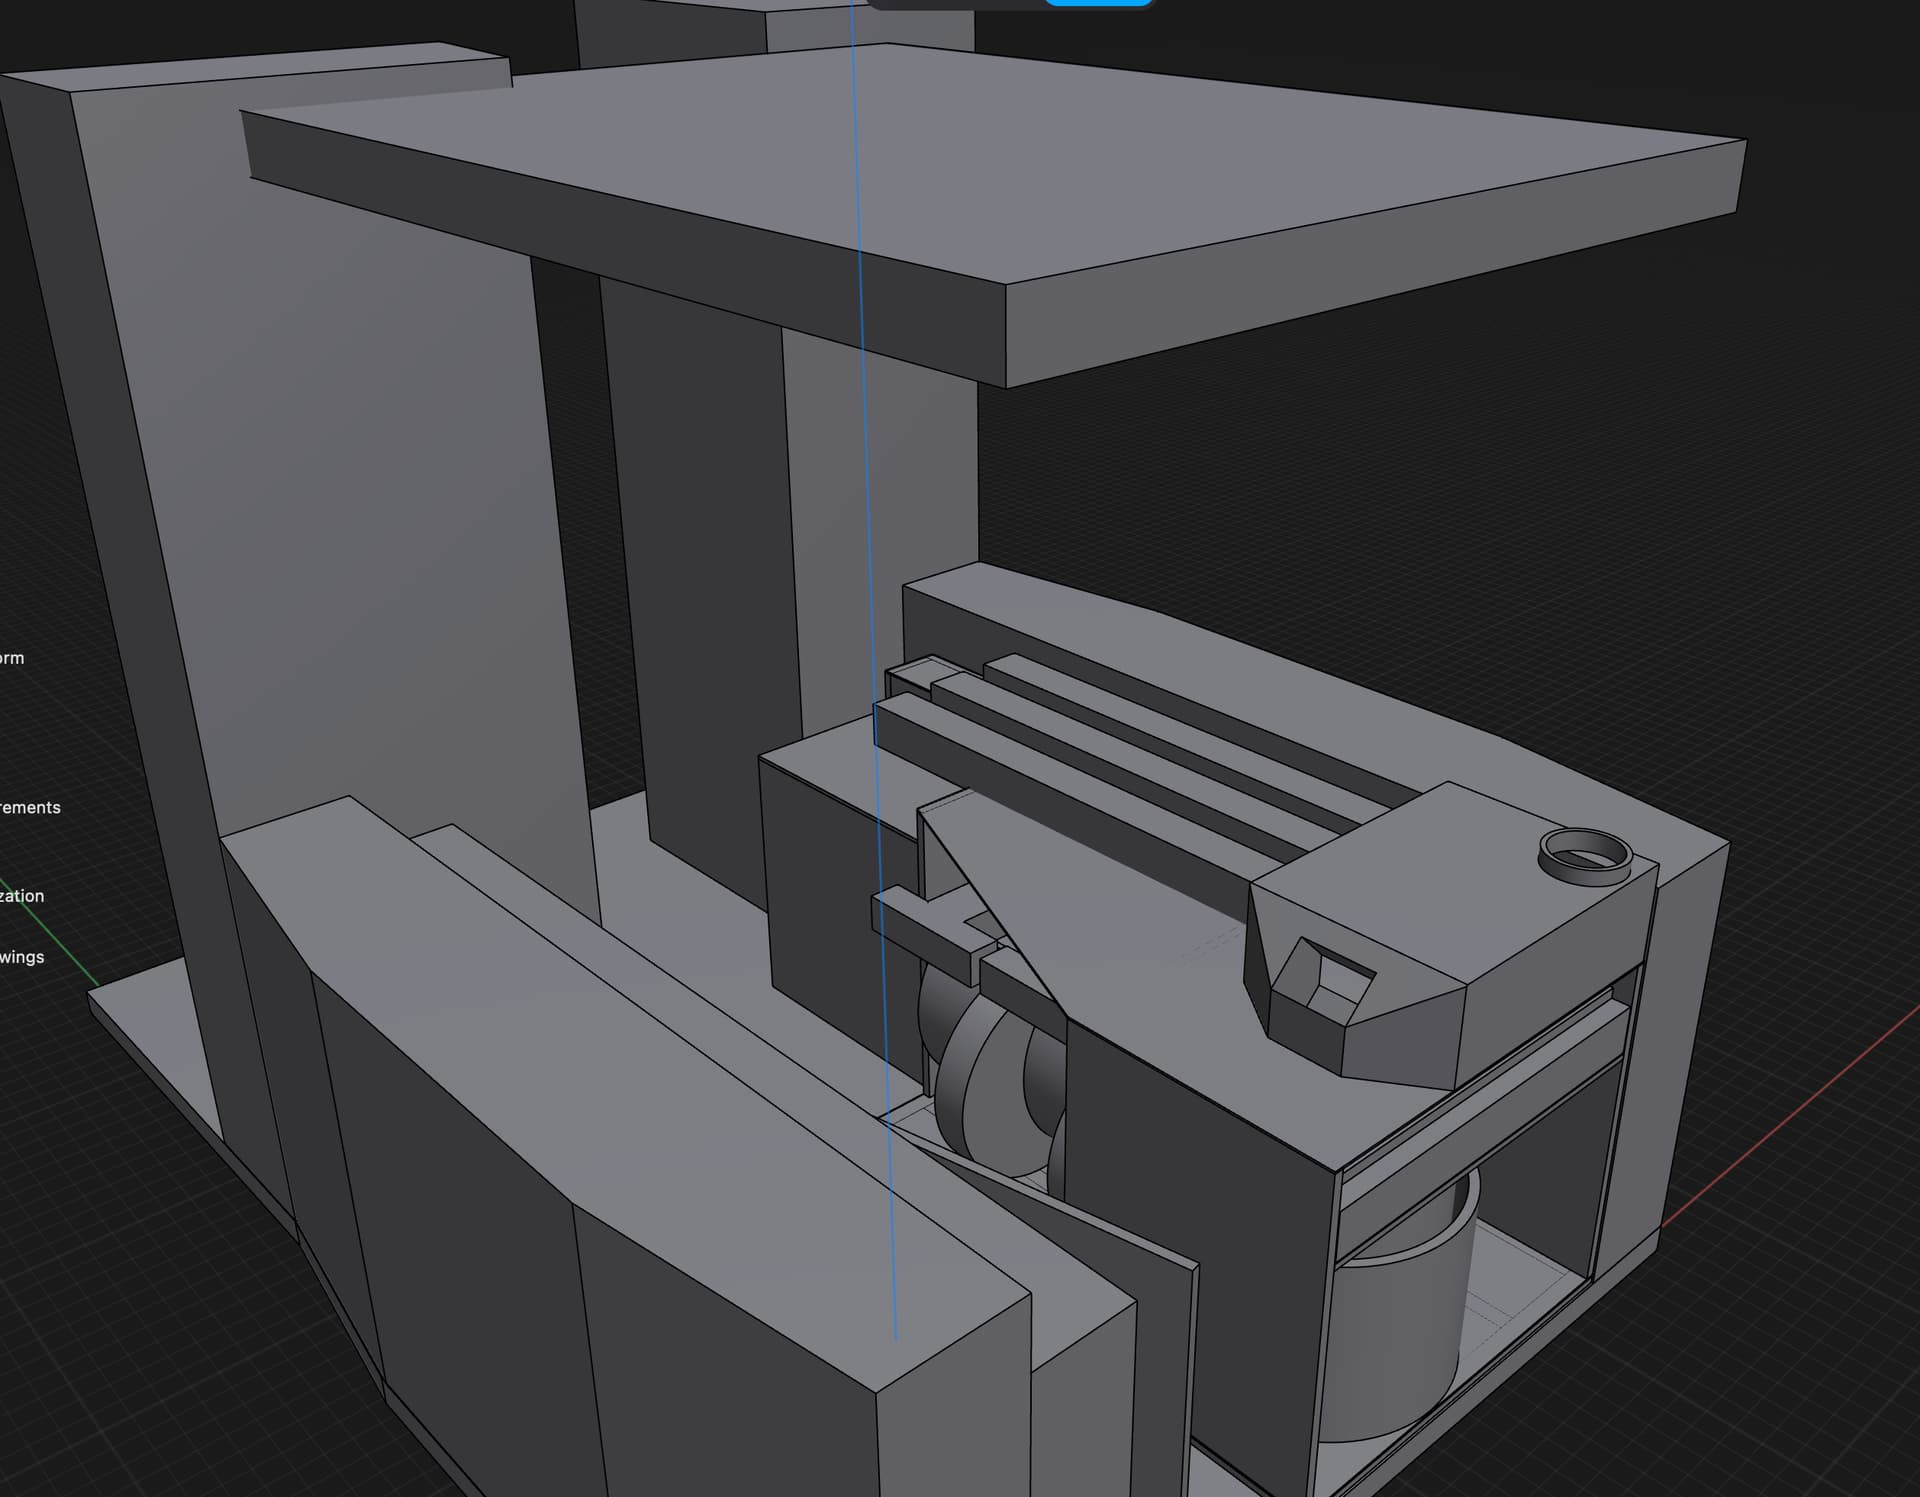
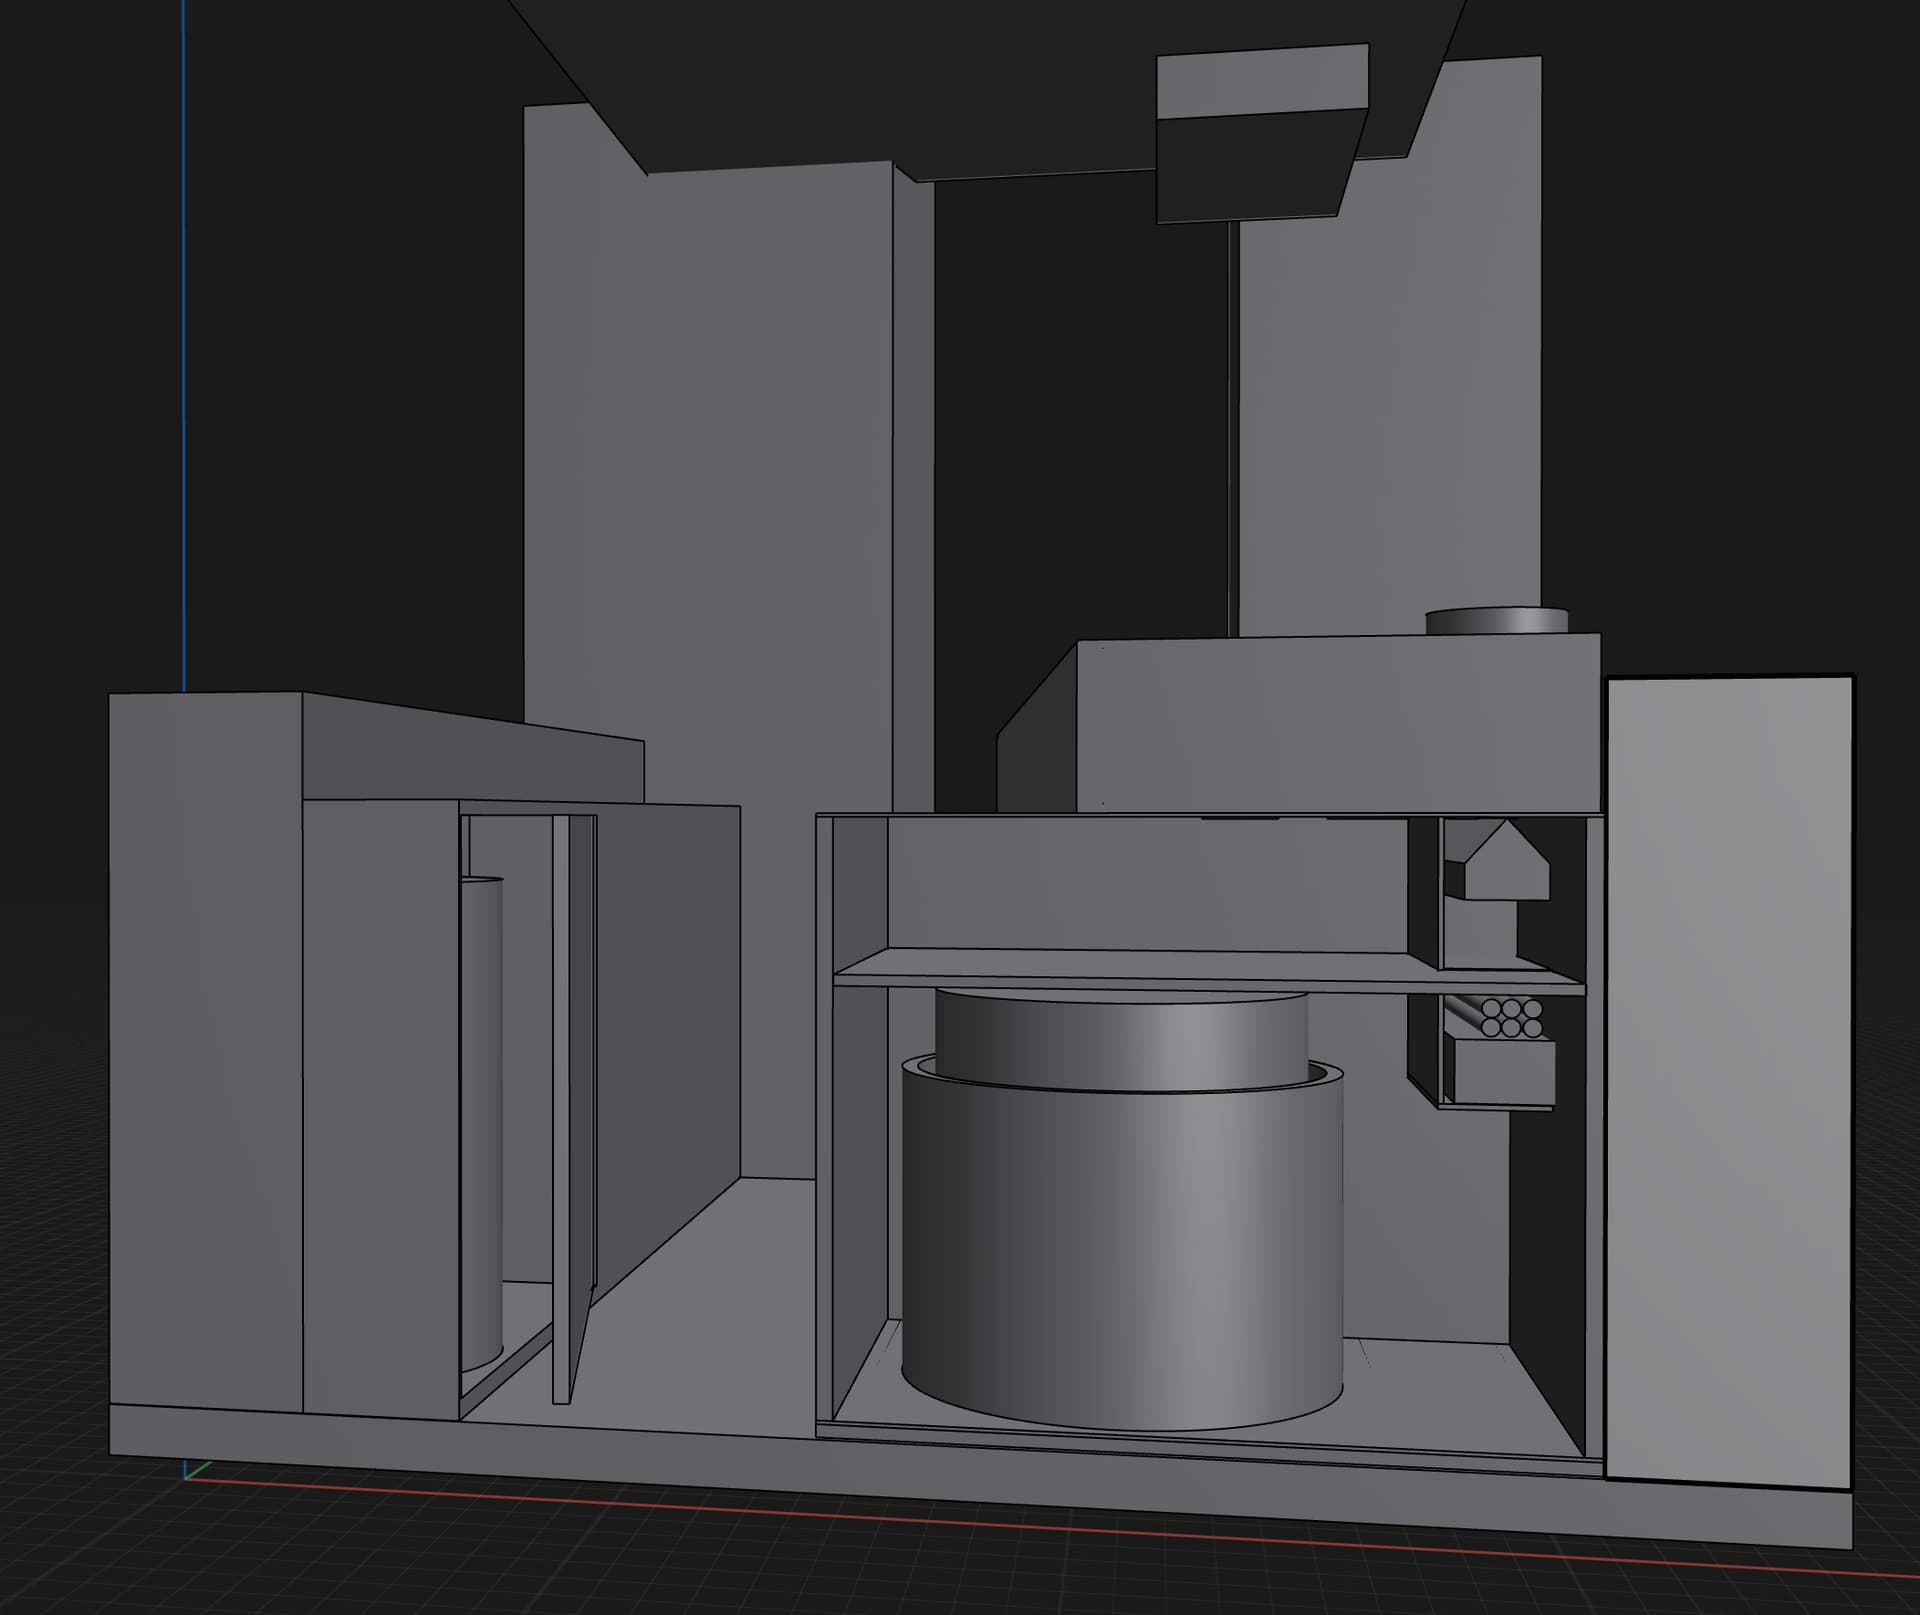
The step down is needed due to the beds motor being mounted under the bed.
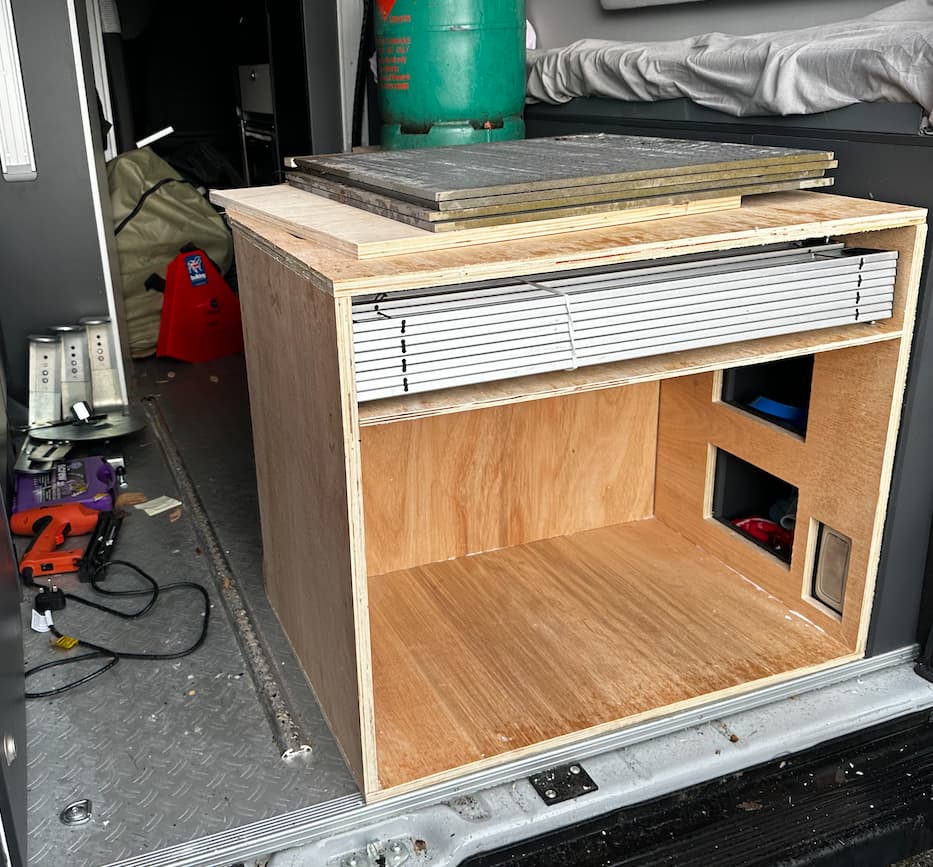
I’m going to add some straps to keep the stuff on the top stable when driving.
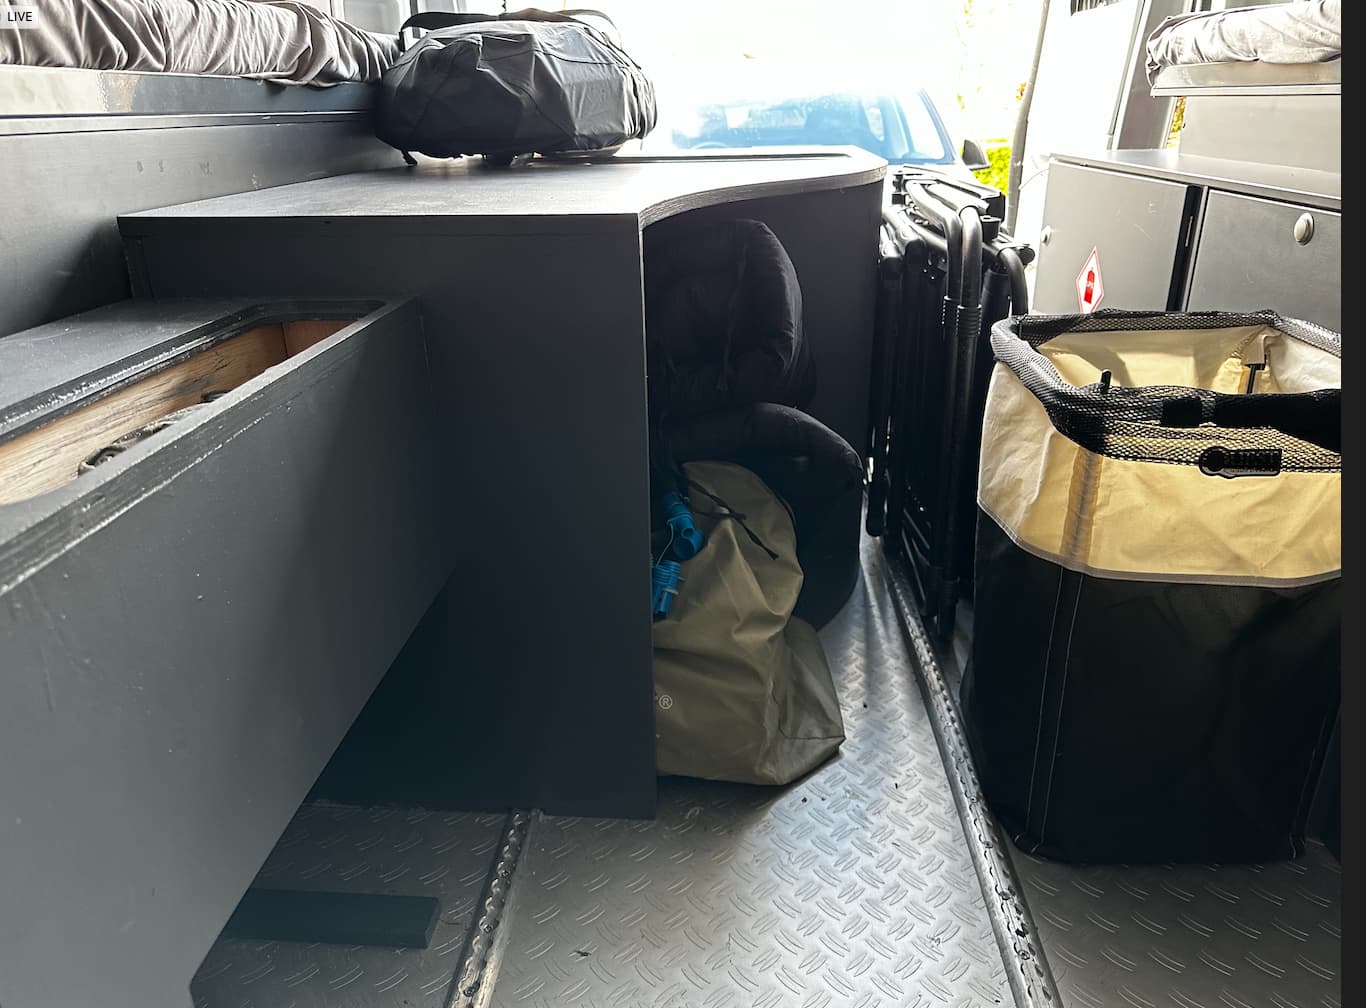
If you note the track that goes underneath. I cut a pocket for that. To keep the unit in place there are holes to clamp it down. I want to be able to remove this if I ever want to put multiple non folding bikes in the back.
I didnt fully tighten the y belts. So what I thought was a size was off my 4-5mm. I tightened mid build and caused my self a lot of pain! Bits are off my a couple mm here of there so I needed to sand
Why did I start with something so complex! I needed this done my the start of the season. If made it very hard.
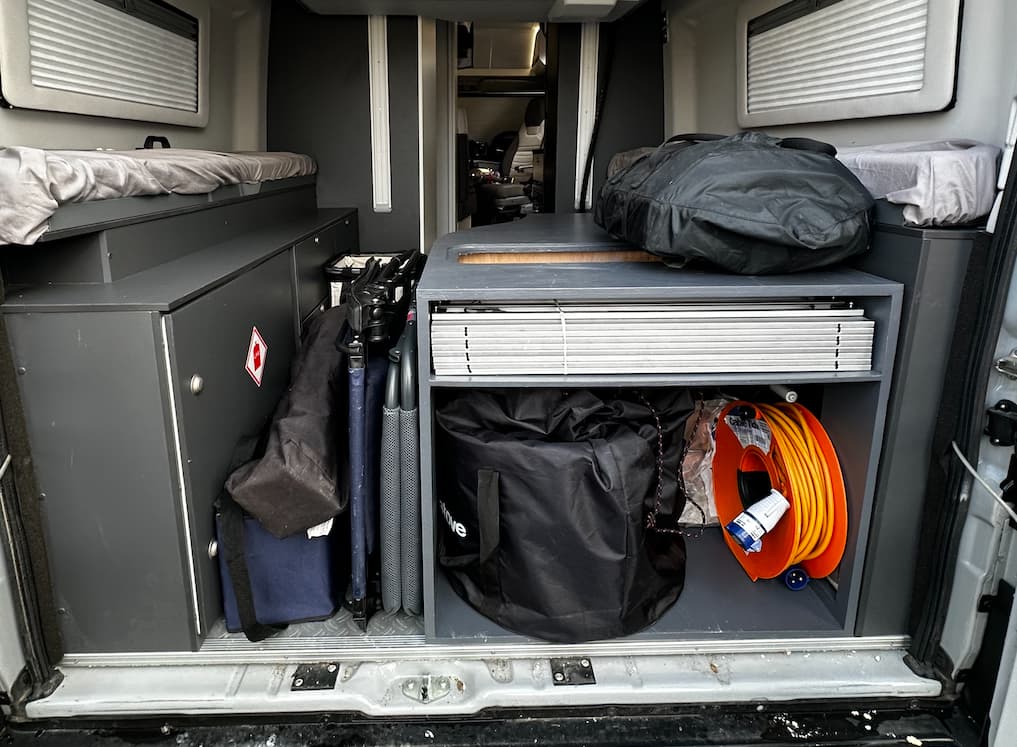
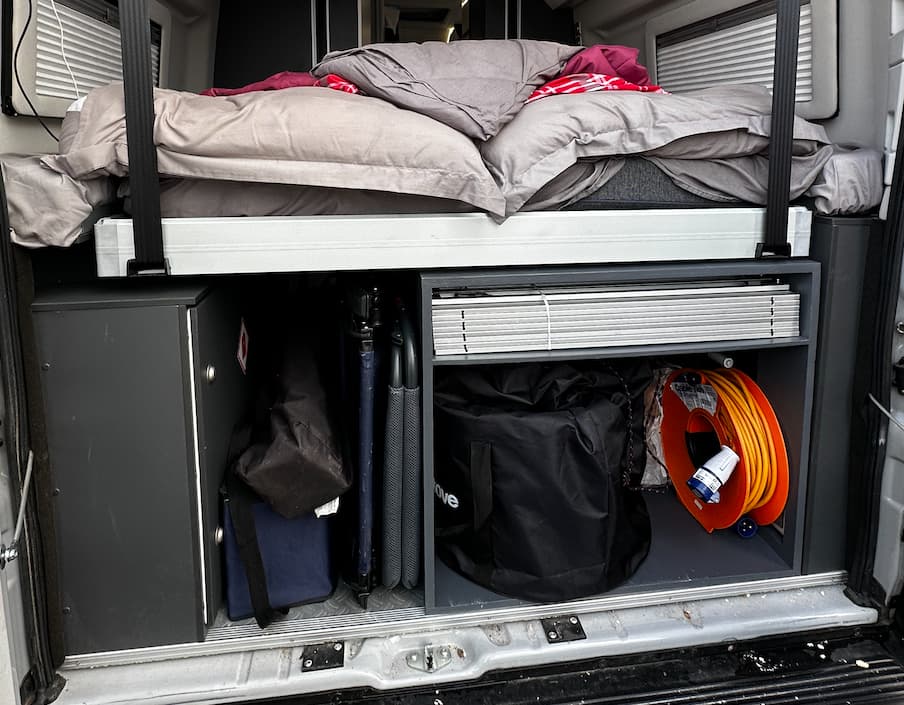
The good news is unit fits perfectly and my stuff fits in perfectly. I am so happy.
Its really beed good fun and I’m looking forward to easier projects now!
Thanks to every one who helped my on the journey. It would have been impossible with out you all.
Self praise is no praise etc but coming from a non wood working background. No clue of 3d printing, cad, cam, cnc’s etc. I think I’ve done pretty well! It’s been an experience since January learning all the tools, software, limitations, where it excels. Once I have the step and lids built I’ll take a little break then start building some stuff for the house!
That is a complex build, but it came out looking great. That is something I would enjoy, fitting lots of things in a small space. Like real life tetris. High five!
Thank you. Yes it was pretty much Tetris! I know exactly what goes into the van now so I could design it exactly for what we carry. With the mid section there to handle unknowns and changes.
For years we’ve been using a small cargo net secured with elastic for light items and rope for heavier things - it just gives a lot more flexibility for carrying different stuff.
Yeah tried that. We just know what we take now. So might as well make it all nice and easy and I’m getting old so knowing where everything is helps my sanity