I’m beginning to suspect that what I actually have is some sagging/stringing inside the corner (And possibly one truck) that is catching the belt teeth on a smooth idler, so a re-print of the parts is probably what I really need. I did lube the idlers, but didn’t pack them in the super lube.
I have some PTFE bases stuff, and tons of white lithium grease around, since I use that for stuff on the car all the time. It usually stays put and is what I used on the MGN12 rails, which are smooth as melted butter.
Looks like the printer needs a bit of a tune-up overall anyway. It’s been working pretty hard for a while.
I did some questionable things with this build first time. It’s all much better now, except that I can’t find my wrench for the 3mm nuts holding the rails in place, so Ill have to tighten them later.
I am now quite certain that it was a belt that was making the noise. It seems to running quiet now. I didn’t replace the corners, but i did reprint them. I can do that later.
If you’re wondering what “questionable things” are… basically I forgot to add the captive nuts to the trucks. I’m reasonably sure that I left them out in order to fit the rails into the frame, then apparently forgot to add them. The 5mm screws were basically just being screwed into the plastic that was not really small enough to form threads.
I then entirely forgot to add them. So some of my issues were that the trucks weren’t tight enough to keep the CF rail from rotating slightly, which resulted in the Z probe hanging a little too low. It’s still OK with the spacer nuts that I installed, but now the offset is about 1.4mm, at least I can be sure that it’s not going to catch on stuff now.
Now the trucks are appropriately tightened, the rail feels more solid and stable, the fan shroud has a bit more clearance over the printed plastic layer.
I also upgraded the lighting while I had stuff apart. I was using some Chinese LED strips, but they were already dimming and turning yellow. I added a dimmer switch and replaced the strips with LED pucks intended for automotive lighting. It’s far brighter now in the frame. As a test print, Im making a case for the dimmer switch I added for the LEDS. I’d normally not have sharp corners on that, but I left some to rest for overshoot and ringing. So far, looks good.
For the kids’ build, I have the stuff set up, printed parts are done but have not yet cut the frame. I’m hoping to make that a test project for the new LR3 once the beta build is done, with the Primo on standby.
The next.priject for the LR3 will possibly be a new base for the Primo, to cut down the size.
Clogged nozzle, and my BLTouch clone is being awful. G34 bed levelling has become a crapshoot. It will do a couple passes, then I’ll get “decreasing accuracy” and one motor will move an obviously wrong amount. It seems to usually be OK, but with some of those adjustments being 5mm or more, it ends up way too dependent on the G29 bilinear. Seems to work though, surprisingly enough.
So I’ve ordered another BLTouch. It’s a similar clone, but one just like it has been rock solid on the kids’ printer. This one was too until yesterday…
I dislike coincidences. So I happened to have taken apart the CoreXY portion of the printer. It should not have touched the Z axis, but I want to take the Z motors out and triple check those grub screws. It SEEMS to be moving as expected, though.
I know that I missed loctite on one of the CoreXY motor pulleys, so maybe I missed it in a Z motor as well. It only seems to be a problem during G34 though, so I doubt that this is it.
The clogged nozzle is a bit more troublesome. I have more nozzles, but I’m really not looking forward to taking apart the heat block. I’ve done it before, but it’s always such a hassle, plus this hotend has had plastic all over the heat block, which always makes disassembly such fun…
I have some of those little file/drills for cleaning up the nozzle, too, but I don’t remember where they are. Easier to just replace it, I think.
Offset is currently 3.35mm. It was lower because I needed the spacer before I re-did the trucks, and was at 1.47, and did the same thing (but worse, because it would sometimes bump motor 3 up by 4-5mm and then the hotend would hit the bed before the probe did.)
The probe messing up is most likely why the nozzle jammed, it tried to bury itself in the heated bed. I didn’t notice for a bit as it was trying to lay down a first layer and couldn’t extrude at all. (It started out OK, but it didn’t stay that way.)
I just remembered that I have the one for the kids’ new printer in a box… Since I’m waiting to assemble that one anyway, I think I’ll grab it. (Tempted to grab the whole Hemera extruder while I’m at it.)
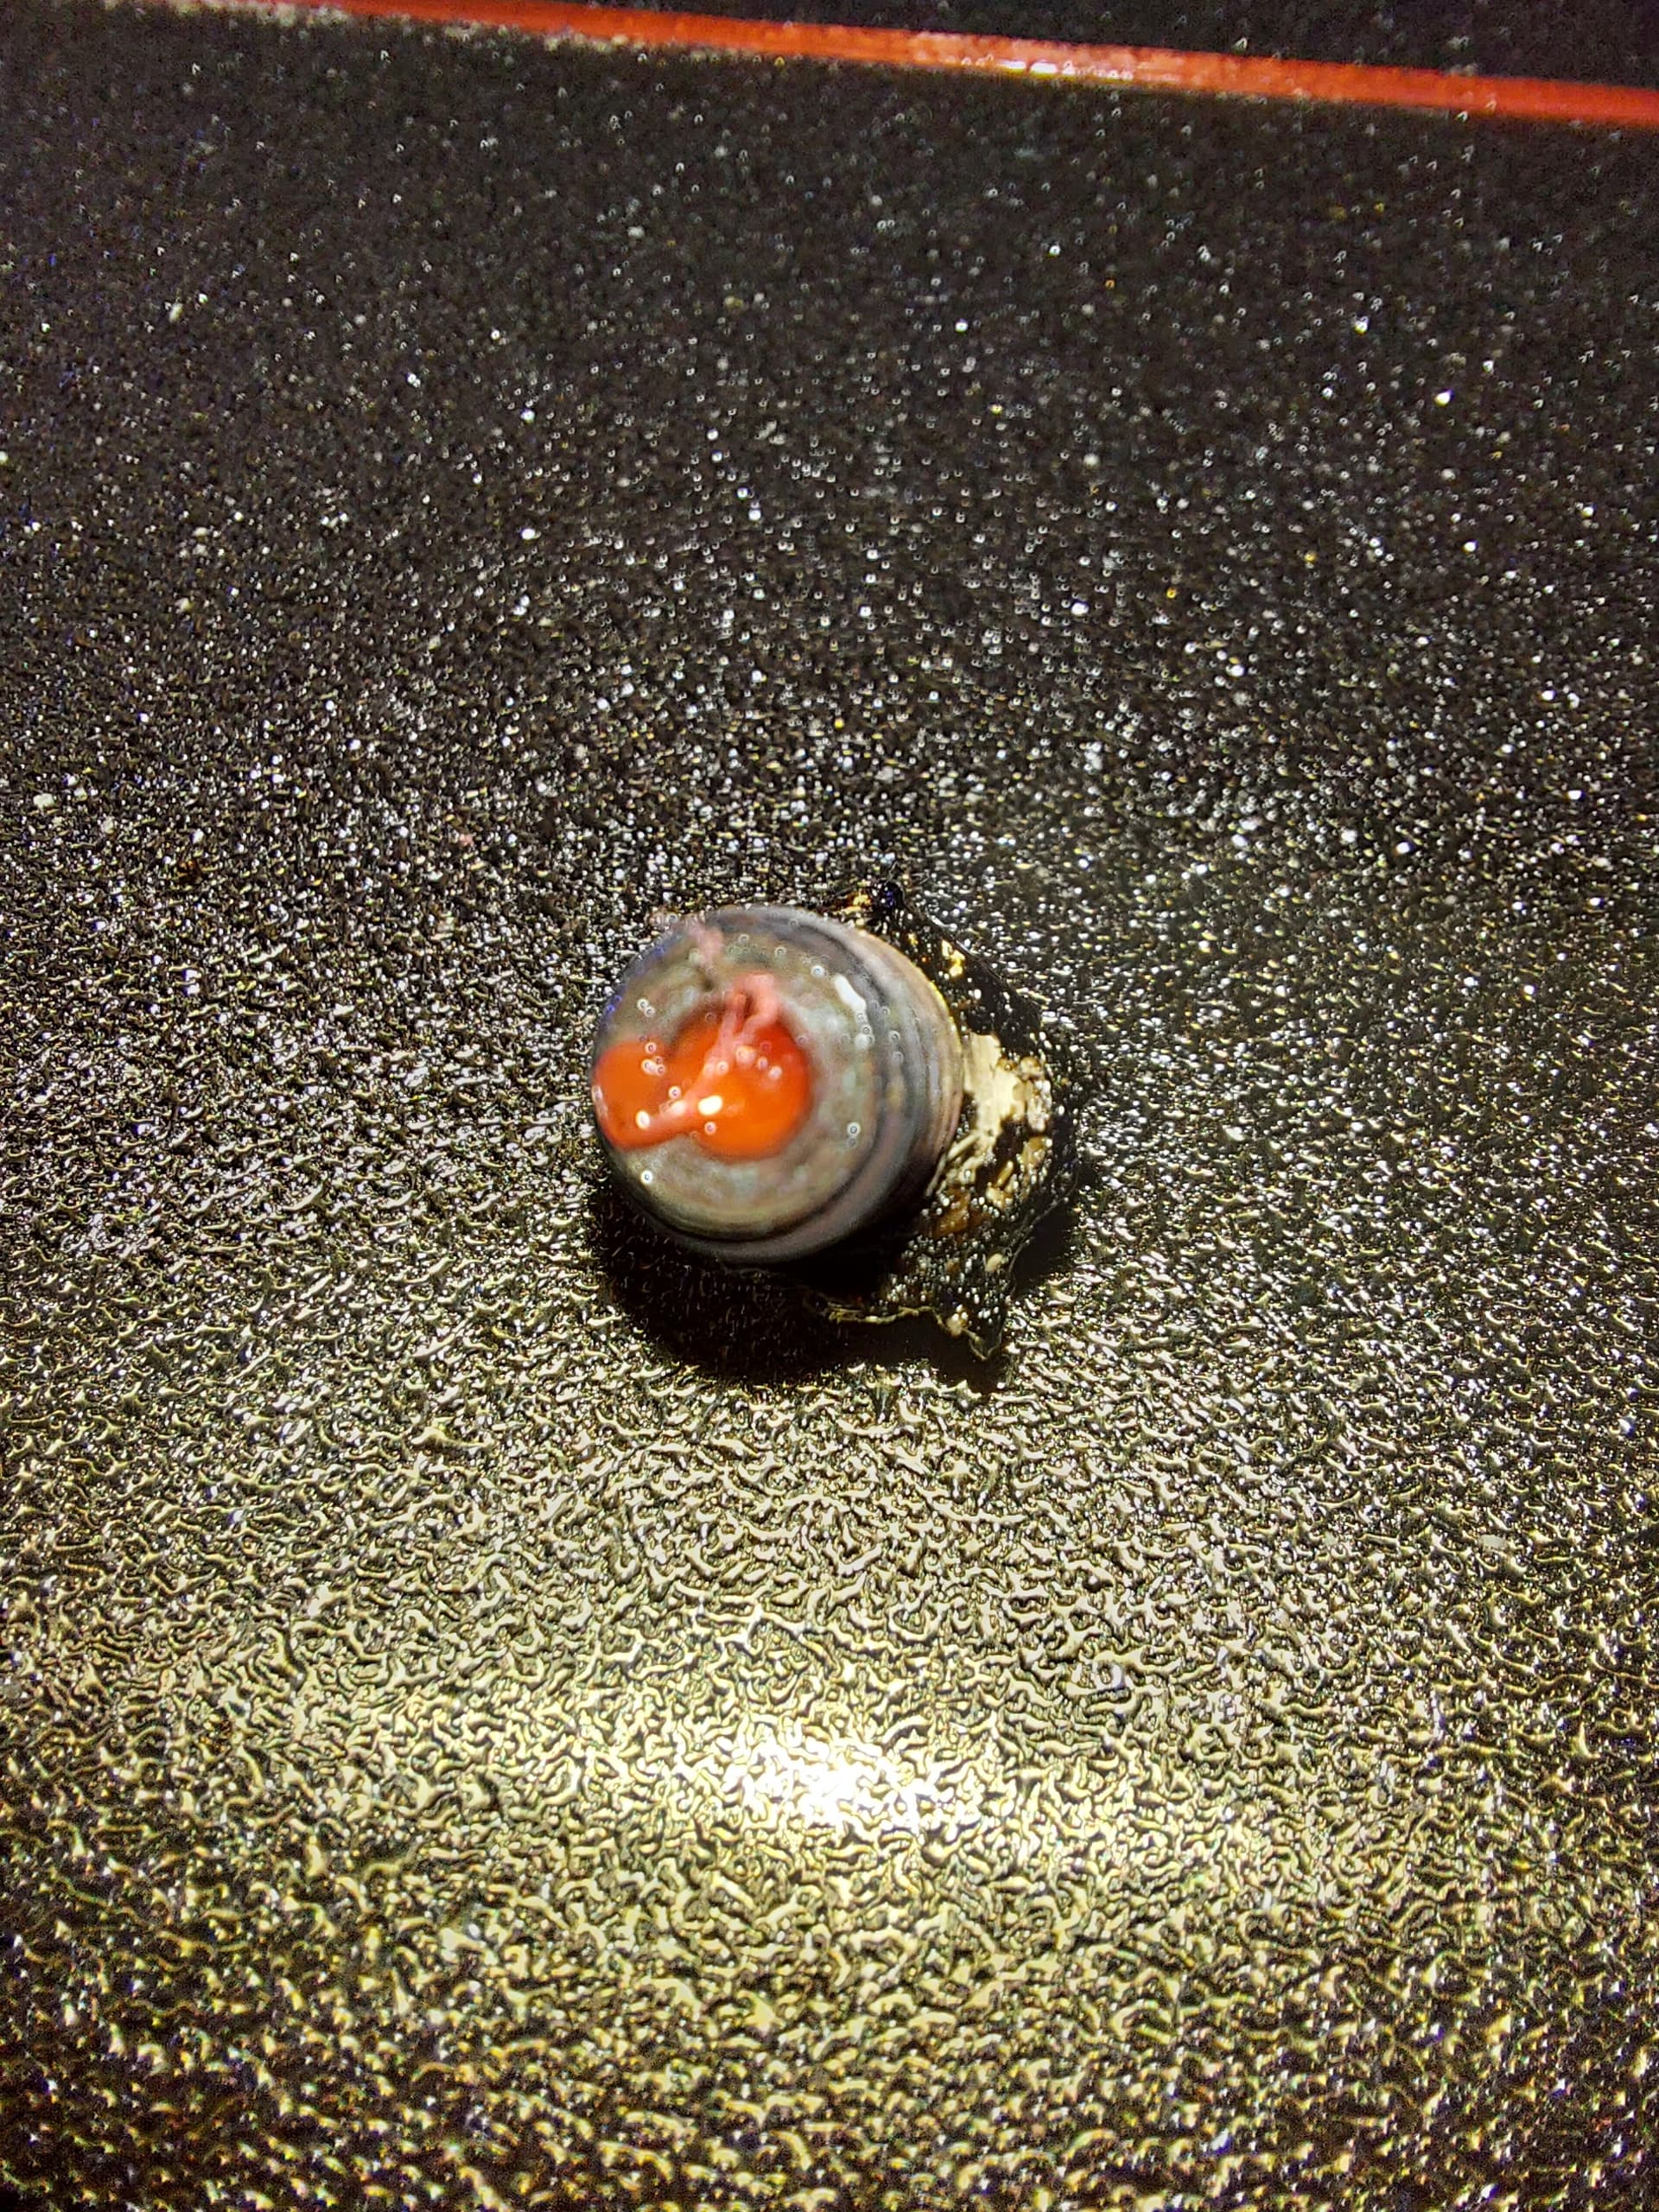
It would probably look exactly the same if it weren’t clogged, but there it is. I replaced the nozzle without removing the heat block from the extruder, so fingers crossed that it won’t end up with it crapping all over my prints. Well, it did that before I tightened it last, so…
Anyway, G34 ran perfectly twice, then took all 8 with some adjustments that were visibly wrong on the third time, but I haven’t yet swapped the BLTouch, because it’s in a box full of boxes. Also realized that the new Hemera isnt here yet, it’s due Tuesday.
The BL can be bad, the x carriage could be funky (is it level and not wobbly, not too tight), The other thing that messes with it is super loose Z belts or the umbilical pushing on it (I loosened mine up and have much better levels now).
Oh I just saw your other picture. If you do not anchor the far end of your filament feeder tube the spool will pull on the head and mess up the offset. Unless you are really careful while it is probing.
Pretty sure that’s not the issue. I set up the filament spools so that the home position is where the greatest potential tension is, everywhere else has less. The wire harness might be tugging a little, but it seems OK when printing. Also, it’s worked perfectly so far as I can tell until this overhaul.
Obviously something changed, but I’d have thought that anything that changed here should make things better and more consistent. Well, I’ll track it down. I have more PTFE tubing, it just hasn’t risen to the top of the priority list.
Have you tried the cold pull method for removing clogs?
Honestly, I didn’t have many clogged nozzles until I started printing PETG. And I haven’t really figured out the best way to fix it. I just haven’t used PETG with my current extruder.
And my only nozzle clogs ever have all been PLA. Never had one with PETg, though my first 2 printers never managed a successful print with PETg either. I used to do everything in ABS, but that of course has its own issues.
Now it’s entirely possible that switching filaments is a problem, I never used anything except PETg with this printer until this beta, so maybe it was the switch between leaving something behind. Now this new nozzle has only bee used for PLA.), so we’ll see when I.start using PETg again.
Obviously leftover PETG will not melt enough at PLA temps. I have also heard that pla can get burnt and turn extra hard at very high temps. I have some cleaner filament that has a very large temperature range. I try to do cold pulls with that. But I still look at PETG sideways. YMMV.
I think this was it. no idea how they got loose, but I’m going to assume that it was my old printer and it’s super crappy bridging making the nut hole seats kind of wonky, and just happened to get lucky. Maybe some bumping and shaking with this last rebuild pushed it over.
The belt on the #2 Z motor was definitely loose. I don’t know about “super loose” but it was definitely not tight. #3 had less tension than I wanted as well. They’re adjusted now and the next G34 went tickety boo.
The only reason I found this is my 3rd build, the wood one. I had the Z slider hit the top idler mount and it pulled the belt hard. After that I could not level it at all. I kept getting errors. That BL is so dam sensitive. If the firmware tells the bed to move a bit and it does not, error. The adjustments can be so small it needs the right tension to pull it down as well as up. I never expected that. Gravity was not enough.
Leveling brings in a whole new level of accuracy. These are by far the most stable printers I have ever owned, and they print so well. That BL and it’s measurements can show you all sorts of inaccuracies that I have never worried about. 6 Years of running a print farm and all of them pulled filament off a spool, I had the spools on bearings and all but that would absolutely never pass the BL test. It also shows how while printing filament pulling and wires moving ±0.1mm is usually not even noticeable in the final product.
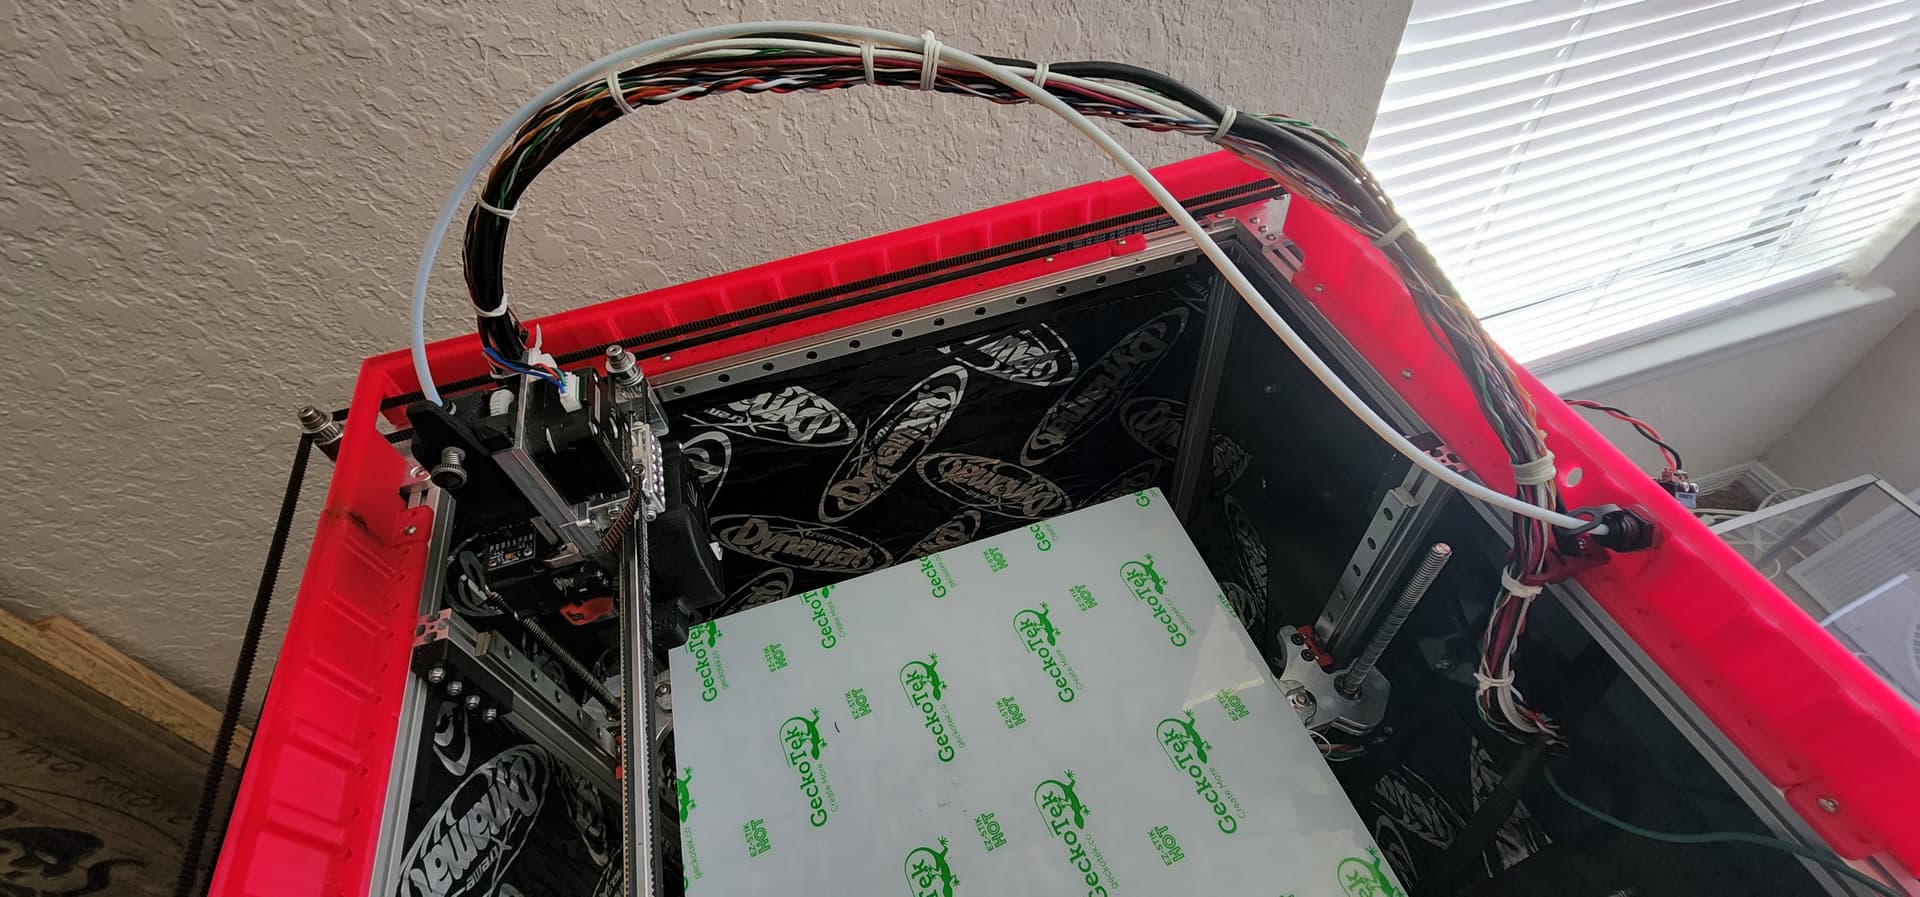
I want to find a better solution for the umbilical and filament guide. It is the least accurate part of the Repeat. Or maybe the just cause of the most inaccuracies.
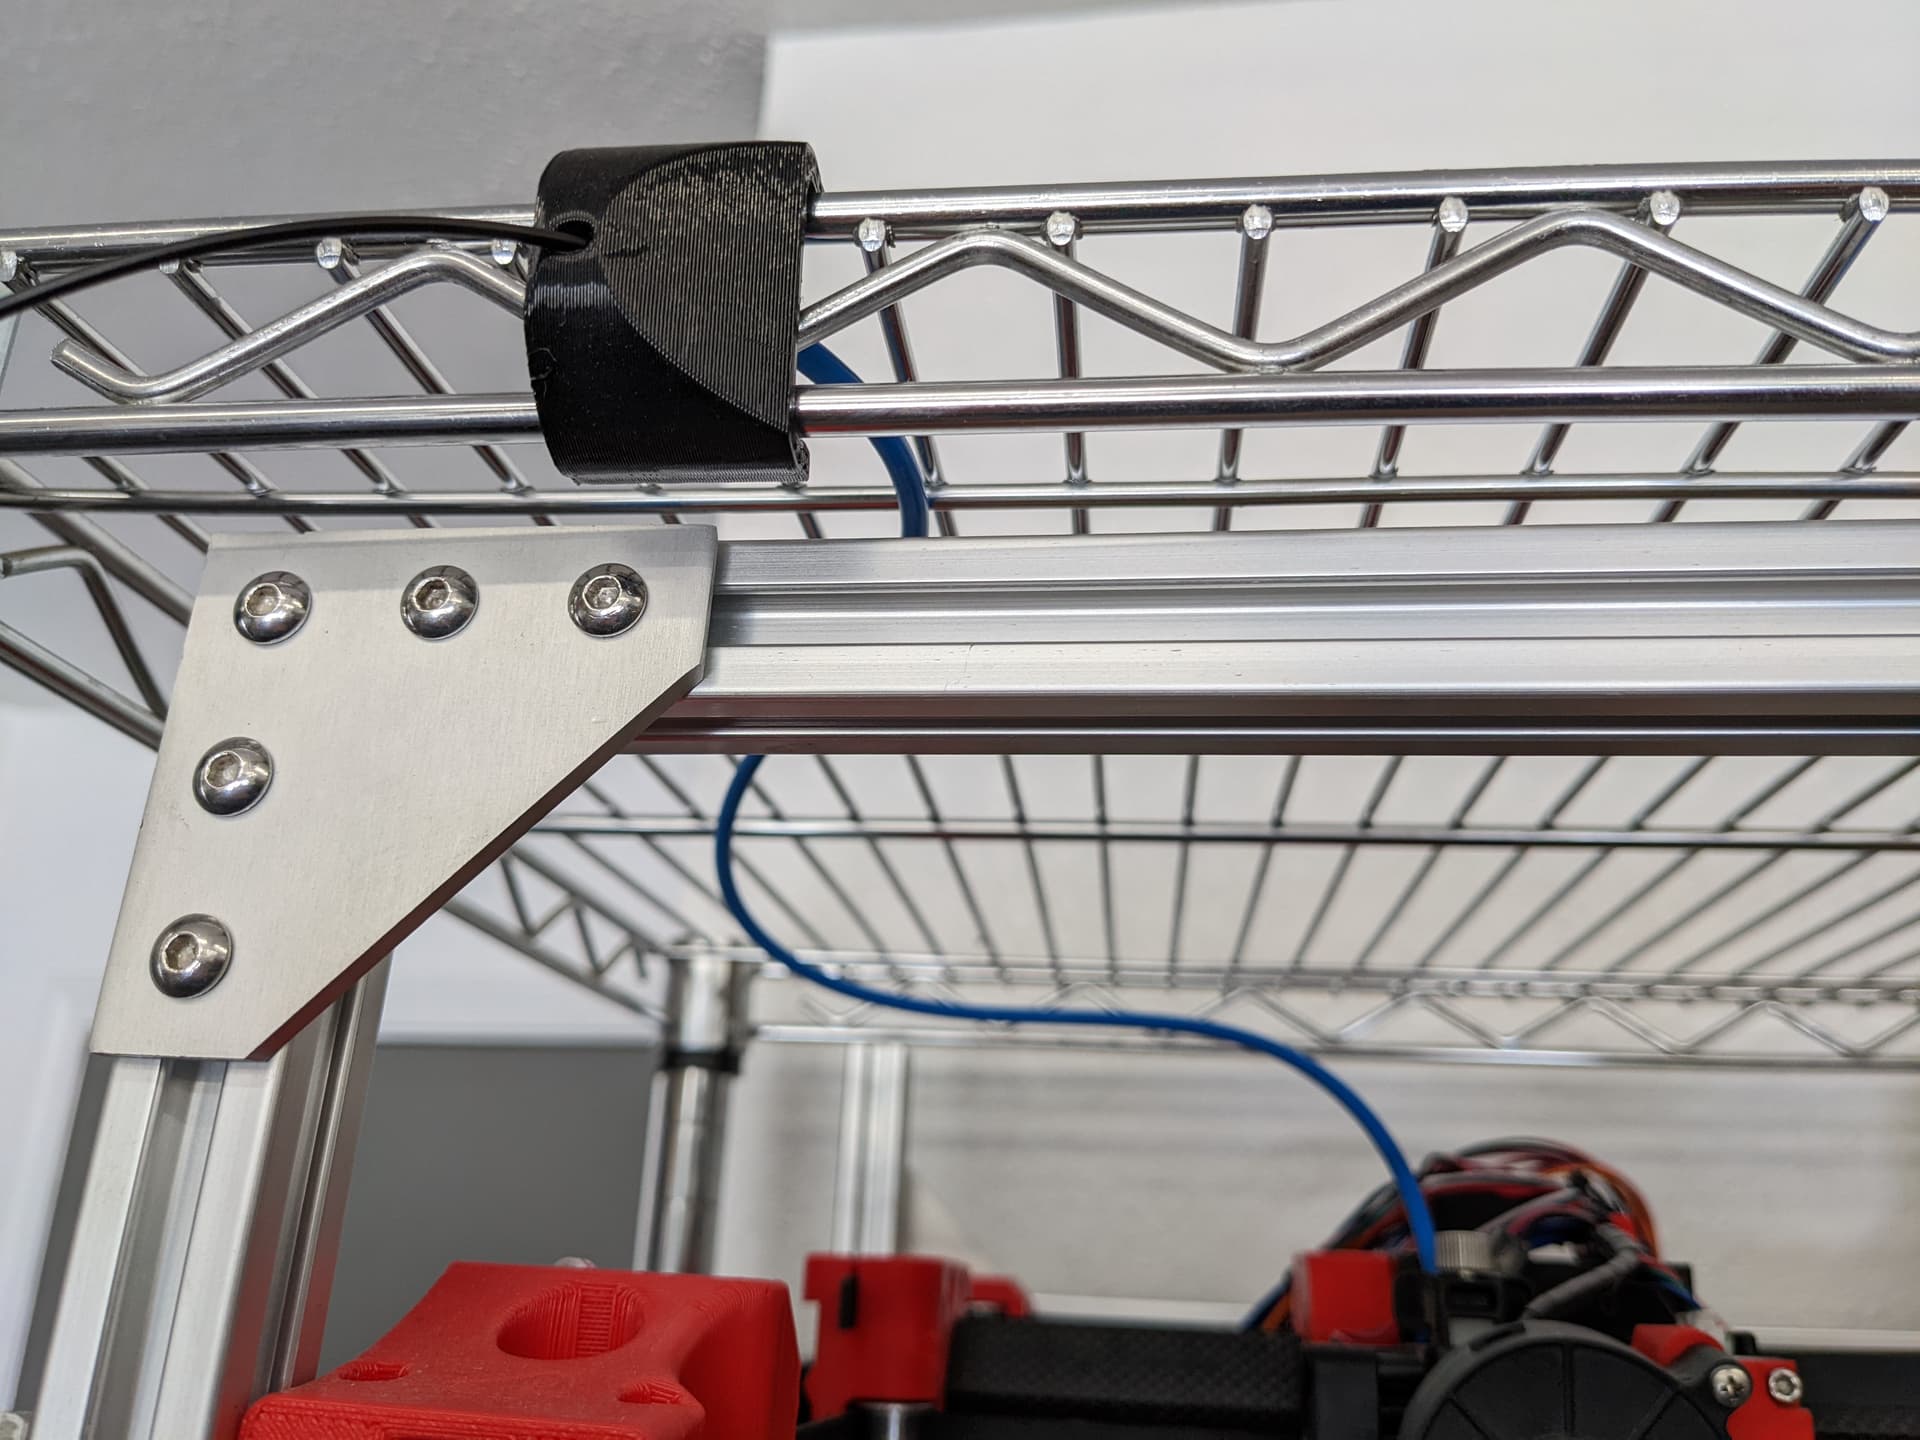
For the railcore, we use one of those 30" zip ties as an umbilical stiffener. All the wires are long enough to reach the far corner with a few inches of slack.
The extruder is stopping part way through prints. It seems to be fine for a while, and then, it isn’t. Tried a cold pull and a few other htings, but something just ain’t working there. I kind of want to go print something in PETg again to see if it’s permanently fubar, or if it’s just this PLA that’s screwey. I tink I need to replace that heat break. That’s quite a bit more work than just replacing the nozzle, but it seems like that’s where this is going. Well, the Hemera heat break seems like a unique part, so maybe I can take it out and clean it, I just need to be careful not to damage the threads… I think I’ll get a replacement part ordered anyway, in case I need to pull the one from the new extruder. I’m starting to give some serious thought to a Biqu H2 extruder/hotend… I would be more likely if I didn’t have to monkey with the Z probe and fan mount.
If I were to complain about one thing with the Repeat, it’s this: At the X/Y home position, the Hemera hotend fan is mostly blocked by the motor mount. I have an added command to my stop script that moves the X axis over by about 30mm from the home position to get some clear space, but it does spend some time at that home position while hot when starting print jobs.