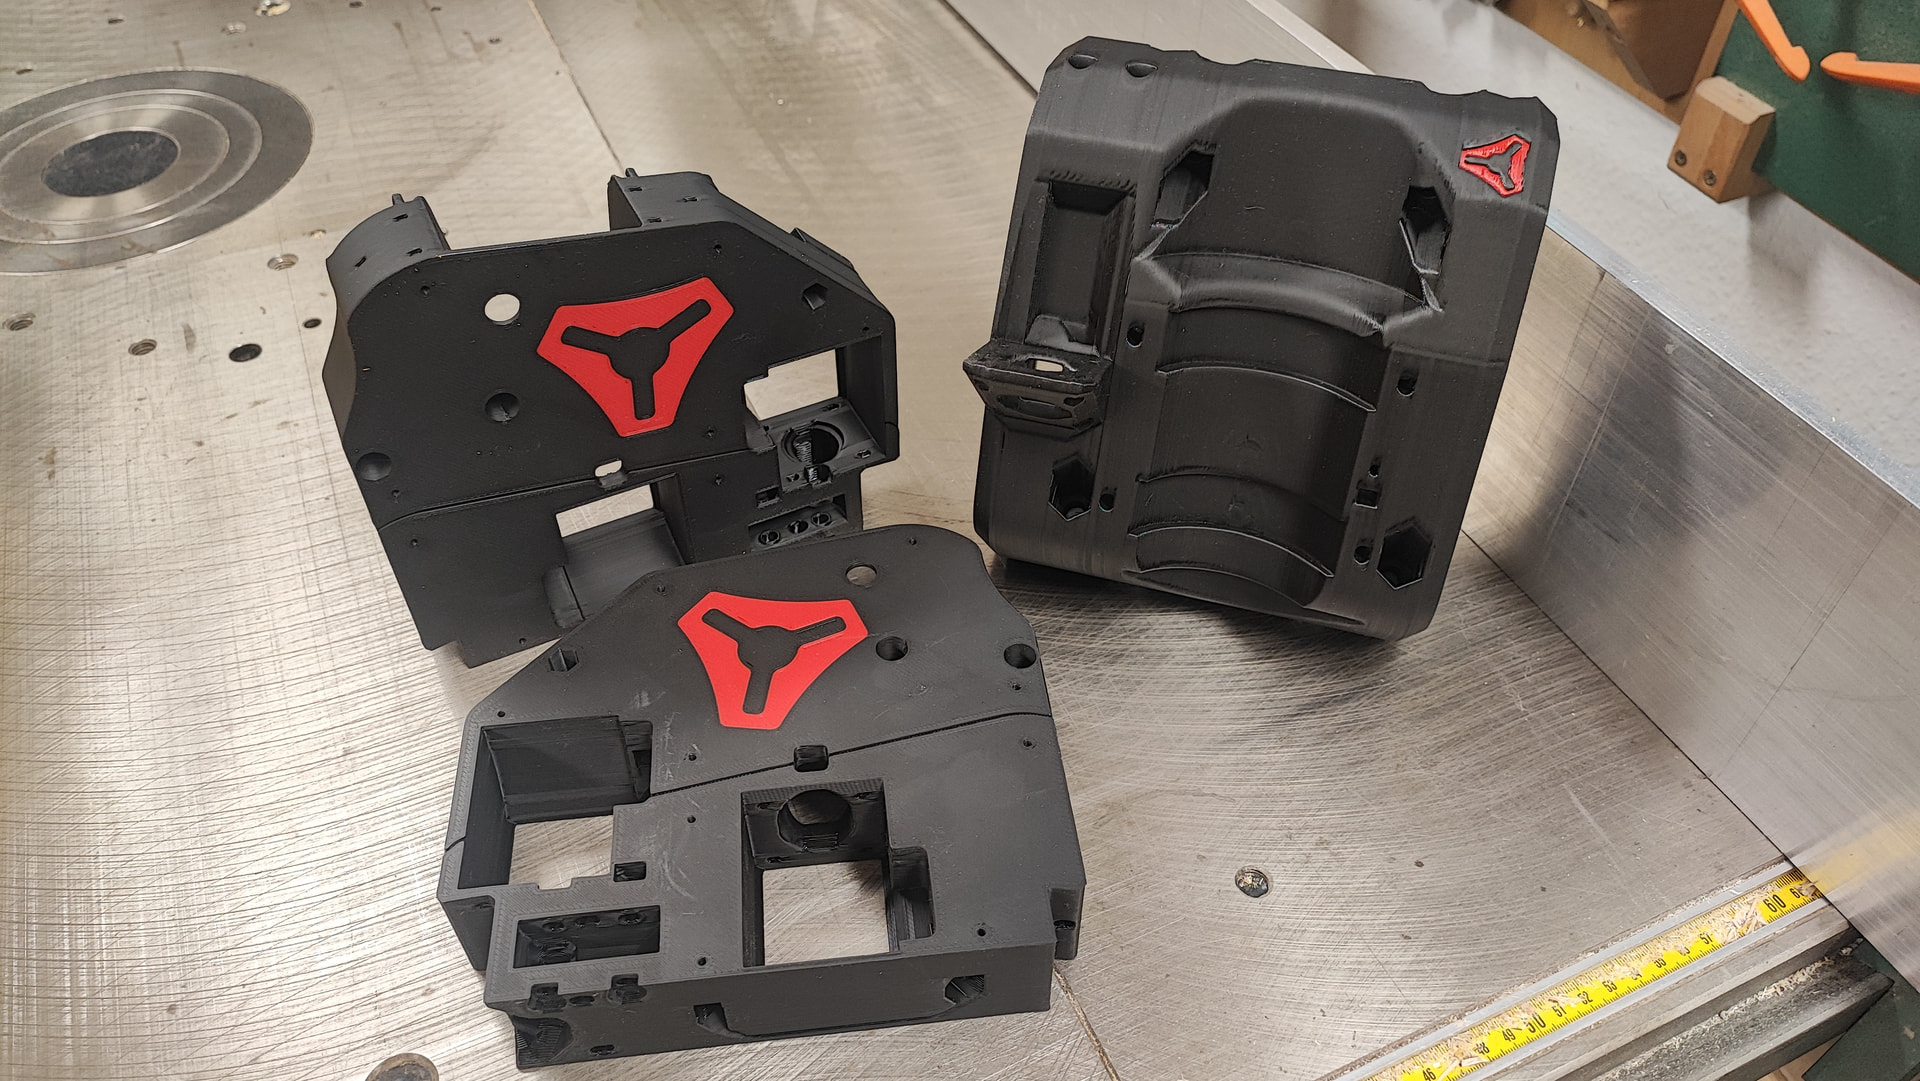
I have an upcoming battle with TPU myself. Need to re-print coffee grinder bellows since it wore out. Not sure who will win, I think I lost last time on my Voron and used my old Prusa, which I gave away since.
Trying the first multicolour core now. I decided against painting Ryan’s logo on the back (the face) red as well because I think it might have weakened the structure.
The print time is, even though there are 50 toolchanges, down to 5:31.  Let’s see whether that really works.
It’s also incredible if you compare it with the MMU3, I did some multicolour cores as well there and had to have the whole wipe tower. Really a mess. This now poops the little nuggets in the bin, that’s it.
Also, seeing the nozzle jump 230°C in 4 seconds is insane.
Looking forward to pictures. Seeing a ‘real’ person be successful may be the final push I need to find a way to order the parts.
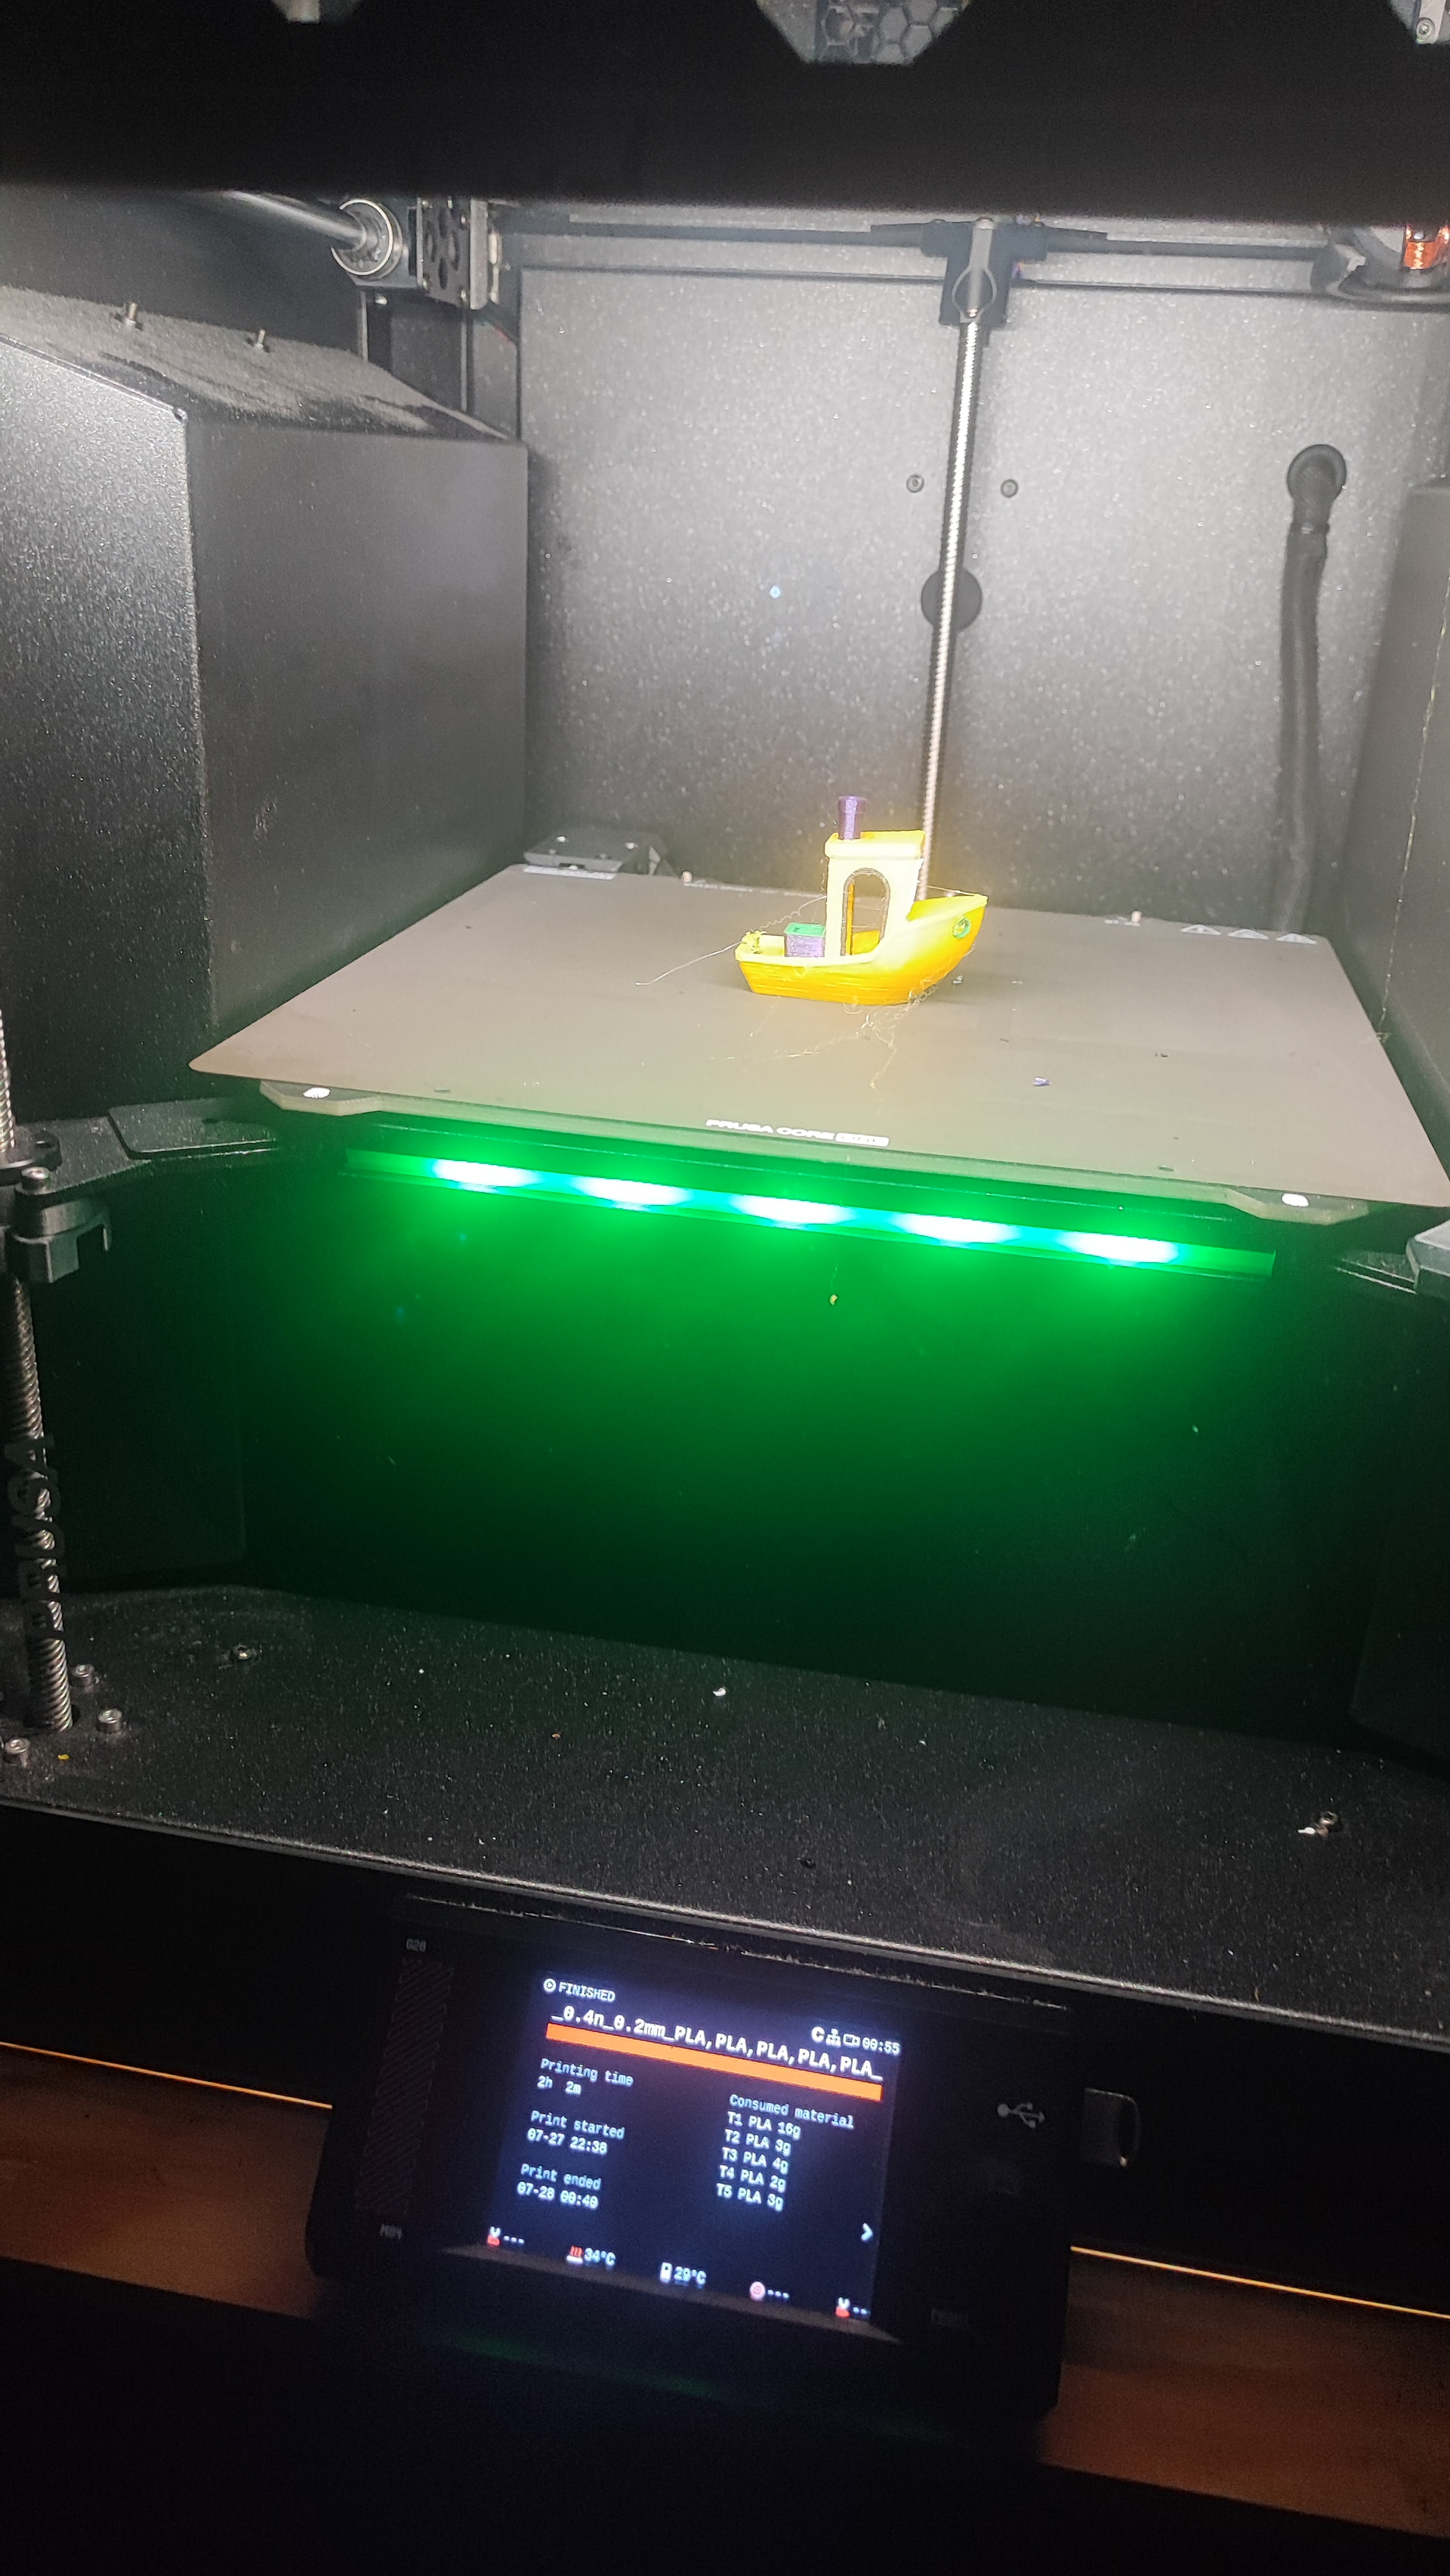

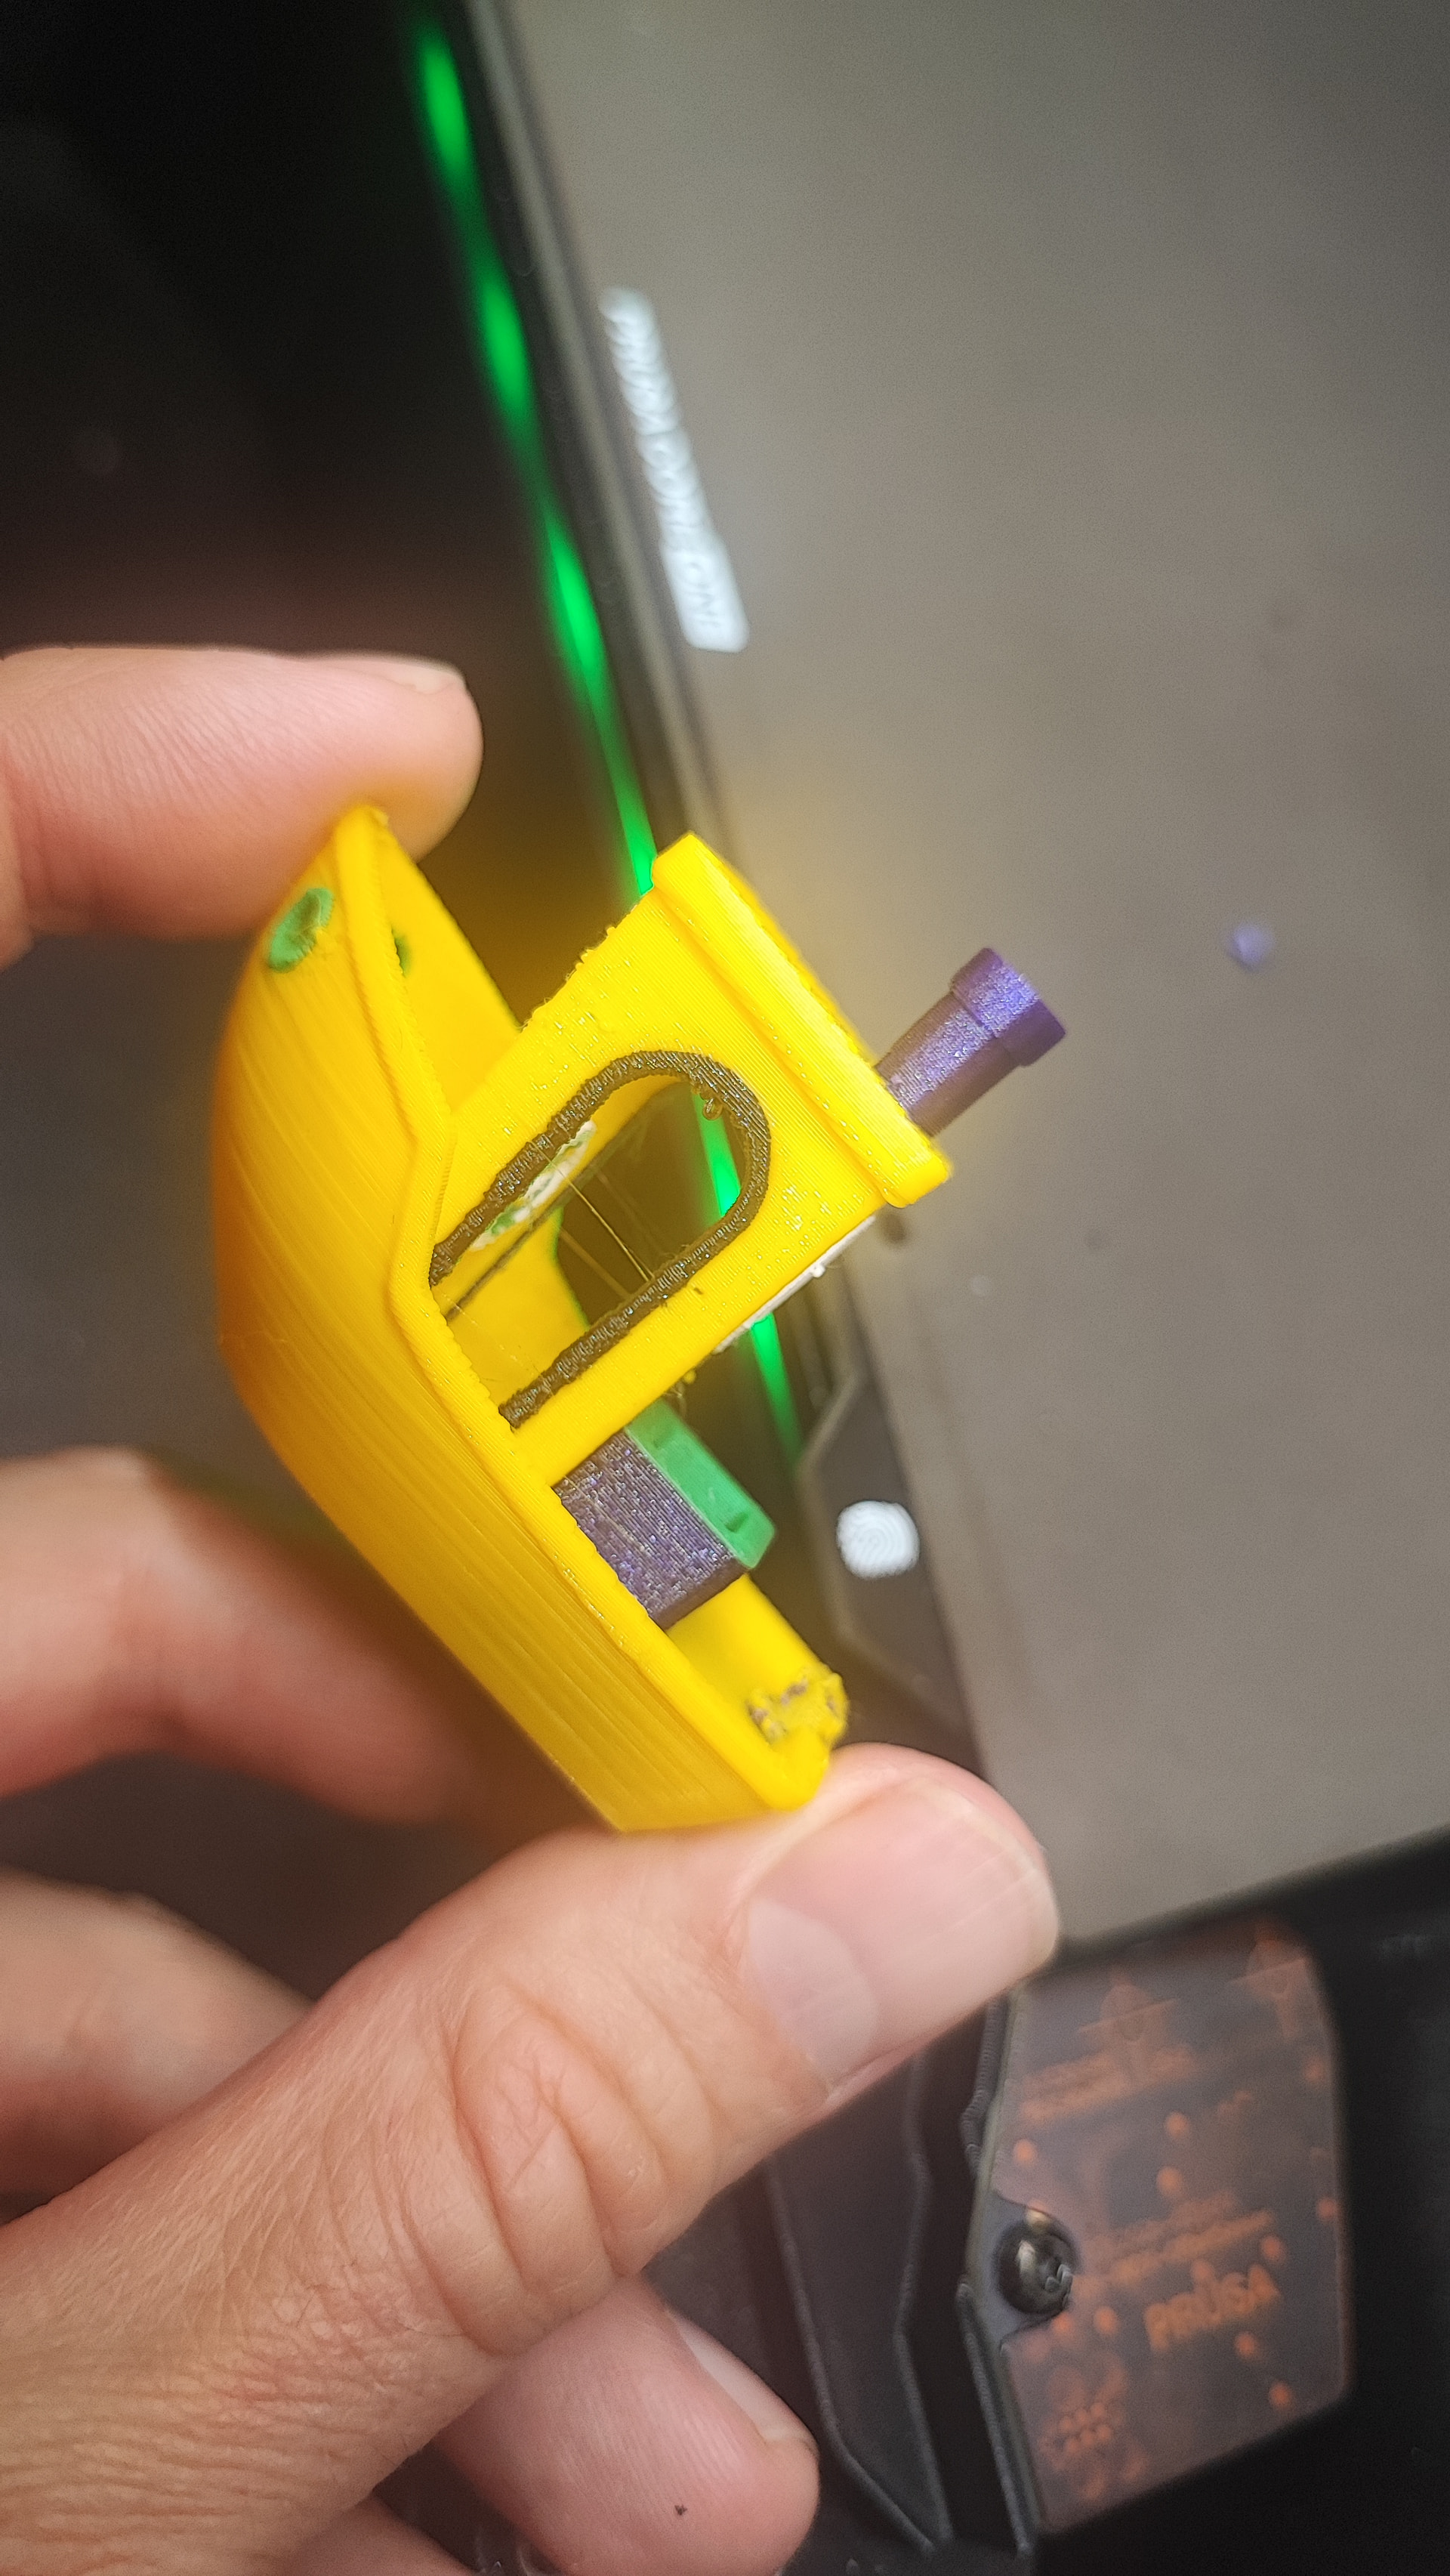
There’s the promise of the head changer!
So let’s see pictures of your installed INDX setup…
What he said… Pictures man… We need pictures! Or OR… You can grace us with a complete write up of the process and your thoughts after you get some more prints under your belt.
But I think I’m pretty much sold on the idea.
At the moment I am feeding from my boxes, the filament paths are not really ideal because of sharp bends. The filament sensors are left and right where the filament is pushed in. They use like, 8mm steel balls and super strong magnets and work really well. I’d have loved for them to have push fittings at the bottom though so you could feed filament and PTFE tubes and connect them to the bottom. I didn’t check yet whether there’s enough clearance to screw some fittings in.
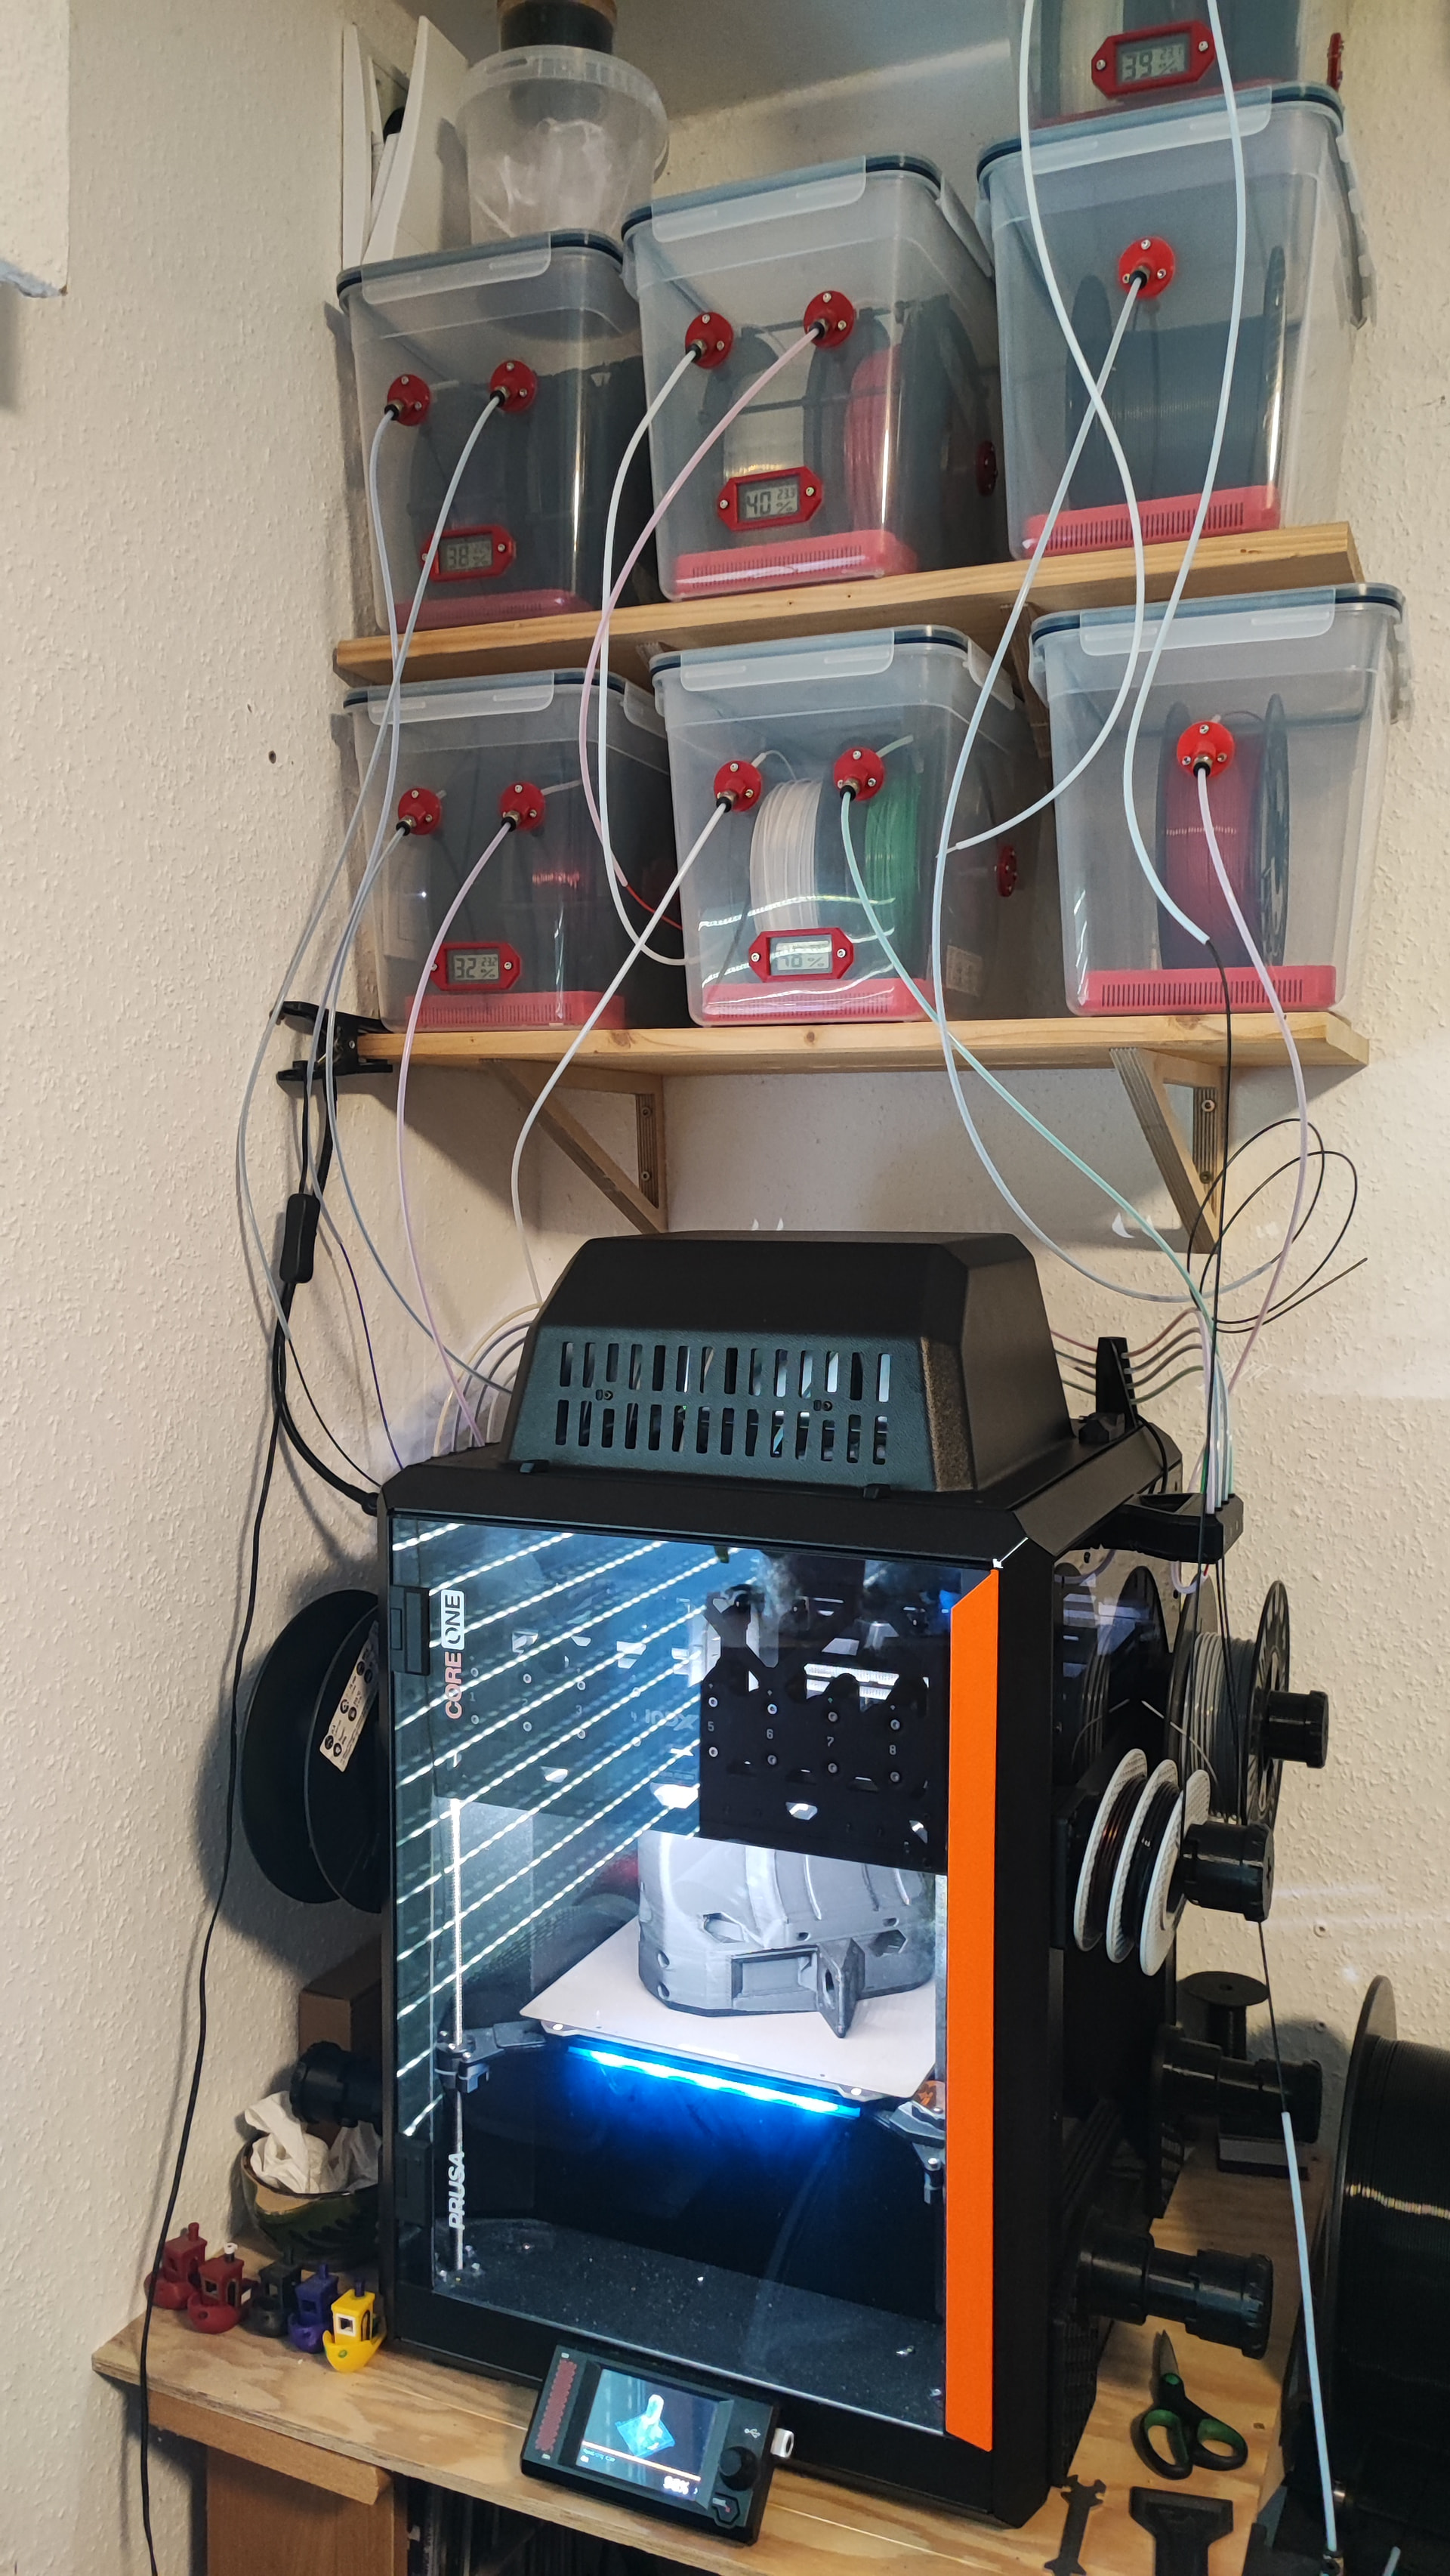
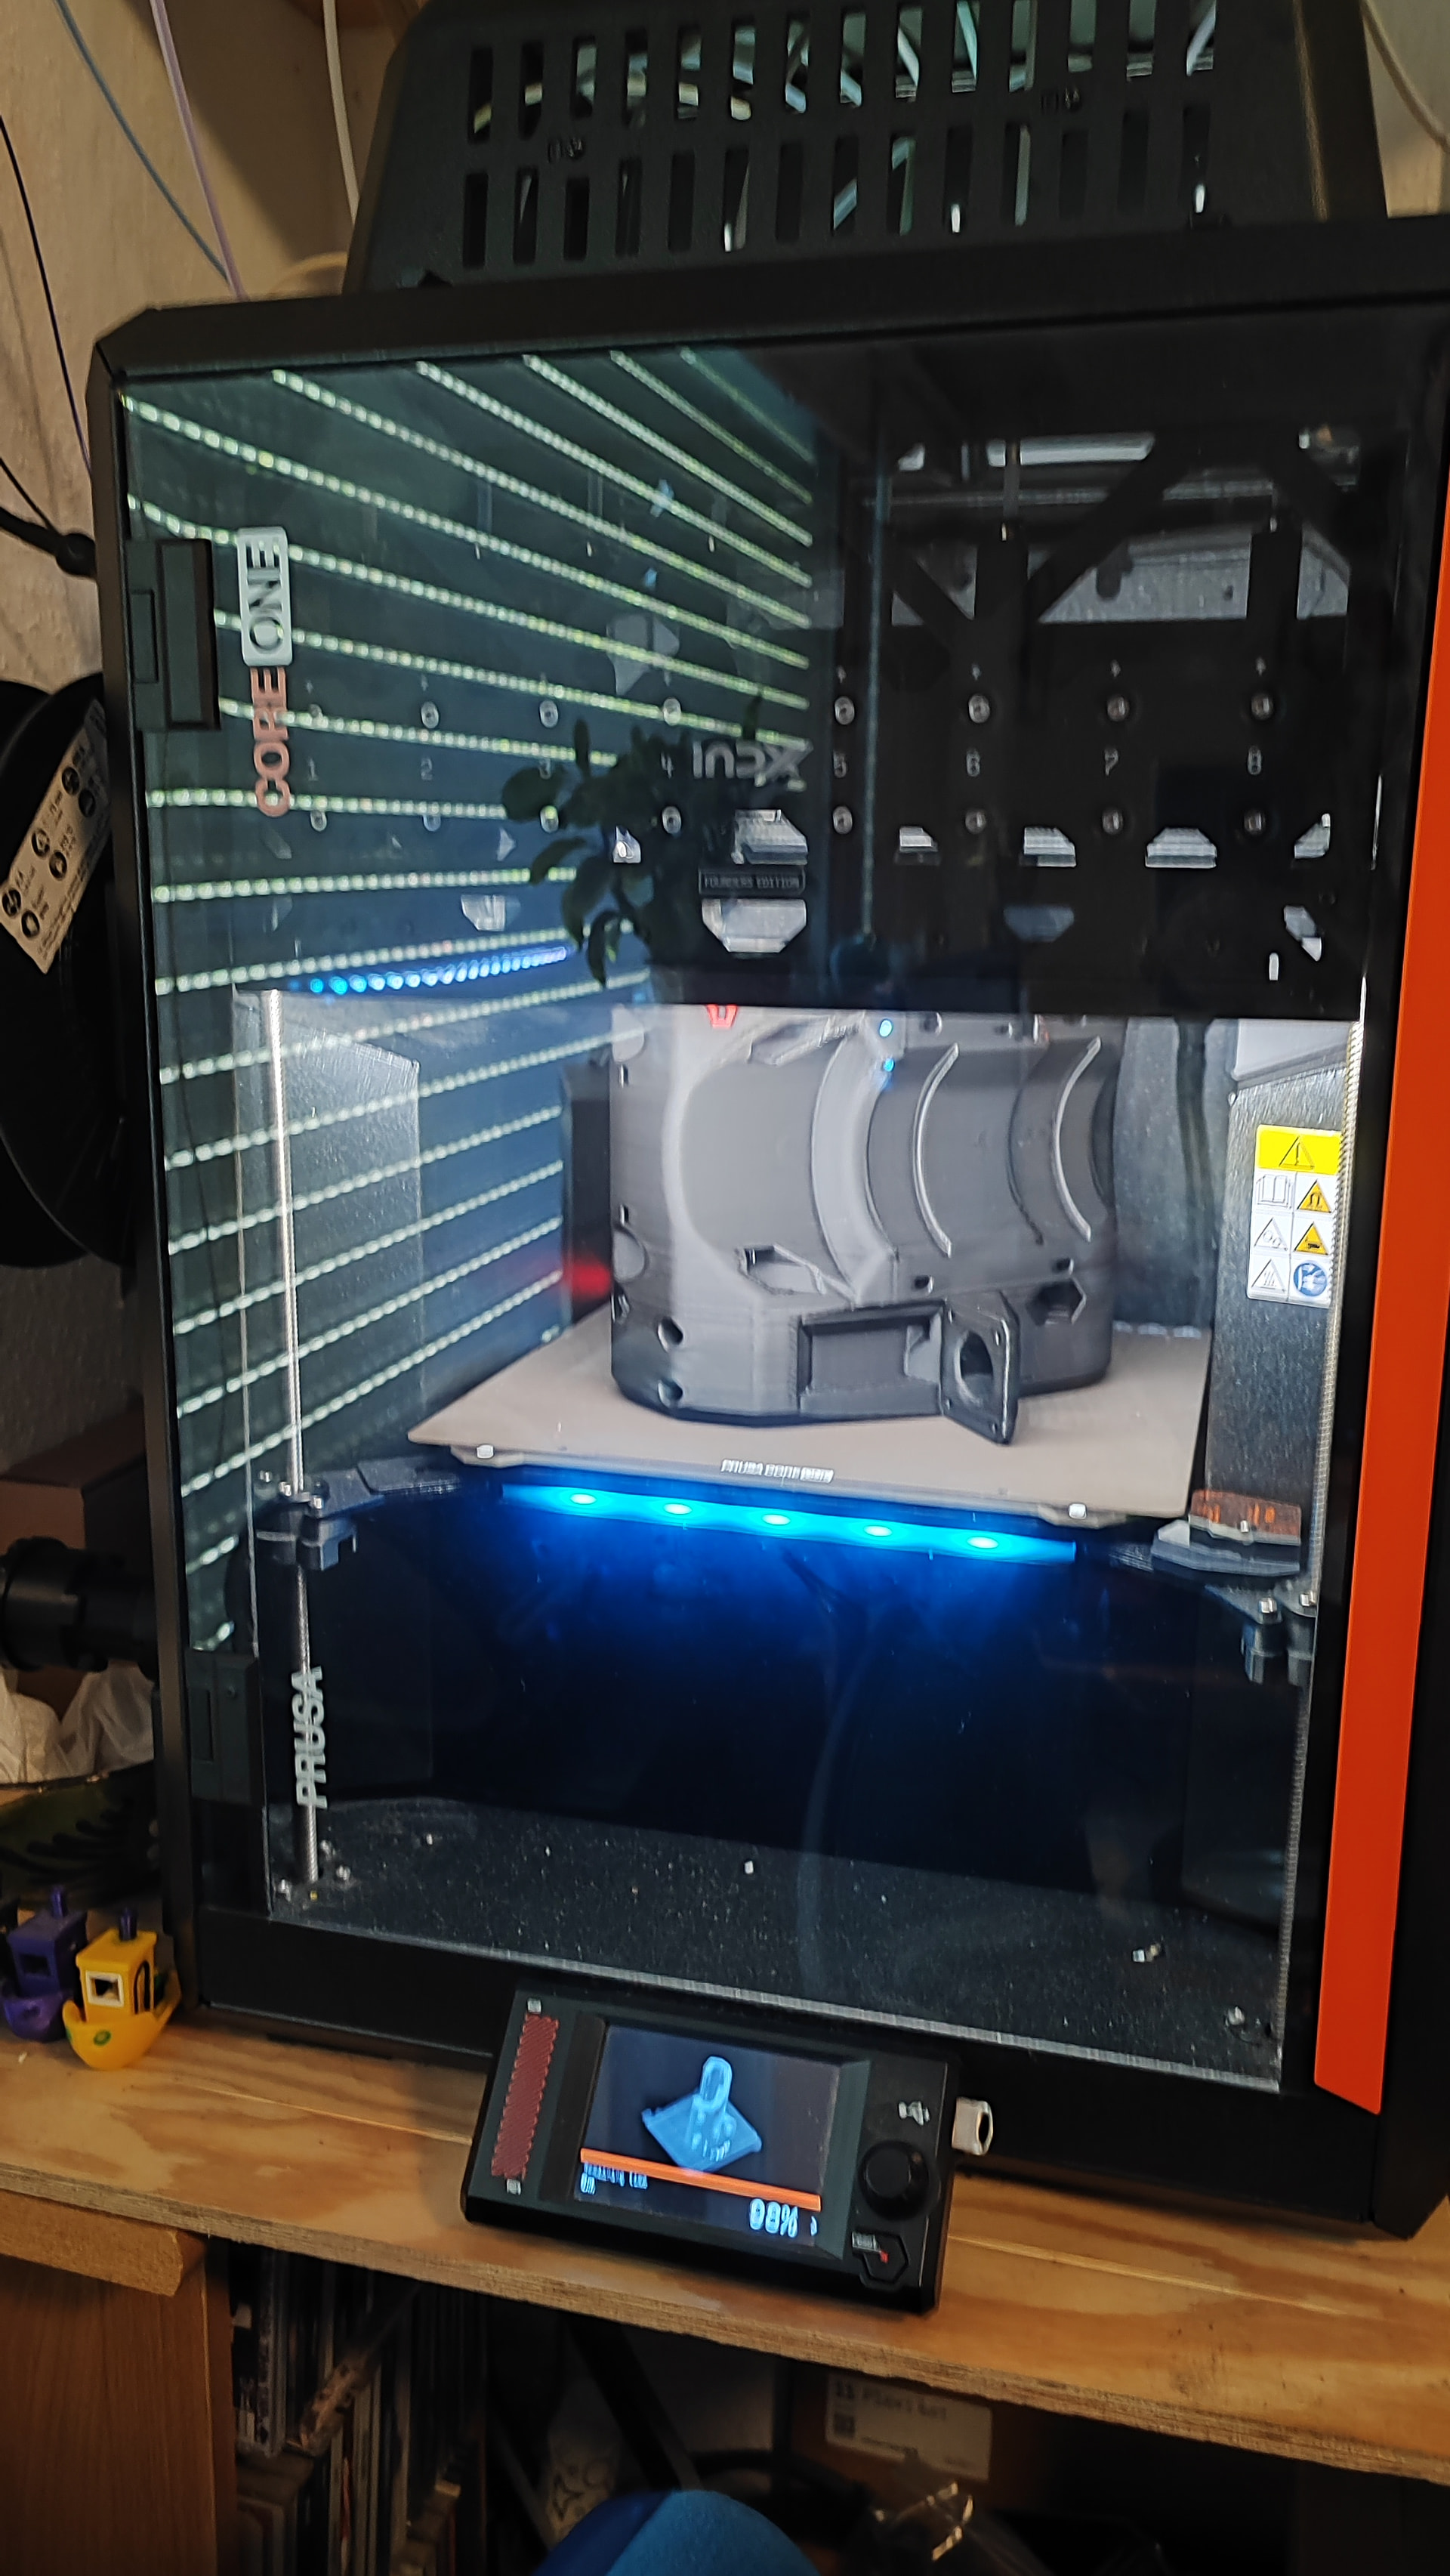
The enclosure opens on the top with a latch and hinges. Works really well, a lot better than what the MMU3 had to offer.
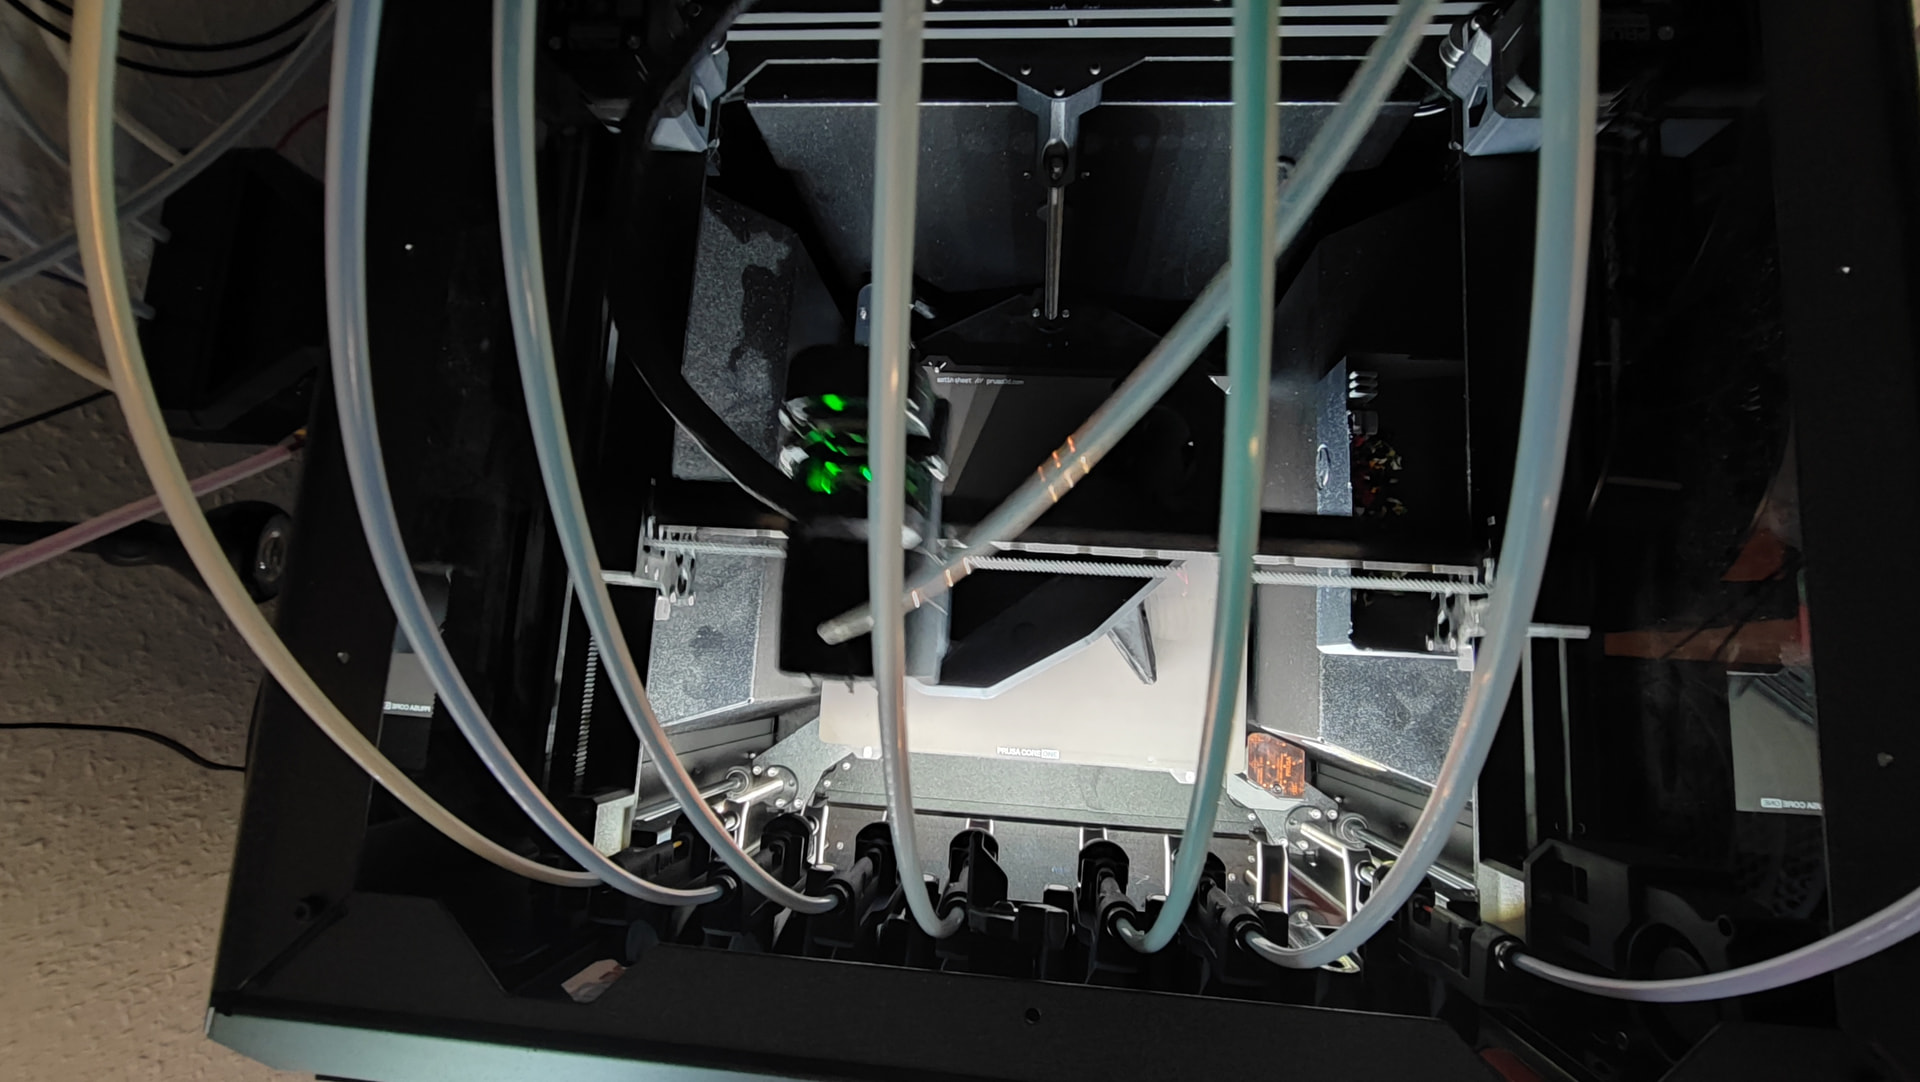
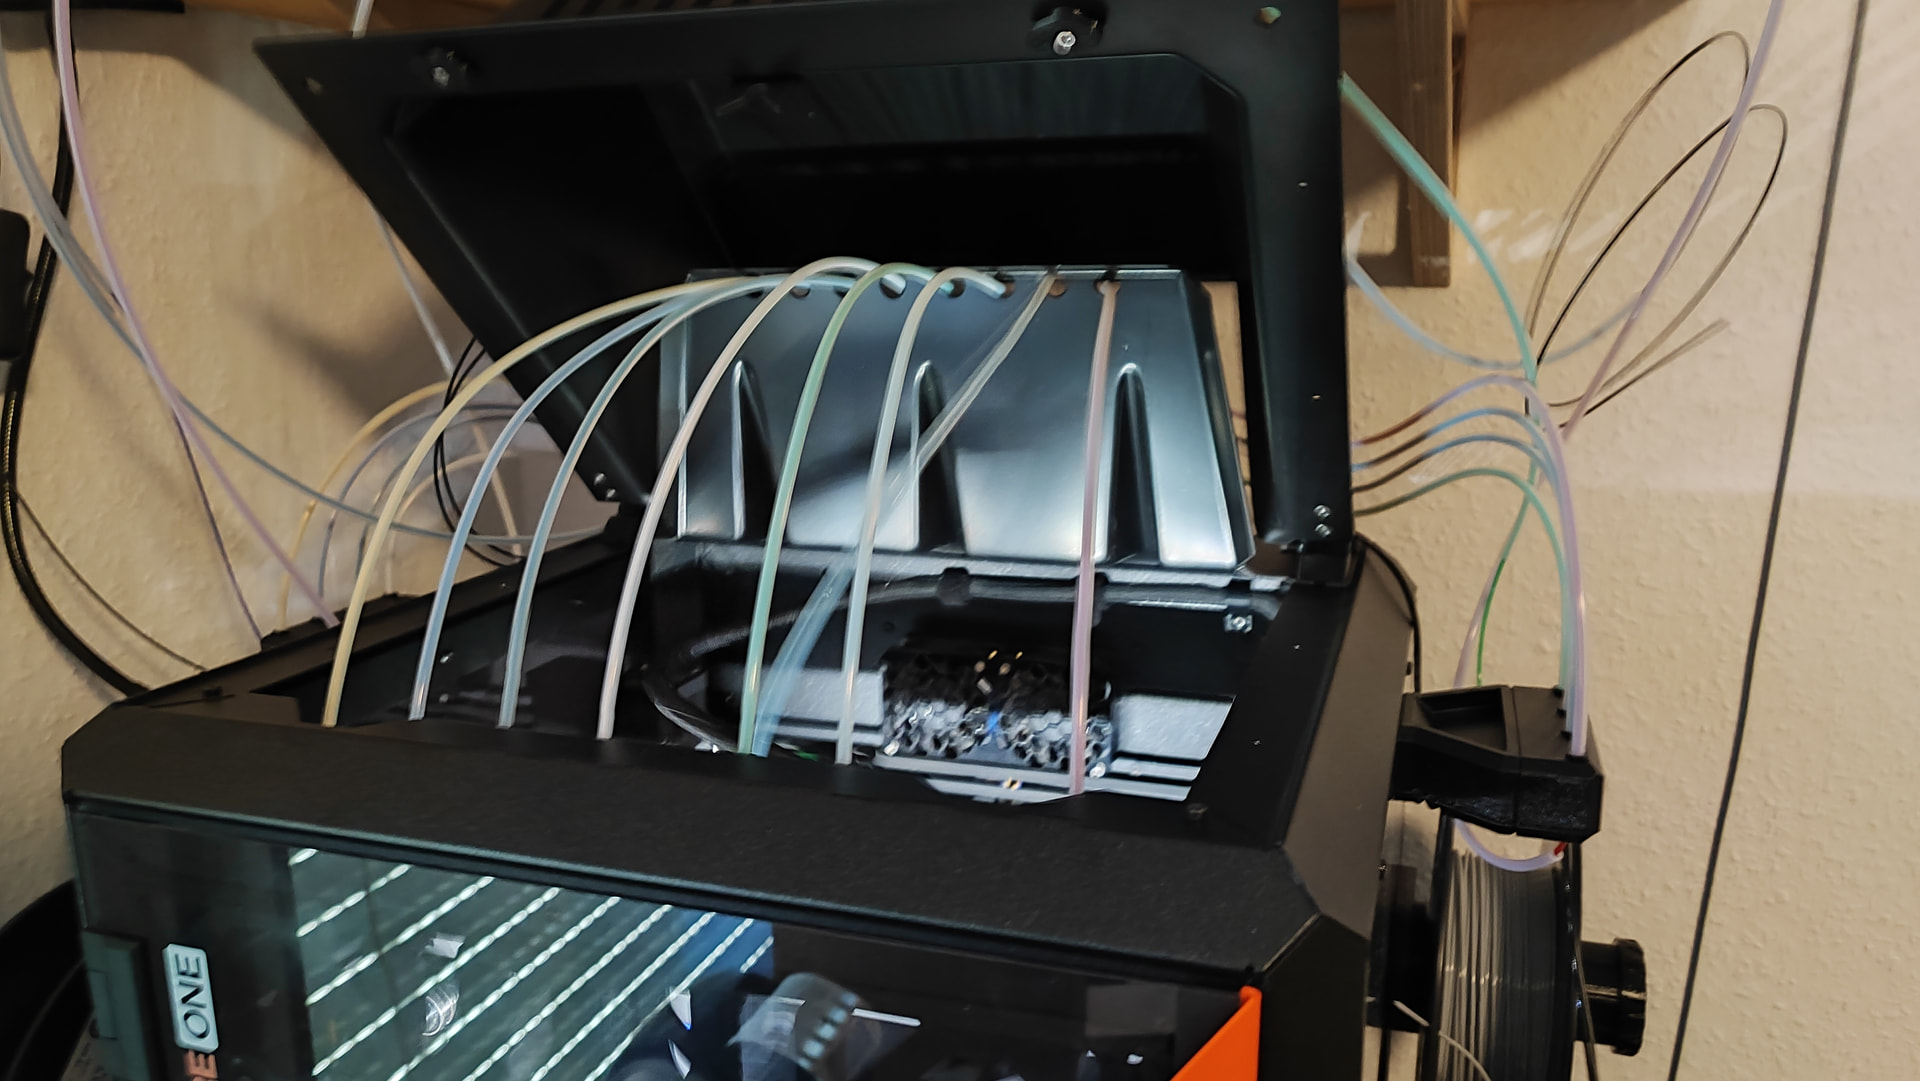
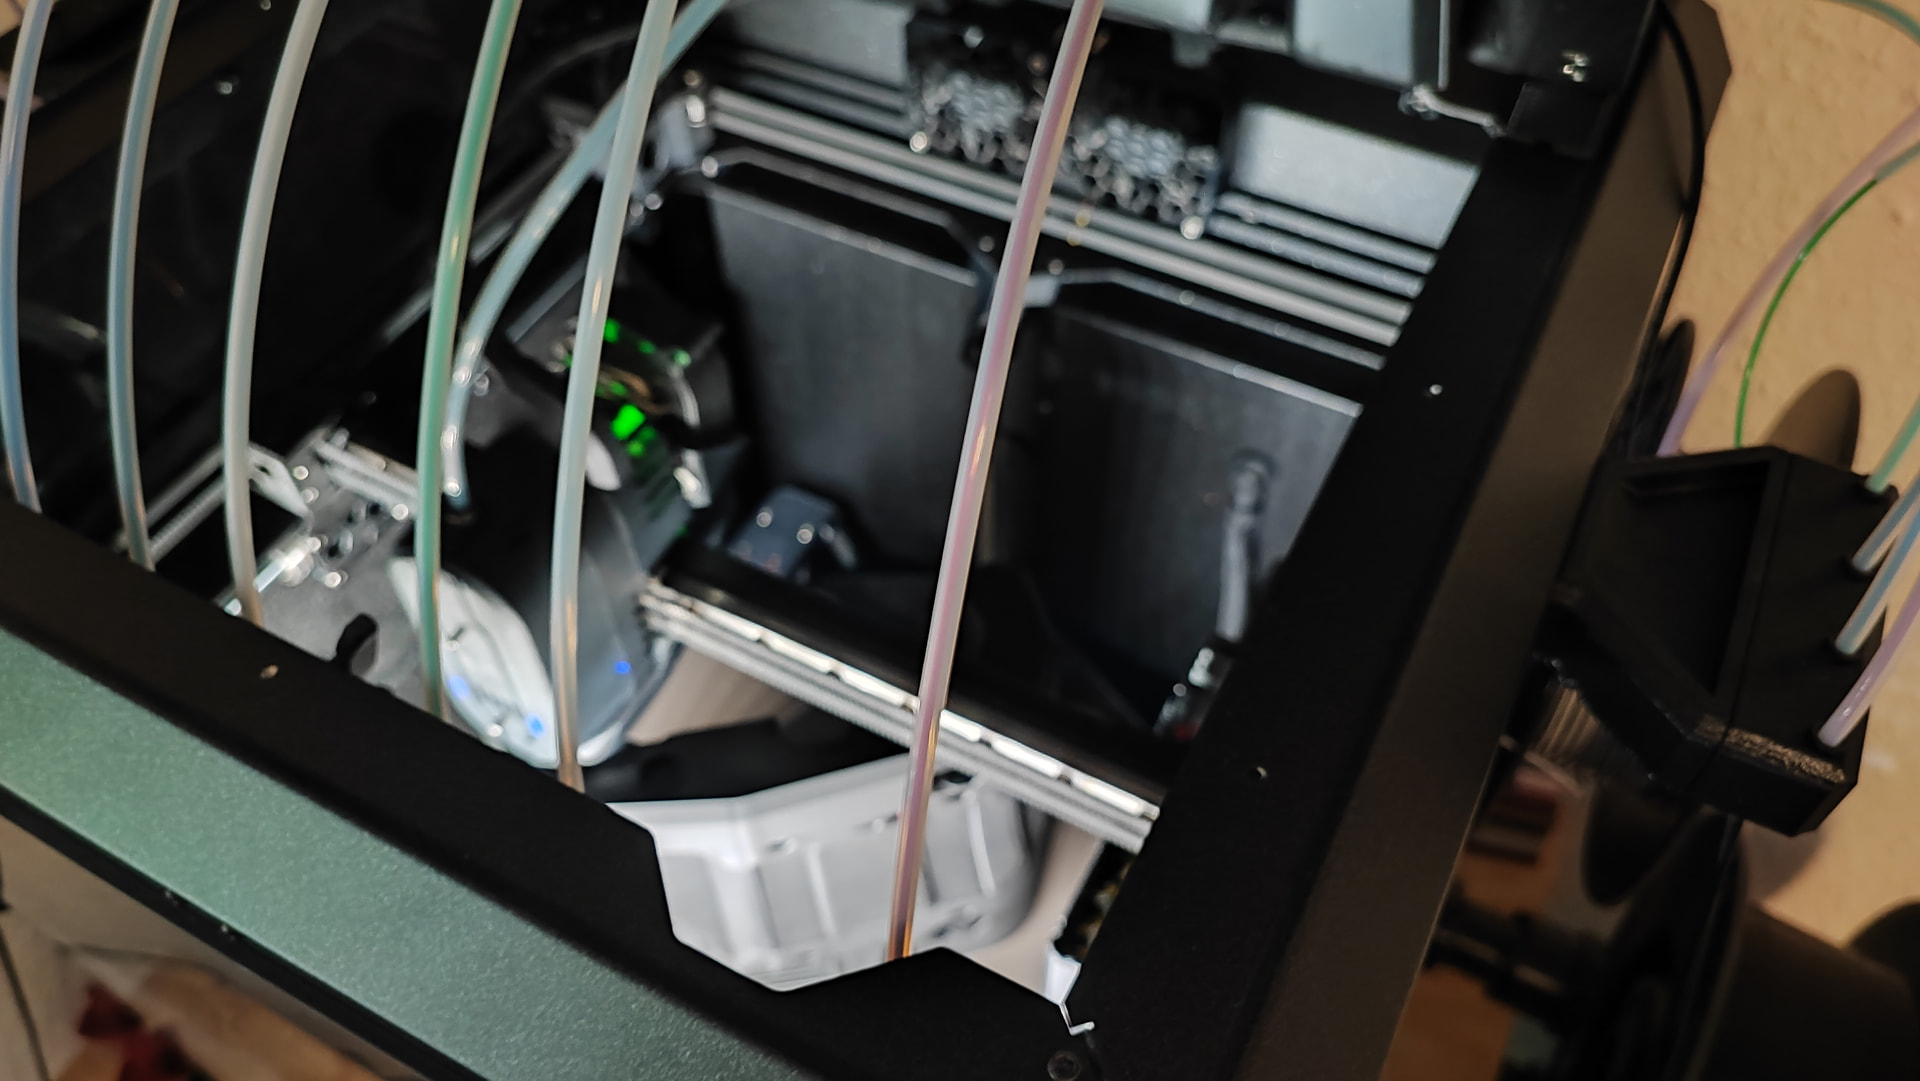
The currently used filament’s tube slides back and forth through the hole on top. Also a lot better than with the MMU3.
Pristine first layer.
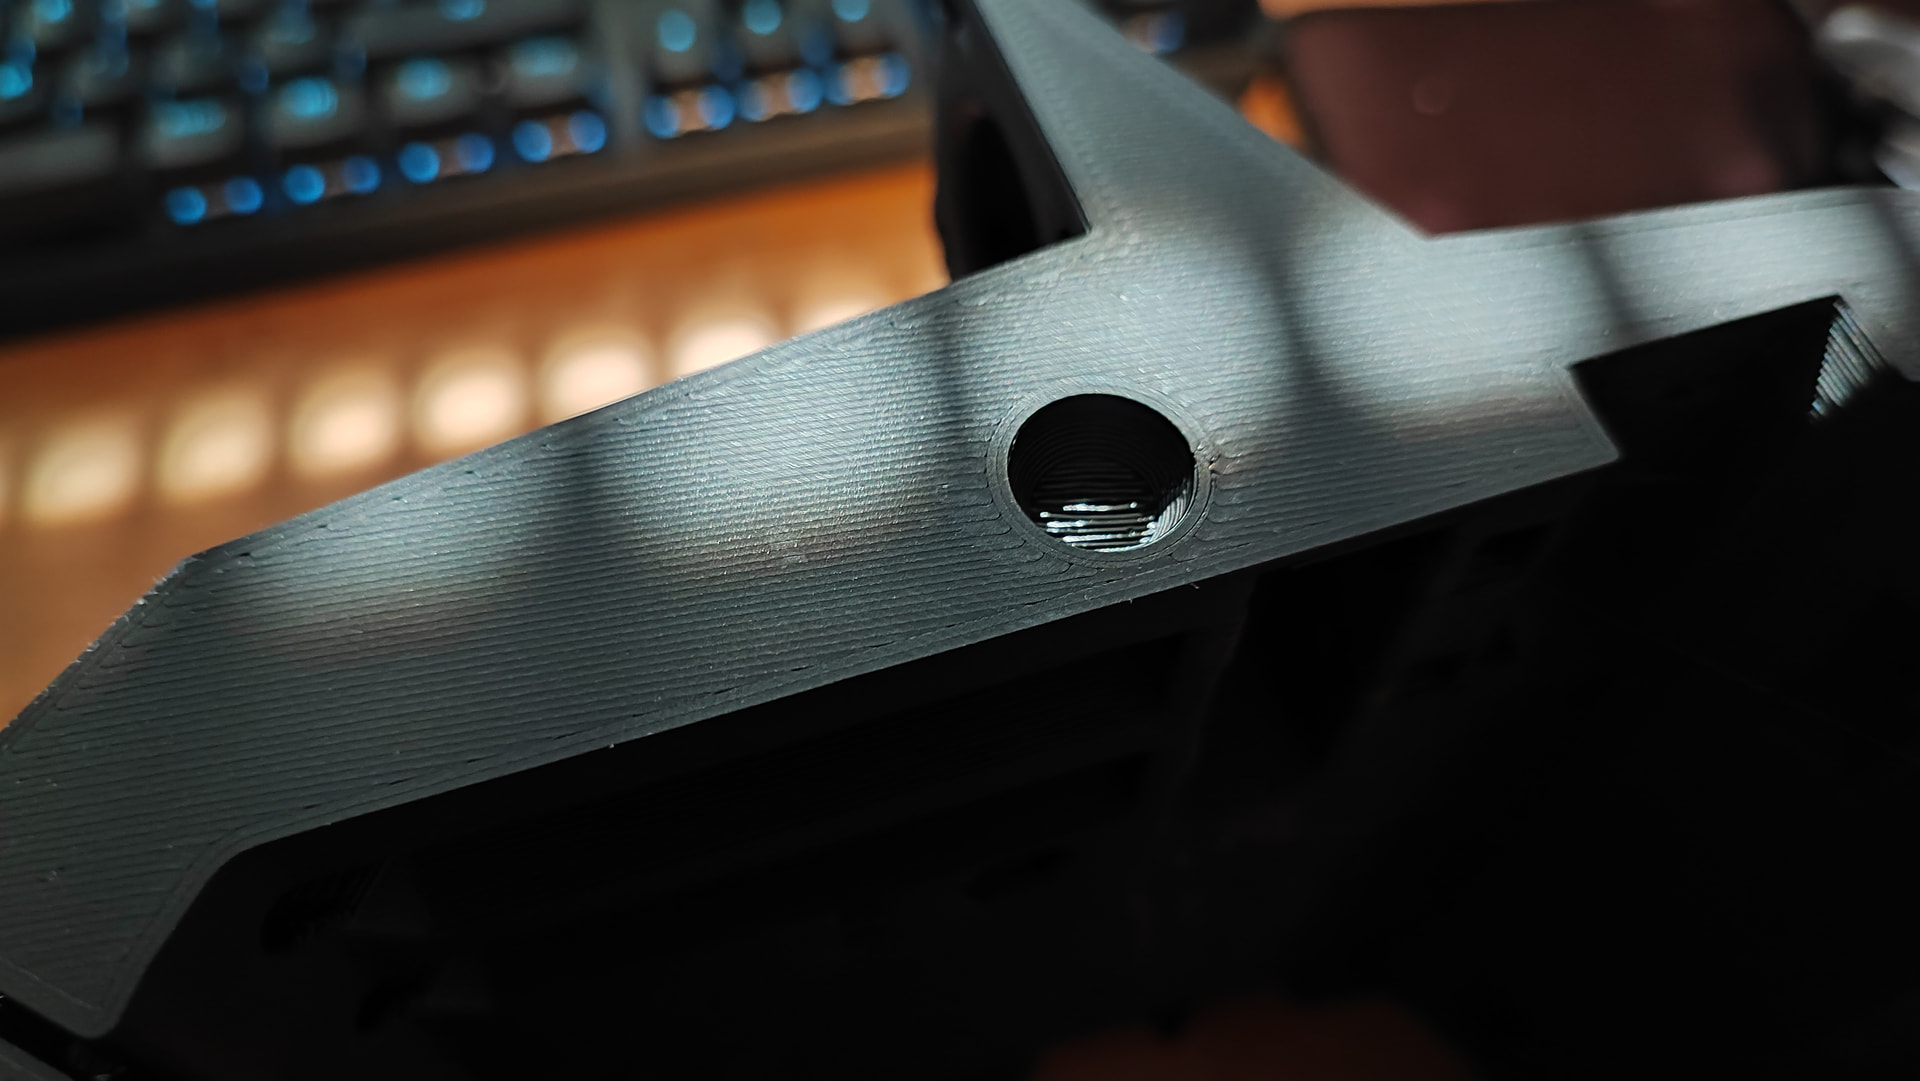
Sometimes Filament didn’t extrude for a few mm. Might be that my 0.6mm nozzle config isn’t good yet. The changes in colour come from the print speed. This is not a matte filament, but it’s printed so fast it turns matte. On the corners it slows down and looks more like the glossy filament then. 
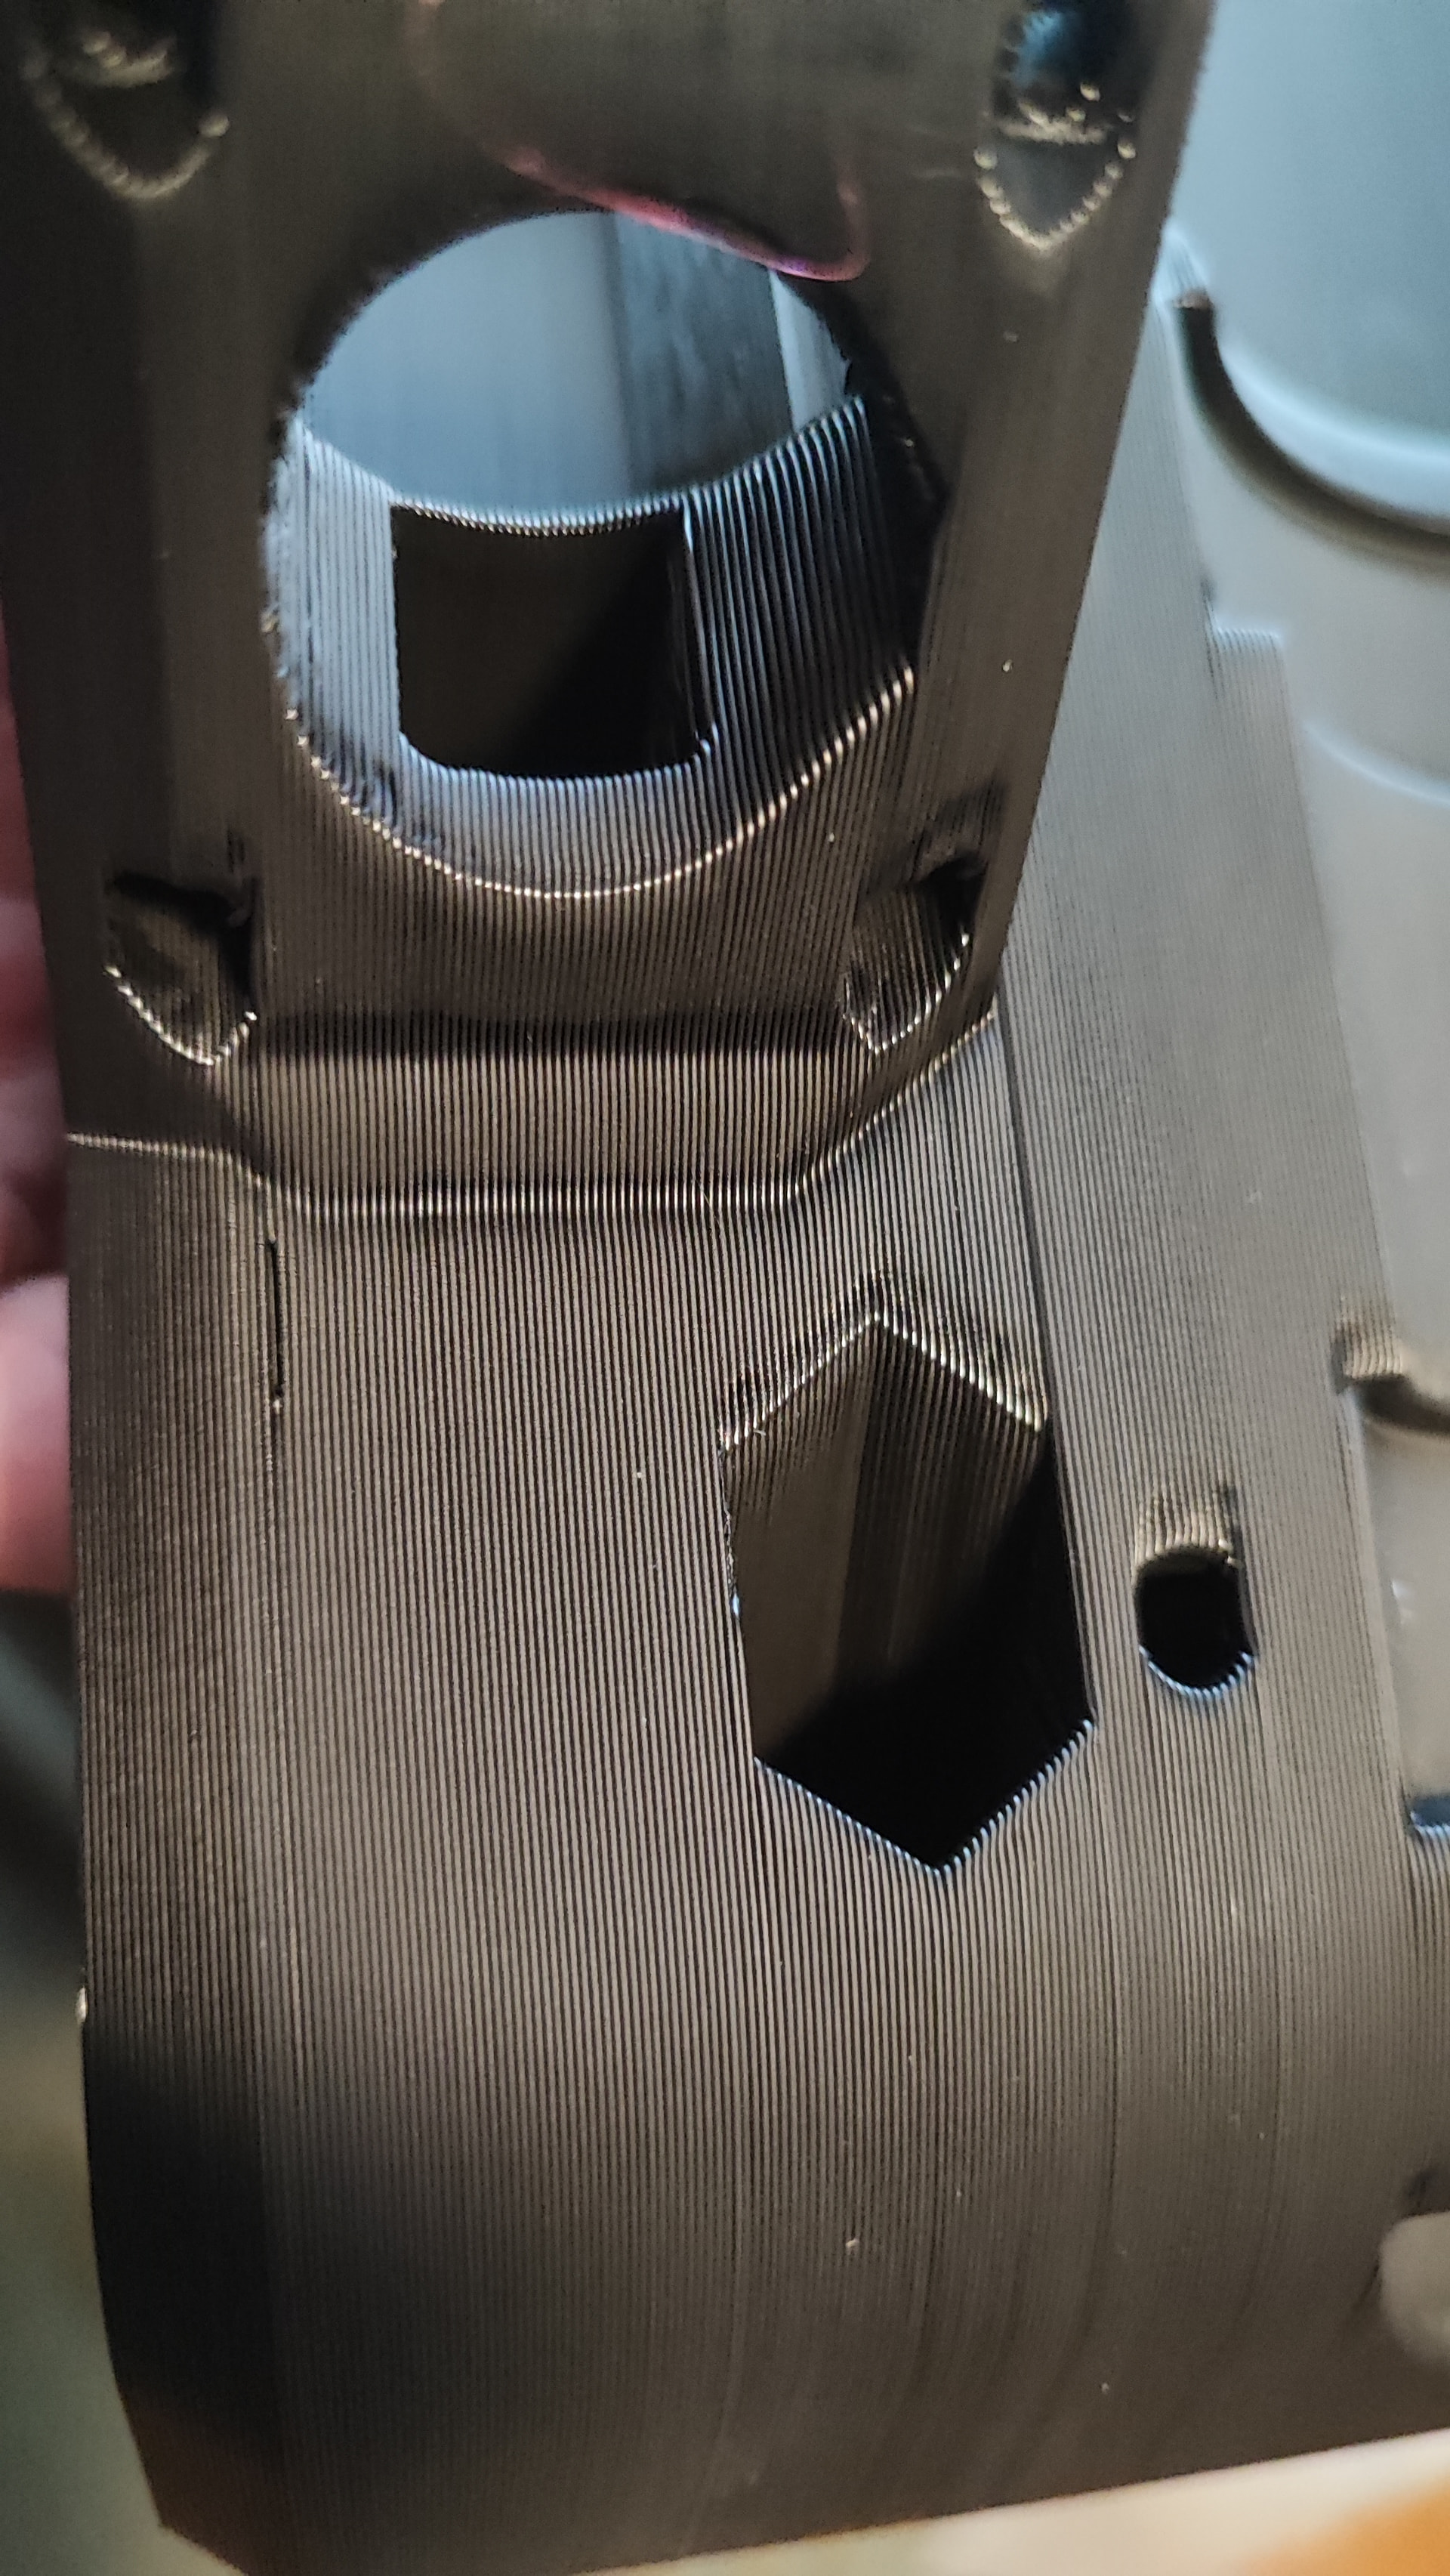
Overall pretty happy how it turned out. The funny light is my blinds being opened with slits only to keep the pesky sun out. This is the first two-colour core someone can buy. 
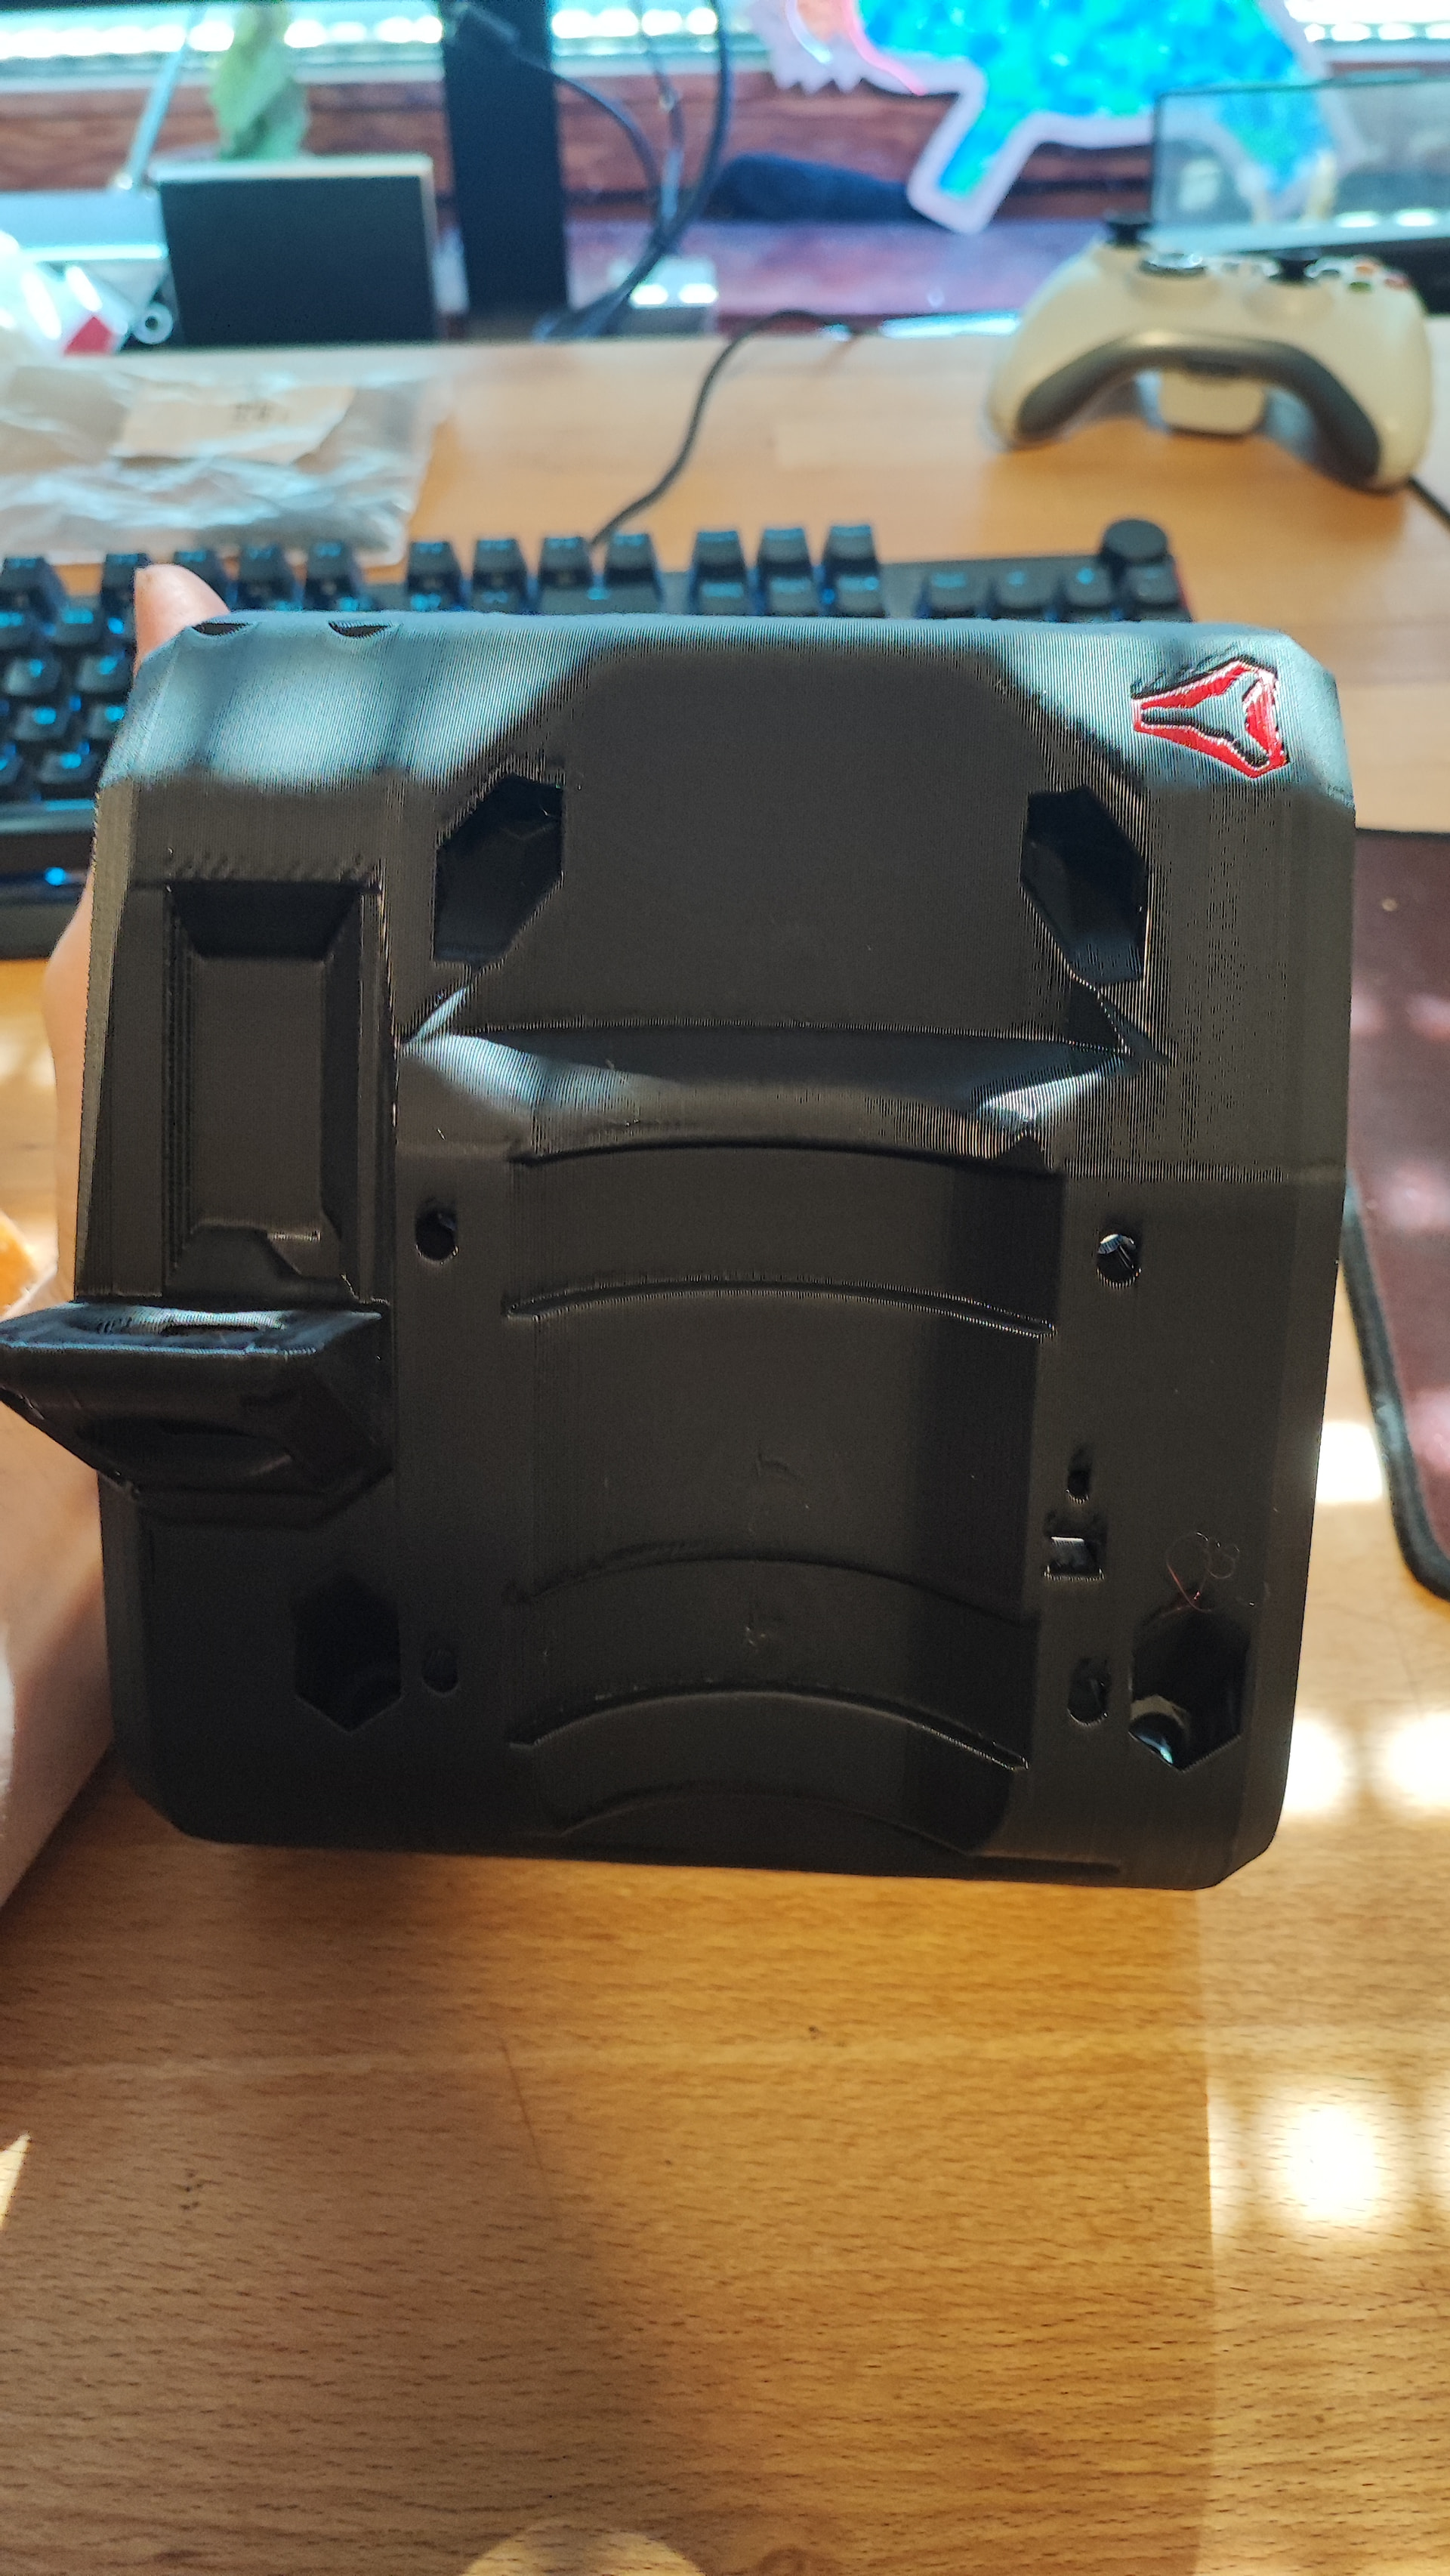
https://www.printables.com/model/1774352-indx-filament-sensor-bowden-adapter-ecas04-pc4-m10/files
The community is faster than I can think.
My turn… I need a 2020 mount for the toolheads instead of the 1515 that they sell. Or, I guess I can put a 1515 rail across the front instead of the current 2020 where I plan on putting the toolheads.
EDIT: for clarification… I mean I’ll need something designed… Not ‘my turn’ as in… ‘I ordered parts’… that’ll still have to wait probably until next month.
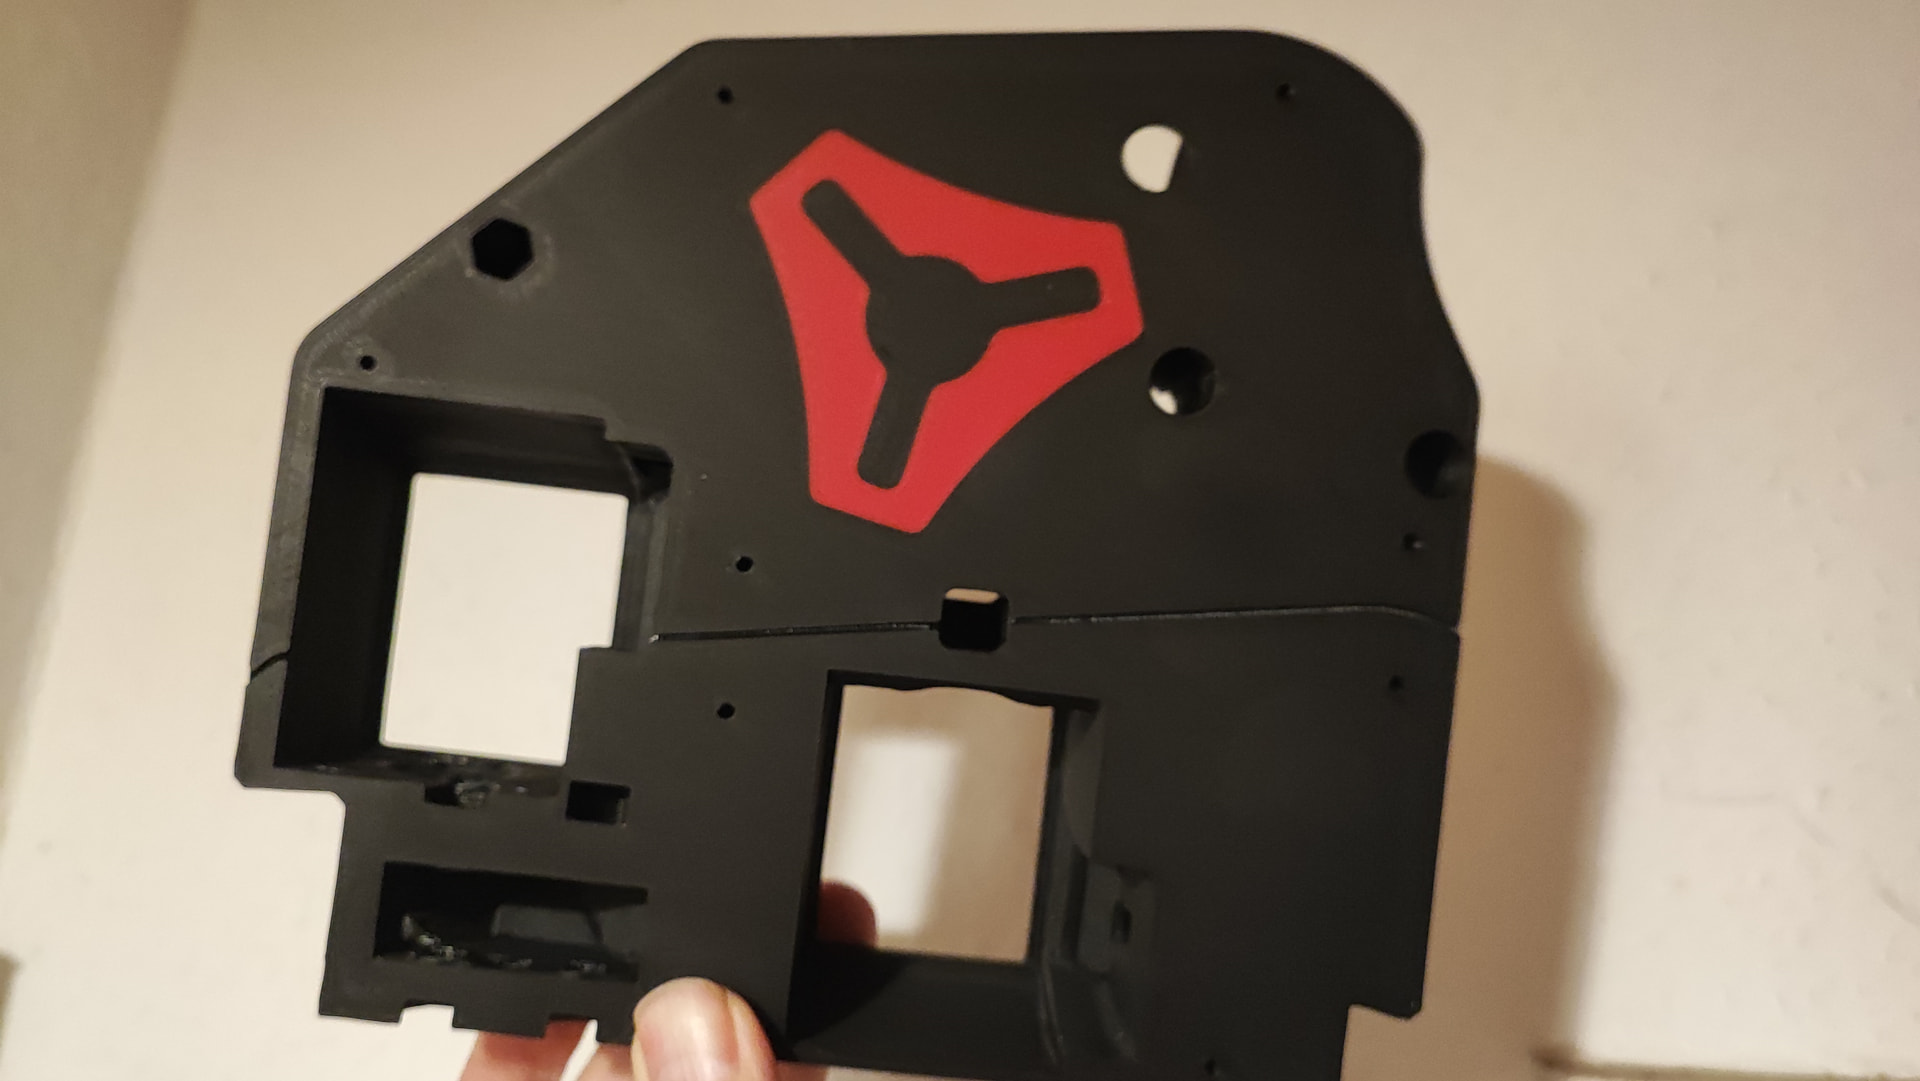

Looks great!
As a licensed parts seller, there should be some sort of HaWiWe mark on that part as well.
It looks great!
Could add it as well, but this is Ryan’s show, I am just a (more or less) humble servant.
No, I actually do make some money, but it’s still Ryan’s design, not mine.
“Proudly printed by HaWiWi in Germany” or somesuch would seem reasonable, no?
Even if it’s just a sticker put on it during shipment.
Yeah, stickers I do. On the packaging and in the package. But those are removable or you don’t have to stick them anywhere. I wouldn’t want to have them on it permanently.
Back to the INDX: I am now printing sth. in PETG with PLA as the “soluble” layer of the supports. Wish me luck.
It should work great. It works great on the SnapMaker U1.
My advice: Set aside hotends that you keep PETG or PLA in, don’t randomly swap materials around. Recipe for problems.
It did. PETG with PLA disc in between. Pretty neat!
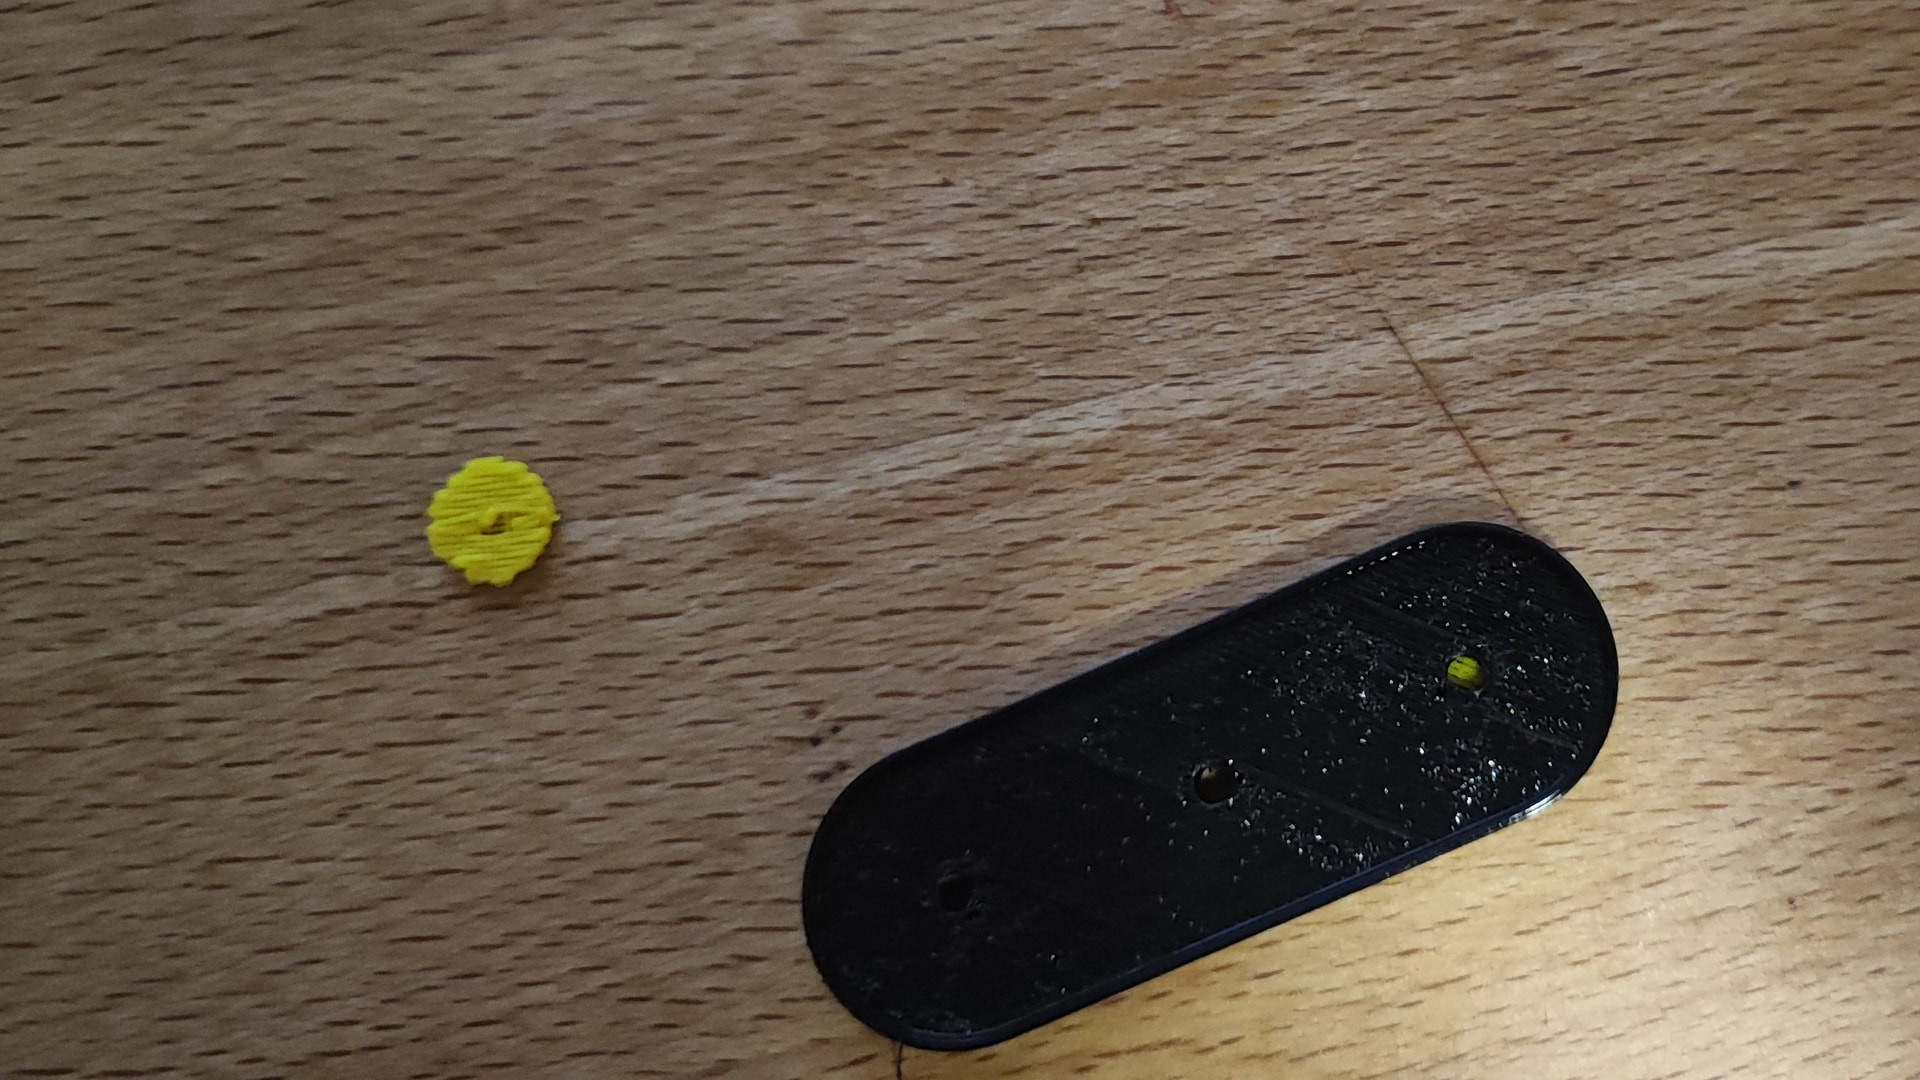
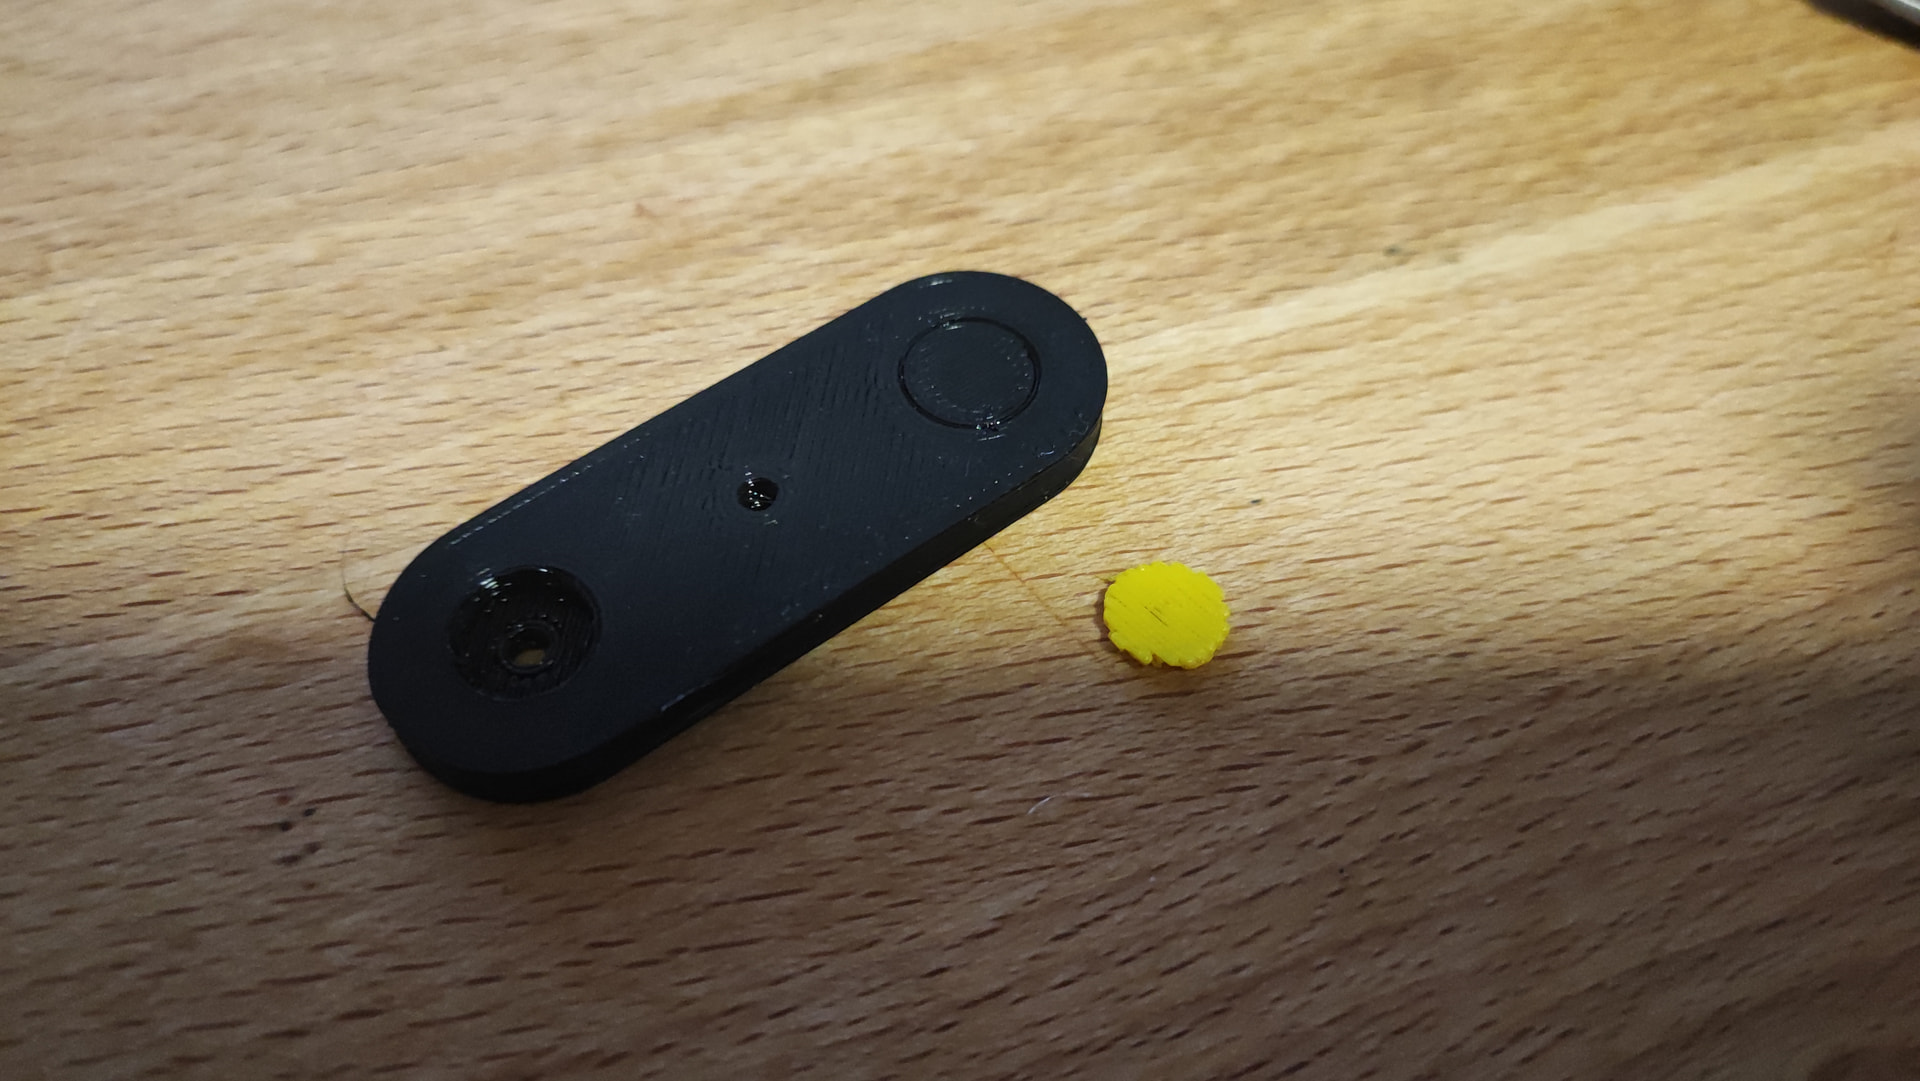
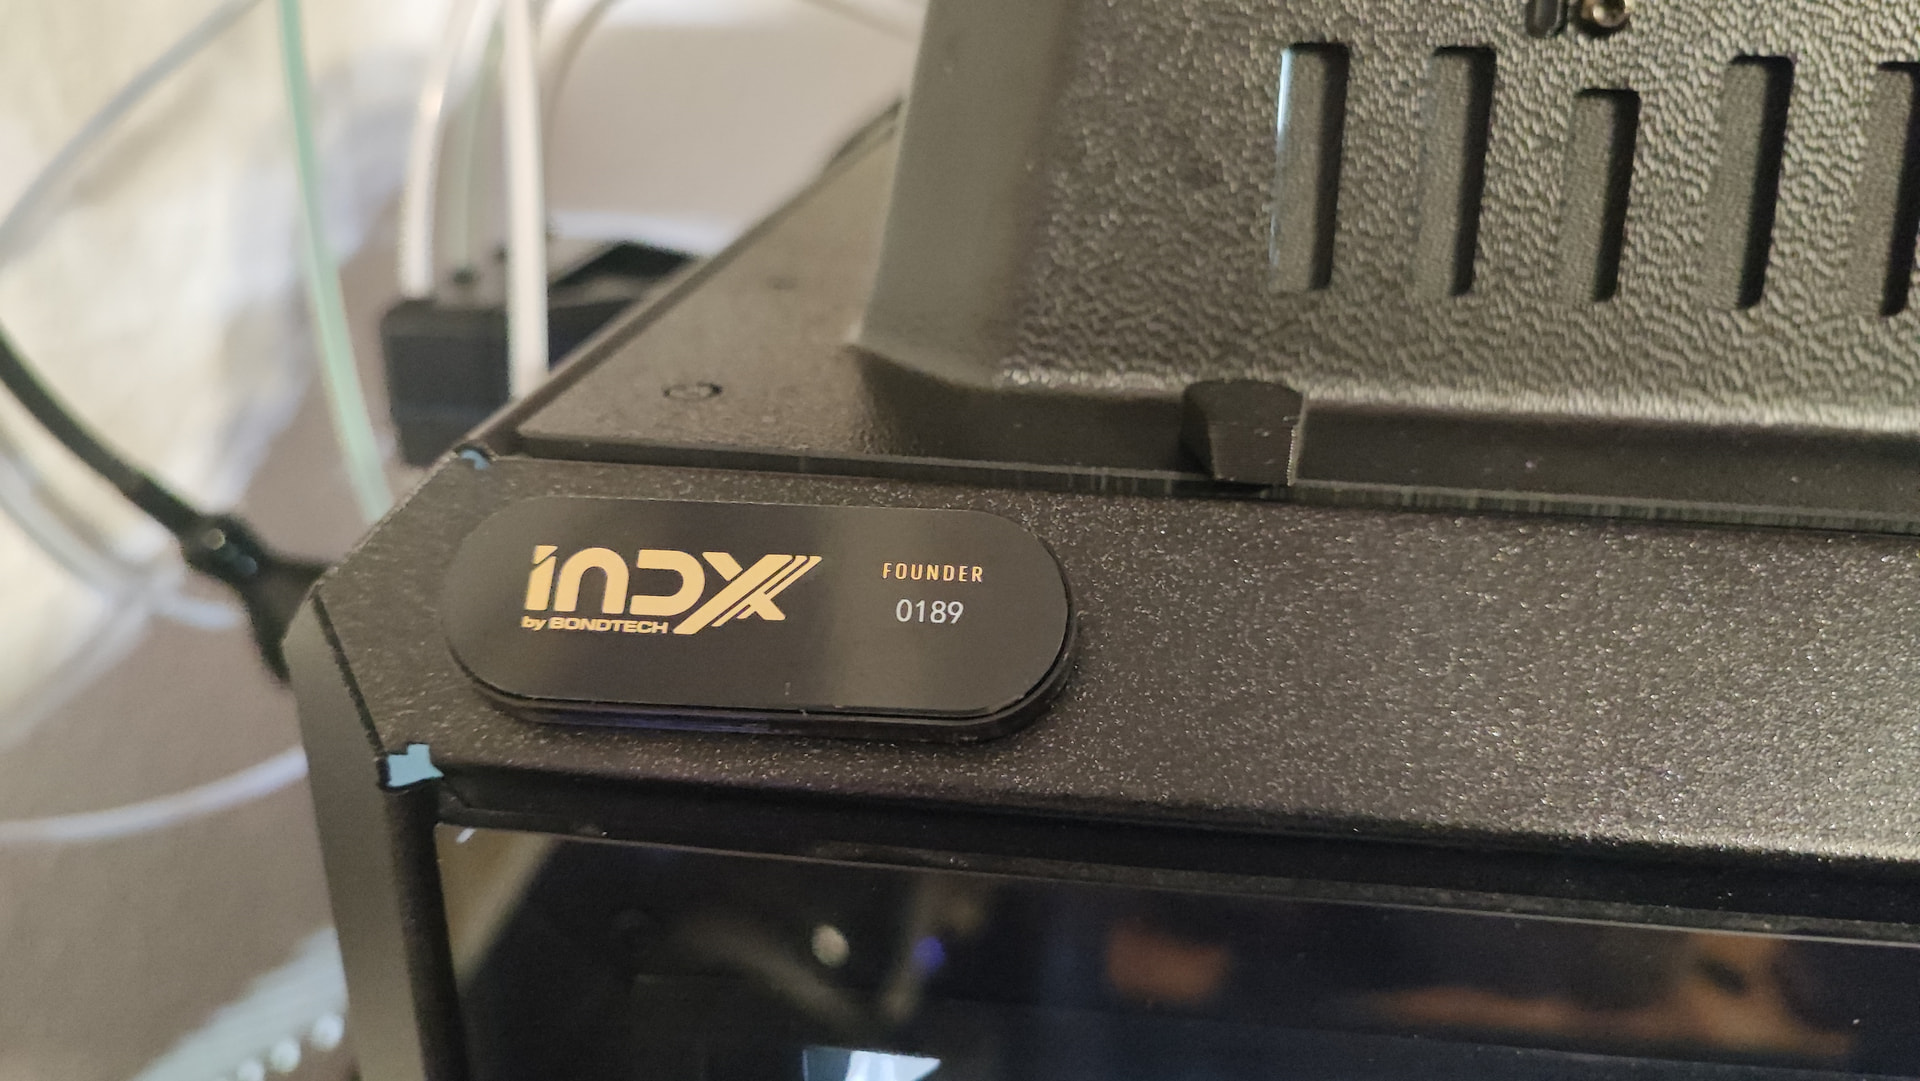
This print was obligatory for the bragging rights:
The bowden addon - uses the Prusa parts and just gets screwed in the holes of the filament sensors, you just have to swap the screws to longer 18mm ones you have lying around anyway from Prusa upgrades. So you don’t have to disassemble anything but four screws and can keep all the original parts installed:

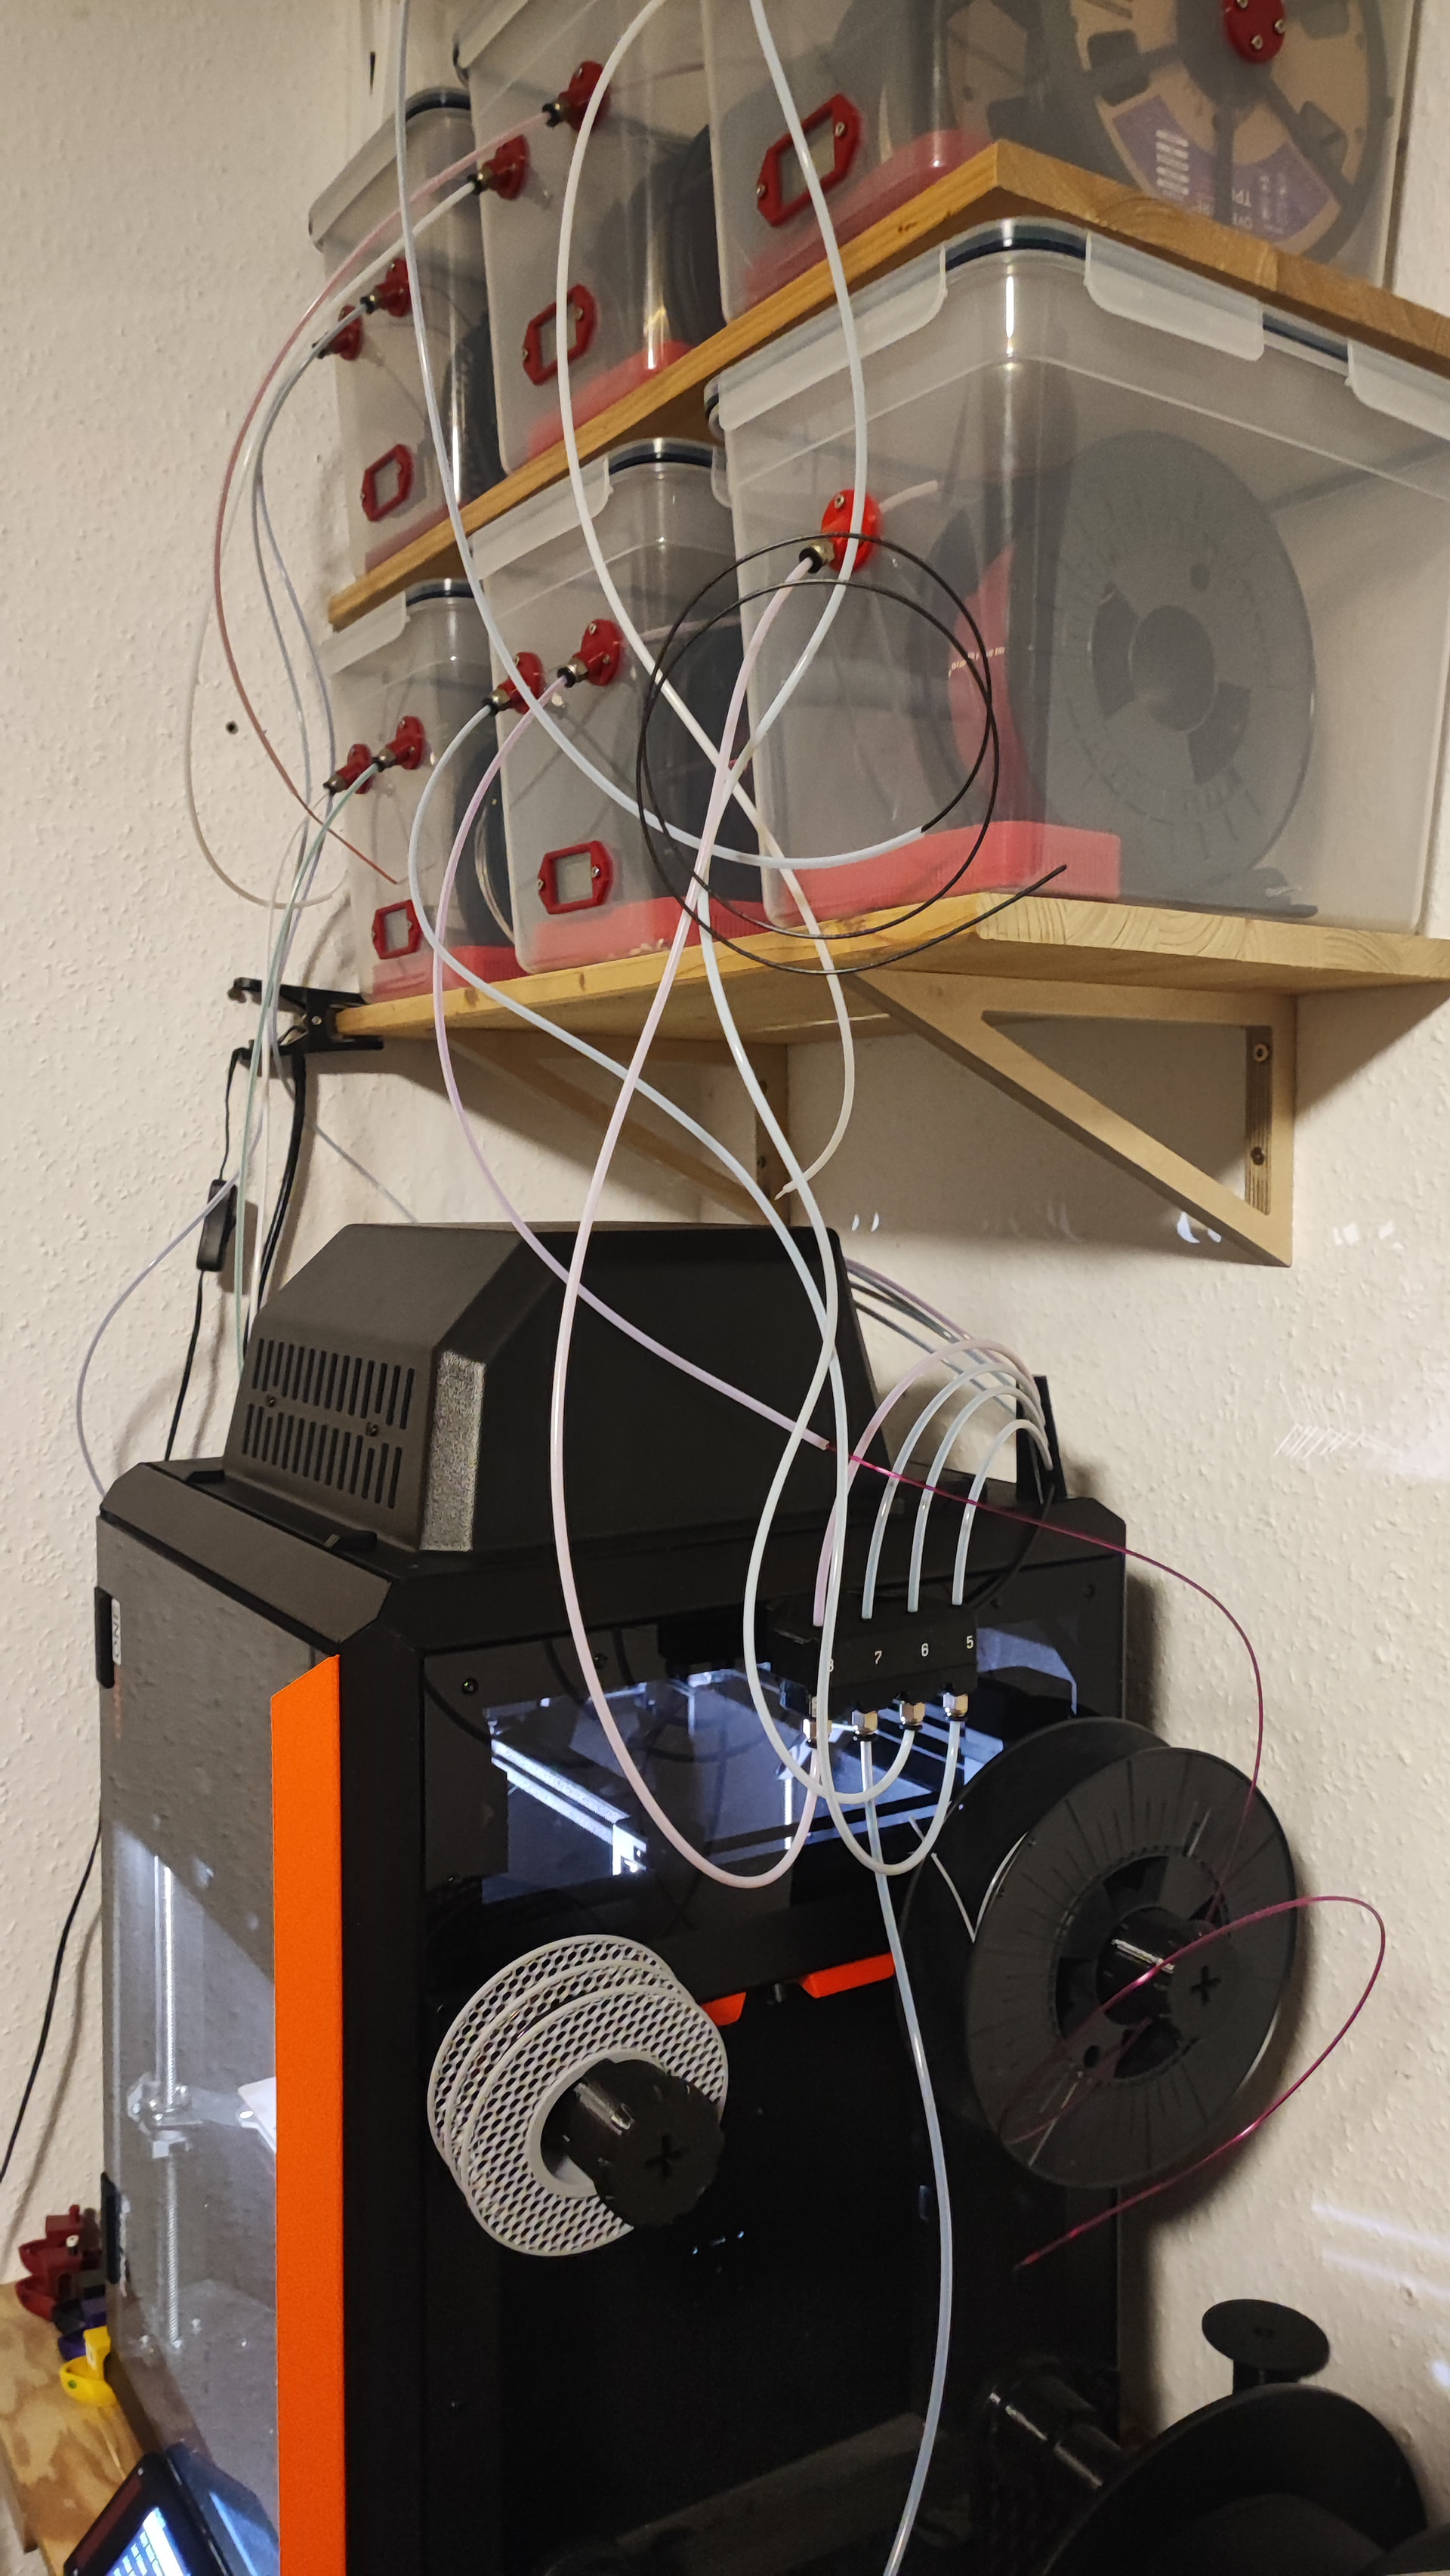
Works like a charm, saves me 300€ in Prusa Dryboxes. I am wondering why I installed those holders for the filament after all… Maybe I am going to need some Dryboxes later when my shelf space is full. I can only fit one more box.
You need a mod so that there’s a direct shot to the toolheads, that filament path of coming from above, down, making a u-turn and then going back in and around to the toolheads is crazy.
Nice!
Extruder doesn’t care. I had them dangling without the PTFE and just fed them from above around the bend, still works. The PTFE is also with 2.5mm holes, not 1,75, so the filament just goes through it like your stool after eating salad in the US.
I could have fixed the sensors below the board, that would have been a lot better, but I wanted to have them on the printer if I need to do troubleshooting and move it.