I’m trying to create multiple hole toolpaths in EstlCAM. It’s for a text box, which means I basically have to click each and every object in the file, screenshot below:
I can use Select → Select Drawing Objects to highlight them, but if I highlight what I want and click on Hole, the selection disappears. Is there some way I can take the selection and set the hole path to what I’m trying to do to that selection rather than clicking each single shape?
It’s an SVG I exported from Inkscape - I’m using my MPCNC as a pen plotter and I’m plotting out blueprints for a possibly fictional airplane. In this case it’s the letters that are shapes - I need them to be pocket holes so the MPCNC “fills” them with the pen.
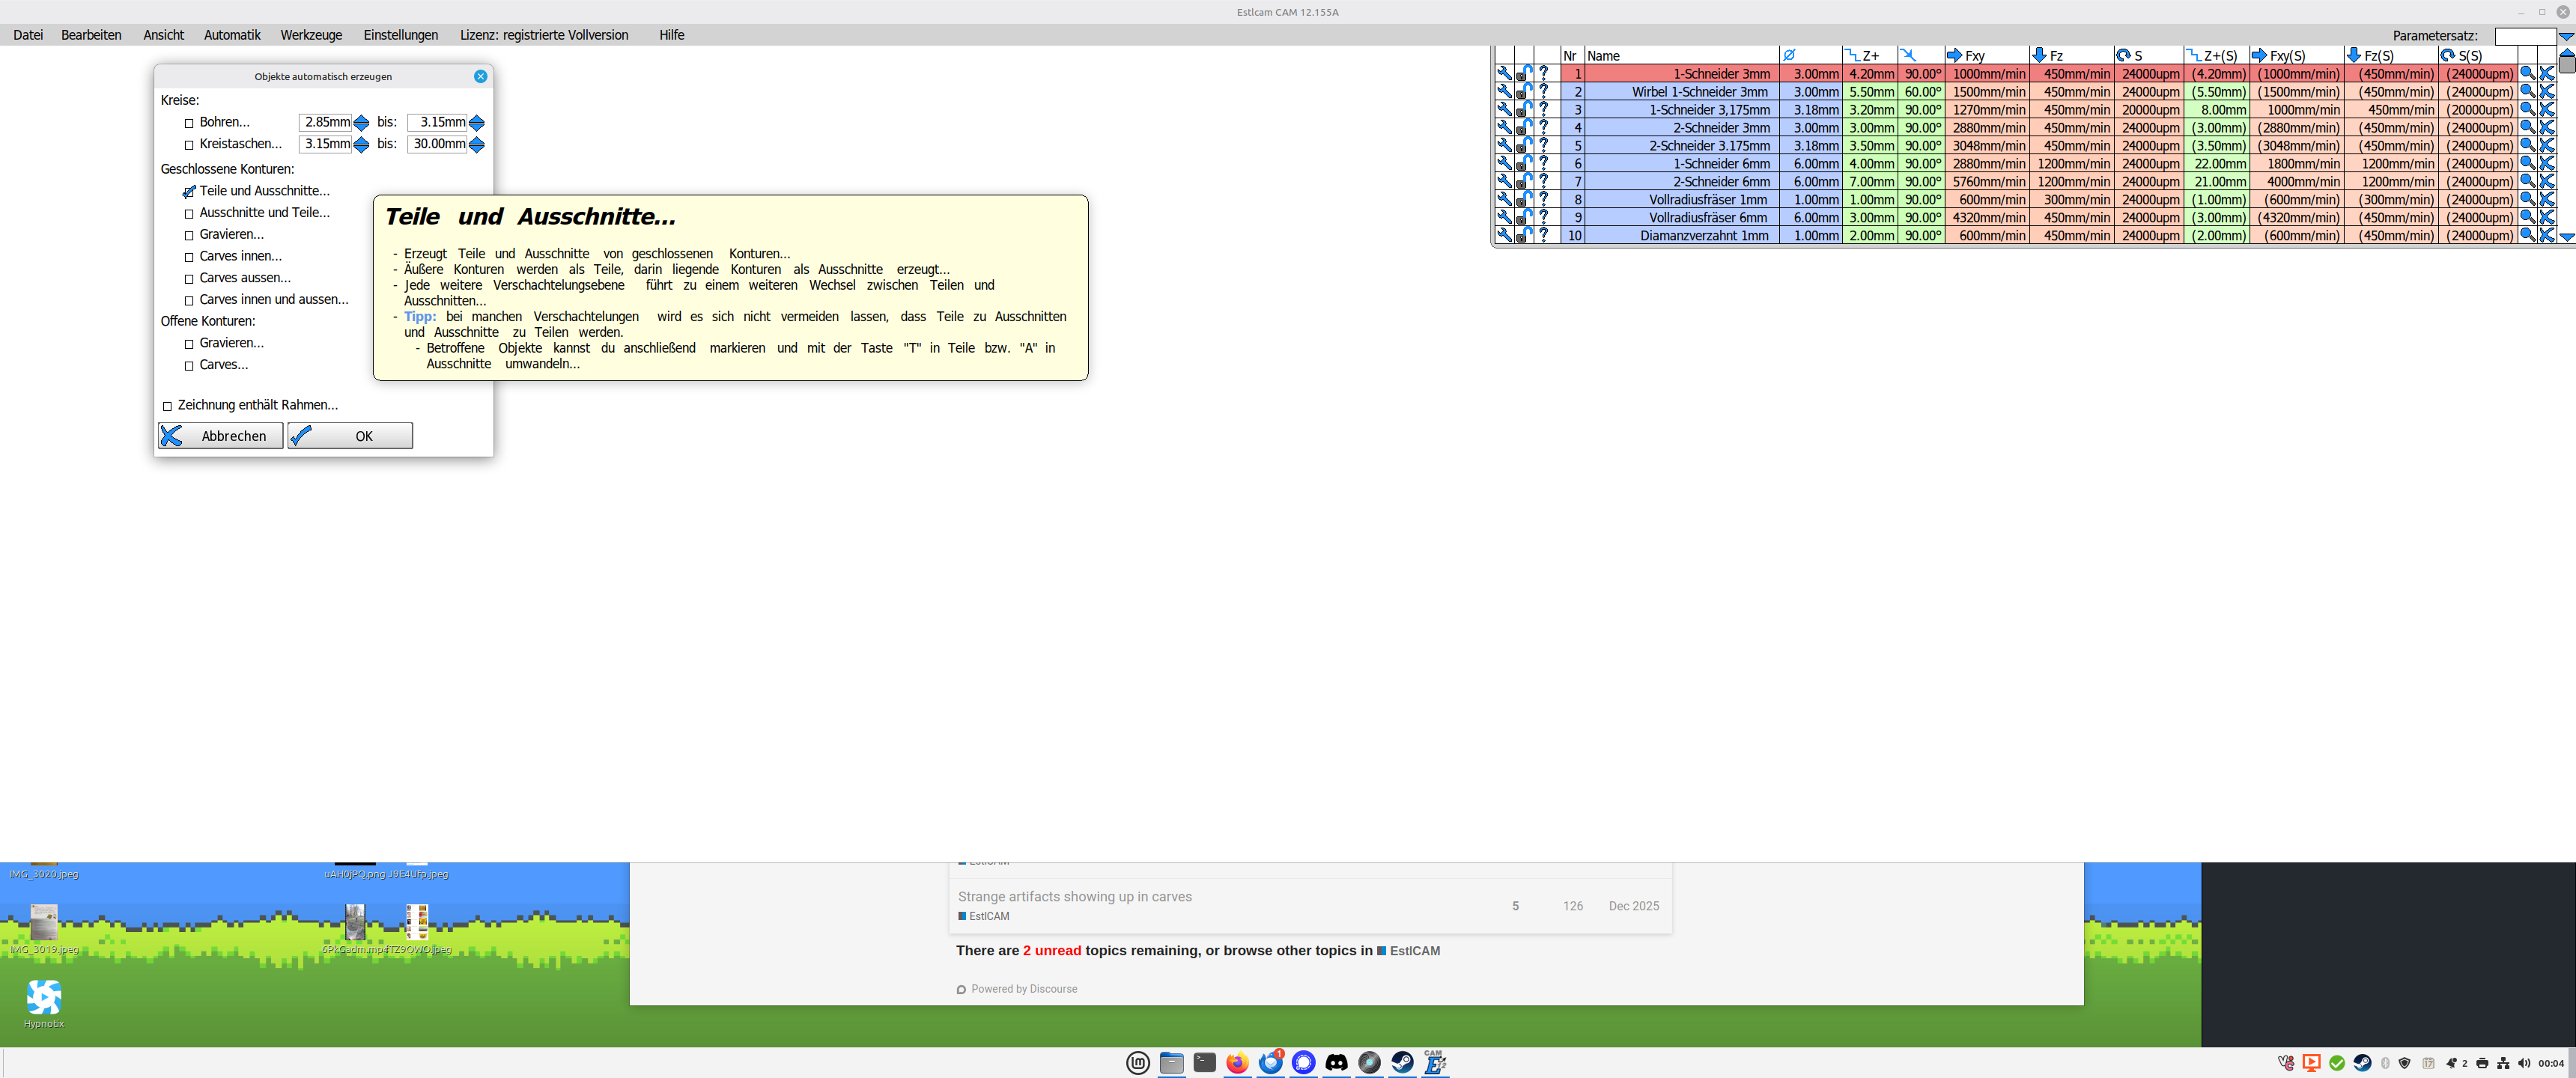
If you mean Automatic → Create Objects Automatically, I did try that and it doesn’t work - it only detects about 1/4th of all the letters and for some reason it detects several parts of the letters twice.
Yeah, lots of clicks to get estlcam to do it unless you want to try millmage where i think you can highlight all and add to an operation. Public beta testing was still going on so you can possibly still try it out.
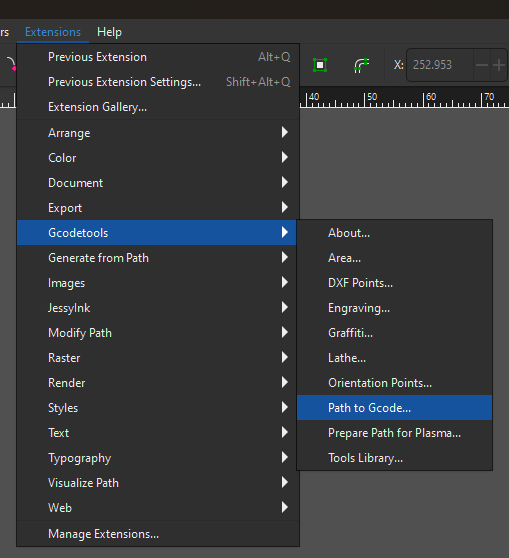
You could also do this in Inkscape itself. There is a gcodetools extension that you can use to generate gcode. I haven’t messed with this much. I think you have to have everything in a layer and convert objects to paths.
Right, but that still doesn’t change the behavior in Estlcam - it just saves it in a native format. I still have to click through every single letter to create the holes and that’s a lot of clicking.
That was the stuff I mentioned I’d tried before and didn’t work since it only selected 1/4th of the letters and gave some of them multiple toolpaths.
I ended up just doing a lot of clicking - not the end of the world, but it would have been nice to be able to apply the same settings to multiple objects.
It looks like the drawing is raster image trace that would need a lot of manual editing (e.g. closing open paths) before Create Objects Automatically would work. Recreating the box with typed text might be faster. If the text is small, a single line font (Estlcam has a few?) and Engraving might be a better option.
Selecting drawing objects (or paths) allows you to edit them using the tools in that column - move, rotate, tile, etc. (nothing to do w/ setting paths).
The bit about Estlcam typed text was a facepalm inducing moment - I hadn’t done anything with text at all before and completely forgot it had existed. A few quick clicks with it has something I can test out on paper to see how it compares to clicking at scale. Thank you so so much, this is massively helpful and pretty much exactly what I was looking for.
This is a question I wish I’d thought to ask at the start of all this - is there some kind of guide or best practices that I can read up on for how to design in Inkscape for successful pen plotting in Estlcam?