Another New LR3 Build in Australia

Ok, back on topic for a bit.

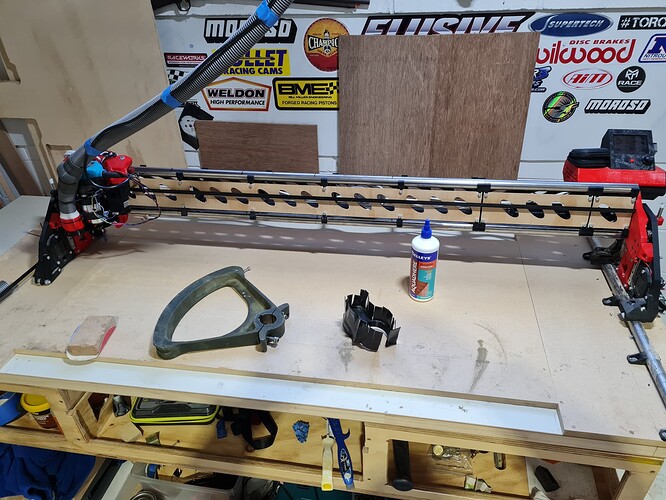
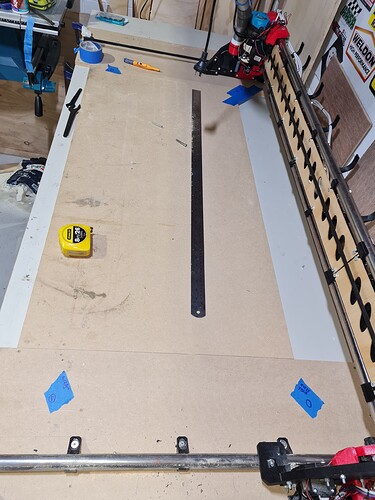
The LR3 mounted on a door as a base to start with.
Amd i am going to say that was a huge success for a stable and flat platform to start with .

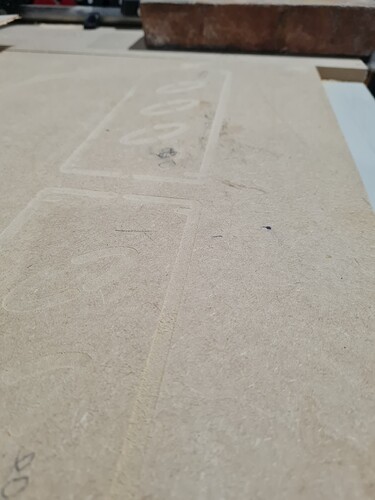
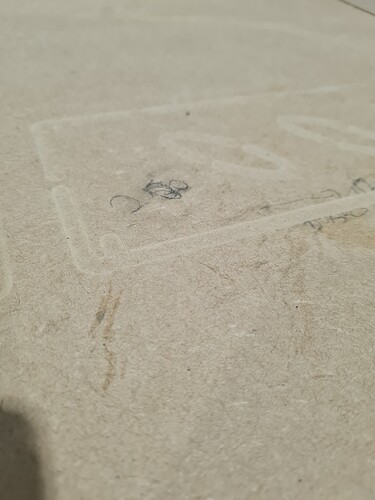
Here are some photos after i cut the series of gantry boards

And a bit closer

And even closer

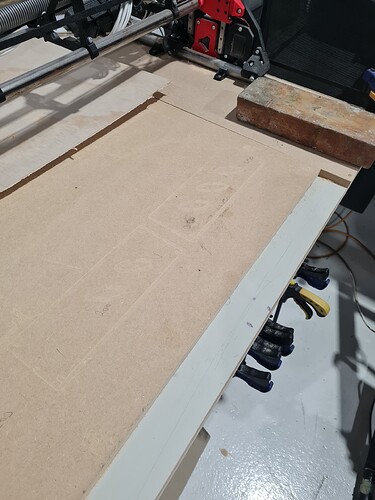
I am going to say that is about 1mm, i also noticed that the screws i used to hold the sheet down have lifted the MDF slightly.

Either way thatnis pretty flat for a first use with no flattening etc. Which makes the door idea for a small cnc a great idea…

3 Likes

Well,
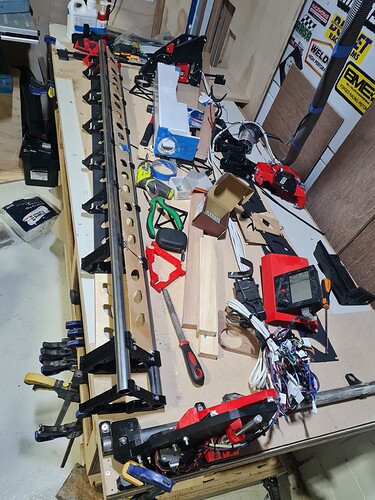
I have finnaly finsihed the gantry stuffening boards and pulled apart the LR3

Turns out i have a few broken spacers, but luckly i had printed a few extras. Also need to get some longer 5mm bolts to join the supports
(Due to not having enough width to cut the board in the one bit)

And of course, i put the back one on first, so i could not put the botton one on. Lol,
So didnt get it finsihed, but i am inpressed on how stiff those boards make the gantry.

4 Likes

Life is getting in the way of my playing again.
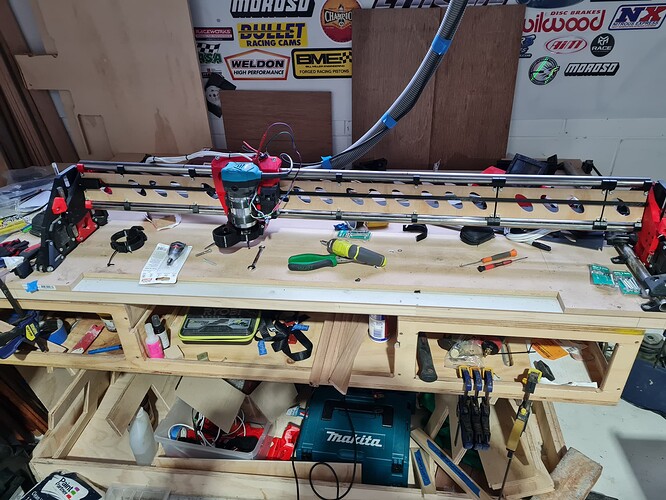
But I did get a few hours to finish fitting the boards to the gantry and get the LR3 ready- ish to cut again.
(need to get some more M5 nylocks again)
I also remembered to add the nuts for the dust collector and fitted that (the modified version with the magnets)

Next squaring!!

5 Likes

NO squaring… :sob:… yet

Ok, again life, study, boat projects and its seems EVERYBODY want some of my time, so i have not been able to get much progress on the LR3.
But with the public Holiday in Aus, i was finally able to get back and finish up the LR3.

So i got the last little bits cleaned up, bolts in, wires cable tied and even had a brain fart and figured out a cheap and hopefully effective dust skirt.

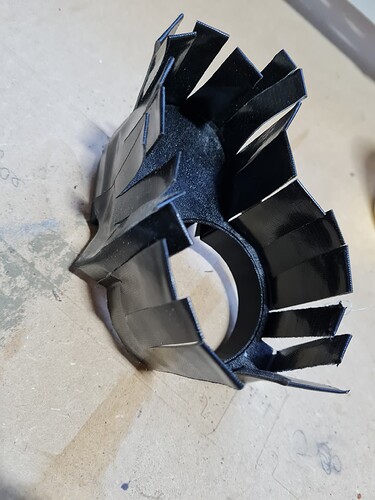
I am using some Cloth Tape “gorilla grip external” tape folded over and stuck to the outside of the removable dust shoe. i then slit it several time and made the little fingers. they are stiff and if the router grabs one, hopefully they will just get chewed off. (not ripped off.) I am using the Magnet mode for the dust shoe.

I also fixed the vac system, re running the vac tube a little and trimming the length etc. Oh and i added one of my 3d printed ball joints. this is probably the first serious part i printed years ago and its still going. It works pretty well to relieve the stress of the tube not turning etc. Ok, it leaks a bit but i does “suck down” and closes up, but it def not perfect.
I would like to have one of those quick CAM release units on the top of the unit so i can remove the vac hose to clean up the table.
But with no printer and having to beg for time on other peoples printers, beggers cant be choosy. lol

(@bitingmidge MMMMM Voron2.4…)

Jobs still to do:
square the LR3, need to read up on that.
surface the spoil board
Some sort of hold down system

CNC Jobs in the queue:

New pedestal base for the boat.


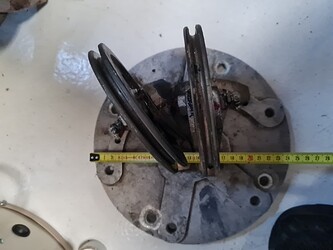
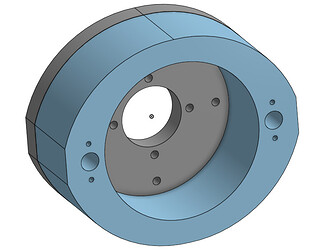
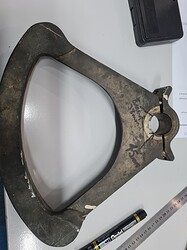
These big sheaves (pulleys for you land lubbers)

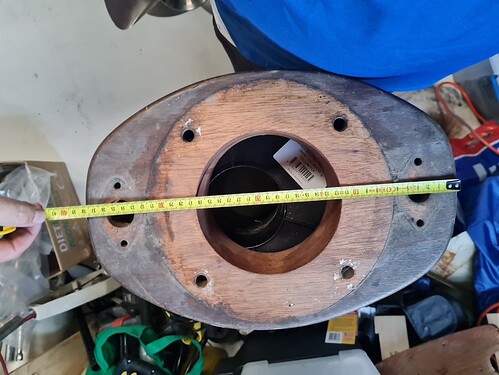
Need to be inside that block of wood. (basically that lighter circle in the picture is the size of the base of the Sheave plate. The Sheaves redirect the steering cables) so the block is like this

So it will be cut out of either Teak or Tasmanian Oak 18mm thick finger joined table tops.
(then slathered in penetrating epoxy and then varnish of some sort, maybe Epiphanes)

This one i am still note sure about, the LR3 could do it as its just bronze, Tassie oak is probably harder than it, For those that have not seen the other question on how you you would machines this, i need to enlarge the hole from 38mm to 45. But its a one off component that would be very hard to replace.
The local loan shark would get a lot of business from me to pay a machinist around AU$500 to line bore it.

The damm list is growing with signage for my brother, little lables out of that dual layer signage board for the boat systems, and engraving in aluminium (paid work, woo hoo)
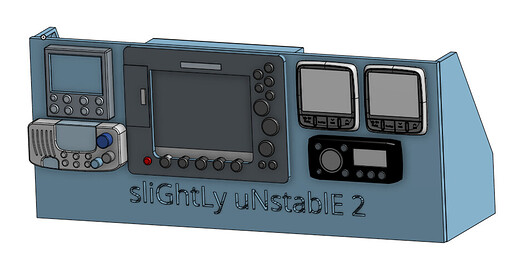
Edit: forgot that i have to make a new box to hold all the boat chartplotter and various readouts.
Was going to look like this:


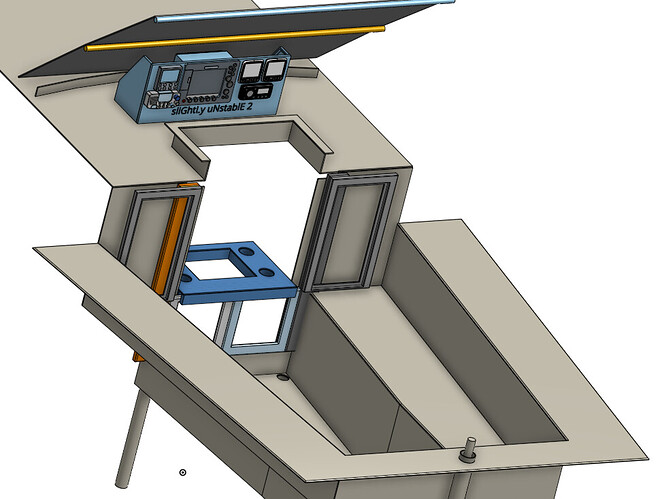
and sit here

Yes i modled the cockpit of the boat, and yes it to scale.
Also yes the boats name is “slightly unstable 2”

But with the pedestal that has changed and its going on the pedestal.
More work in can LOL.

Well back to work.
3 Likes

If ever the printer queue drops below a few weeks I’ll give you a shout on that one! I thought I could send a “development model” but it doesn’t have any magnets in it and would probably vibrate loose in that position. Anyway stay tuned!

I think I might have stayed well clear of that thread - but have you considered the old “small holesaw bolted inside a big holesaw” trick?

I’ve done it a thousand times in solid fibreglass and timber making bigger holes for cutlass bearings and skin fittings - you use the 38mm saw shimmed down on the thread as a guide for the big one. Of course you’d have to set it up well and truly plumb in a drill press. I’m not saying I’d try it mind, but if you do please report back. :smiley:

Ok, squaring.
I zipped past the workshop on the way home and marked the four points

And then measuring between them diagonally one is 1481 and the other measures 1478 (mm not lol, freedom munted units, bwhahahahahah)

So 3mm, i have not read that section on the guide yet, is that ok?

Bwhahahhahaha, geez i bettwr get my order in the queue.

Lol, magnets i can do, send away.

Ehile i trust my myself, I definitely know that the chance of stuffing that up is above my “hold my beer” level, so “yeah, narr”
Lol.

Oh and the drive back from work just added another boat job to the cnc.
(Queue transformer music effect) make the LR3 transform into its full sheet 2440x1220 mode and cut some super long interior pannels for the quarter birth remodel.
Lucky that “job” is not even on the boat list yet, let alone the CNC list.

Sigh.

Buold it and THEY will come…

1 Like

Interesting. I googled a little and found some places that say the terms are regional (like soda vs pop vs coke). Some places say the actual wheel is the sheave and the assembly is the pulley. Every pulley has a sheave, some pulleys have multiple sheaves. But that also seems uncommon. It also seems like a toothed pulley is not a sheave.

Thanks for the detour.

1 Like

It’s a soft drink… As opposed to a “hard” drink. That has alcohol in it. That would be a regular drink.

1 Like

I think you can get it closer, just use M666 to dial that in. If you have a V bit that is a great way to pop some holes in some tape to realy realy dial it in easily. I made a little video about it a while back.

2 Likes

Yeah, thats actually how i did it!.
I think i watched a video, while i was supposed to be working, lol.
some tape on the waste board and then drive the Z down until marks the tape, the up and the same for all the rest.

So to be clear, that is 3mm before I adjust the with the M666 thingy, that i purely off the end stops.

I will have to read the section on this to see how to do that m666

Yes,
Technically the “sheave” is just the round pully is the sheave.
So a twin pully is called a “twin sheave block”. NFI why, stupid old time rules.
Bwhahahahahaha

Ok,
I read that part of the documentation, and i just need to clarfiy

How do you know to put what values where, so if
(you are standing in front of the machine with the gantry in front of you)
if 1481 is from 0,0 (bottom left) to top right
and
1479 is from bottom right to top left

Do you half it and add 1.5mm to say the RHS (y1) stepper using m666 and add -1.5 to Y?

That should be close. If M666 Y-1.5 doesn’t work, then it is Y1.5. I can’t remember which way it goes.

2 Likes

Hi all,

Ok, i justnpassed my priject manager exam, so glad that is out of the way, it has been taking up way too much brain space. (Kicking my arse)

Anyways, for a little bit of down time, i ran the squaring test and dicked around with that for a couple hours, along with a little bit of prep for a mod to my door table for some storage for thr cnc.
(Keep in mind my limited space)

So manage to get the squareness to about 0.5mm not sure what that is in imperial.

So think i am going to close this thread here and start new one for the projects.
I would like to say a big tankyou to everyone for bearing with me and thank you to ryan for the excellent machine.

Happy making everyone!

5 Likes