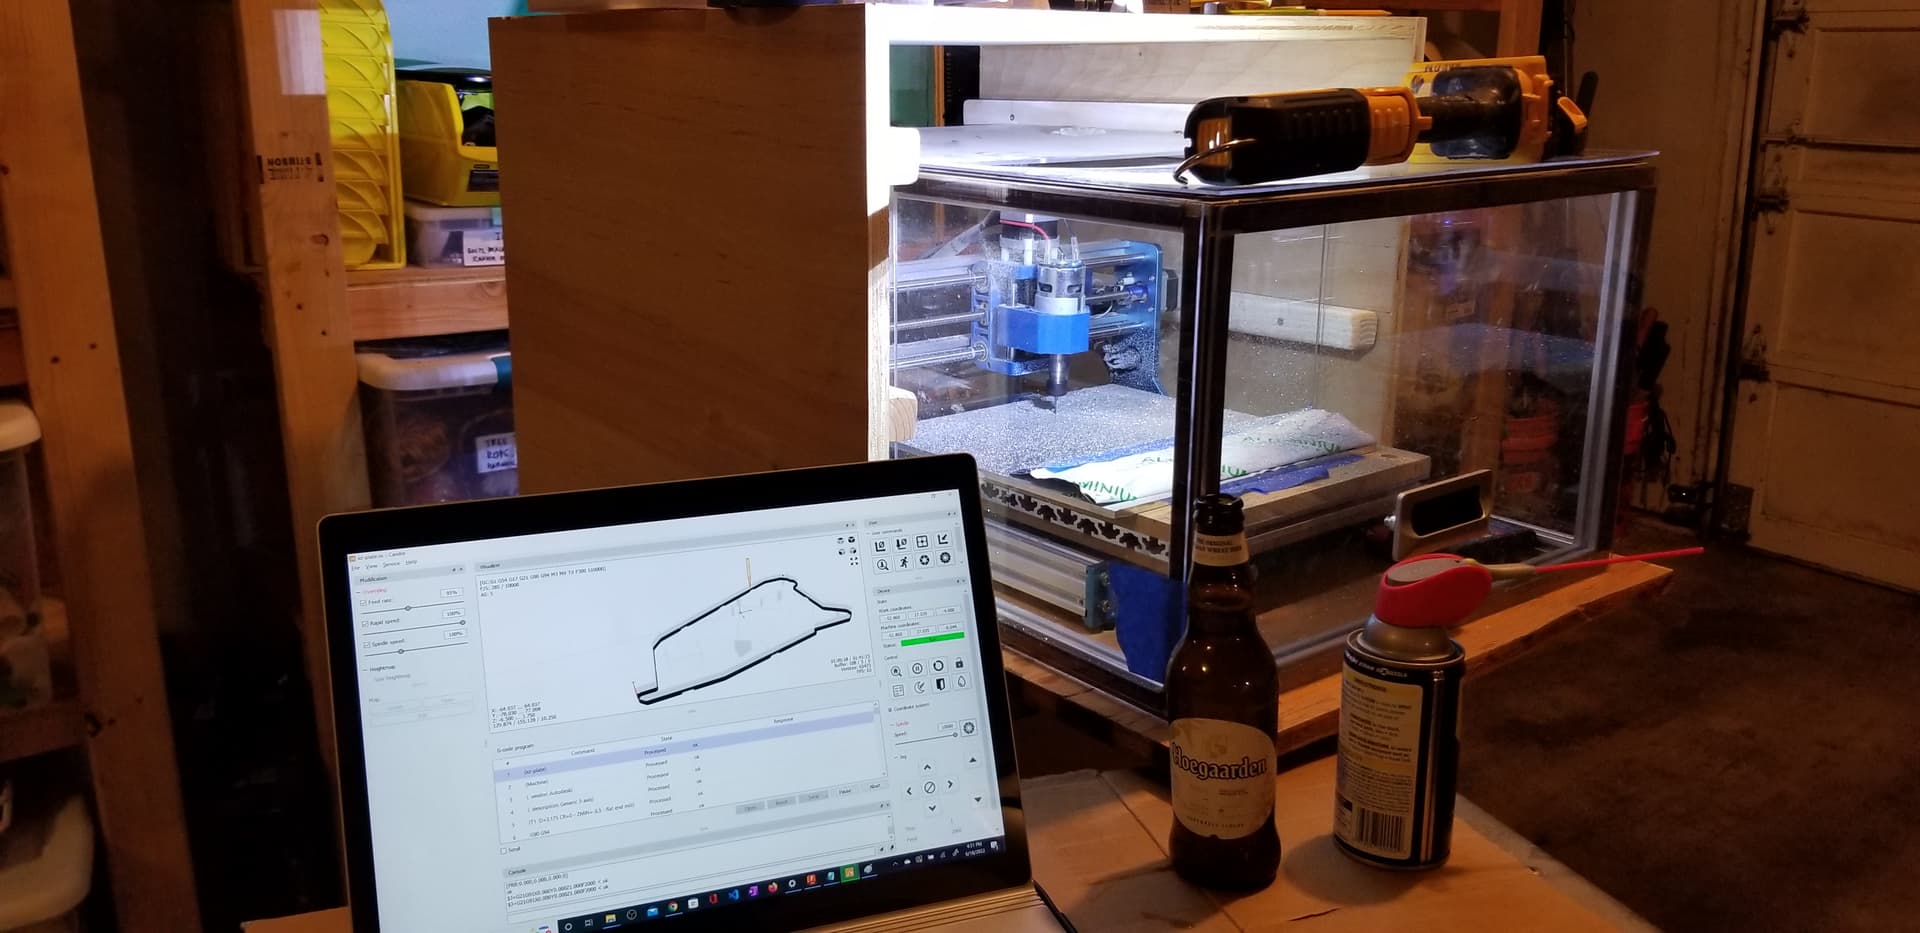
I need to cut plates for the LR3. I have 1/4” 6061 blanks, the 1/8 single flute bit from V1, and my Primo with the Makita router.
I’ve never cut metal, and this’ll be a one and done cut so I’m looking for reasonable speed, feeds, depth per pass, etc. to be successful. I’m using Fusion 360 and comfortable with the CAD/CAM process.
I’m not sure how big your primo is, but you can safely get away with 0.001" per tooth, 0.03" depth per pass at full rippem.
If you are going to attempt a slot, cut a couple roughing passes on each depth and finish only at final. The two roughing passes will give extra room for the chip to clear and finishing only at final depth will get you a better finish.
Affirmatively, offset the shape in the design workspace and use that to constrain an adaptive path, same parameters, 0.03 optimal load. Change the lead in/lead out to the same feed as the cut rate.
If this are going well you can override the feed rate to speed things up. Double that speed is attainable on a reasonable primo, so for a one and done part, this is a good way to get the best balance.
If your primo is extra small and rigid, go 0.04 deep and shoot for 0.0015 per tooth. You can override the feed to a slower speed at run time if that turns out too aggressive, but if you’re rigid the depth should still be ok.
GOOD LUCK!
Edit: I hope you got the short single flute. It can do this job easily. I’ve not had much luck at any speed in aluminum with the longer single flute, but folks who have (that I’m aware of) were much less aggressive with that one.
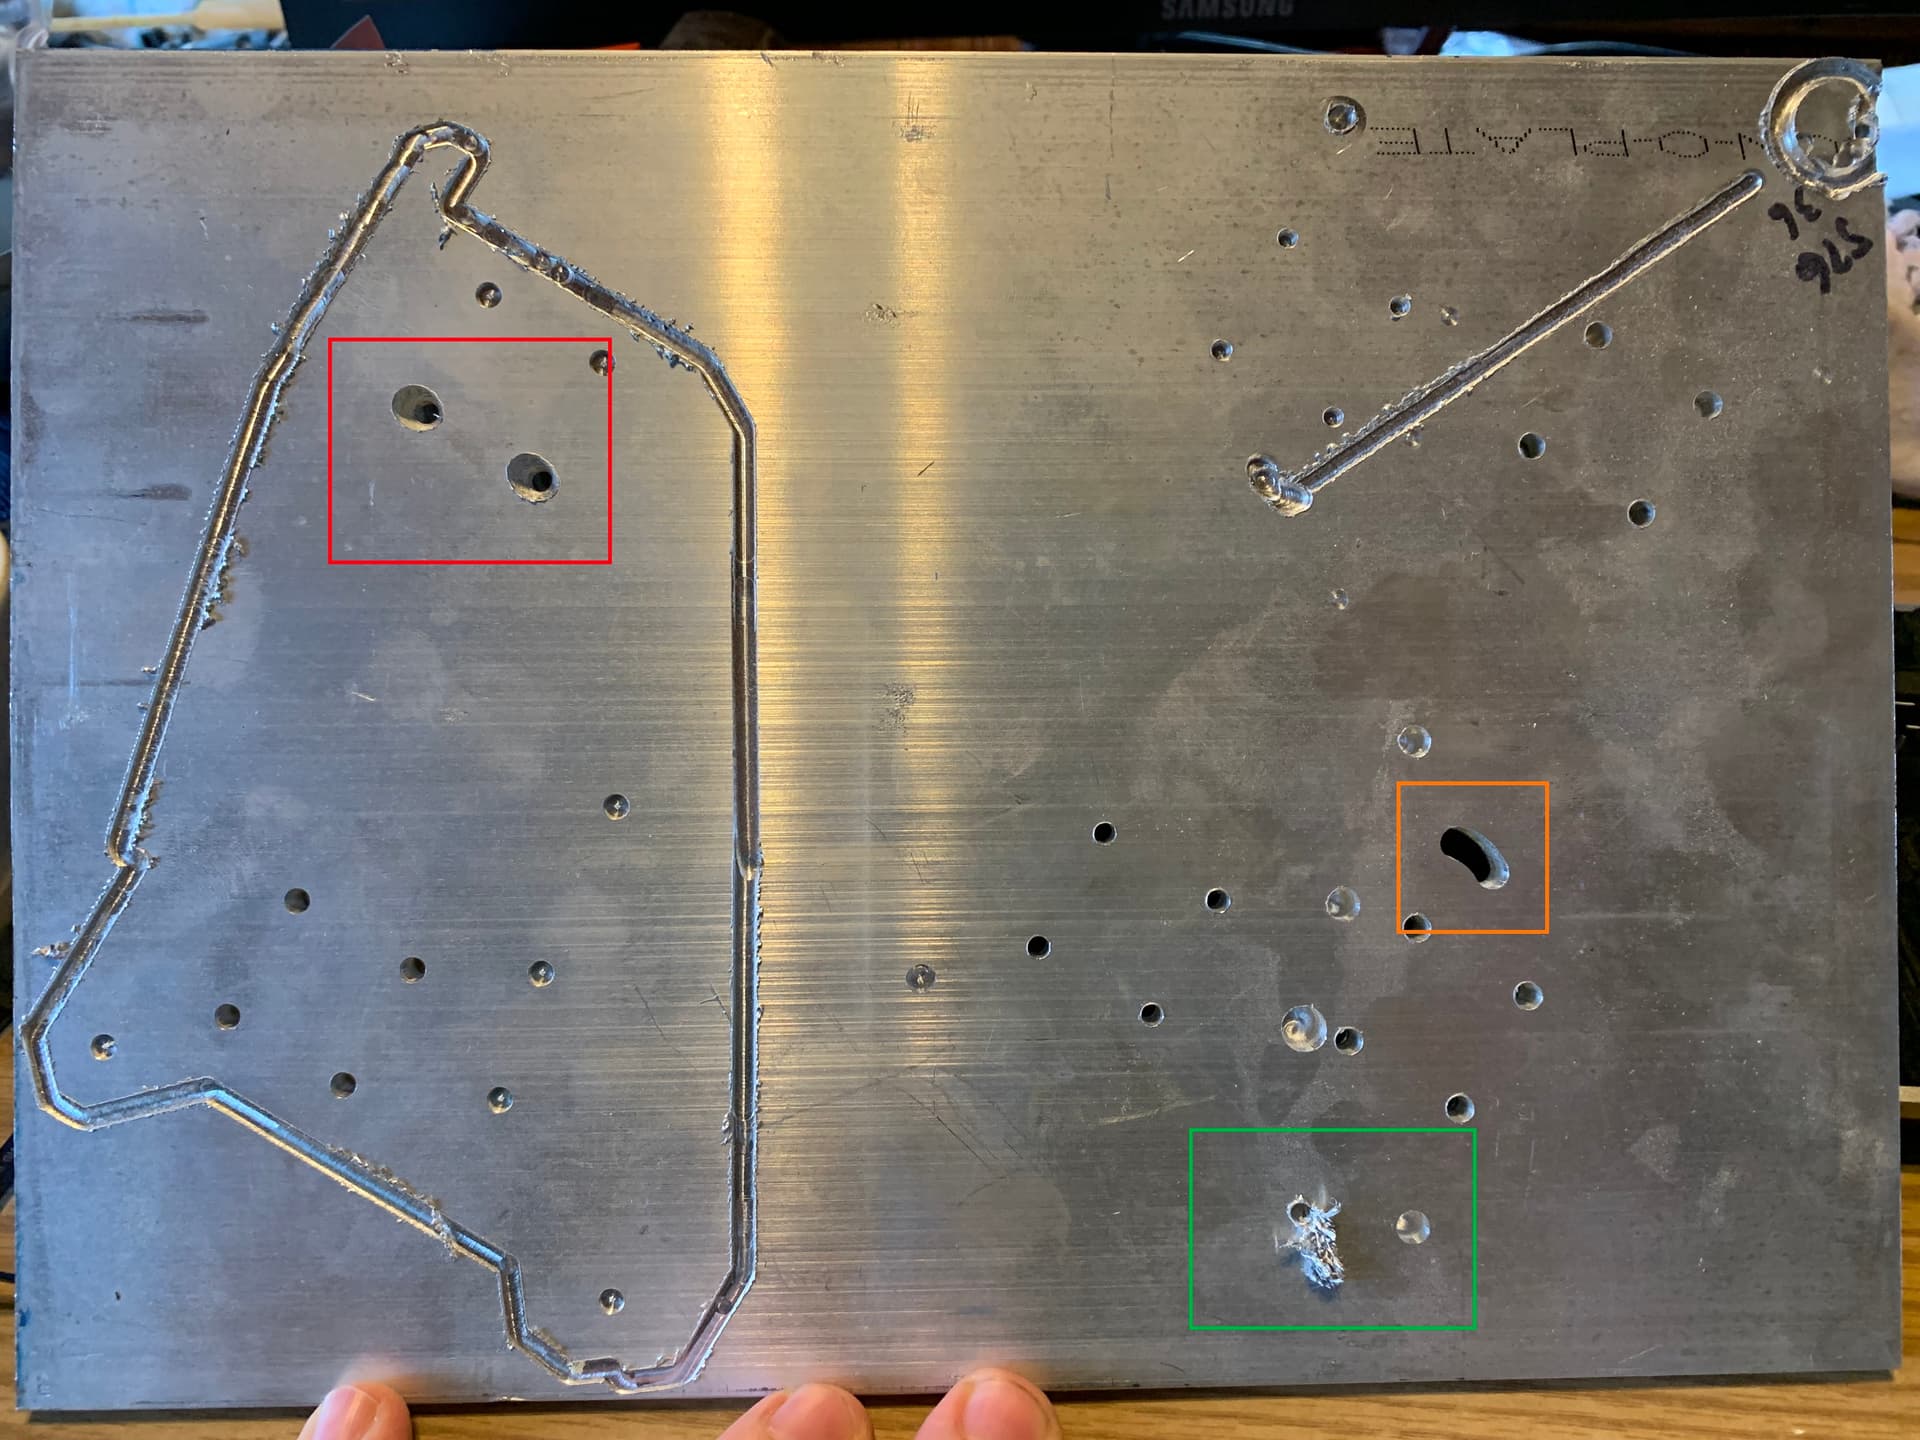
Thanks for the advice, I’ve used what you said, made some mistakes, and it’s worth documenting what happened just for reference. The photo of my experimentation is below.
Some notes:
The 1/8 single flute bit from V1 cuts very well.
The profile on the left was done first. The collet wasn’t inserted or tightened correctly and pushed down, so the profile didn’t cut all the way through.
The red holes were violent. I “drilled” with the 1/8 bit using a pecking profile. When the bit broke through, it violently shook in the hole simply destroying it.
The orange slot was an adaptive pass and it looks beautiful.
The green is when it started the contour and simply got caught itself.
Seeing the beauty of that slot with adaptive, I’m re-reading your second paragraph. Trying to put what you said into practice, I’m trying:
Shallow hole depth just to mark the locations, drill those out on the drill press.
Add an offset to the outline of the part of 0.125 * 1.5in.
Create an adaptive clearing cut using the same load and depth per cut leaving 1/1000 radially.
Create a full-depth contour with a few finishing passes to clean up the edge.
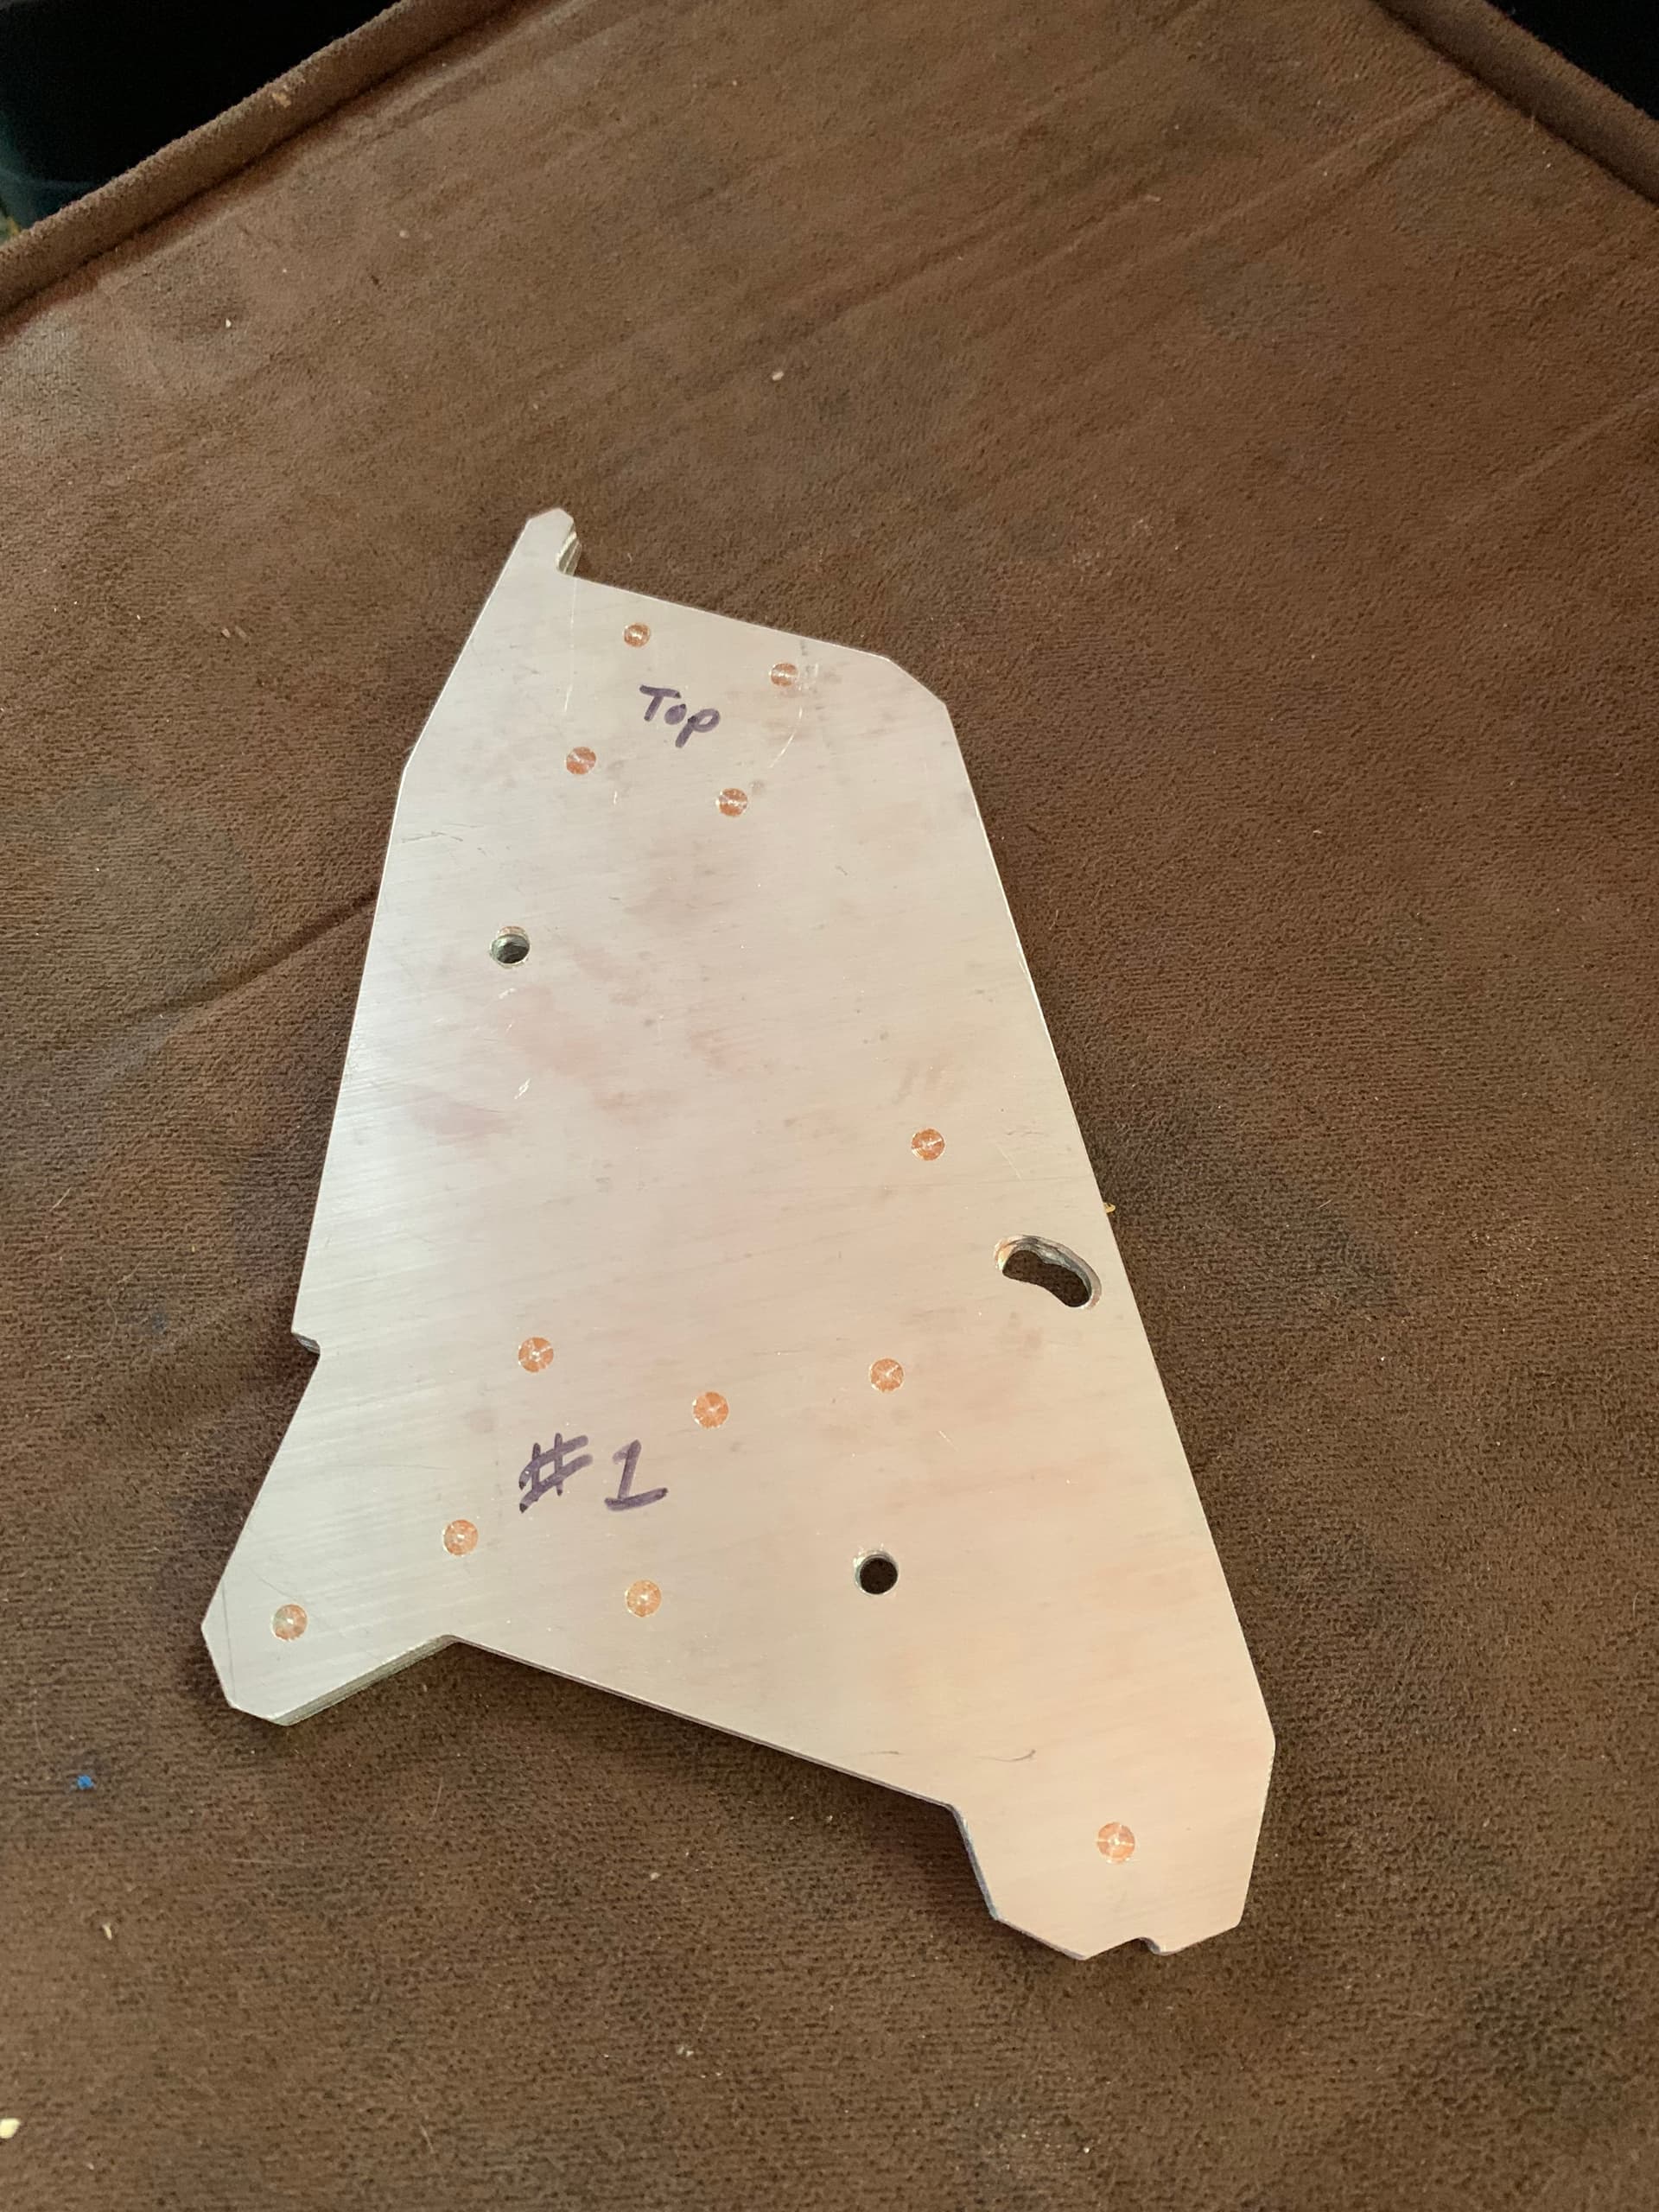
Success! I broke a bit on the first adaptive contour pass. The second time I really choked up on the bit in the collet and it was a fresh bit, and so far have not had any issues. I’m cutting the flip side now.
Appreciate this thread, this is my first time cutting Aluminum…
Anyone able to share/brag what awesome feed, speed, depth of cut, plunge rate, other settings helped them successfully cut LR3 XZ Plates using their existing 3018 or similar CNC? Currently waiting for 2nd plate to wrap up on my Genmitsu 3018 Pro Ver with 3040 extension. 4th 2 flute carbide 1/8" in 3hrs… Creating some great thermite grade aluminium dust at 200mm/m, 10k RPM, 0.25mm depth of cut, drowning with WD40 every 0.5mm.
Was too impatient to wait for amzn to deliver 1/4" or 3/16" single flute short cut (i.e. 1/2" cut length, 1-1/2" to 2" overall length) carbide with titanium something coating. Had enough time waiting for this job to finish that I’ve learned to love watching YouTube videos of large Alu shavings fly off into a vac hose.