I figured I should start a thread on this build. About six years ago I built an mpcnc and had a lot of fun with that but it’s time now to go big. Too many projects I’ve found myself pinched up on with small cnc machines.
With my mpcnc build I printed all the parts. For this build I ordered them from Ryan (supposed to be here tomorrow, but it’s snowing and icy out so who knows…)
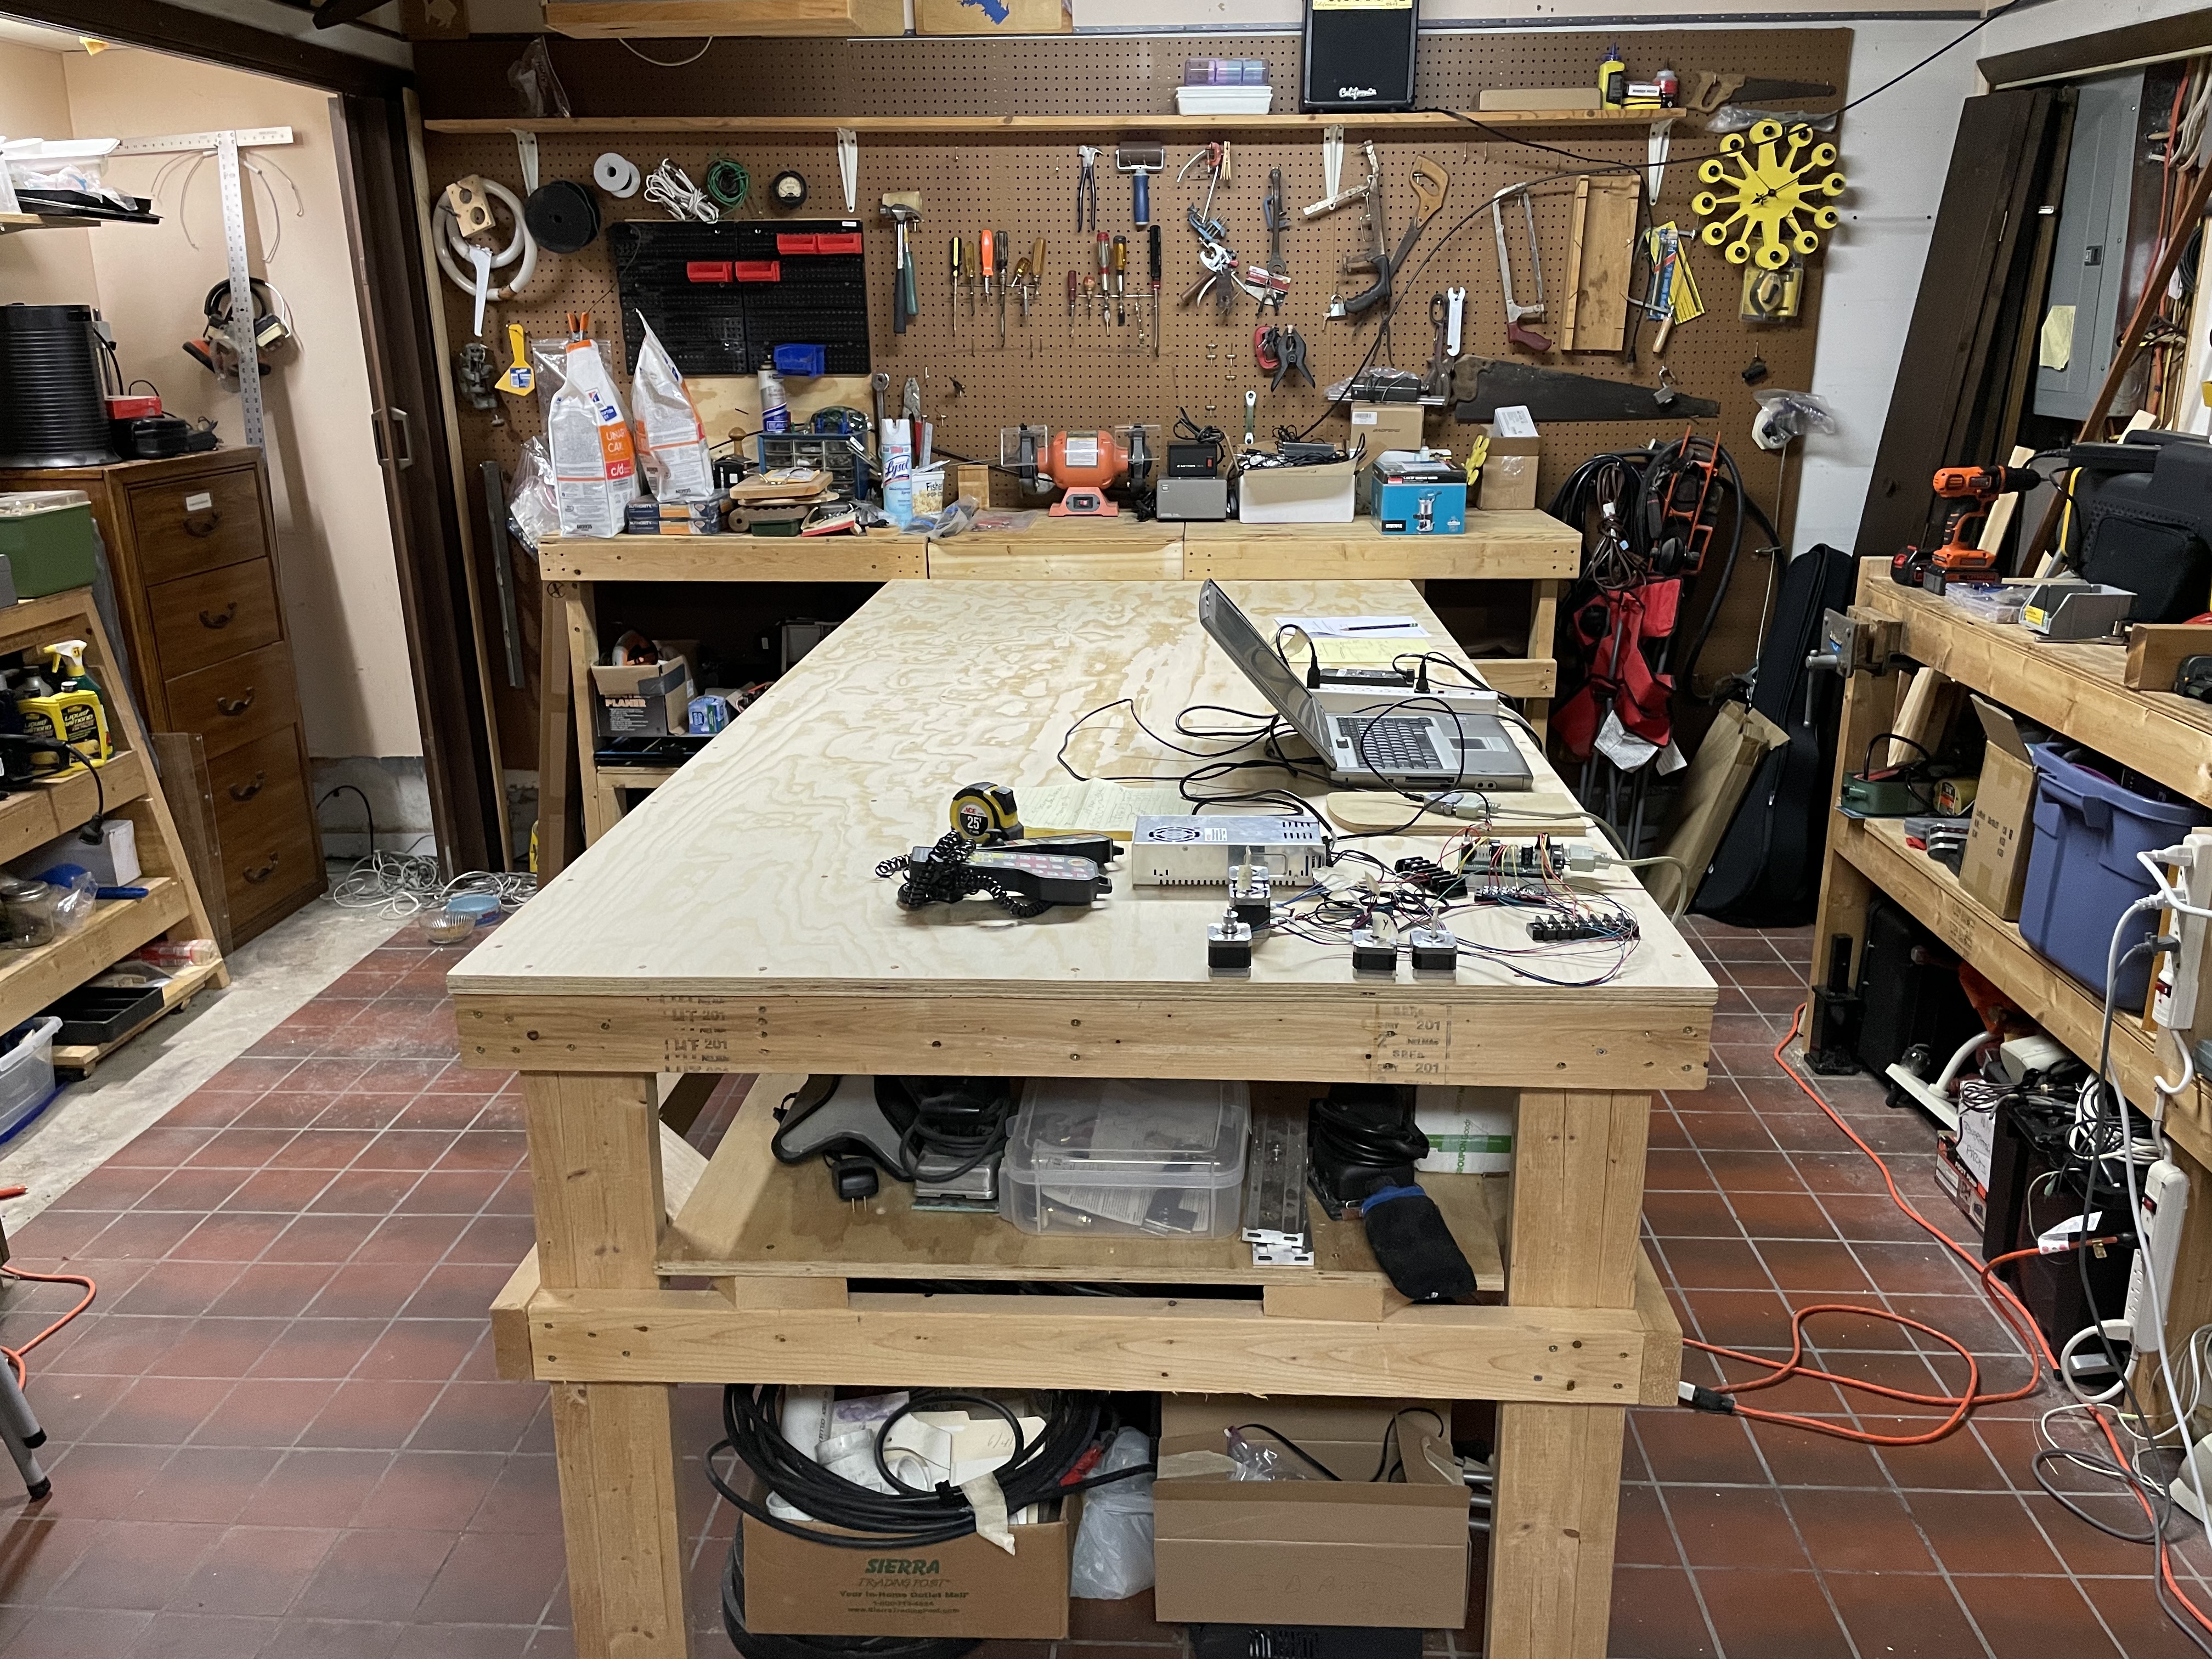
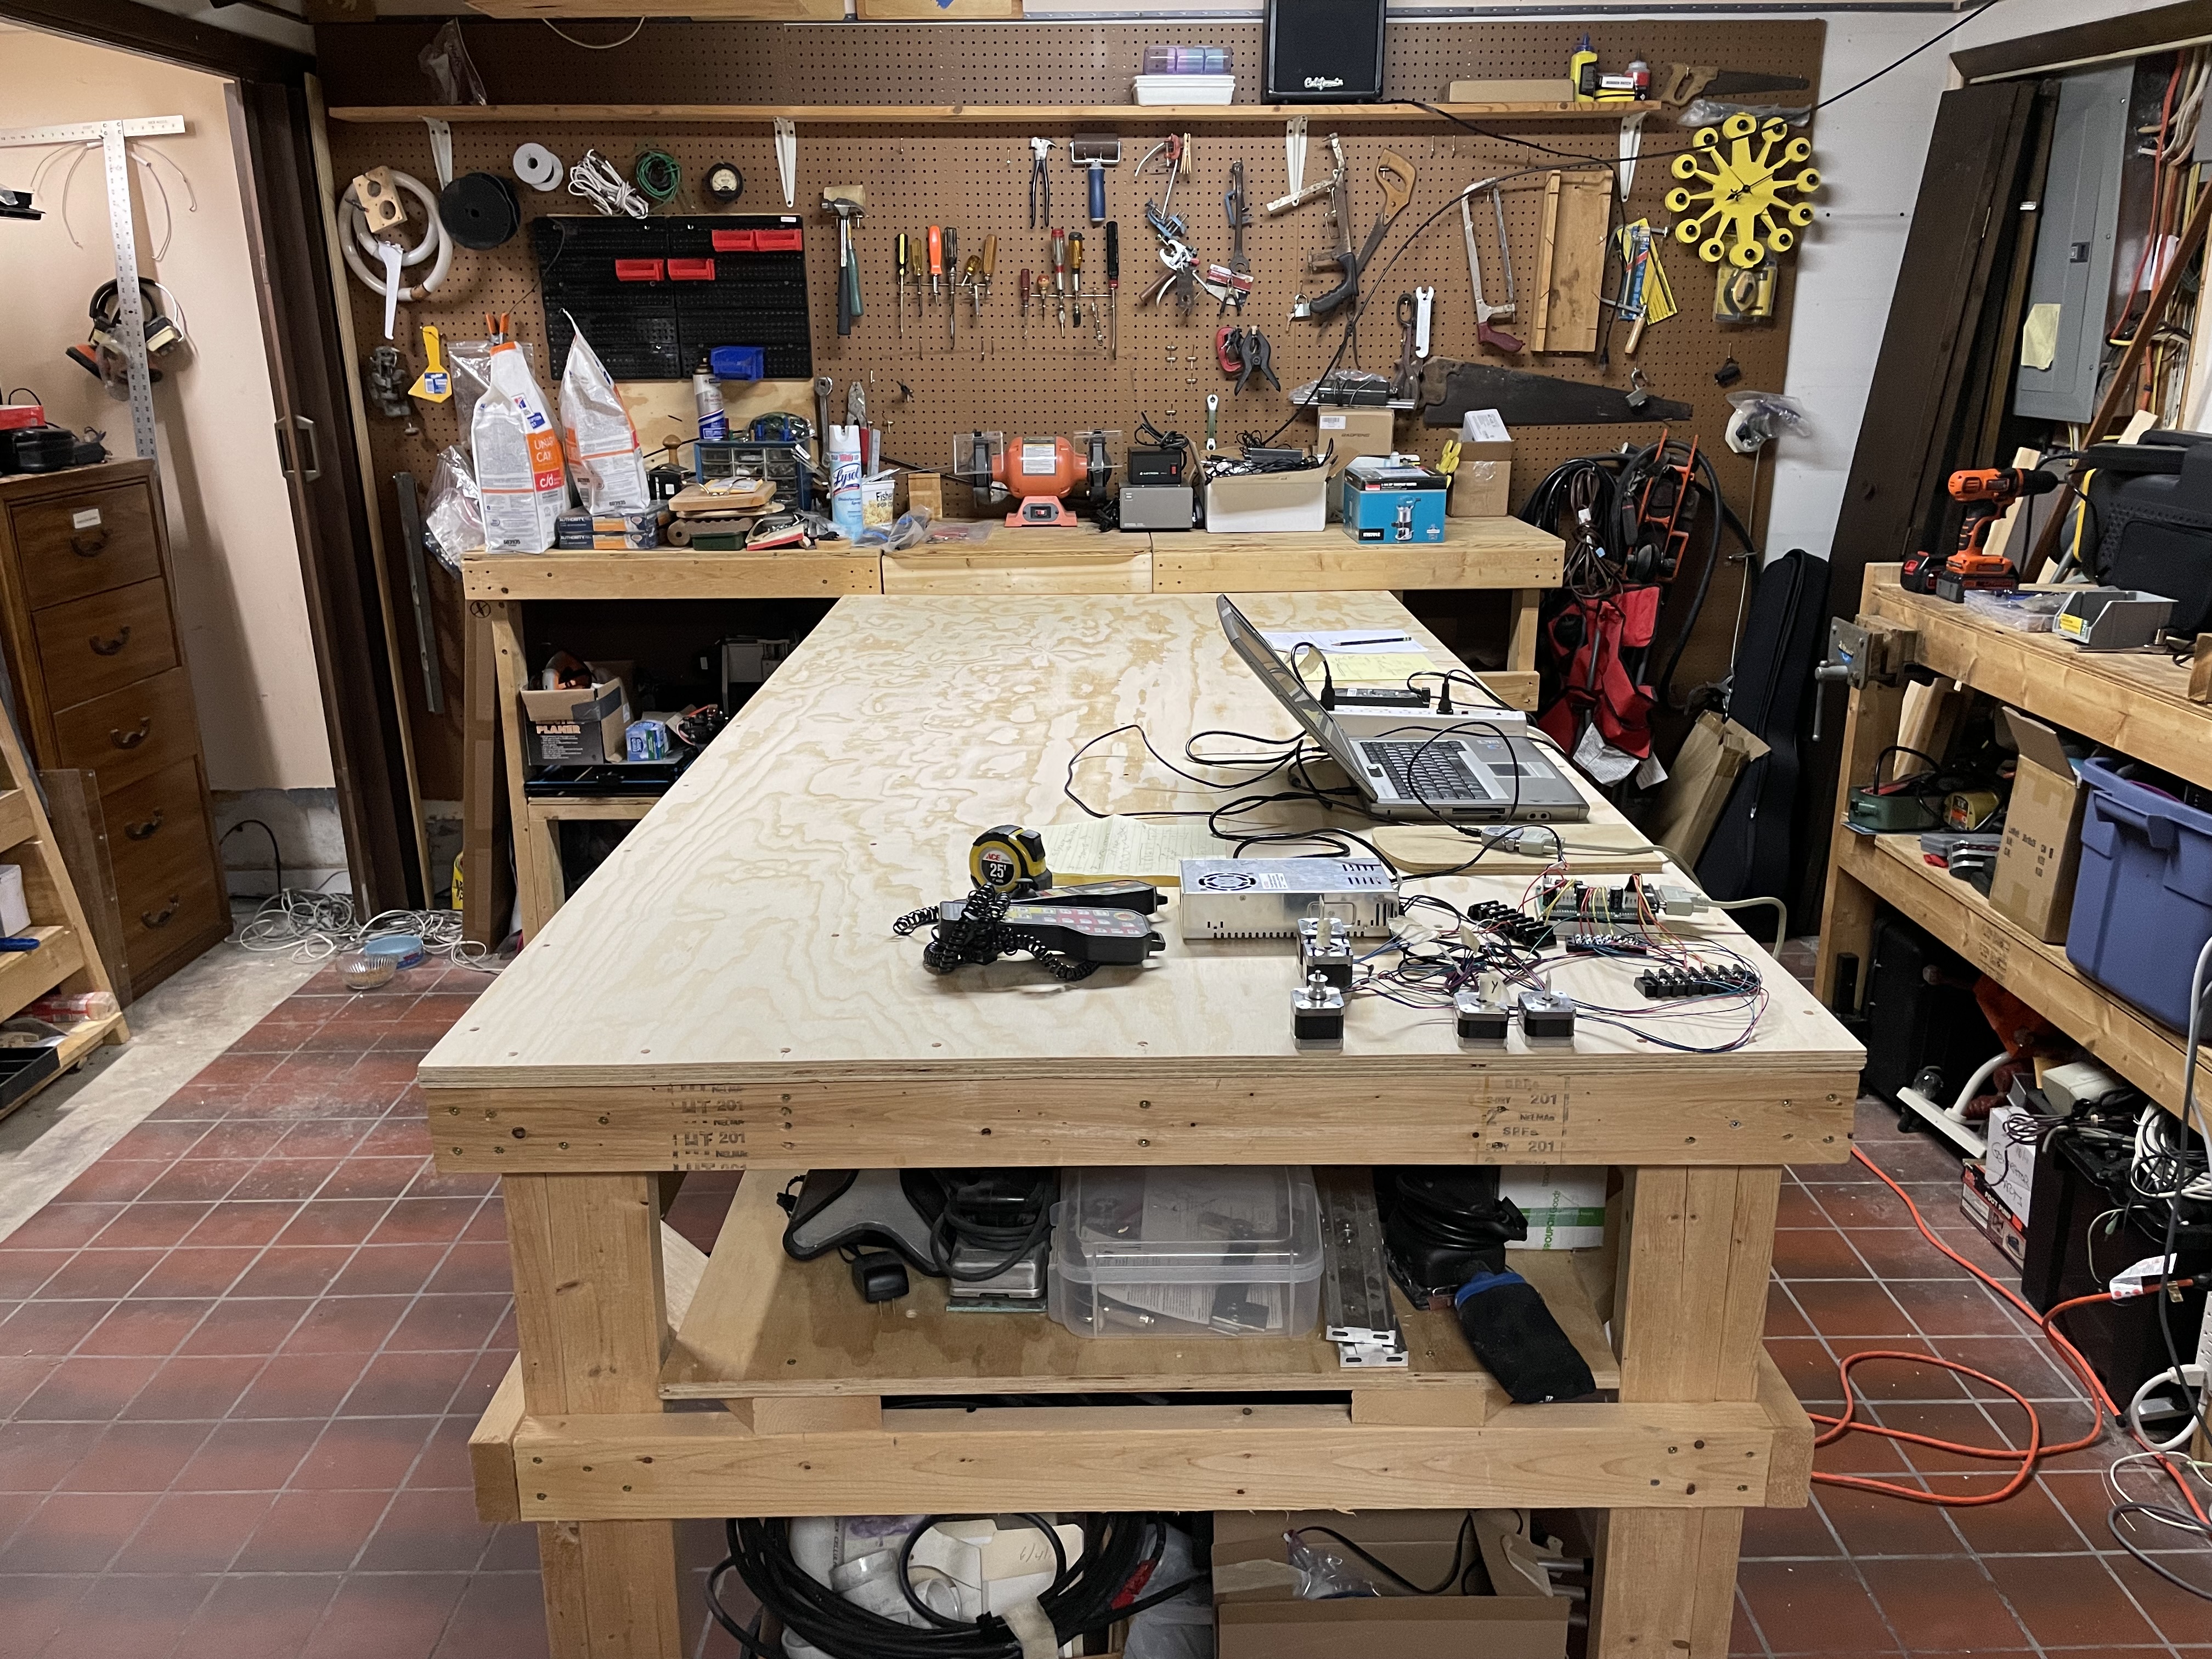
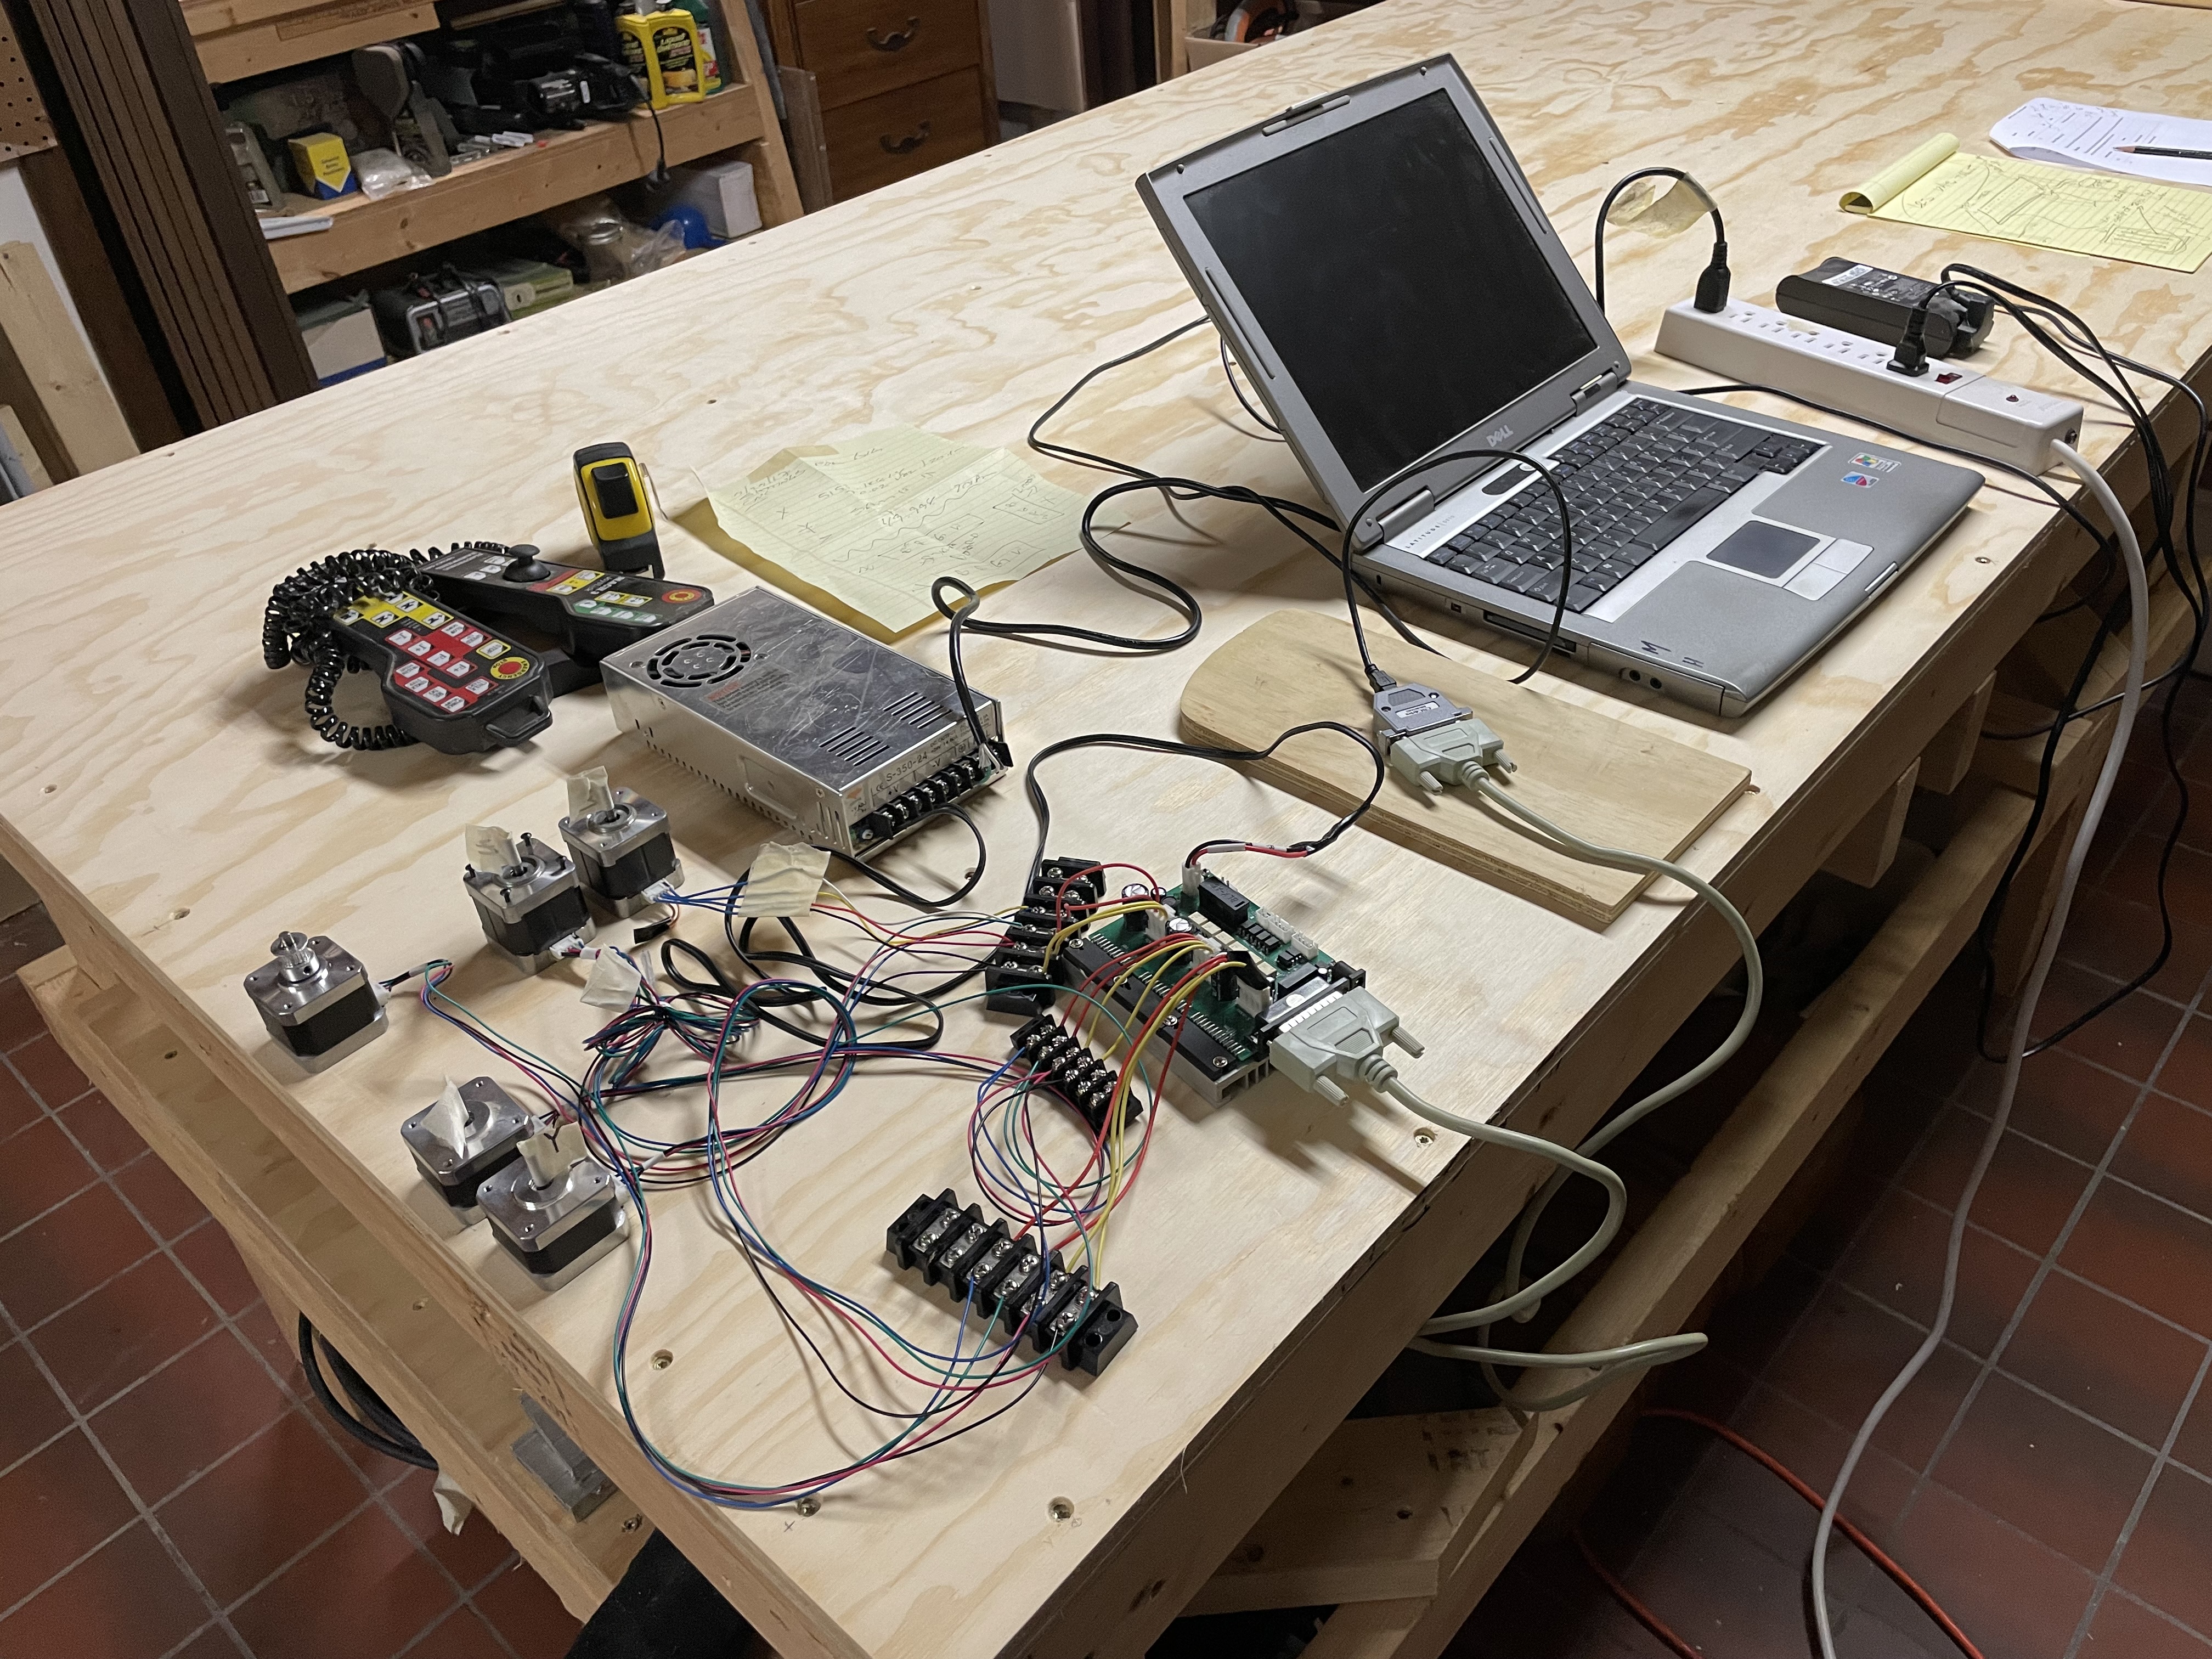
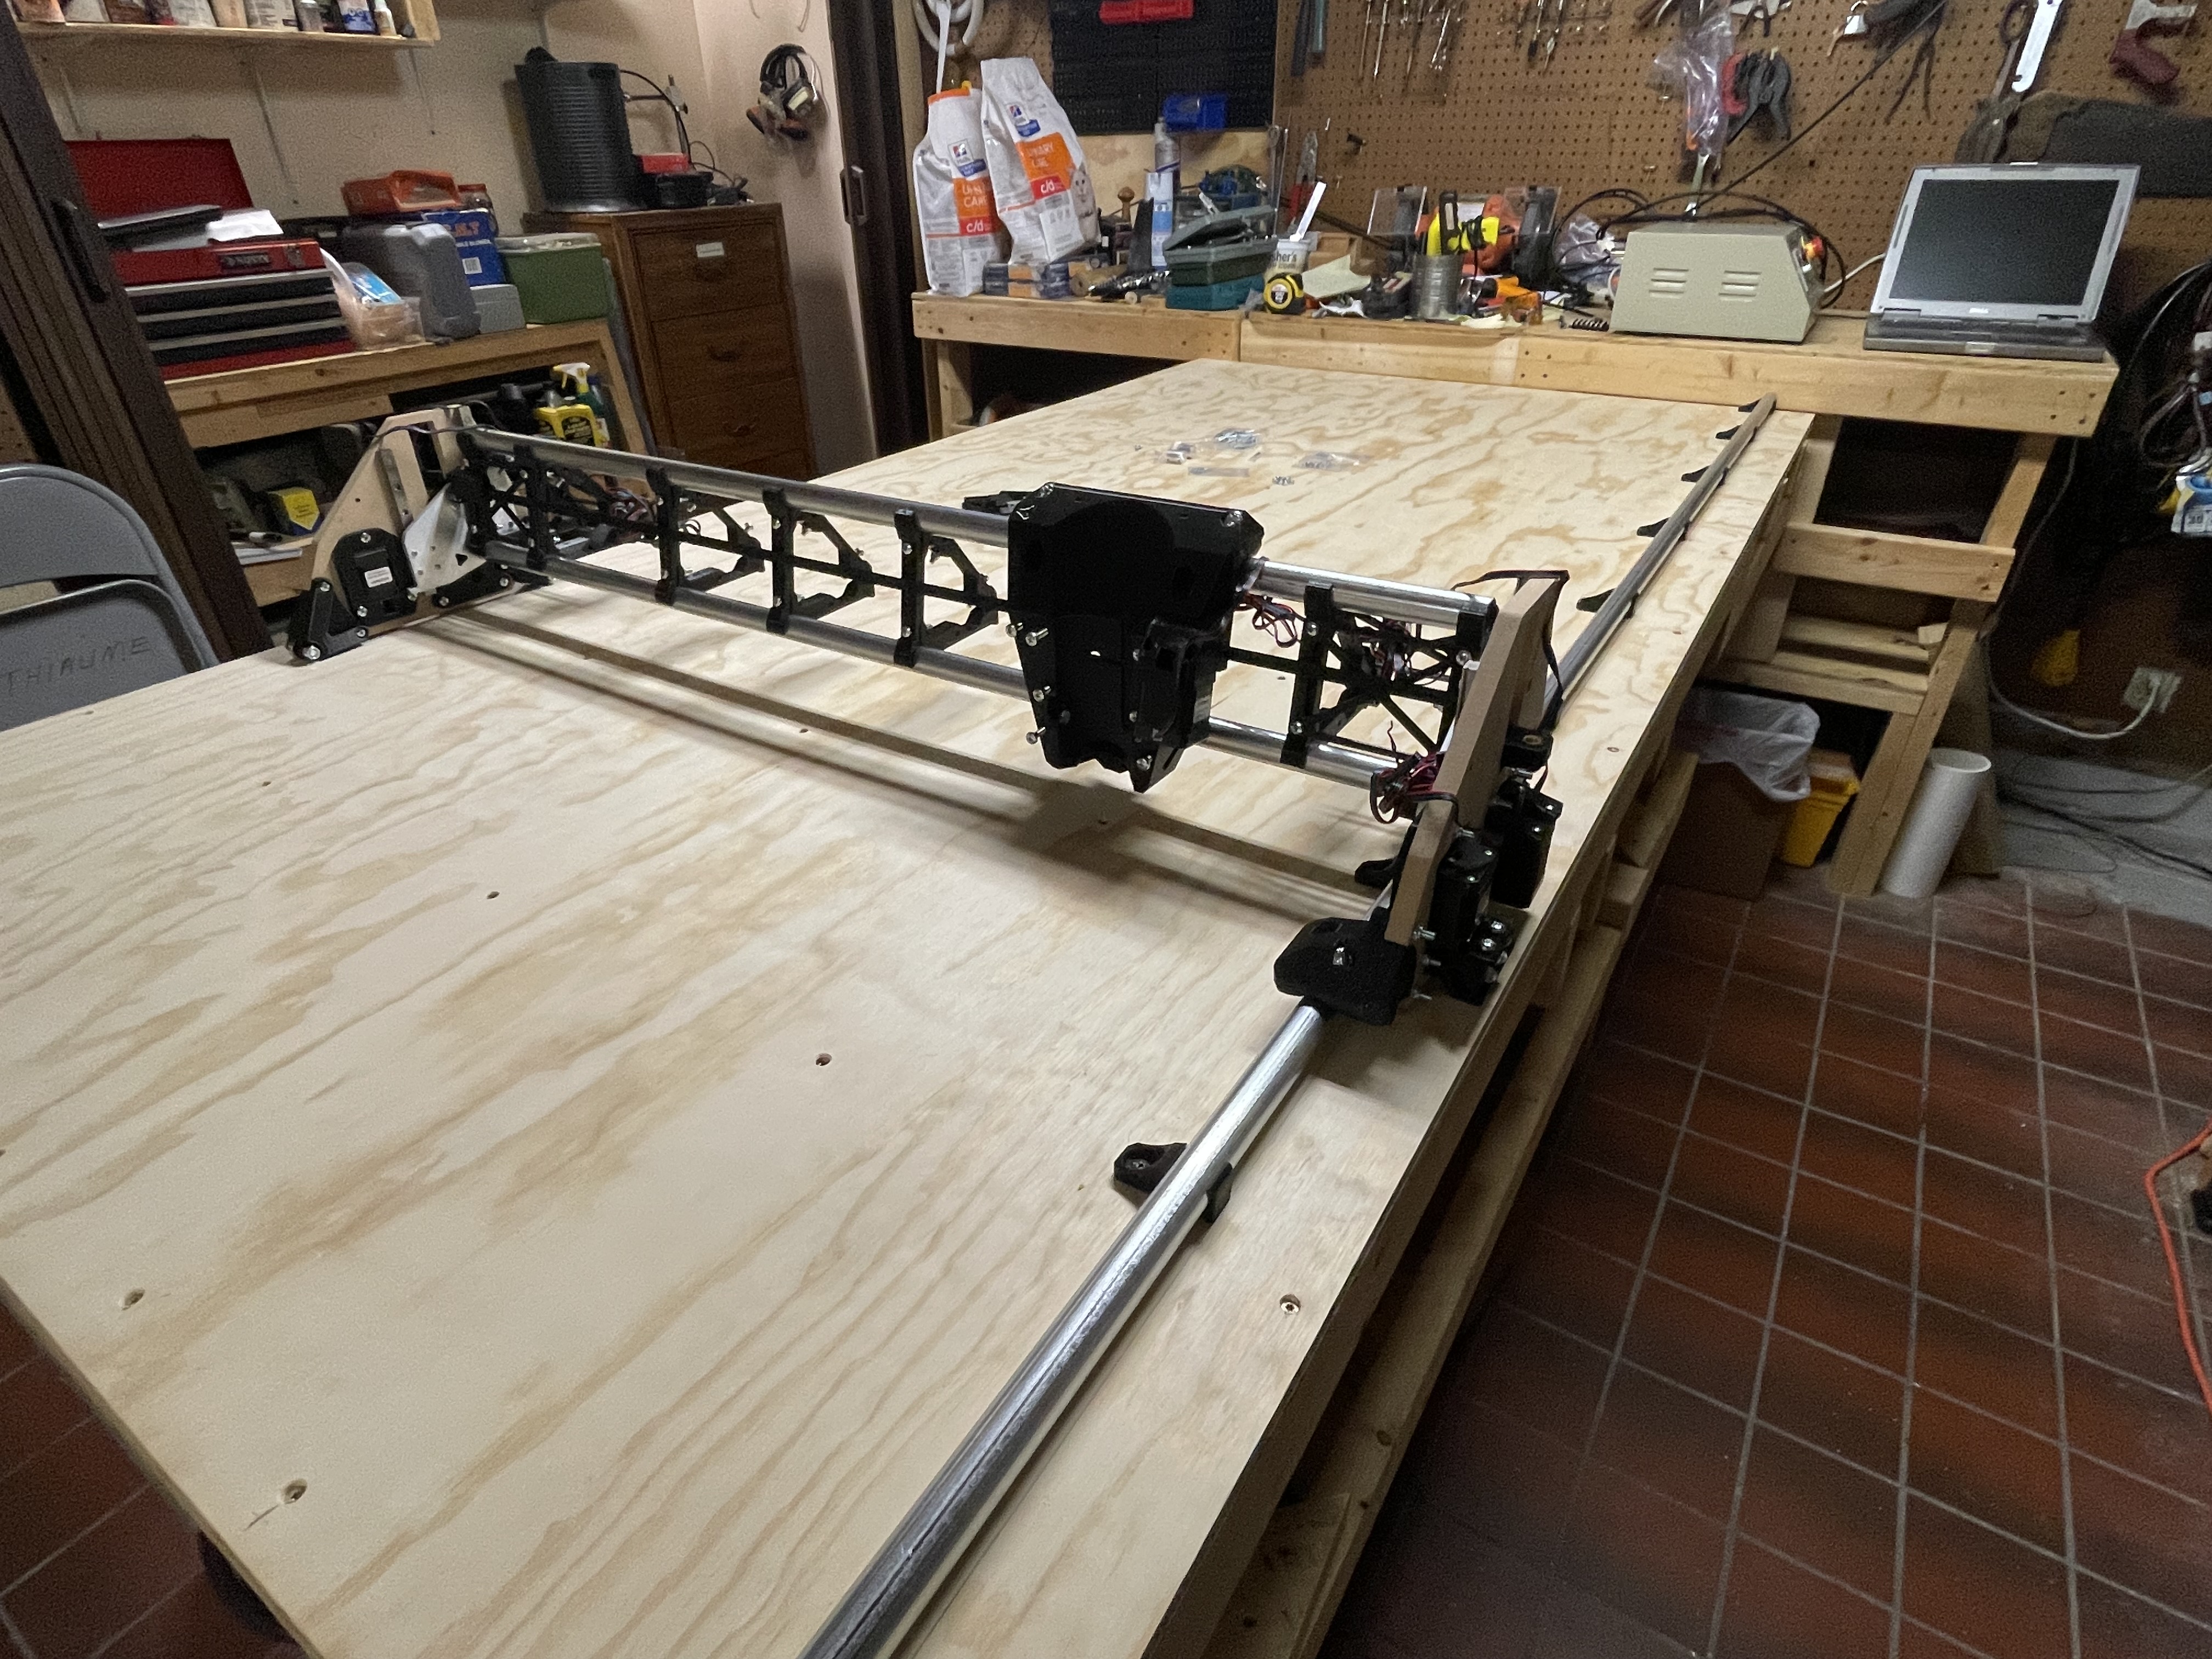
I’ve finished the basic table build and dug out an old controller I had kicking around in a box of old parts. Wired it up last night and zoomed the steppers around a little bit.
Initially I wanted to be able to drop a full 4x8 sheet down but my space in this part of the shop/basement is a bit tight so a cut area of about 3’ x 6’ will be fine and massively bigger than my other builds. And I could expand it down the line if I really wanted to.
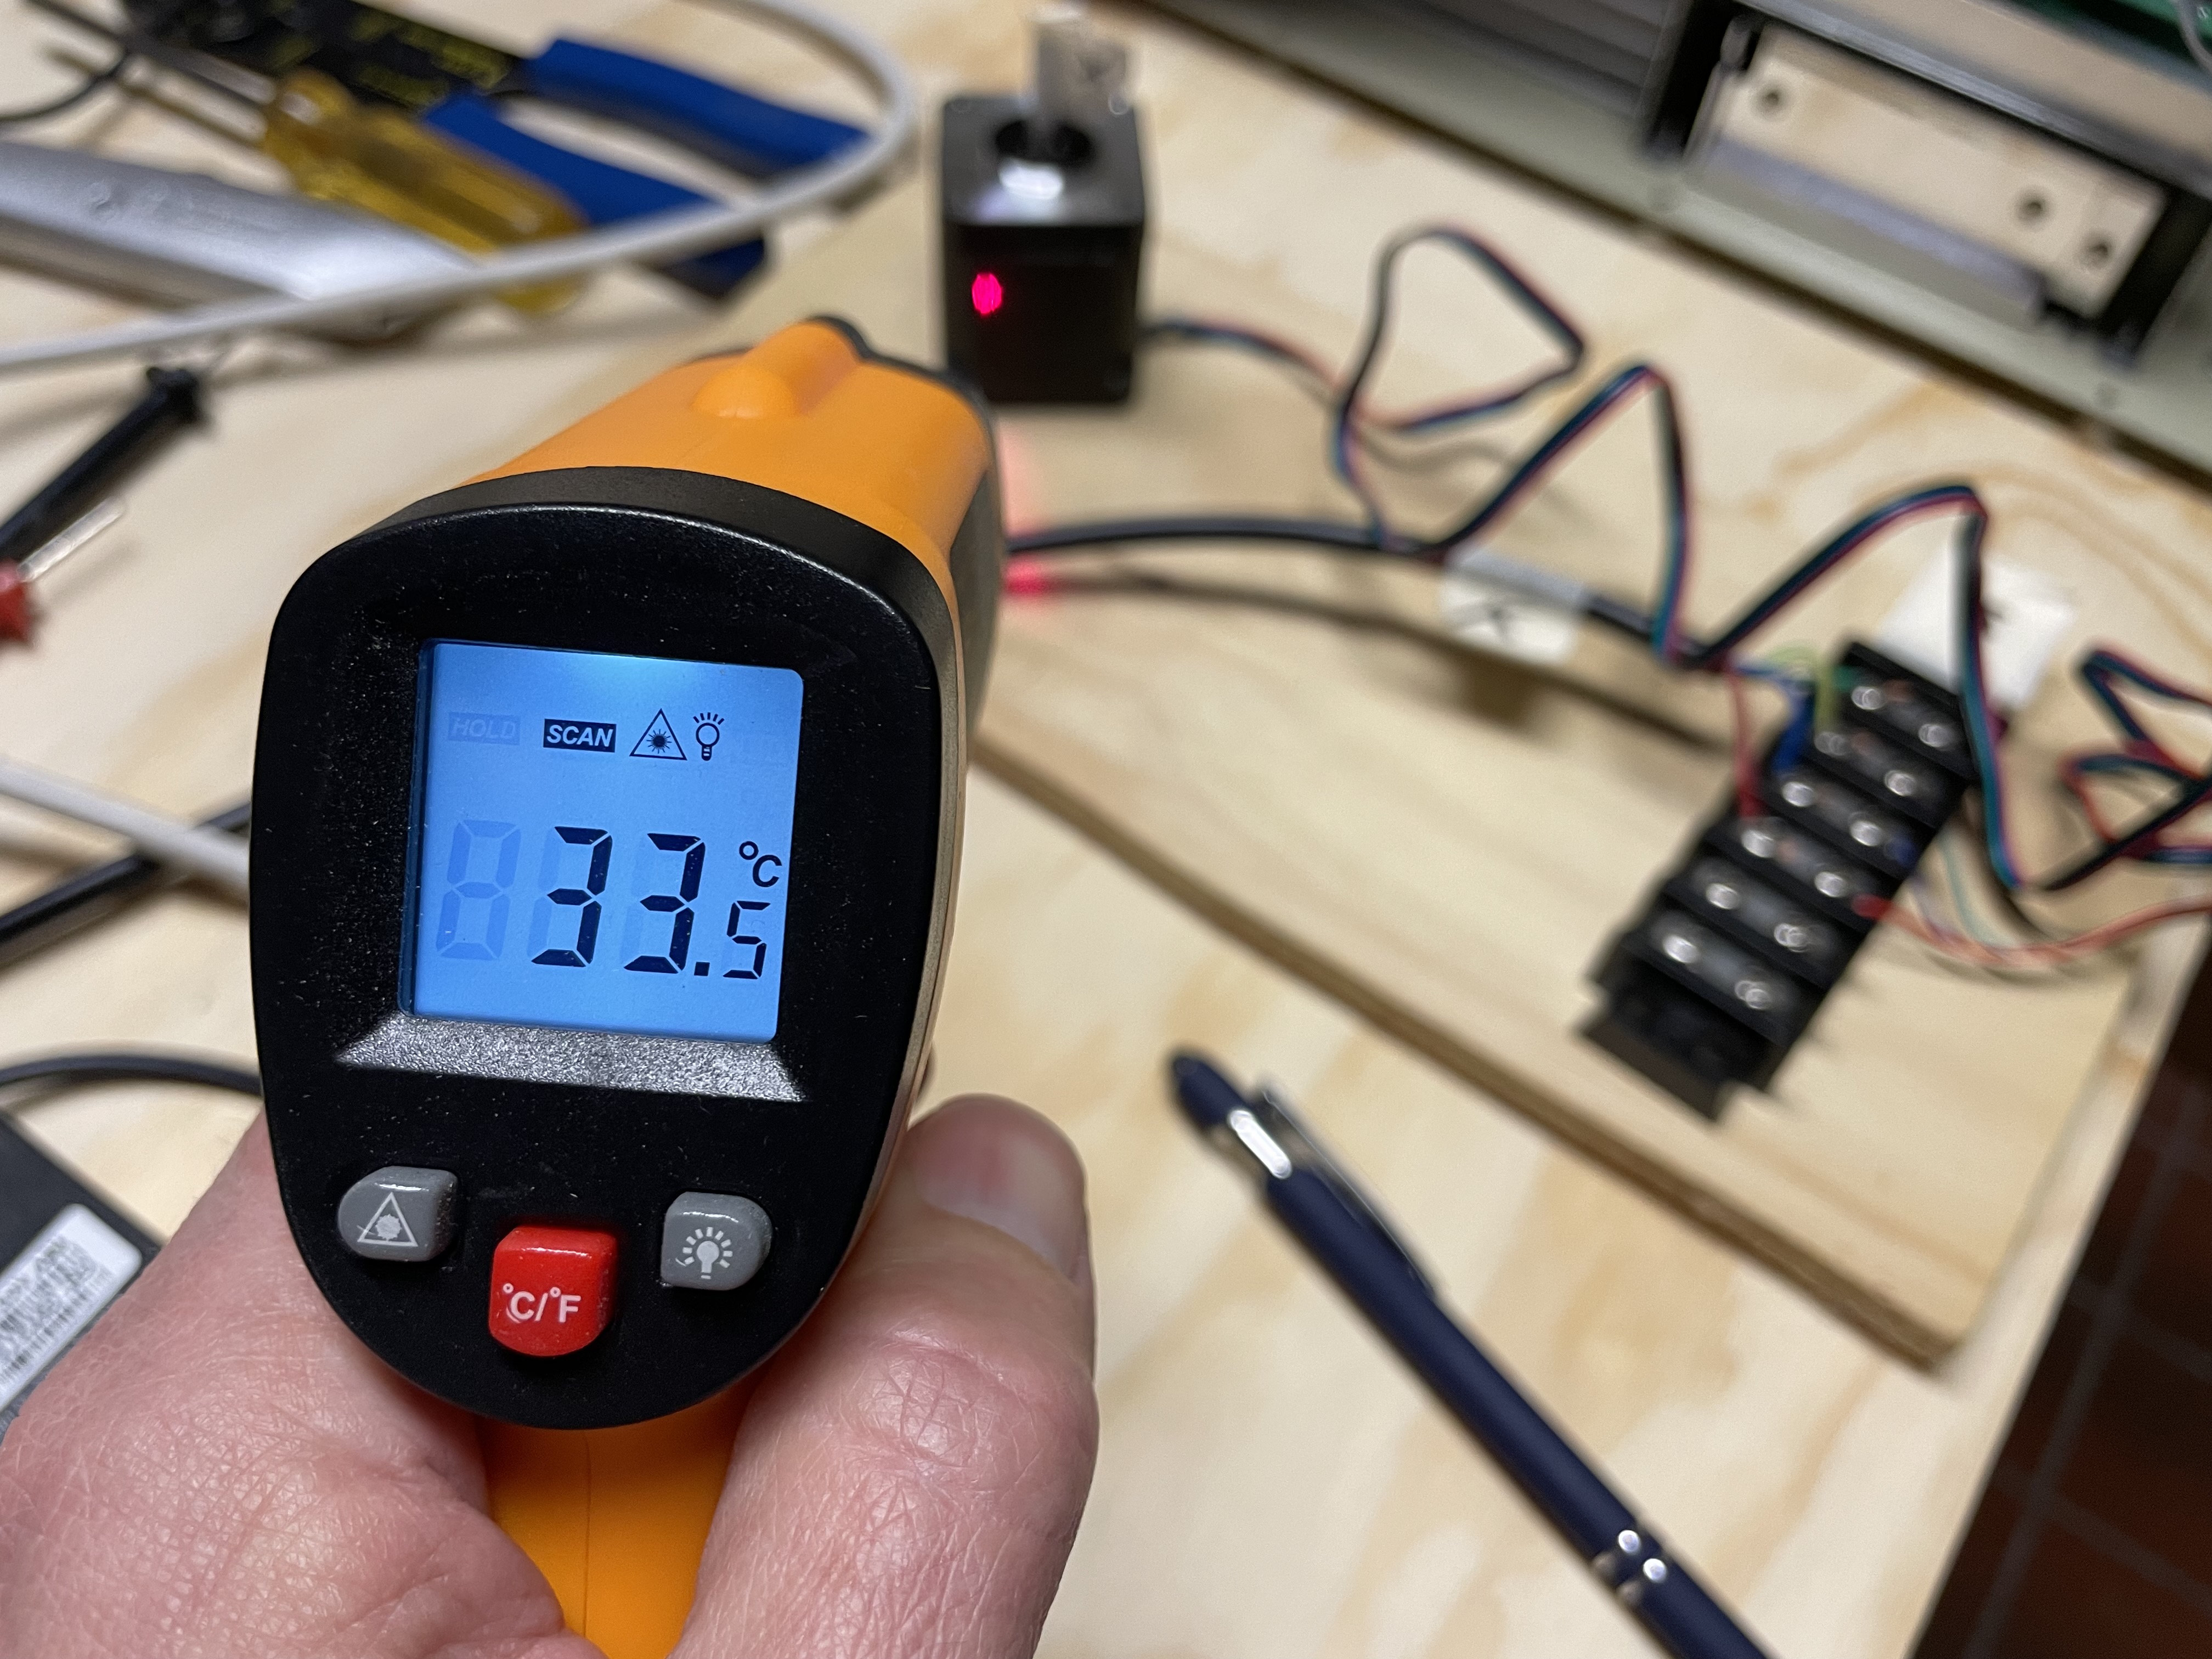
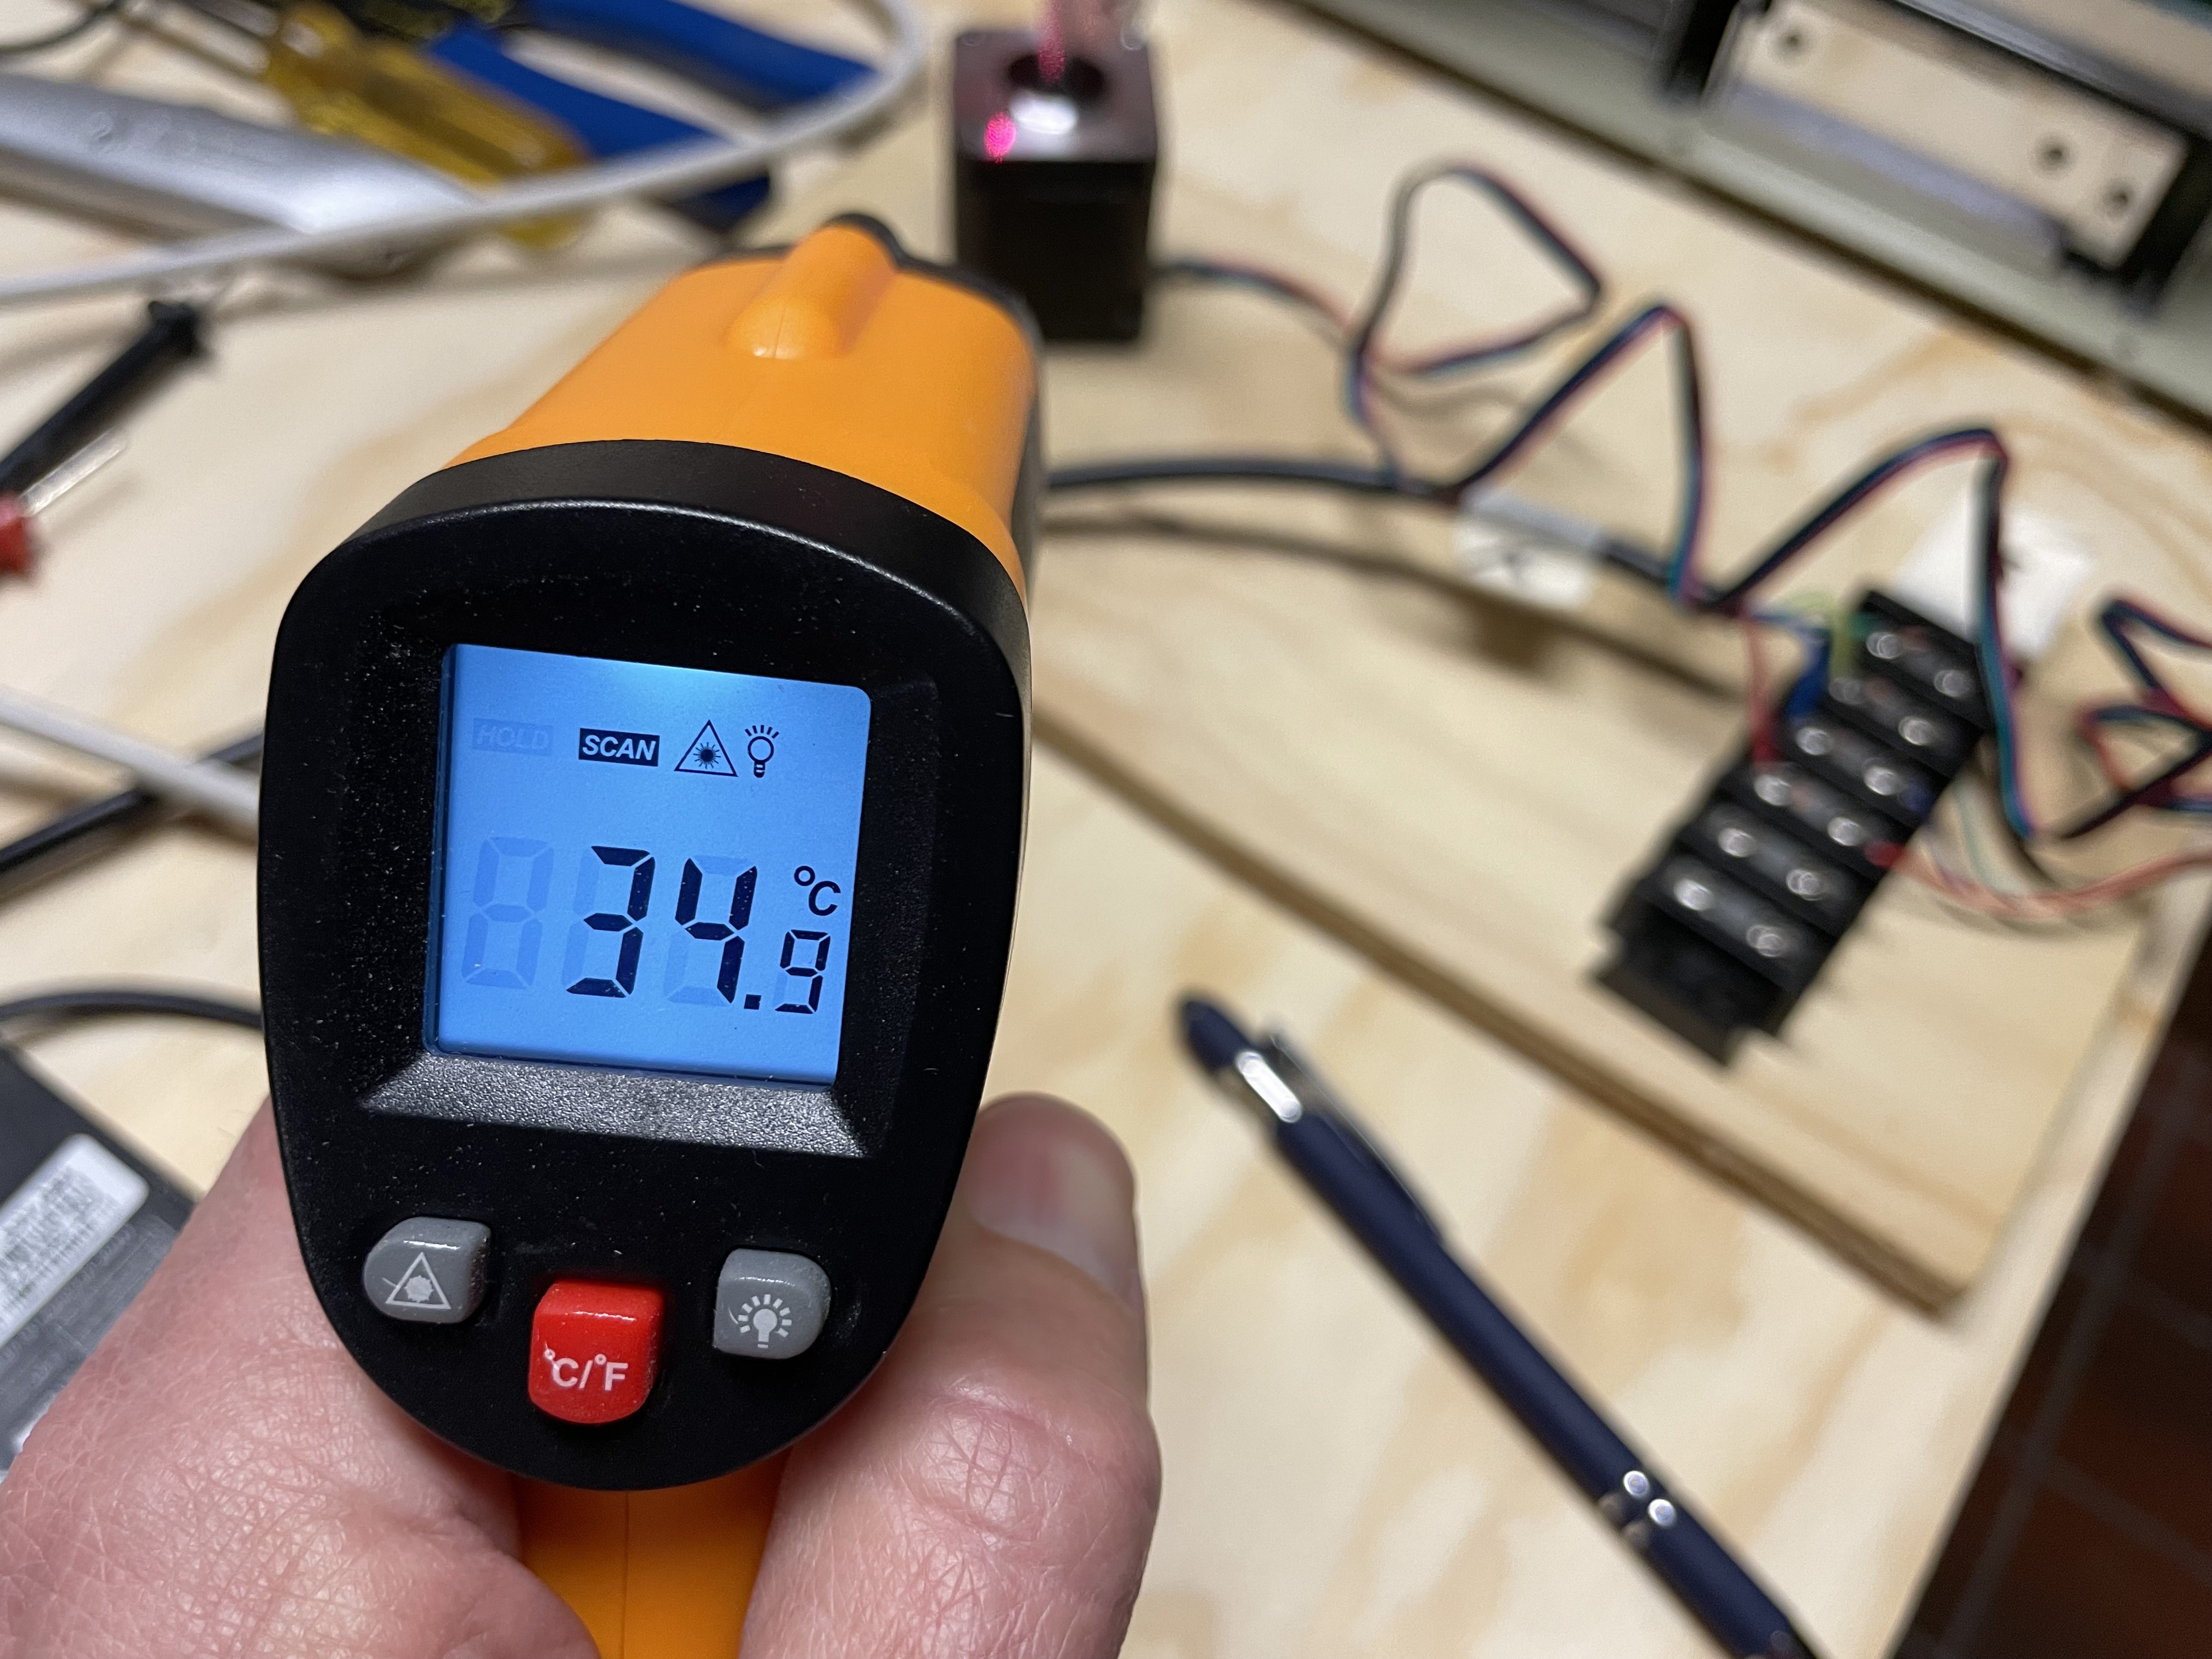
Good afternoon all. Question… I’m testing a control board I have on hand. Playing with current settings. How warm is too warm for the pla where the stepper motors attach? Looks like I’m maxing out around 35c.
There isn’t anything wrong with running two motors on one driver (except you can’t do dual endstops). But the current does really matter. I tried to look closely and it looks like your double axis are wired in parallel. That will half the current to each motor. If you wire them in series, you can get full current to each motor.
Generally, you want as high current as you can without the motors or drivers overheating. At about 50C, the plastic motors mounts are safe, but much higher than that and you have too much current. On the low side, you will get skipped steps if you don’t have enough current. Do you know what the current setting is on the driver you can’t control?
In general, entertaining video. Youtube actually recommended it first before I saw it here. I hope a lot of people see it and you keep sharing the progress. I bet you’ll have a very capable build (at least half the battle is learning and you’ve already climbed that hill).
Hi Jeff, many thanks for the comments and suggestions! Very appreciated. Yes, the steppers are wired in parallel. The current setting in the controller box are at I think at 75%, so I guess we’re cutting that in half for each motor but they seem very strong at that setting. I can’t hold the stepper motor shaft hard enough to make it stop or skip; real world use will tell though I guess.
On the y and z axis where we have two motors they just get a little warm after an hour of either running or staying set and ready to go (somewhere around 25 to 30c). On the x axis with only one motor it does get a bit warm. After an hour of being engaged it gets to between 35 and 40c. This is at the same current setting as the y and z though (about 75%) so I could try dropping down that axis alone and seeing if any other issues come up.
Fun stuff to play with. Again, thanks for the comments and information.
That makes sense to me. The only thing is I don’t know what 80% is. But the proof is in the pudding. The drivers and motors will tell you if they are up too high.
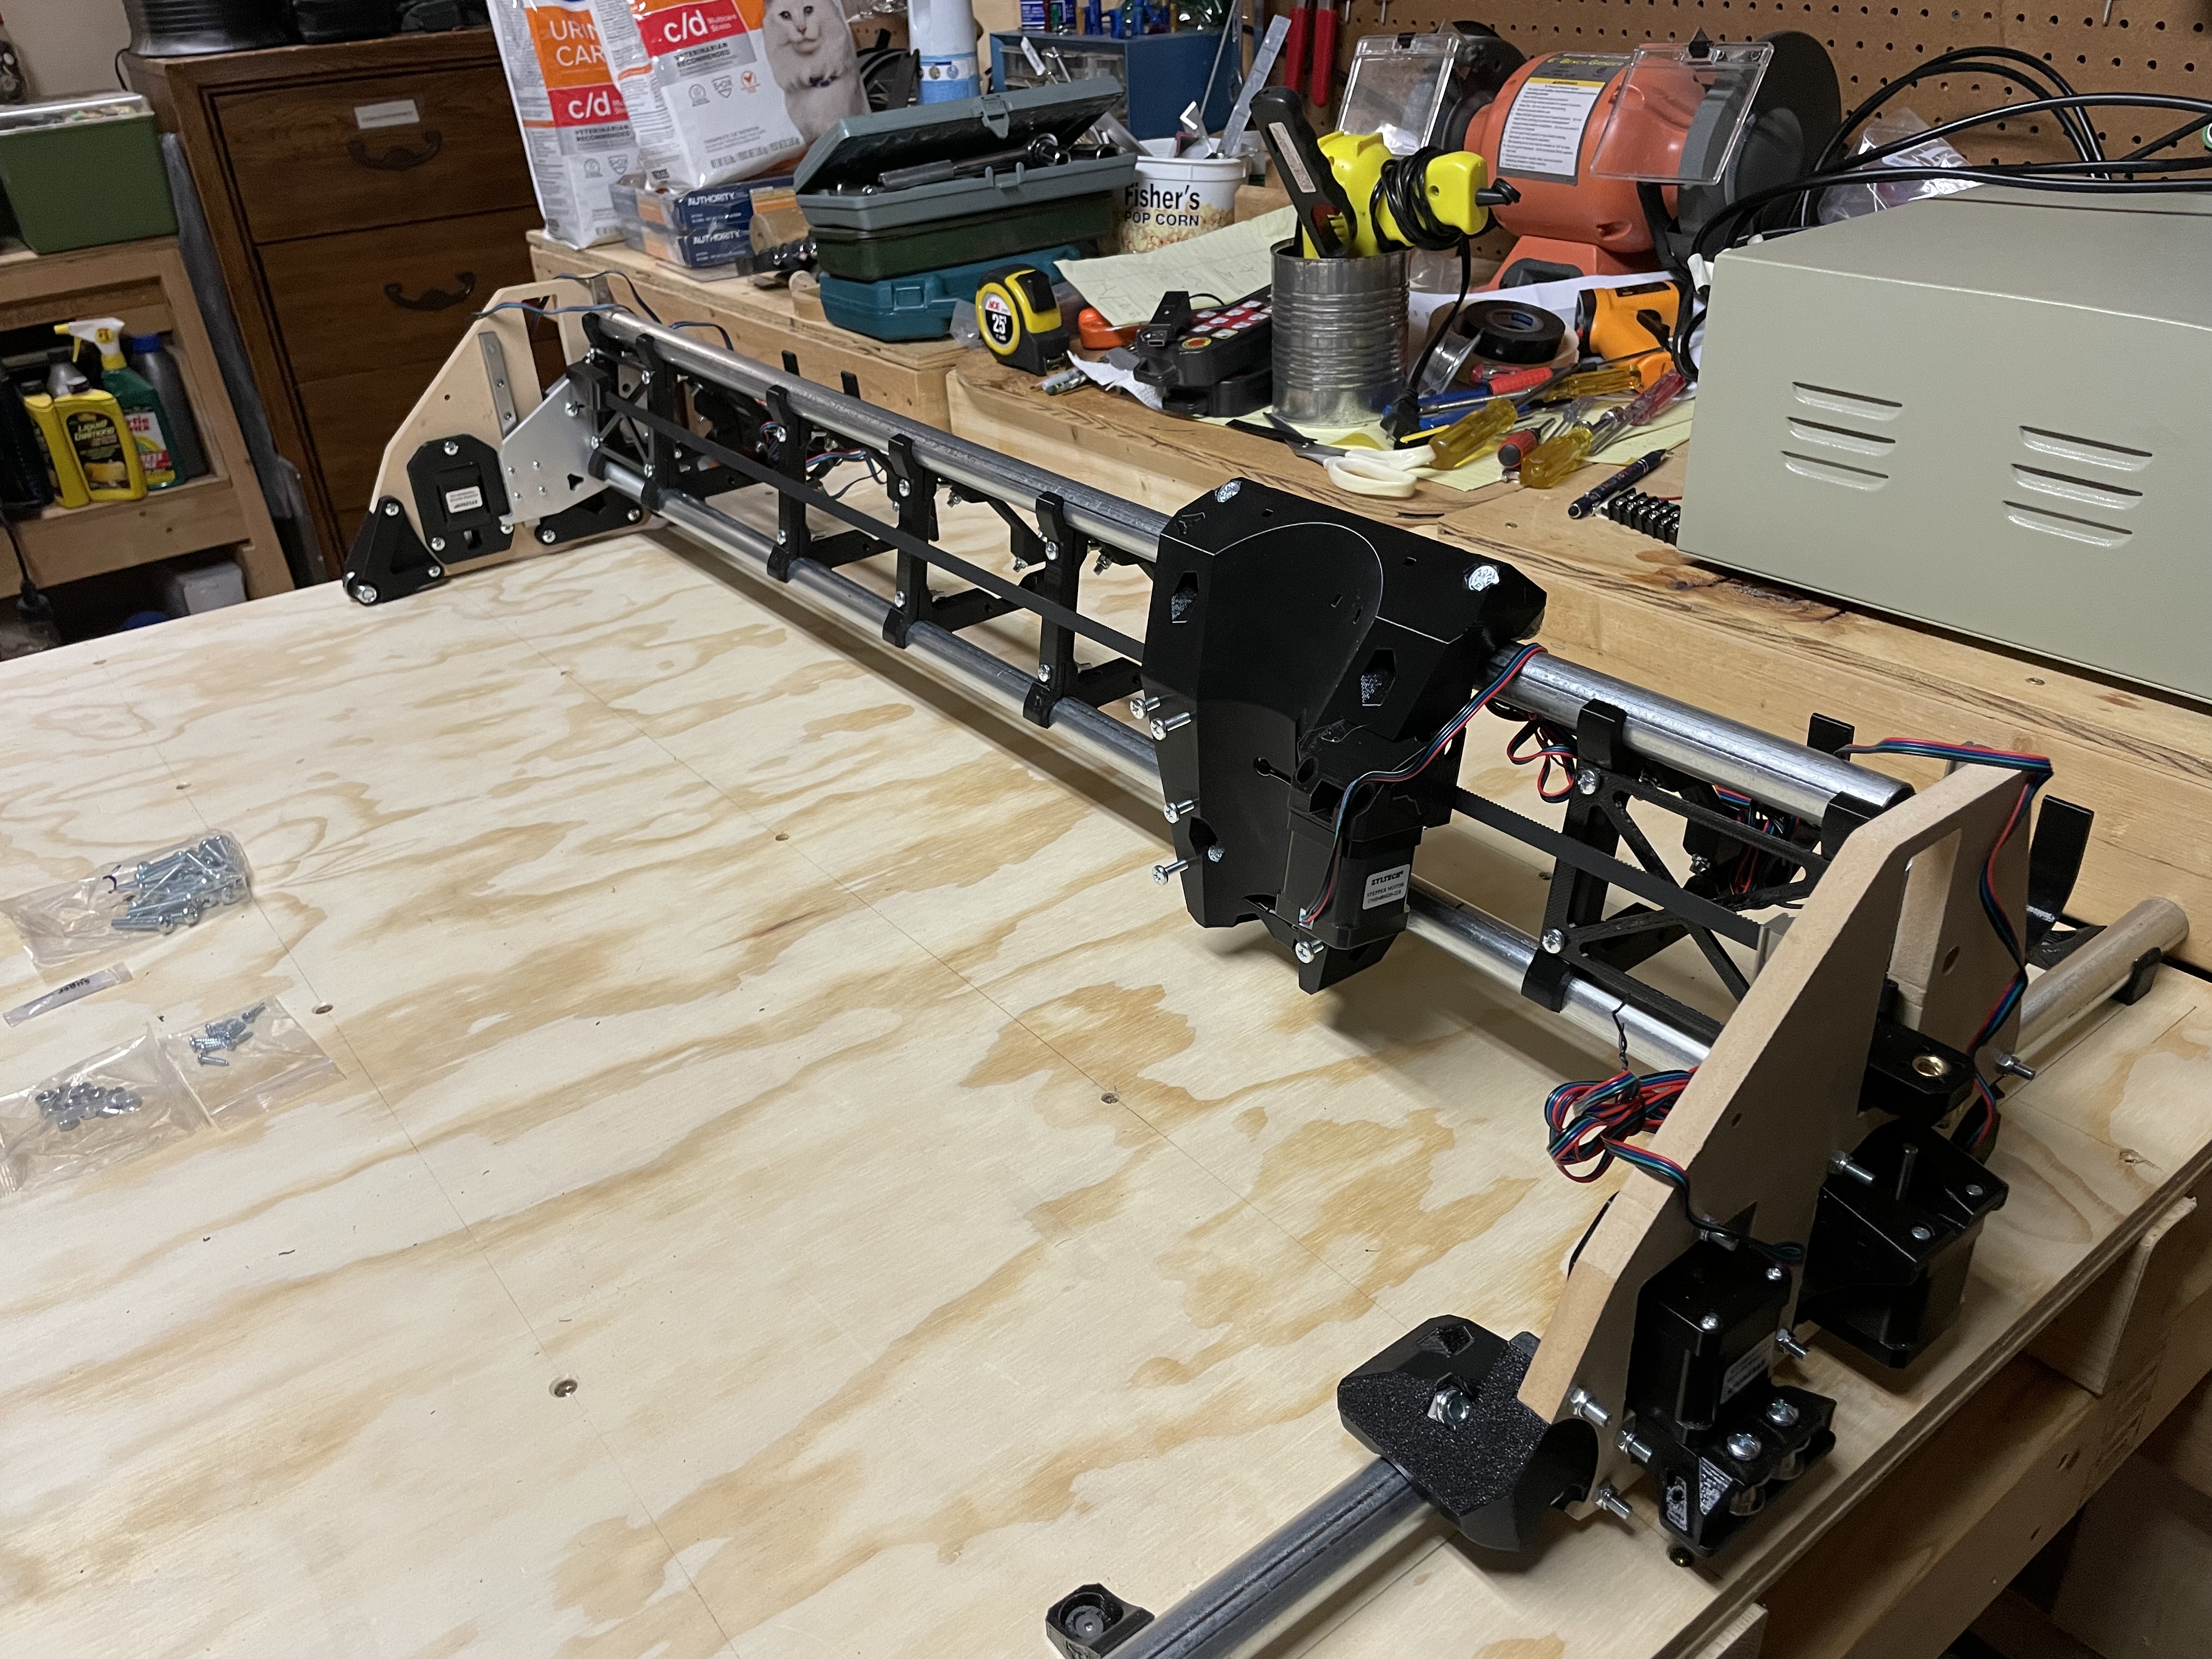
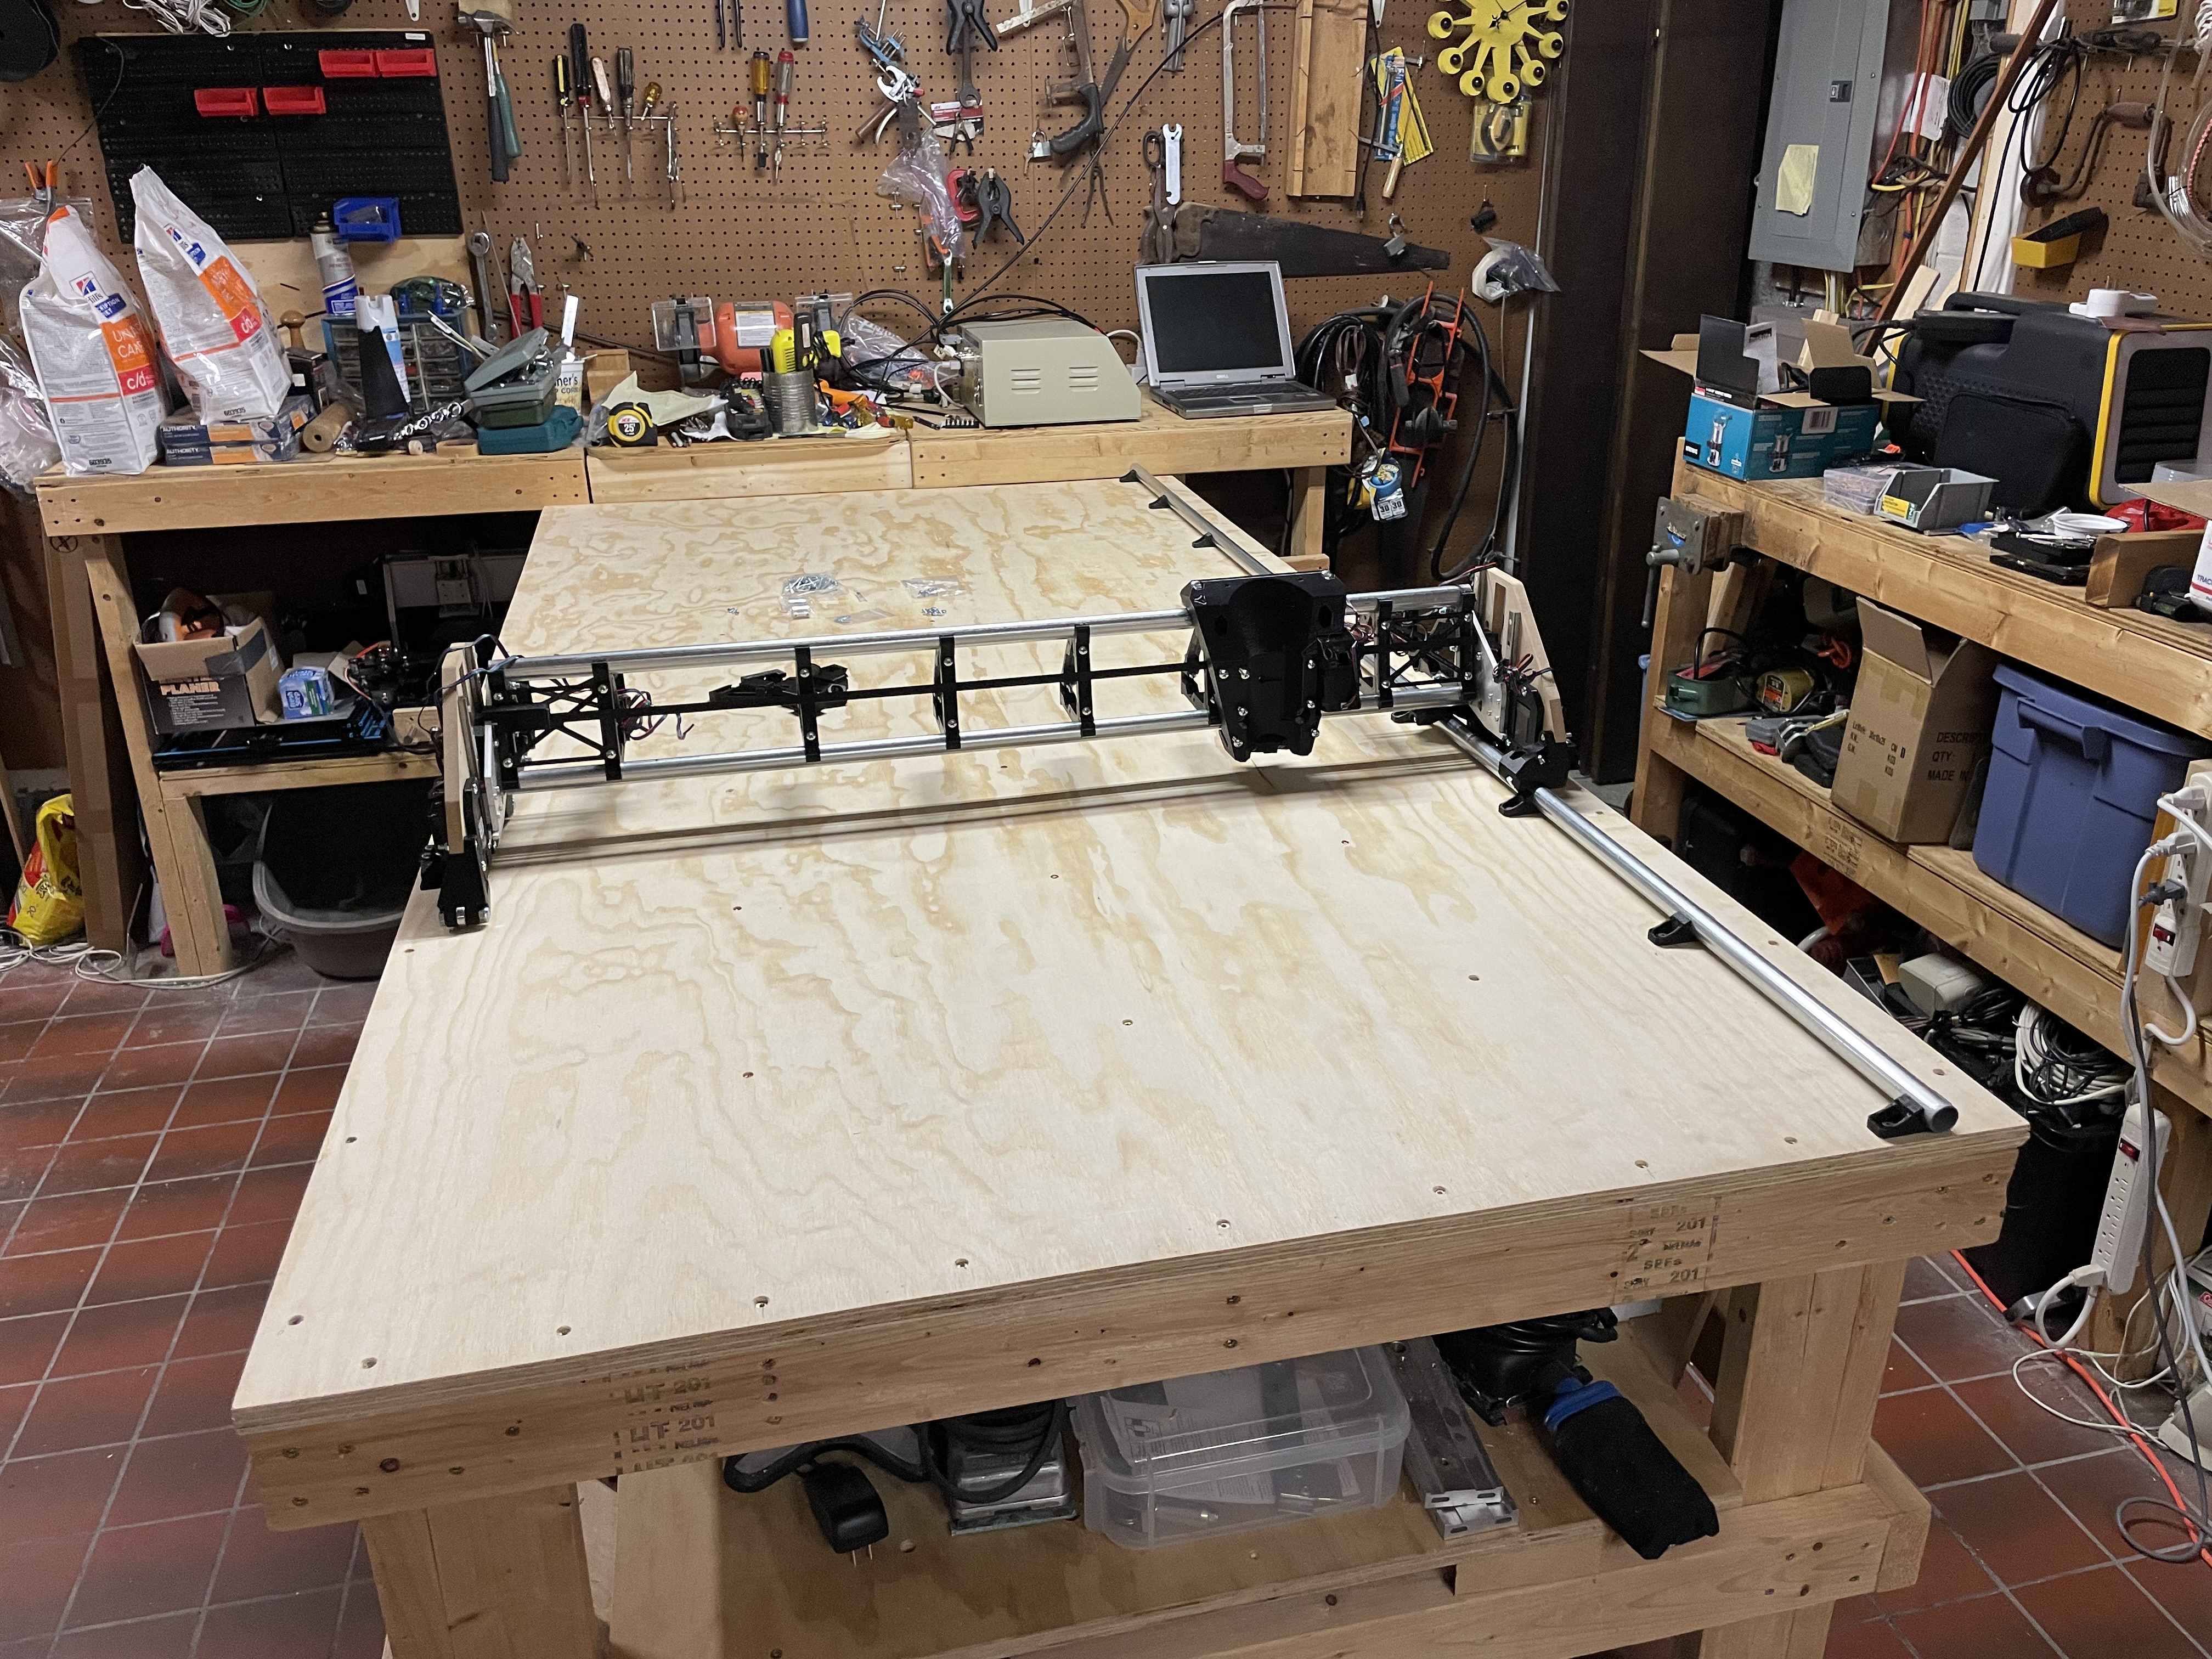
Late yesterday I got all of the plates assembled. I’m starting to work on the beam assembly.
And, yes, we can all add up equal spacing of the beam parts with a little quick thinking but before I did that I jumped online and found this pretty quick.
(Unless I’m just really dense and Ryan already has a spacing calculator on the site. Wouldn’t be the first time I displayed my intelligence in just such a way.)