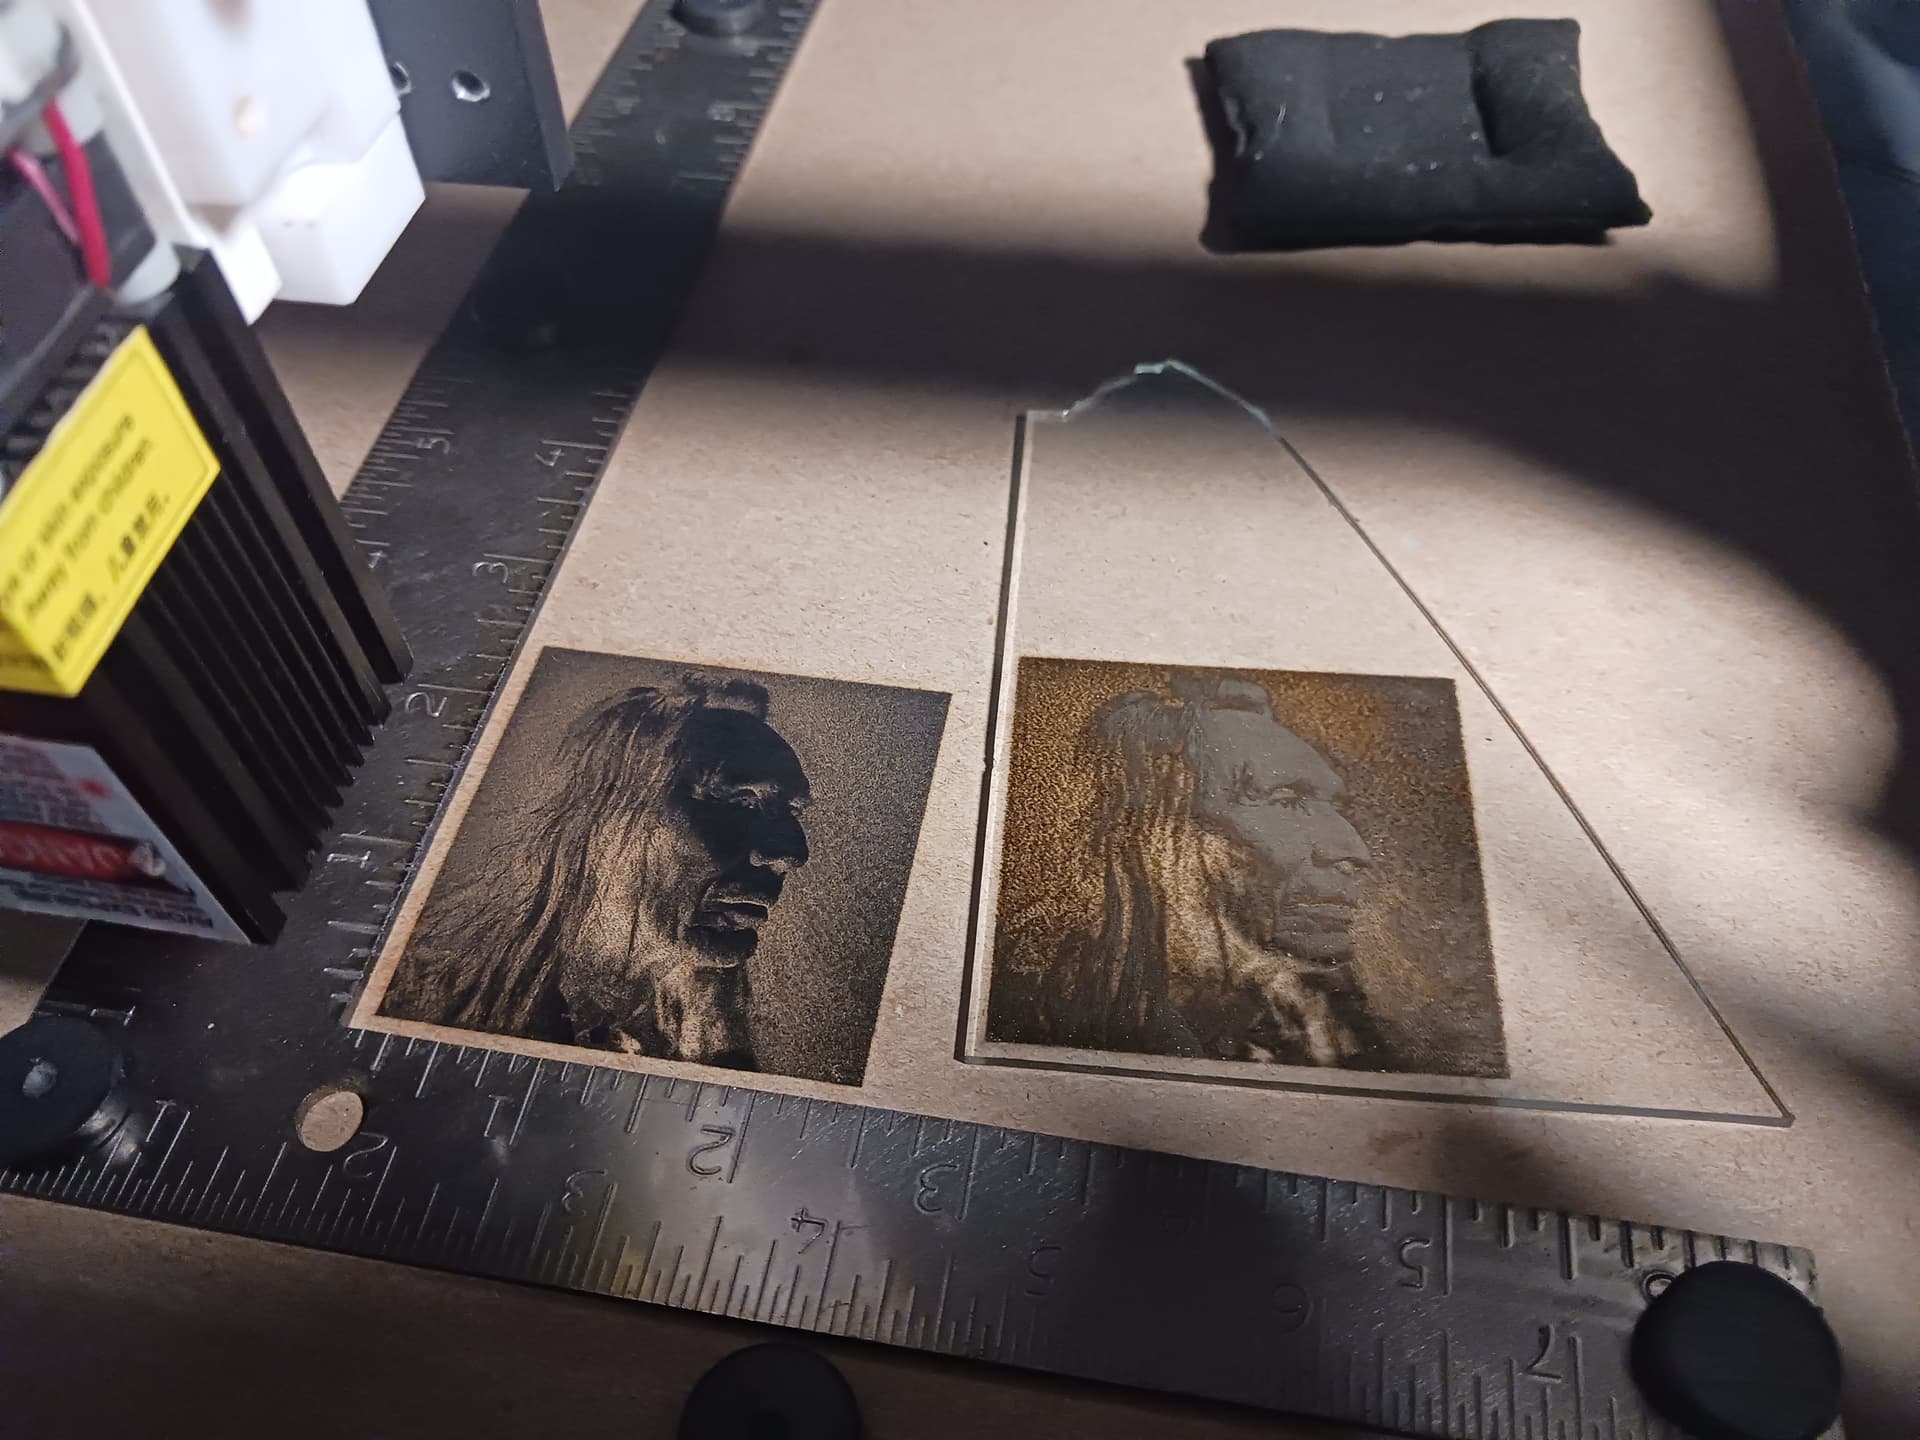
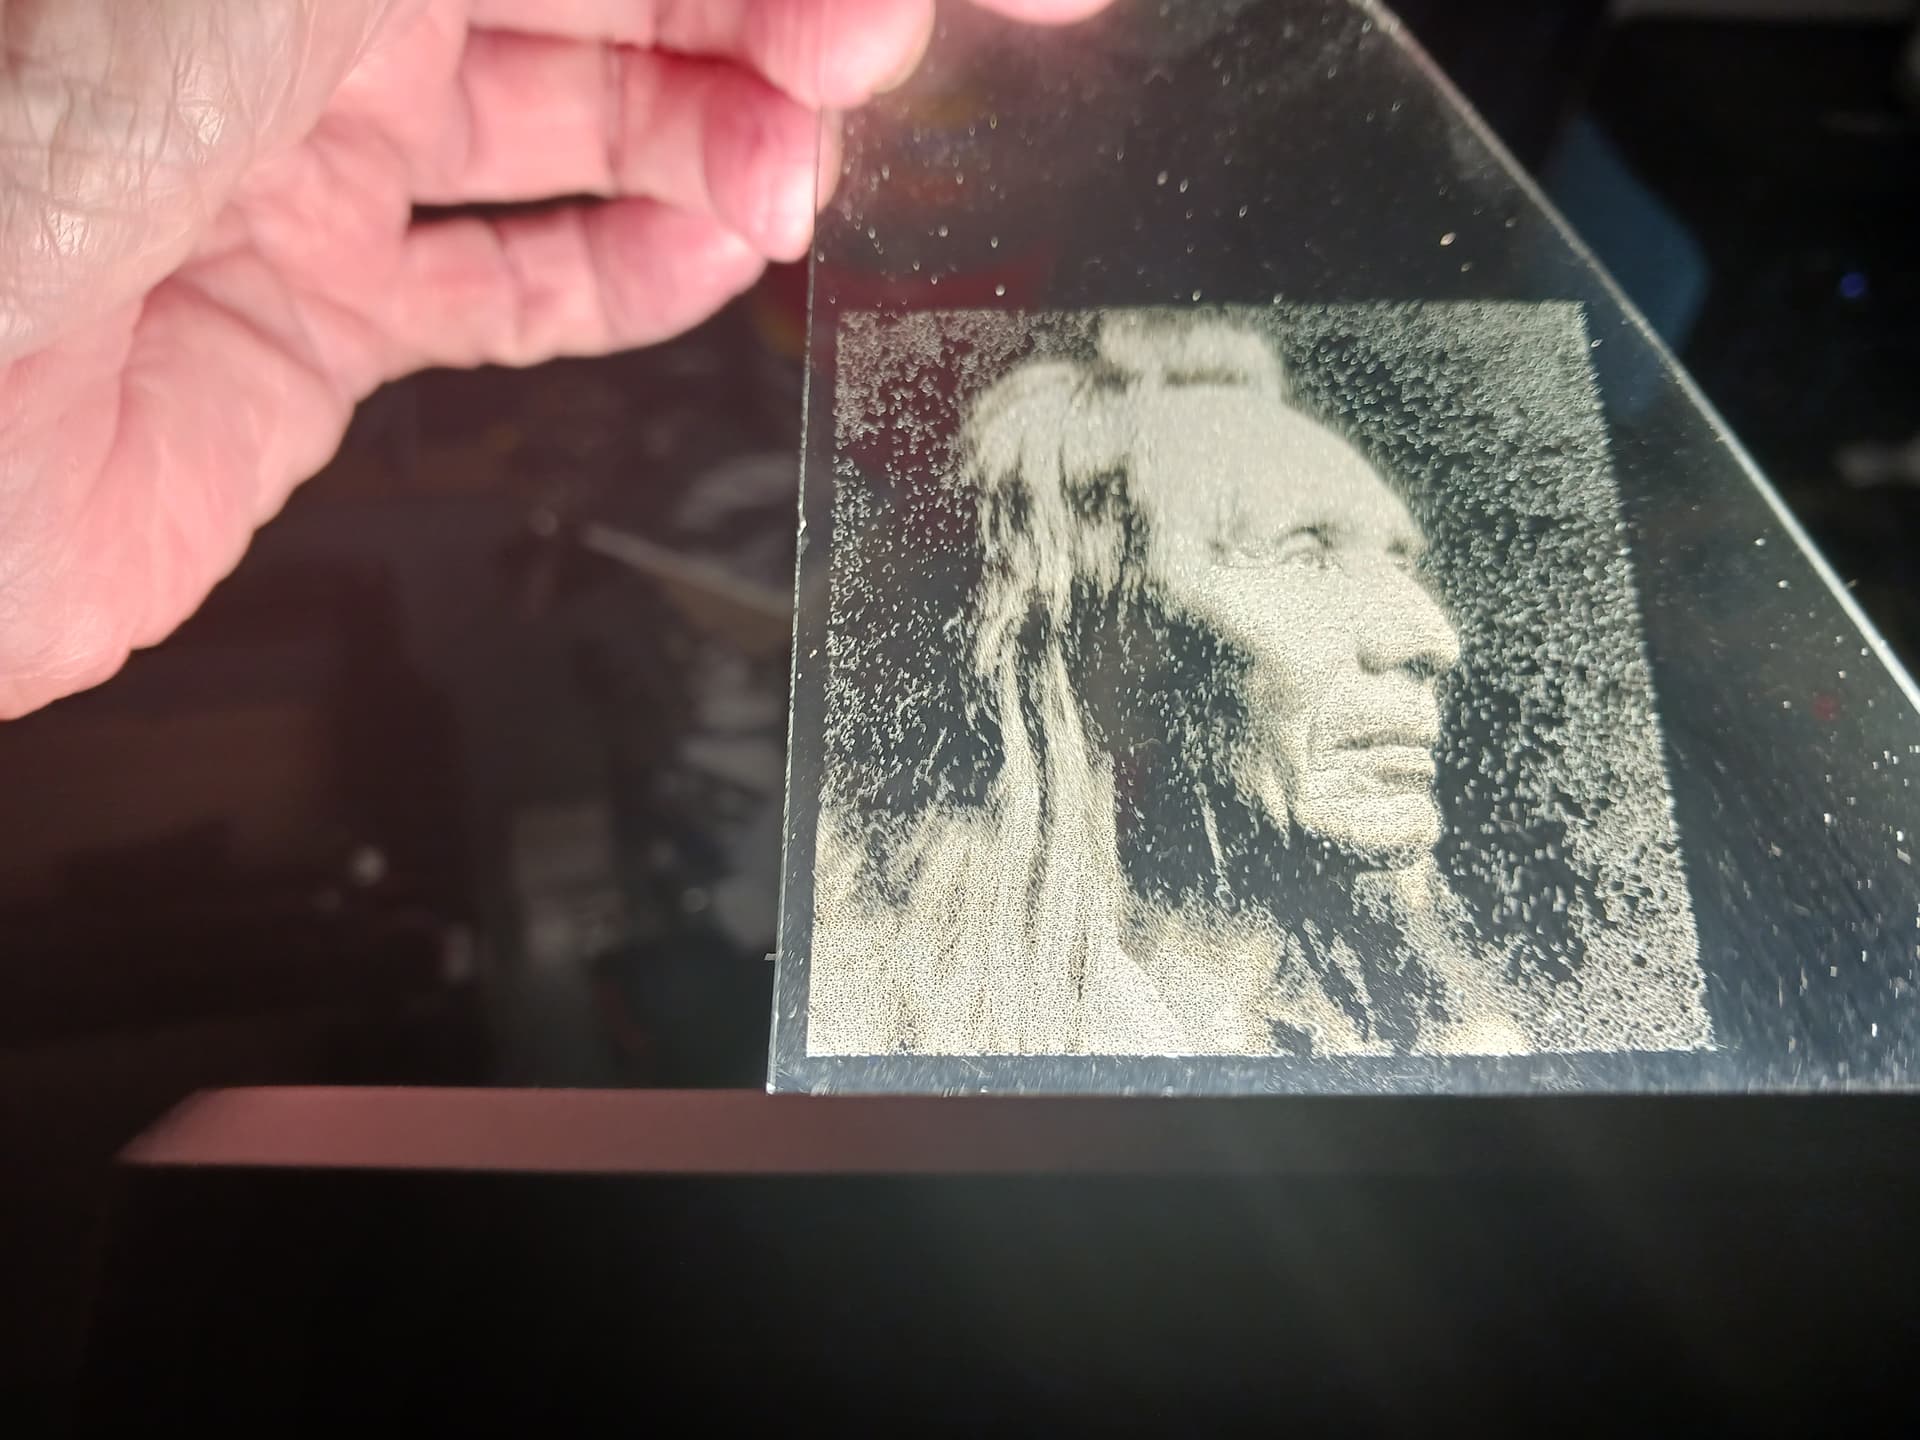
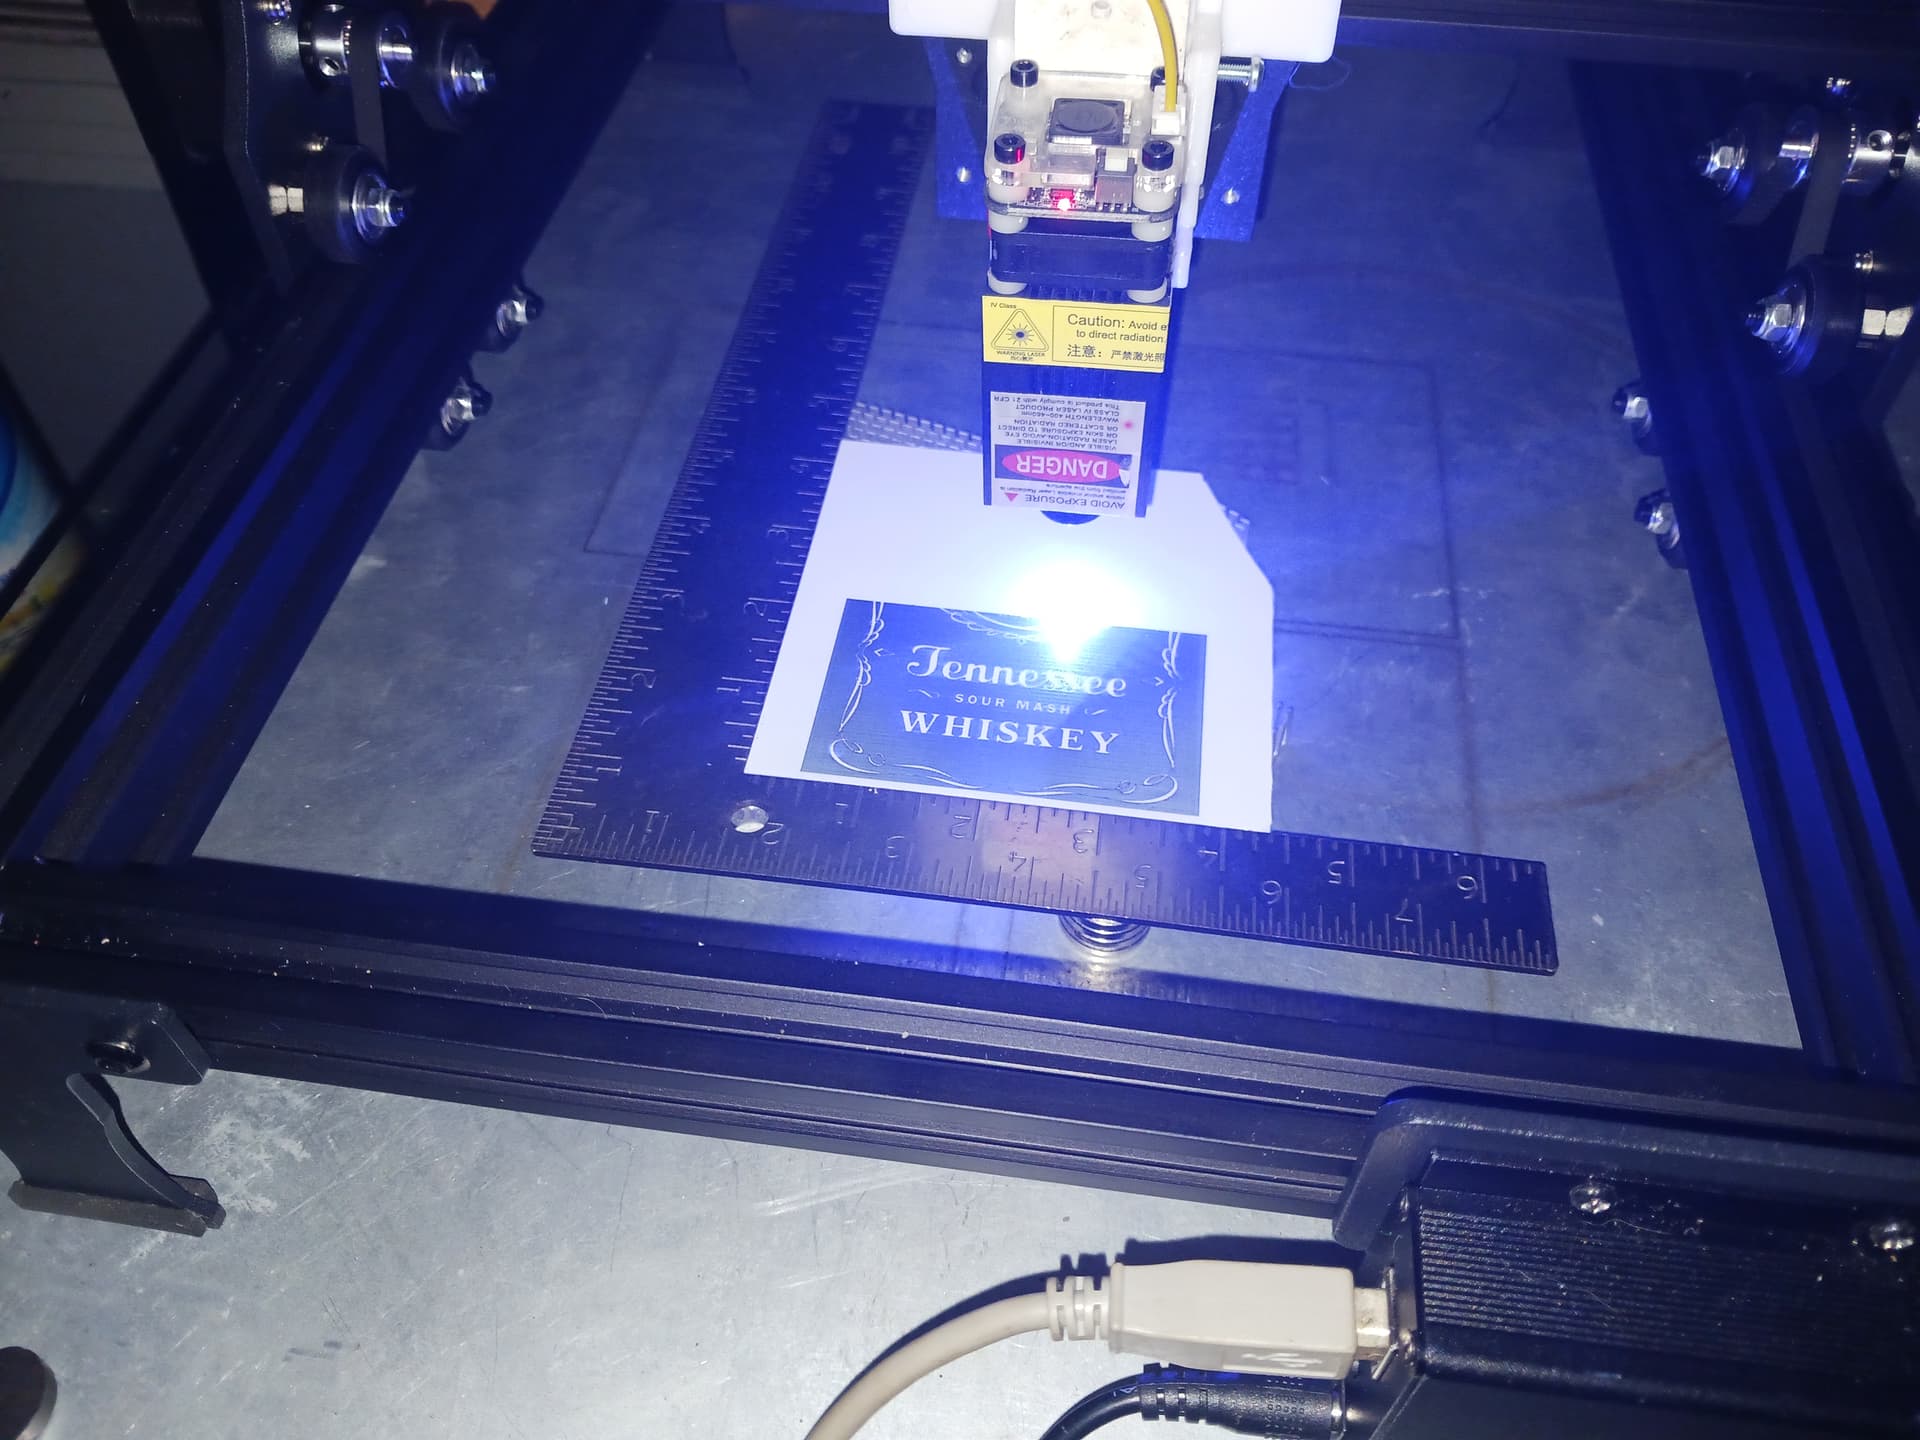
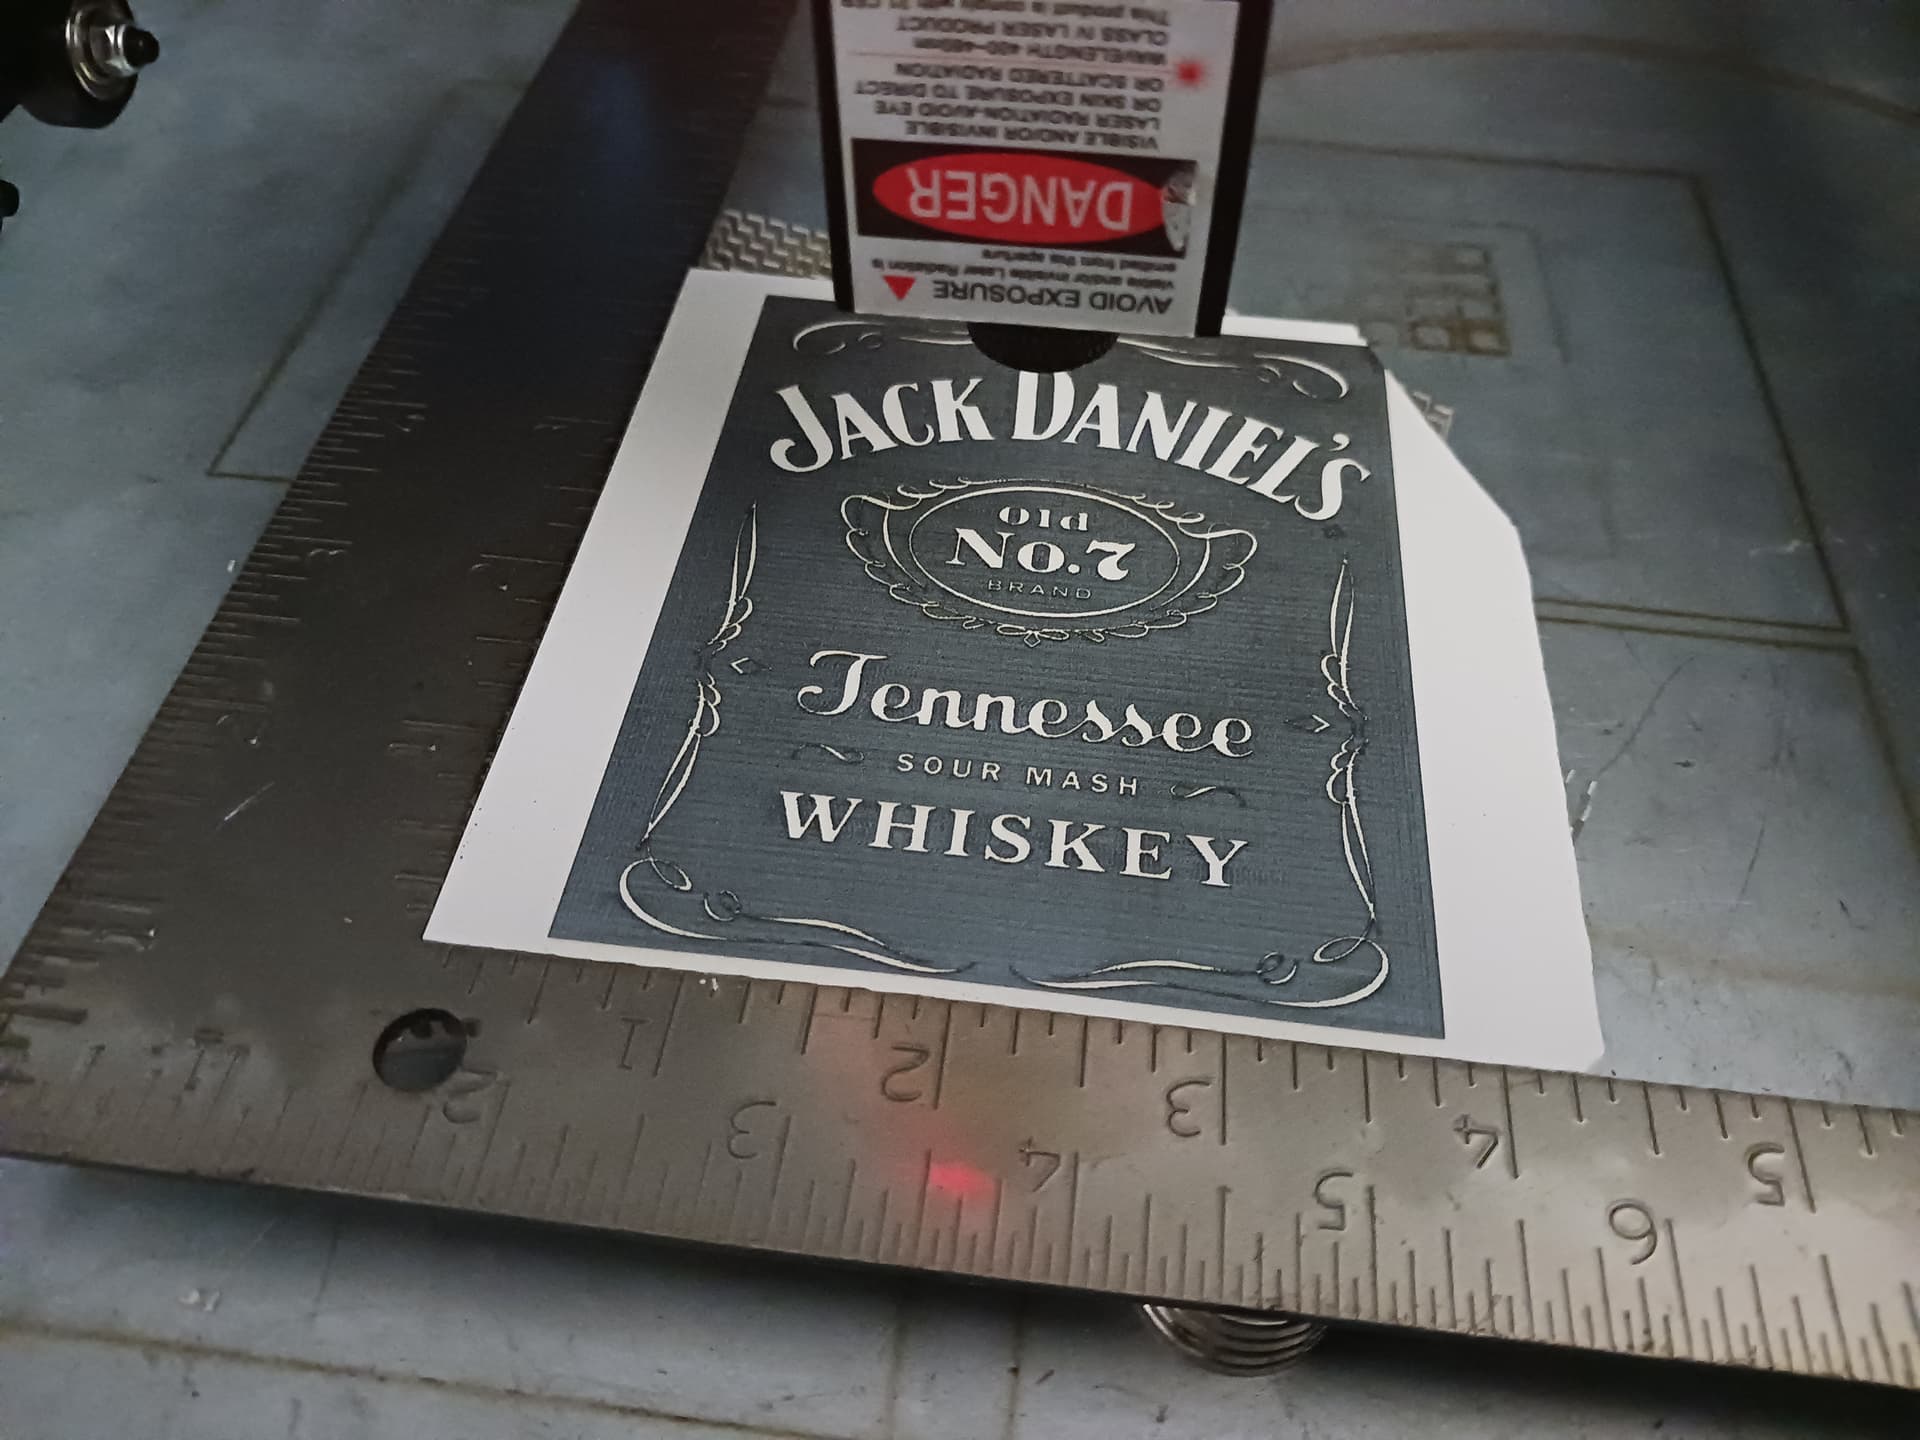
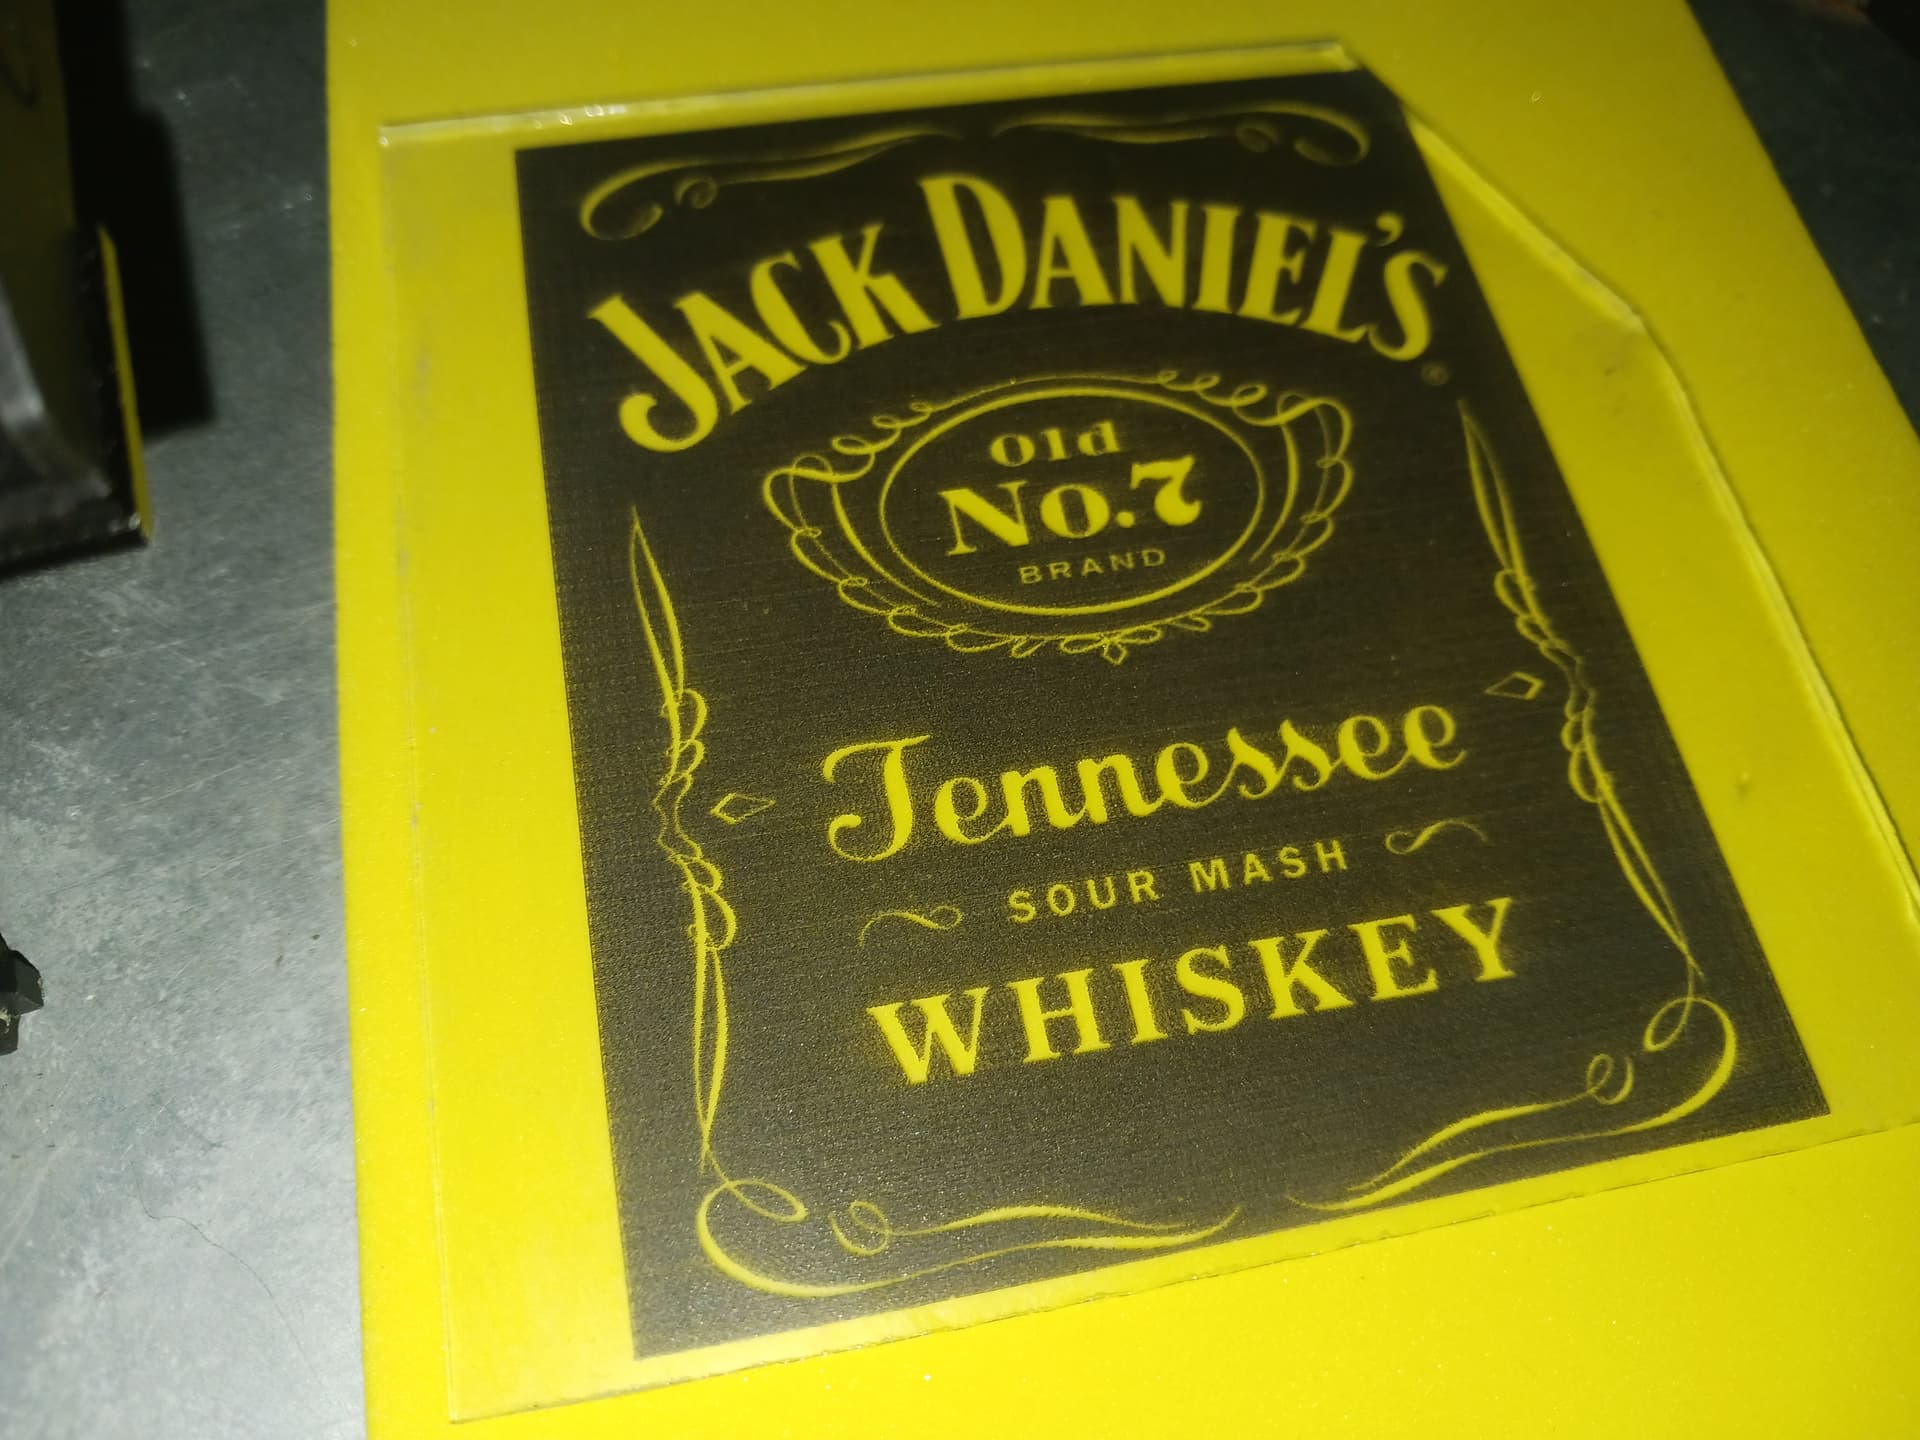
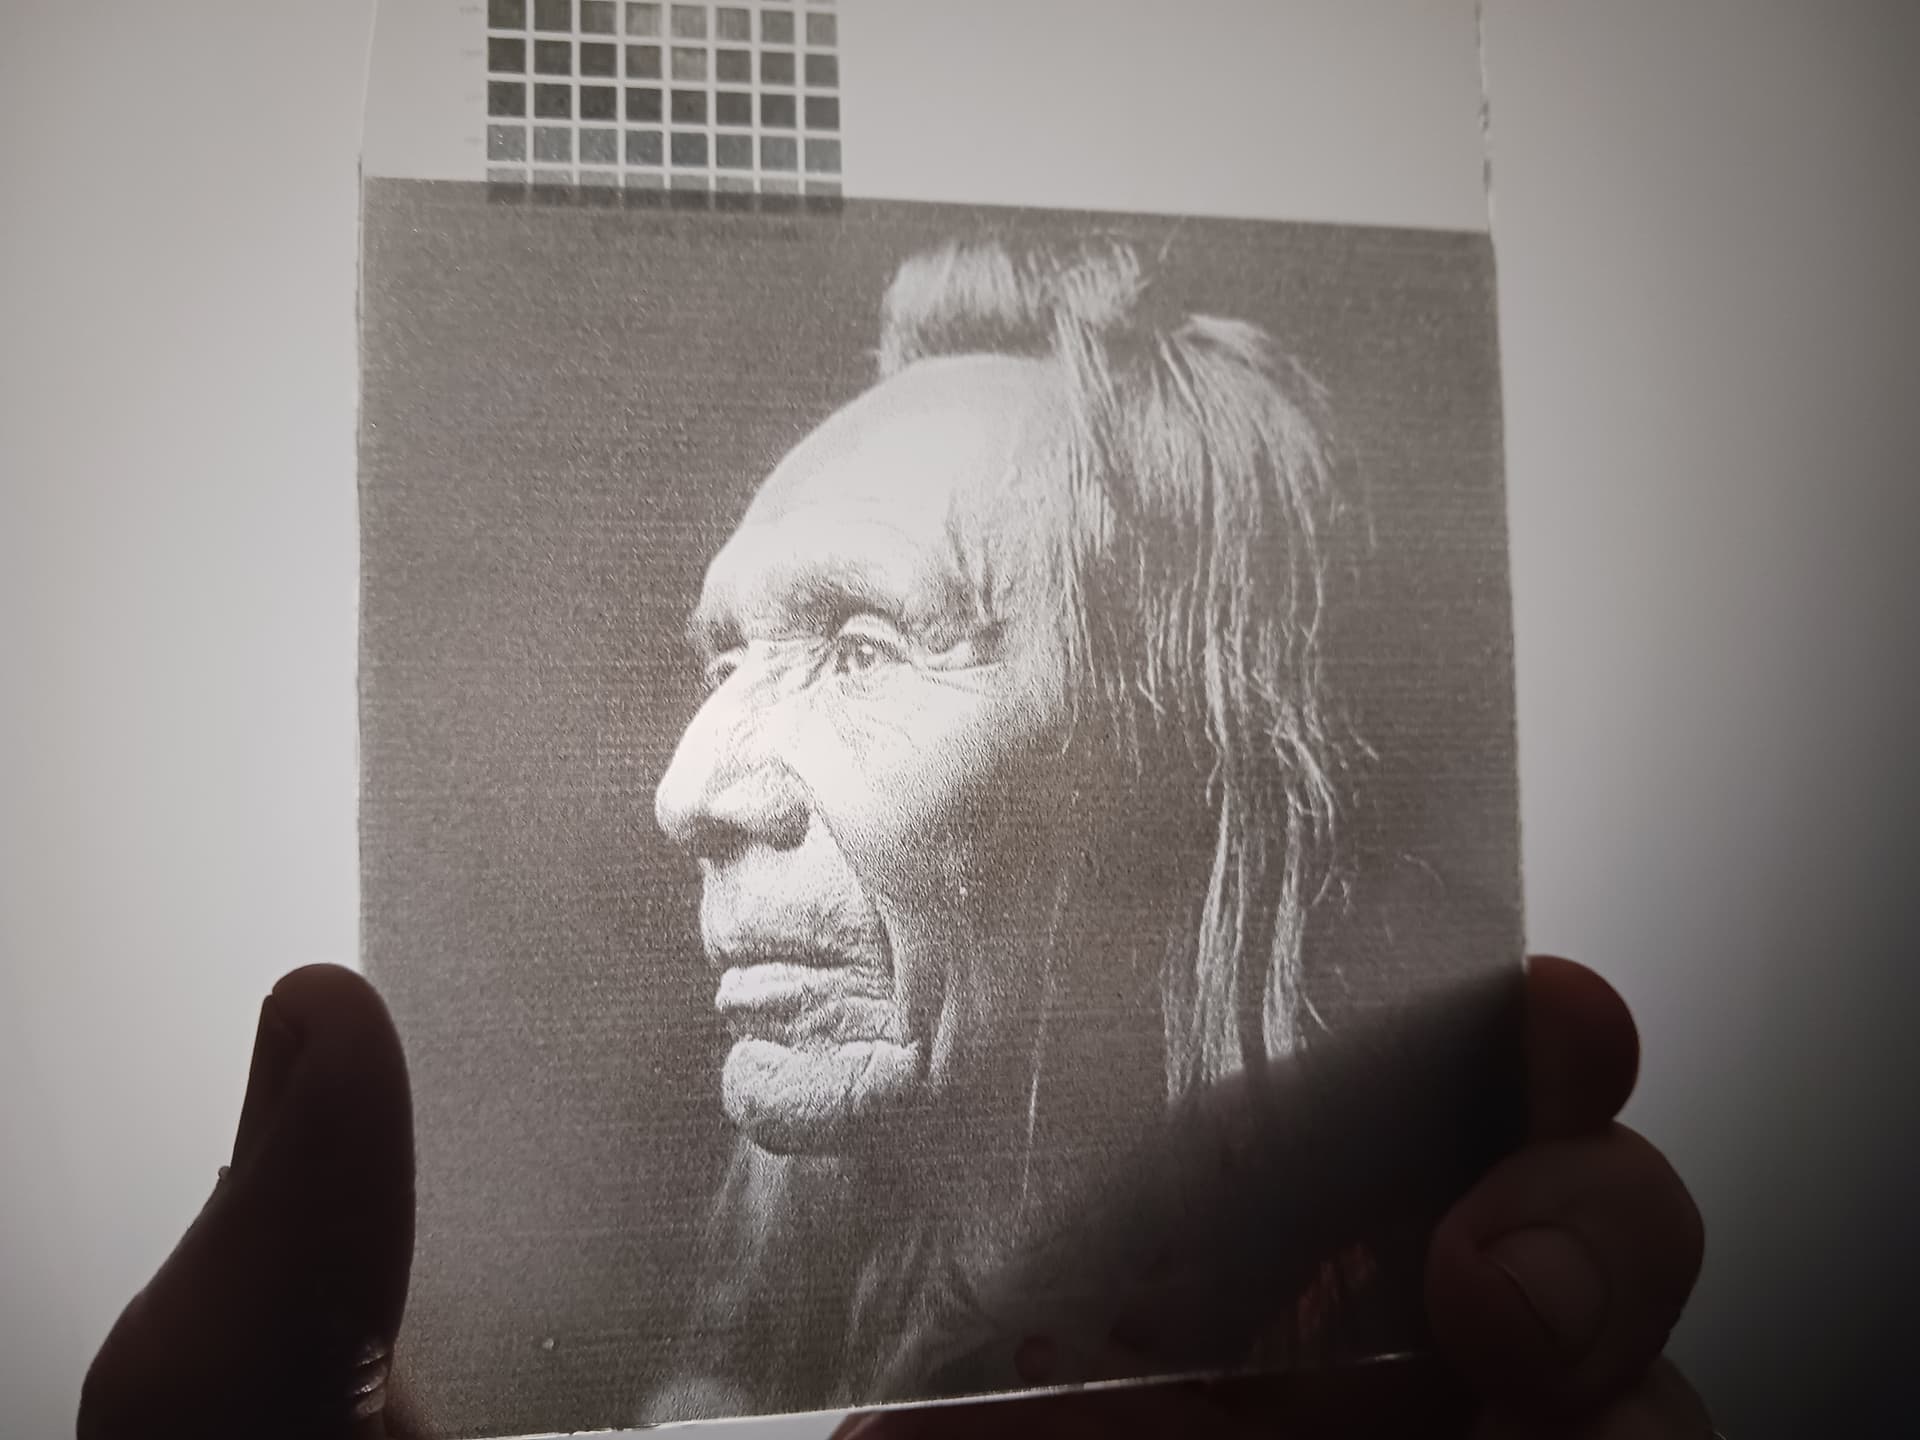
After doing the ceramic tile last evening, I decided to try transparent glass again… same flat-white paint and speed/power setting as for tile. After lasering…
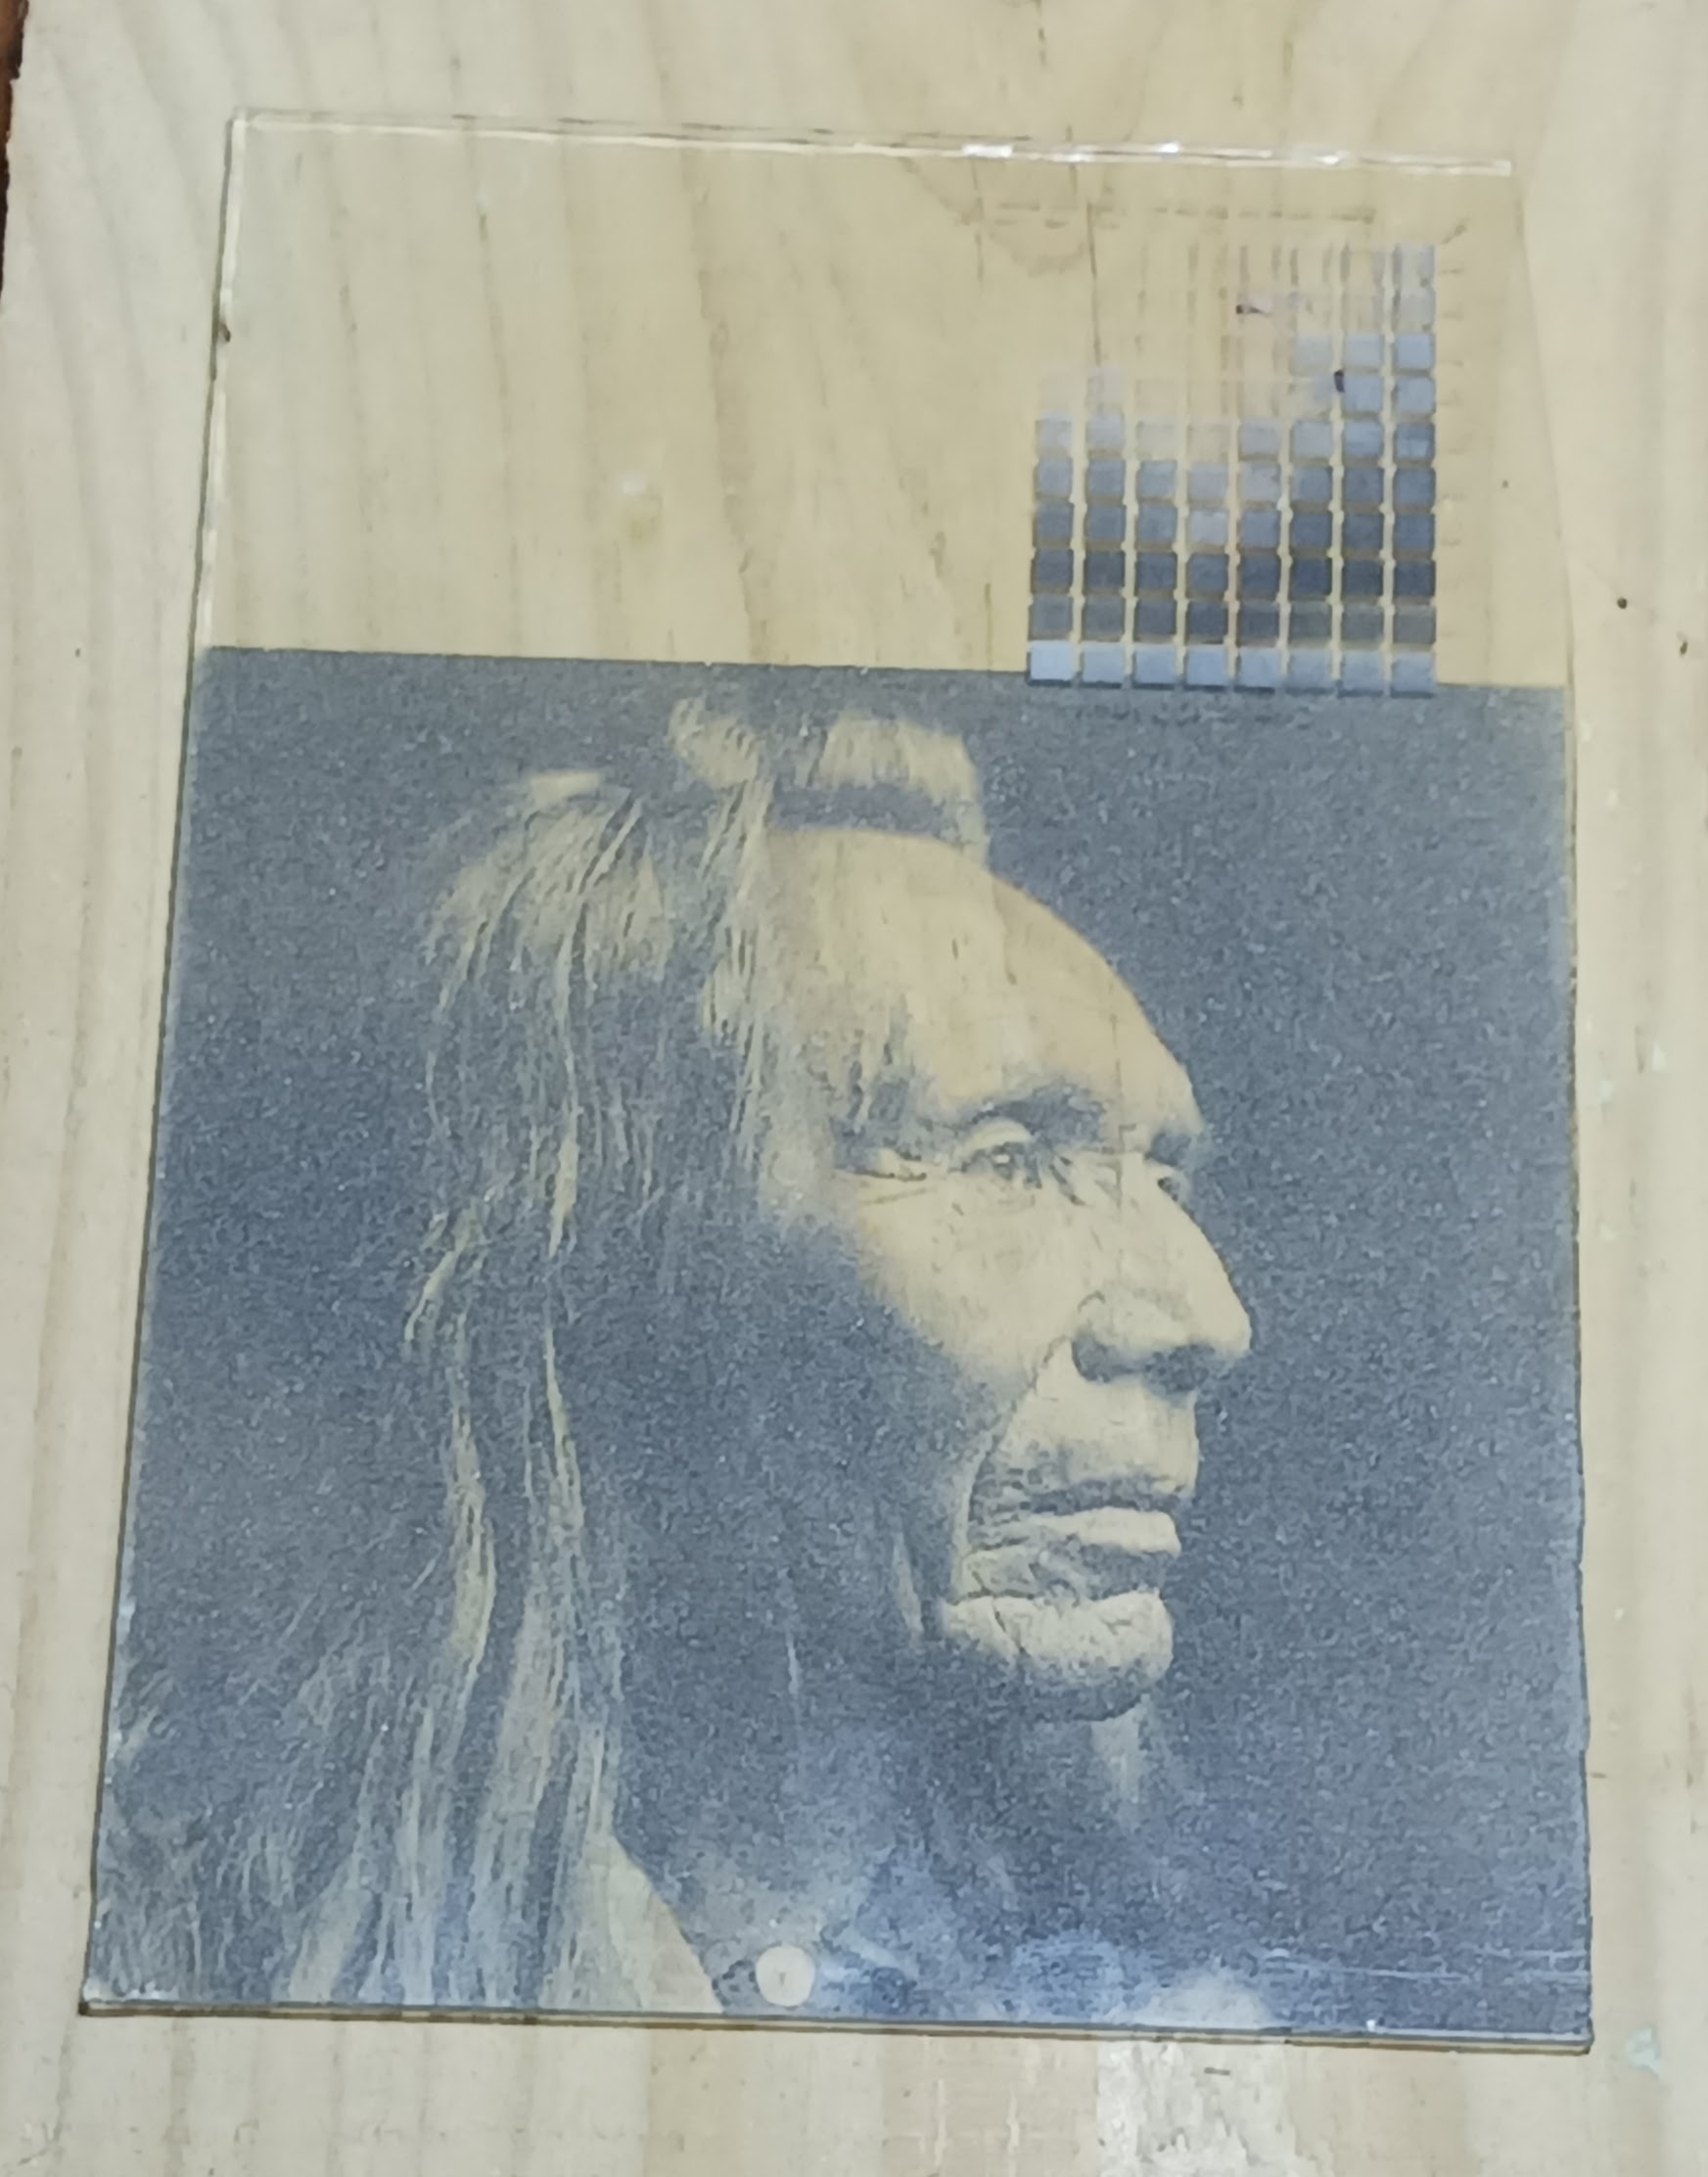
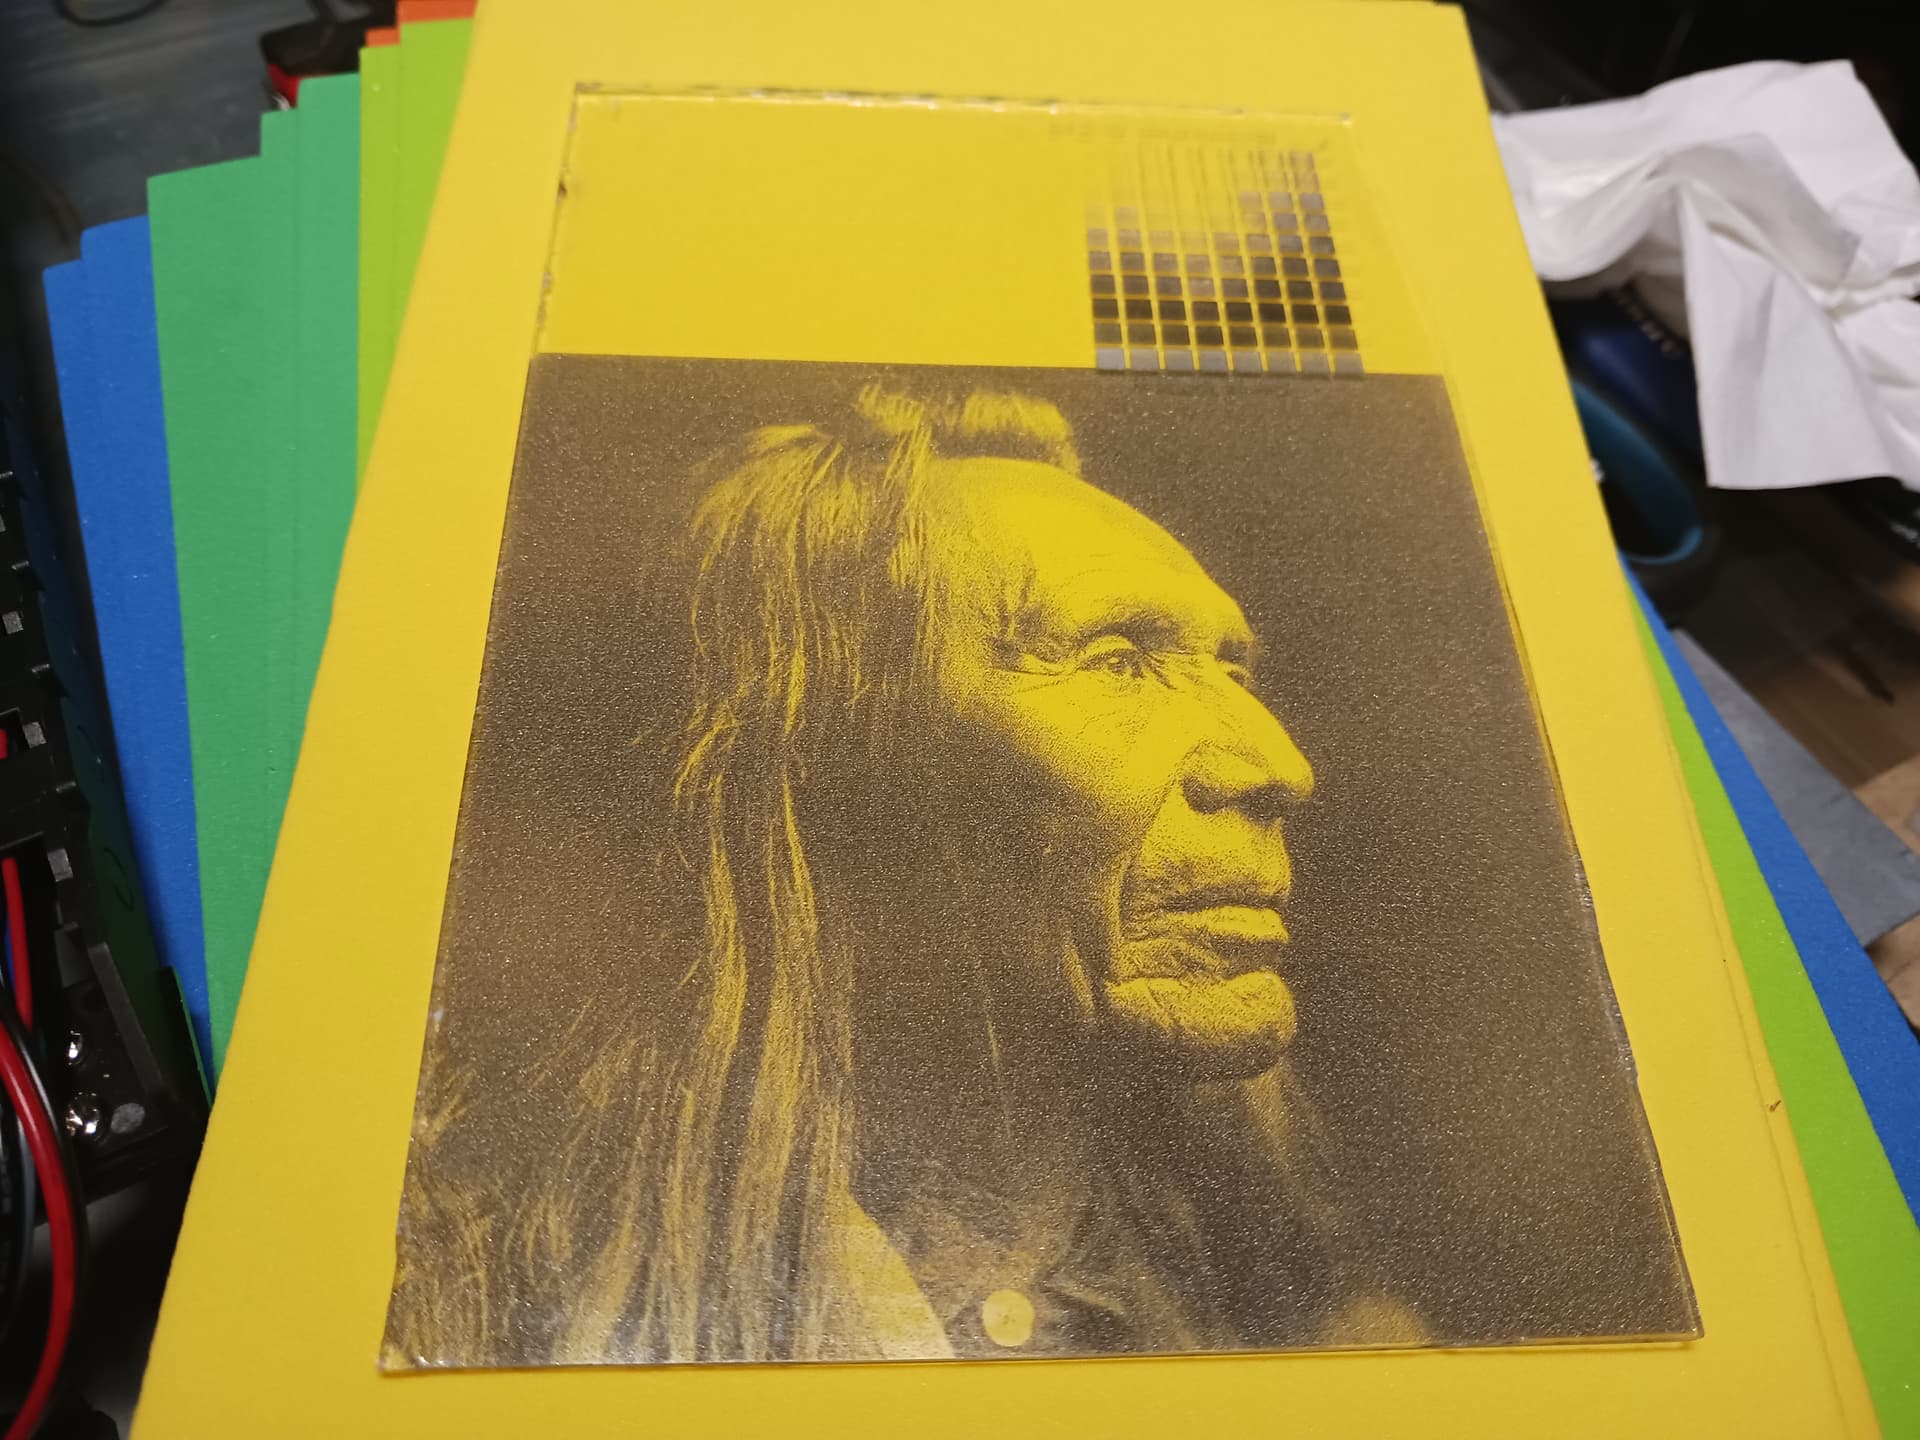
Been playing with my laser for a few days and I have to say that light burn test pattern is just amazing. Really lets you dial things in to get the contrast right in one or two tries. Might have to try something like that with the routers.
Oh and this thread has been the major motivation to get the laser dialed in again, so thank you for not frolicking (too often ).
Now grblHAL can be installed on the skr pro i wish i could get more time to play with it. But spare time is just a belove dream now i have 2 children… @vicious1 did you tested it yet ?
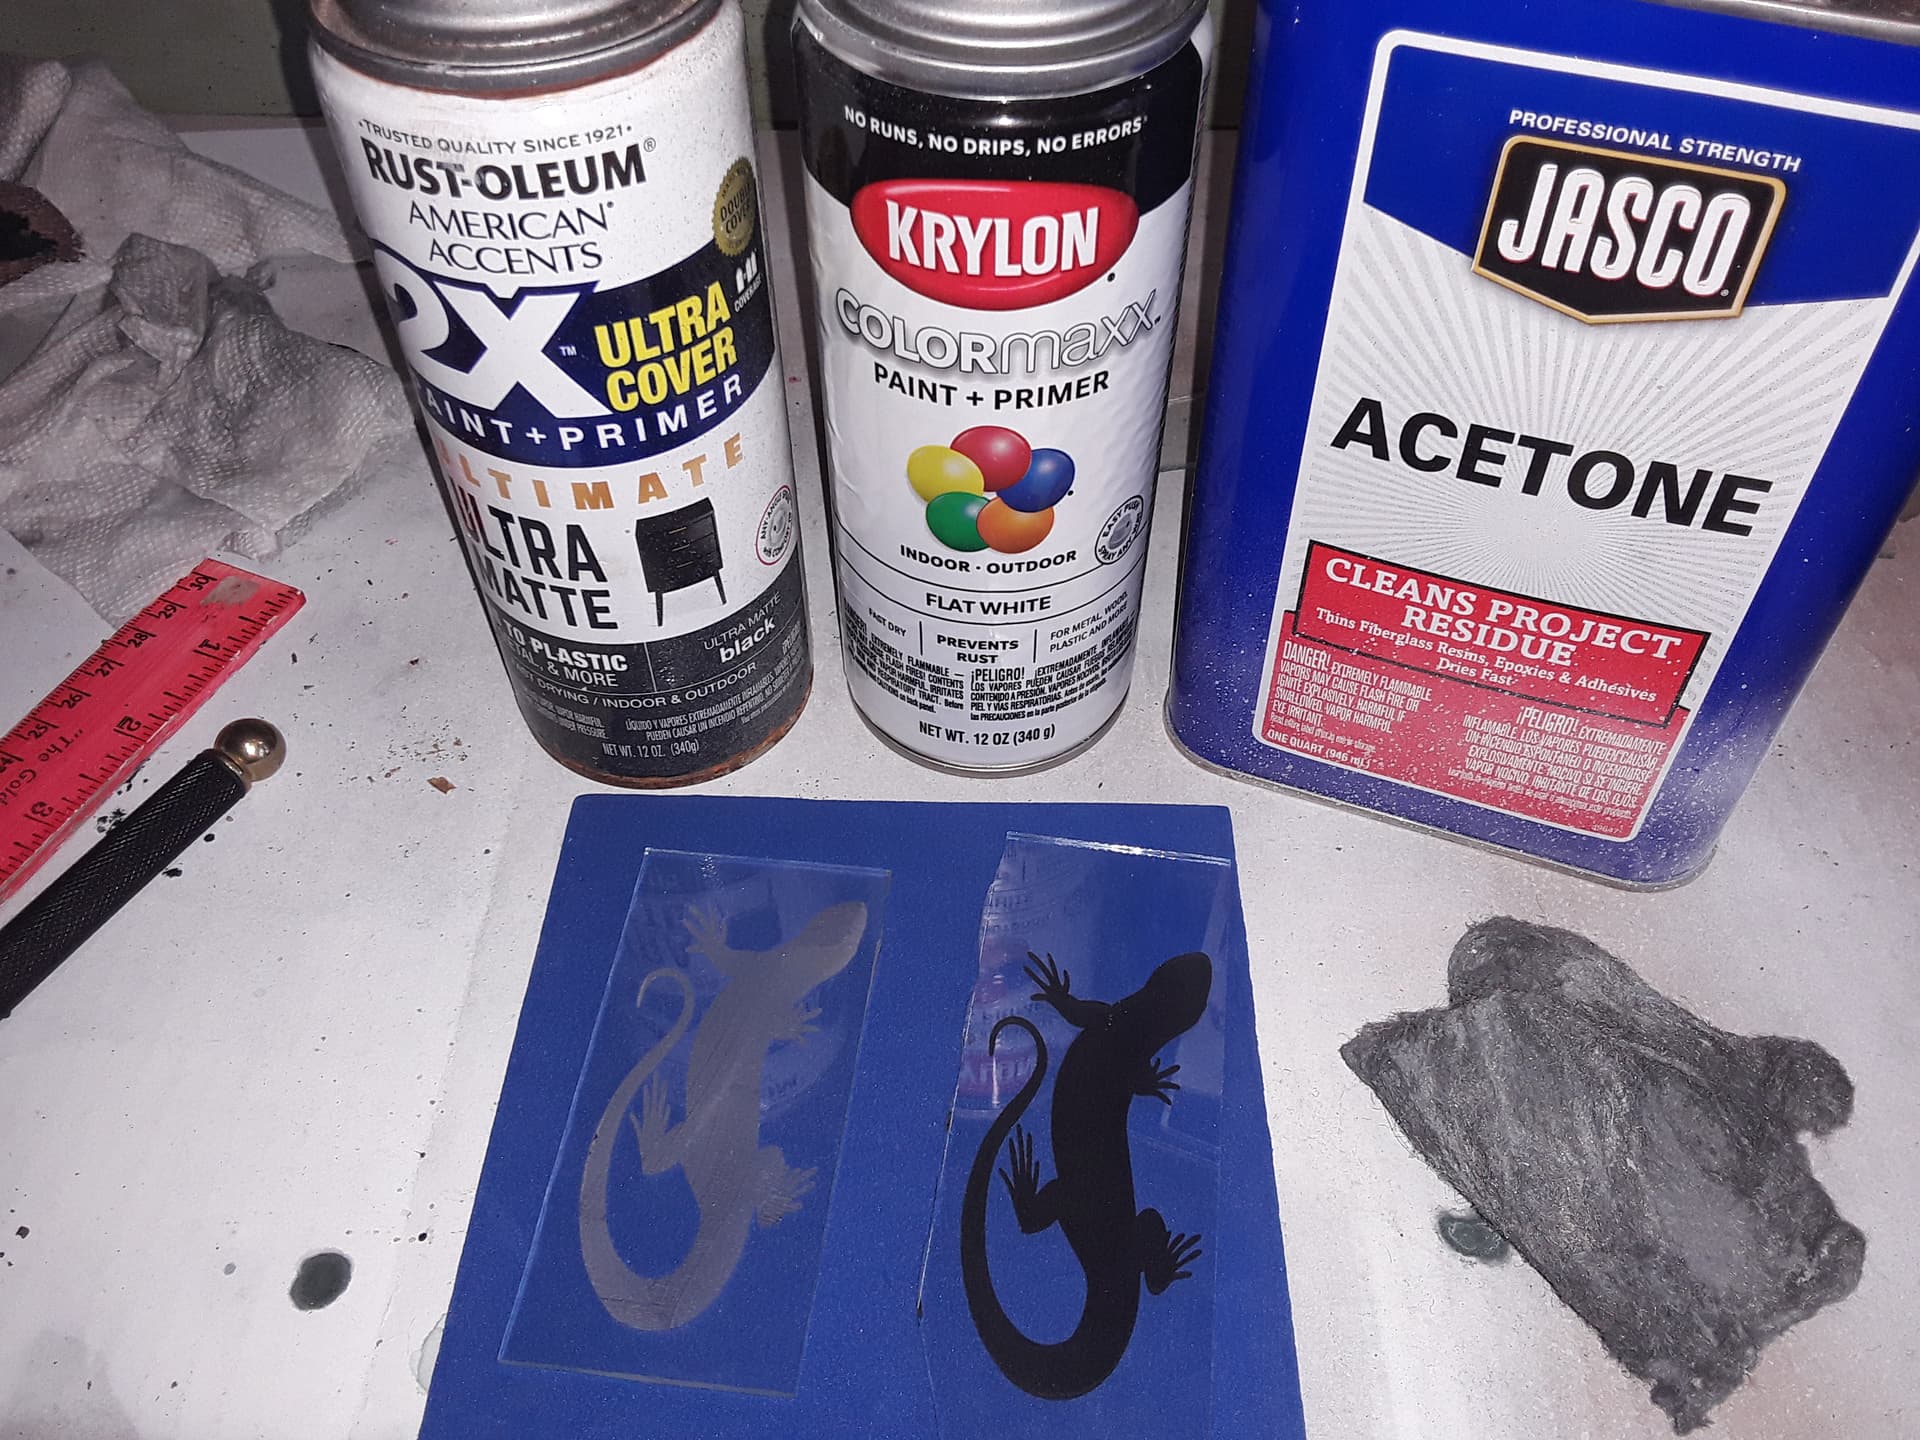
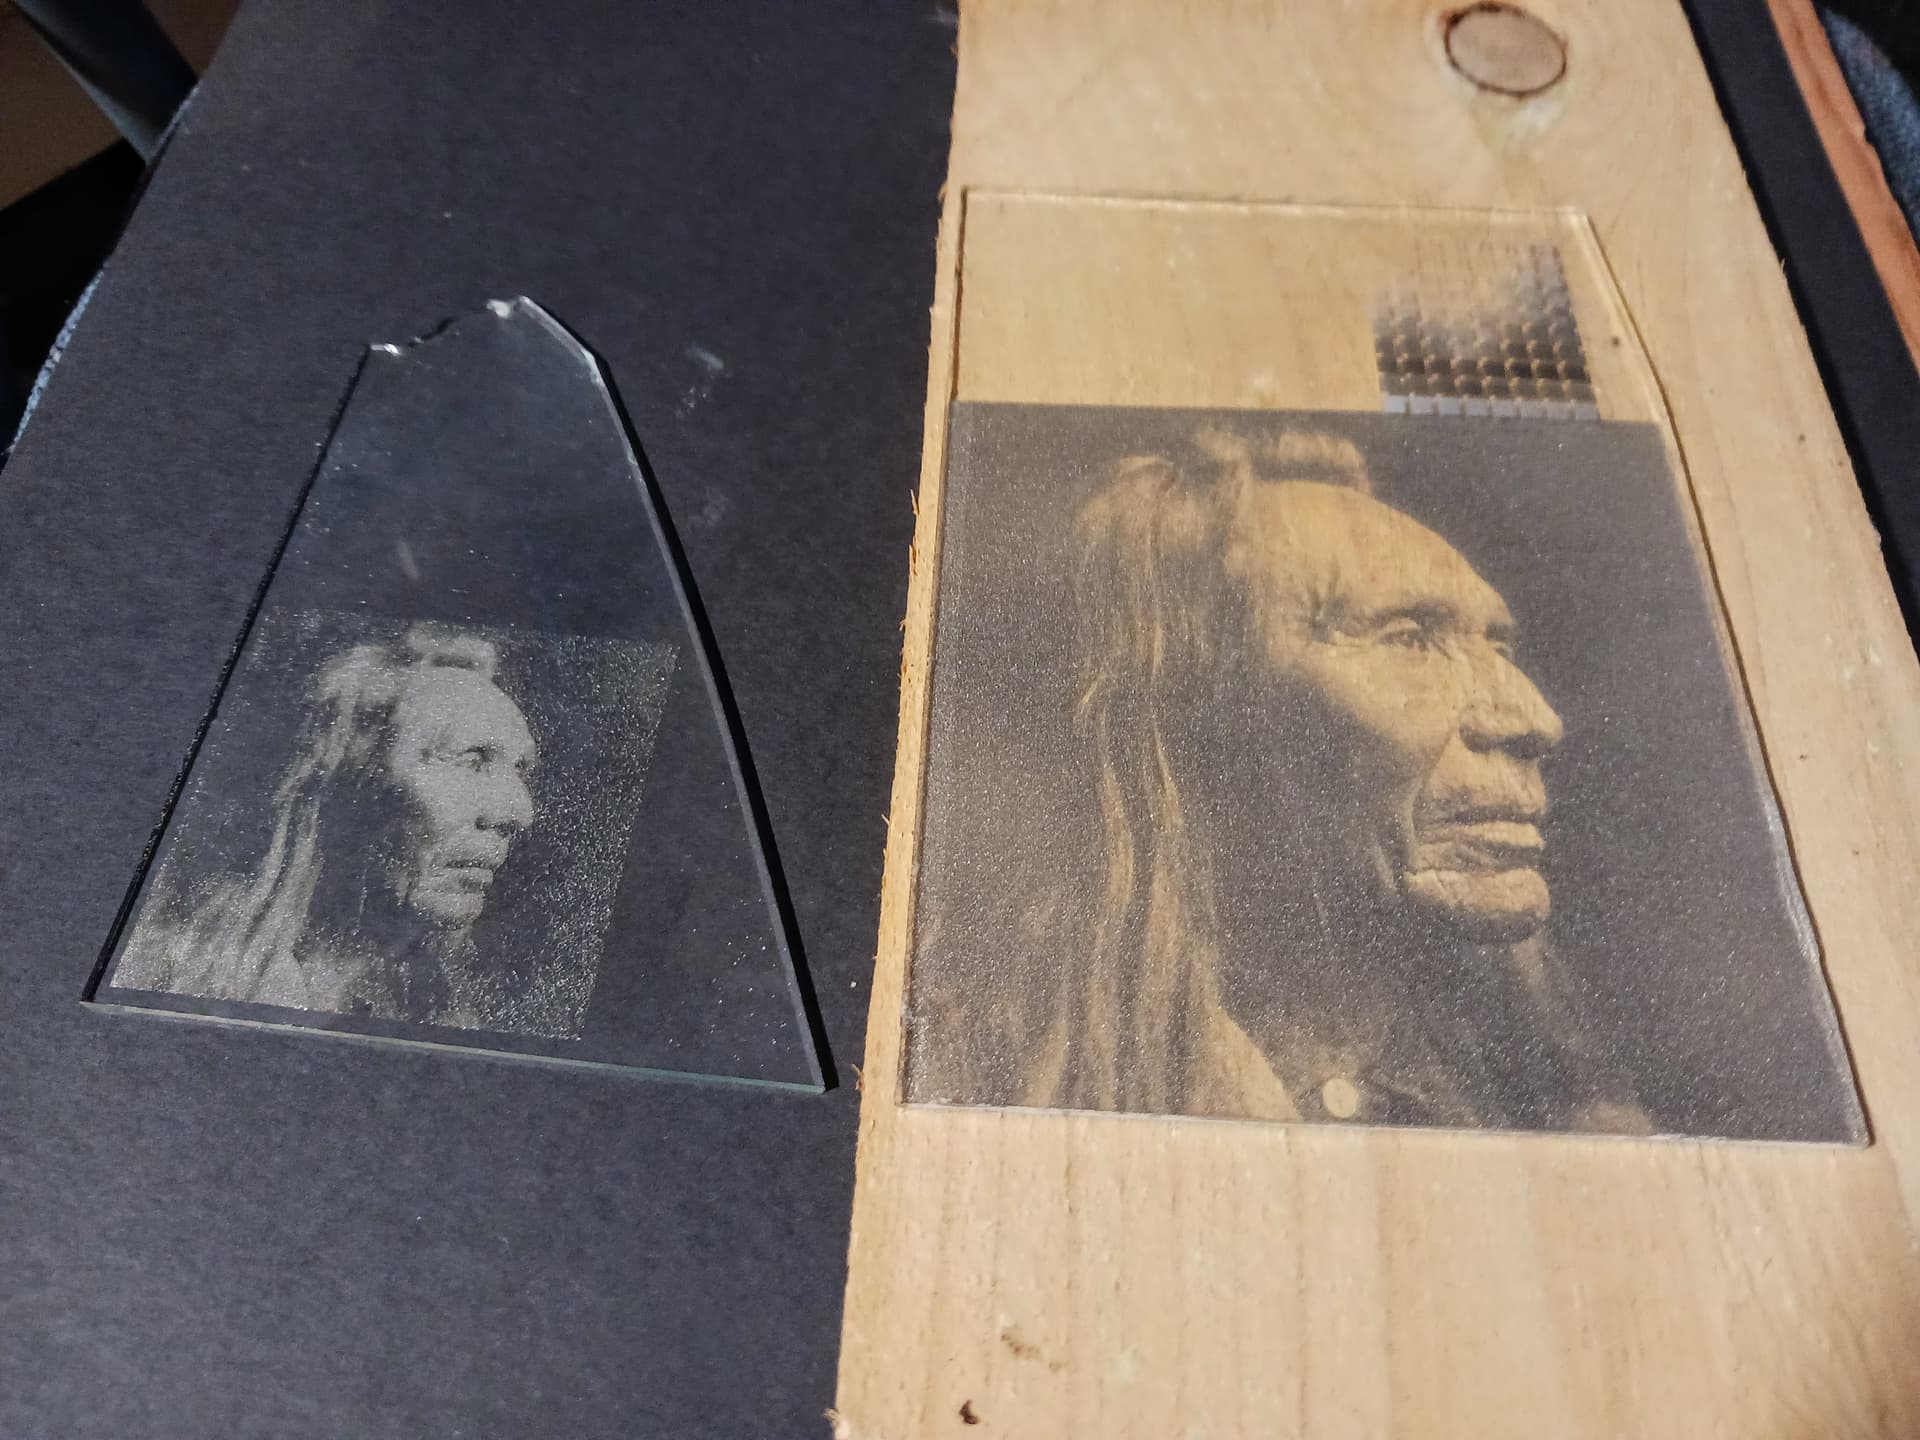
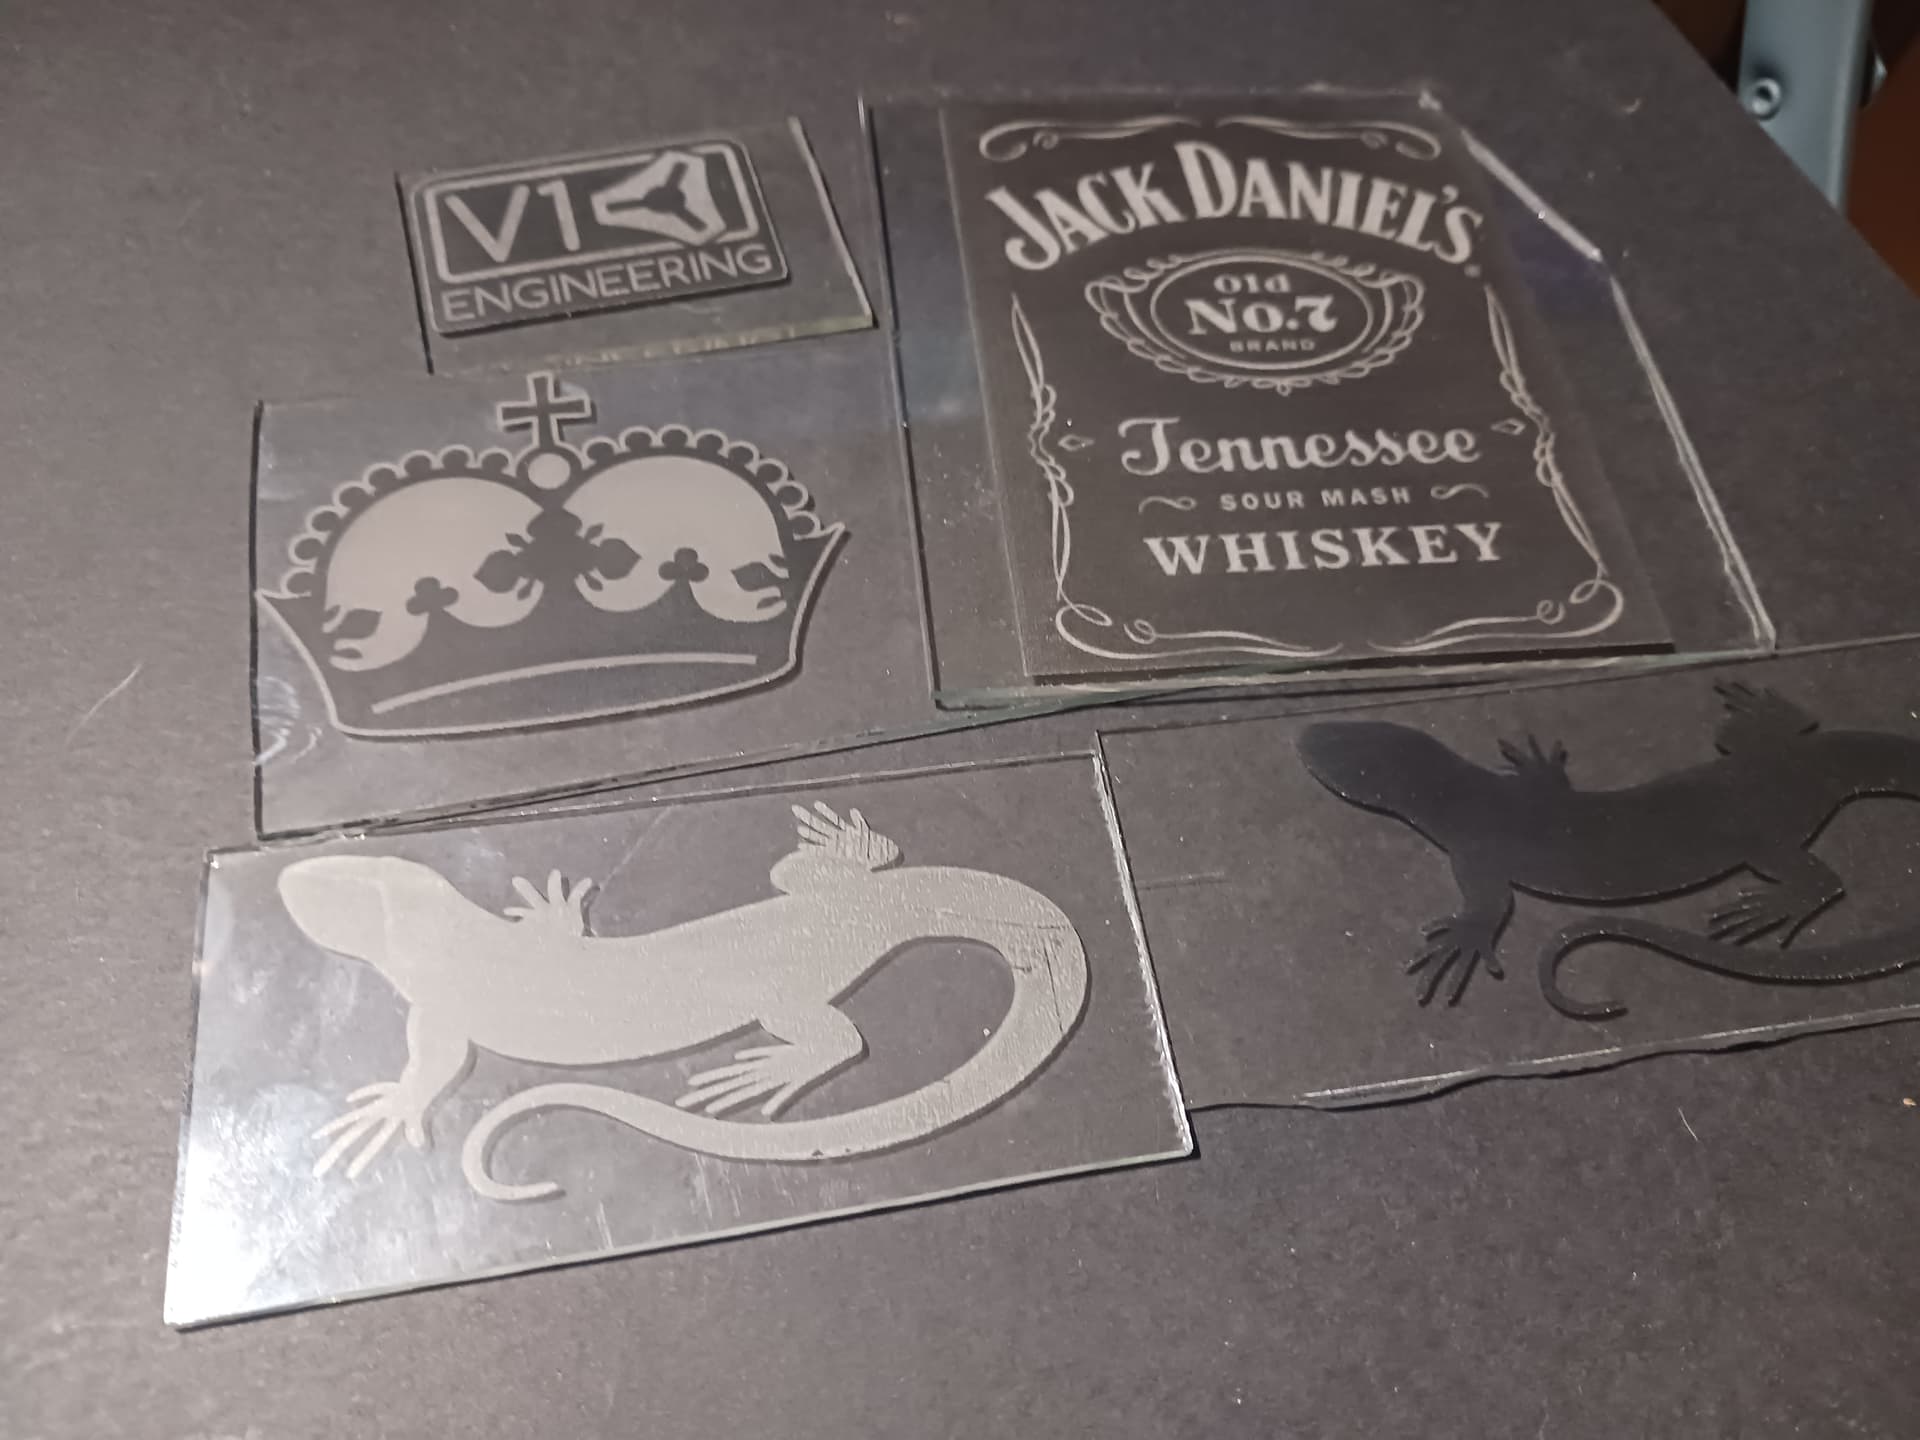
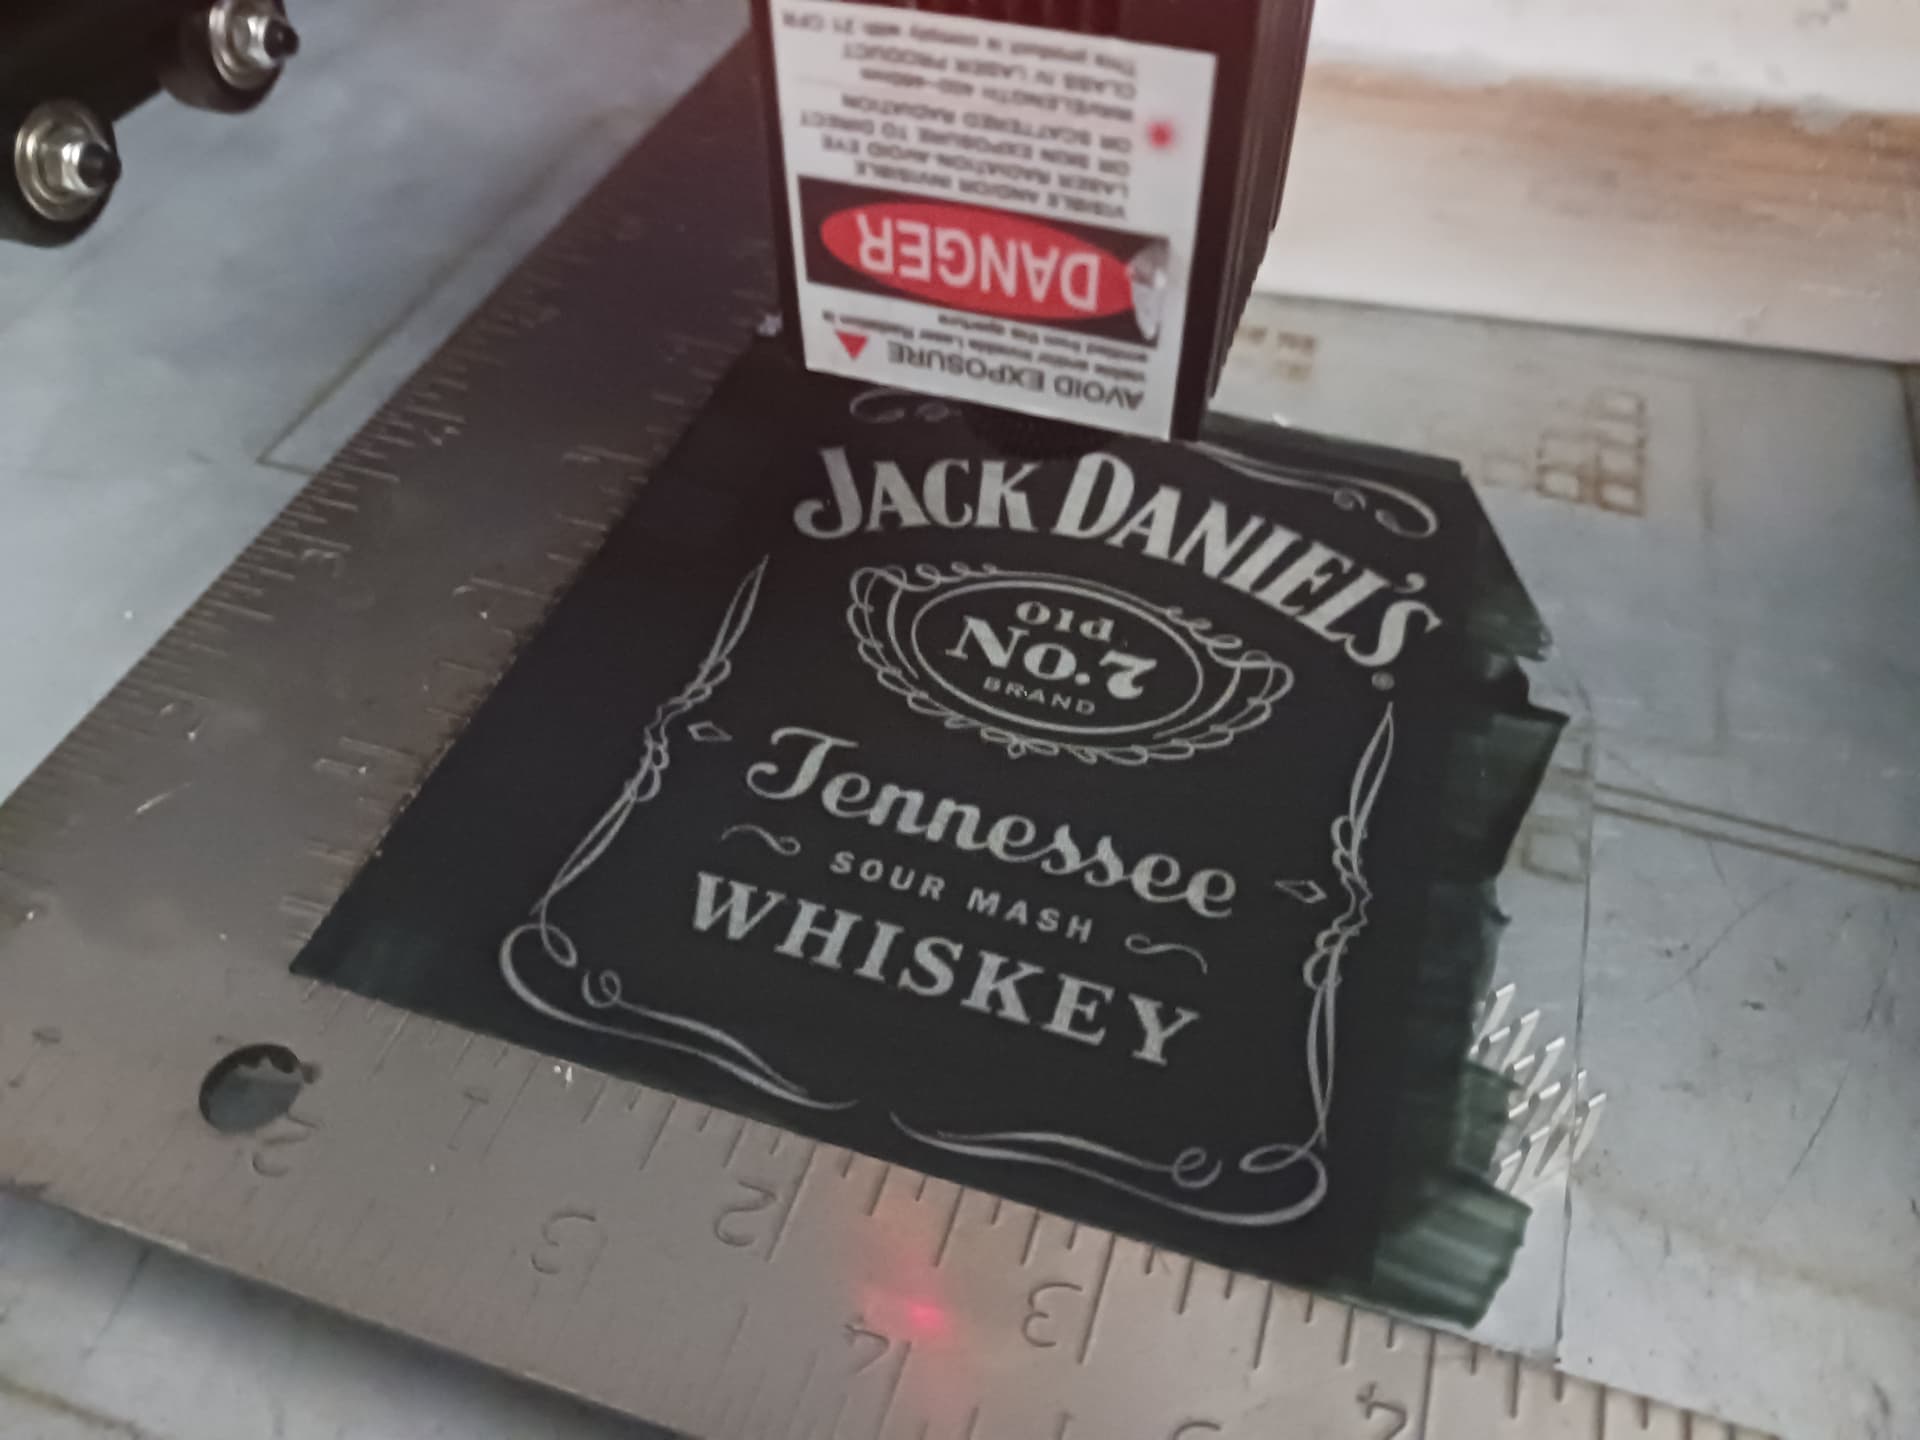
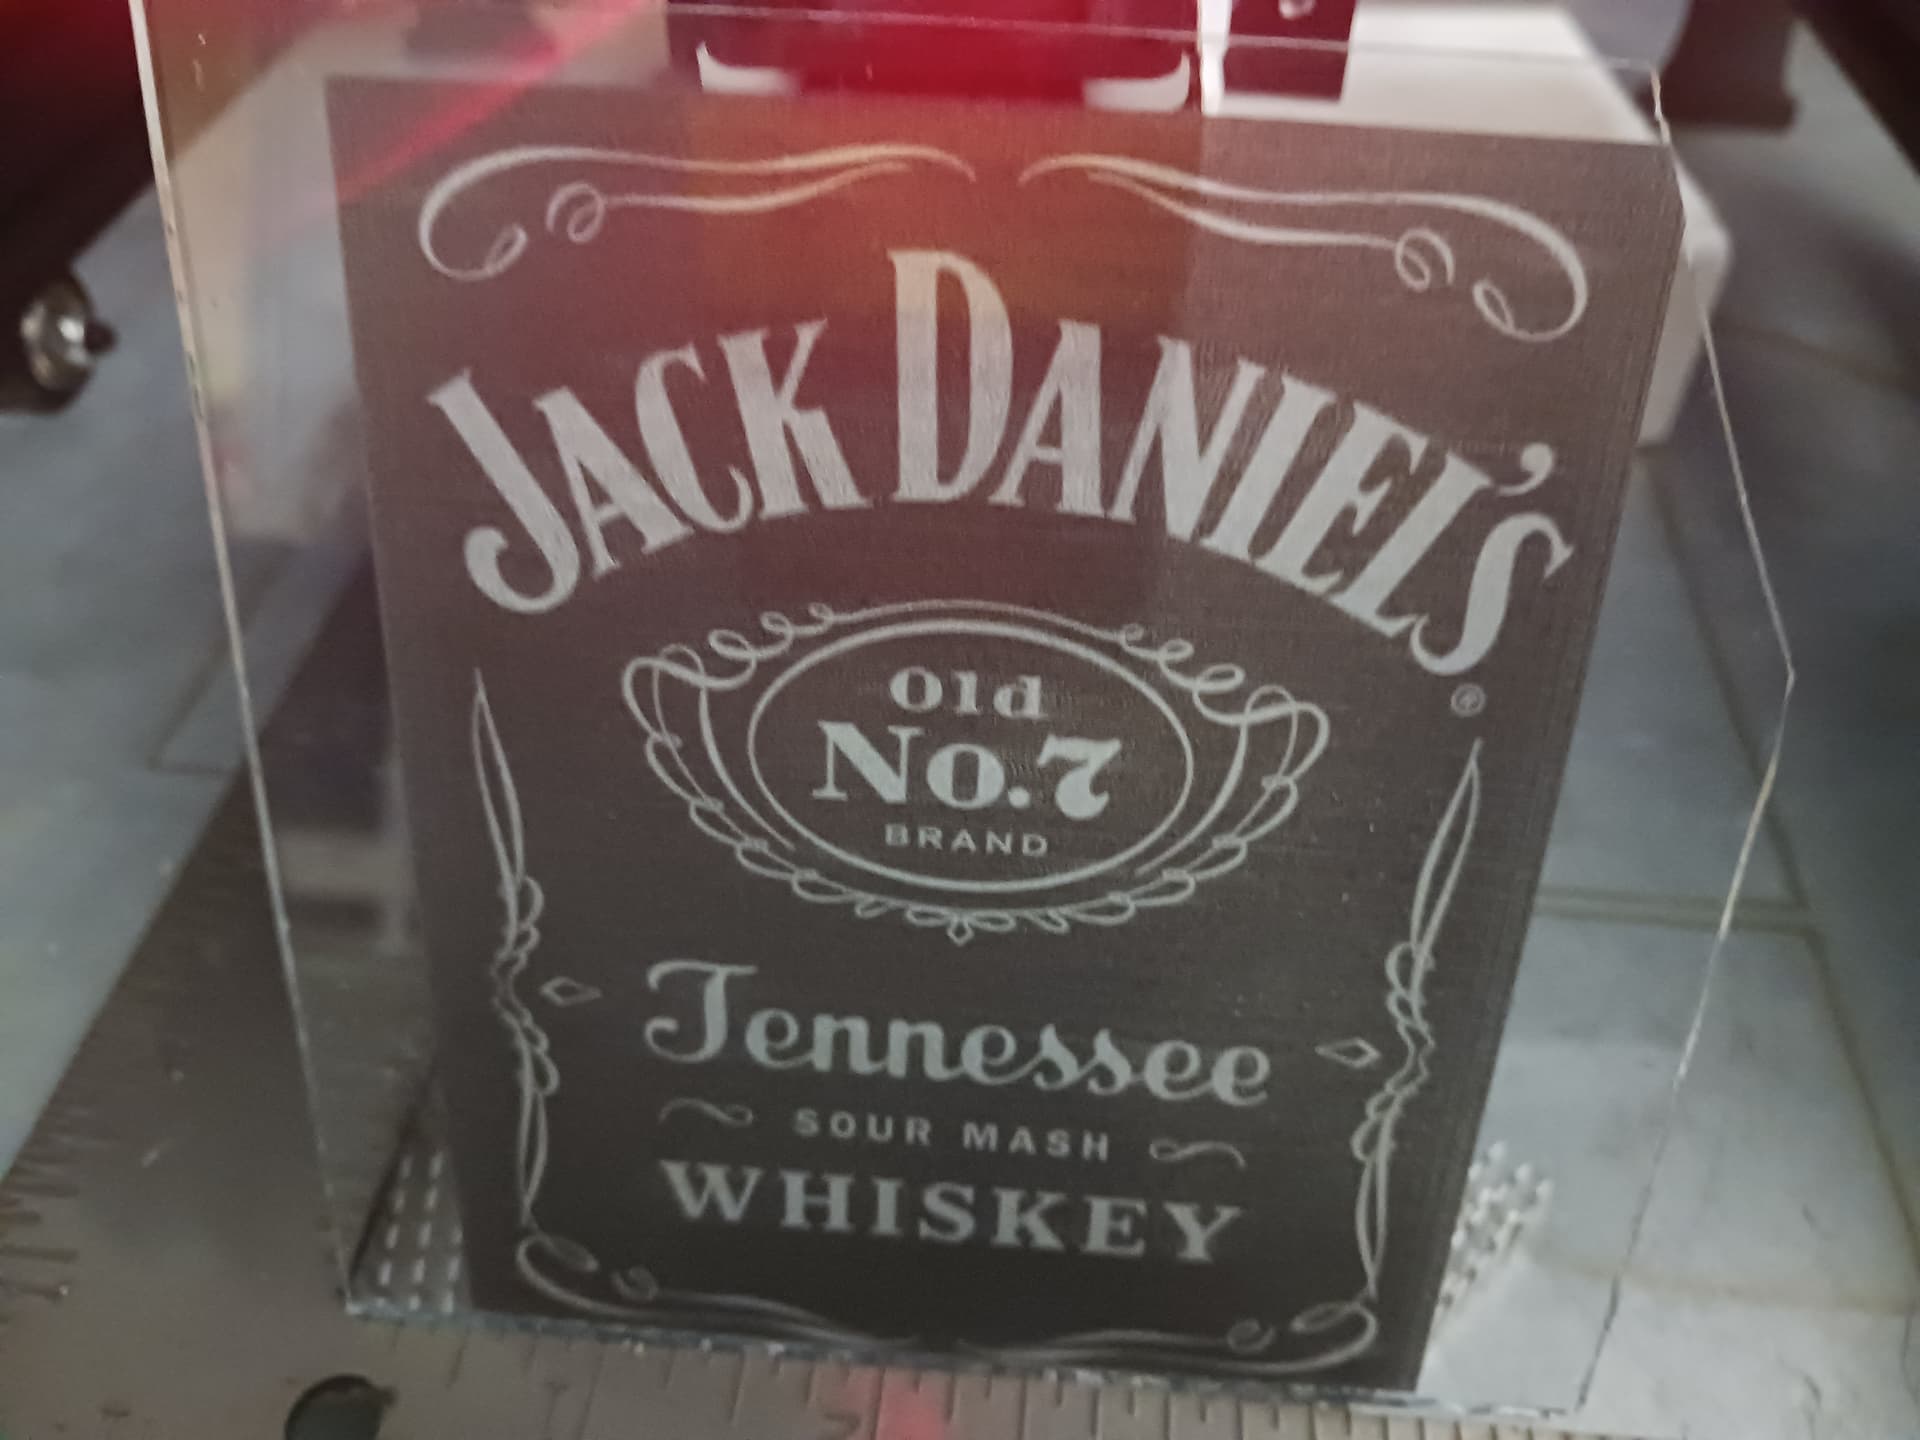
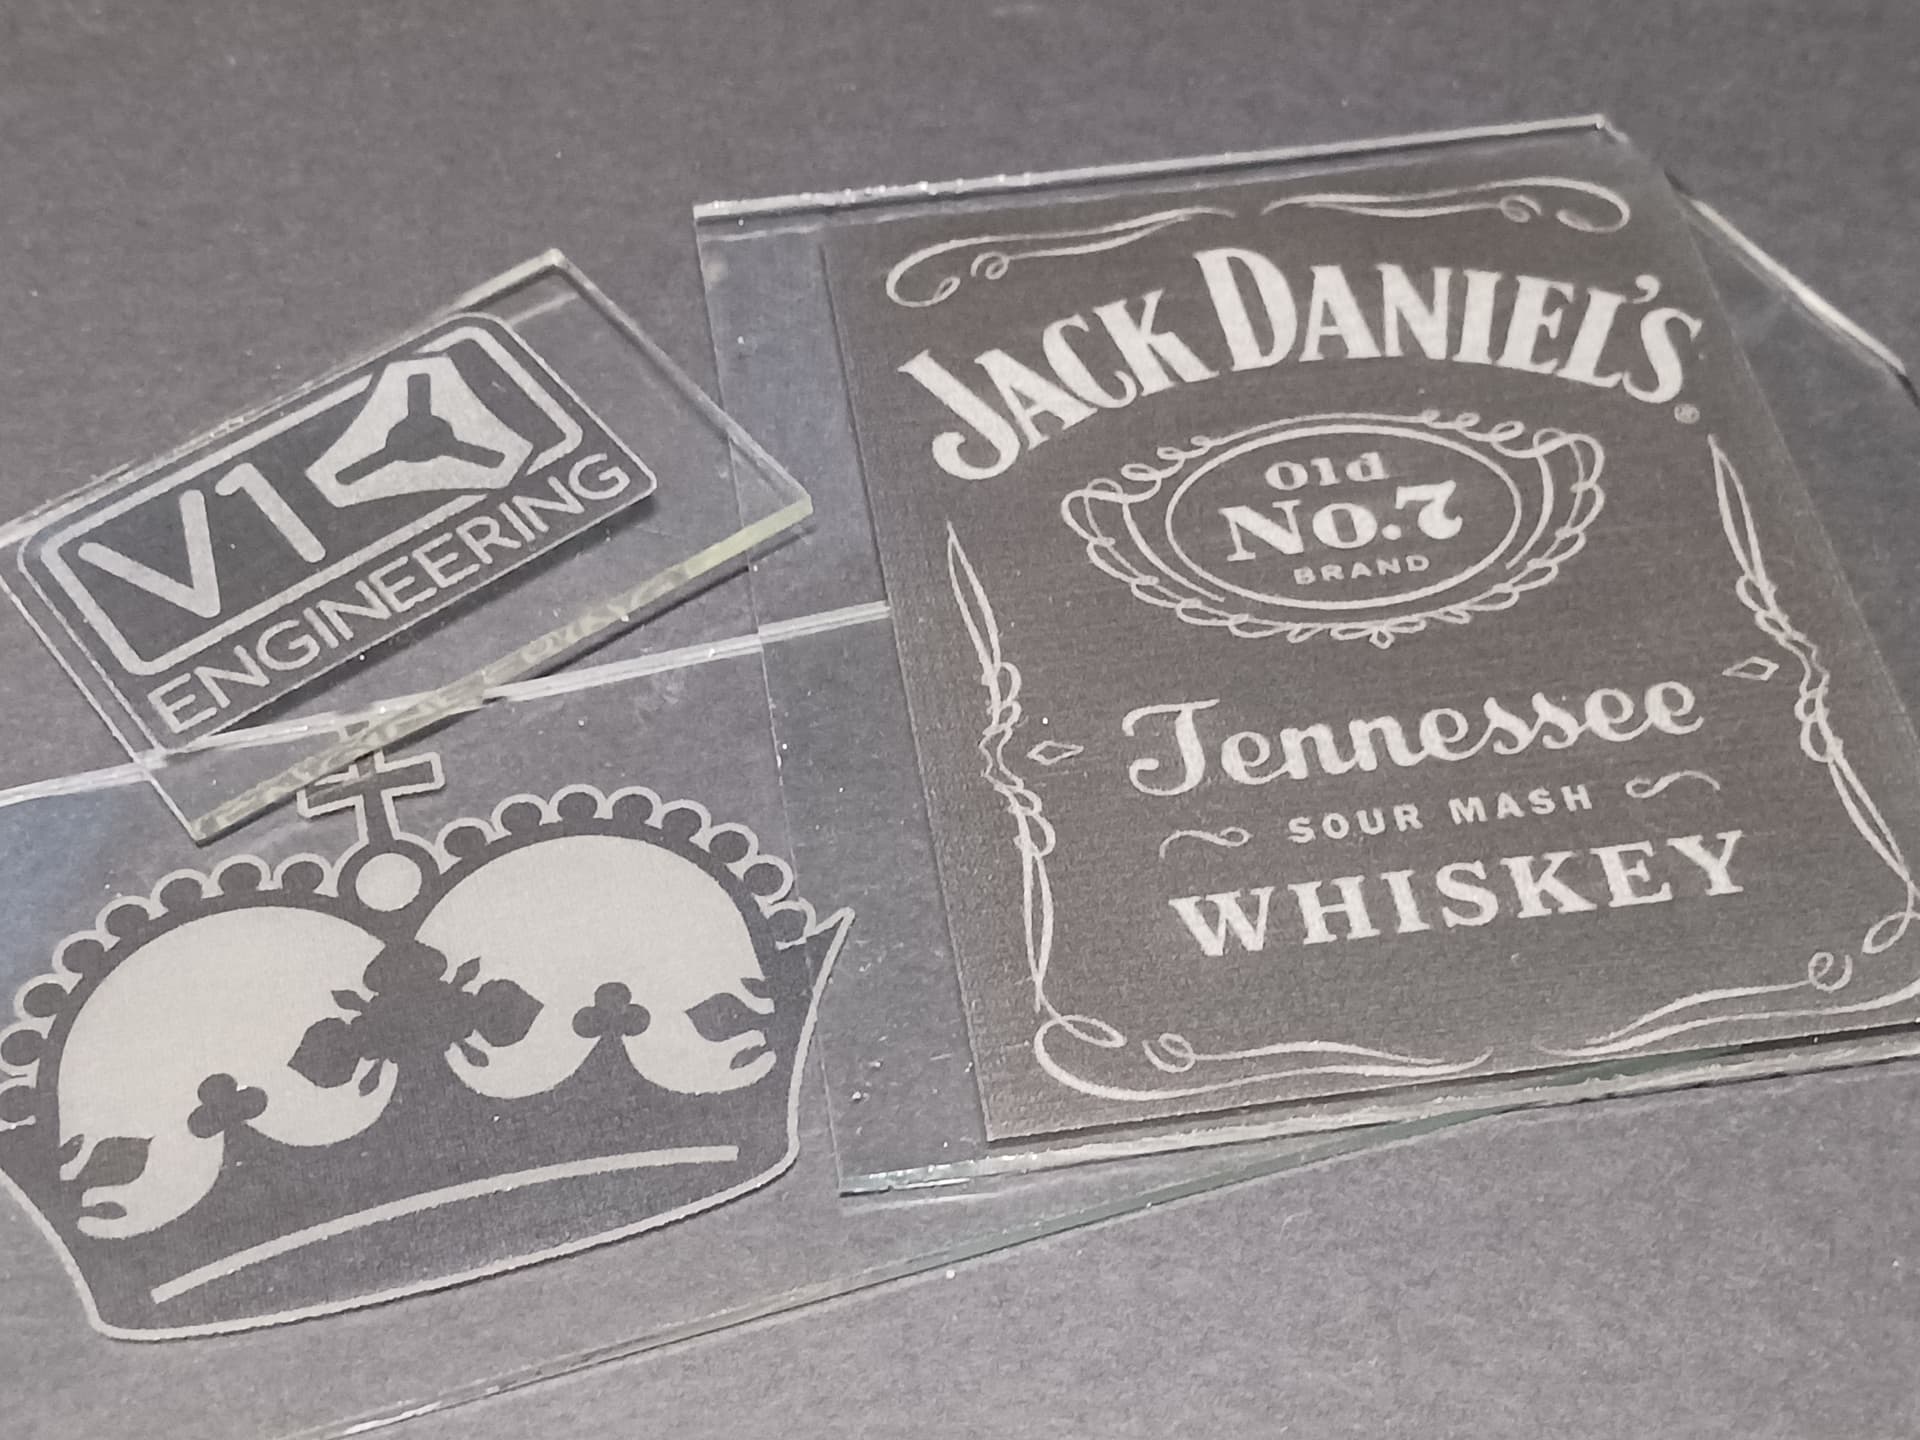
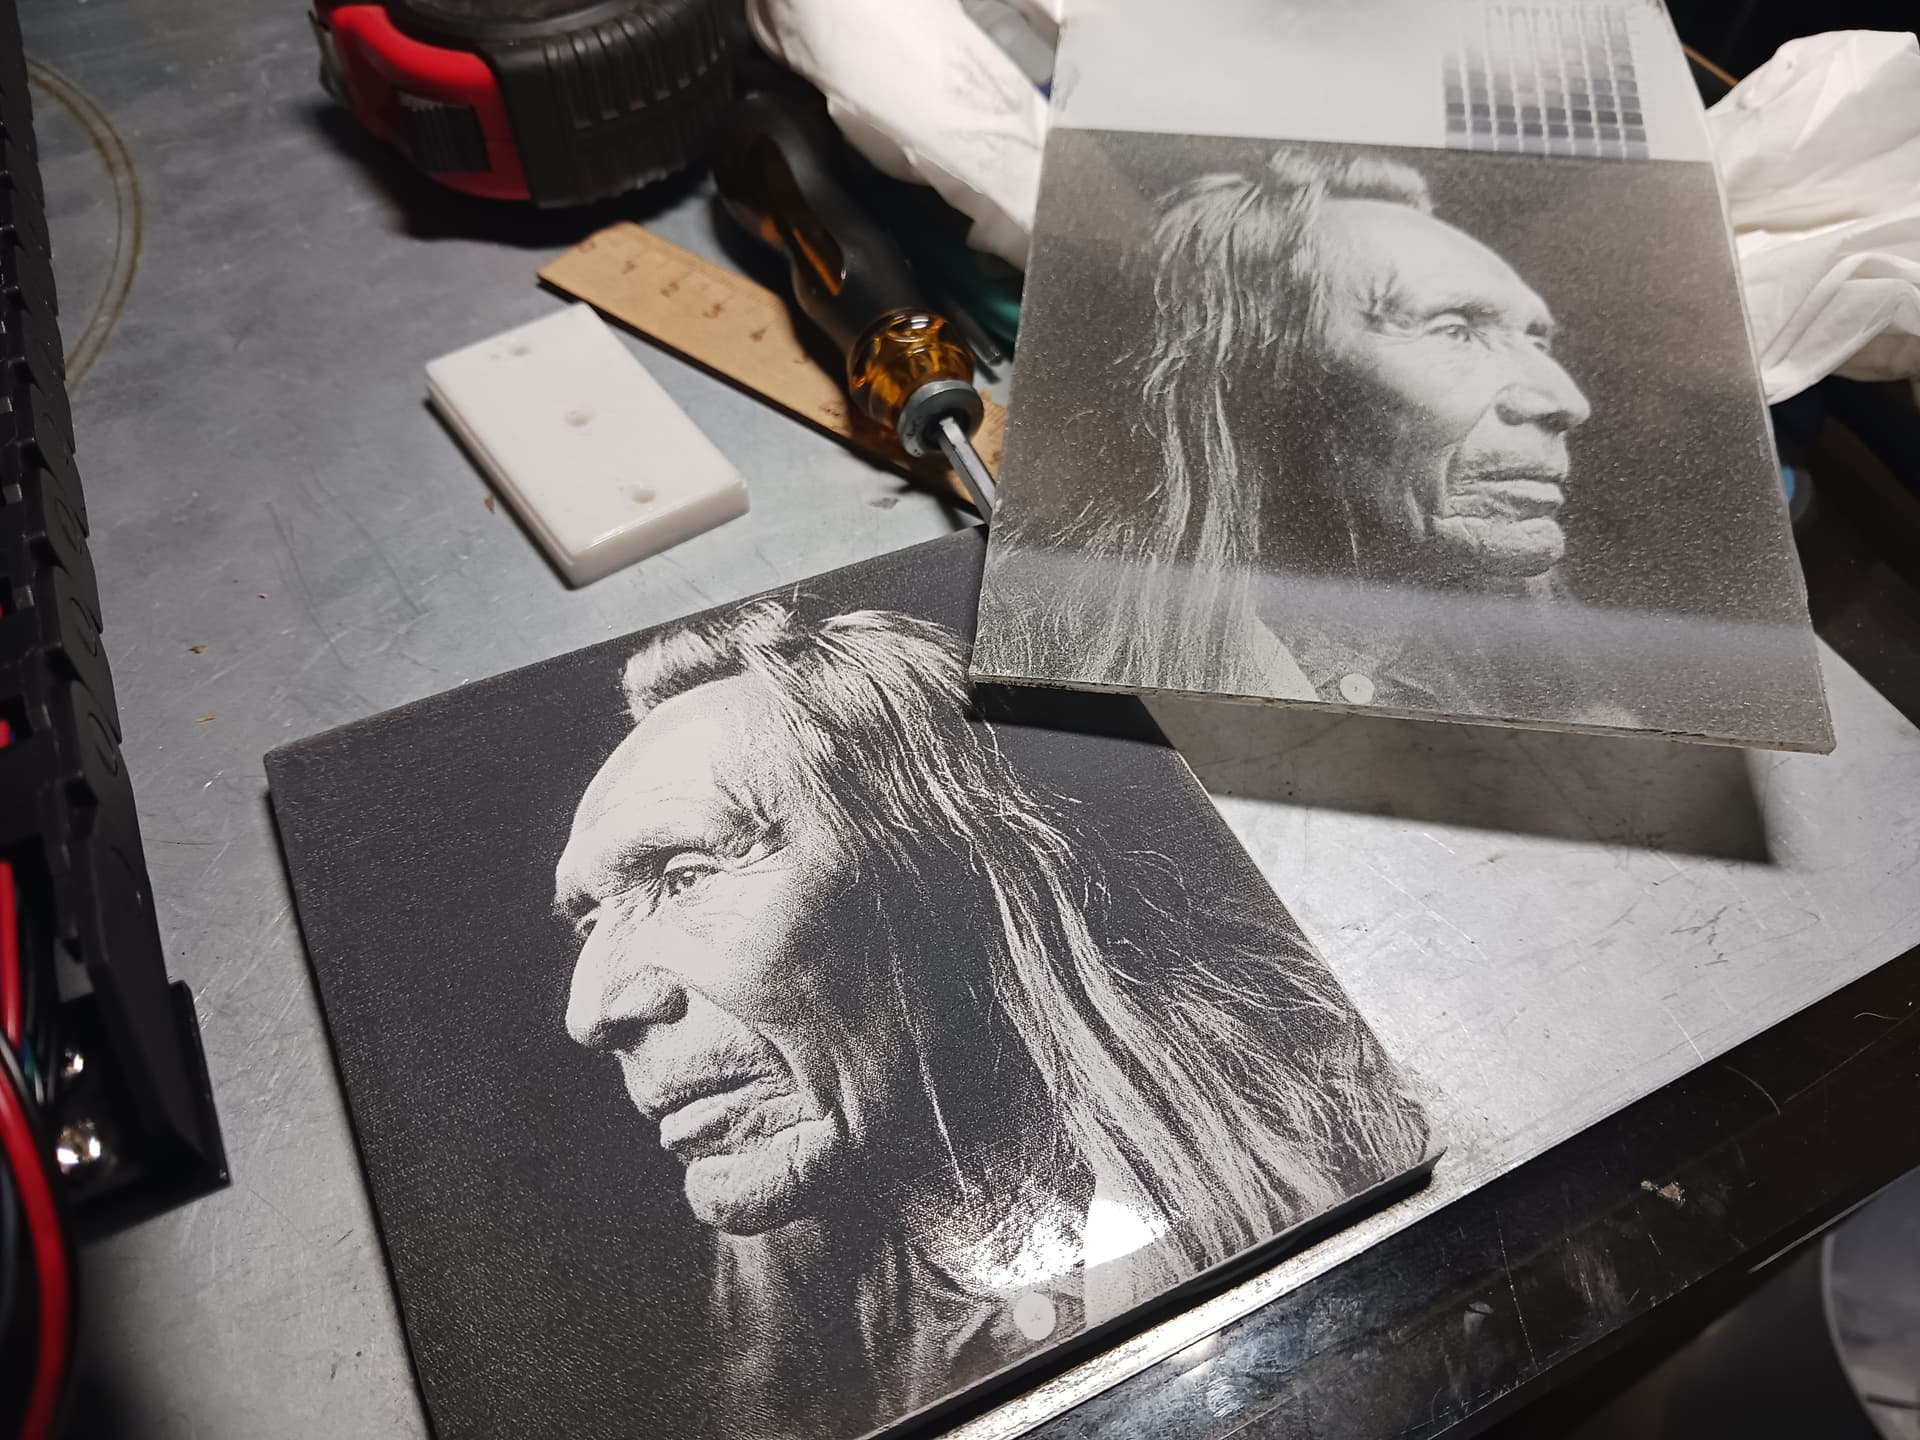
When last we left off… from some previous work I’d done, you can get a different effect on glass simply with the paint you choose to coat the glass with before lasering… flat-white paint (with high TiO2 content) gives BLACK marking while dark paint/backing gives a “frosted”/ablated marking (note the lizards…).
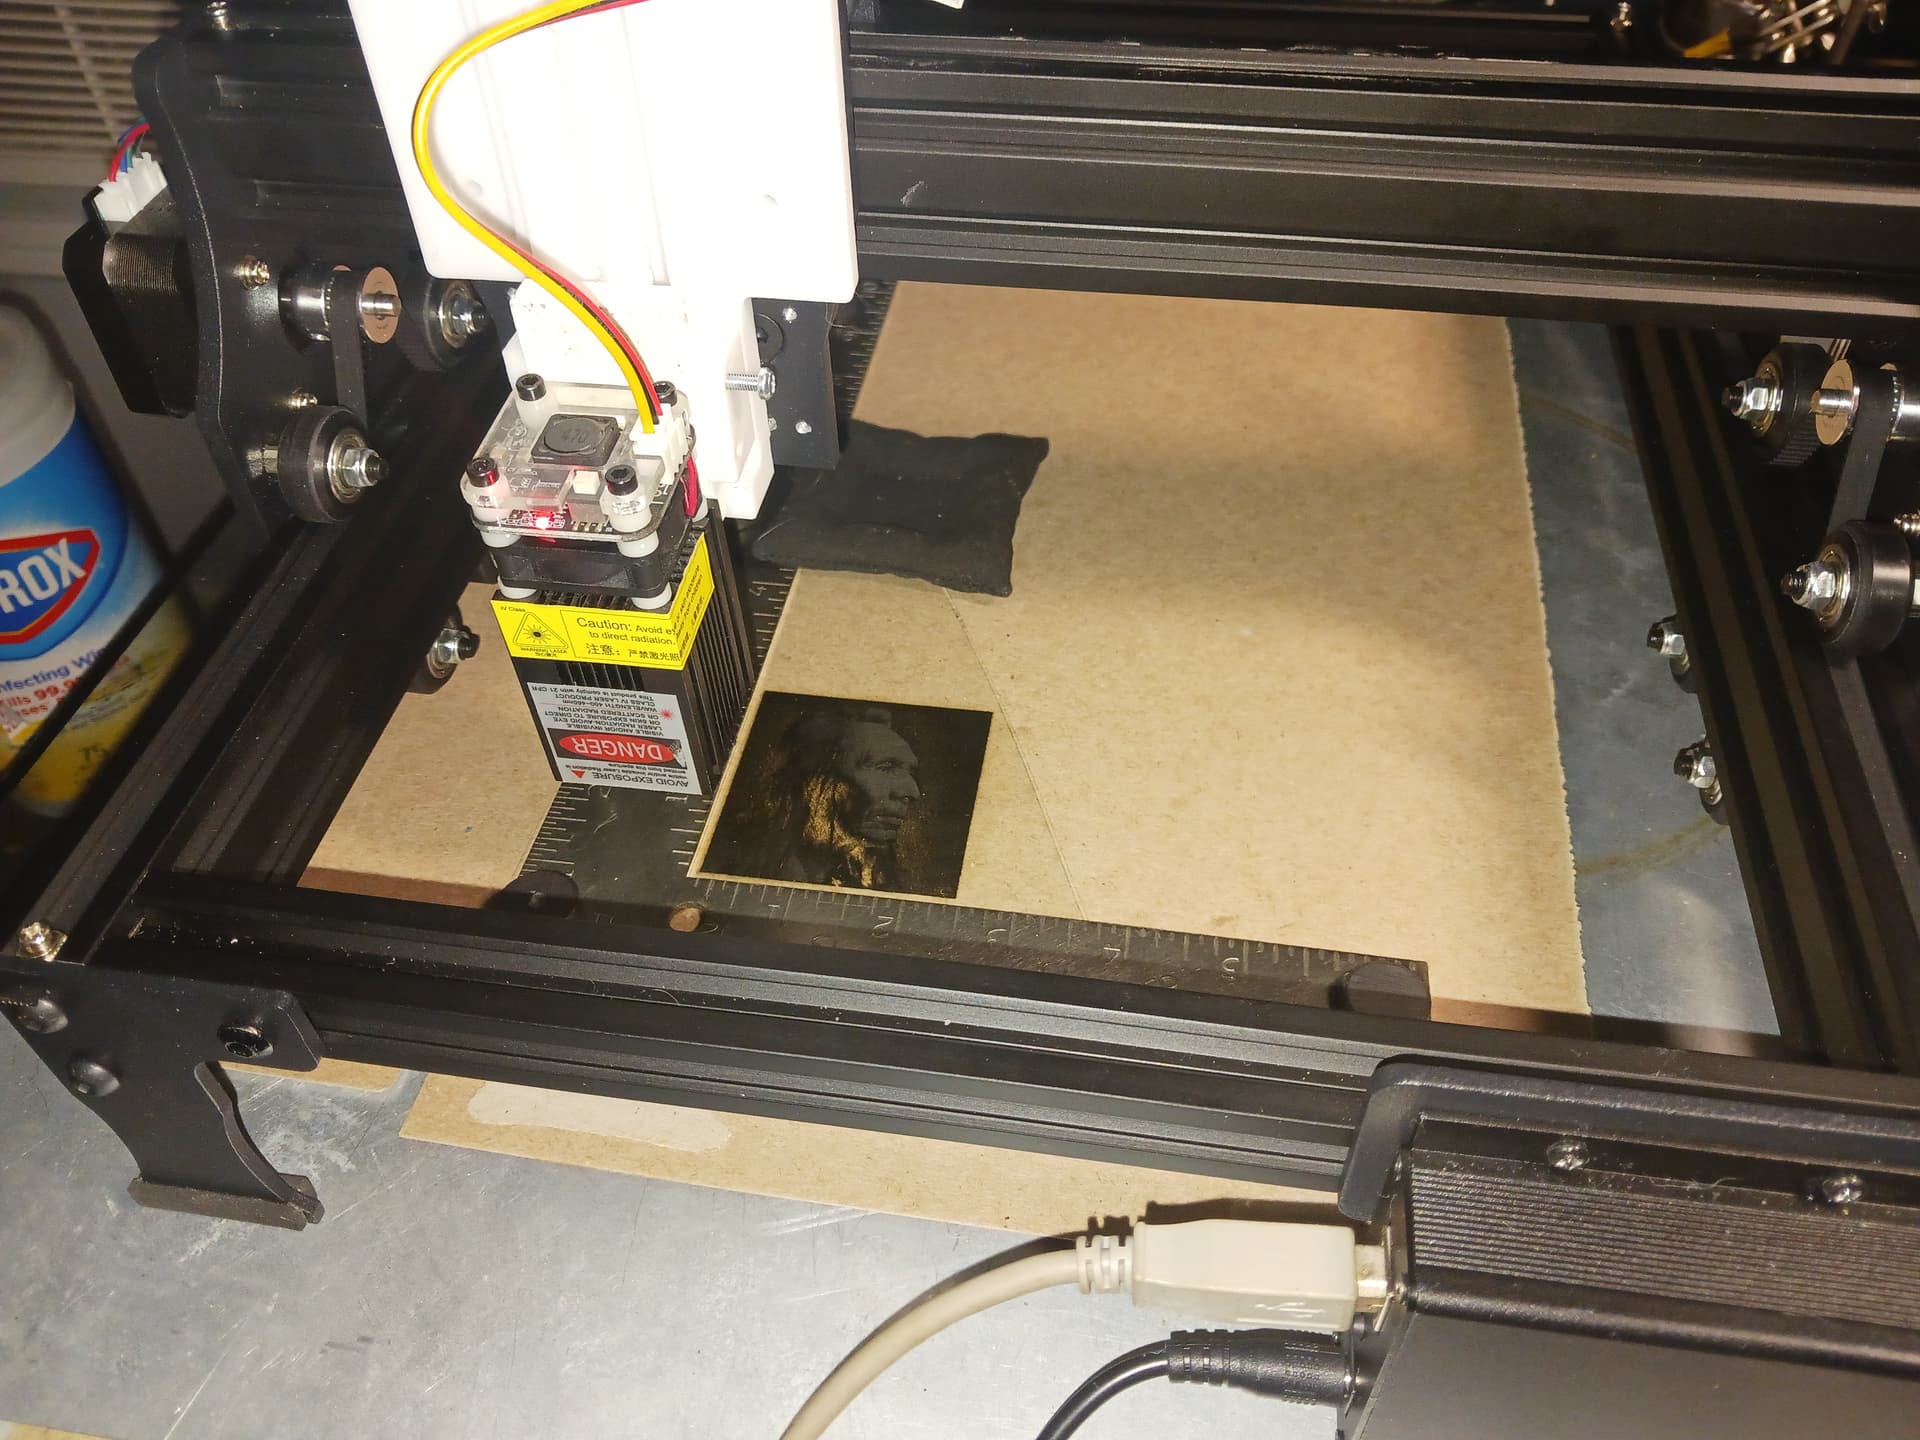
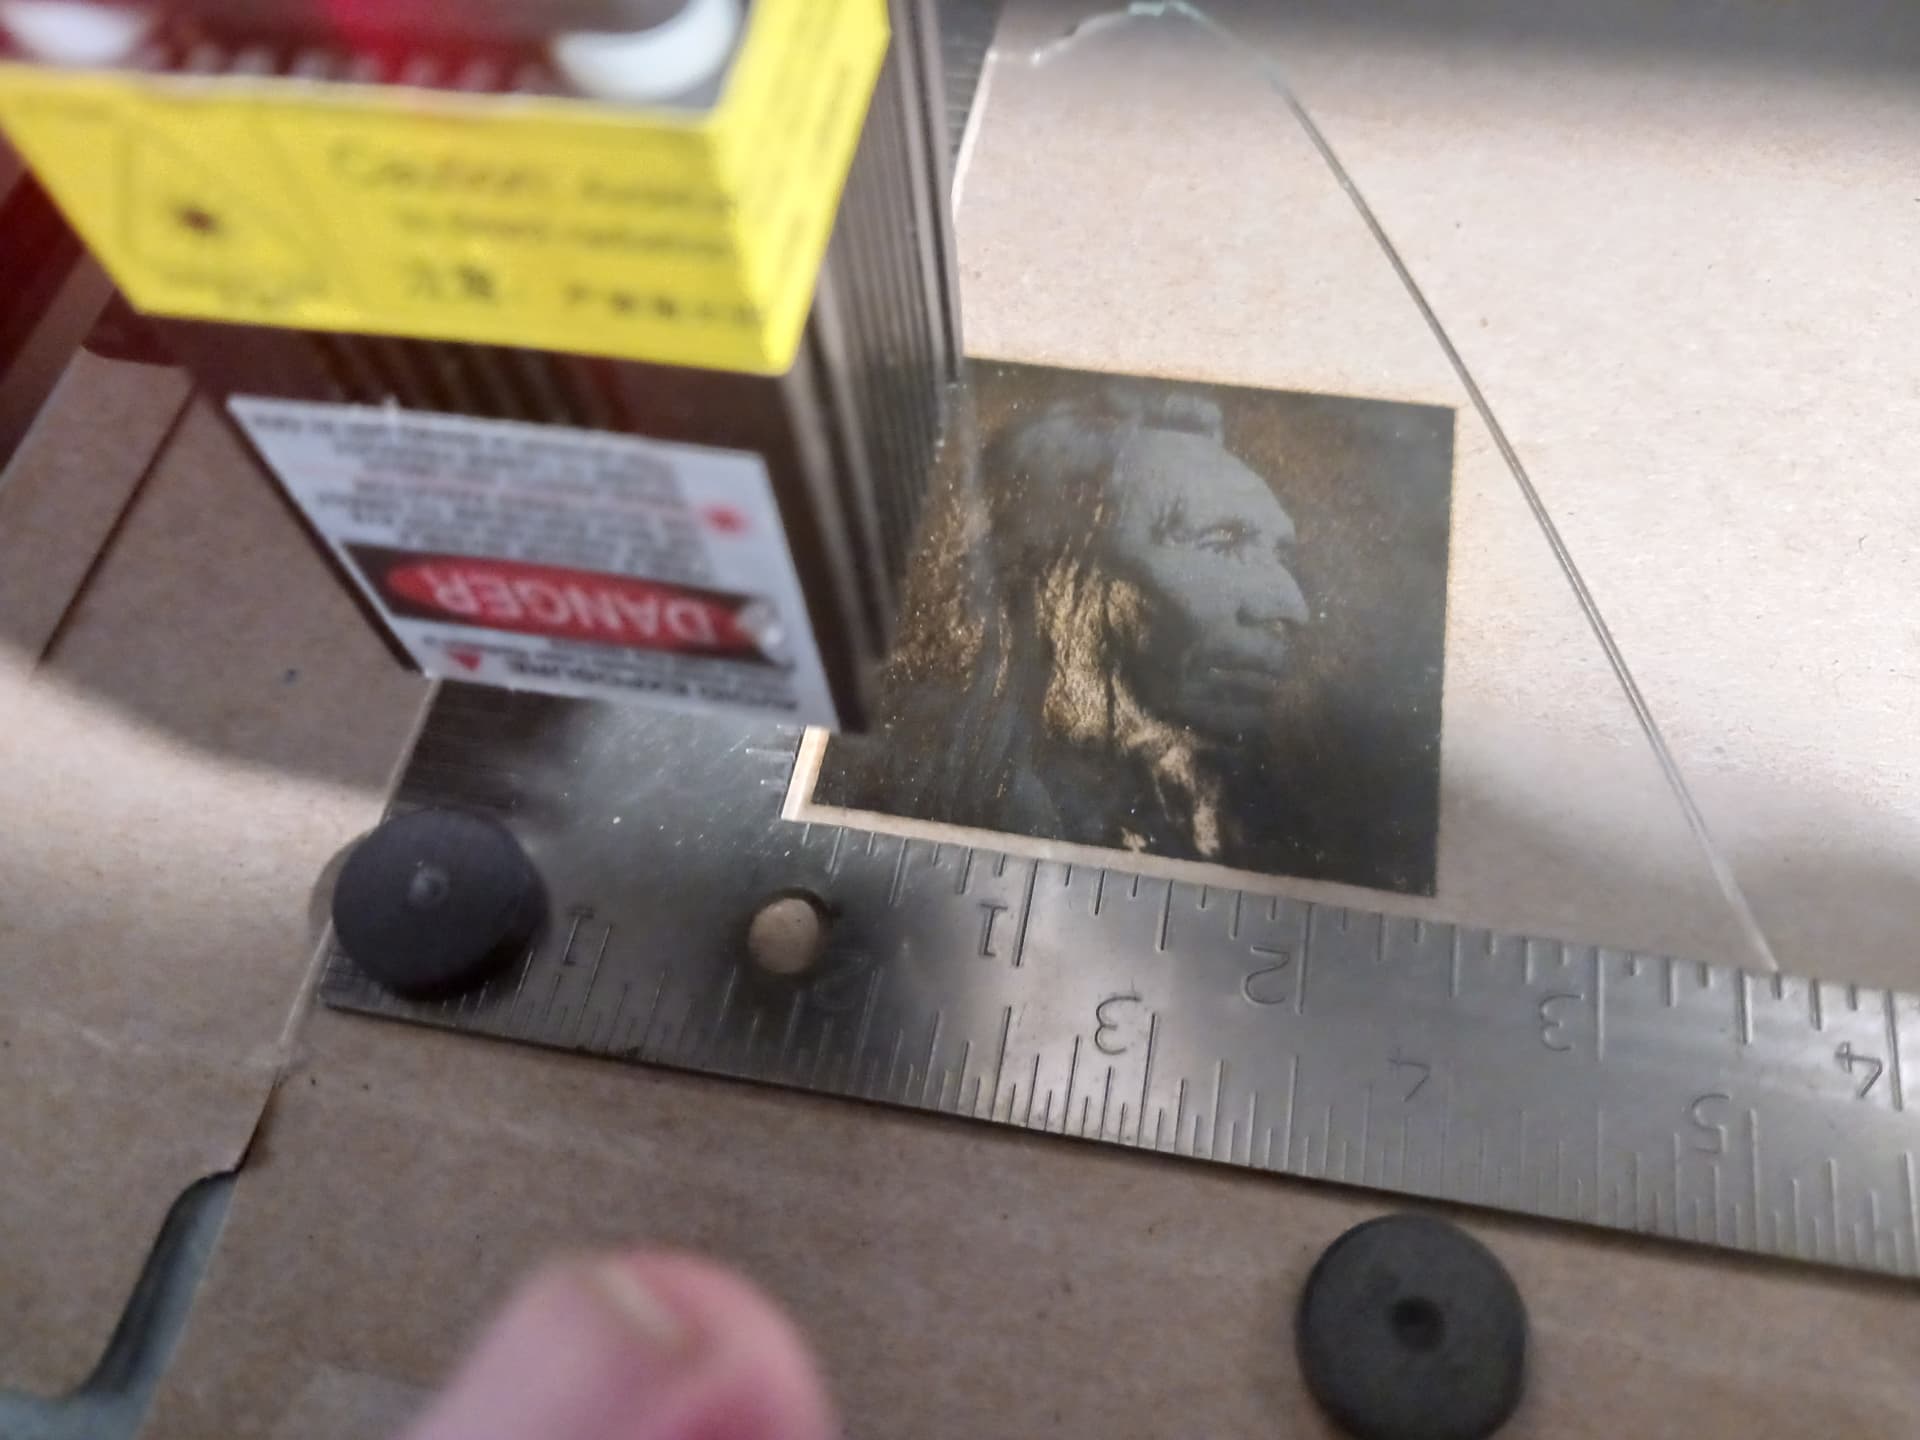
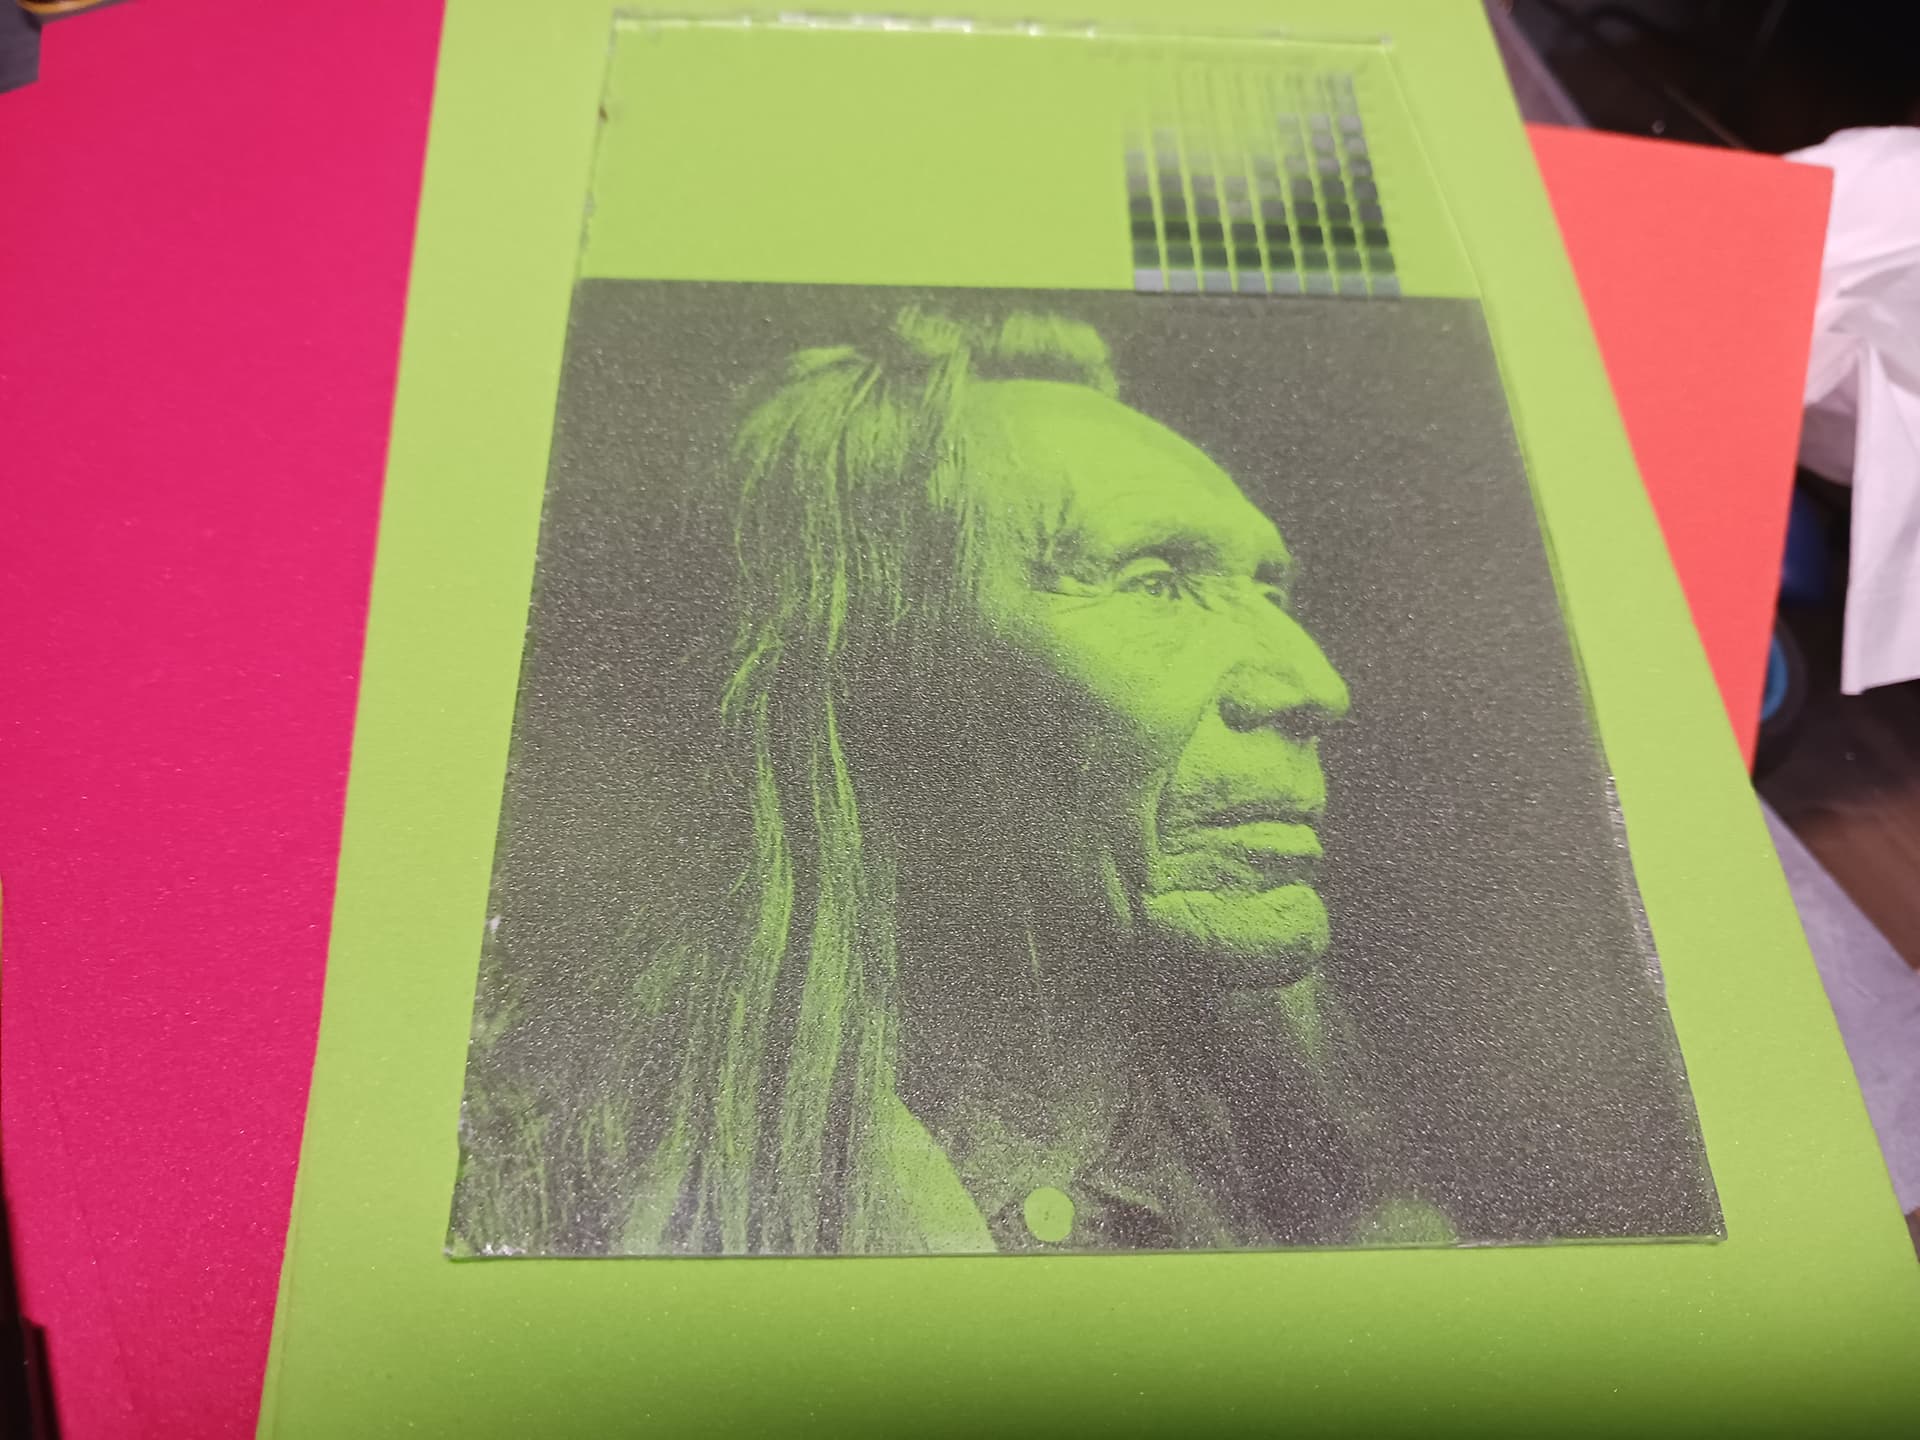
So, later I did a "frosted’/ablated image using just a dark backing (tempera paint or matt-black works as well) to ablate the image on transparent glass… same 2.3W laser, same speed/power settings as for ceramic, resized image to fit scrap piece of glass. Here I’ve simply placed the glass on a clean piece of cereal-box cardboard (chipboard) and lasered through the glass with a negative image, focused on the chipboard surface…
Noticed that engraver’s back in stock - but it’s now $138.
Seemed like a good deal at $79. Curious if you think it’s worth considering at the new price.
Ryan, I’ve played around with dot-width correction a bit… a couple of lasers ago.
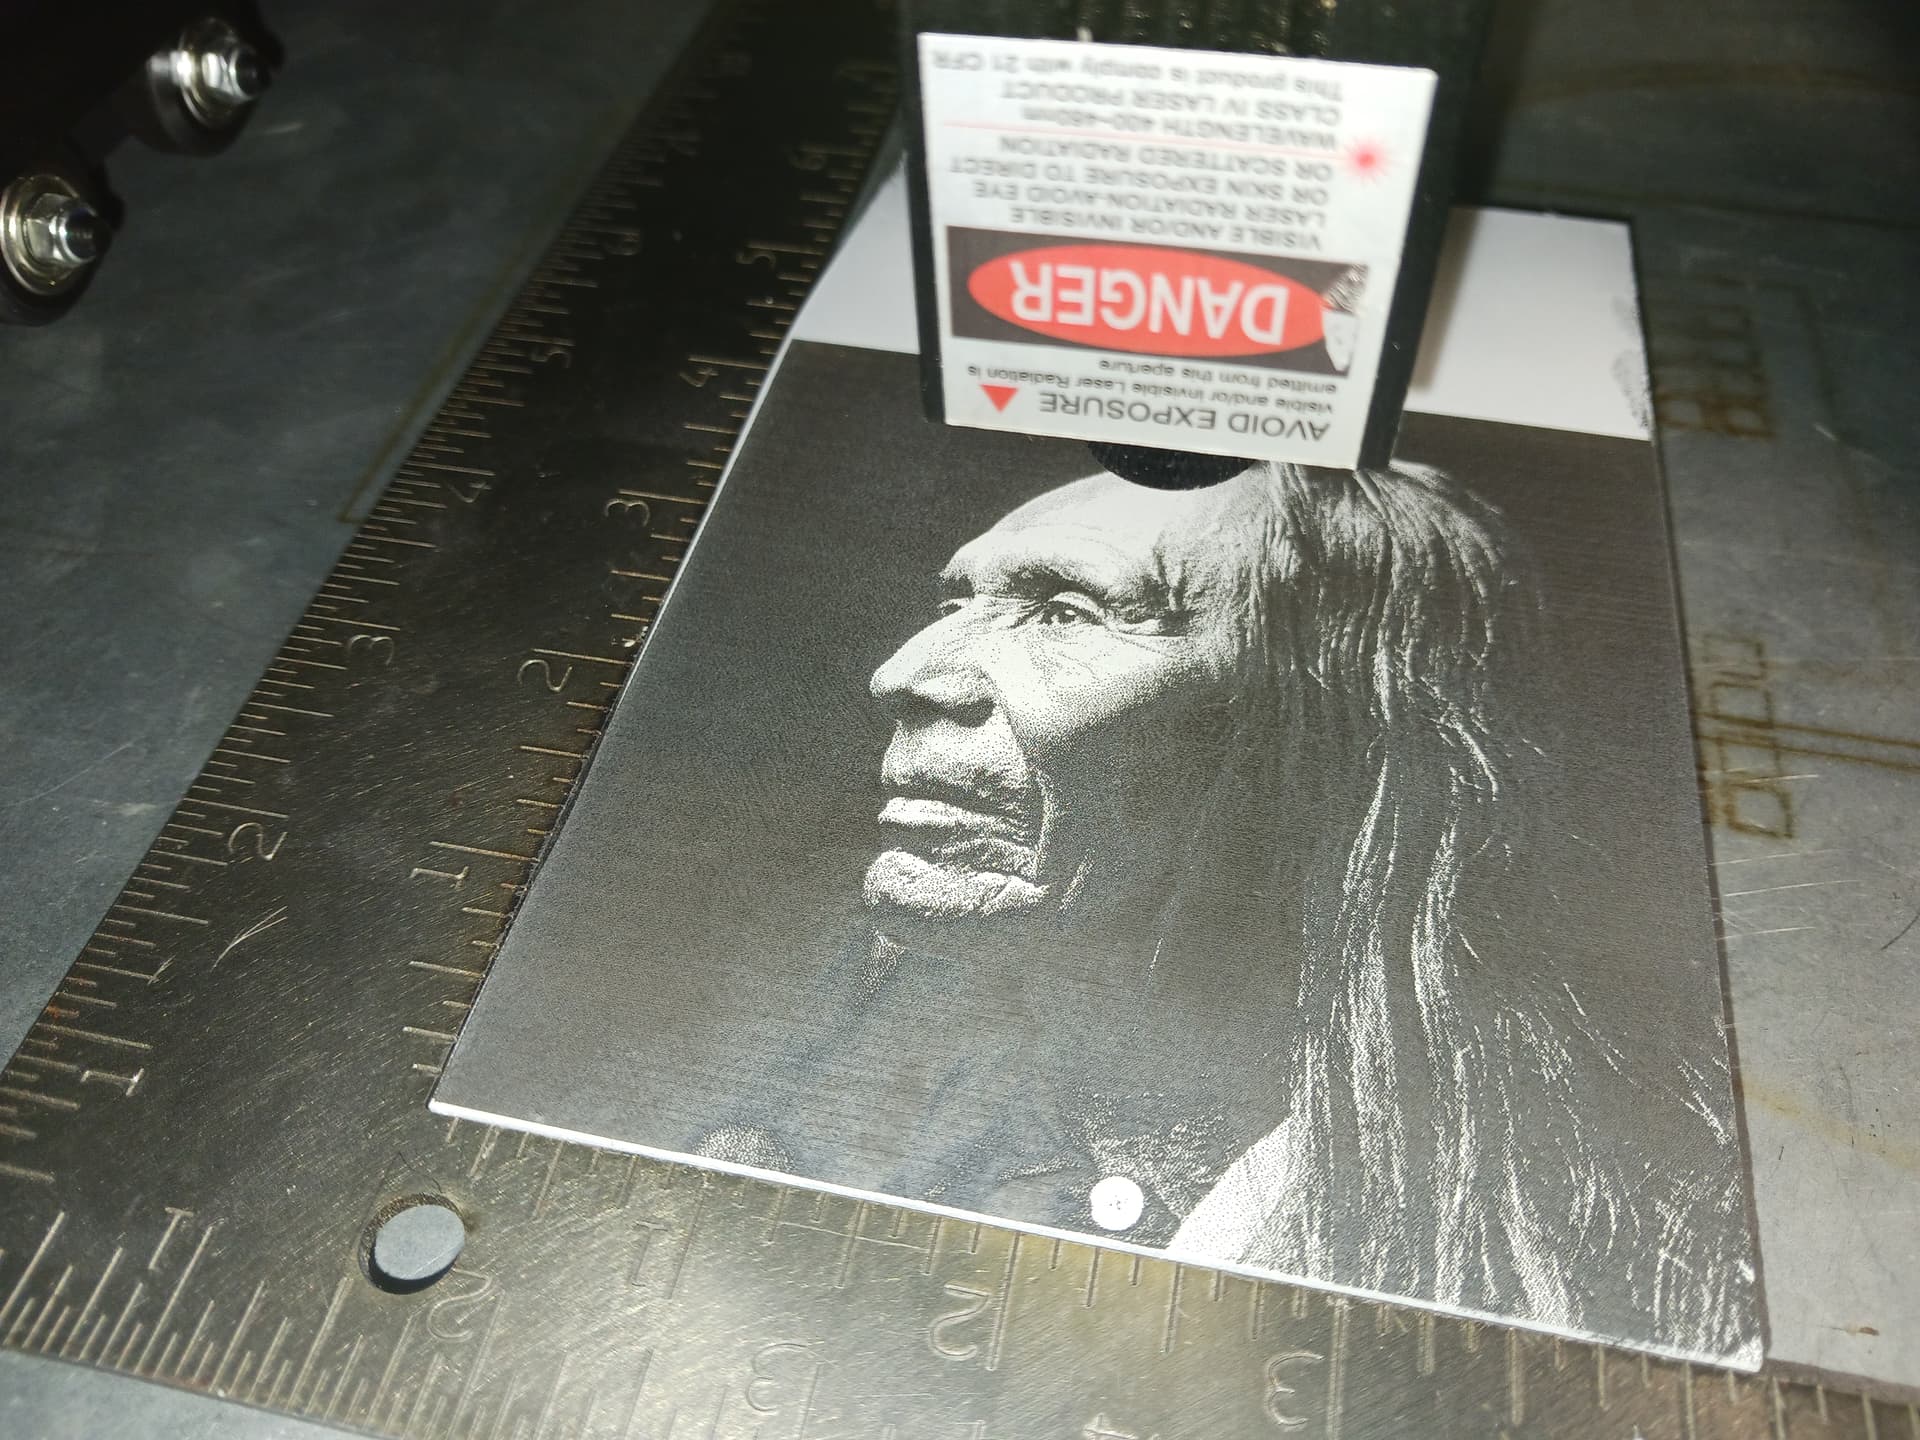
For those who may not know, LightBurn’s dot-width correction setting is an adjustment for a line’s true length, which when lasered is extended by 1/2 the laser’s “dot diameter” on each end. It is especially useful for dithered images which are made up of many extremely short line segments. The effect of no correction on a dithered image is a darker burn and some loss of detail while adding dot width correction lightens the image and brings out more detail…
Since I’m playing with very low-power lasers right now (2.3W), the dot-size isn’t terribly large… and I feel the dot-width correction isn’t really necessary. Should I start playing with my higher-powered lasers again, it would probably be worth trying to dial the dot-width correction factor in, for best detail. And, of course, quality of focus also plays its part… with better focus yielding smaller effective dot size. My problem is I don’t stay on any one machine long enough to dial it in…
Over on the LightBurn forum (similar thread), @LsrSal mentioned the possibly putting together a BOM for a clone of this simple but sturdy machine… and adding a better laser and firmware.
It would be an easy build for most on this forum and might be done for $100 or so? IMO this would be a fun little starter/dedicated laser machine… and far more capable than you might first believe.
@LsrSal’s BOM was an rough first-cut at a BOM… not yet fleshed-out and exhaustive. I suspect the eventual BOM will suggest a couple of inexpensive lasers and controllers… to make our “near-clone” as good a “deal” as possible for those who have to buy the whole “kit”. But the laser and controller is where folk’s preferences and $$$ will come into play… and some of us are fortunate to already have laser modules and controllers in our stash of parts to draw on.
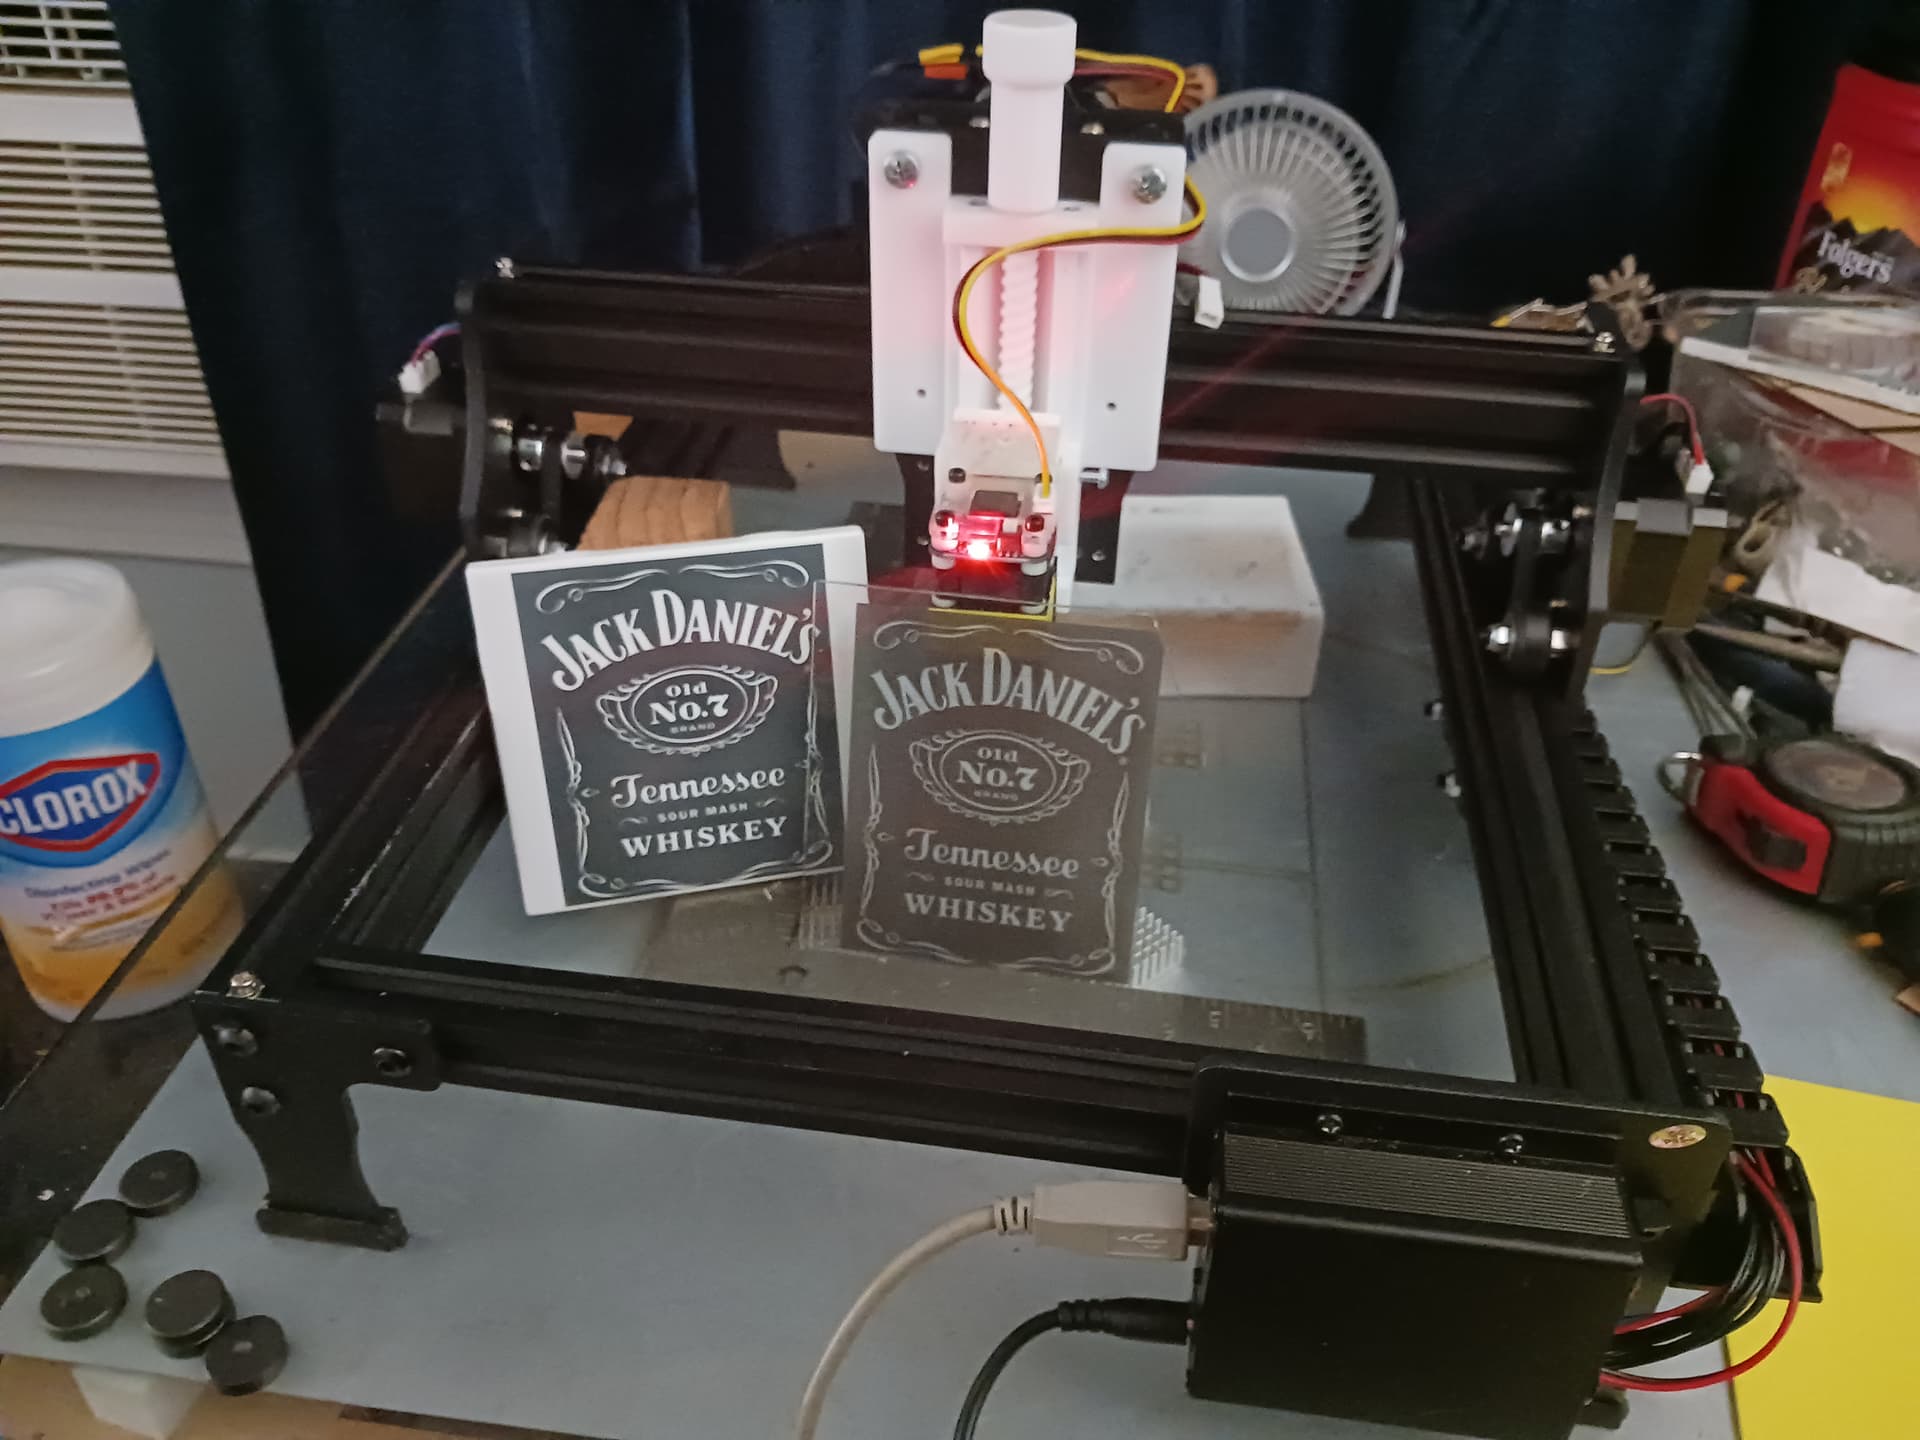
I, too, had fun with the original laser… it does work to a degree. But I have other laser modules to compare it to… and the original laser leaves something to be desired; i.e. my JD label in post #71. So, I went to the trouble of chopping off the odd, incompatible, connector and made it so that I could more easily swap out lasers if/when I wanted to… but that’s me. As long as you’re having fun with yours and it’s doing what you need to do… that’s fantastic! But I don’t think people are “walking away” from it… maybe, like me, they’re just wanting to do more than the original laser allows them to do.
I really like the idea of a BOM for a “ near-clone ” of this machine. I took the “risk” of buying this machine in the first place… thinking the parts alone “ must ” be worth the $79 asking price, even if it was otherwise junk. It wasn’t junk however… but a pleasant surprise, once a few “love taps” were applied.
But with the sold-out/lack of availability now, many are missing out. I think we now know what we’d like to see in a little machine like this… better laser, GRBL-controller and LB-compatibility, simple Z-adjust, etc. I think this is a real opportunity to make this “near-clone” of a good machine… into a better, more perfect, little starter/dedicated machine.
So if I don’t want to buy lightburn, what open source grbl sender would be good to use?
Anyone know of a good set of trucks that can be 3d printed for 20/20 strut to make one of these frames? I know a guy who has a spare pile of struts and an idle 3d printer and an old creality 3d printer controller…
My avatar is really me… 10 year or so ago. And it’s a bit of a running joke. At my age, and as nice a thought that might be… she’s way too much woman for me…
I had three of them, same thing just different name, saved in a list and was lucky enough to check today and one was back in stock for $79. If anyone else is interested, just be patient and hopefully little by little they will occasionally restock.

 ).
).