Not terribly impressed with the included laser module, I’ve been playing with different laser modules on our $79 machine. Here I’m using a little Banggood 2.3W laser to do a test tile and image… lasered and before paint removal
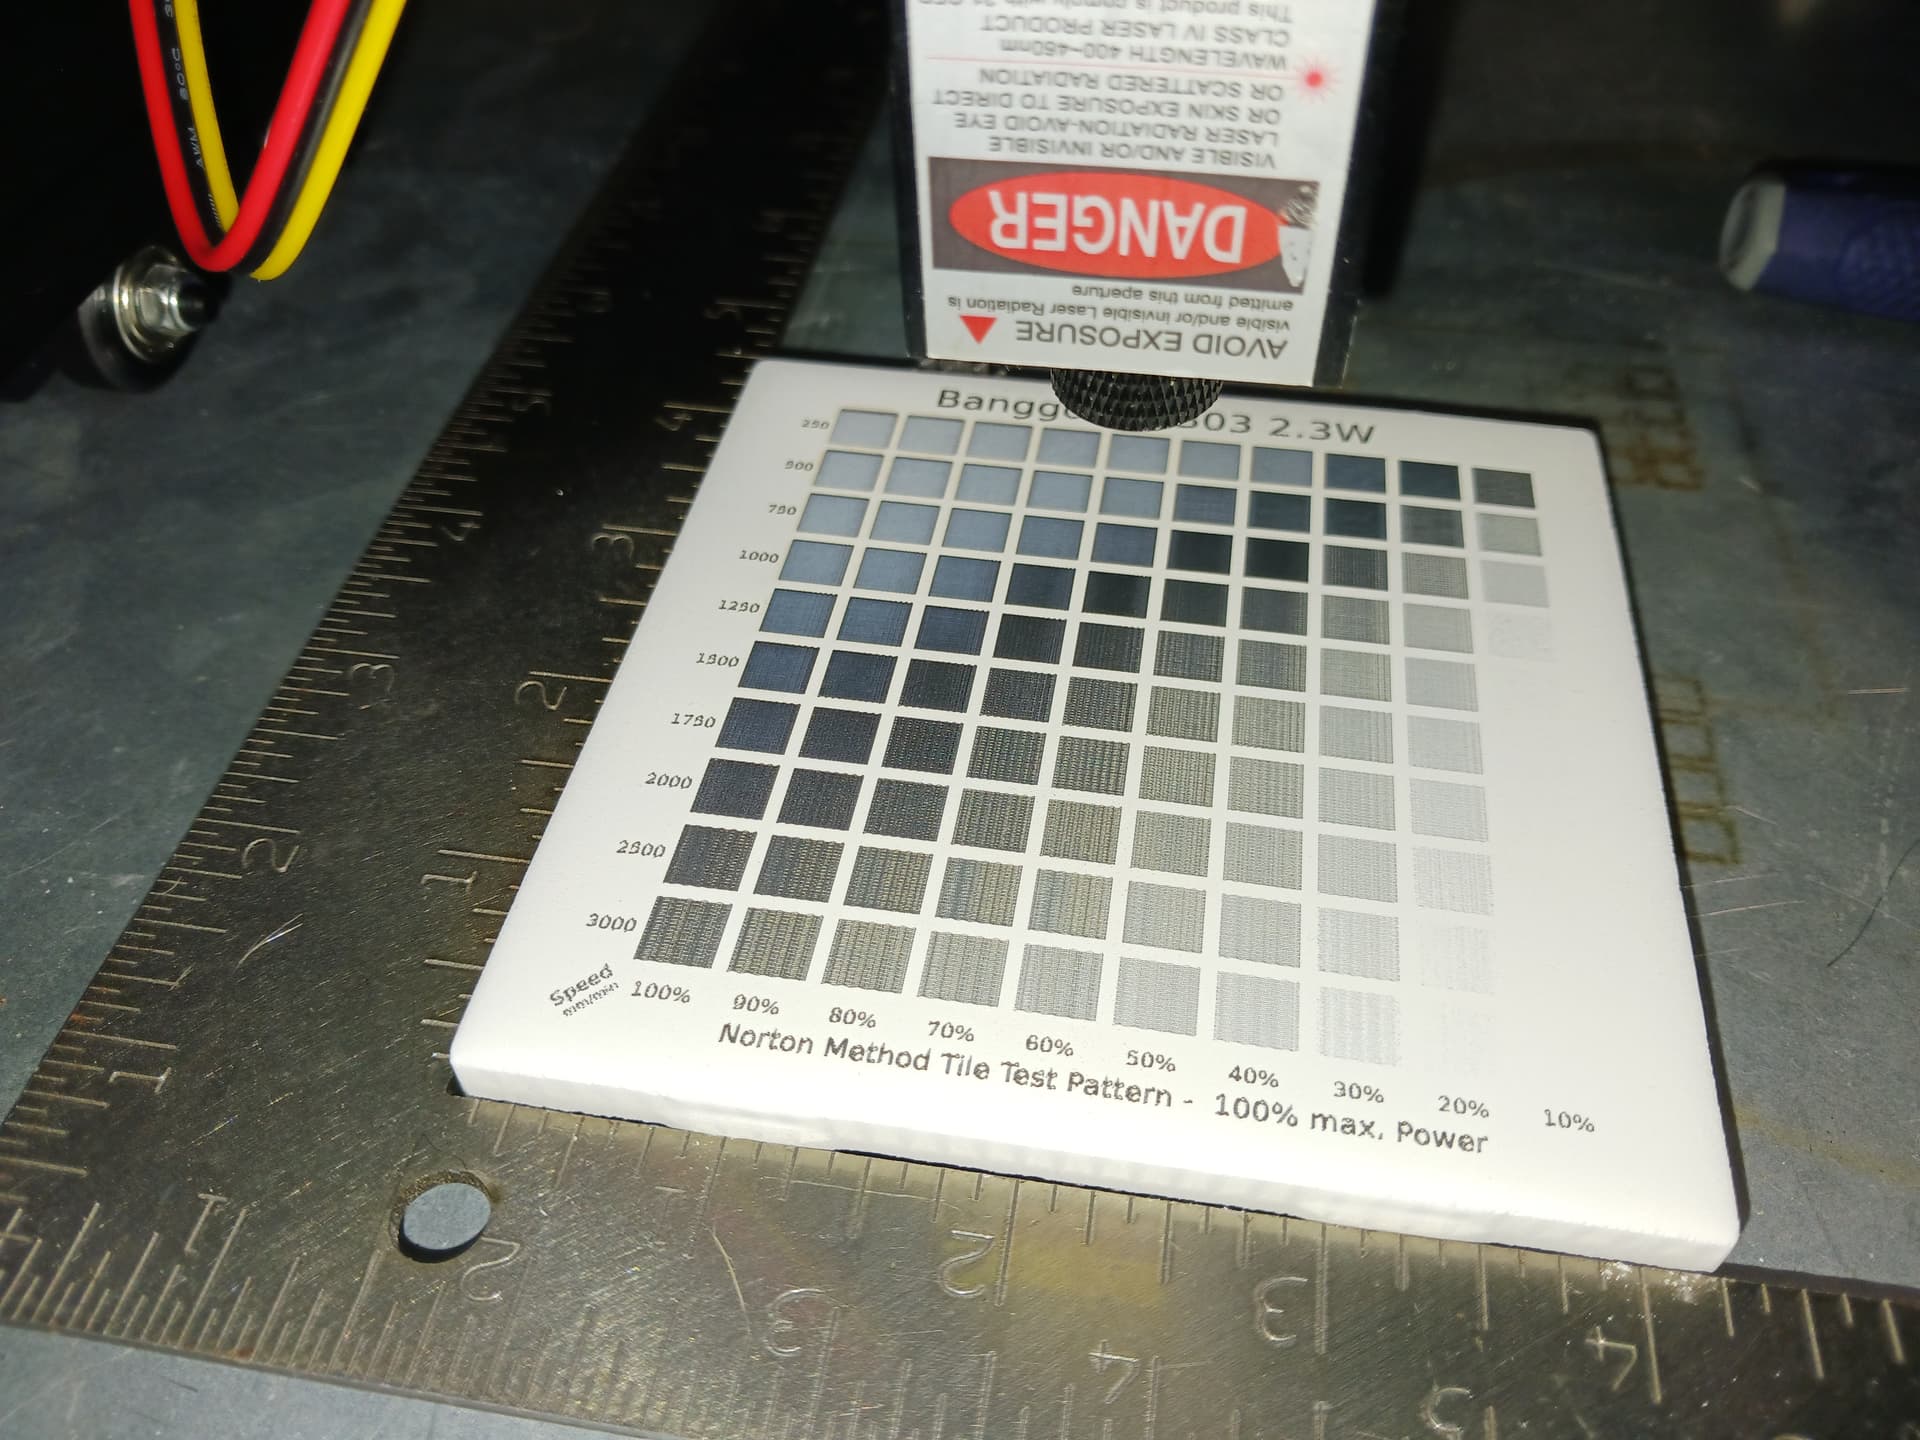
Paint removed… best black seems to be 1000mm/min and 100%…
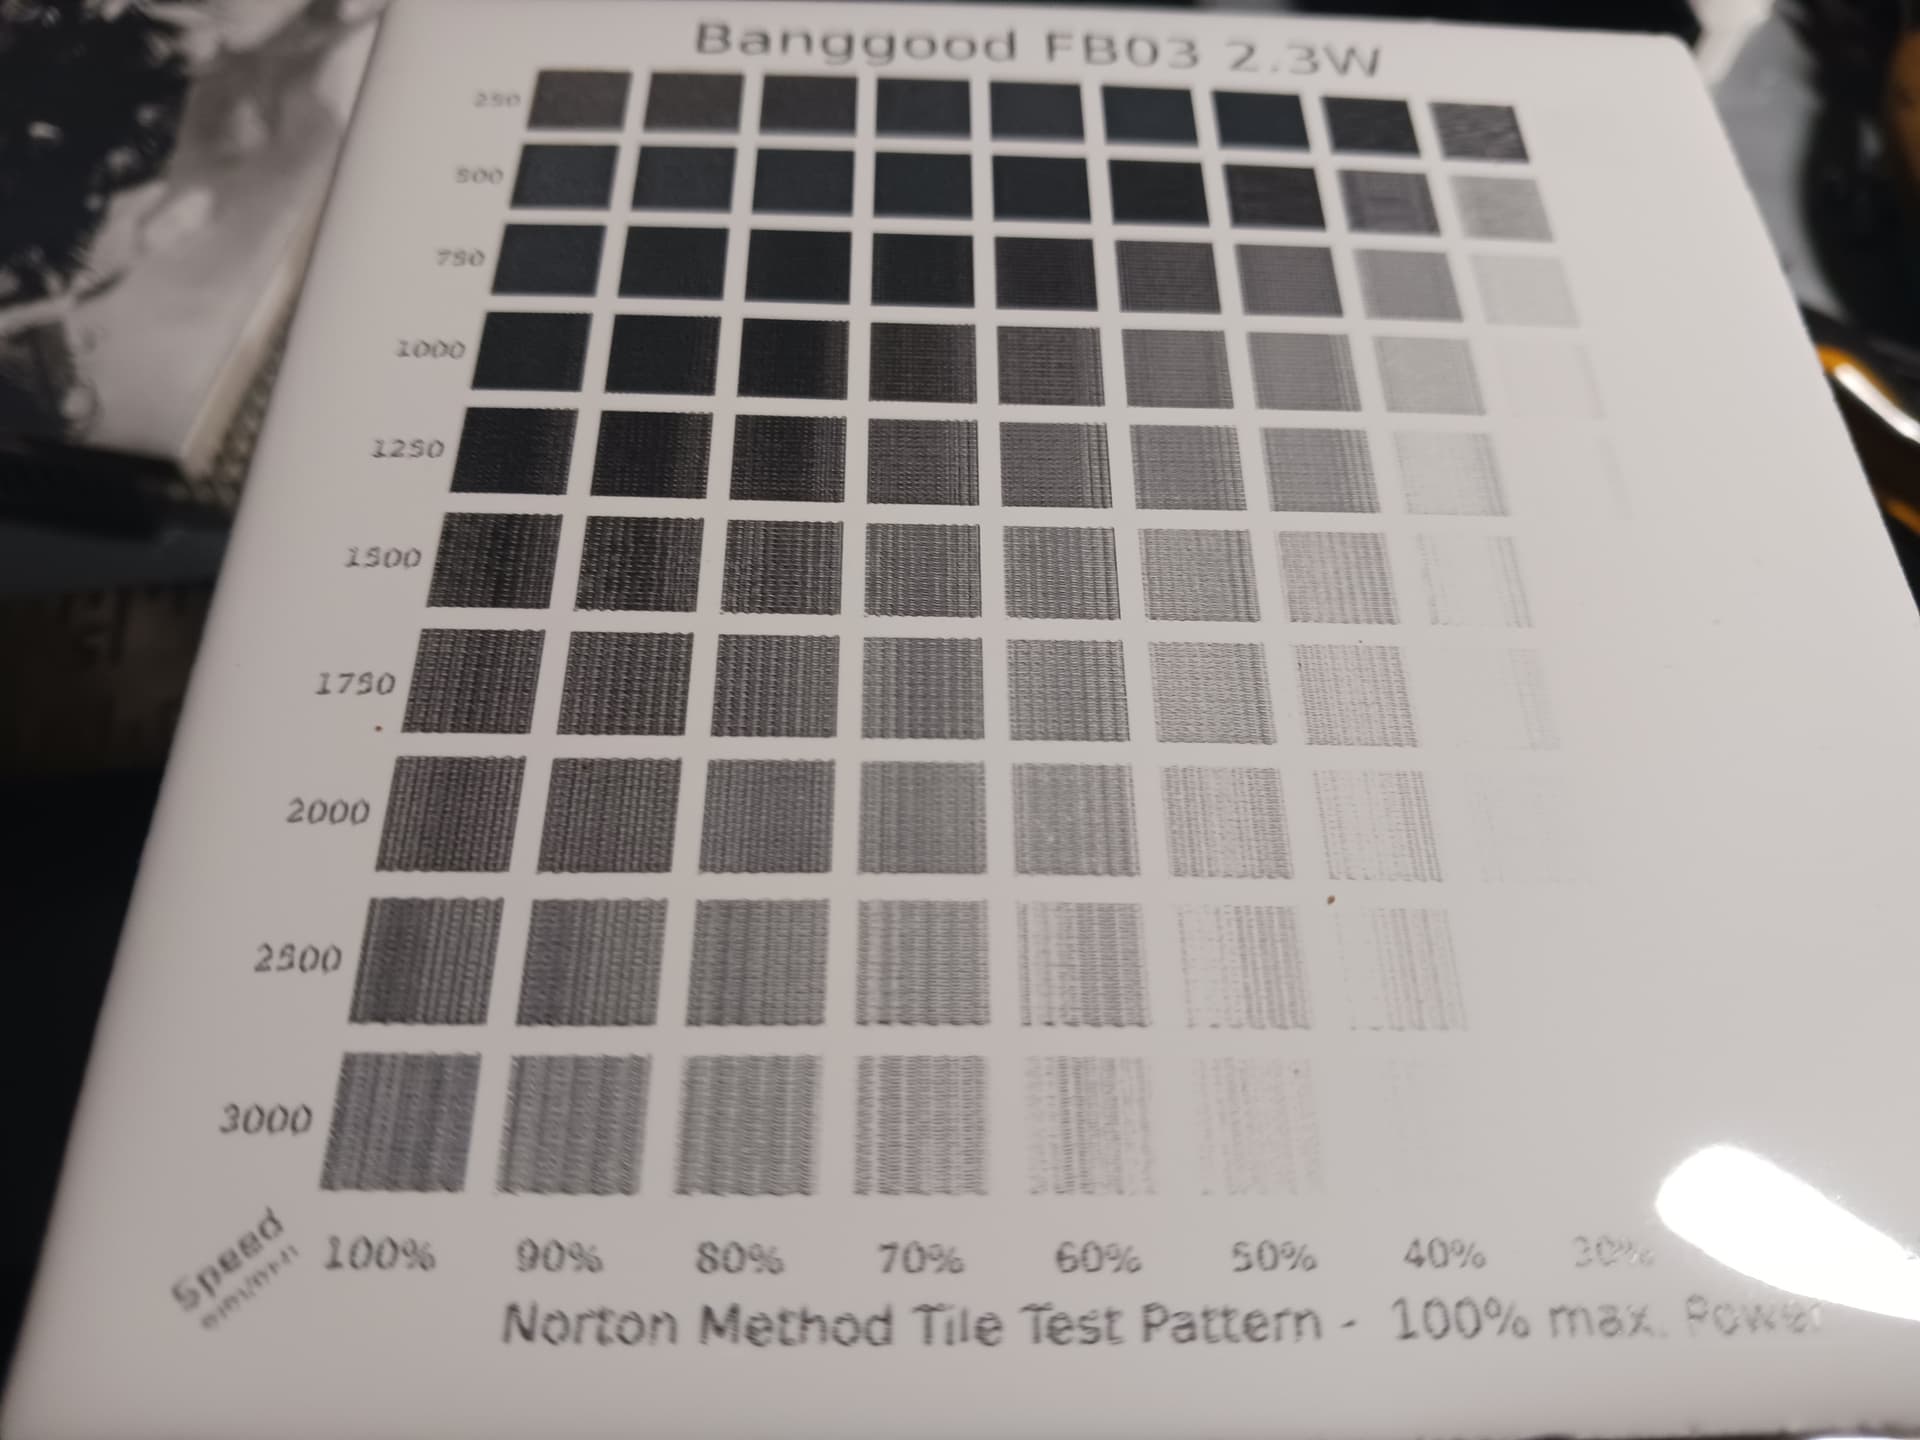
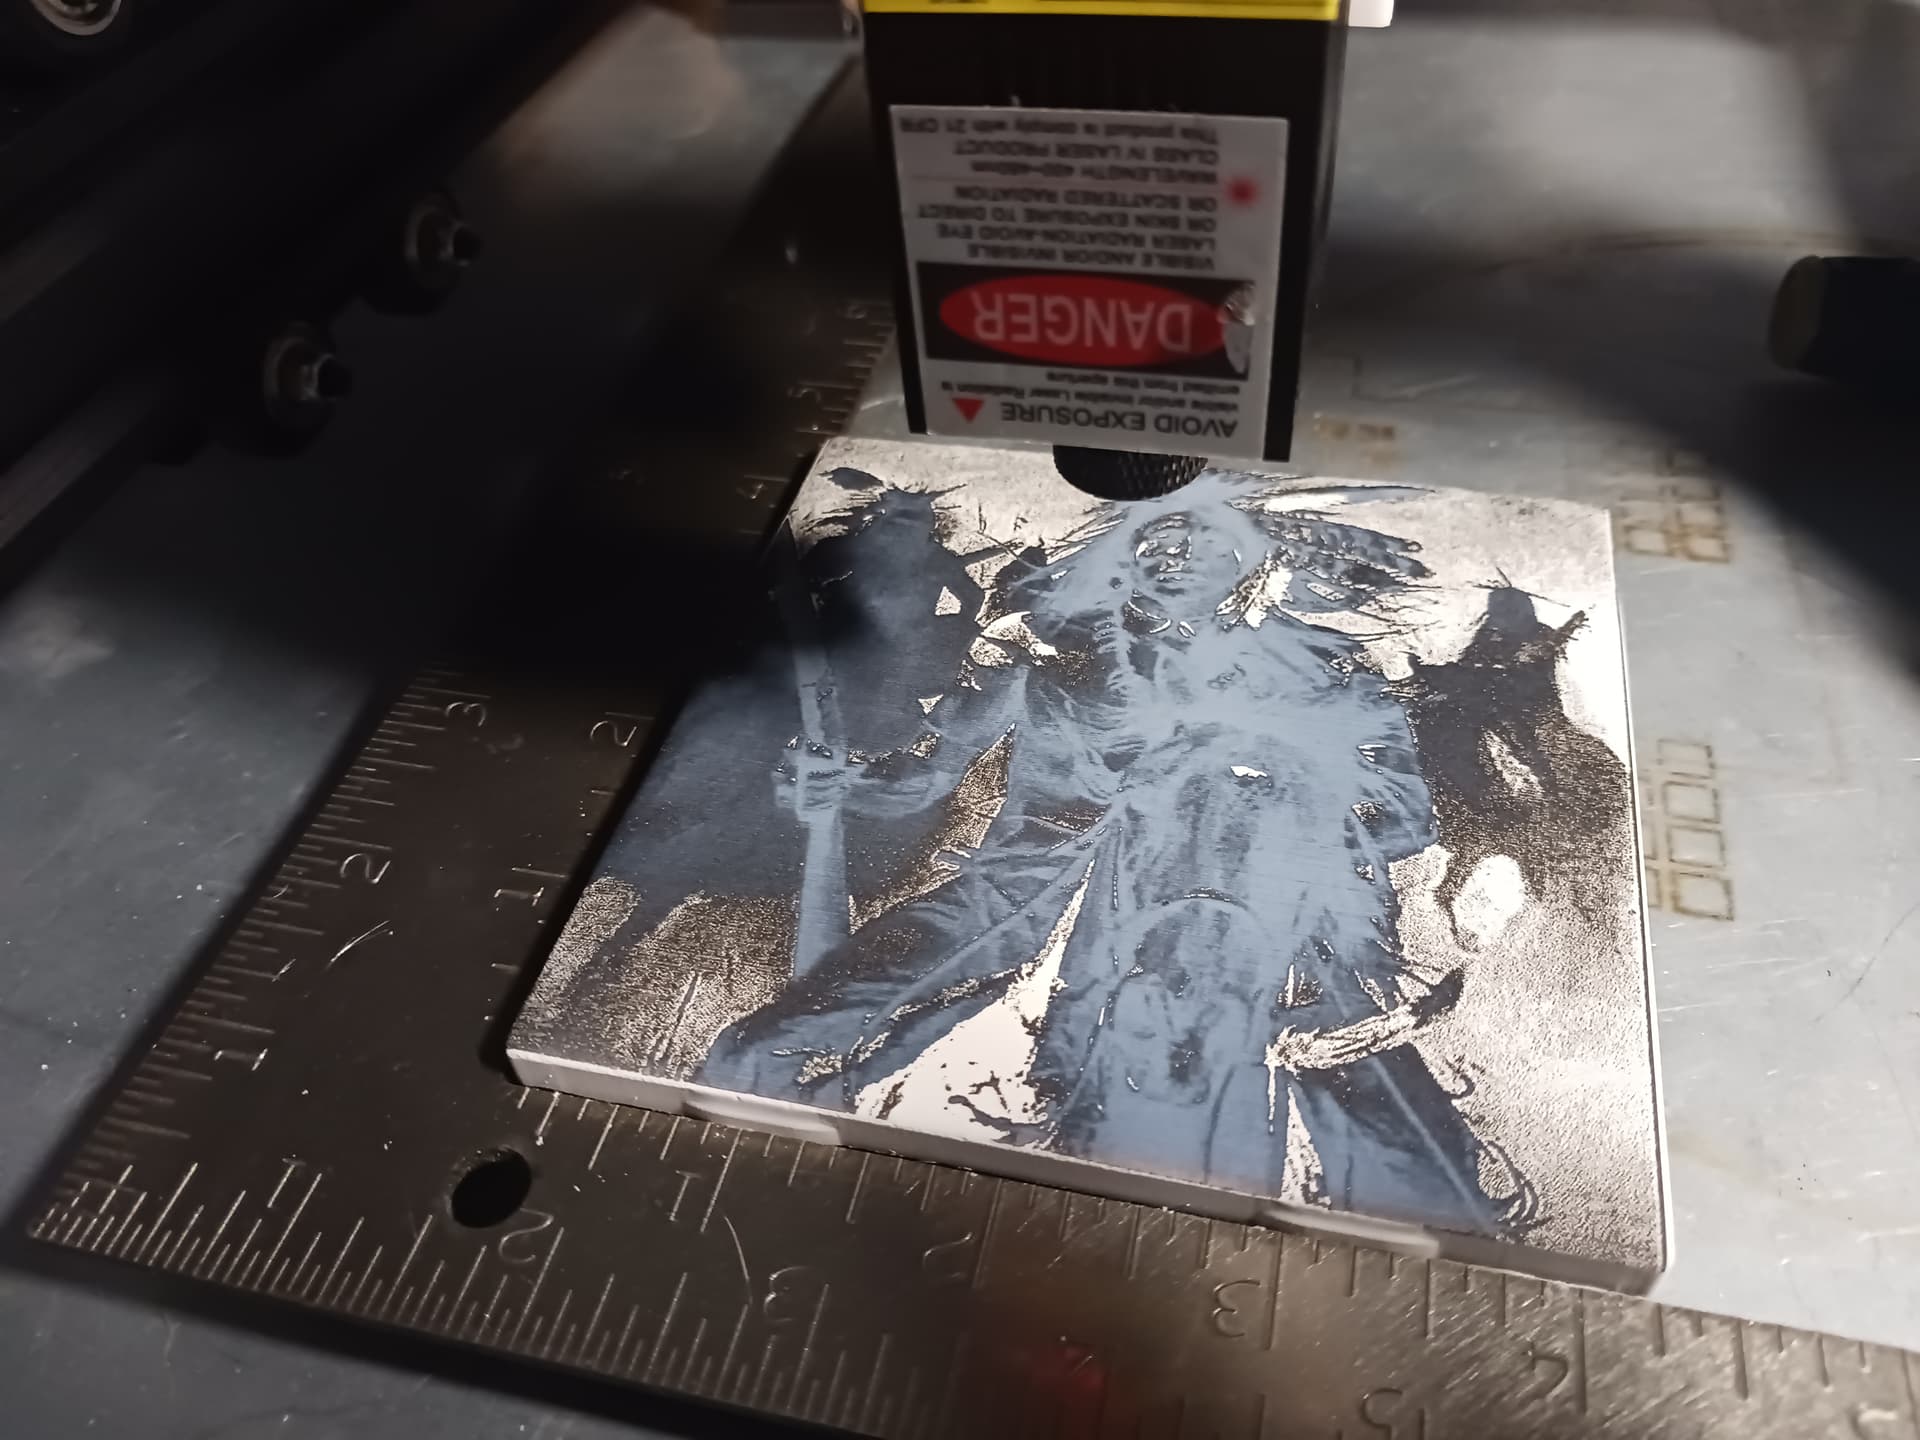
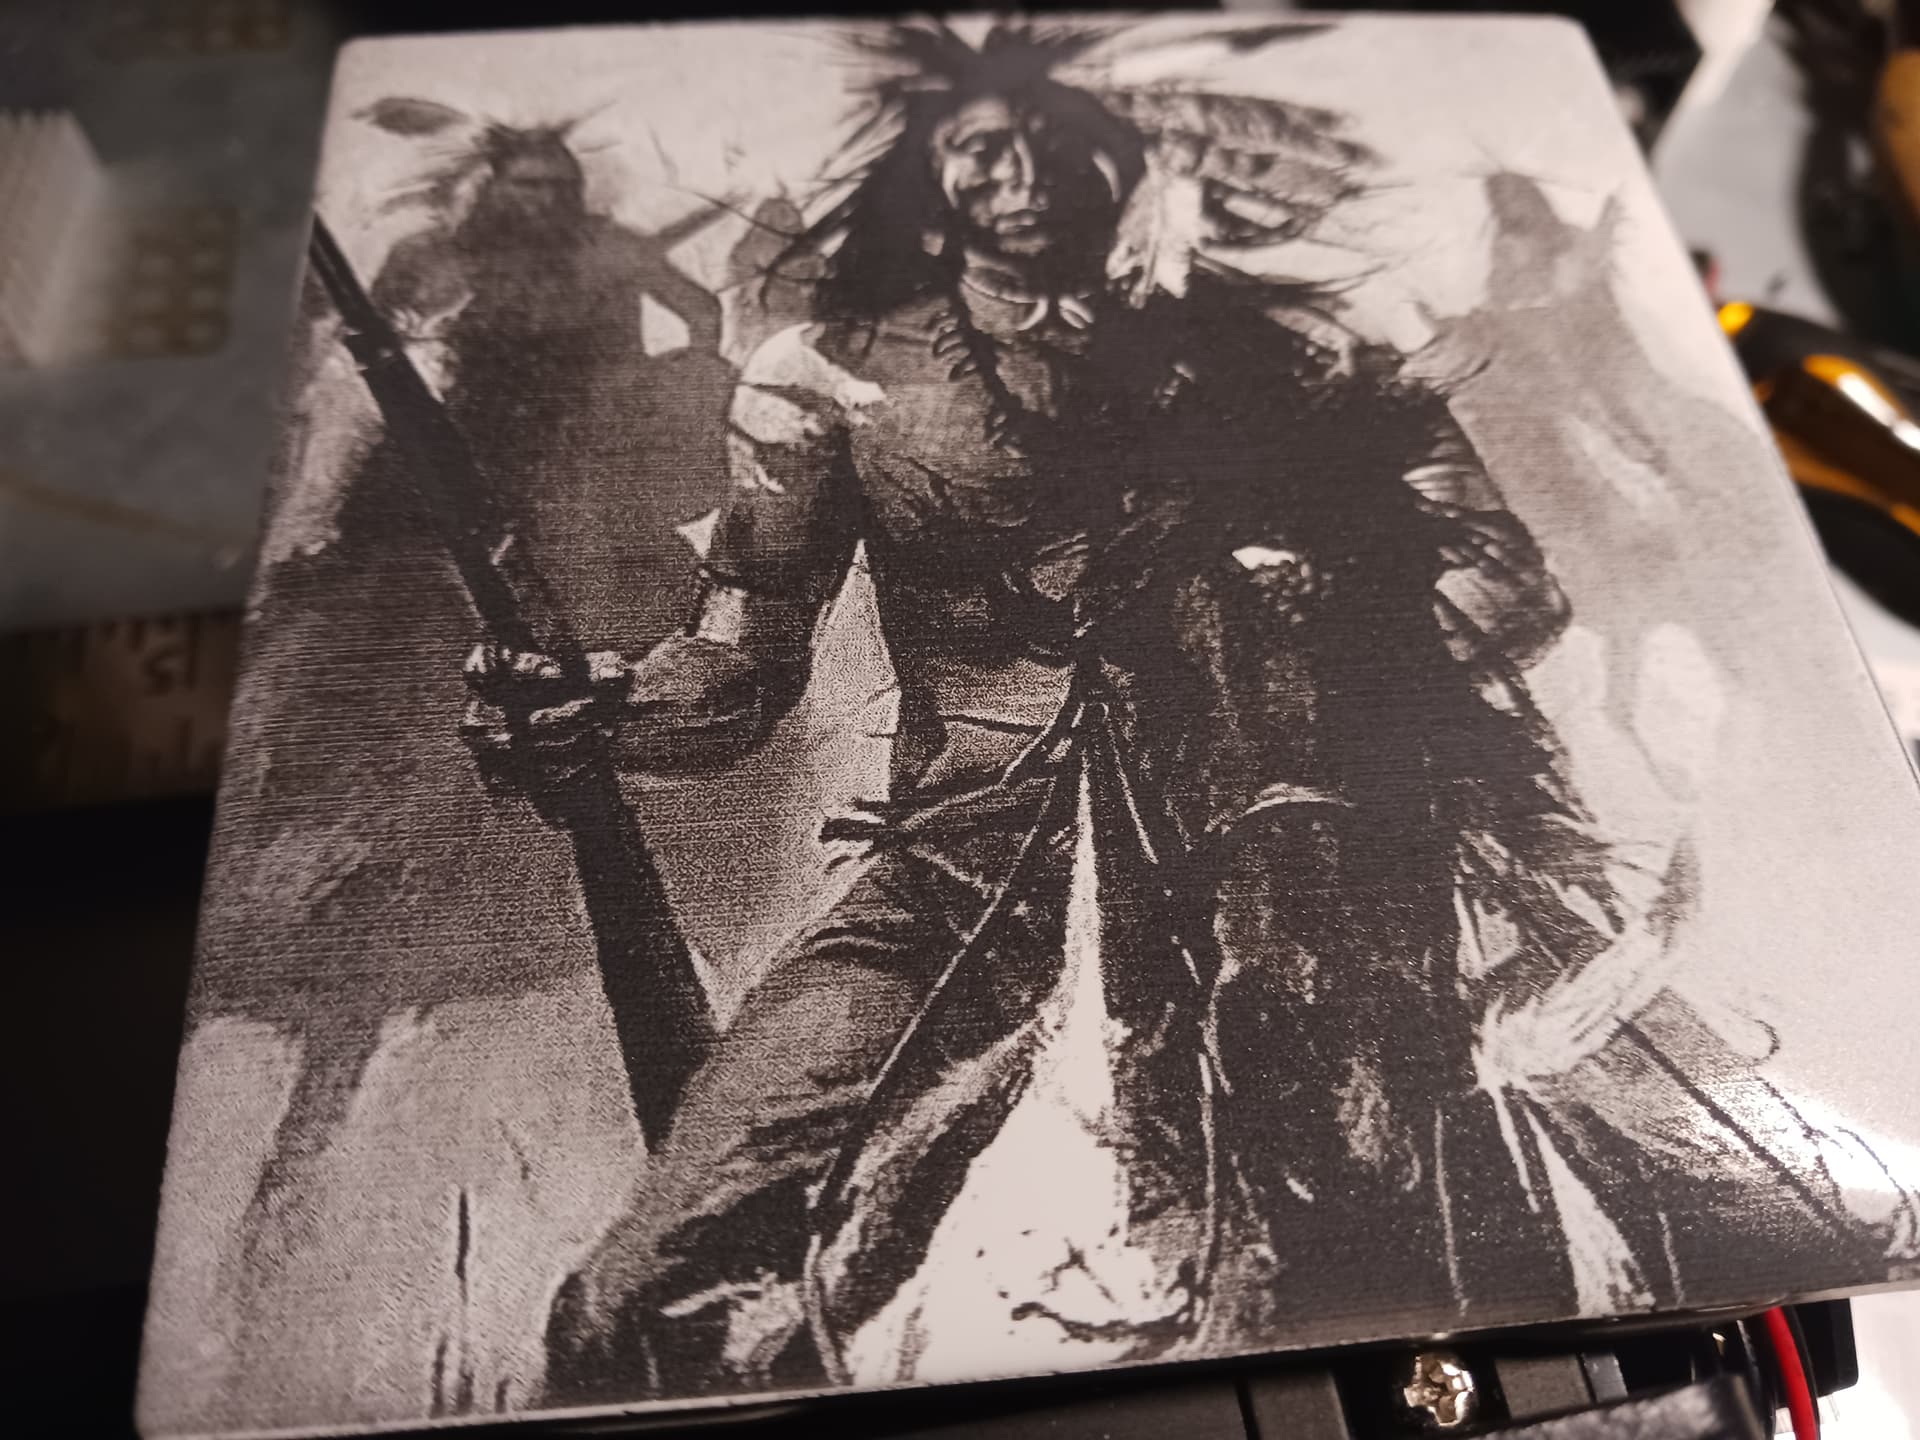
Image lasered leave dark, muddy/sooty, image before paint removal…
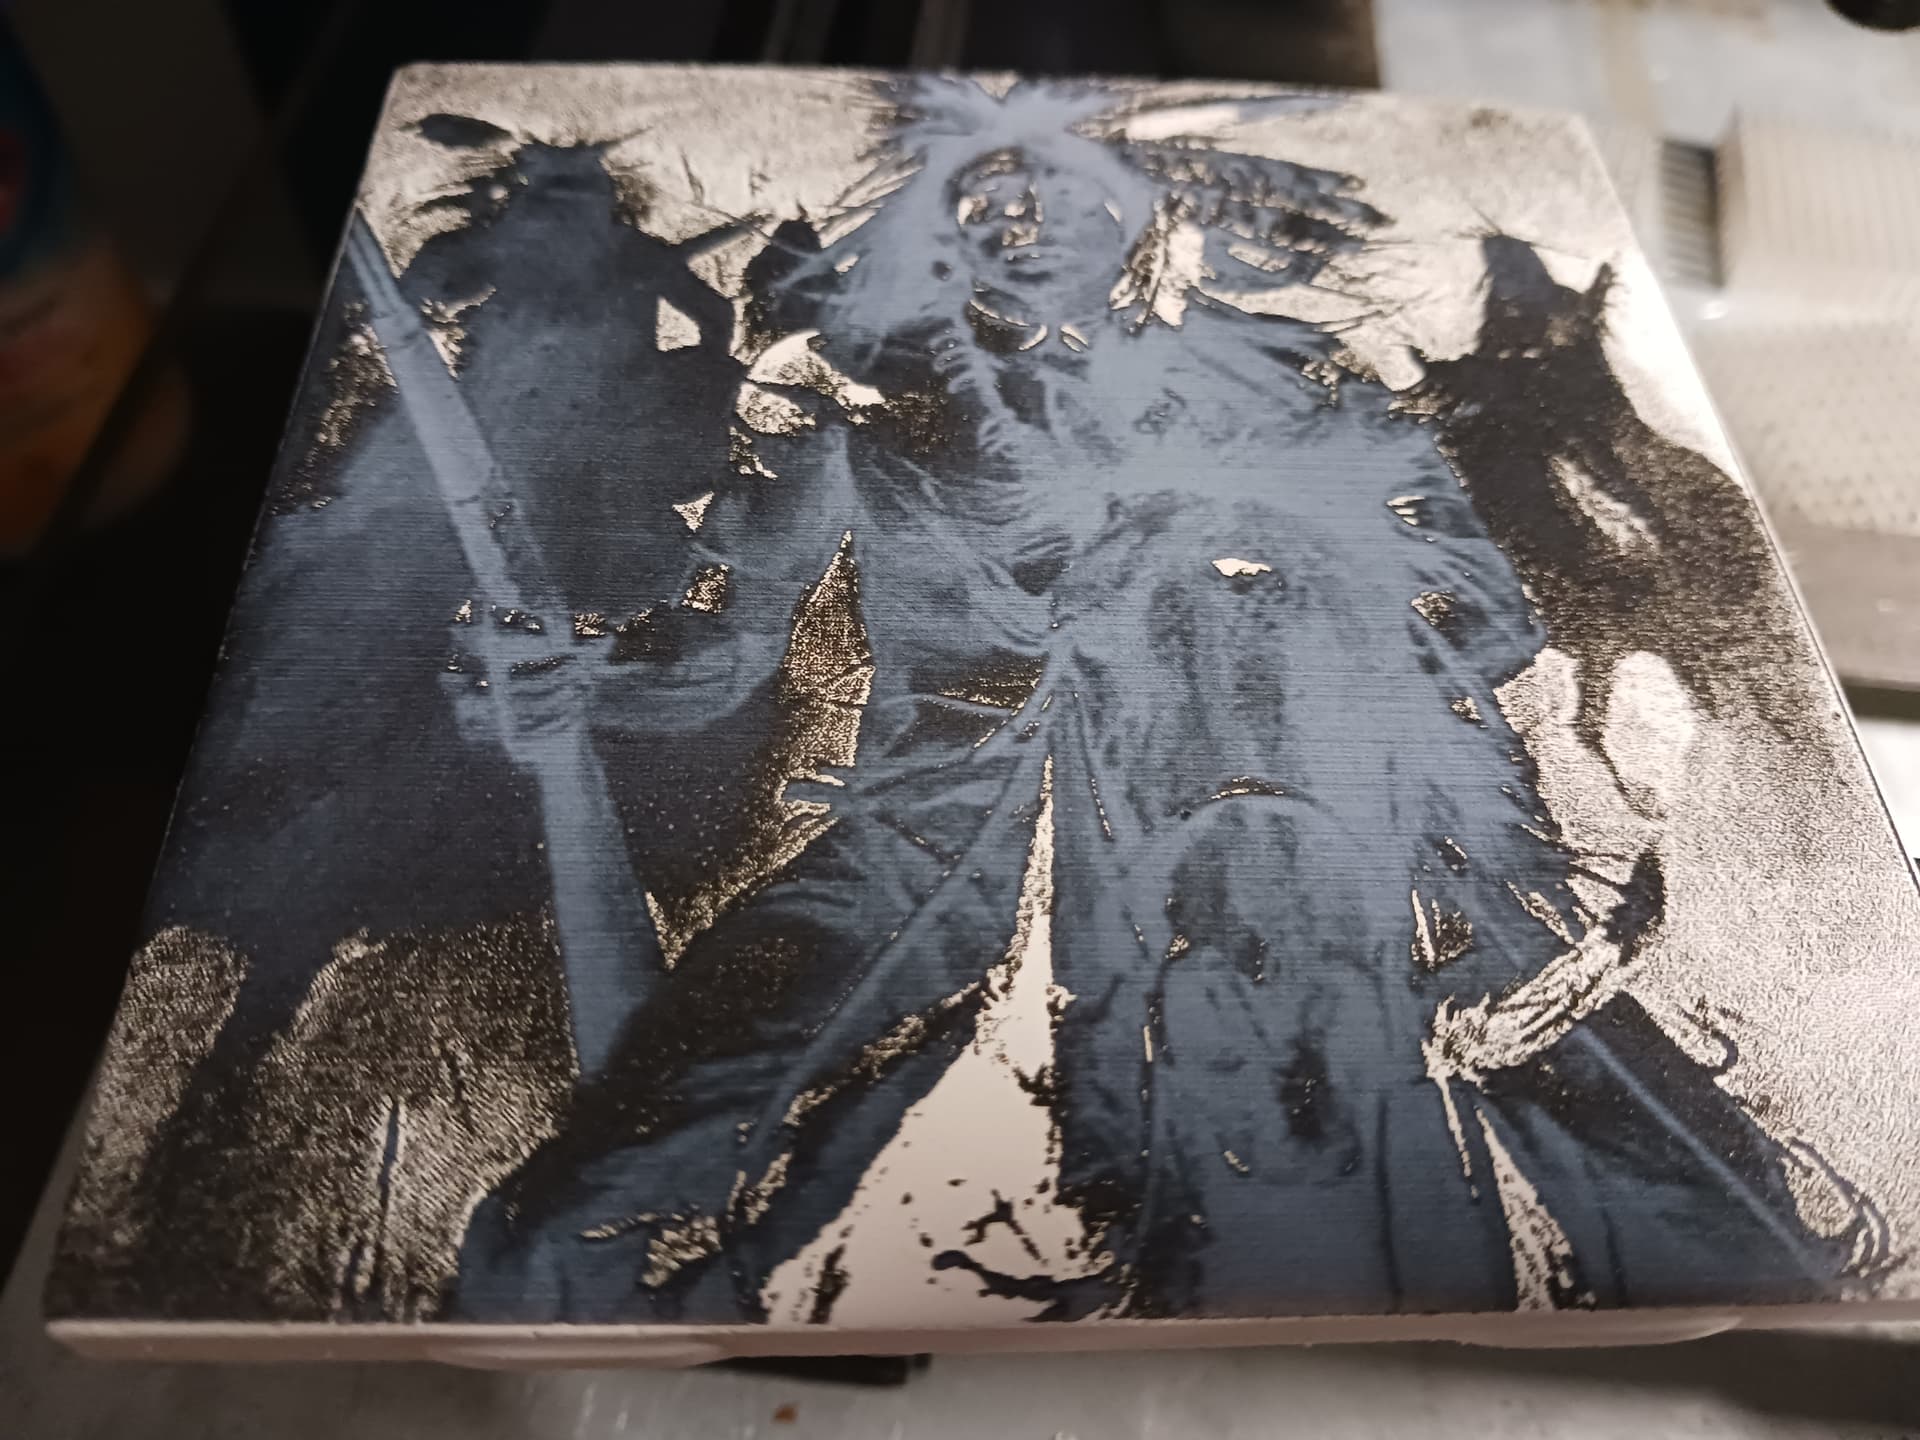
Paint removed leaves pretty good image of my “warrior buddy” on horseback…
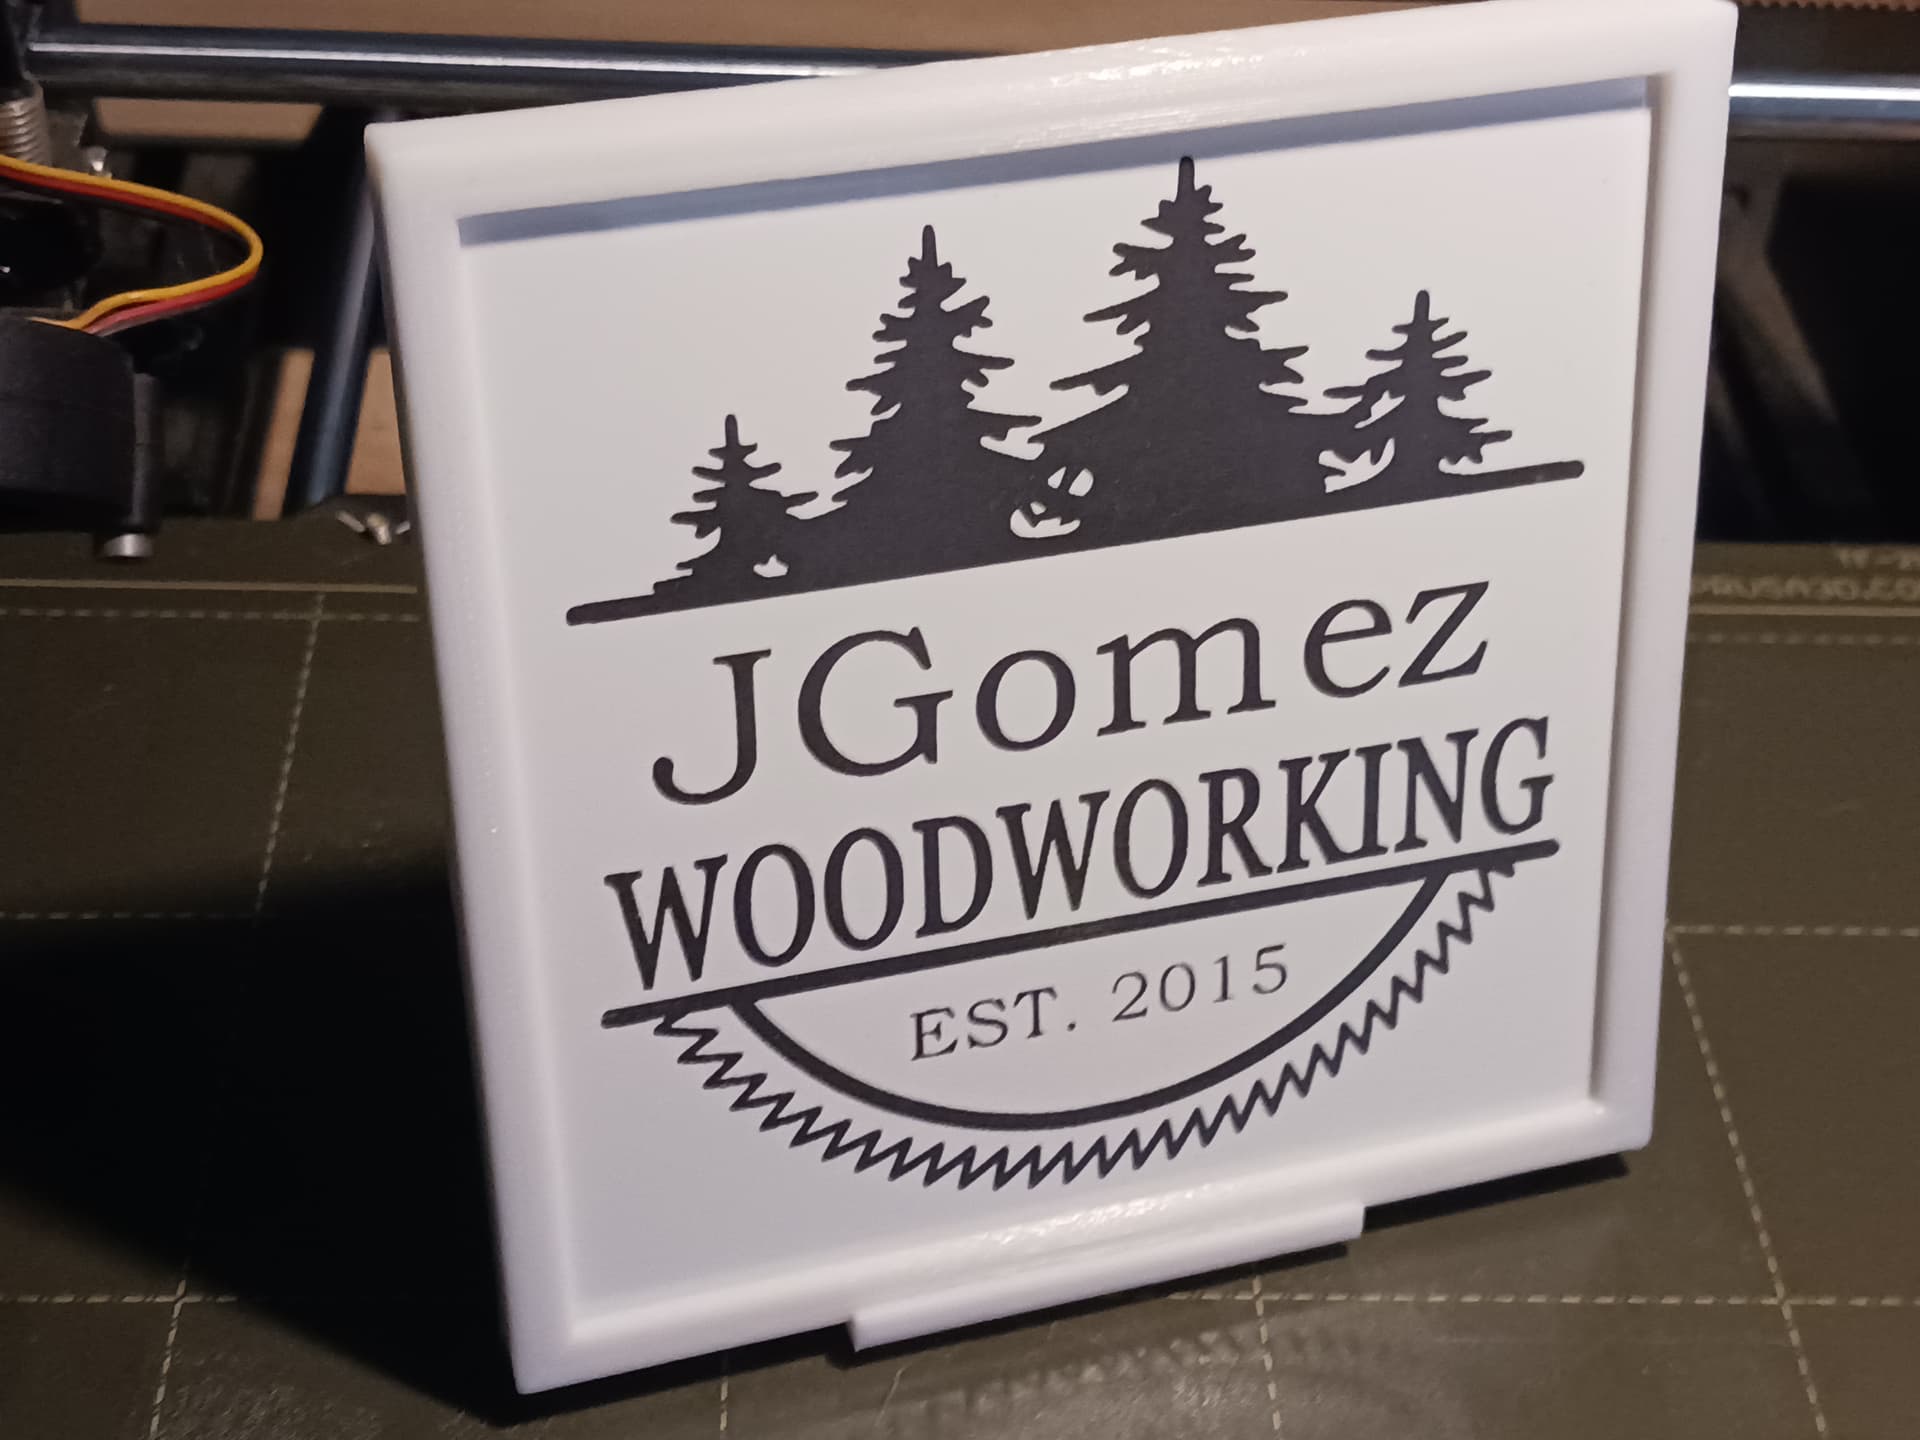
Different laser… Neje 4W(?) laser with friend’s logo…

A little printed frame and stand to dress up the tile edges…
The included laser module kinda works but leaves a lot to be desired so I chopped off the funky connector and soldered on (with 63/37 leaded, of course…  ) a 3-wire pigtail and now it’s pretty simple to swap out a lot of different laser modules. Just keep up with which of the black wires match up to the red/black/yellow (+12V/Gnd/PWM) wires of the old laser before you chop off the connector
– David