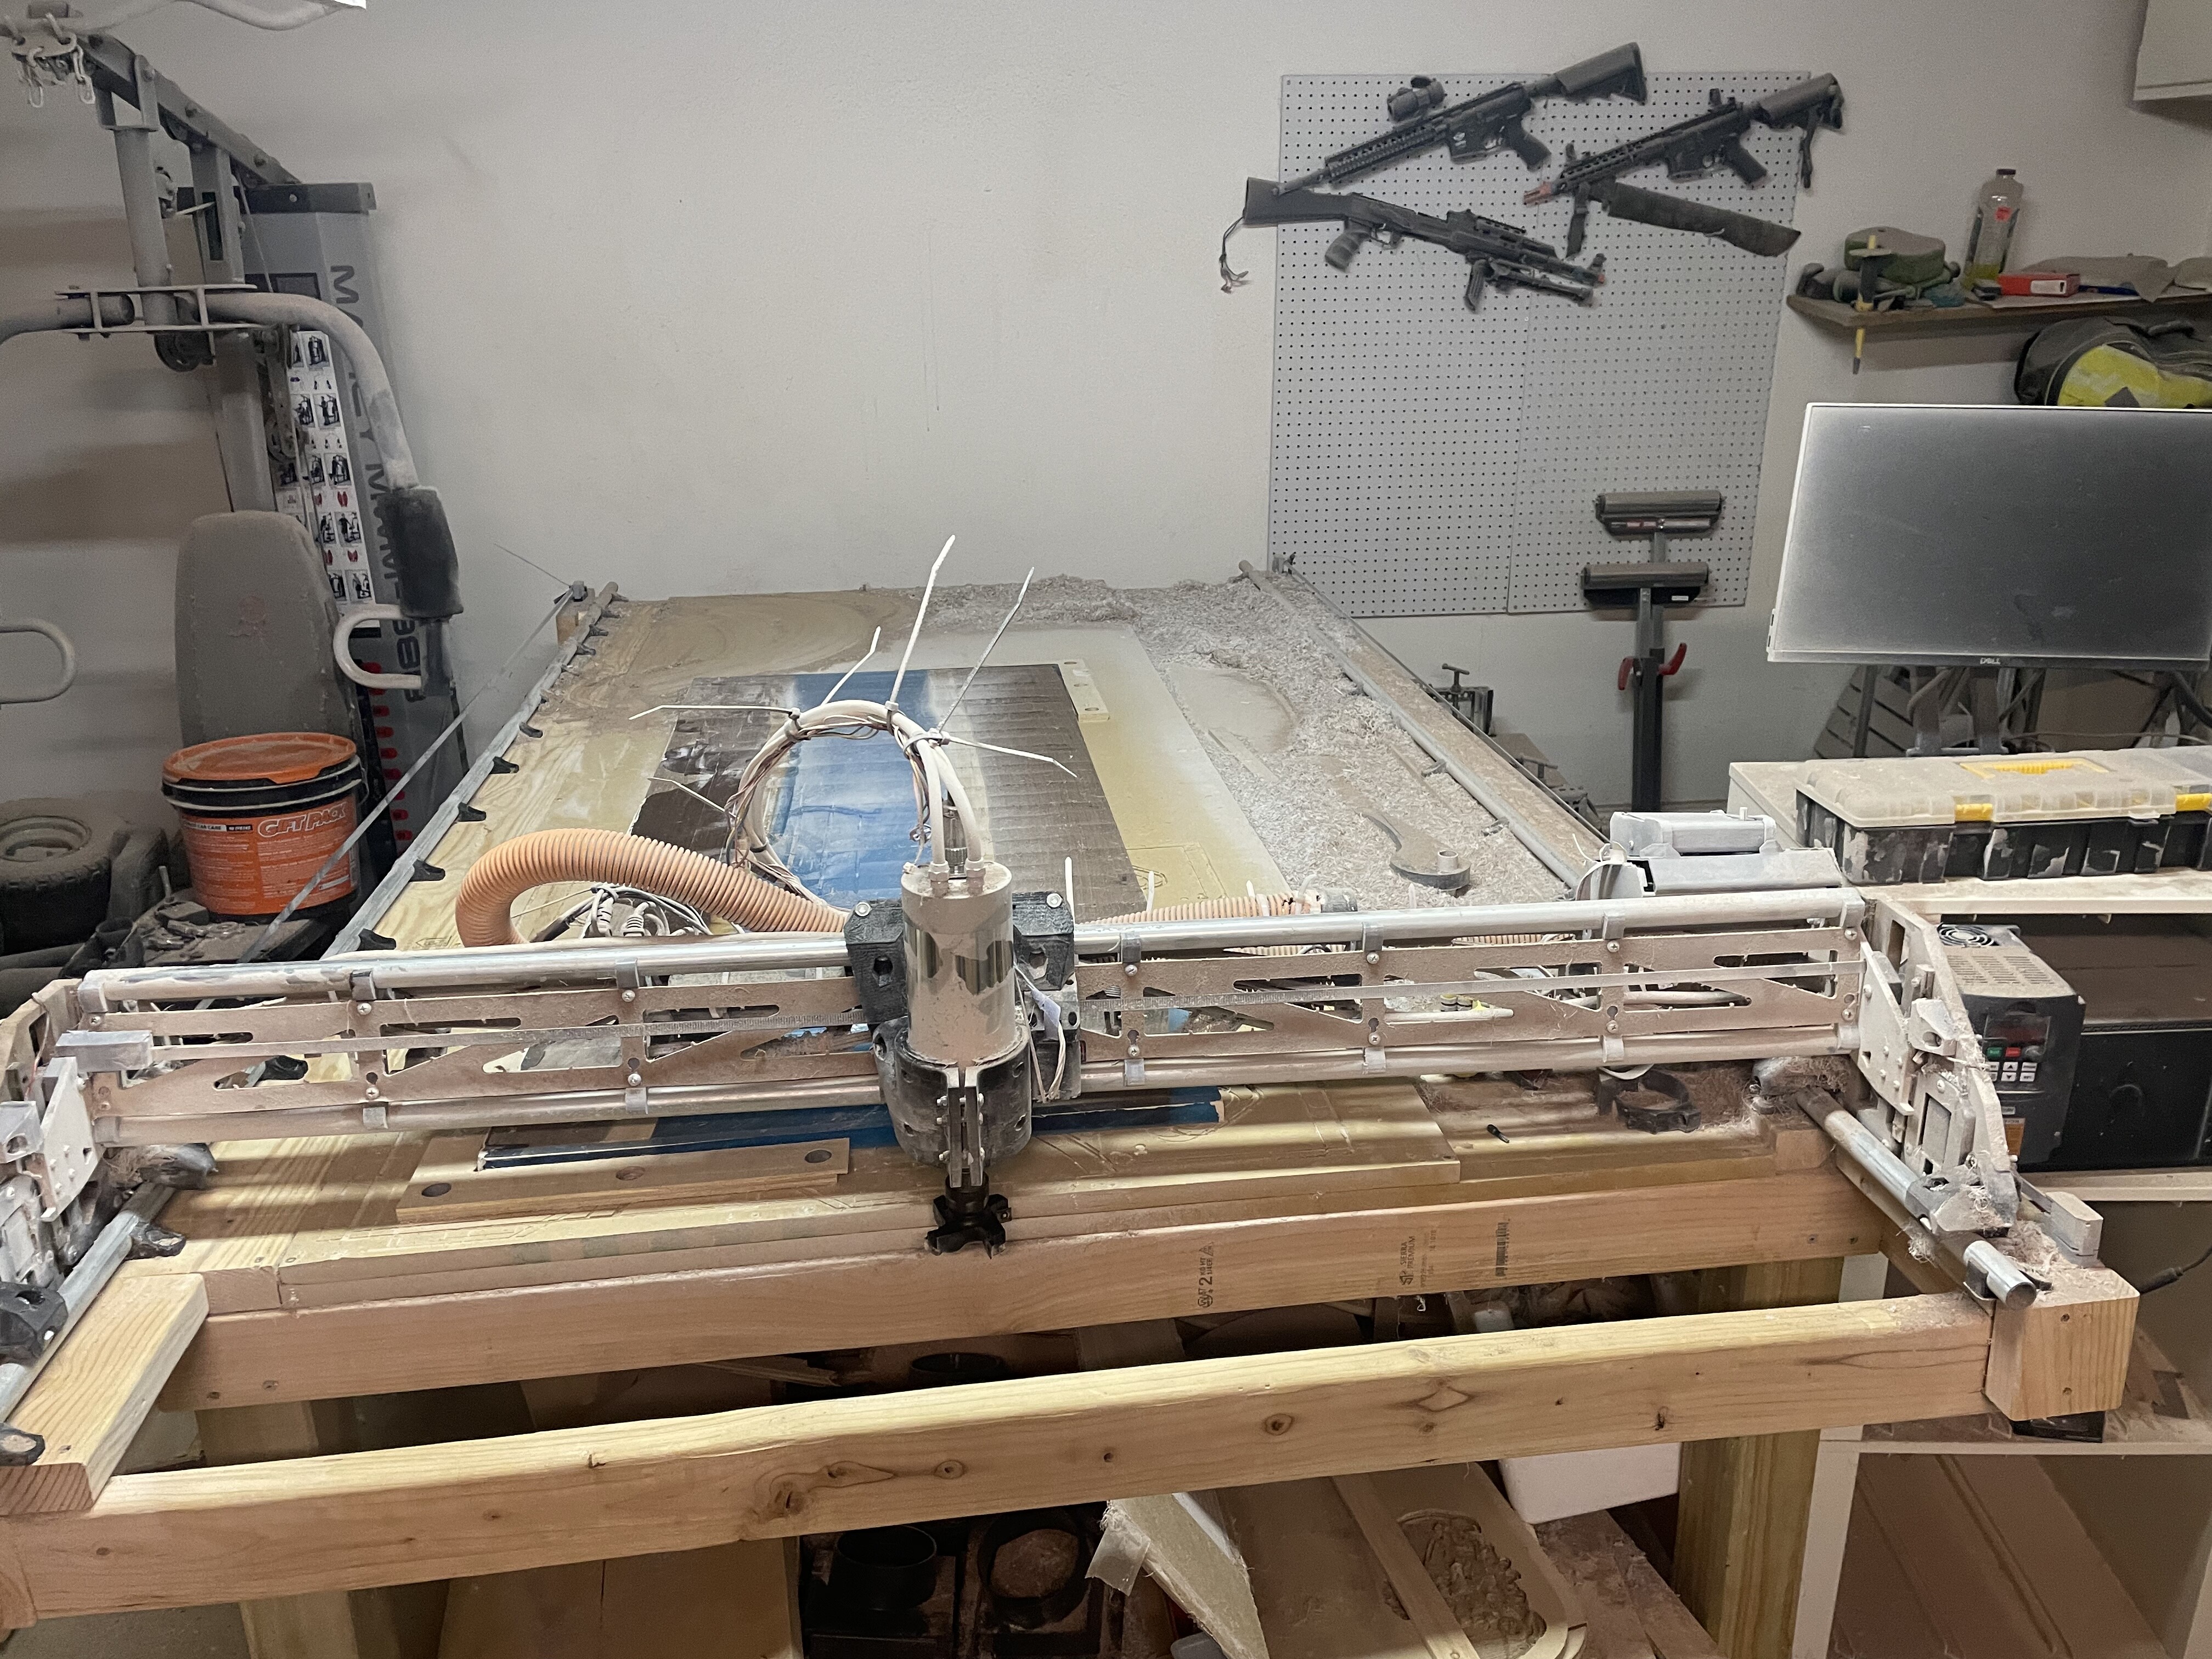
The spindle weights about 10 kg. I used to have the mikita router for the last couple years and it started to die on me, so i decided to go big or go home and running 3in surfacing bits is pretty nice just gotta fix that twisting force to get the finish just right. Nothing sanding can’t take care of but I’m trying to advice for perfection
2 Likes
Wow, a 3 inch surfacing bit is quite something!
If it’s smoothness and not flatness you’re after, you could try surfacing in one direction, moving only in the -Y direction. This test pattern / tool path generator allows you to surface by cutting only when moving “South”, i.e. starting from +Y and moving toward -Y.
Then you will end up with a relatively mild scallop (depending on your step-over) and not a hard edge between passes.
4 Likes
That is just too big really. You will get much less scallop and you can move faster with a smaller bit. I don’t think you will notice a job time difference with a more appropriate sized surfacing bit. You will notice a much smaller deviation, if any at all.
Moving to 1/4" strut plates will do far more than adding a 3rd rail.
A makita is 2.8kg, and what this was designed for. As for it dying you probably just need a few dollars worth of a new brush set, super easy fix. Swinging a smaller surfacing bit and it will probably last longer next time around.
Tone it down a little bit, instead of taking a bigger bite take smaller bites faster. Lots of ways to end up at the same goal.
3 Likes
Ill hove that a try everything comes out flat just has lines that im able to sand down since it digs more in the front im going to keep experimenting and see if i can make it work
2 Likes
Ill try going to the thicker strut plates as well as adding the counter weight and see. Ill also go ahead and replace the bearings and fix up that router as a buck up but my brain always wants more so ill try to find a way of using that spindle and surfacing bit and update you guys. If any of you have any recommendations let me know
1 Like
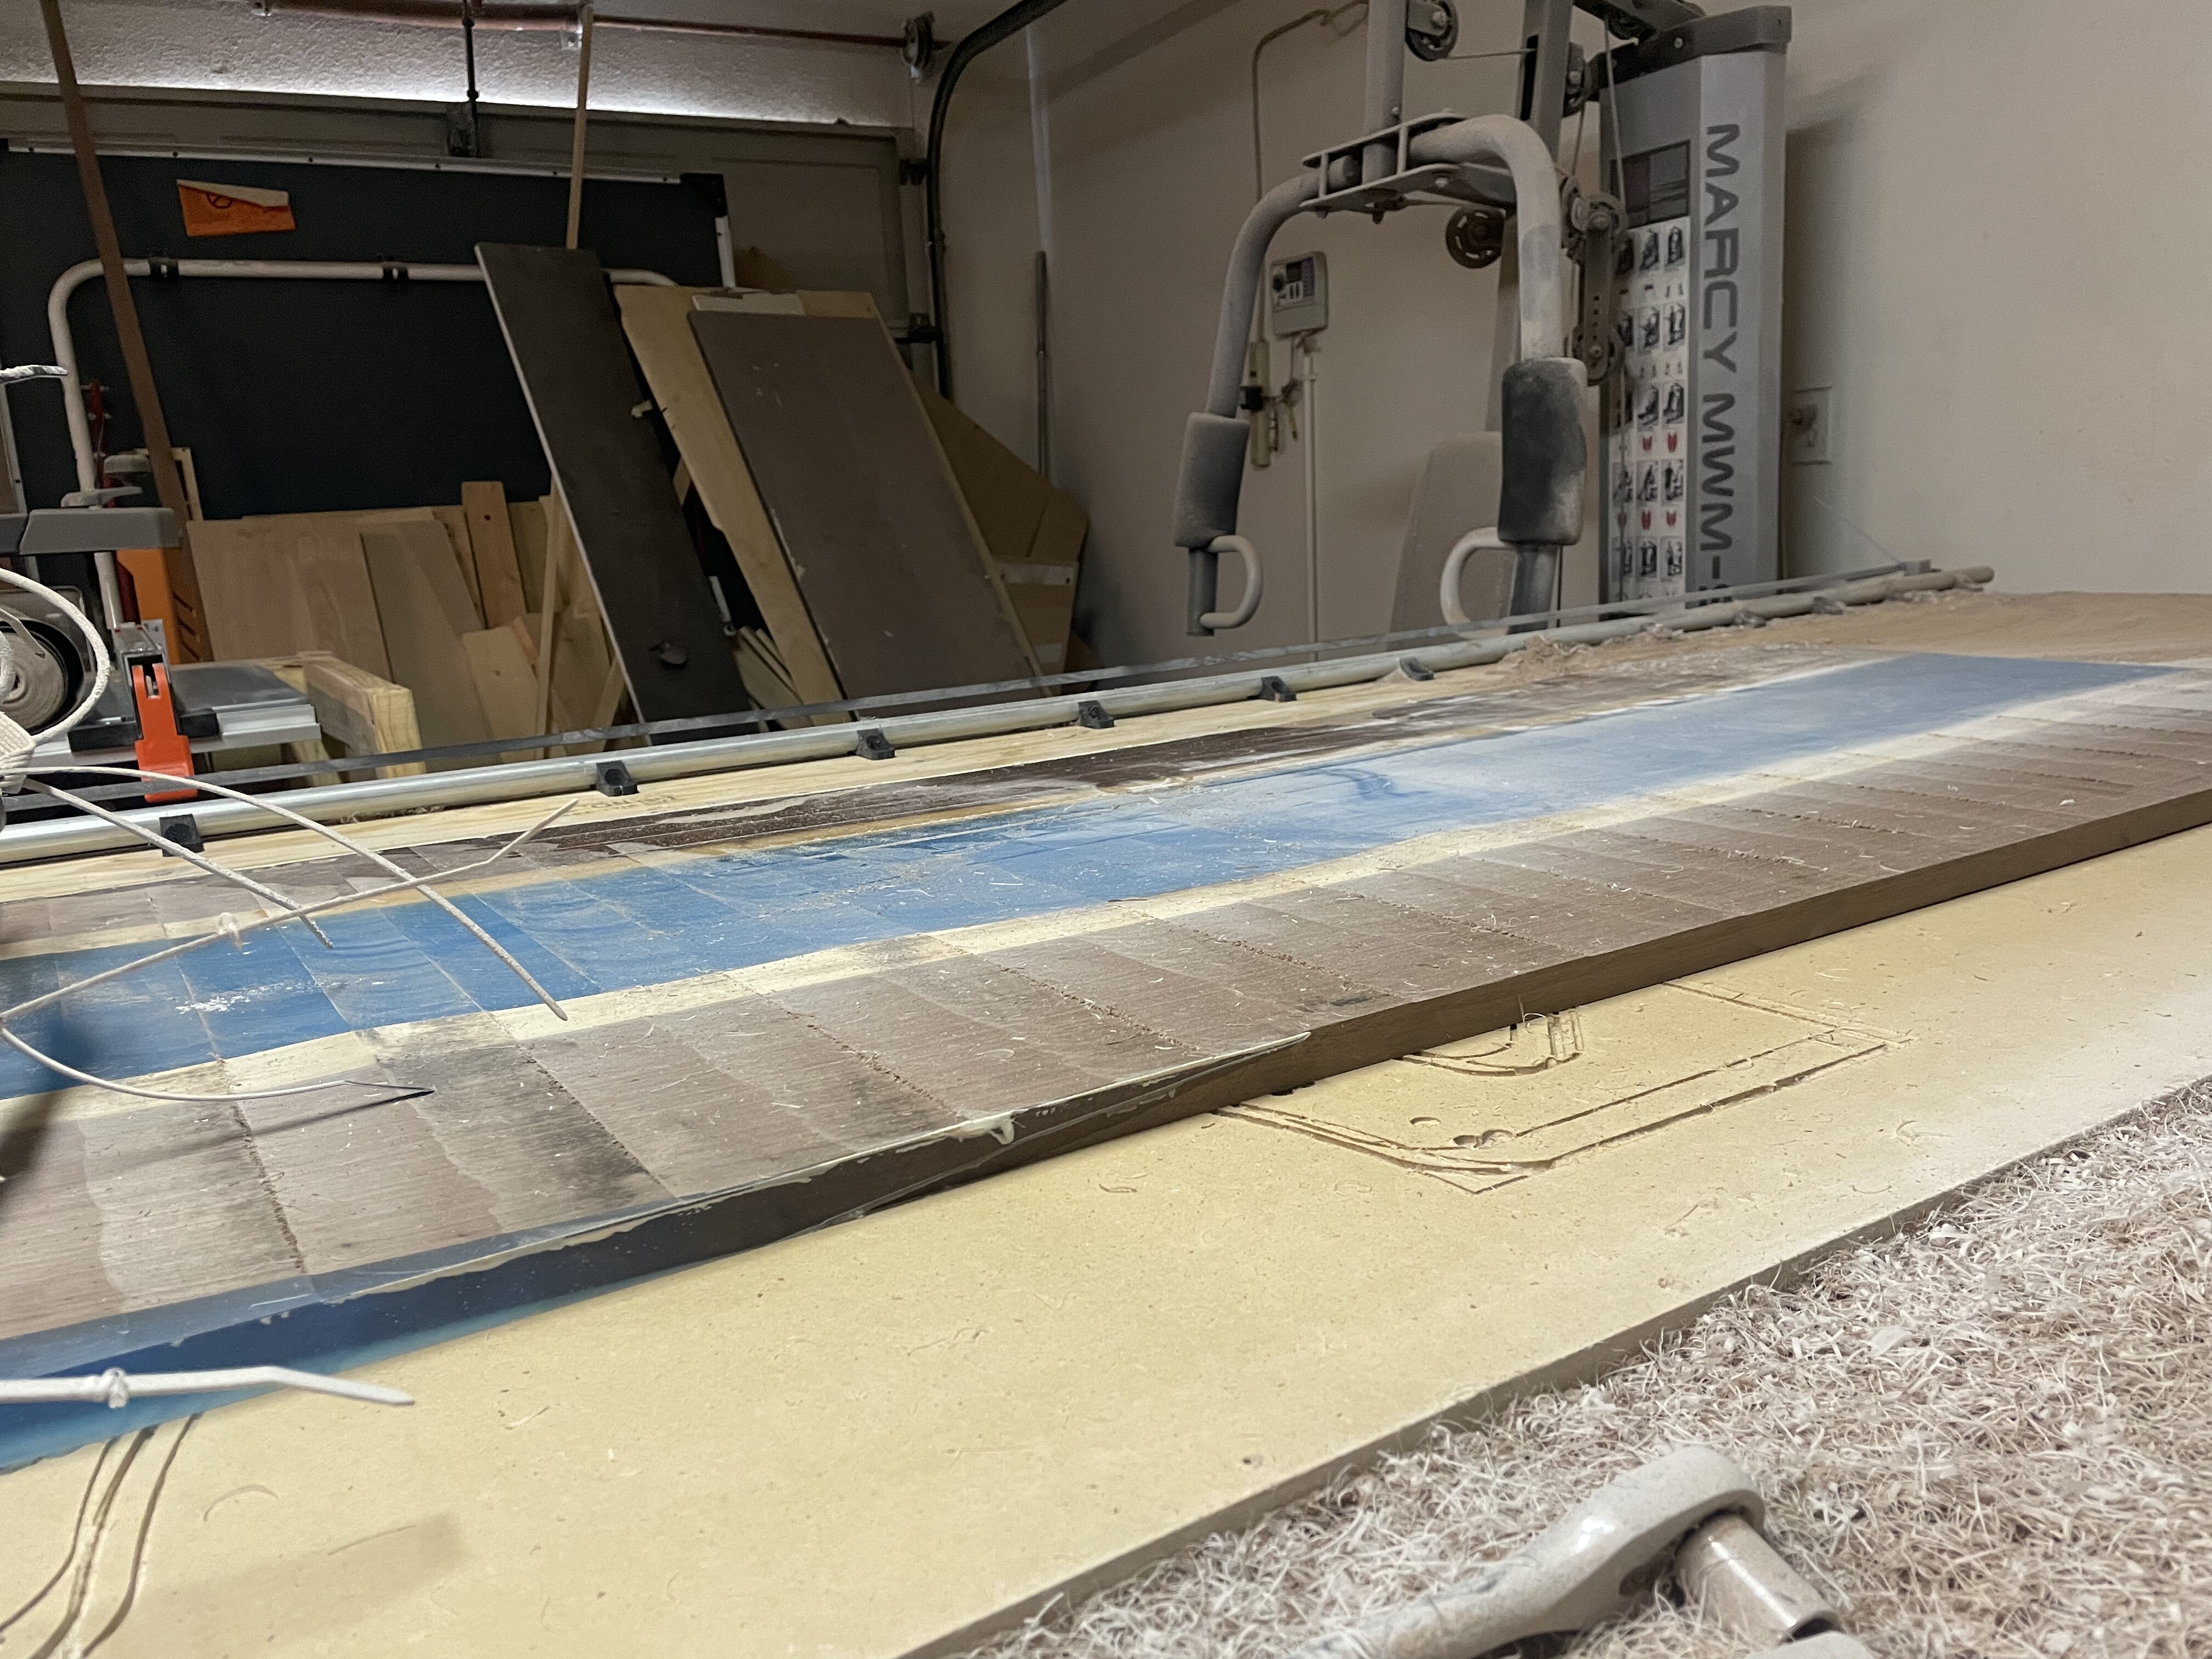
That looks pretty bad all the way across. Have you trammed your router? While it might be worse in the middle, the edges are not good either. Your router is just leaned forward in general. Use a printable tramming tool and some tape for shims. Something like this, Printables
I really can’t stress how much better that will look for the same amount of cut time if you use a regular surfacing bit. You will save considerable time on sanding as well. That is just not a good way to do that. The larger the diameter, the larger any minute error gets multiplied, the more any CAM imperfections get multiplied.
It is really worth giving my way a shot.
1 Like
Really appreciate it ill give it a try. And what i might end up doing is use the 3in for the bulk and then go down to a smaller one like 1in for a finish pass. I definitely need to tram the router. Thanks again for the help. I know this is a really dumb idea but i always like to test the limits
2 Likes
I don’t see any advantage to using that over just using a 1/2" the whole time. The MRR will probably be even higher with a proper sized endmill. You will be able to move fast and have a better surface finish.
I understand wanting to push it but this is way too far. 1/2"…is actually pushing it.
2 Likes
I downloaded your pic, there is alot going on with that cut. As others have stated, I think you are trying way too much all at once.
That cut has alot of problems, not just one. Wavy lines. Then Straight lines, then you can see the gouge in the side on some cuts. A) maybe, just maybe, slowing your travel WAY down so the cutter can keep up. B) that tool is just too much, maybe not for the spindle, but for the machine, That spindle and that cutter, the plastic and metal cannot control the kicks that will come from both. Please try the smaller mill as Ryan has stated. I think you may be surprised. Also check all your mounts. You have subjected that plastic to EXTREME forces. My router mounts broke from far less, just a lil over tightening.
2 Likes
Being able to take constructive criticism while testing the limits is a great quality, and you seem to be open to it. Keep that up and testing the limits will be a lot easier. ![]()
6 Likes
I try my best just get carried away with the what ifs and the possibility. I blame my speed obsesión with 3d printers. It’s carrying over to the cnc
1 Like
If you want speed you should watch @stevempotter’s videos, he is a speed freak as well. I also ran the LR3 pretty fast:
LowRider 3 CNC - How fast is it? - YouTube
1 Like
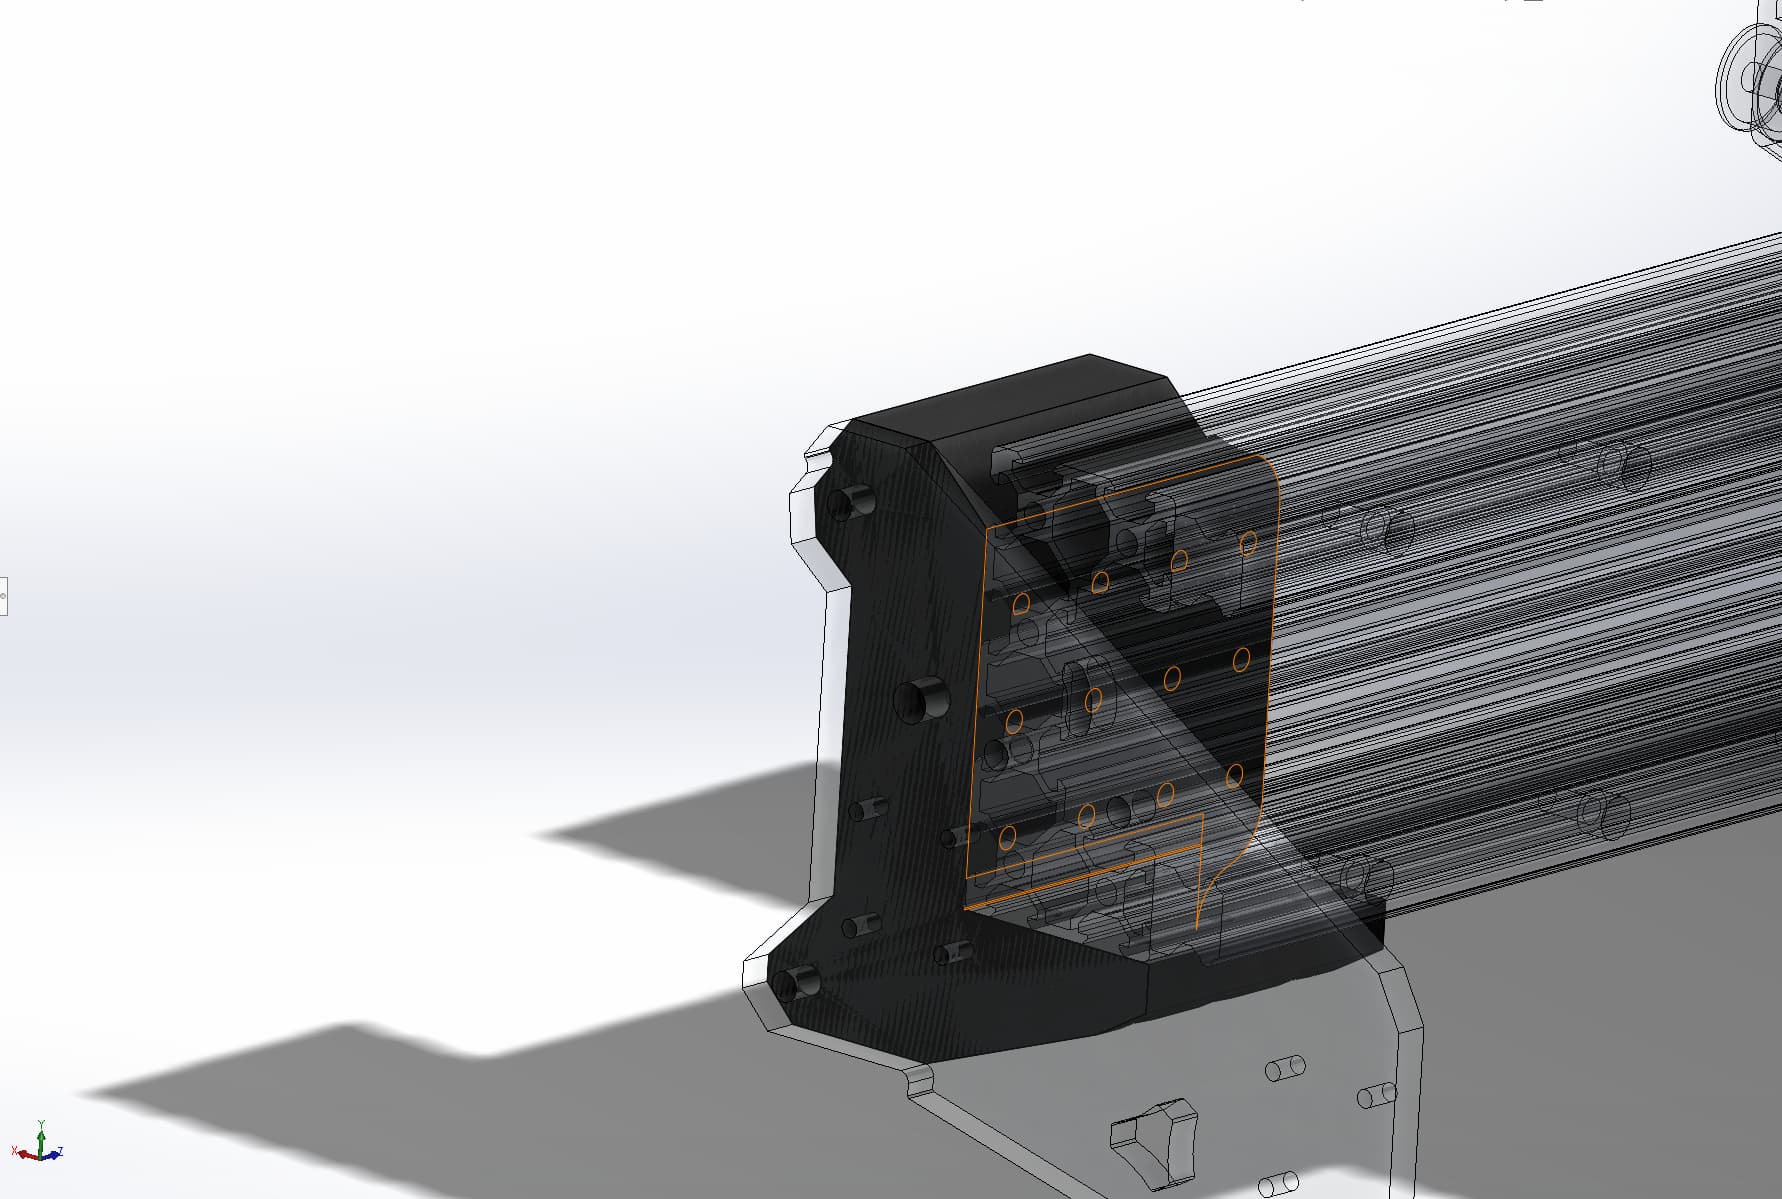
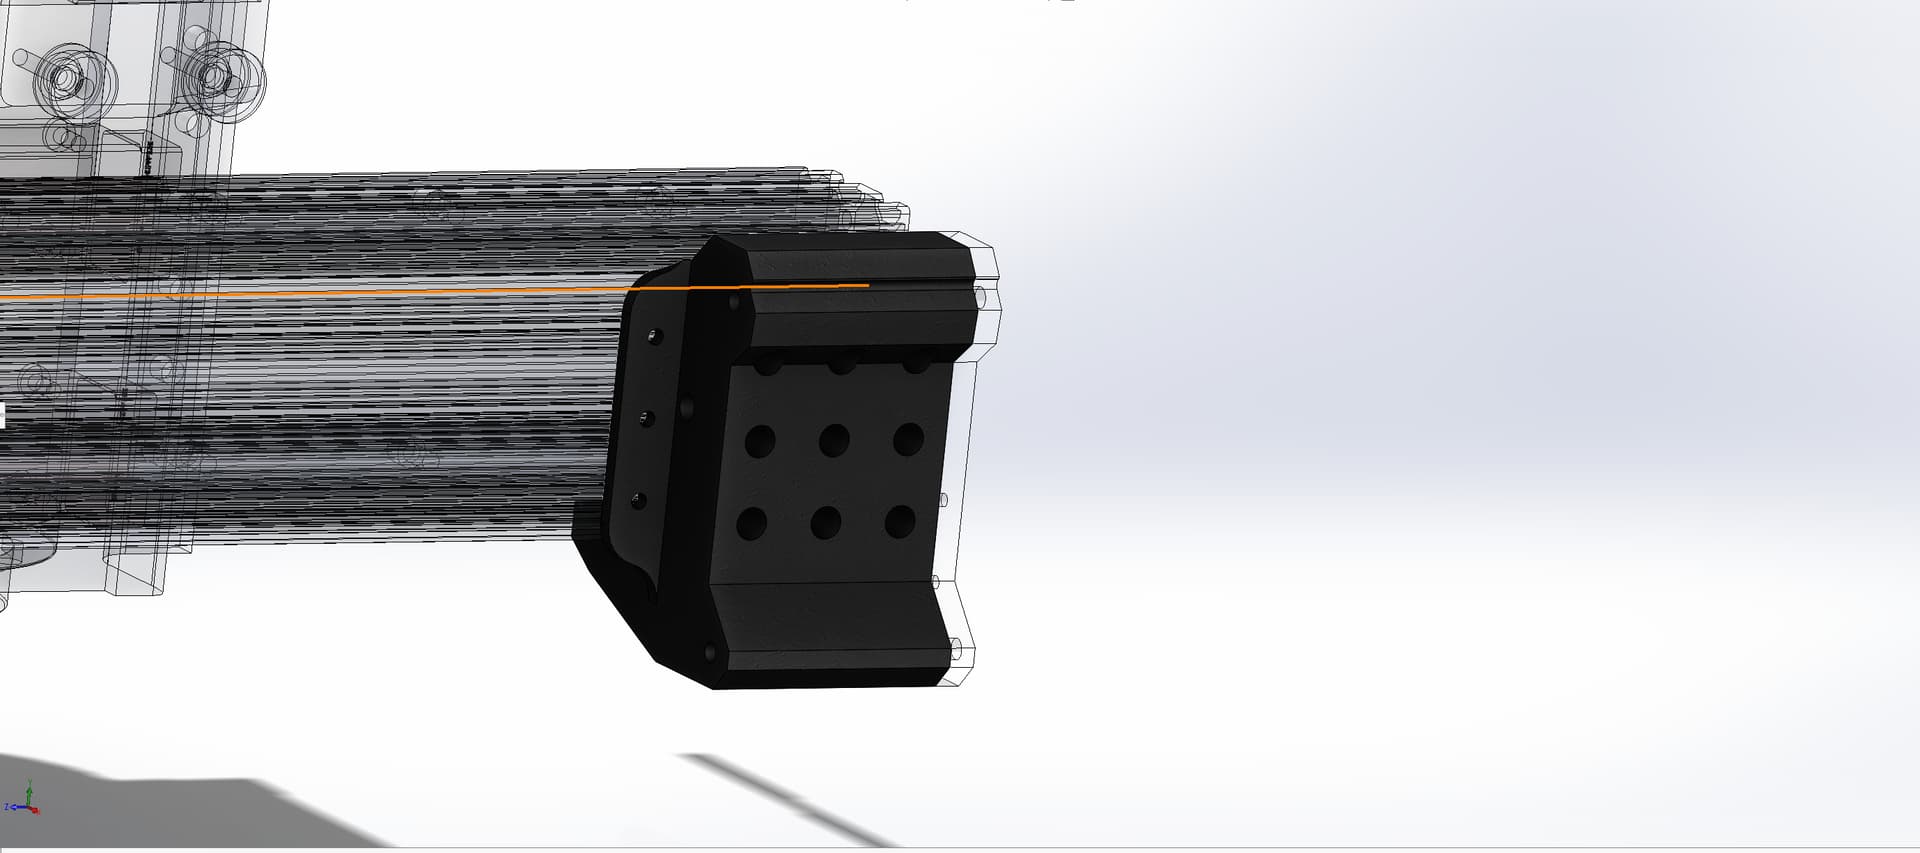
Ill take a look at the mount and trying a smaller bit when i get home the core for the spindle is printed at 80% infill and never trammed the spindle kind of got carried away and thats going to be a must. So ill try everything and hope for the best worse case scenario if i don’t get it where i want it to be at ill go to smaller bits and faster rates. I have a couple brackets i whipped out on solidworks yesterday that i want to give a try to sadly my good printer is out of commission until the new hot end arrives

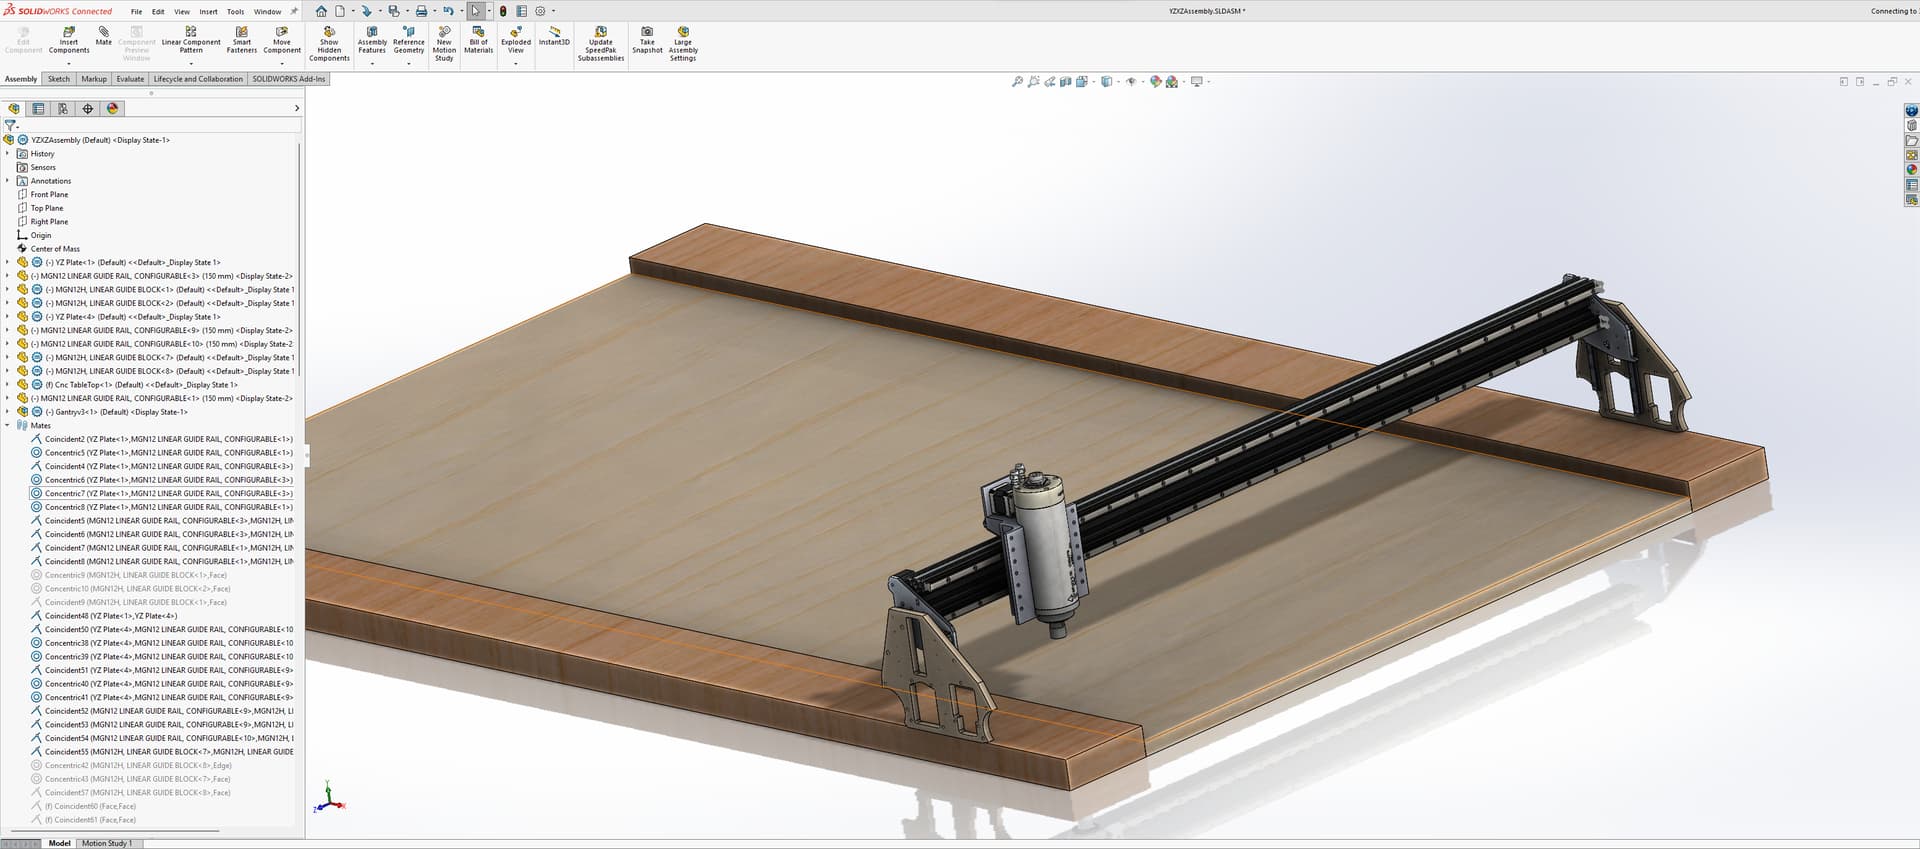
kind of went into a rabbit hole… waiting on the parts to finish printing and the materials to arrive to do testing
3 Likes
I like it, how much are the linear rails?
Have a look here, 1700mm is like 99euro for 2 pieces.
Interesting topic to follow:)
2 Likes
c channel was about 60$ from opencnc. linear rails 105 in amazon using the hsr15. also got one of darts boards to run fluid
1 Like
they got some good deals ill check them out when i decide to move onto linear rails for the Y axis. im still trying to use most of the materials and keep it within budget of the lowrider.
1 Like