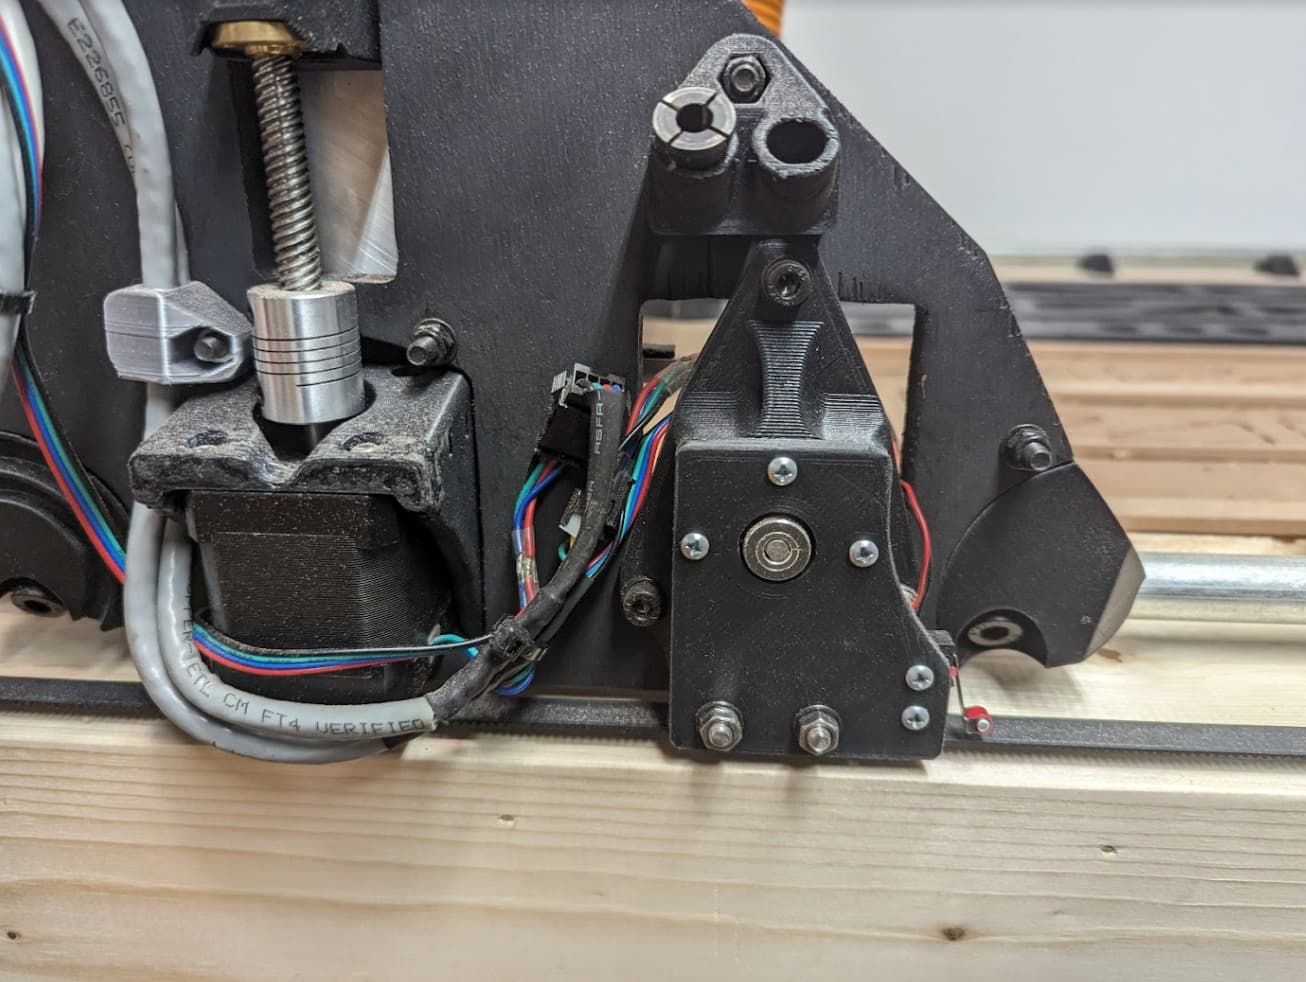
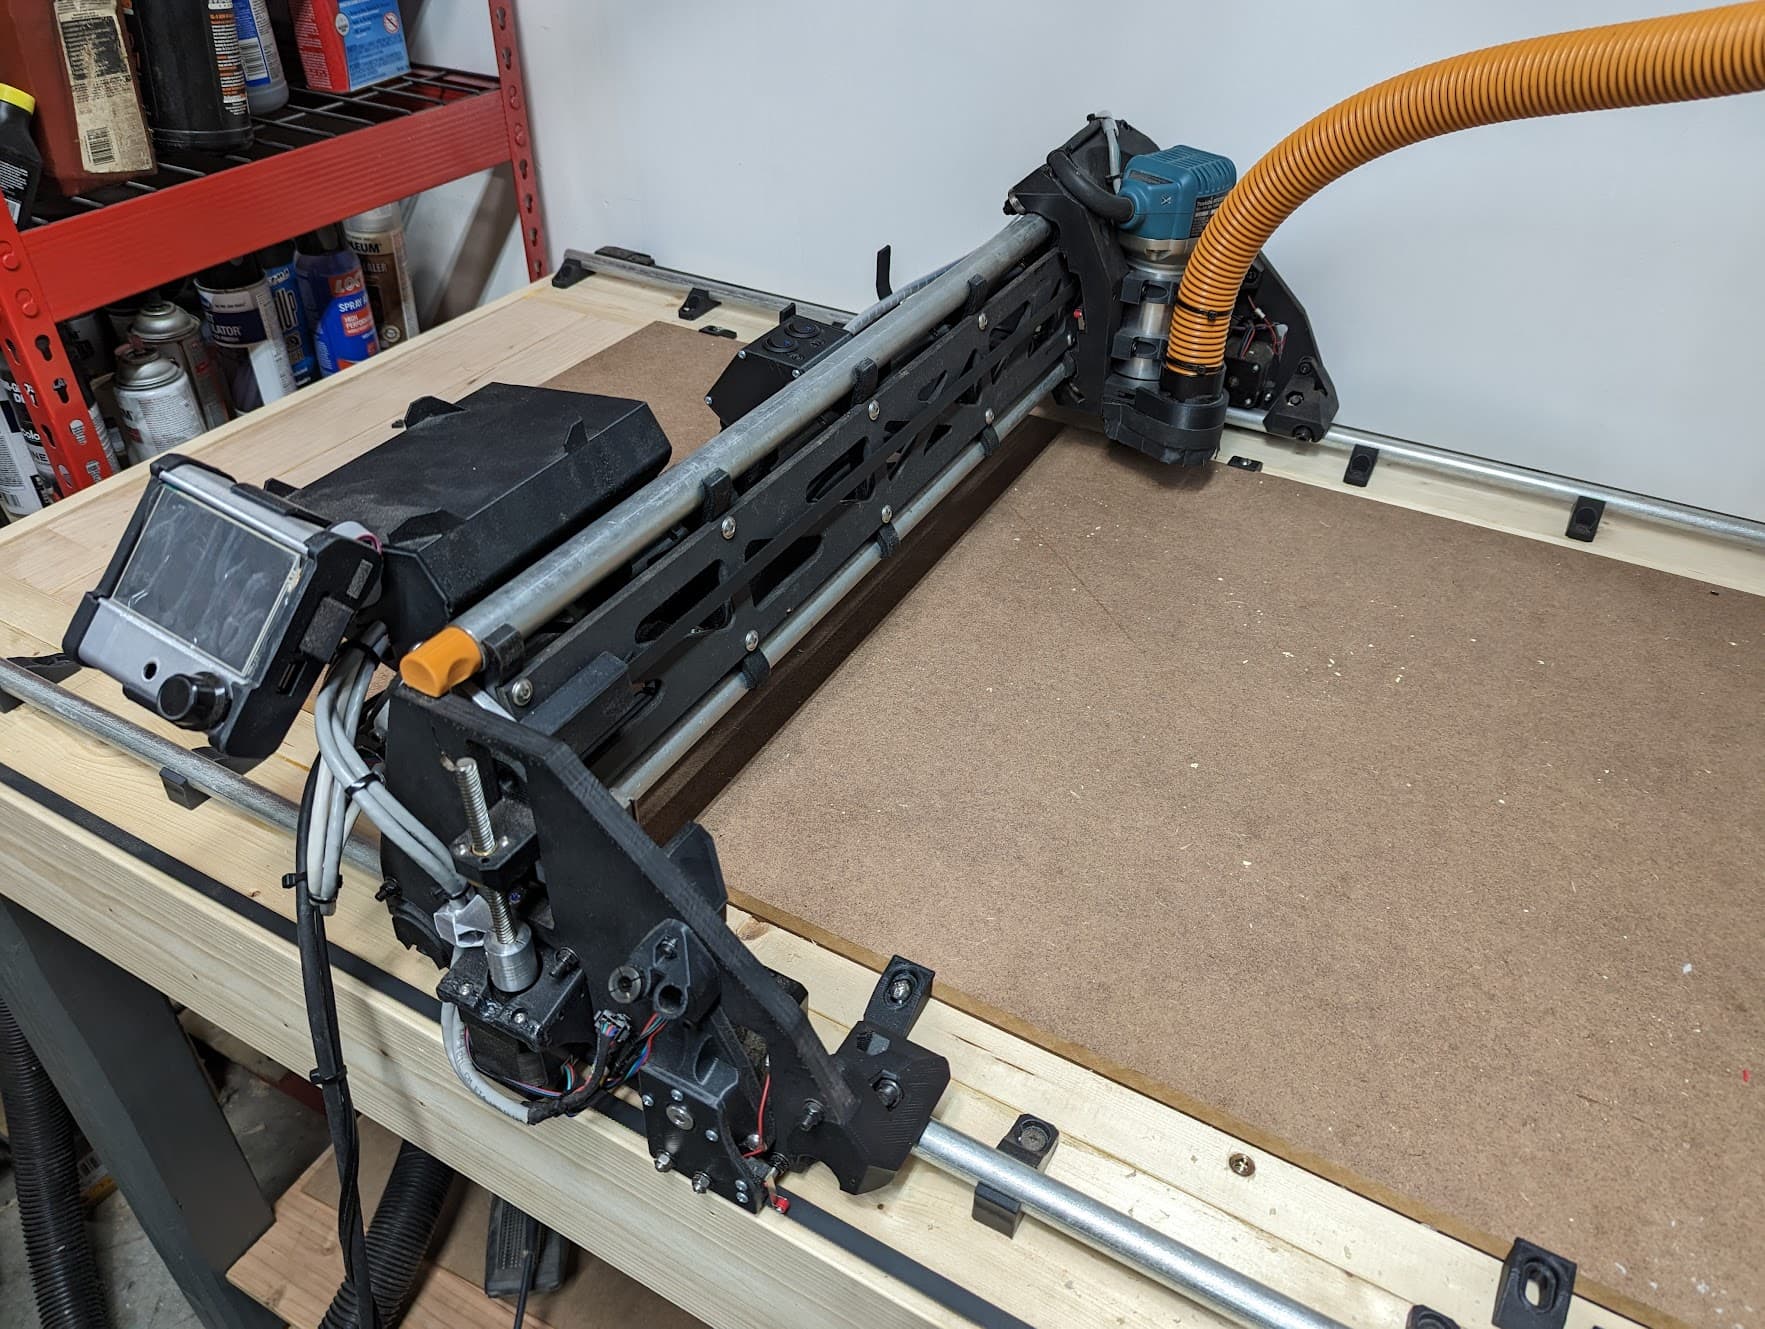
Oh, and the final form of my Y stepper assemblies. The belt runs under the Z steppers which saves I think like 22mm per side. One of the next things to make is some new side plates that close up a lot of the gap from the OG vertical Y steppers. I kept the mounting points the same (why it’s a weird triangle shape). Just got some 1/2" mdf a couple days ago to make them with.
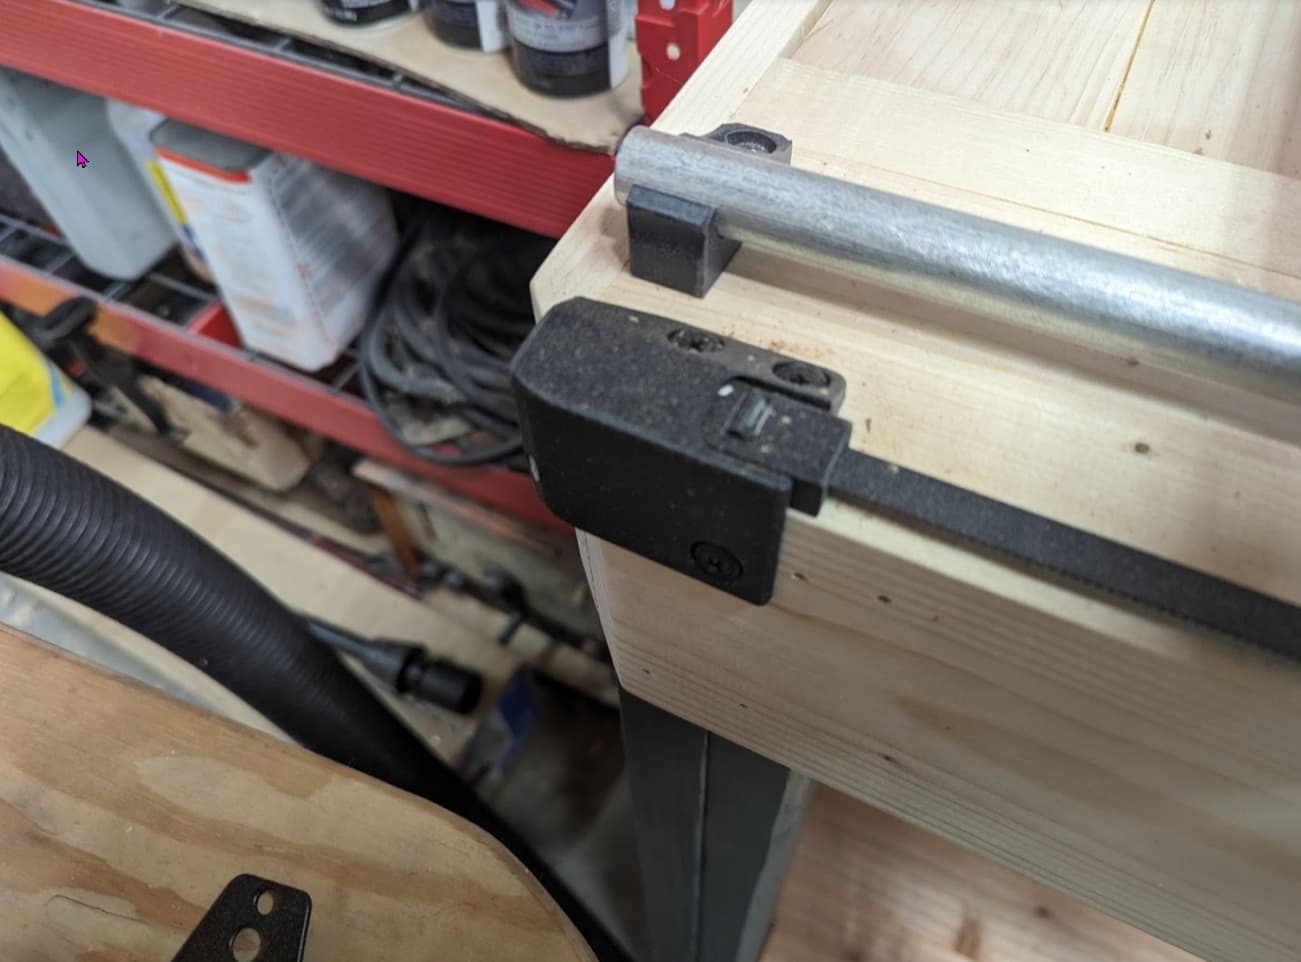
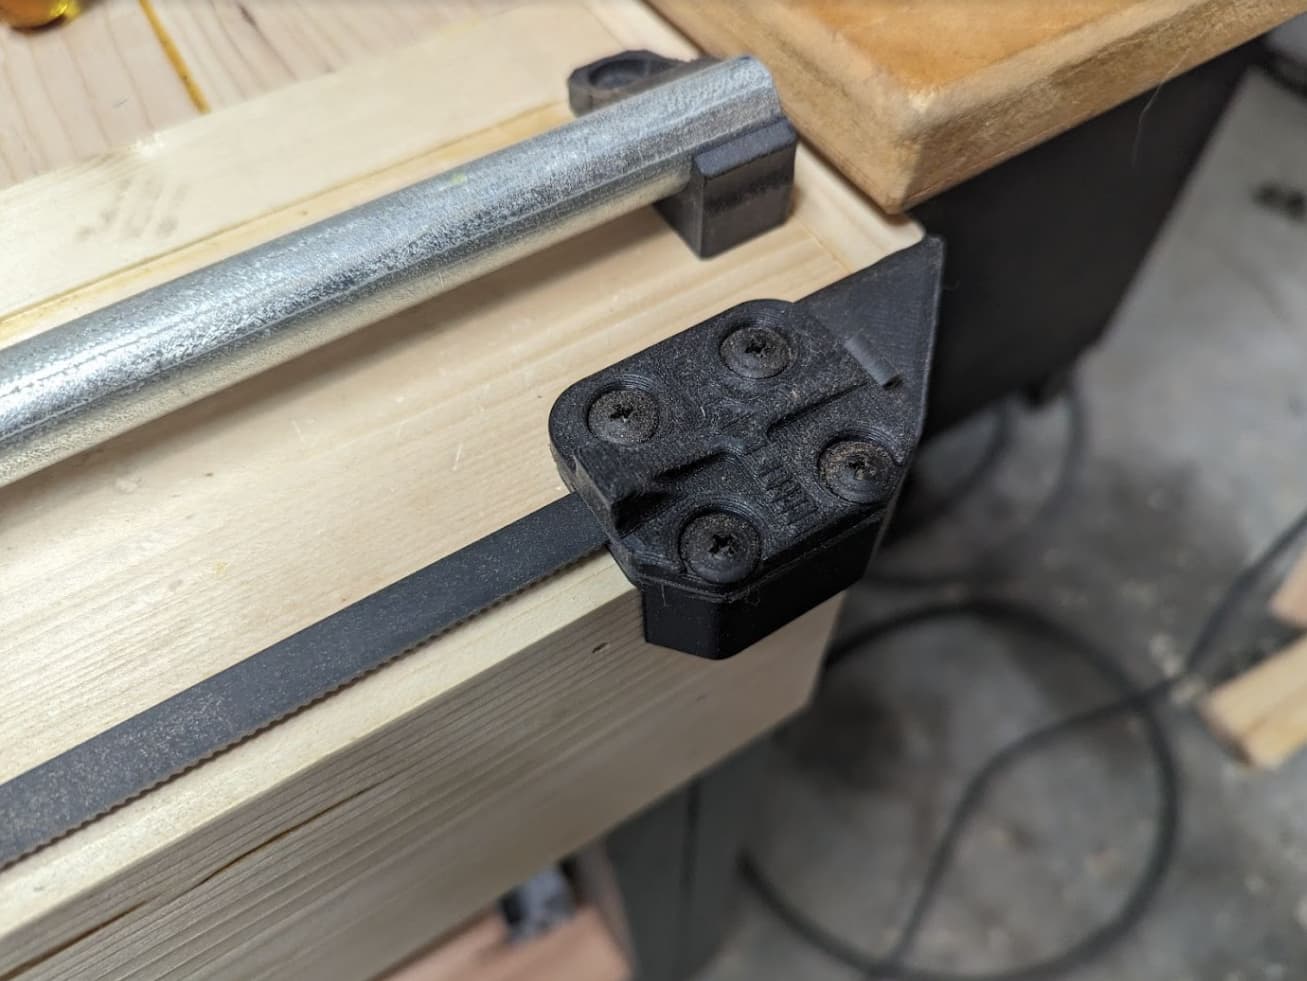
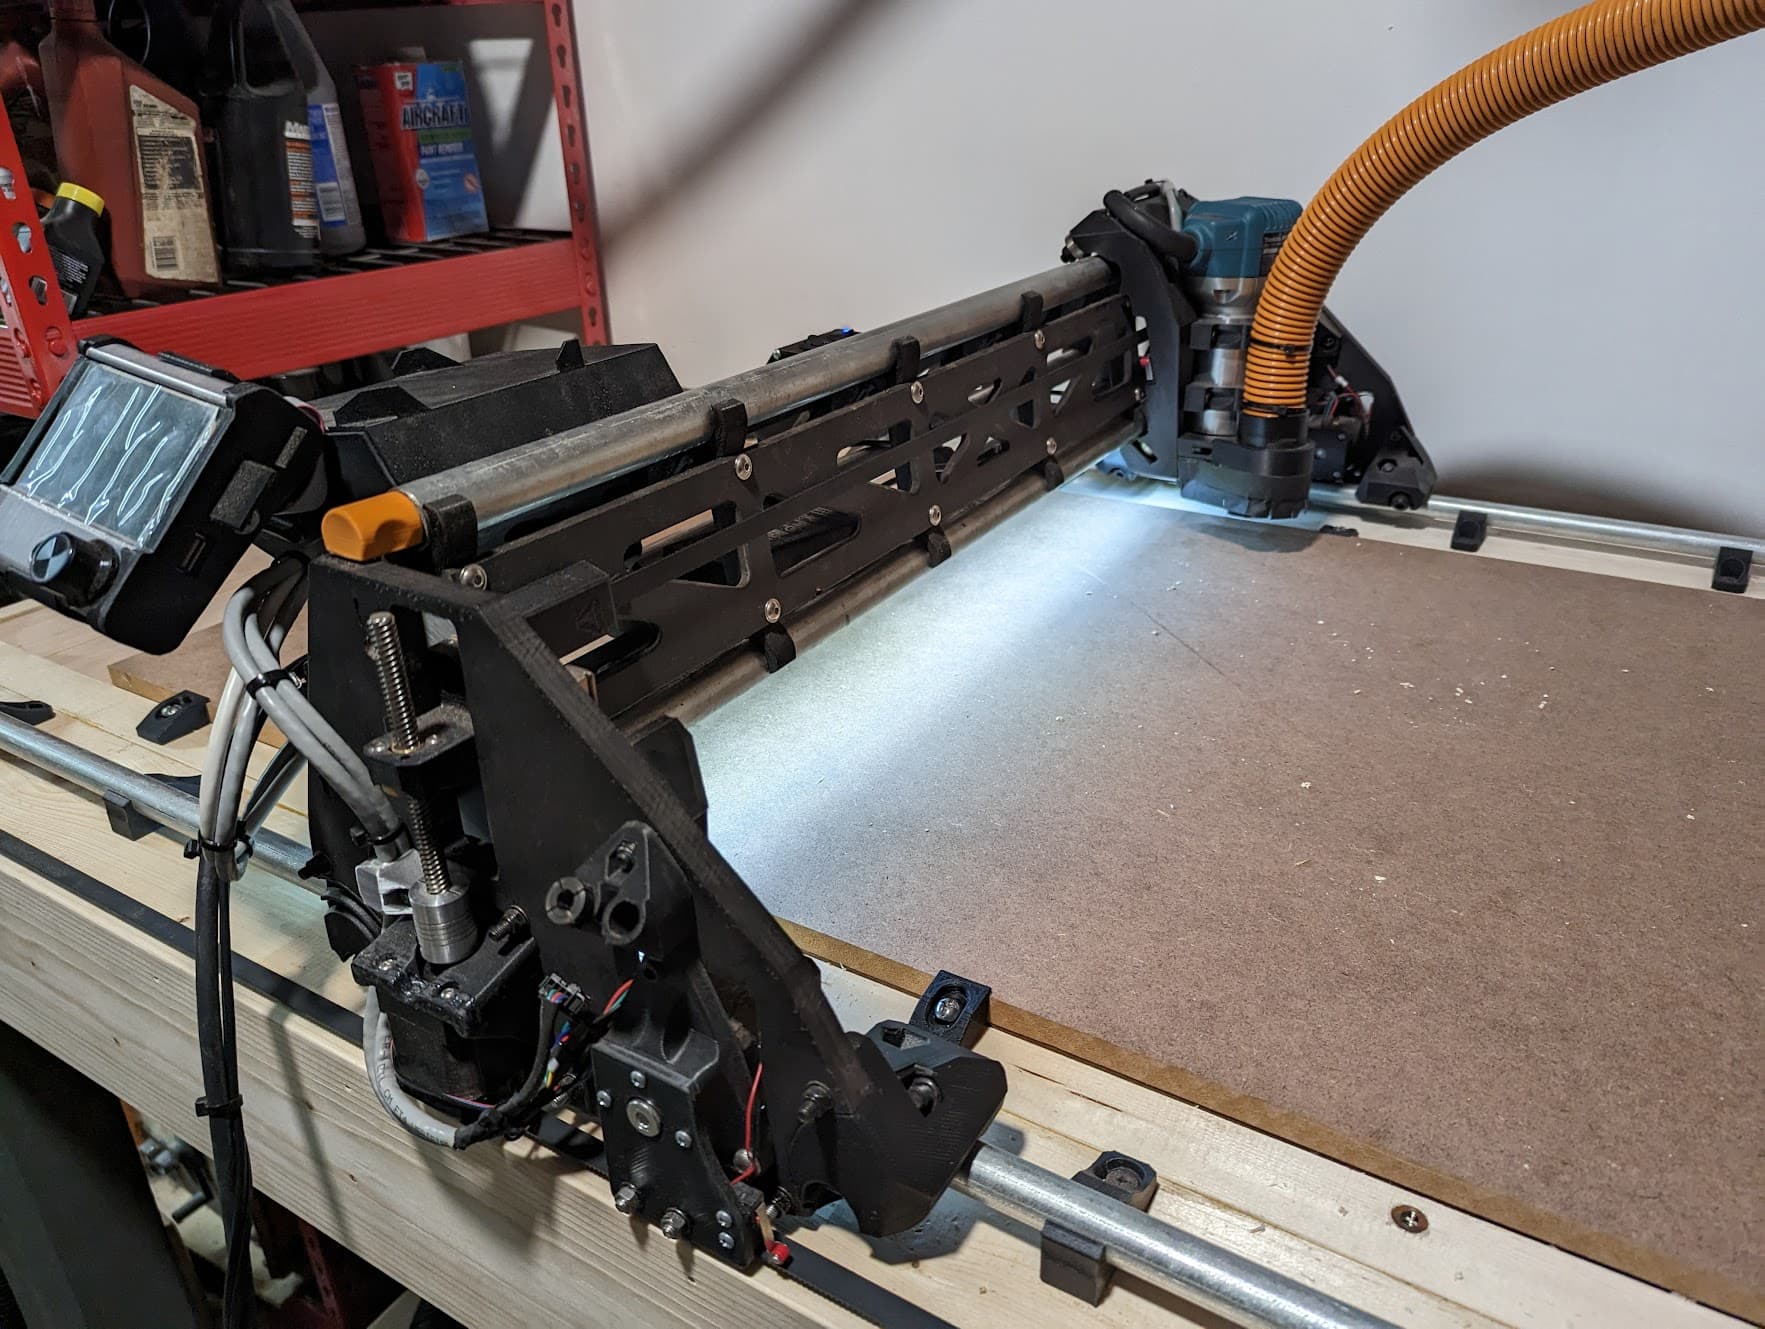
I think I’ve more or less completed my build. May make a couple parts for it, but I deem it complete enough for use going forward. Wanted to share the last couple shots of it in it’s completed state.
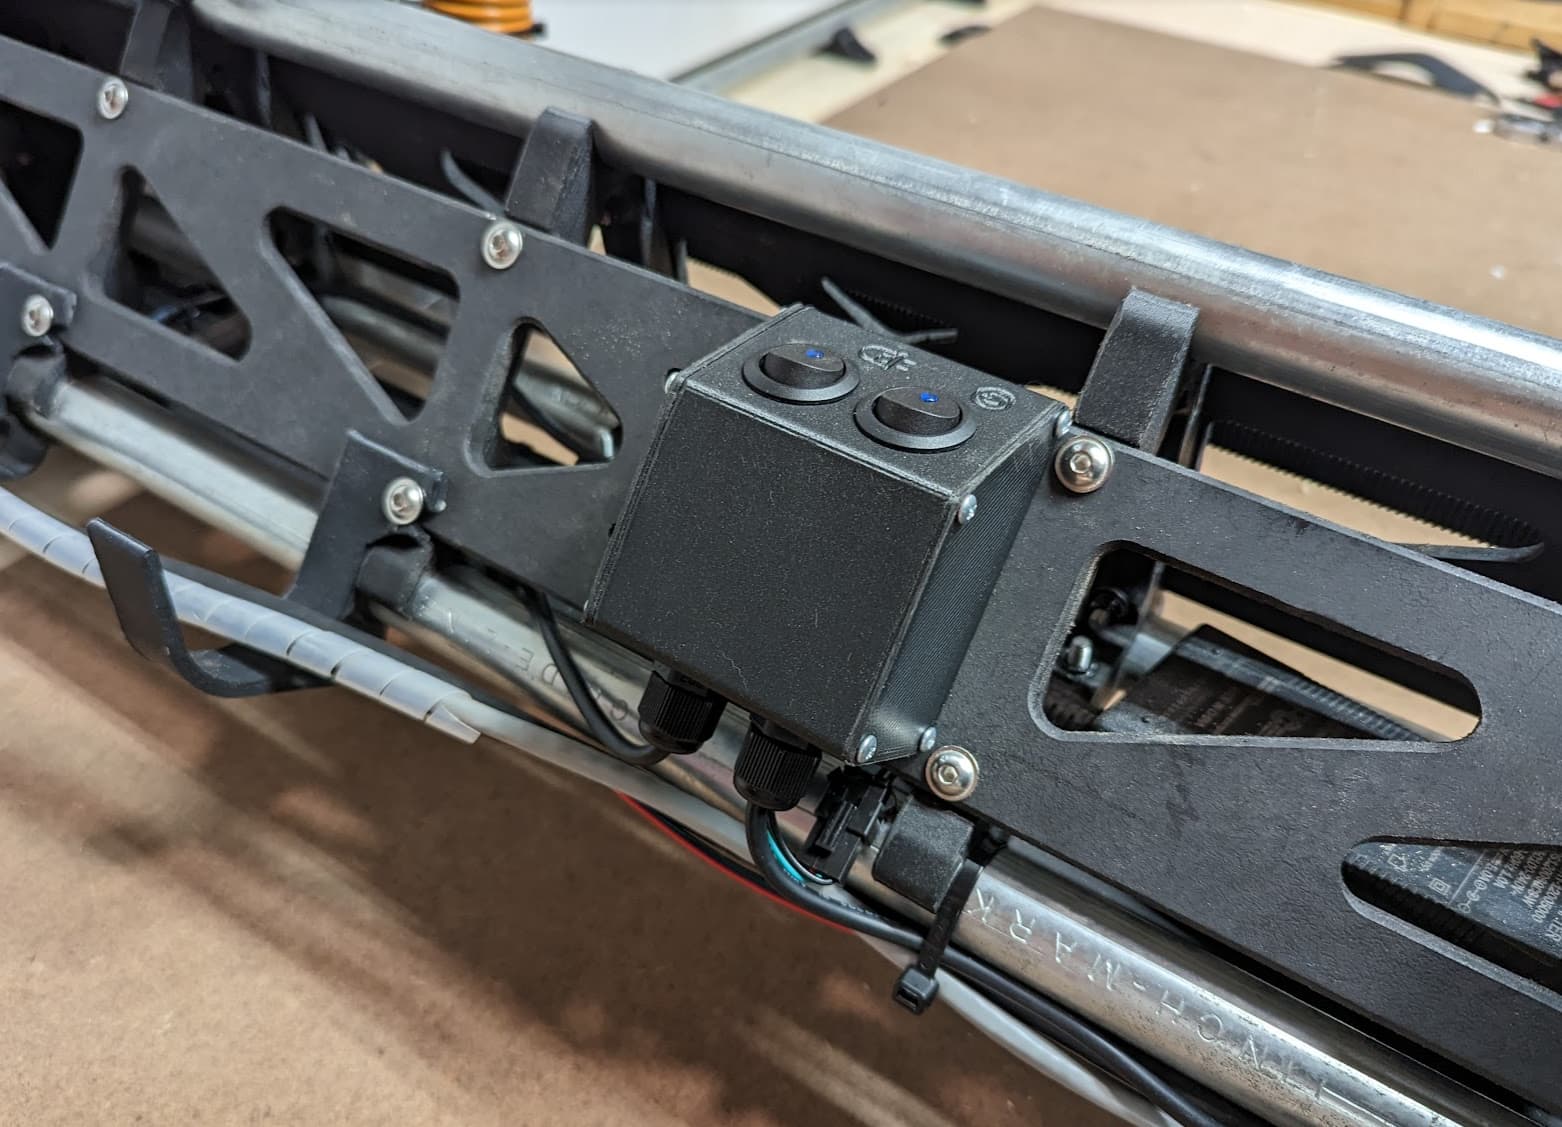
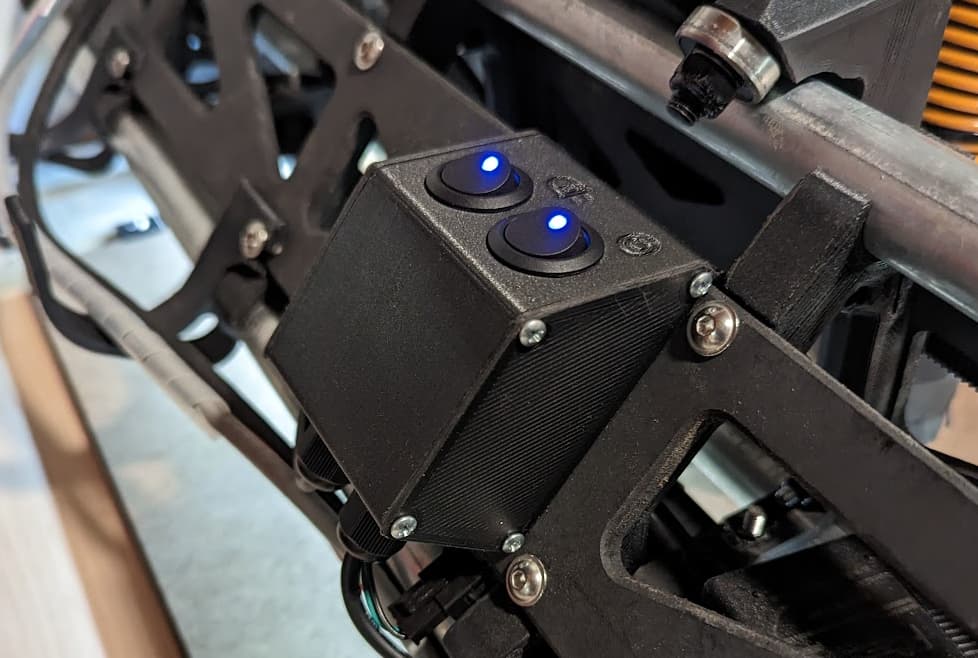
I made a power switch box, felt like putting this on the controller enclosure would have been a bit packed and would complicate taking the lid off. Hooks onto the struts similarly to how the controller box does. I have an assortment of cable glands so used those for the in an out.
And a totally superfluous feature (since I was adding the power switch, it was easy to add a second and I have plenty of led strips laying around). Now my Lowrider has more low rider vibes
Love the lighting- I did similar with a puck I stole off my drone. since I went headless with an ESP01, I dont have a tft to tell me I left the thing on. So now i swamp my table with 24watts of LED sunshine
Thanks Jeff! Also I think I found that my controller woes were due to a loose serial connection. At least now it seems to be ok, I taped the serial connector to the rest to keep it from popping loose by itself./
Neil,
The power buttons\switches are for the controller and the LED’s. I have a ESP01 on the TFT but I’m thinking of moving it to the control board and just using the web interface (ie also going headless). I have a $15 kindle I’ve dedicated to just using for this so I may make a mount on the red shelf to mount that somewhere. I fixed the IP of the esp01 on my router so it’s always the same IP so really I don’t need to even look at the TFT to determine the IP that got assigned. Still on v2 though, I was just looking through the recent ESP thread here, I may play around with trying some of the stuff the gang has been figuring out. Being able to air drop gcode onto the sd card and have full names would be awesome.
Thanks. Makes sense with the switches. I just have my LED Wired direct to 12v in So it’s constant on
Airdropping code over wifi is silly slow. I tried it with the crown gcode and it was not fun hanging out for the 8 minutes it took before I switched it off and out the card in. yMMV
I’m using a kindle HD8, and I bought a Rii BT keyboard. Tiny little thing. Makes typing Terminal commands easier, and I can jog it with the arrow keys, which is great. Some funkiness in the V3 but it’ll get ironed out. The ‘jogging’ function with the arrows has X on the up/down keys for example.
Coolest part of the interface is the Macros, tbh. They’ve been great for getting set up for a job really quickly.
first post on here but kind of went nuts when I upgraded my mpcnc to the low rider and made it 4ft by 8 ft… and might have added a water cooled 2.2kw spindle everything works great just has some slop while flattening slabs from the extra weight. it can handle cutting aluminum and straight cuts pretty decently just cant get good surface finish from it since one it gets to the midpoint it starts flexing down. any chance you could upload the files or send me the files for the 3 tube gantry design to give that a try before I go into the solid works rabbit hole.
Is it sagging or twisting? I can support my 195lbs on my 2’ beam pretty easily. I could see some twist being a possibility, not so much sag from a few extra pounds.
What are your strut plates made of and how thick are they? You want as thick and as rigid as possible. MDF is great if you have some, some plastics are more rigid. Plywood is too flexy.
I have the aluminum for the xz and mdf for the y. It’s more of a twisting force when doing any kind of surface passes it digs dipper in the front than the back leaving lines at a consistent distance apart and more noticeable in the center
Approximately how much does the spindle weigh? Are we talking 5 kg or 15 kg?
Maybe the simplest solution would be a counter-weight. If you have room for it, you could attach a long (maybe 1 meter) bar out the back side and attach a weight, maybe 1/10th of the weight of the spindle.
If that works then you are on your way and you can still consider rebuilding if you want. I am skeptical that the third gantry rail would make enough difference, and it is a lot of work to find out.
Another option would be to use a Makita router. There is a very good chance you could achieve your goal with less effort that way.
I have 3mm-4mm mdf strips as the struts. I’ve been thinking about changing them to acrylic though with a couple aviation plugs on the back for motor connections so it’s easier to take apart later on