Please excuse my ignorance but since there is no BOM and I’m building my first cube 3D printer with leveling - I cannot find any Z axis endstop for the v4. I’ve checked the printer parts for switch holes or so but couldn’t find any. I searched all the forums but couldn’t find any comment or picture that would clarify this.
You are excused. I have no idea what the answer is though. Someone will be along shortly with an answer, I’m sure.
The V4 does not use a Z axis endstop.
X and Y are the standard microswitches, wired NC.
For Z, the assumption is that the printer will drop to the lowest position, and you will use the BLTouch to find the Z=0 and level the bed, using G34 to find the level position.
For mine, I used sensorless homing to make sure that Z is at the maximum position on all 3 motors using RepRap Firmware, but this is not applicable to Marlin.
1 Like
Thanks Dan.
What I don’t understand is how the Z axis motors know their maximum travel (lowest) position. Starting point for them doesn’t have to be always the same when turning the printer on and there can be slight movement when the motors are energized that can mess up their original position in relation to each other. The version 3 is very similar to v4 except location of the Z axis motors but movement is basically the same and this version has 3 endstops 1 for each Z motor. That is making sense to me to home the Z axis to lowest position and X and Y to zero as machine zero and then move the Z up to zero for printing with BLTouch. If there is no Z motors limits, then moving to their lowest position is loosing its sense, I think.
My Z axis drops to the bottom as soon as the motors are de-energized, the weight of the motors on the belts seems to be plenty. Aside from that, I have a routine that starts homing using sensorless homing to put the axis to maximum, but you can probably assume that it will start there if the motors are powered down. There are ways that you can assure that it will be that way, but try it, I think you’ll find that the Z axis will just drop to its maximum when the power goes off.
I would add a move to the axis maximum (within a couple of mm) as part of the ending gcode.
Ok, that makes sense now. Thanks for the explanation. BTW do you like the RepRap firmware with the sensorless homing better than Marlin?
I generally really like RepRap Firmware. this is the first time I’ve used sensorless homing for anything, so I have no basis for comparison. I used it this time because there are no end stops for the V4, and I thought that I wanted to do something to make sure that the homing sequence started from a known location. (230mm of slow movement to get the first probe in seemed like it would kind of suck.) So as is, I move downwards at 3000mm/min to the bottom of travel, then move back up at 3000mm/min to within about 10mm of the base, then I can go with a slow probe in 3 spots to start to level the Z motors.
I suppose that I could just let it go faster to run the first probe, and set a second one to go slower, and it would be pretty much the same. That is probably what the V1 Marlin firmware does.
I got my first Duet board a long time ago, and I really liked the configuration that RepRap Firmware allows. Because the configuration for everything is a Gcode file, the whole printer configuration can be adjusted without having to recompile everything, and you can even make major changes to the configuration without even a reboot. I like the philosophy of how it works.
Currently my repeat is still running Marlin, but my older printer, and the V4 are on RepRap firmware, as are my Primo and LR3. The Repeat will probably be on RRF soon, as soon as I get the pin names for everything figured out for the RRF port for the SKR Pro… Or else I buy another Duet 3 mainboard. (Plus,I actually have 2 “spare” Duet 2 Wifi mboards hanging around. One had the wifi module and a driver popped, and I got it repaired, and the other is a clone that I bought for comparison purposes. (For the record, the clone isn’t as nice. The copper is thinner, and the LEDs are a bit harder to read, as they’re not colour-coded the same way.)
1 Like
Are you using sensorless homing for the Z probe too? Or using BL touch or something similar? I have been toying with using the nozzle for the probe to get a super accurate probe but have not done anything sensorless yet.
I’ve had good luck with a differential IR receiver like this one mounted to a fixed point somewhere on the print head. Works for all surfaces, has no moving parts, and since it is configured by measuring the triggering distance relative to the nozzle tip it needs no adjustments for different build surfaces.
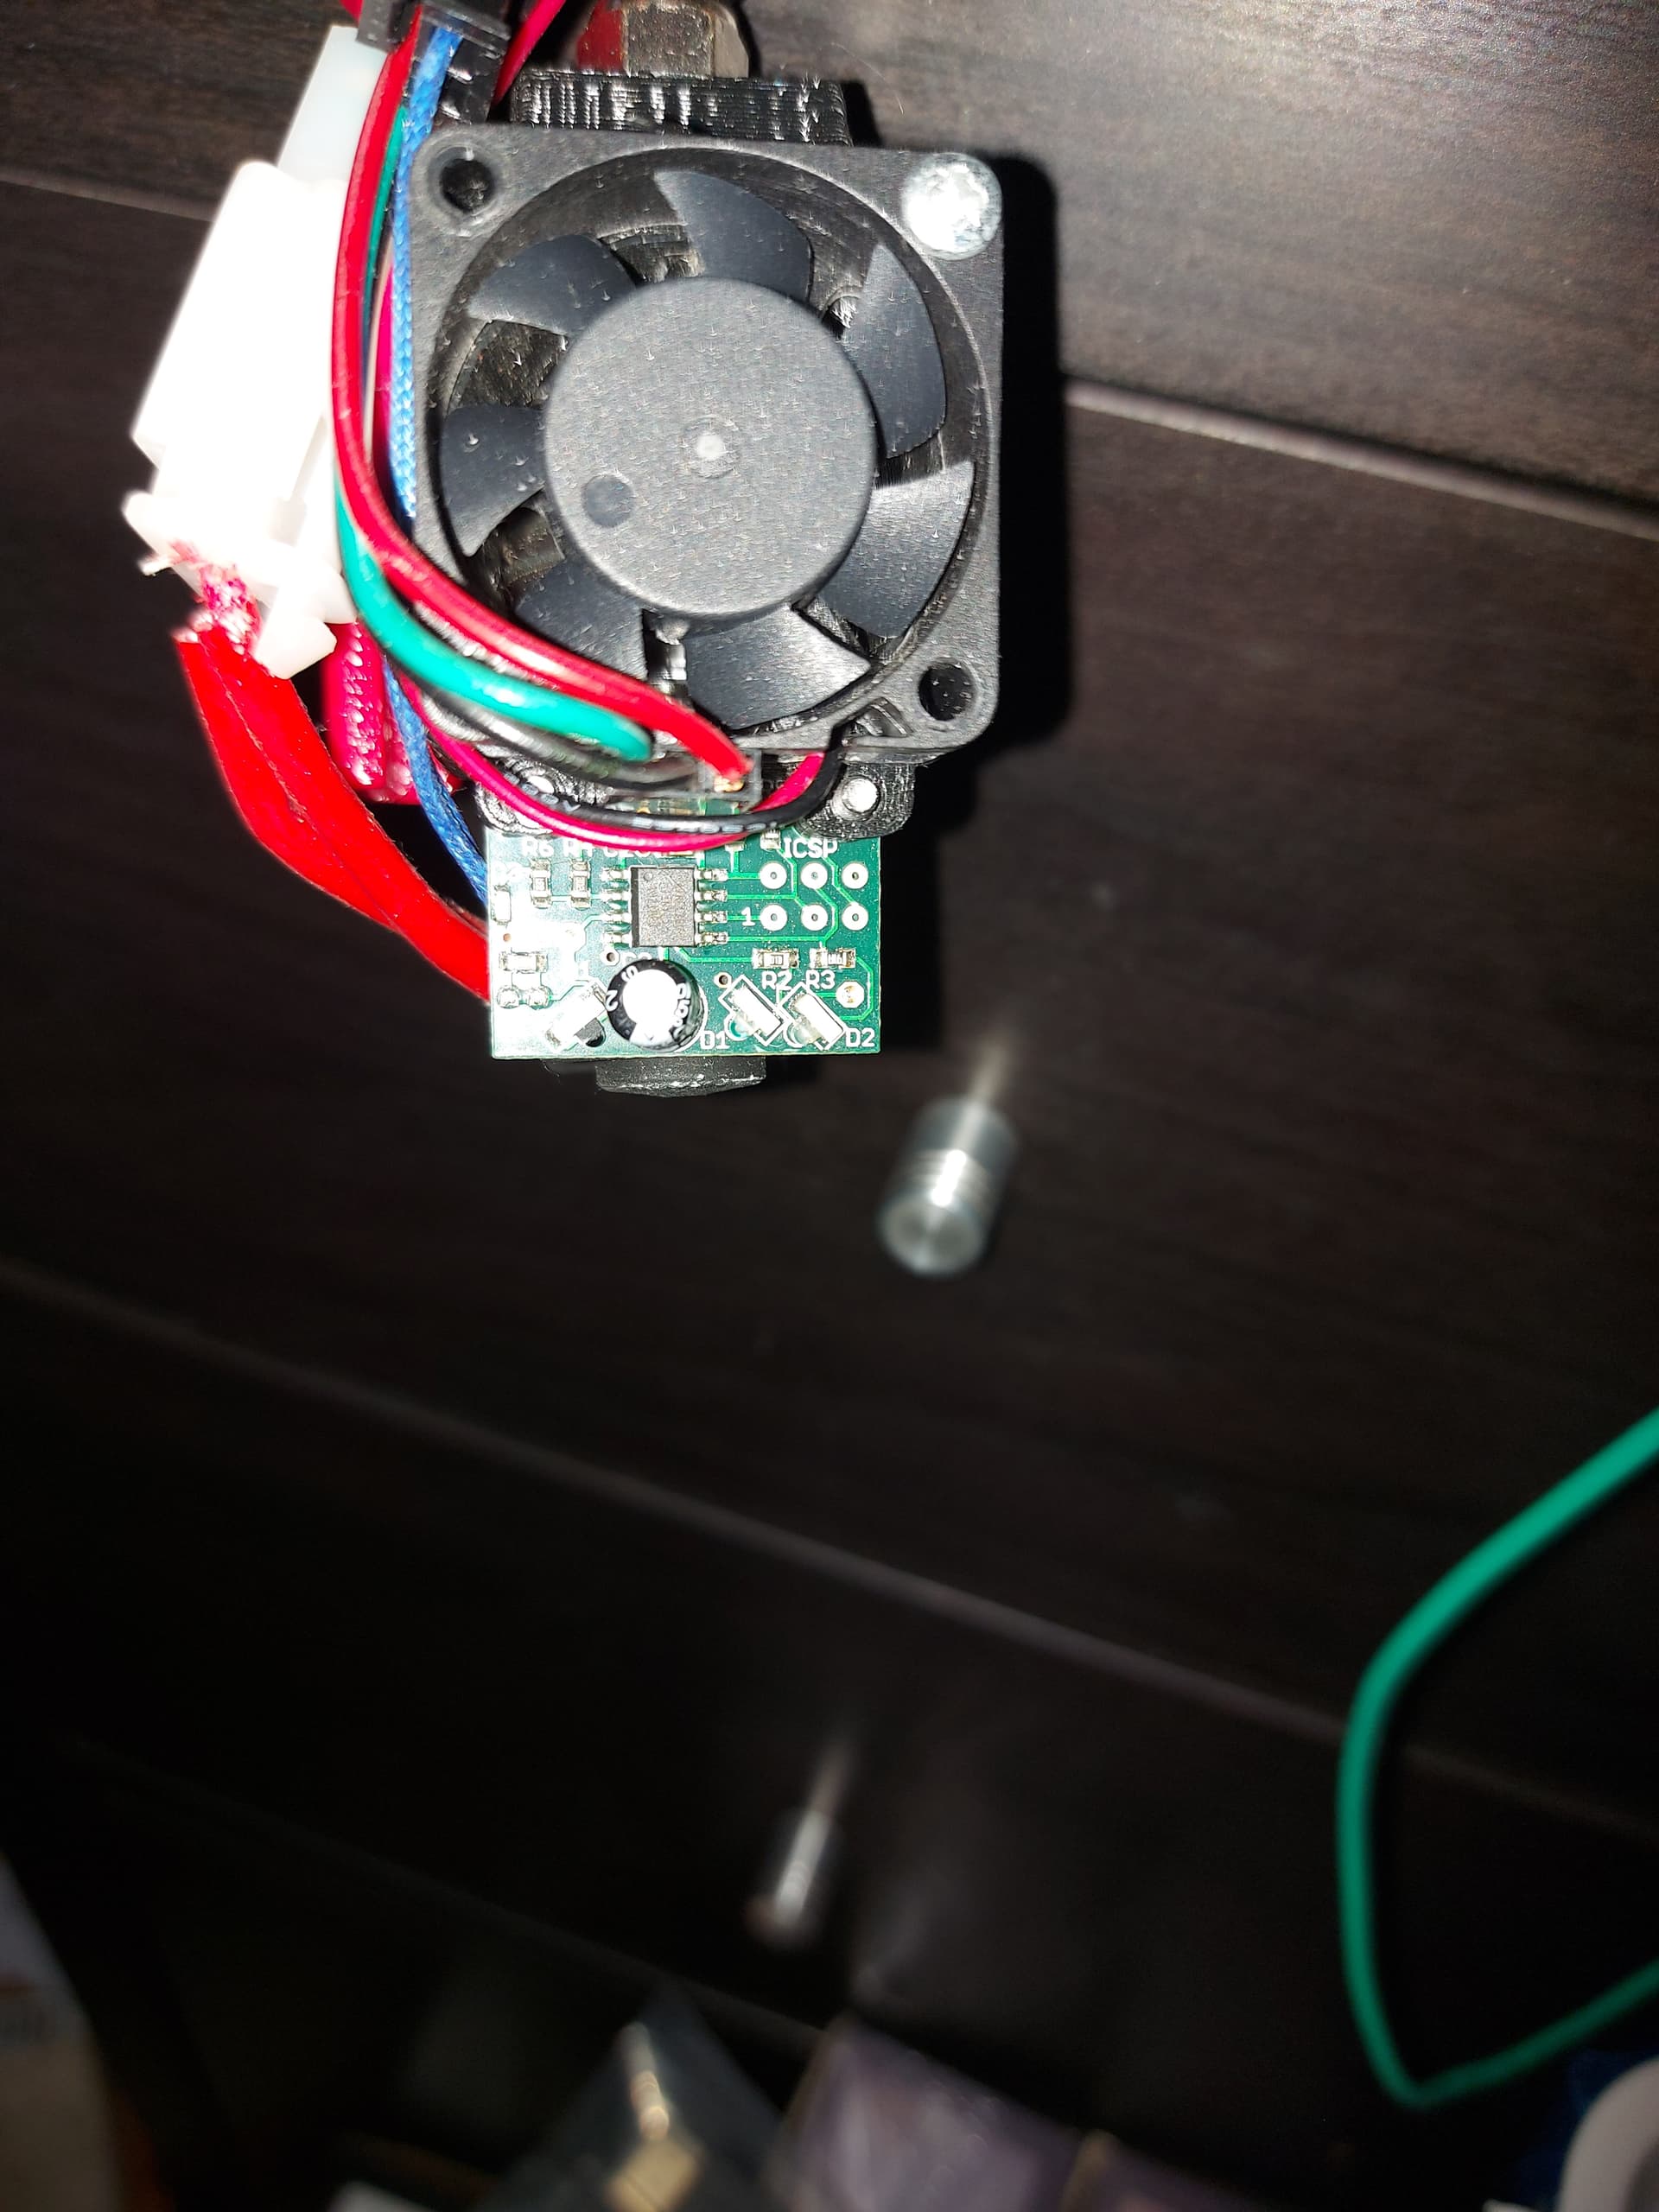
Yeah, I have a couple of them, but for the V4, I’m using a BLTouch. (Well actually a clone “3DTouch”.)
I have tried a number of solutions for Z homing.
One way uses a NC switch, with some spacers attached around the outside of the heated bed so that I can calculate a 3 point level, but of course I can’t do anything like a mesh level with it.
I also tried the piezo type sensors, I have three iterations of those. Using the actual nozzle does mean zero offsets, but I gave those up when I started using PEI beds, because a hit nozzle does bad things to the PEI. The piezo sensors use the actual nozzle as a contact point but are way more sensitive and accurate than sensorless is. It does depend of a very slight flex of a piezo disc when something bumps the nozzle. The downside is that you need very smooth motion to avoid false triggers, and you need a quiet room, because loud noise can also trigger the sensor. ( I could not home my printer for nearly a week during the day while the neighbor was renovating.)
Then I had the IR sensors, and still use one on one printer. The one I pictured there was used on the MP3DPv2 with an E3DV6 Bowden setup. Mostly they are excellent, woth caveats. Don’t count on them if there are radical changes in the colour of the bed surface, even slight changes like a company logo can introduce variations, and remember that PEI is transparent to IR. It also does not work well on shiny aluminum, particularly when covered in PEI. My older printer has the aluminum painted flat black under the PEI. I have had some wonky results though when the sun is shining into the room througn the window, even if the print bed is not in direct sunlight.
When I re-did the v2 with a direct drive, I switched it to a BLTouch, and then got another for the Repeat. I have been satisfied with it, so I got another for the v4. I have what I think would be a good print surface for the IR sensor on the V4, and have been considering a remix of the print fan duct that would hold an IR sensor instead.
The idea would be to sneak the IR sensor.in between the fan duct nozzle and the print head to minimize the necessary offset, which would allow the probe to work with greater tilt to the print bed.
close older topics to help with spambots, and faster new user questions.