Hi guys,
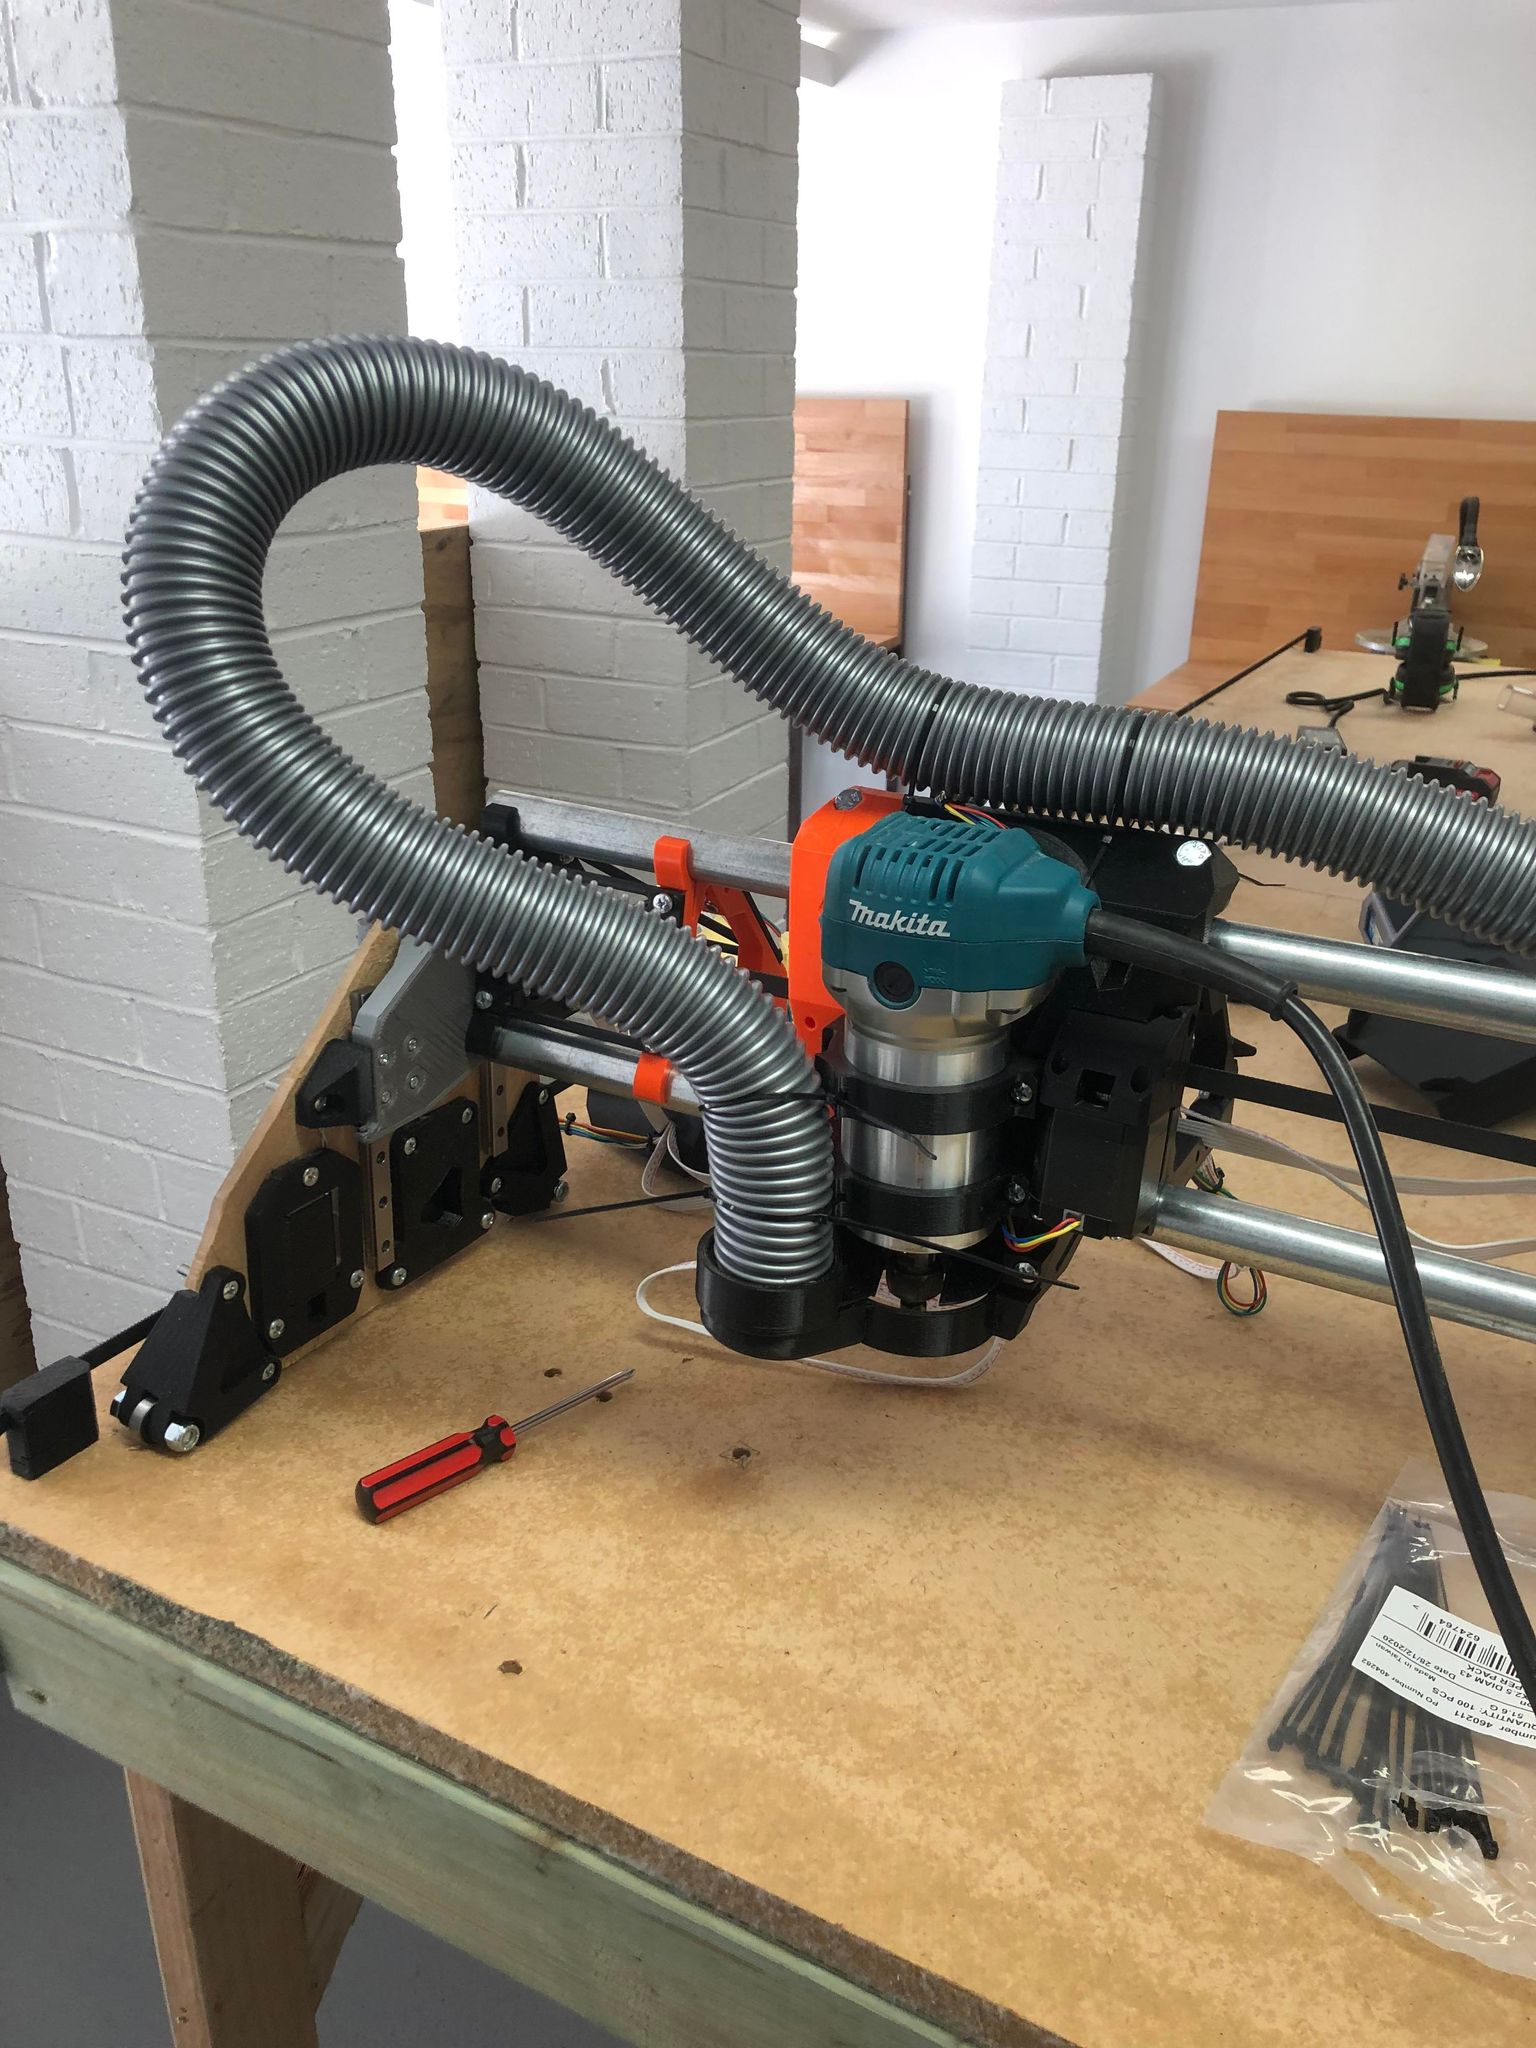
I’m plugging away getting my low rider running.
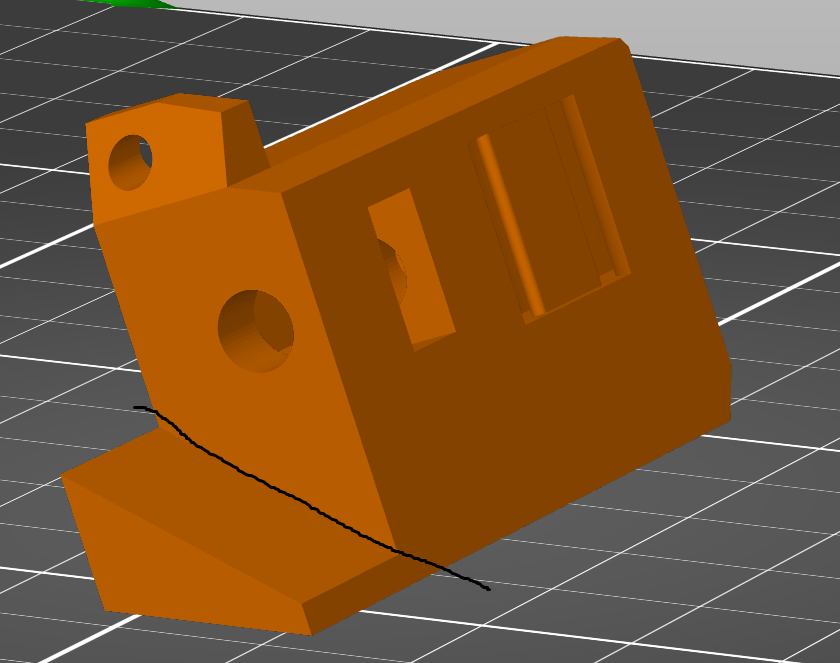
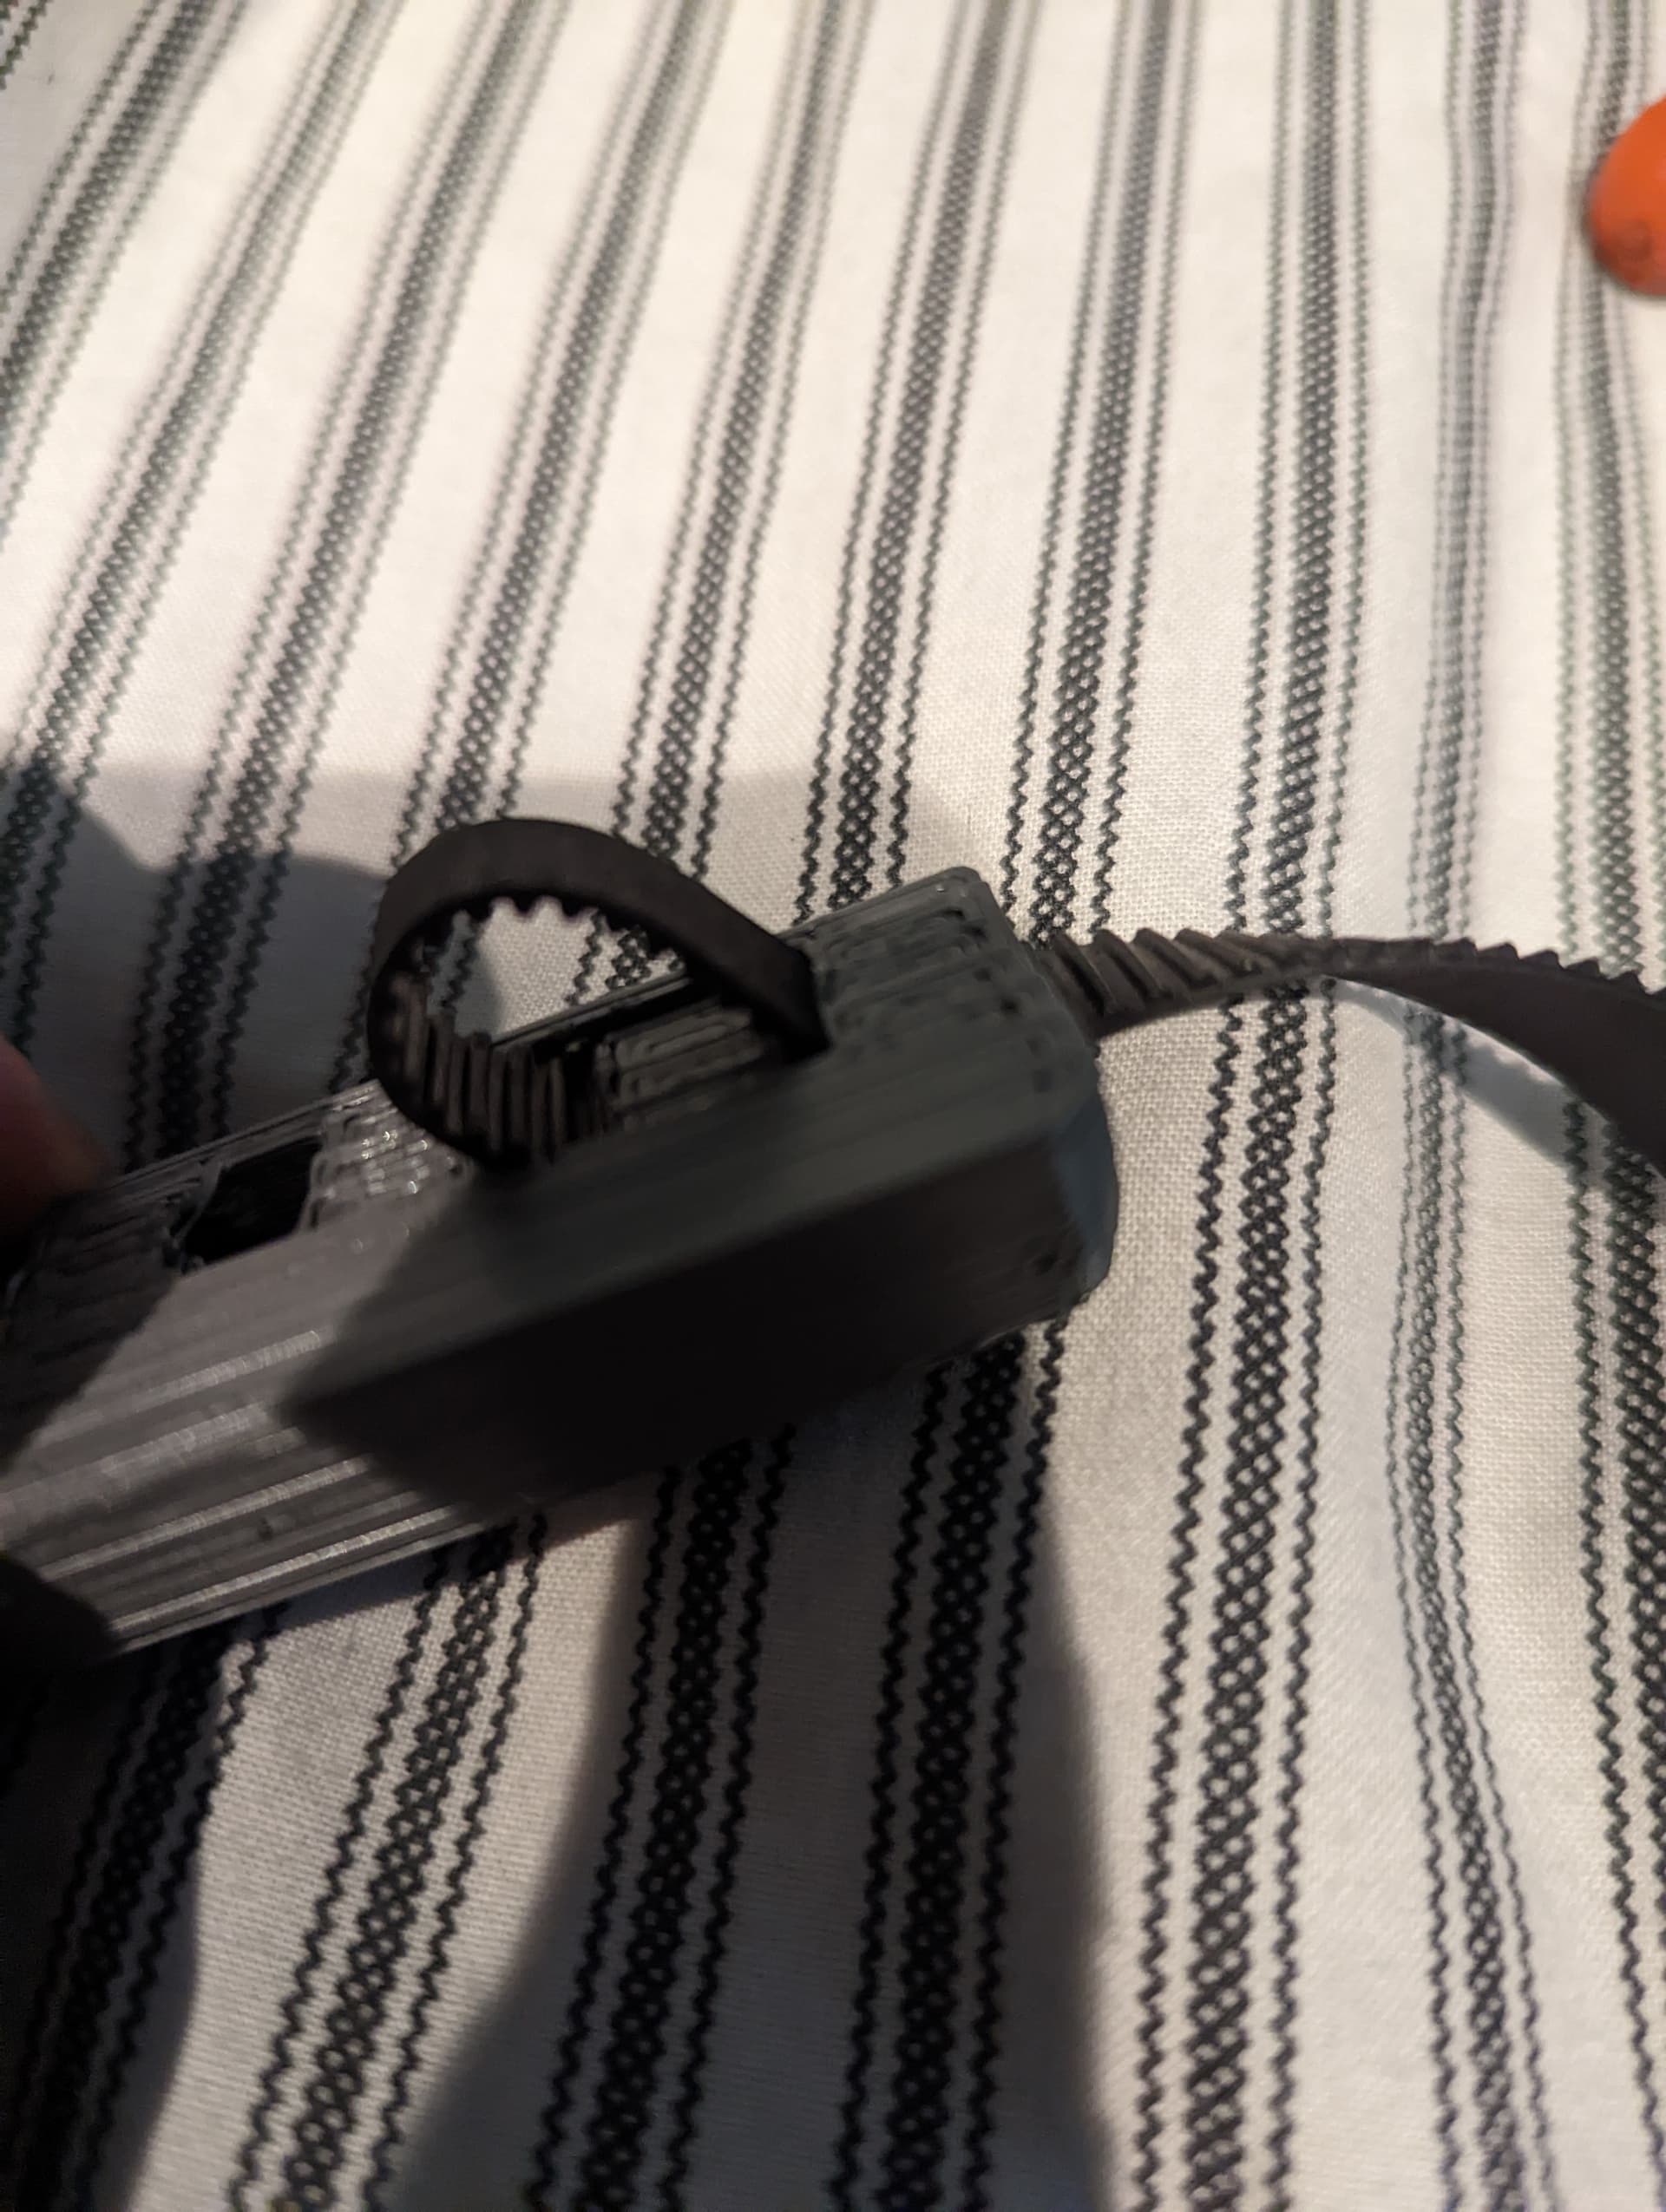
My latest issue that I can’t work out is the X tensioner. The nut that goes inside rotates when trying to tighten. After supergluing it in, the whole printed piece snaps easily along the line shown.
Nut spin doesn’t sound good, mine were tight fit, so tight I had to use pliers to push the nut in for some parts. What filament, printer and settings are you using? Used Overture PLA on Ender 3 Max, 0.6mm nozzle, 0.32 layer height. I used infill % recommended in LR3 Docs plus additional 10%
Printed bunch of calibration cubes and test temperature tower and test retraction towers before printing LR3 parts.
Only tensioned belts with ~7lbs of pressure, hard to gauge, but it’s less tension than what I first thought would be required. Forum search for recommended belt tension may help too.
My Z motor can’t push all the way up. When the X core is on the opposite side the issue is then on the other motor.
Another thing I’d like to fix is homing the X axis.
My X axis is approx 1400mm, and the homing times out before reaching the end.
Is there a line in the firmwire I can edit to make it home over a longer distance?
Doesn’t look like you are hitting the endstop.
Did you run a M119? Are all endstops Triggering?
After confirming that all endstops are working, has 2 things you can do, bend the metal blade of your endstop or tread a screw to the XZ plate right where the endstop shoud be hitting.
Yes.
Change the size at this line to the size of your machine.
// The size of the printable area
#define X_BED_SIZE 200
#define Y_BED_SIZE 200
I would take the leadscrew out and make sure it freely moves all the way up, super smooth. (verify the linear guide position/parallel). If that checks out put the leadscrew back and assure there is no binding there either (Should be very rare at the top).
The best way to do it is to home your machine and move the tool head to the X max and Y max.
Record the values and then change the firmware to those values.
Marlin will see // as a comment and will ignore what ever is after it.
The 200 that you see in there is the original default value from marlin that I believe has been commented by V1.
So it is up to you if you want to keep the old value as a reference.
Every time I edit marlin, I add //GP at the end of the line. It makes it easier to search for any editing (mistake) I made to the firmware.
In file included from c:\users\aden~1.mor\appdata\local\temp\arduino_build_720275\sketch\src\core\language.h:563:0,
             from c:\users\aden~1.mor\appdata\local\temp\arduino_build_720275\sketch\src\inc/MarlinConfig.h:53,

             from c:\users\aden~1.mor\appdata\local\temp\arduino_build_720275\sketch\src\marlincore.h:24,

             from sketch\src\lcd\extui\ftdi_eve_touch_ui\language\language.cpp:23:
c:\users\aden~1.mor\appdata\local\temp\arduino_build_720275\sketch\src\lcd\language\language_en.h:160:8: note: ‘const char Language_en::MSG_MESH_VIEW [10]’ previously defined here
LSTR MSG_MESH_VIEW = _UxGT(“View Mesh”);
^~~~~~~~~~~~~
exit status 1
Error compiling for board Arduino Mega or Mega 2560.
This report would have more information with
“Show verbose output during compilation”
option enabled in File → Preferences.
You can’t build with arduino anymore. At least not in windows. You need to use platformio.
The firmware at MarlinBuilder releases has to build (or it won’t create the .zip). I would suggest building it as is before changing anything. If you can’t get the firmware to build with no changes, then it is a tools problem. If that works, the. You have a working tool and you can change 1 small thing at a time until you have what you want.
Thanks Jeff, moving to platformio worked. My lowrider now homes over a long x axis.
However now when homing Y, only one side moves. When manually moving, both sides move. Only when homing.
I’ve looked through the config and adv config files to try and see anything to do with homing, but haven’t been able to work it out.
Any ideas? Thanks
Check the endstops with M119 first. They should show which endstops are triggered. Make sure you have the right endstop with the right motor. Y2 endstop on Y1 motor makes it get weird.
Everything was working as intended until I changed the firmware to edit the bed size. Now the second Y motor only moves back a step or few as the other homes.
I unplugged everything, and tested the motor with endstop in multiple places, but same thing.
I do think it’s something in my firmware. Is there somewhere that tells it to move E0 during Y homing?