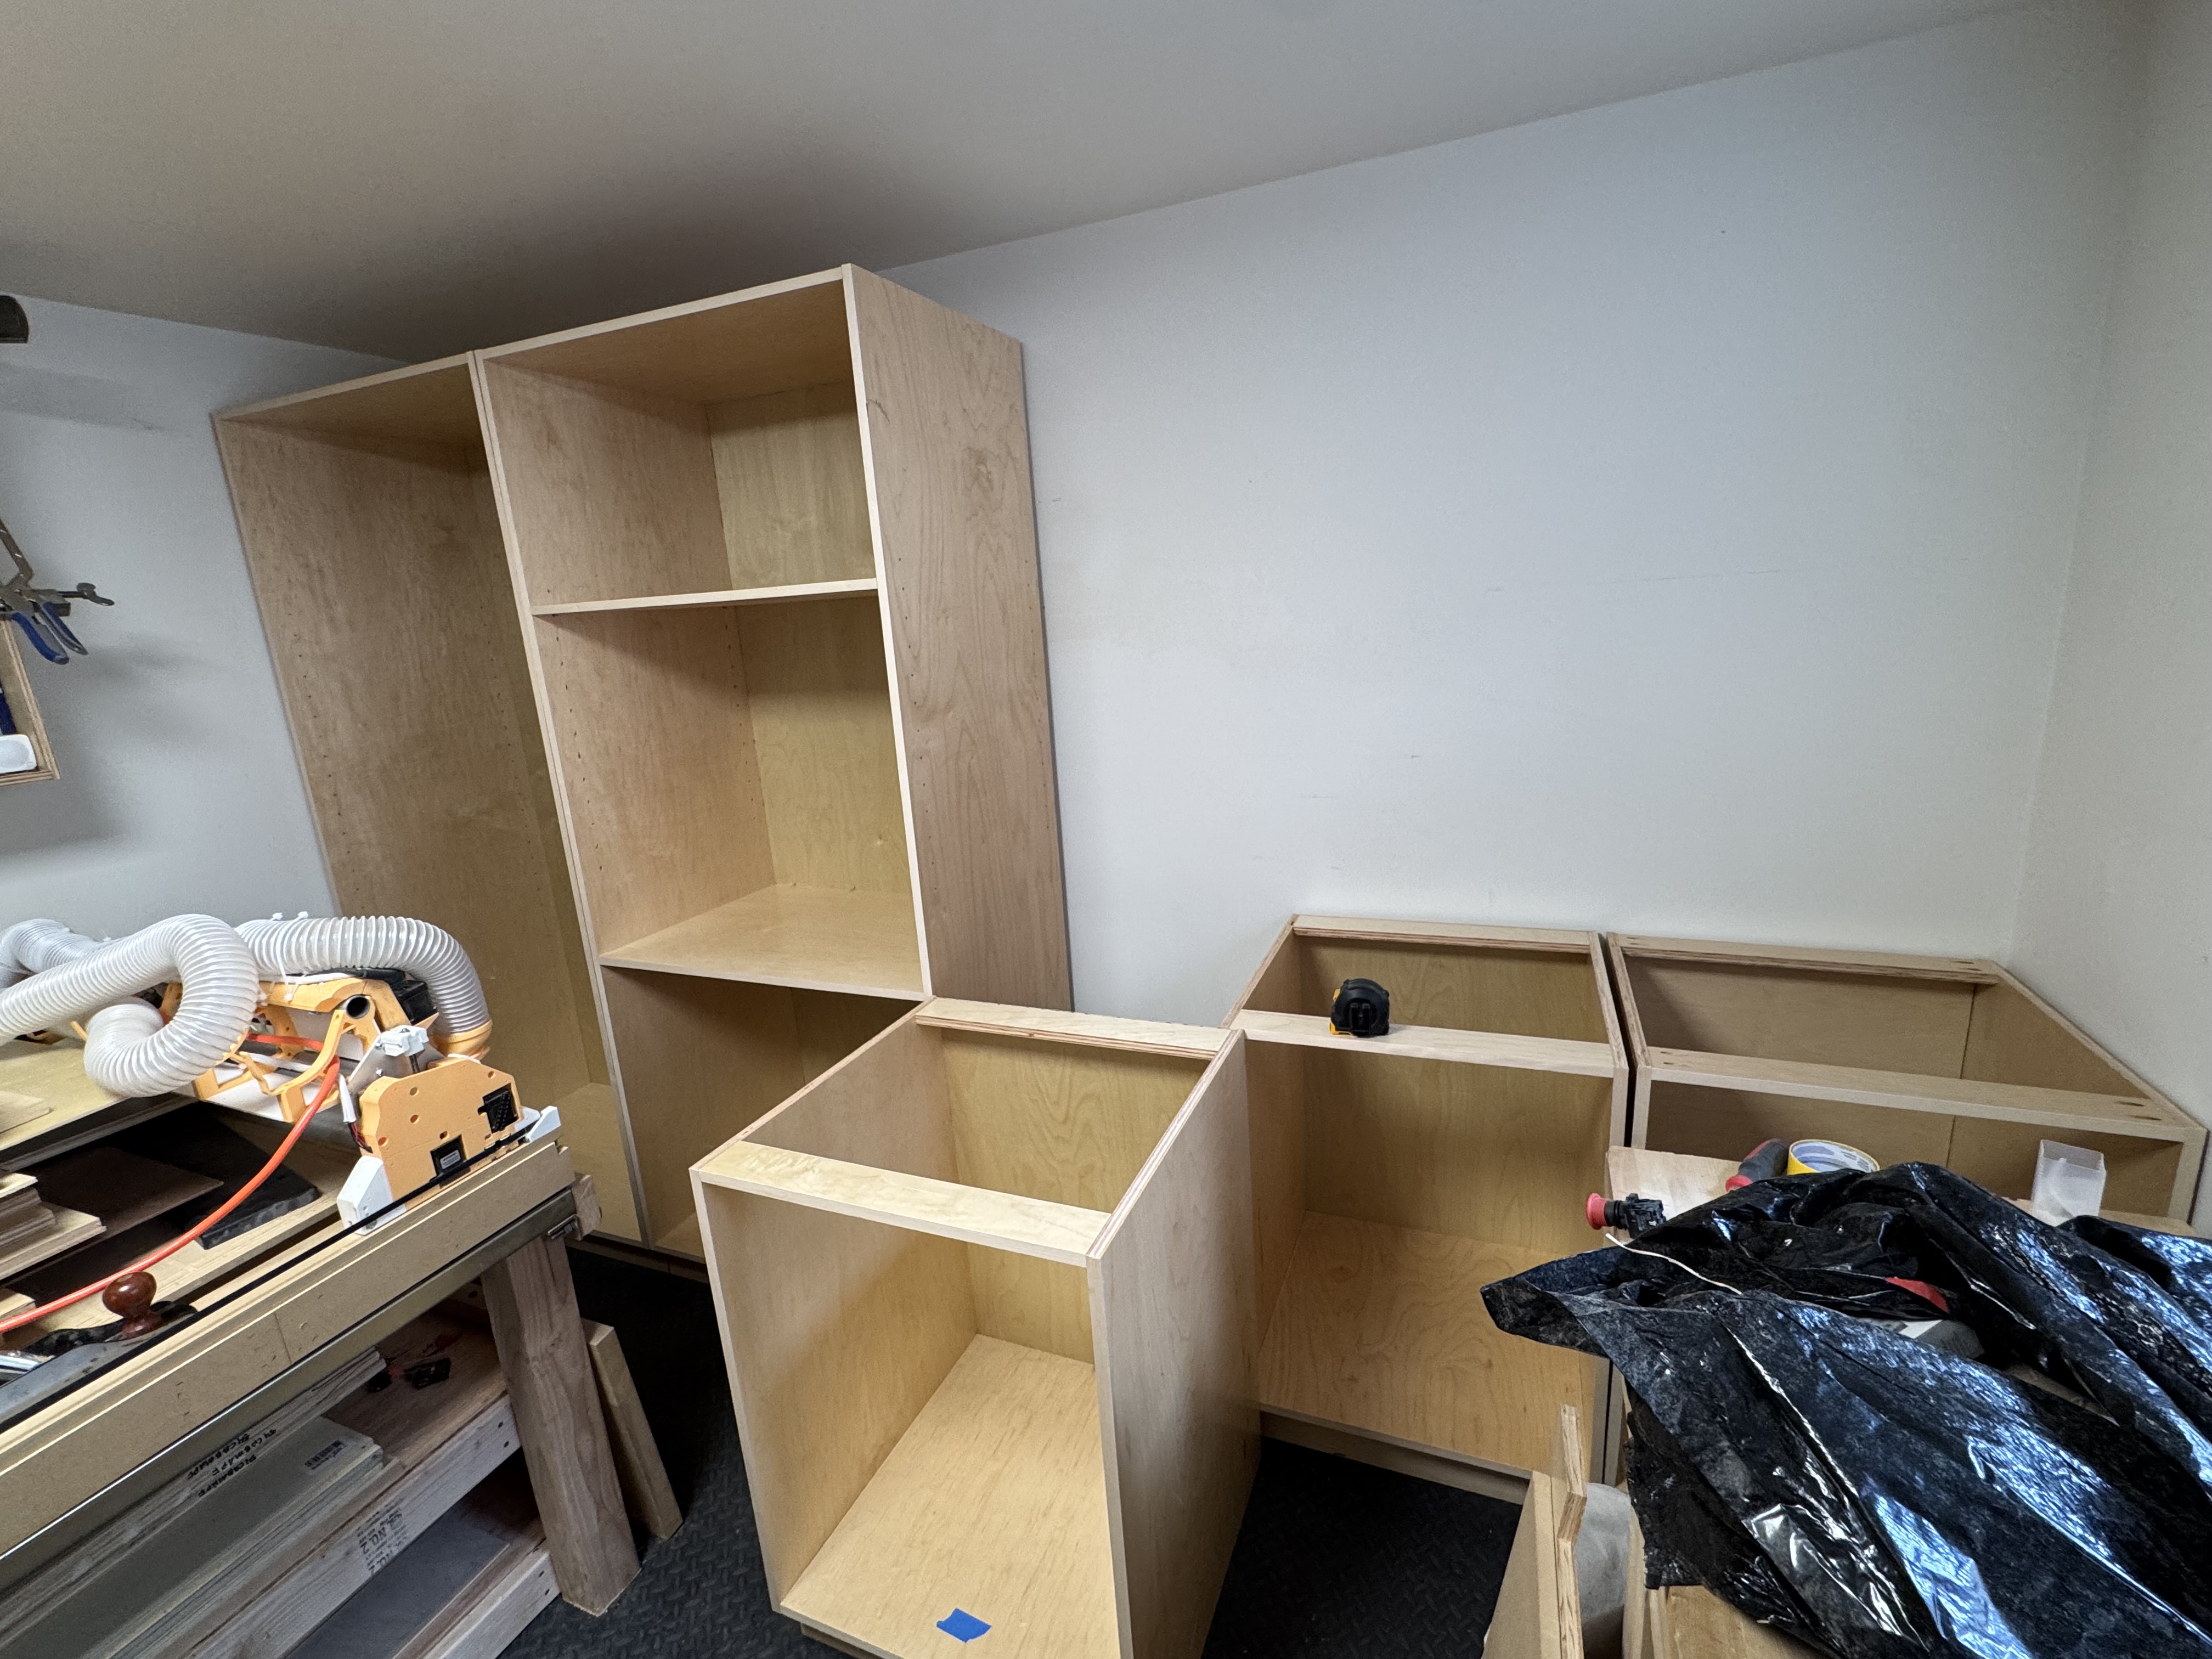
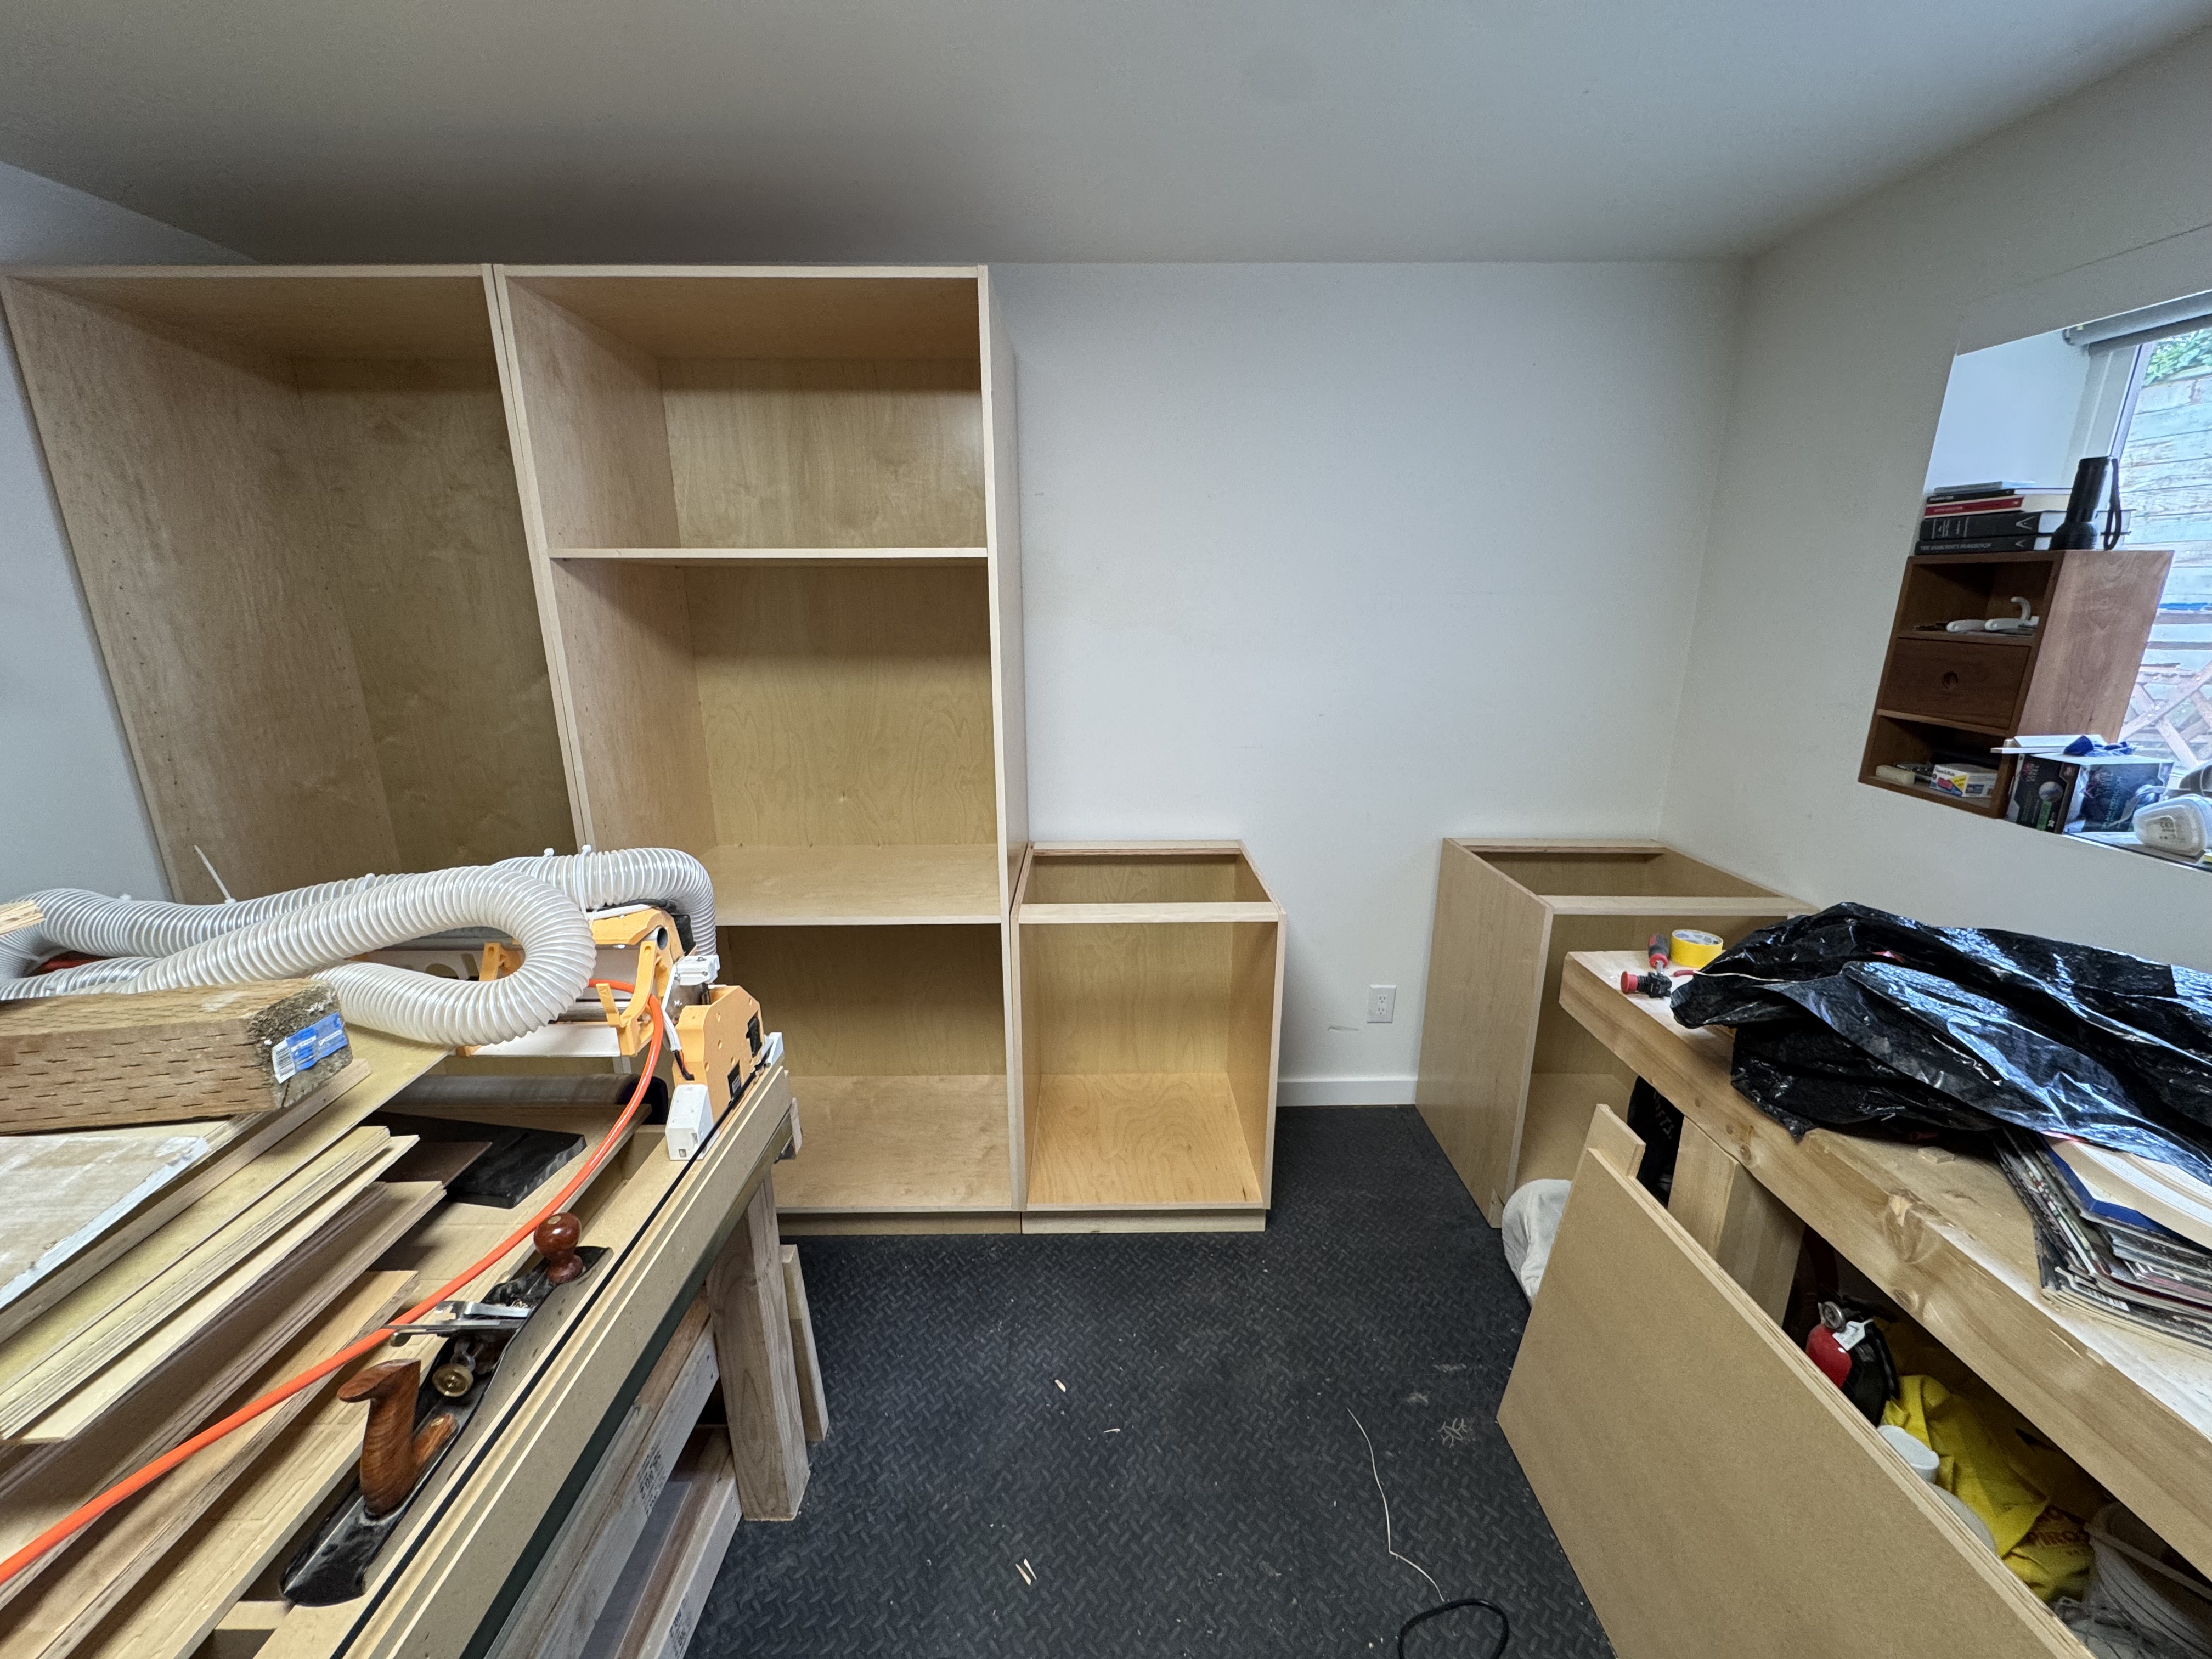
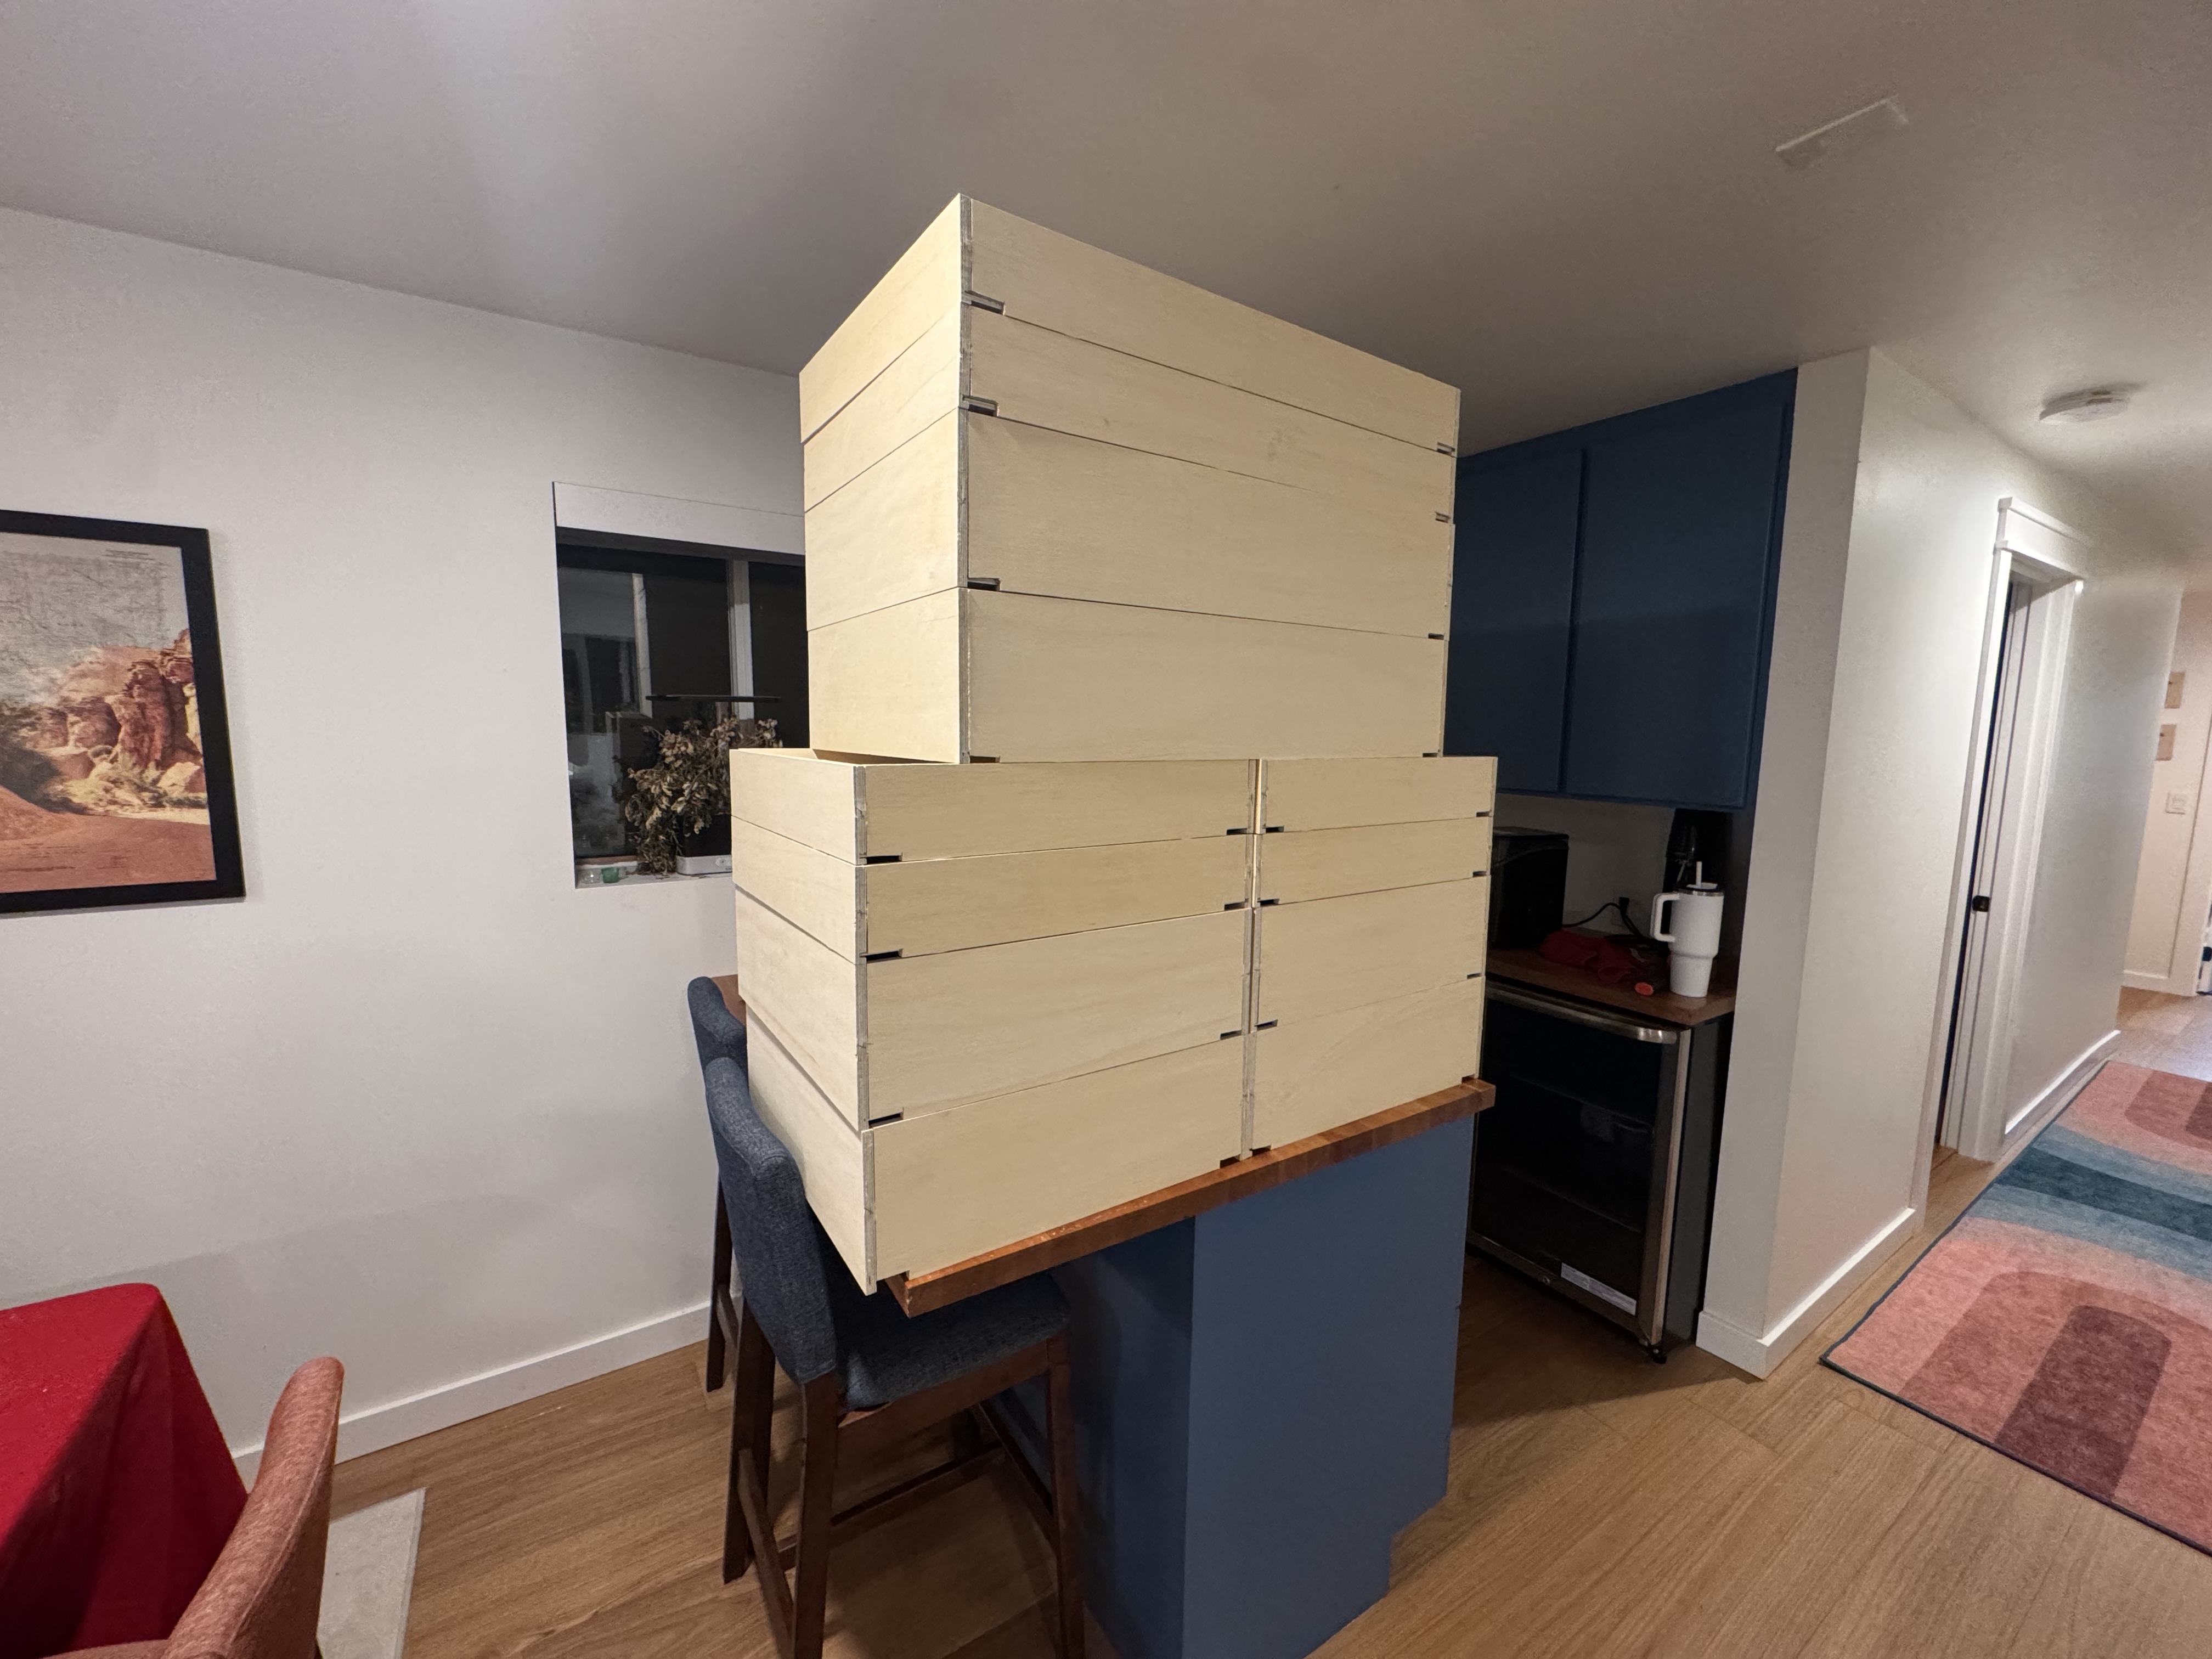
I posted the first picture in another topic but after taking a detour through table making, I finally cut the rest of my pieces and assembled a tall cabinet to check its fit:
The fixed shelf and the tops and bottoms are attached with pocket screws. Ideally I’d attach them with dadoes but my machine is not quite tuned well enough to cut the dadoes to consistent depth.
The tall cabinet also has a moveable shelf with pins that I cut with the CNC.
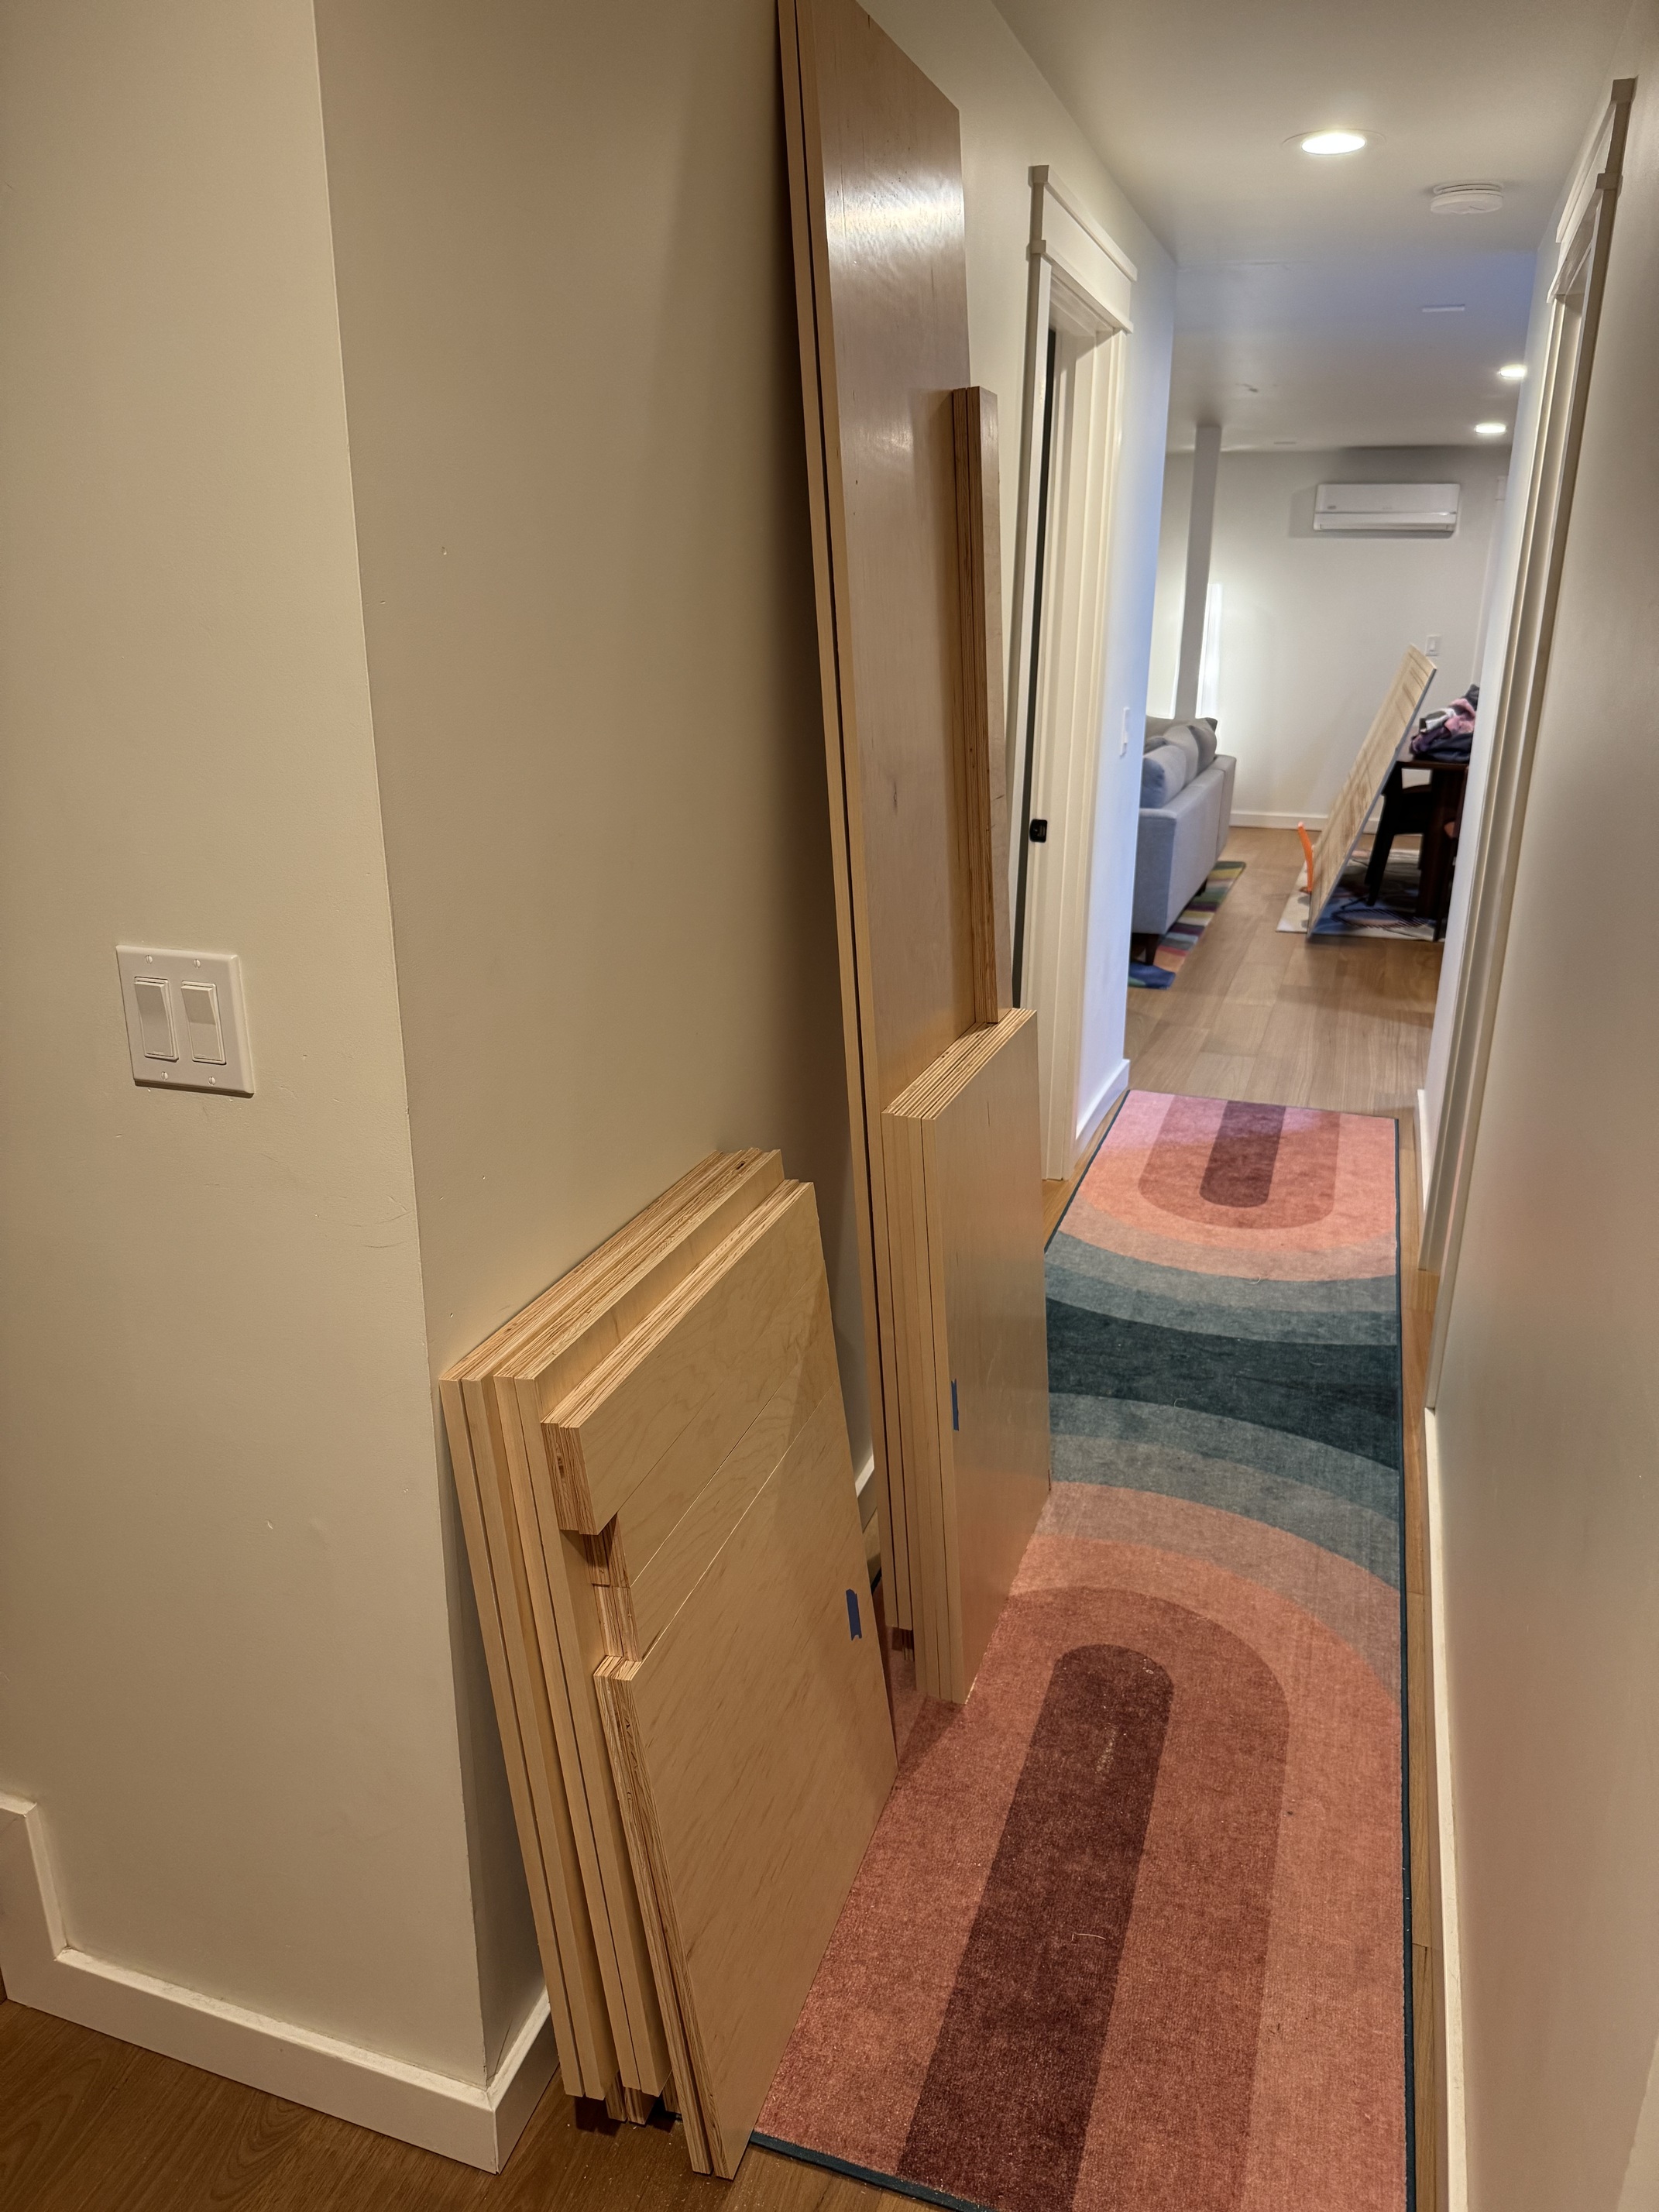
Awesome, they don’t fit! I forgot to account for the baseboards. After debating my options I decided it would be better to have a small gap for a trash can or stool:
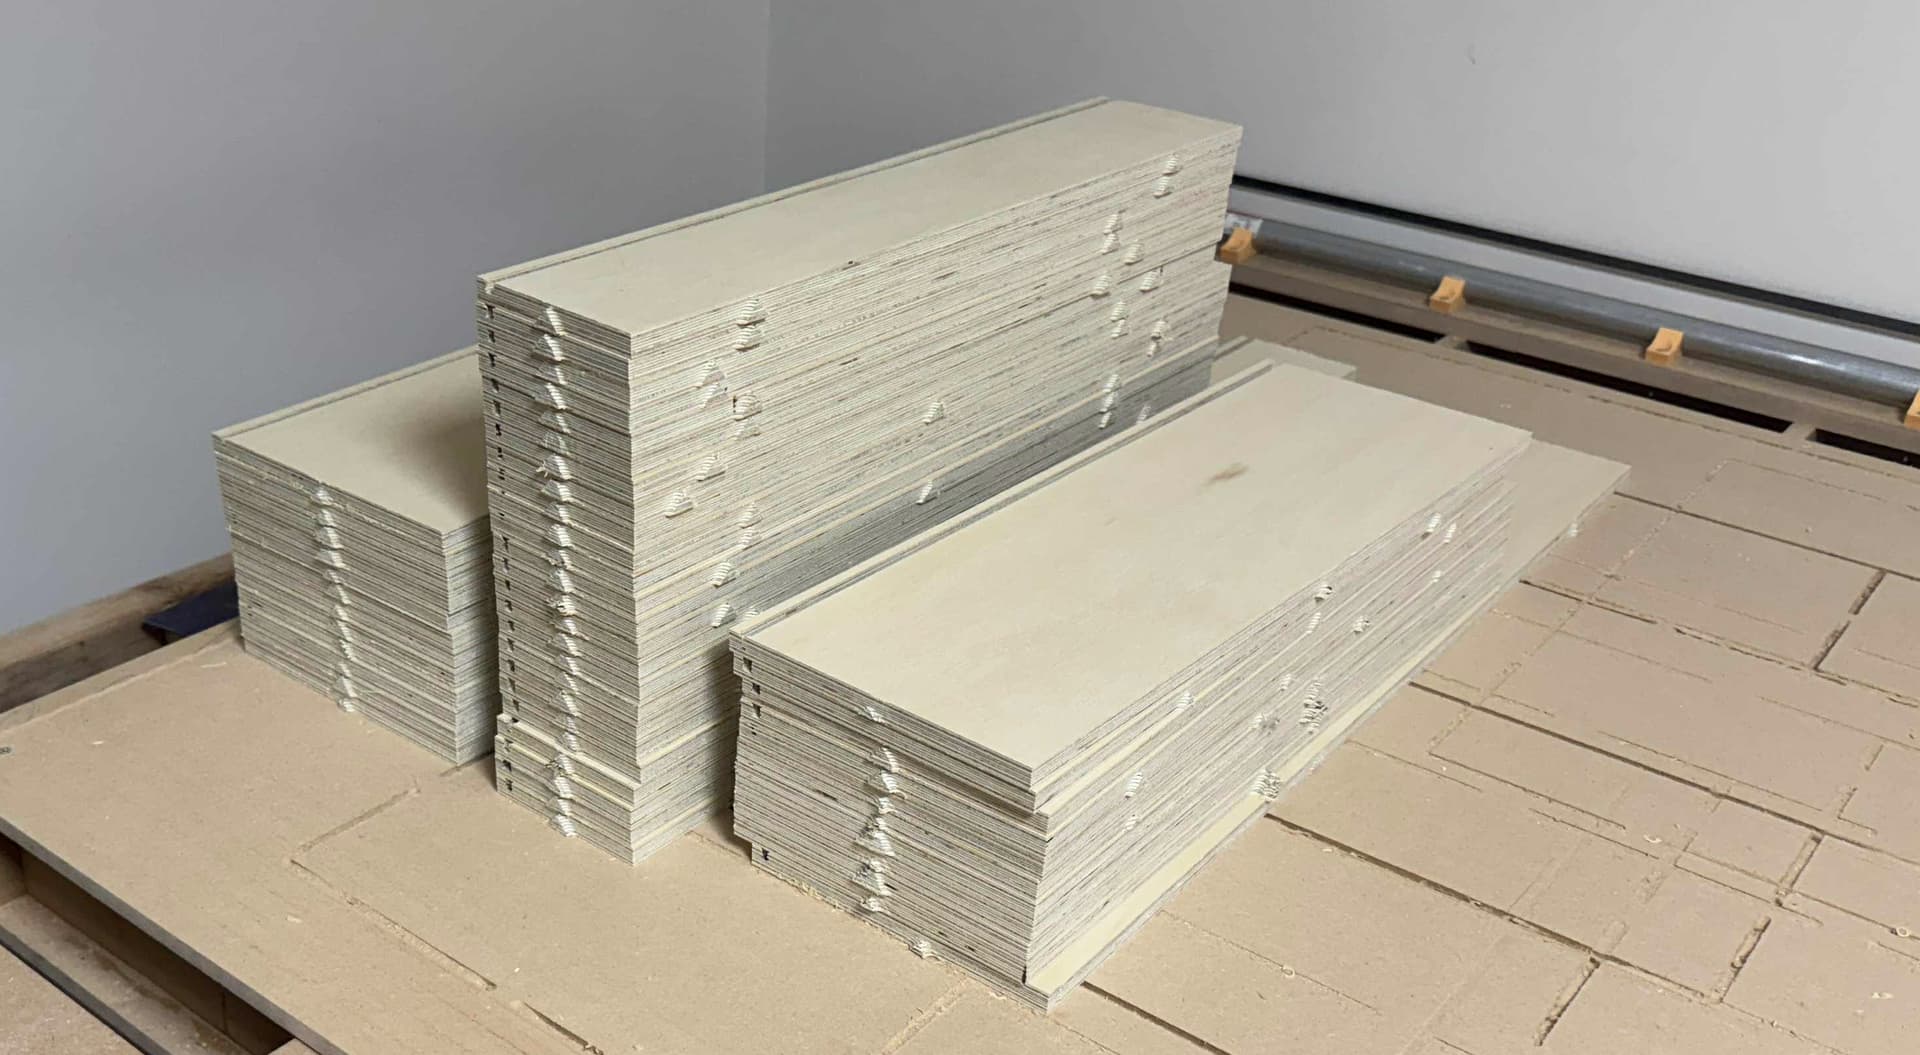
Travel, cleaning, buying + finishing the countertop for these cabinets, and work have kept me from the CNC for about a month. But now I’ve cut all my drawer box sides!
I’m using 1/4" single flute upcut bits from Spetool. Annoyingly, they only last about a sheet and a half before they get dull enough to wander and ruin cuts. The bits are warm-to-hot when I finish a full sheet of cuts. I think this means my RPM might be too high, but decreasing it too much causes shaking/stuttering. Maybe everything needs to slow down?
I’ll fuss with it more as I cut door/drawer fronts. Hardware is on the way. I’m really looking forward to getting these cabinets finished!
Okay, long break since I worked on this last. So have a bunch of pictures.
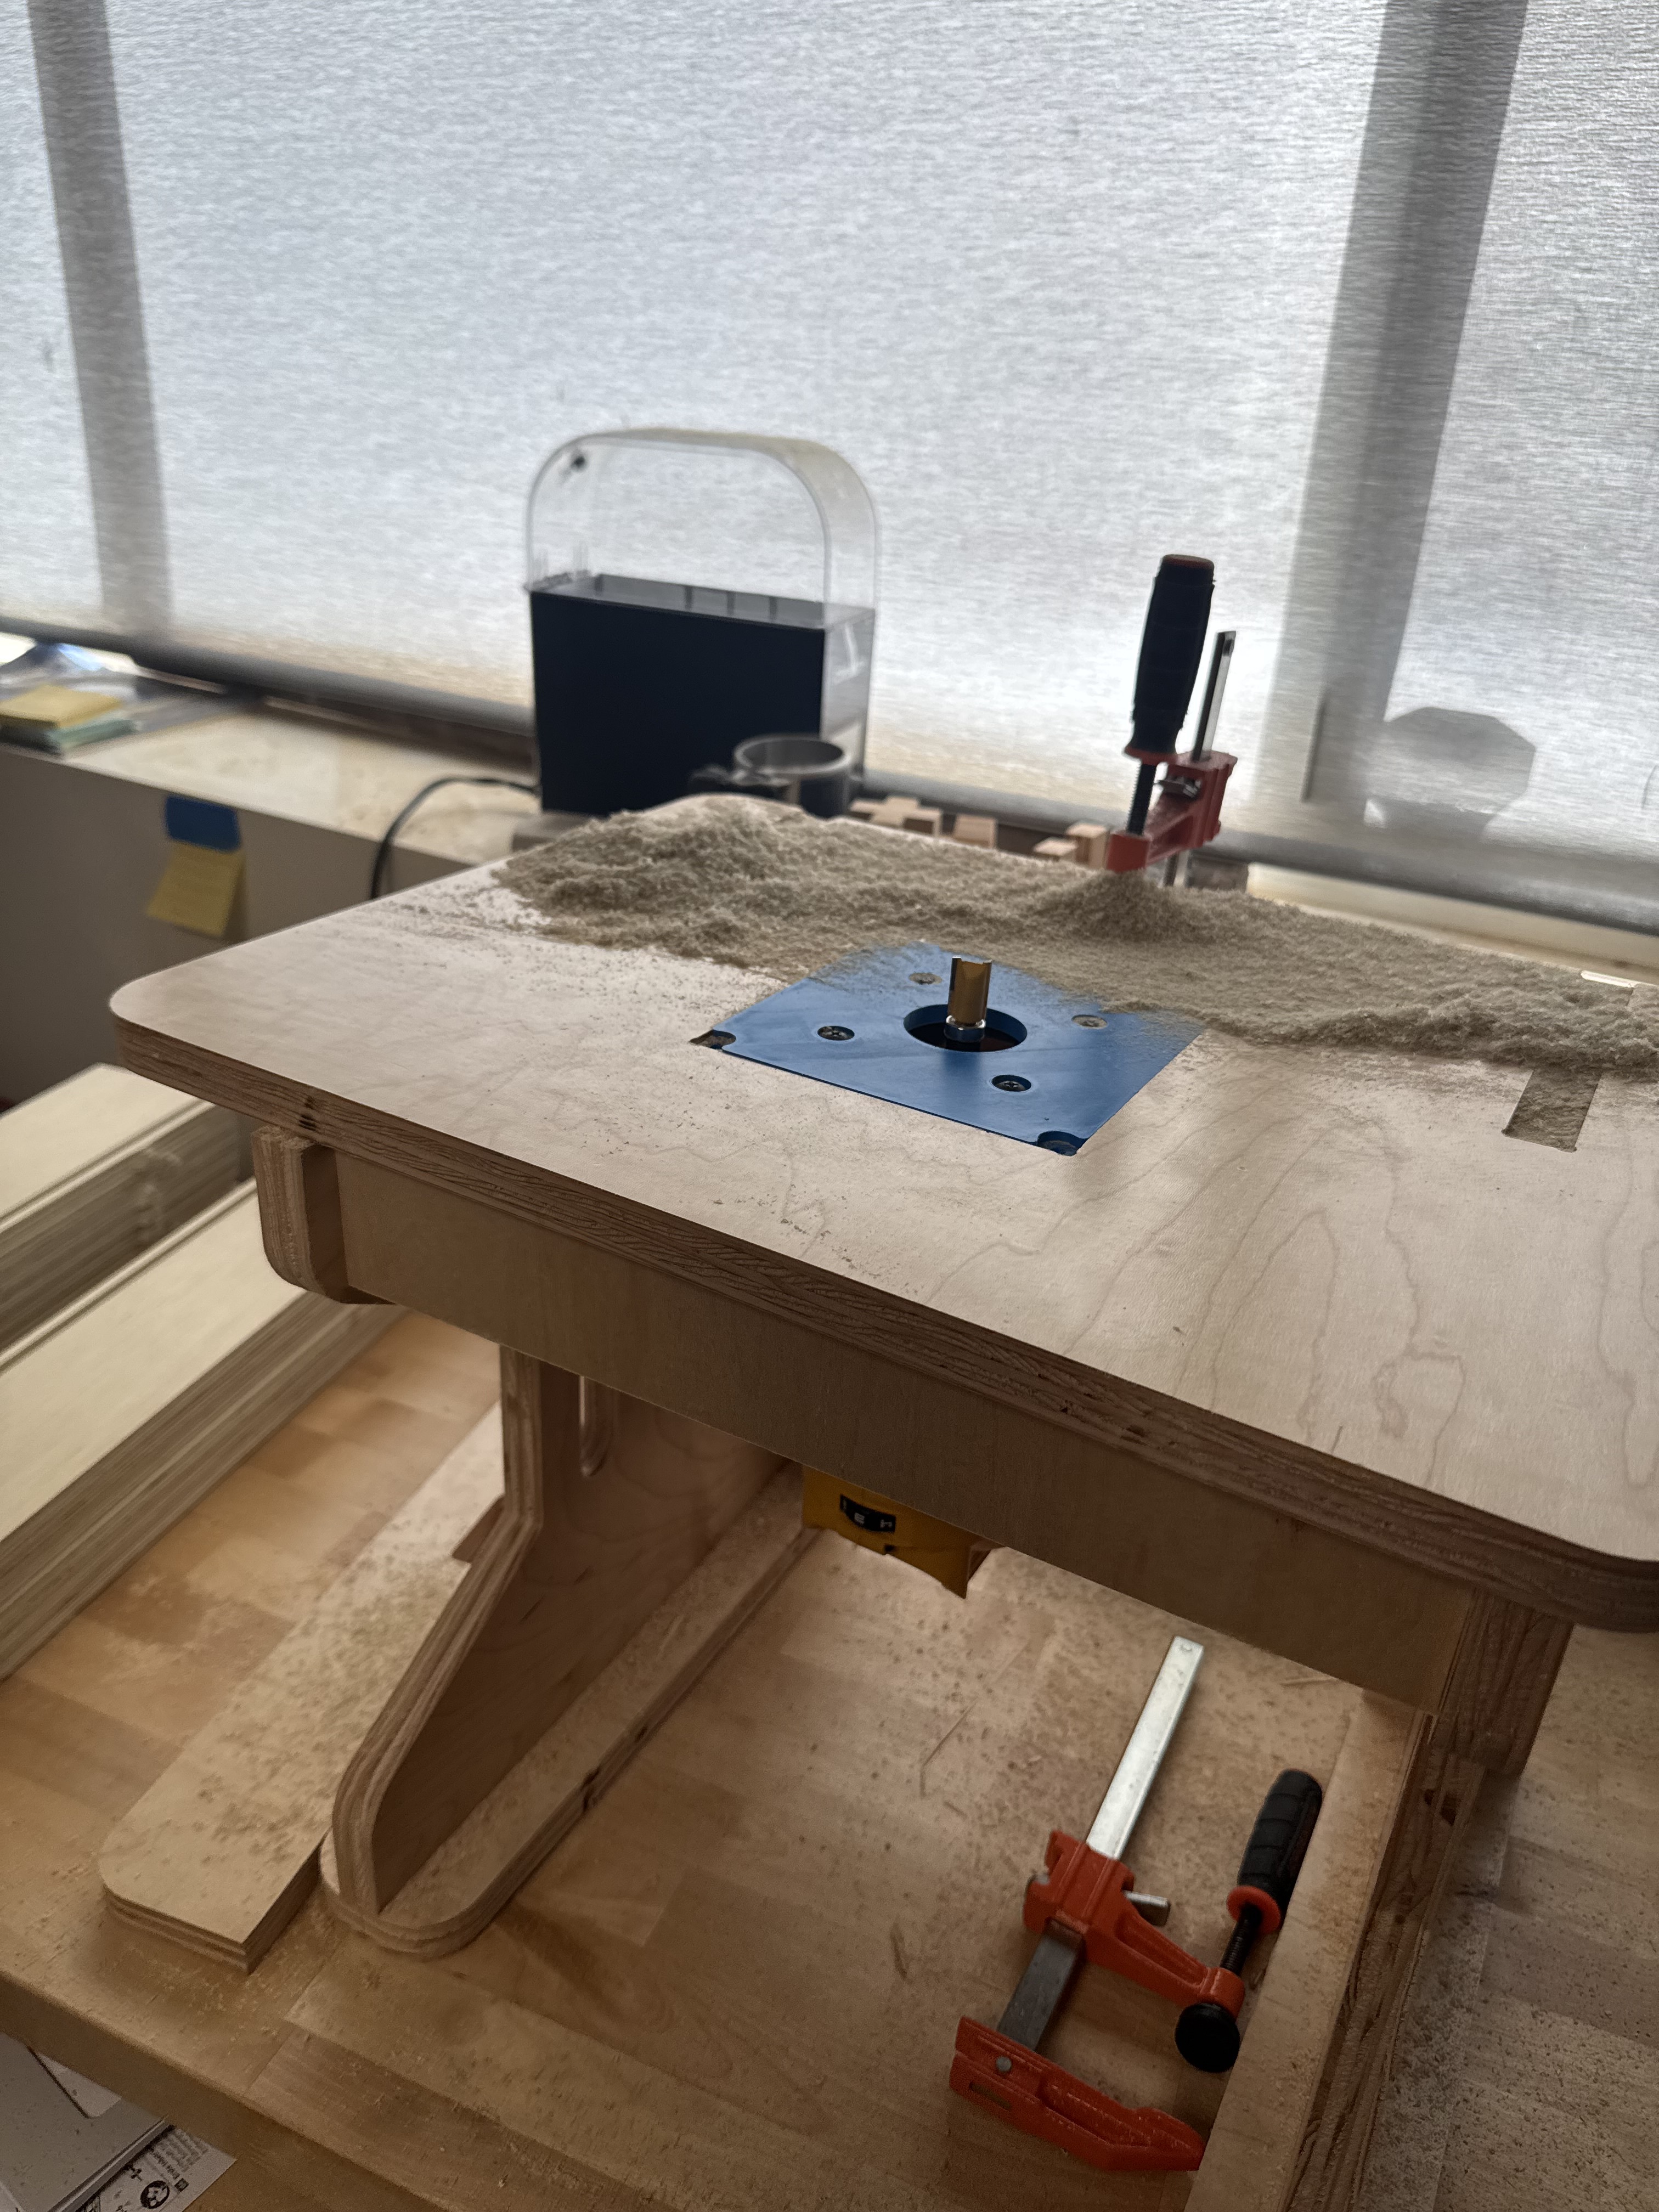
First, I built a little router table with the Lowrider and my 3D printer to make ‘processing’ the boards easier. This has been a huge change in how annoying it is to trim off tabs and clean up slightly-too-shallow Z cuts. I bought the design off Etsy and it worked well enough (though I couldn’t find a good router plate and ended up just designing one to print out.)
Okay, so processing the drawers was easy. I cut the bottoms on the Lowrider as well, and used a Domino + staples + glue for assembly. The Domino is a very recent purchase, it still feels a little silly to have spent that much money, but it did make assembly pretty slick.
Now, time to mount the drawers. I used undermount slides and realized fast that I’d made the drawers 1” too deep. Every project teaches me more that I should plan more carefully. I decided to just screw the little clippy guys set back a bit from the front and it seems to have gone fine. A few evenings of install later and I have everything in.
I just need to run some wiring for the 3D printer I plan to put in one of the tall cabinets, and then they’re ready for doors and I can call another project finished. Good day!
Yeah, this probably would be easier with a table saw. But I don’t have one (or room for it with the CNC!)
I have debated remaking the CNC to 4x4 and using it as an outfeed for the table saw. But…I kind of wanted to take a break from rebuilding the machine for a few projects
These look nice, now that I have a full 4x8 LR4 cabinets and other projects like this are moving to the top of the list. Are you using any software to help with layout of all the parts? or just manually doing that?
In regards to using your LR4 table as an out feed, I would not recommend that. My old LR3 was setup that way and the tube and belts to run the Y were always getting in the way. There was some cuts I couldn’t do any longer due to that setup.
I designed these cabinets with Cabinet Planner, which does the layout (though I would tweak some with Inkscape after. To be honest, it’s kind of a mixed bag. I had to correct a few parts (or work around the builtin behavior for things like drawer slides). The software isn’t super well-documented, though the creator is active in its Facebook group if you really get stuck.
Alternatively, I used Fusion to manually layout another set of cabinets and though the initial construction was a little annoying, I got pretty fast at it after a while, and I found it much easier to customize/check the results out of Fusion.
So, going forward, I’ll probably use Fusion and its 2D arrange functionality for future projects.