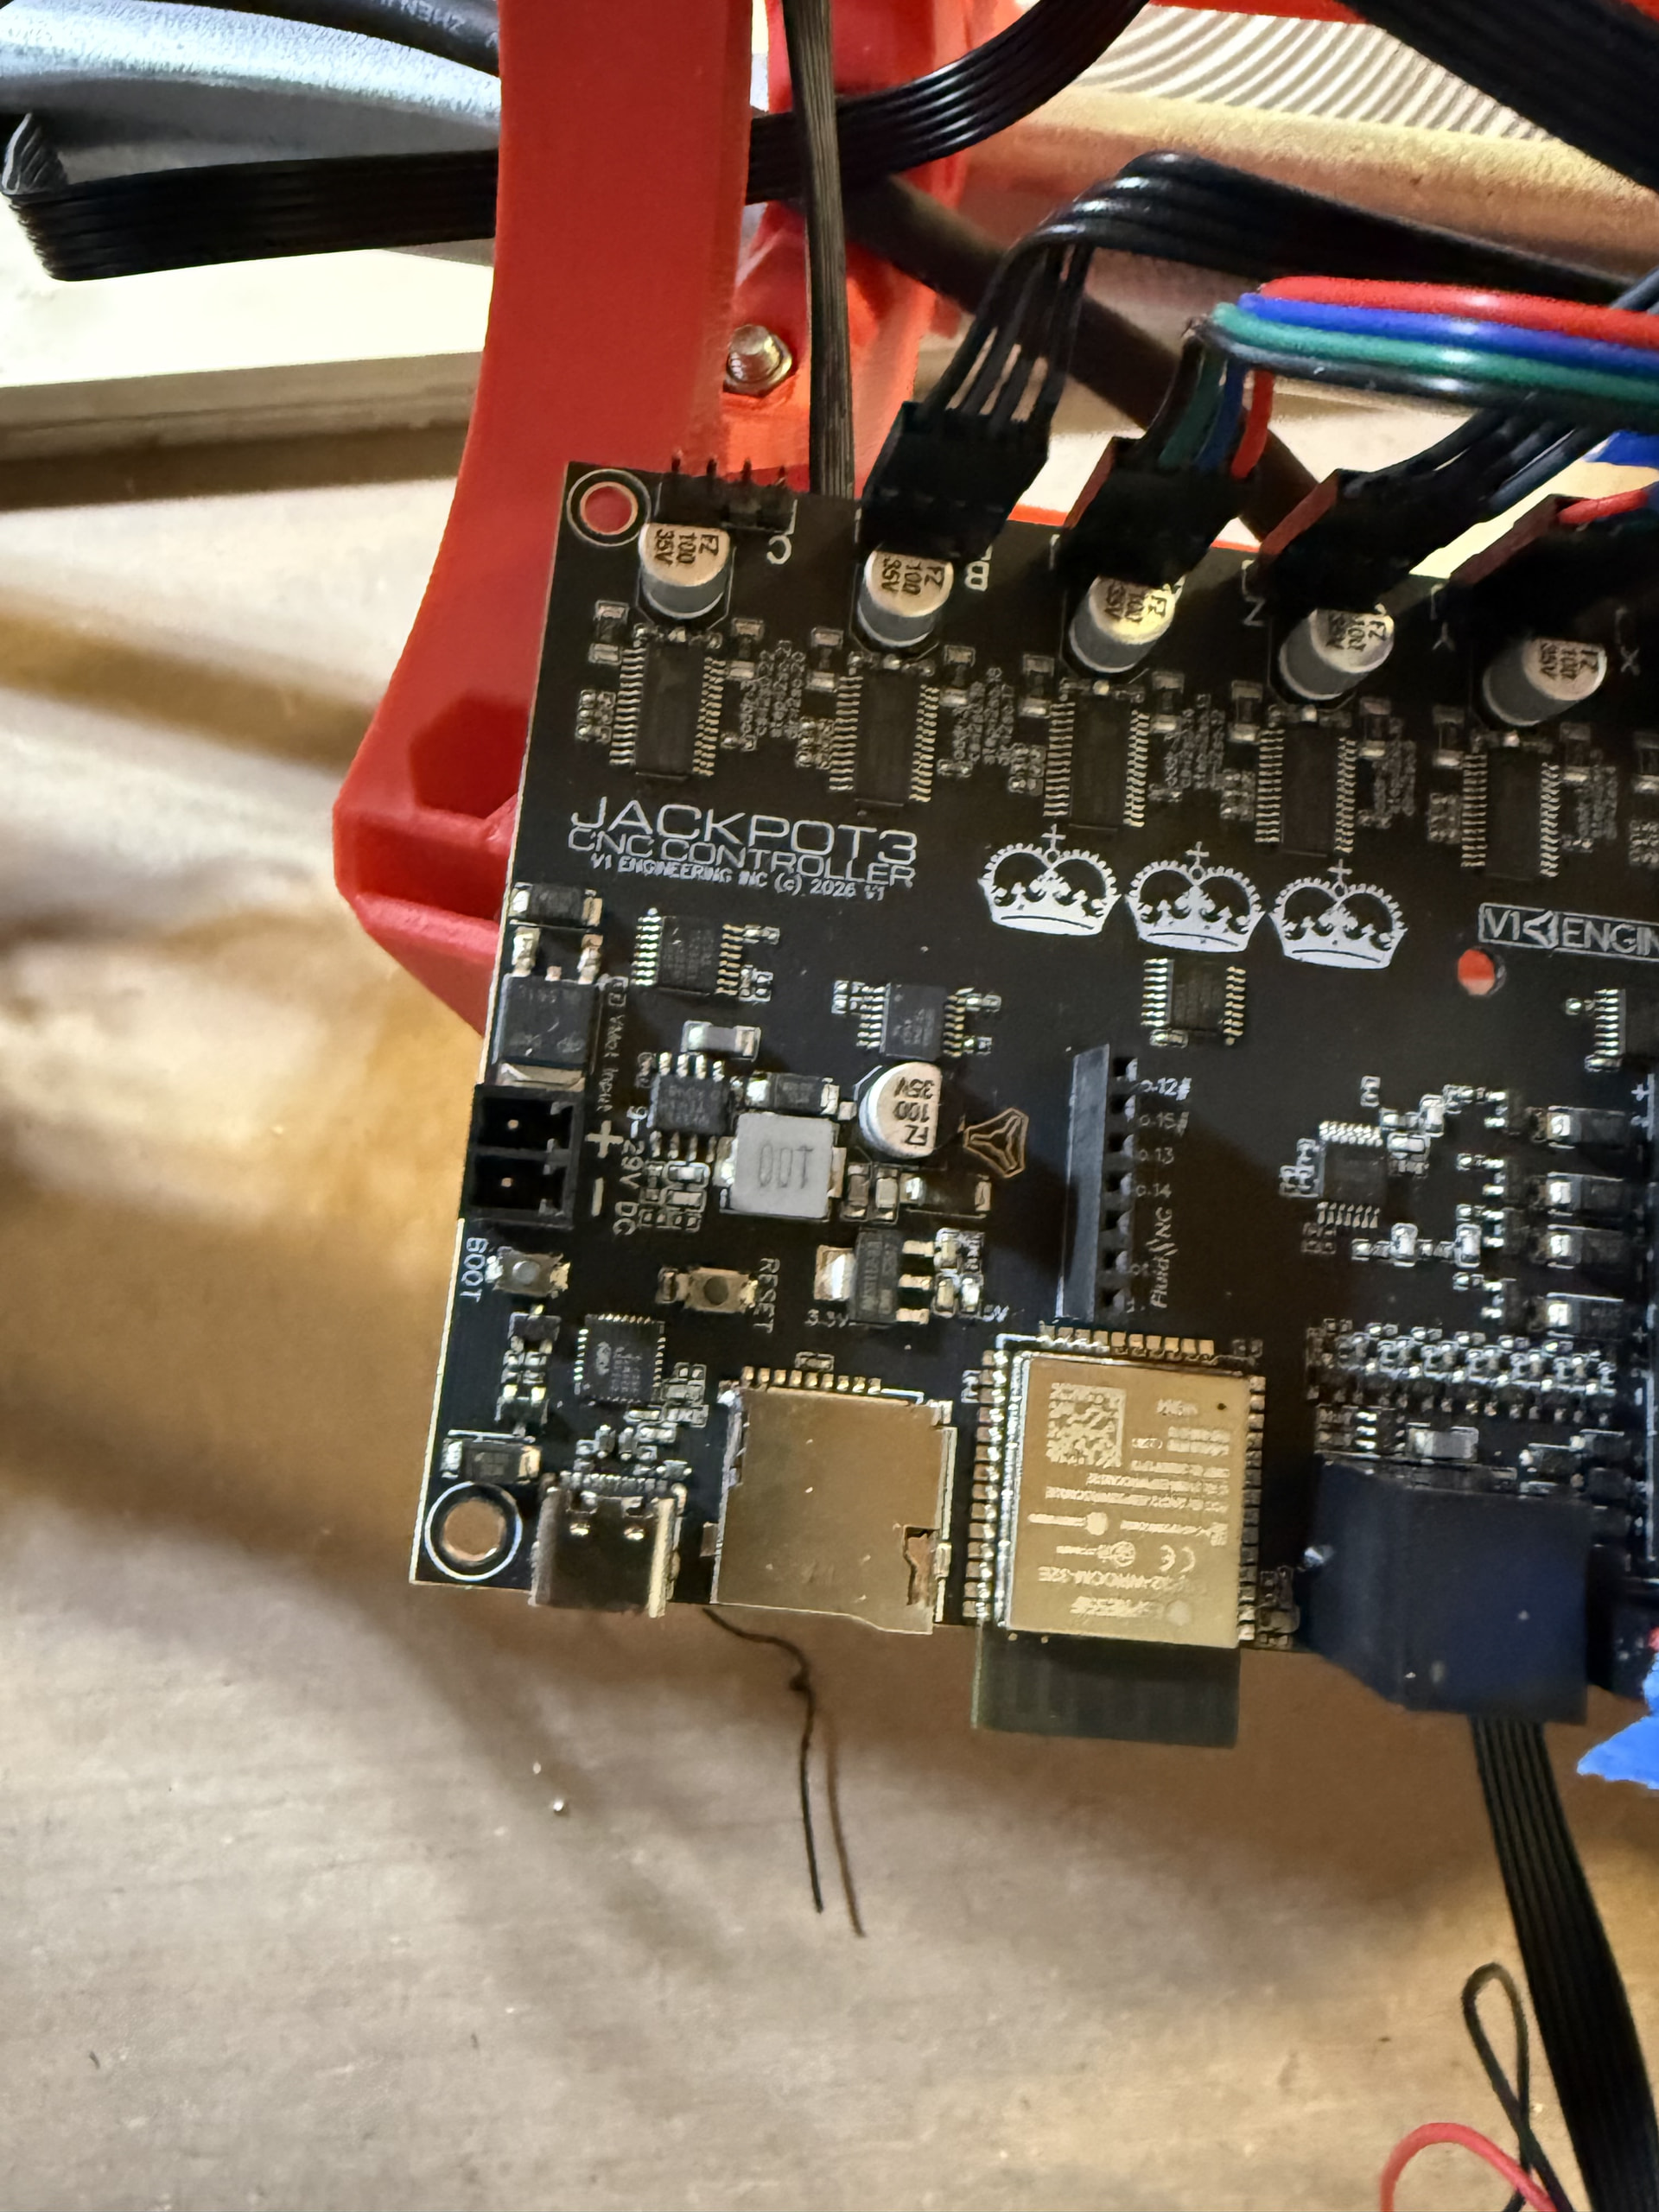
First, I forgot to label some of the wiring…any help there? the wires on the left side with the front of the core facing away from me.
second…what am I missing because is this the literal only help for wiring this controller? This is also a different controller so I still don’t know what I’m looking at.
Where is the file for the 3D print for the controller holder?
The good thing is that most of this is pretty easy. If you hook up the motor wrong, it will just go in the wrong direction. Then you can just reverse the wire. The end stops are the same way, but there is a led light to see if they activate or not when you push on them. Which board do you have?
I’ll guess that since your build is a new build, you have a Jackpot V3 controller.
Ryan’s released enclosure for the Jackpot V3 on a LowRider 4 is here at Printables:
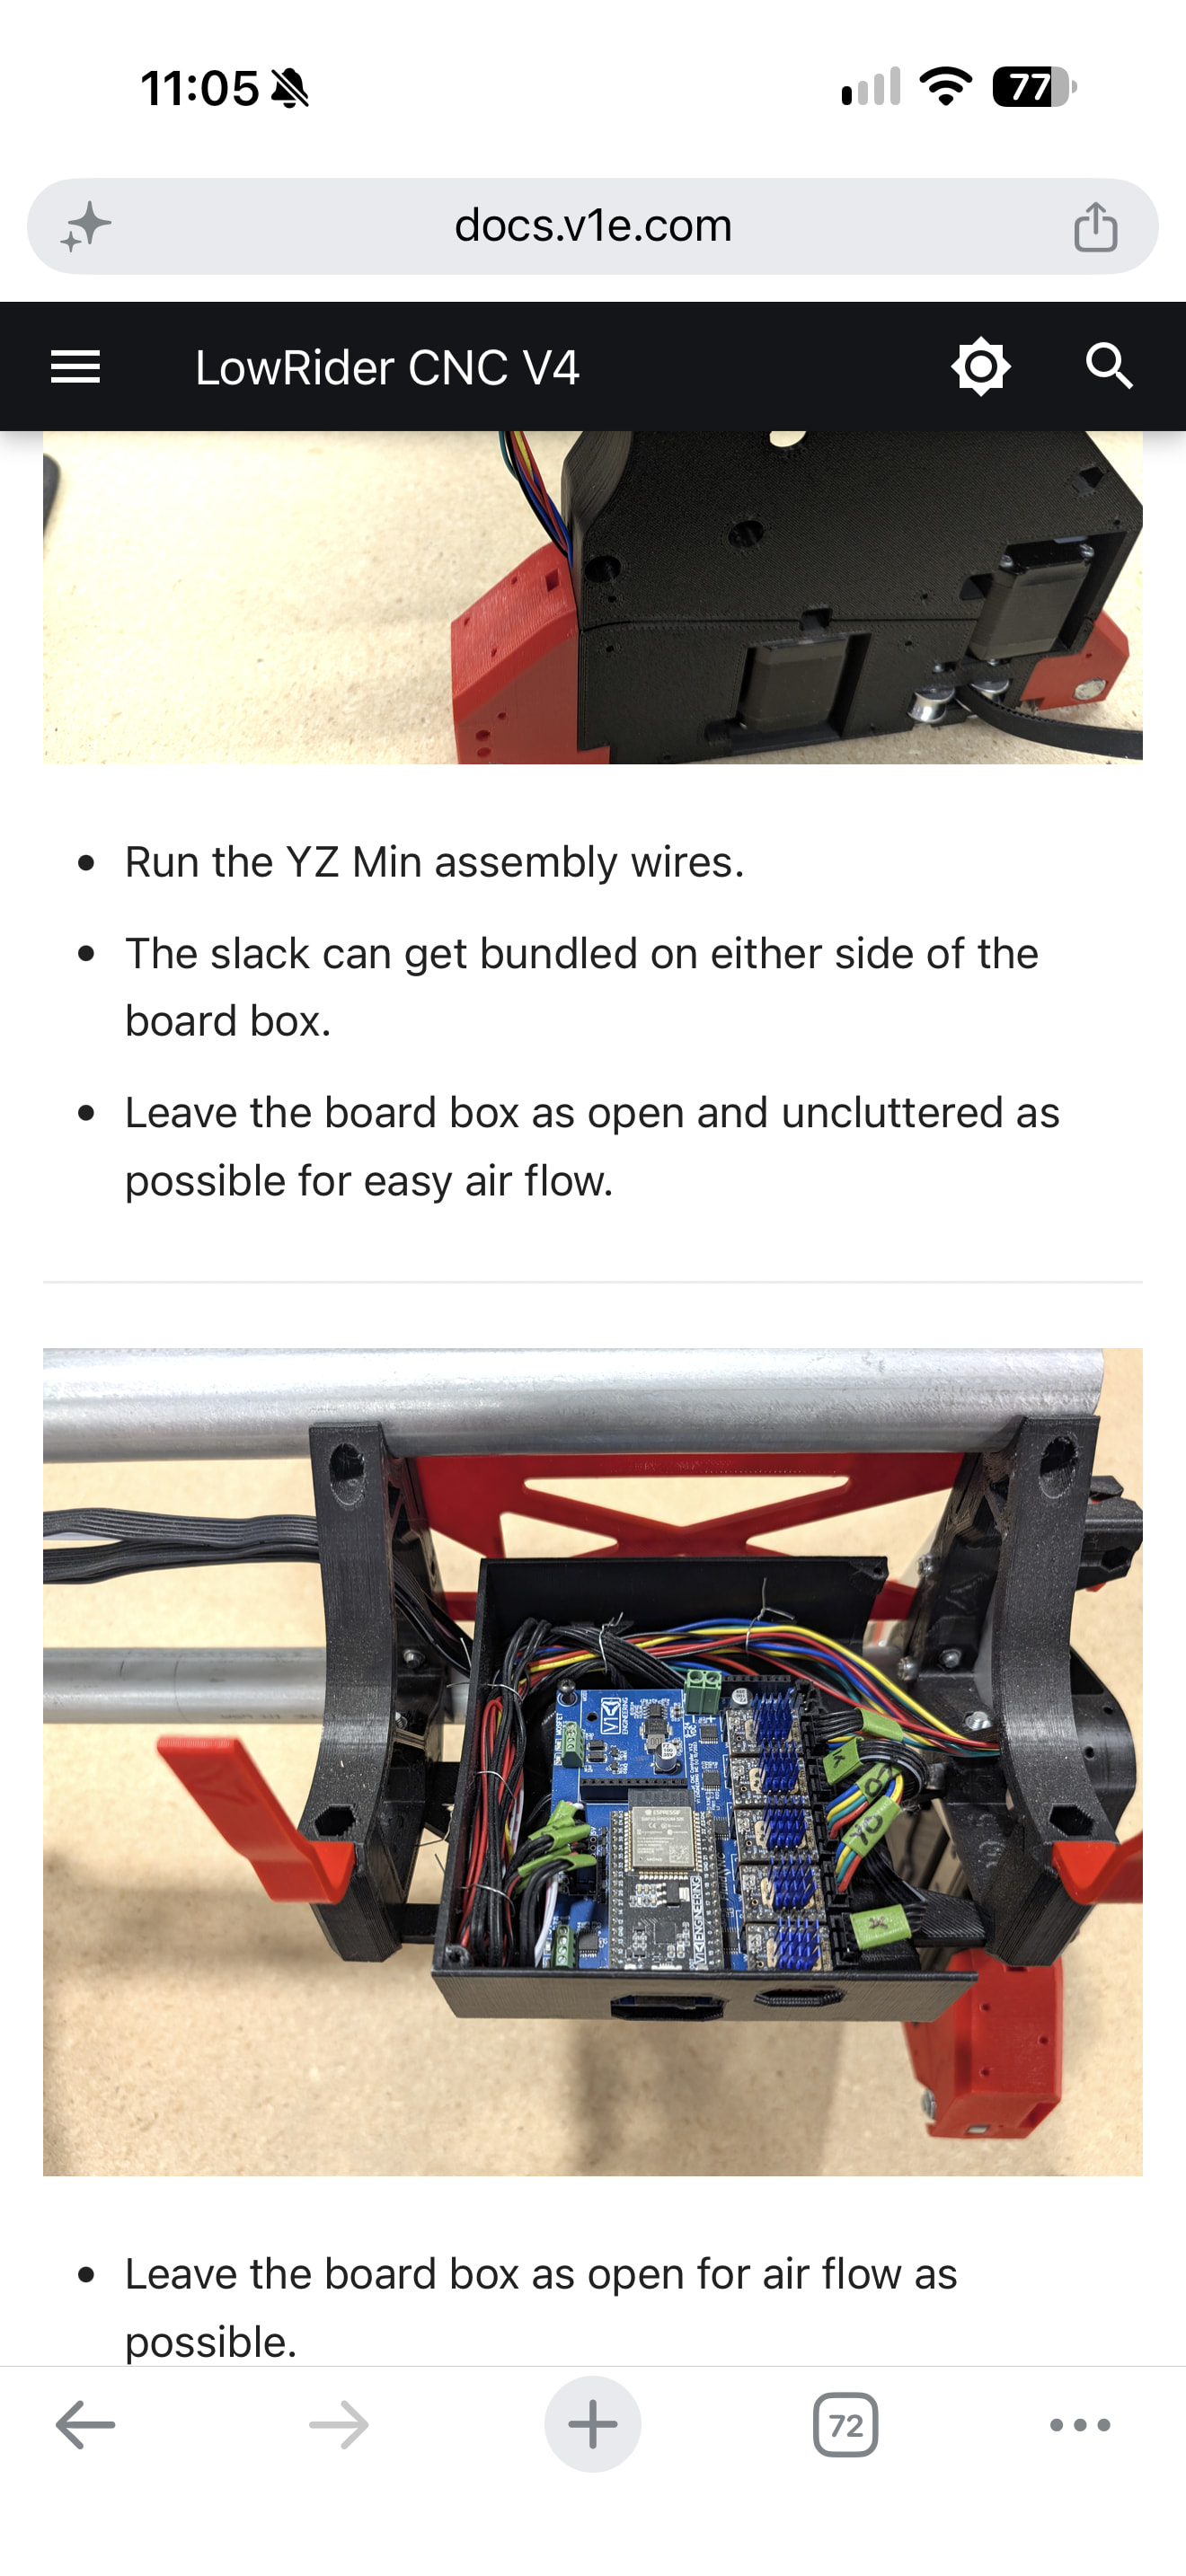
The image in your post is of a Jackpot V1, one of the predecessors of the new Jackpot V3.
If you confirm what controller you have, we can help more. It’s completely possible to build a LowRider with many other motion controllers.
Vincent posted the link for the Jackpot V3 wiring above.
If your controller is a Jackpot or one of the other FluidNC controllers, then you can check your limit switch wiring using the $Limits command. If you have a different controller then we can help from there.
Most of the wiring you can trace by hand, which is a bummer, but is doable.
I usually do motion checks when I first hook up a machine by commanding axis one at a time to verify the correct stepper(s) move in the correct direction. You can flip or swap plugs as needed. The above $Limits command is how I test the limit switches.
The FluidNC software documentation for how to use the $Limits command is here:
(Scroll down to the section labeled “Testing”)
The simple version of this is that you run the command, then monitor the terminal window and the display will show you which limit switches are open or closed. You tap and release each limit switch and verify that the display shows you the correct switch is responding.
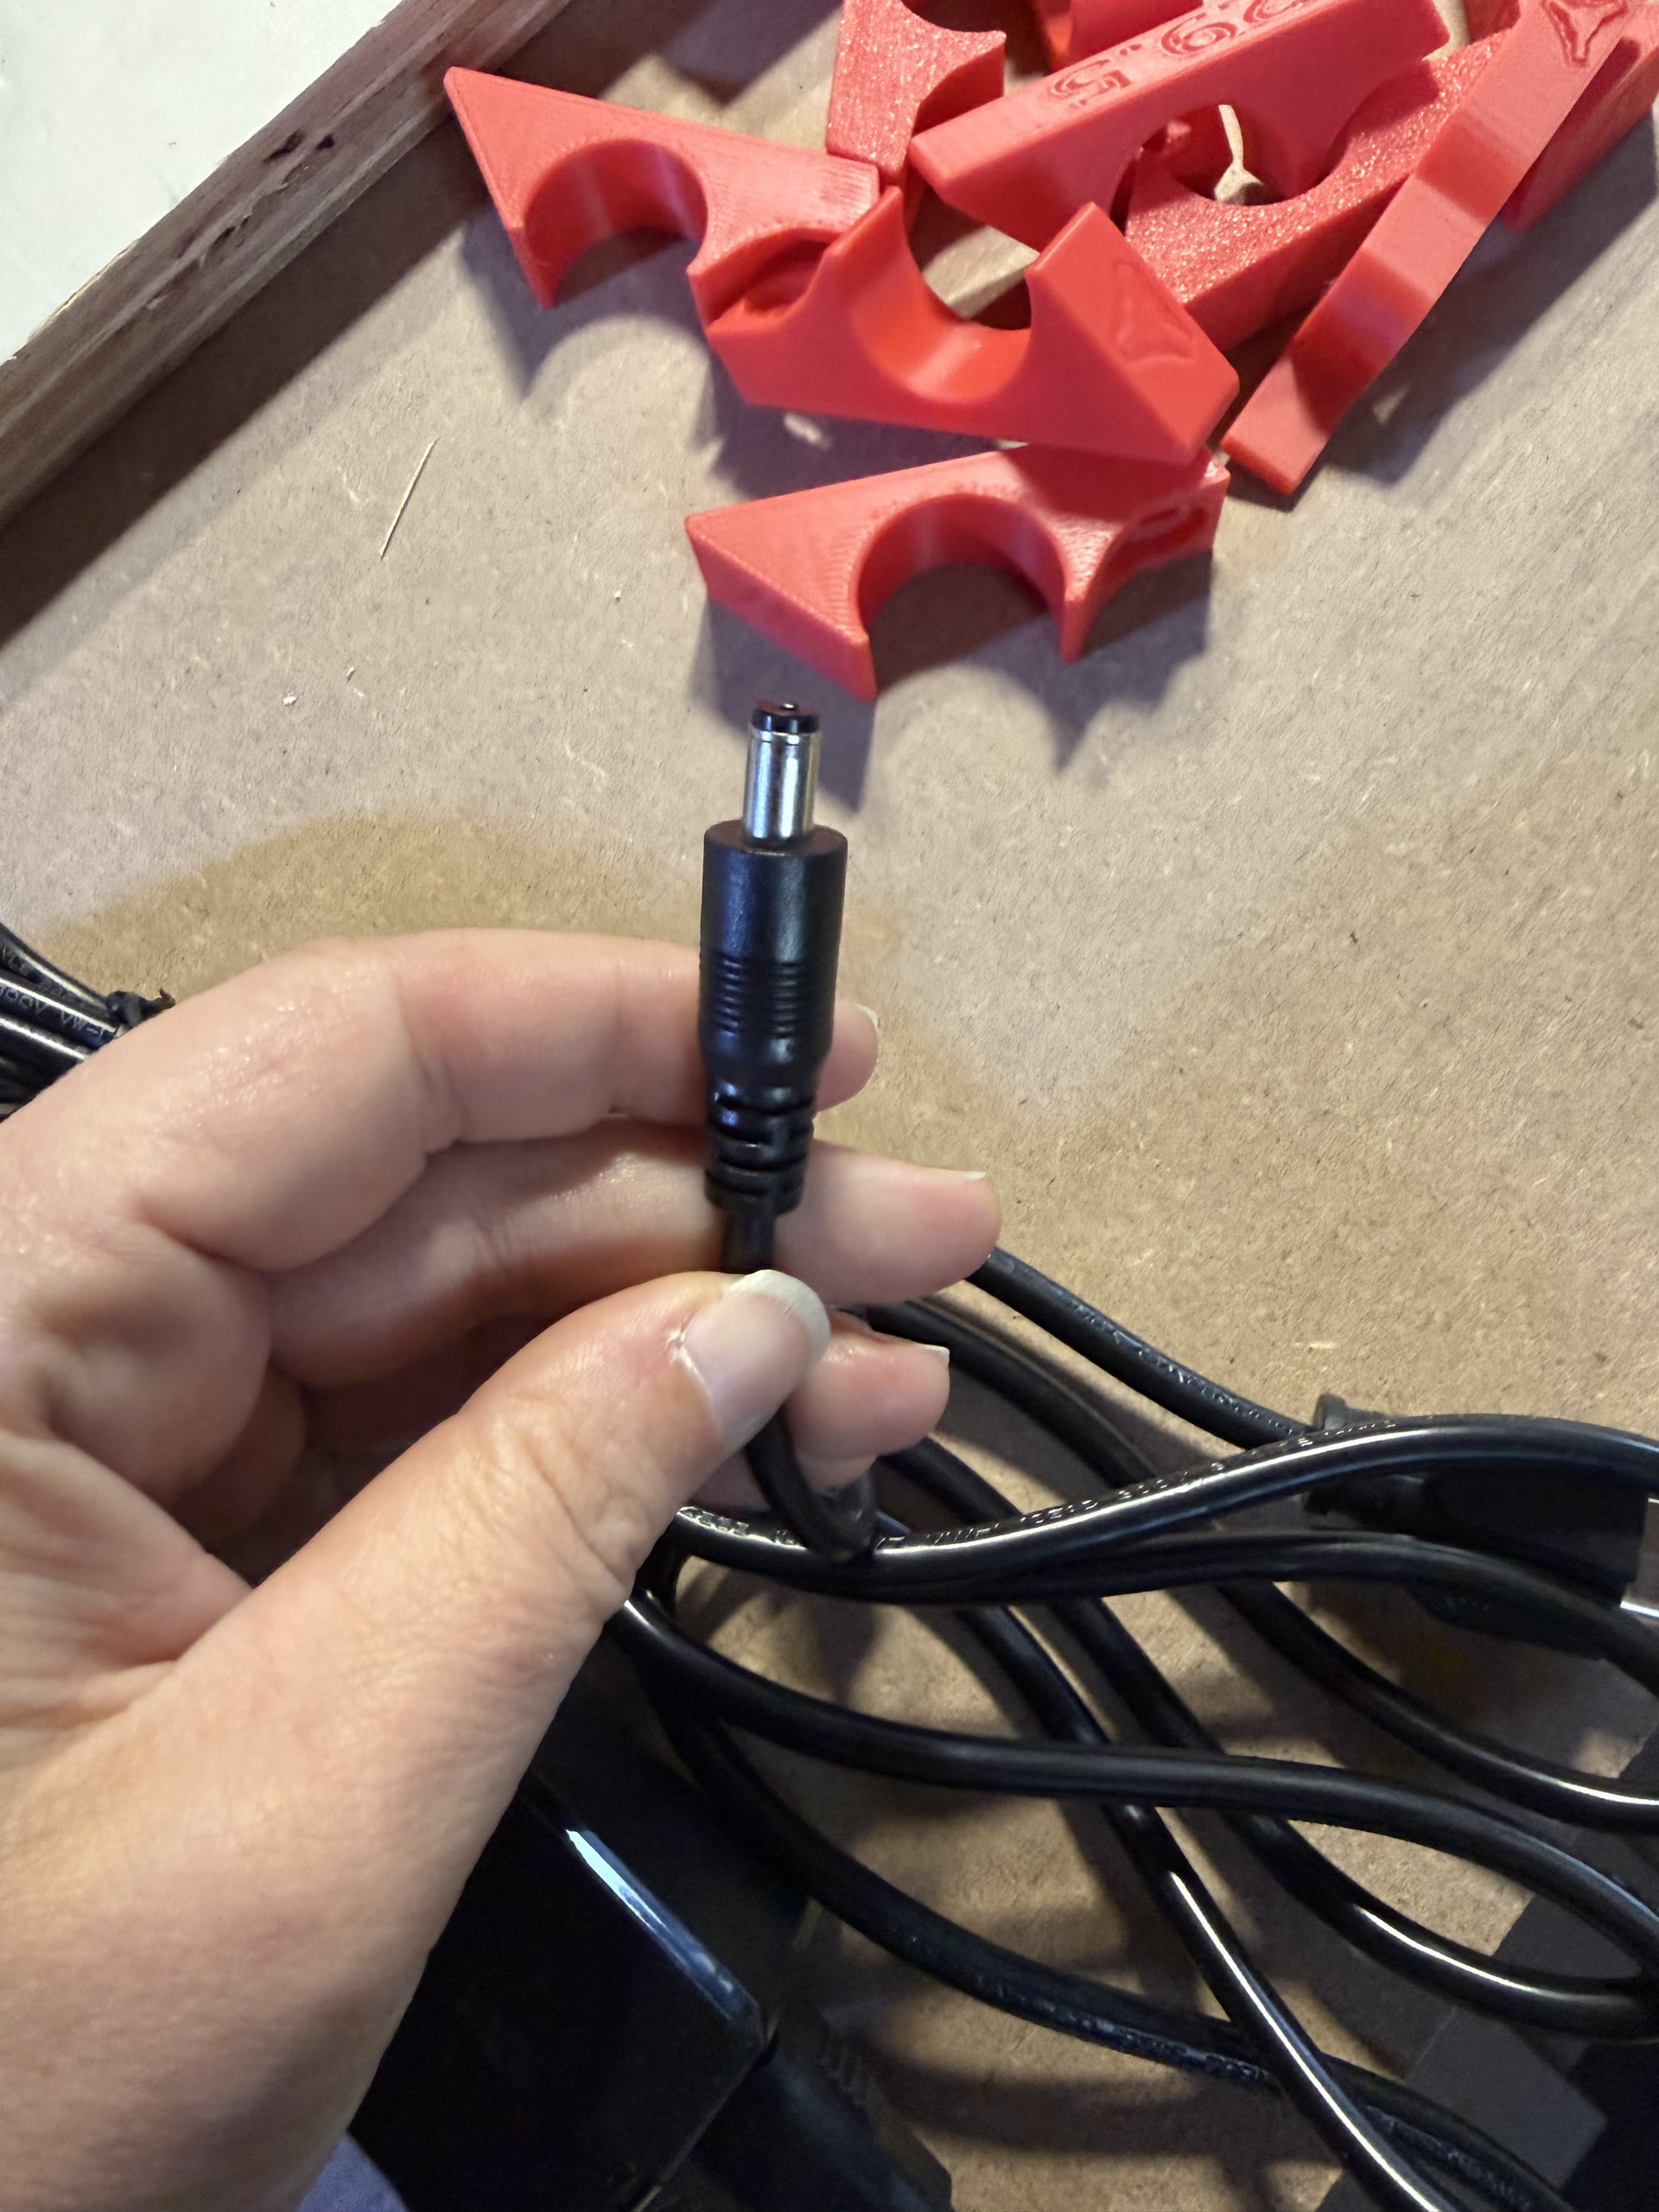
In the box with the jackpot there is a terminal block that fits the power connector on the board.
You cut the barrel off of the power cord right next to the barrel, strip the wires, and land them in the terminal block. I always use crimp ferrules for the wires, but many people do not.
Should be, but if it is, it isn’t obvious from me doing a quick scan of them just now.