Okay, this time it’s gonna be different, I am not posting the finished product but the work in progress. A student of mine floated the idea by me that having a cutting board in the form of a coffin would be neat. Well, Goth… But hey, I did like the idea because it was something new that hasn’t been done too often.
So, planning stage - which layout?
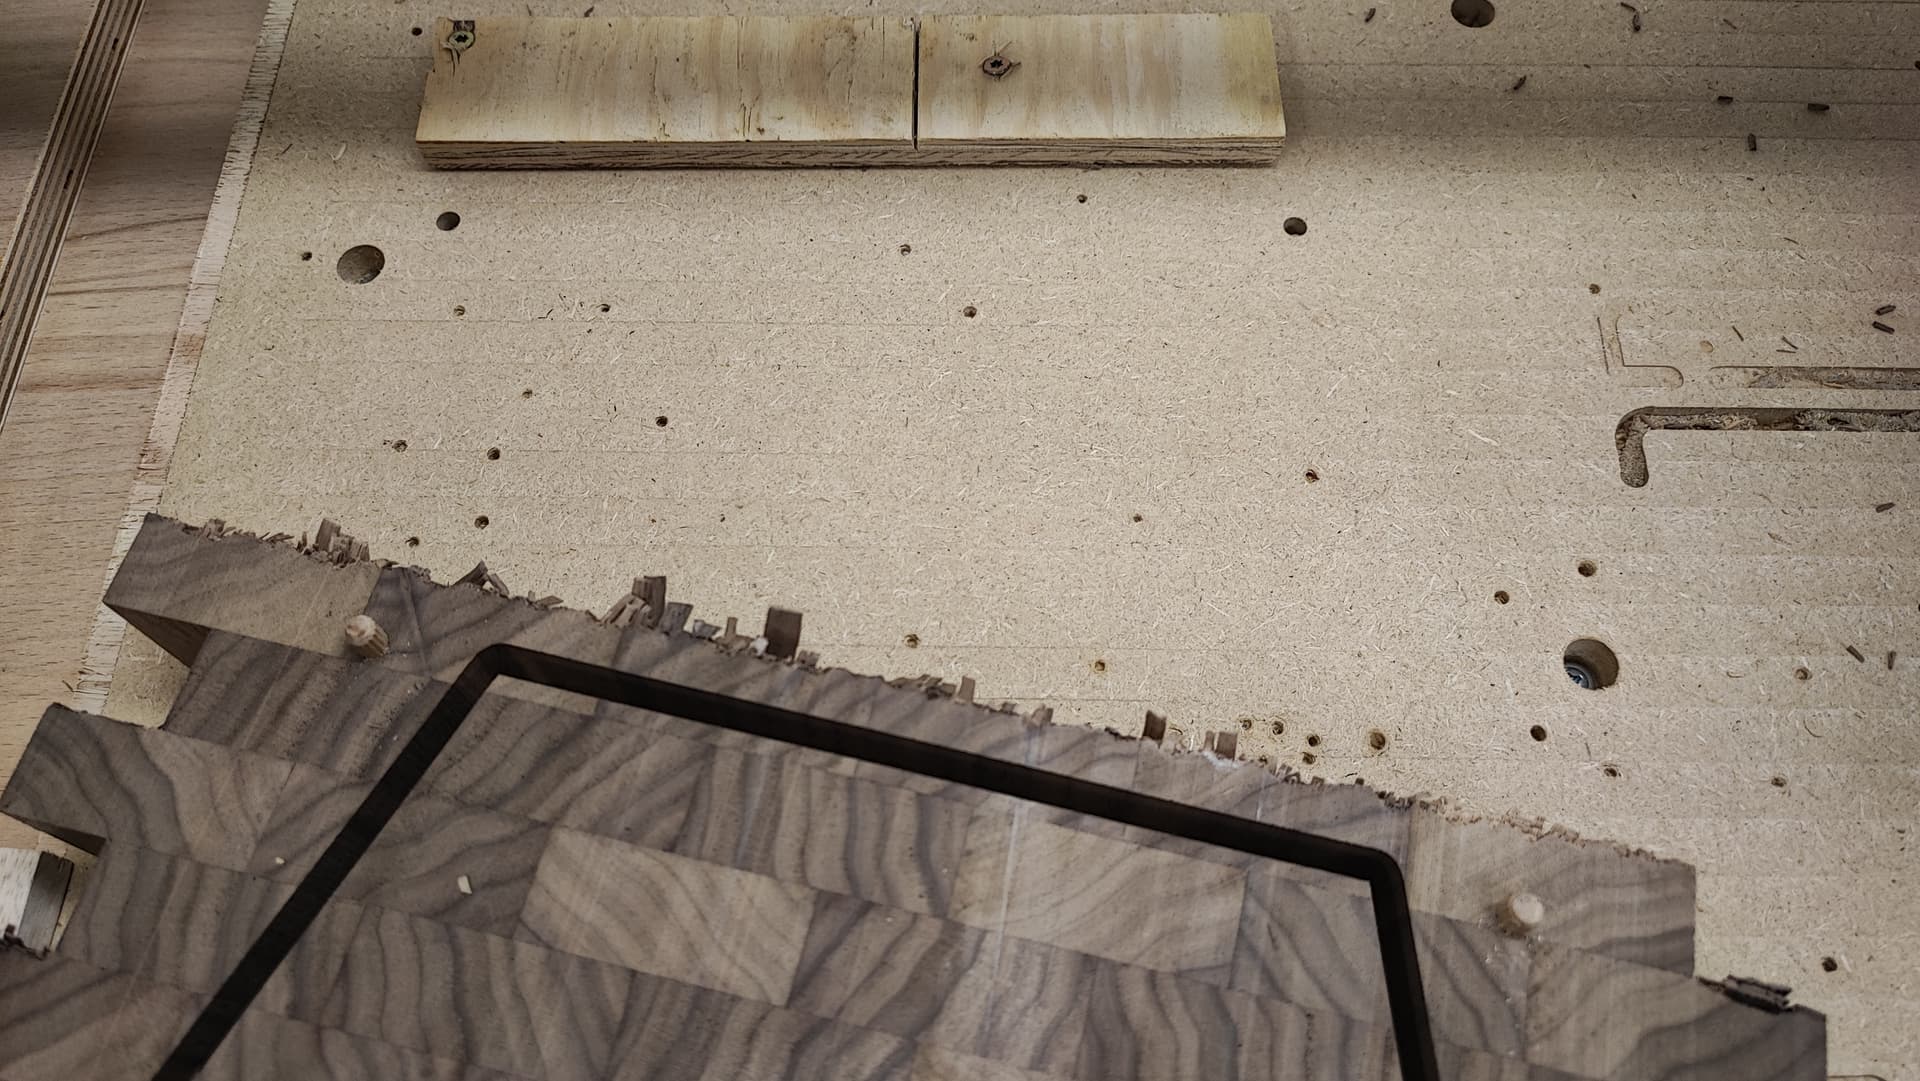
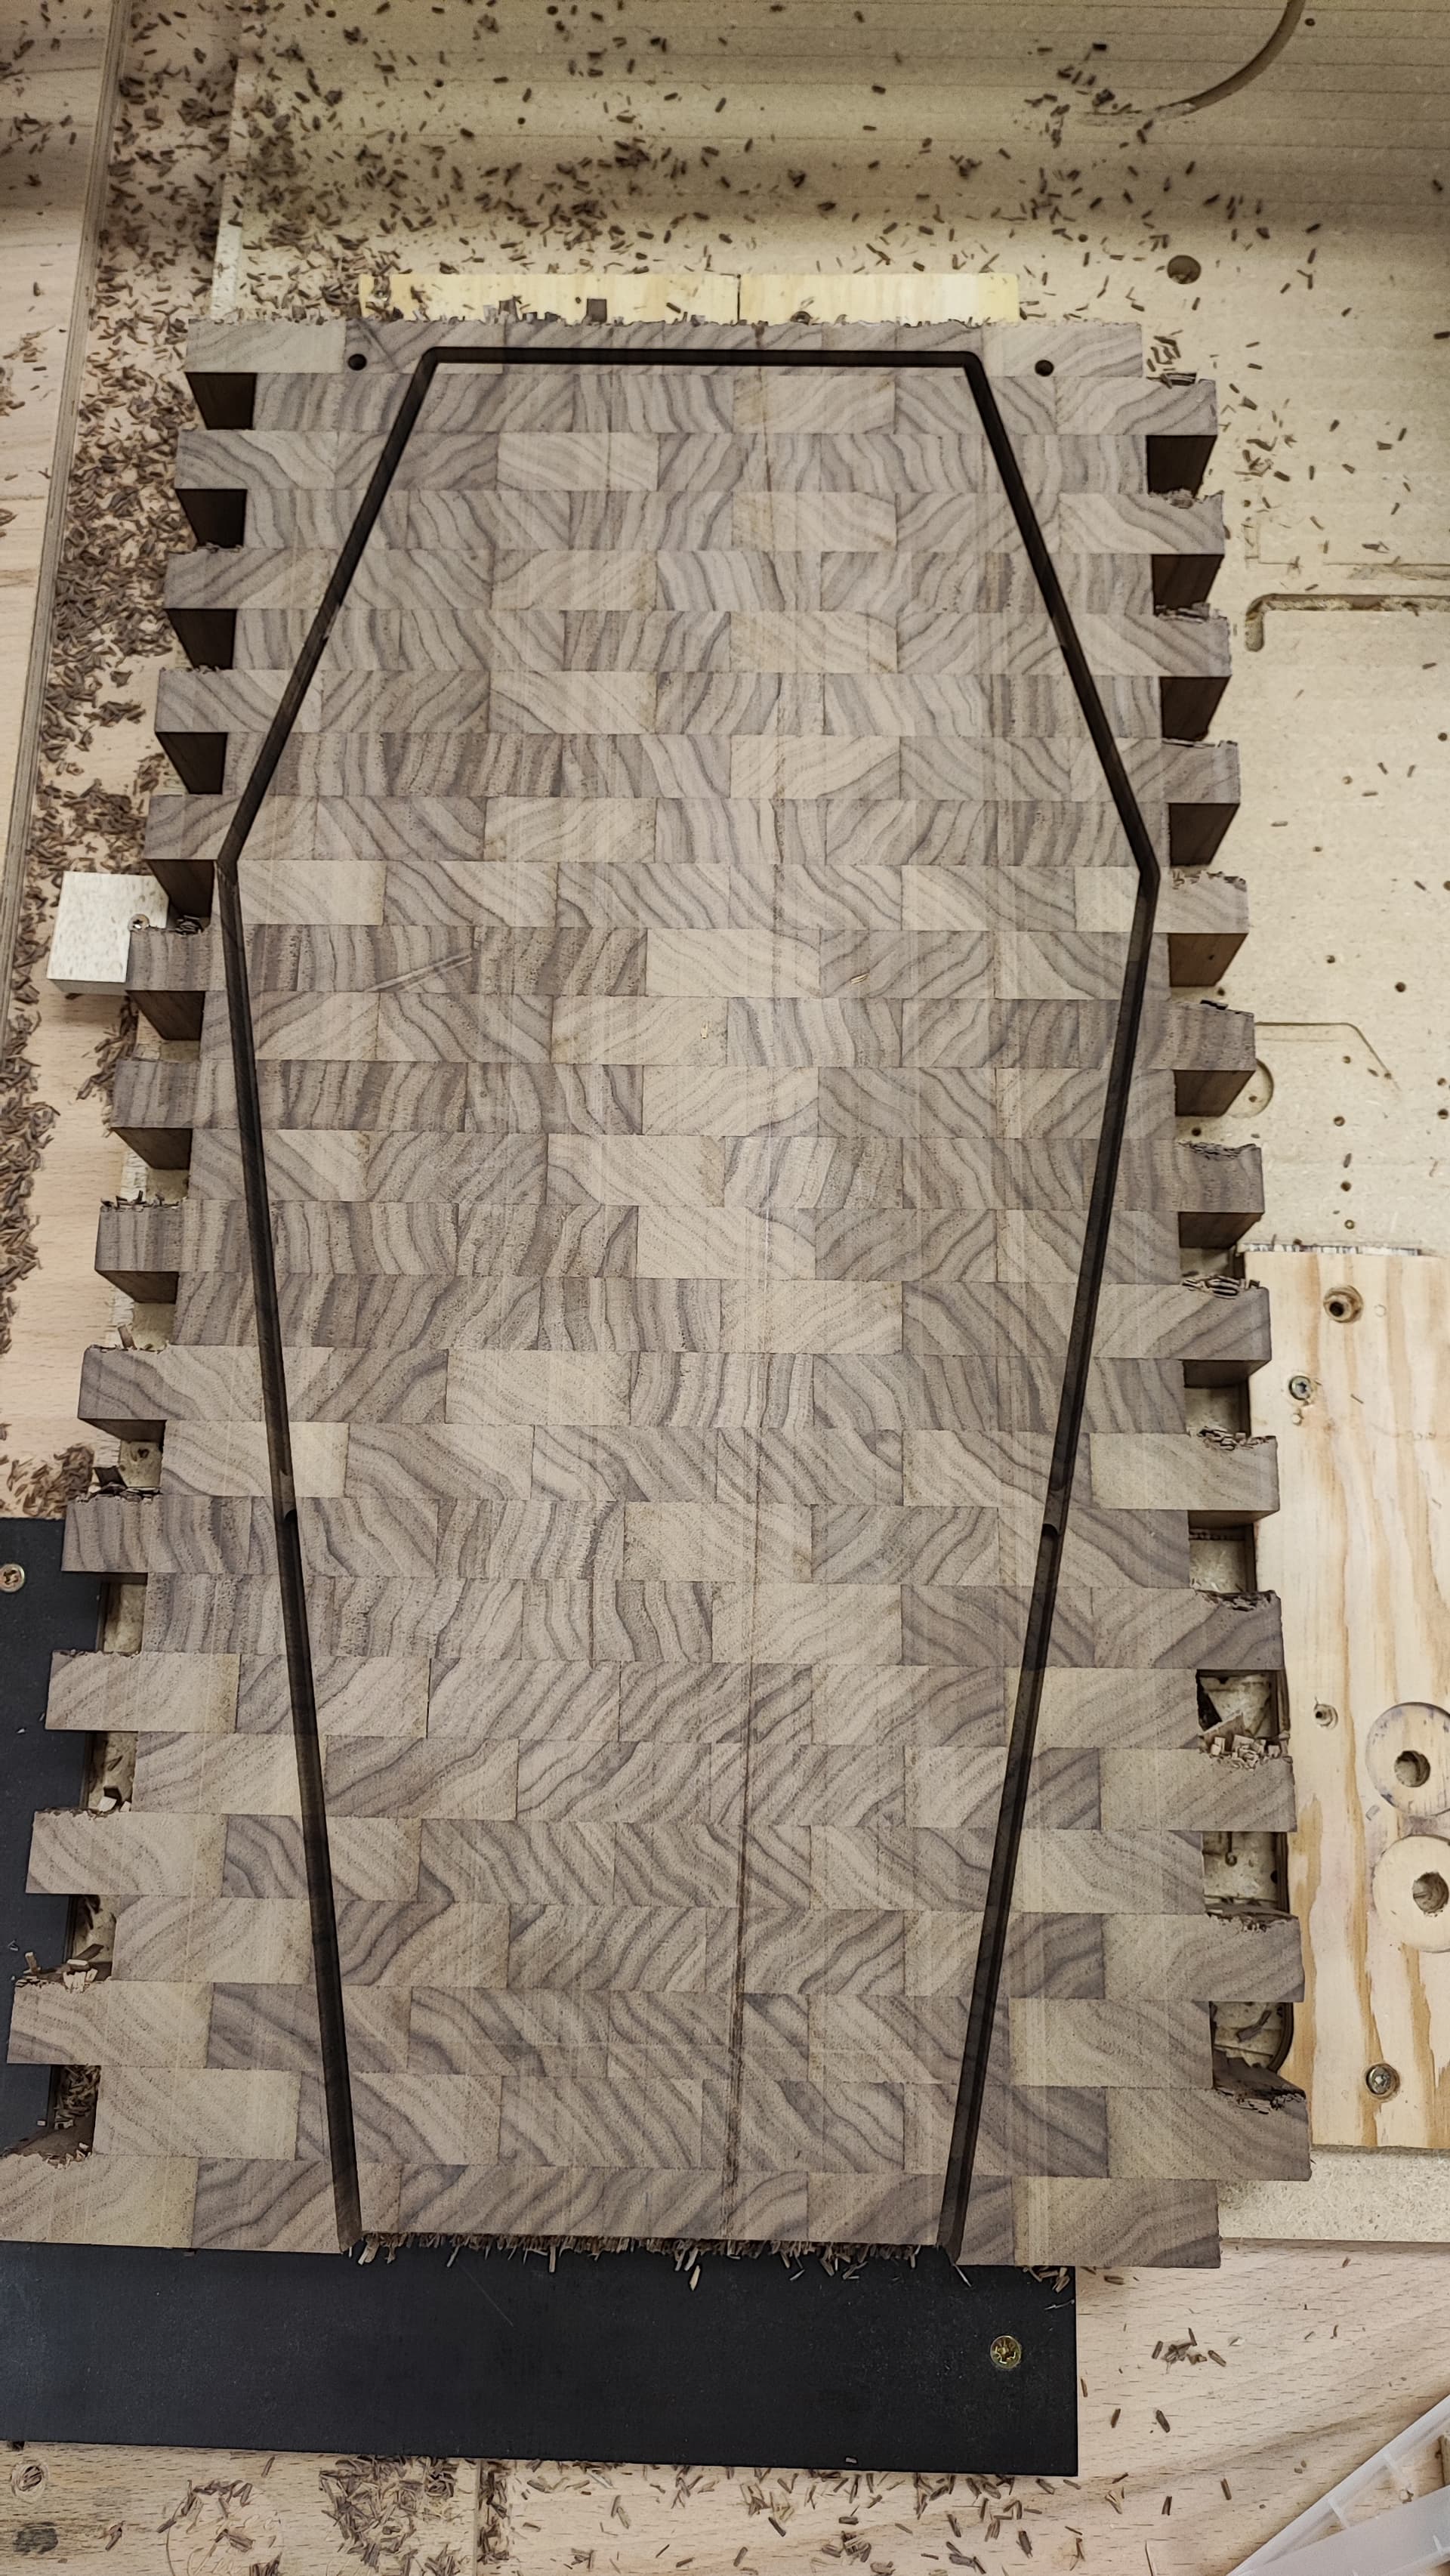
You can see which one:
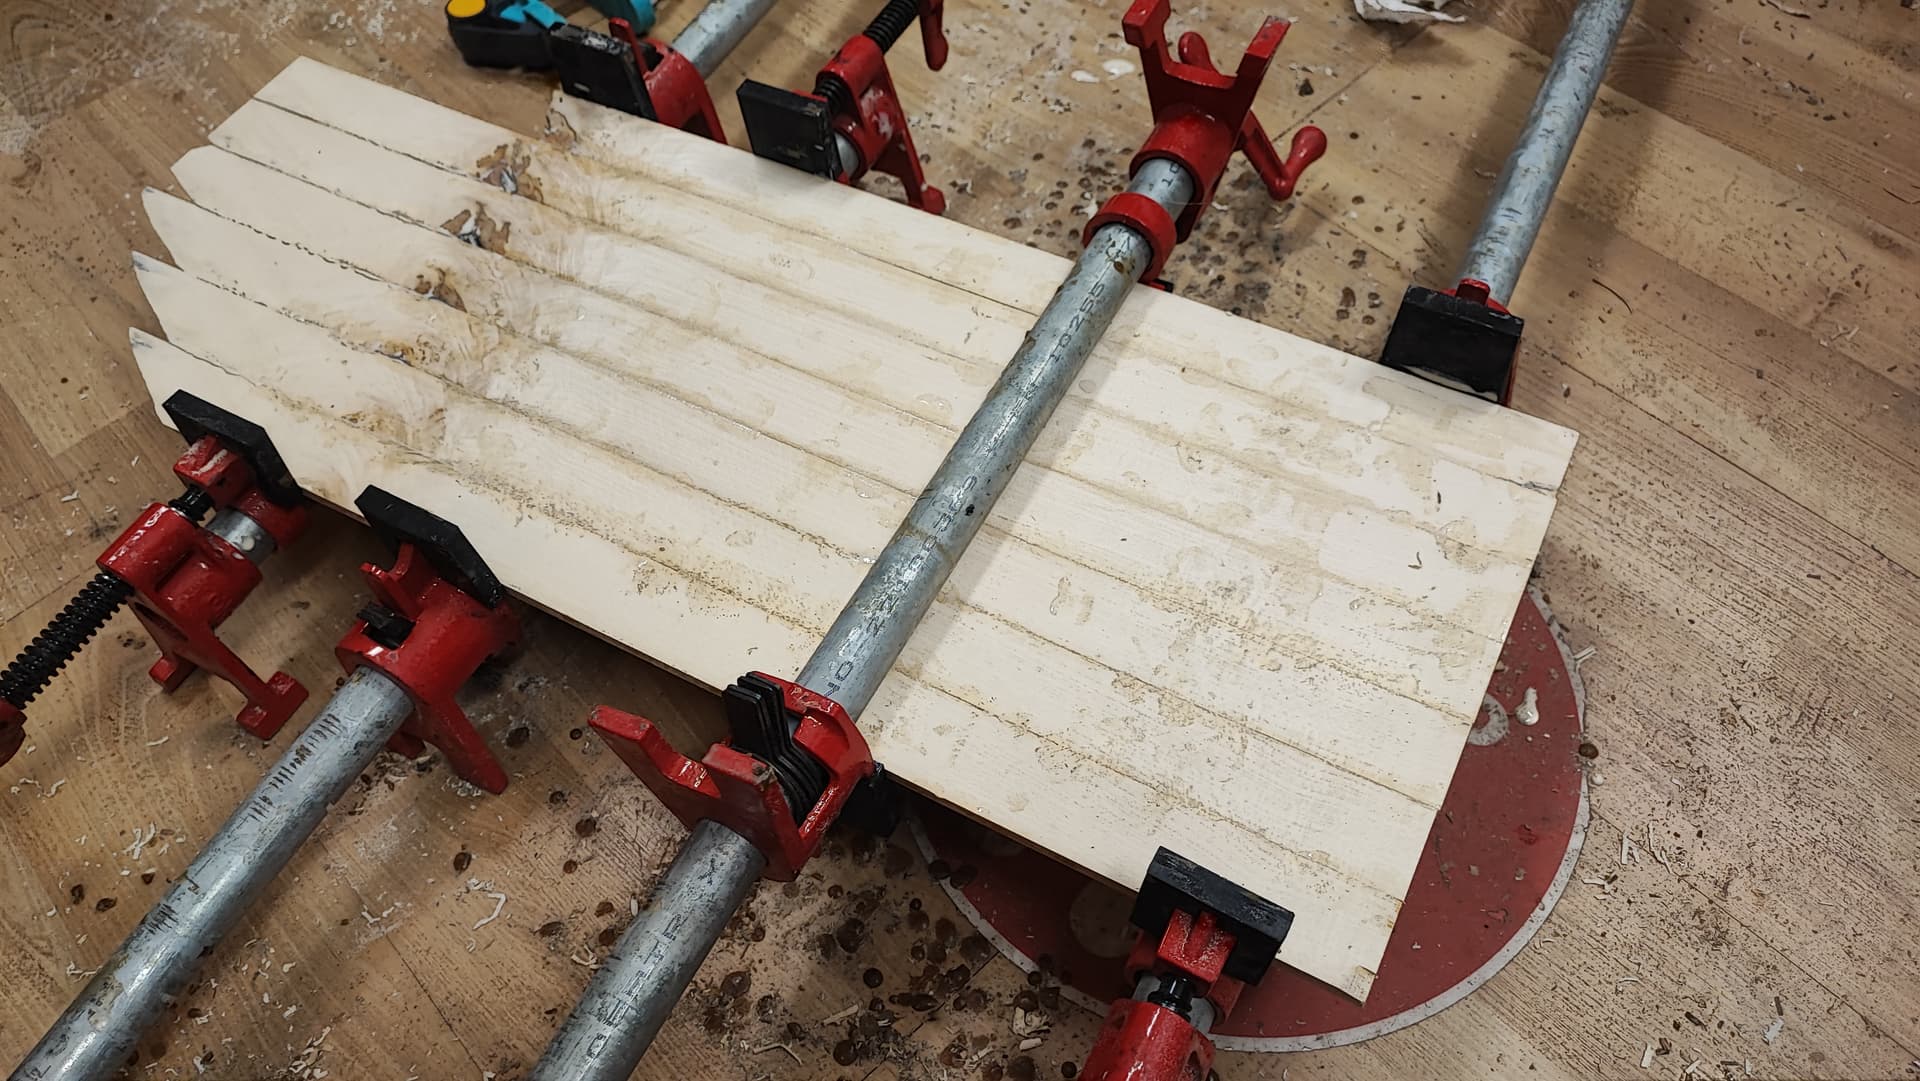
Cutting out the contours, flipping with dowels (pro tip: two at the top aren’t enough):
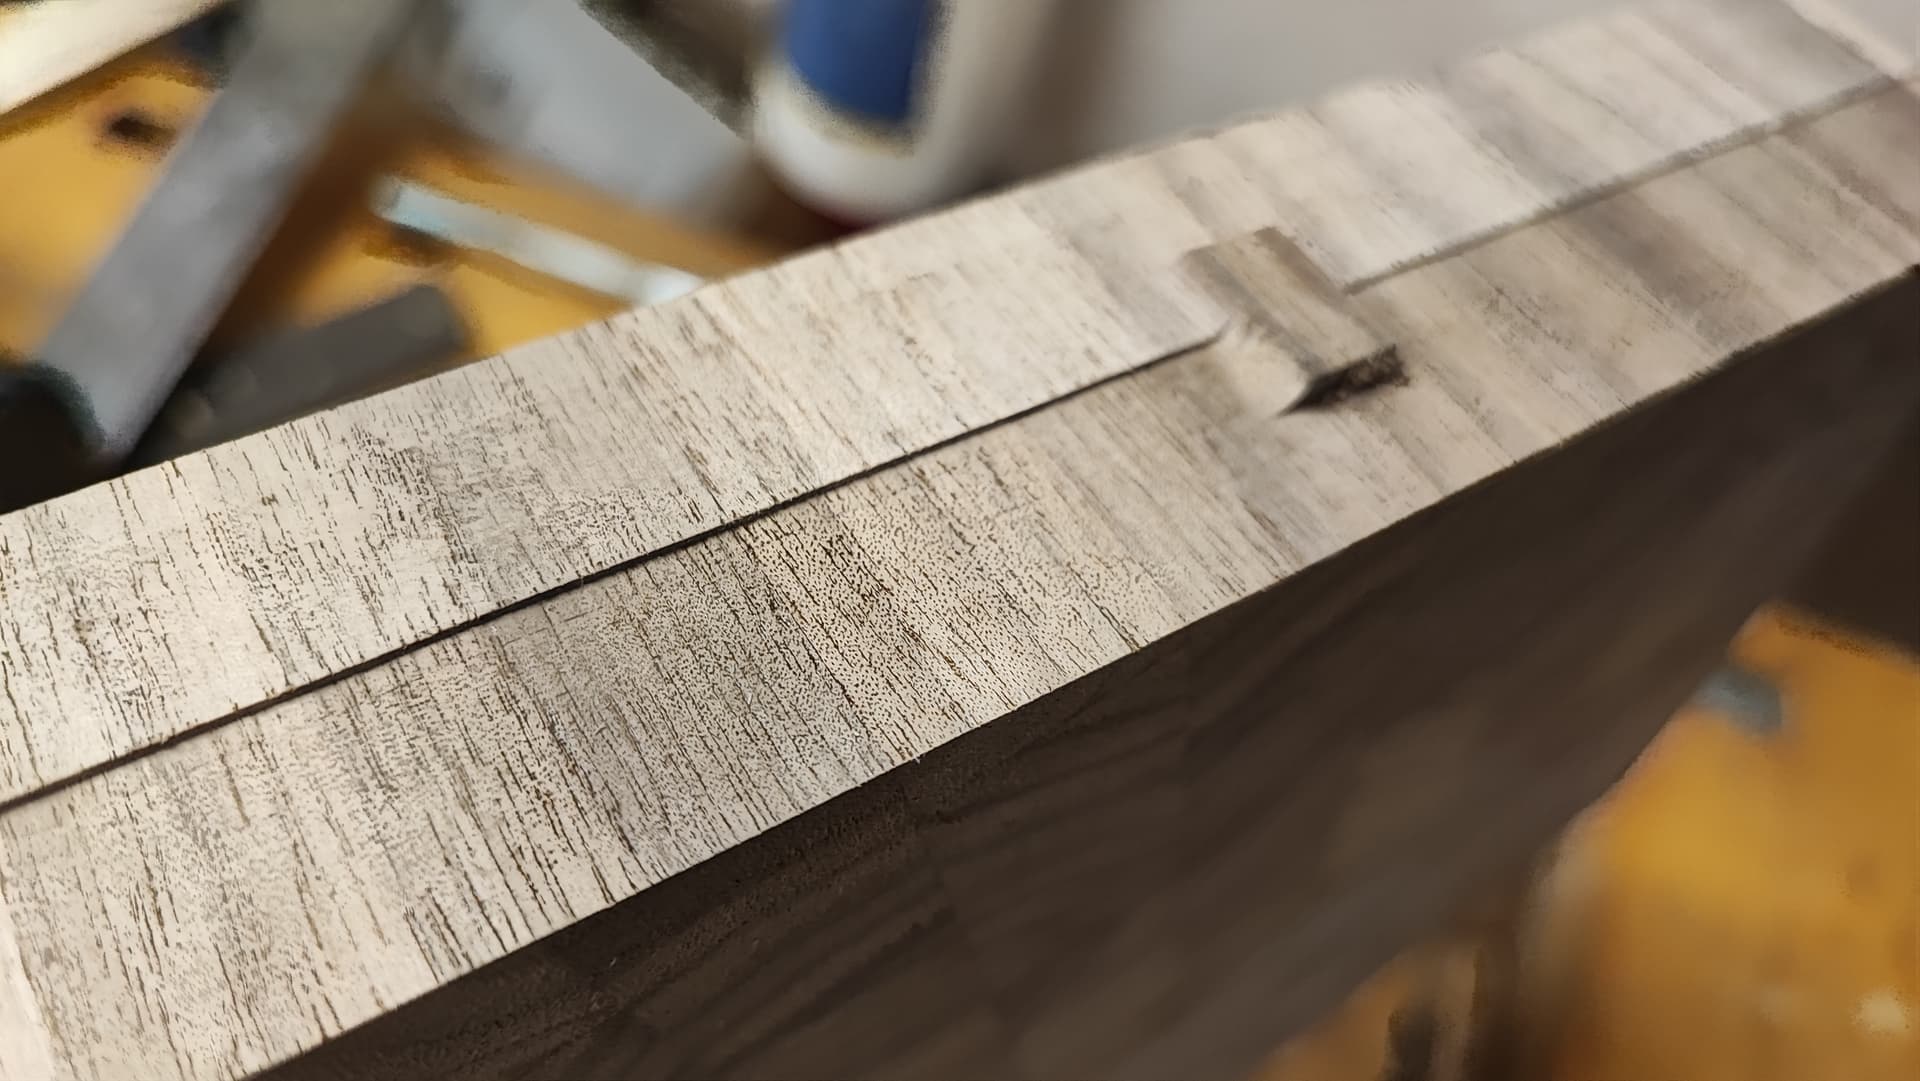
Gluing up material for the border:

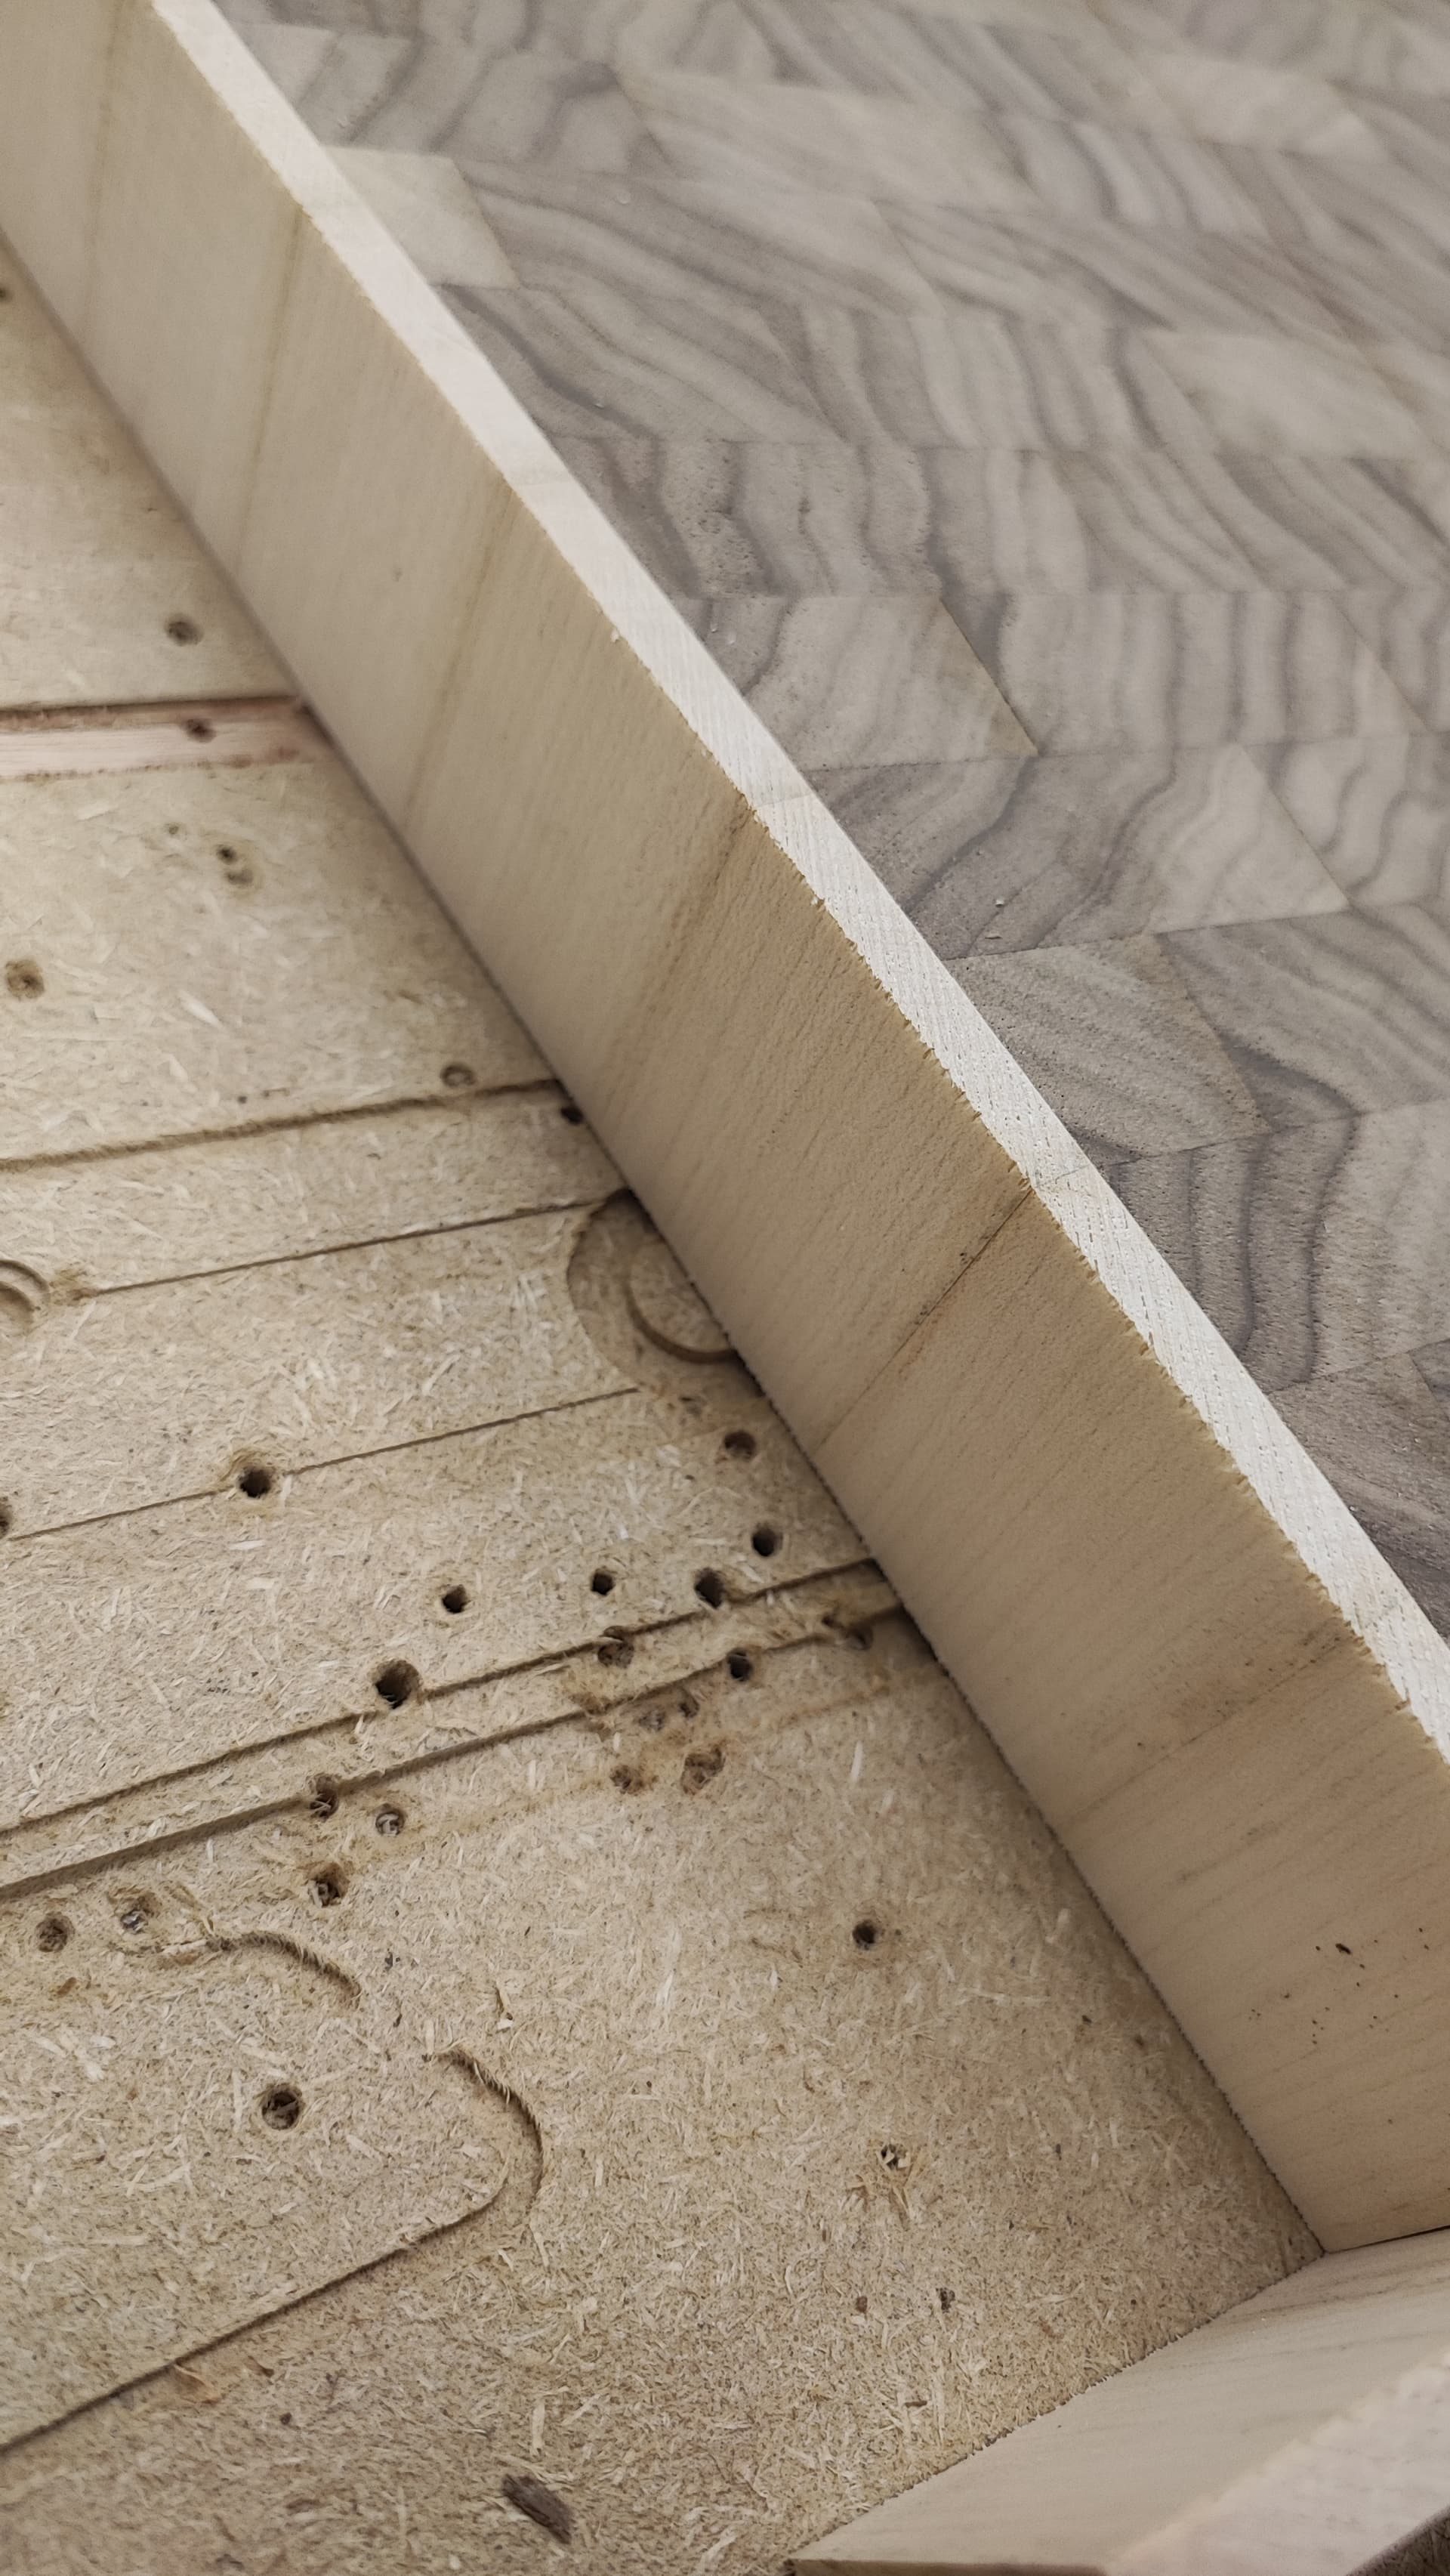
This was a big nope, losing the dark colour on the sides does not work.
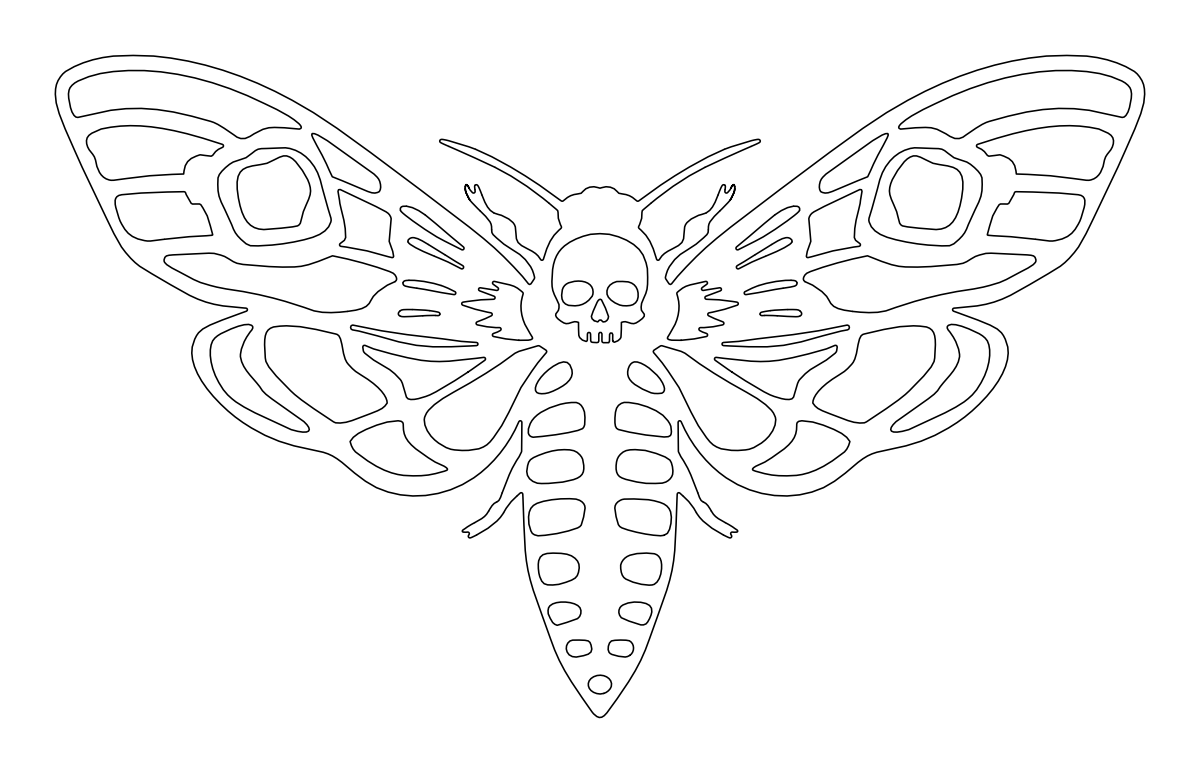
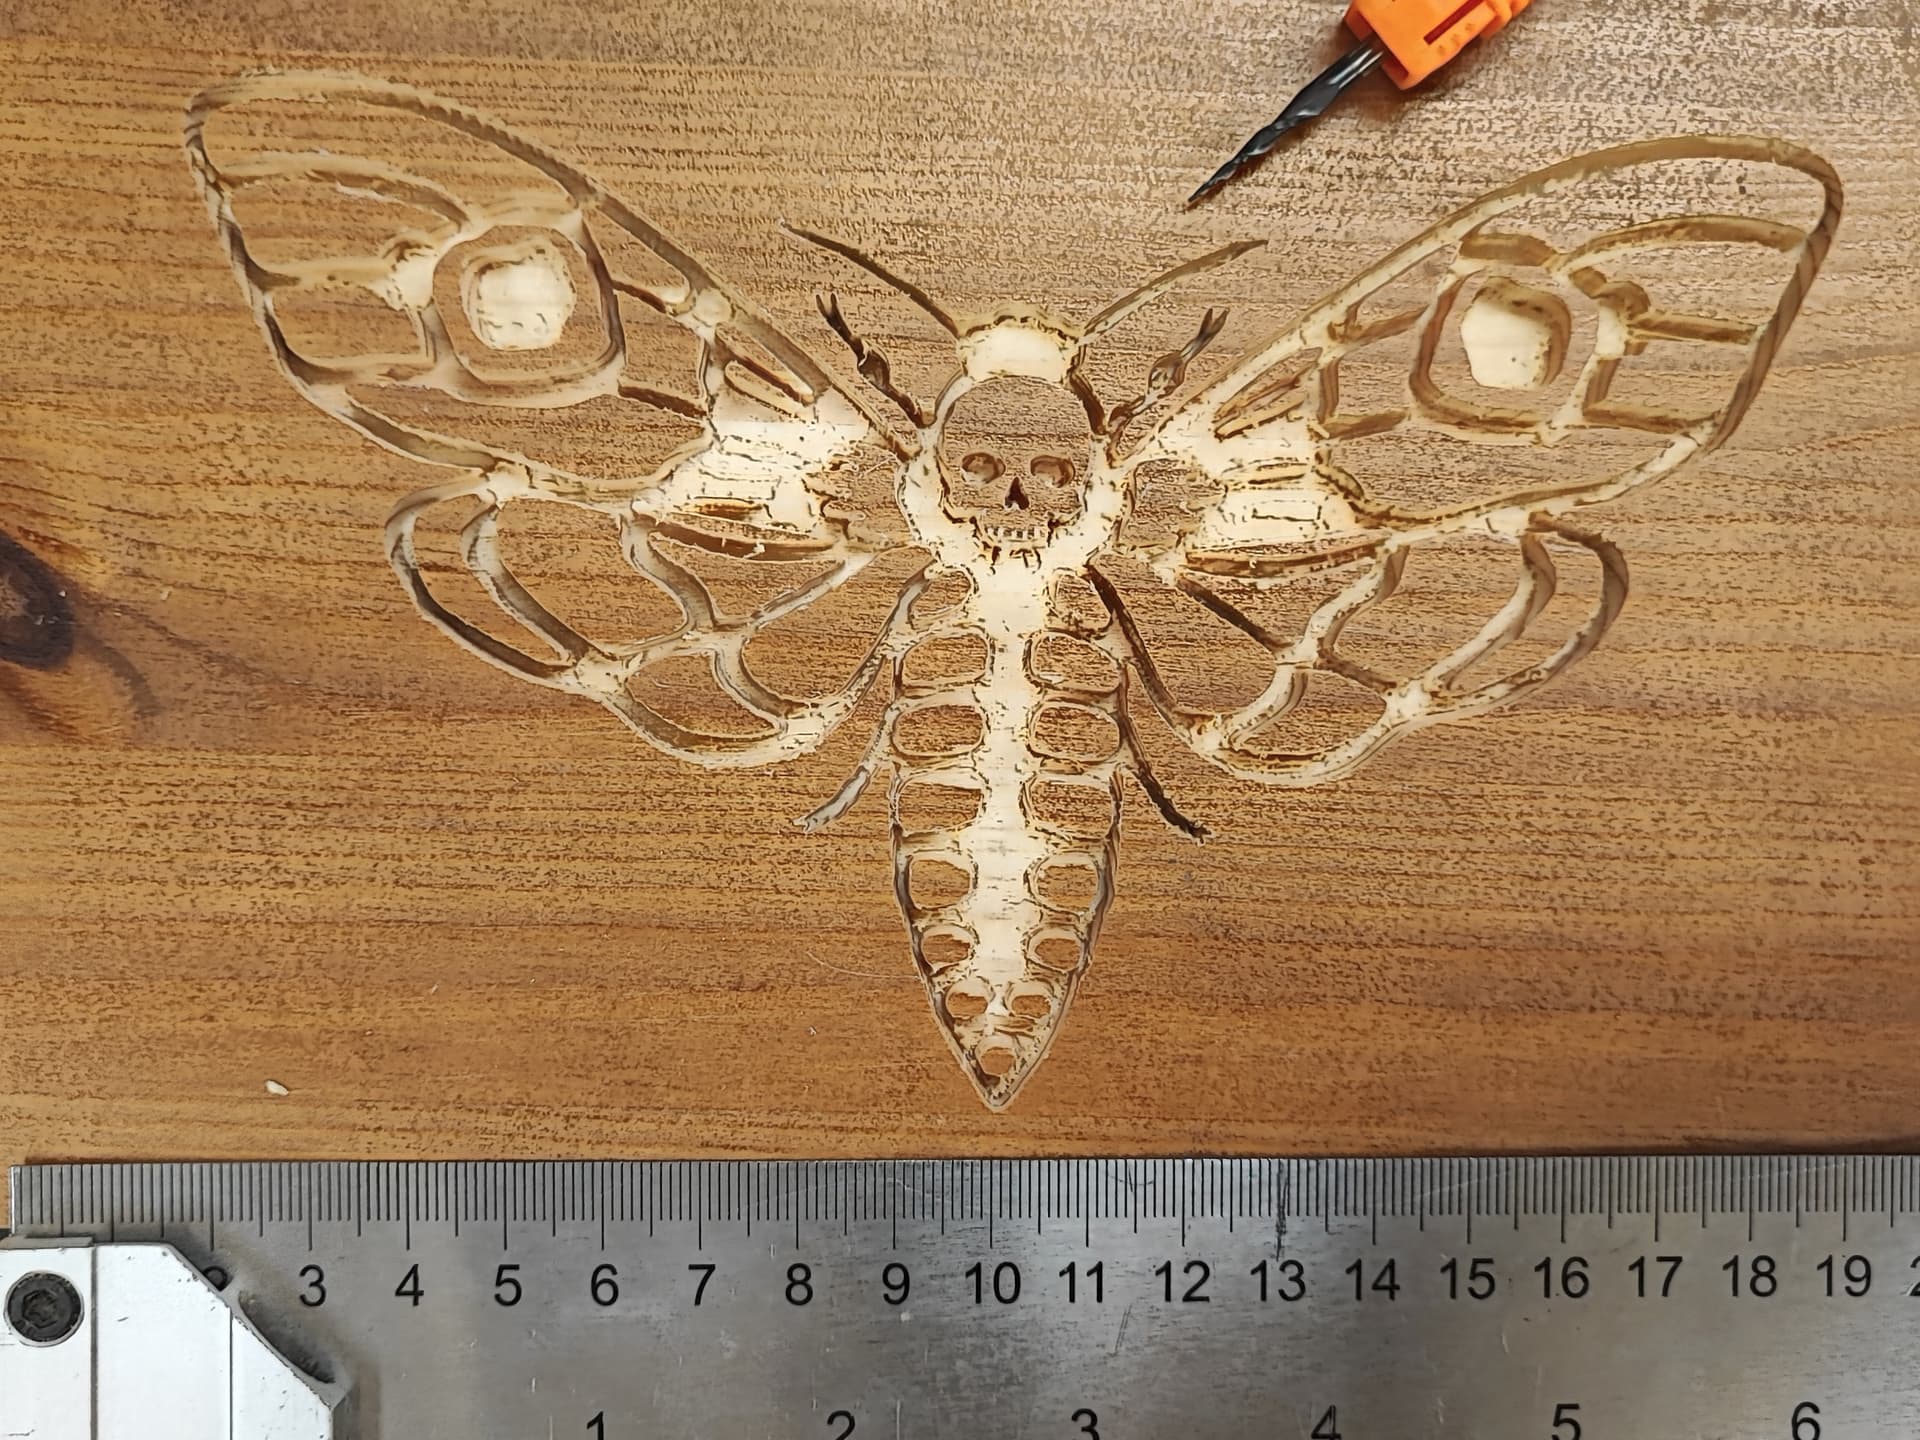
Finding a motive for the inlay (I wanted to combine black, red and white):


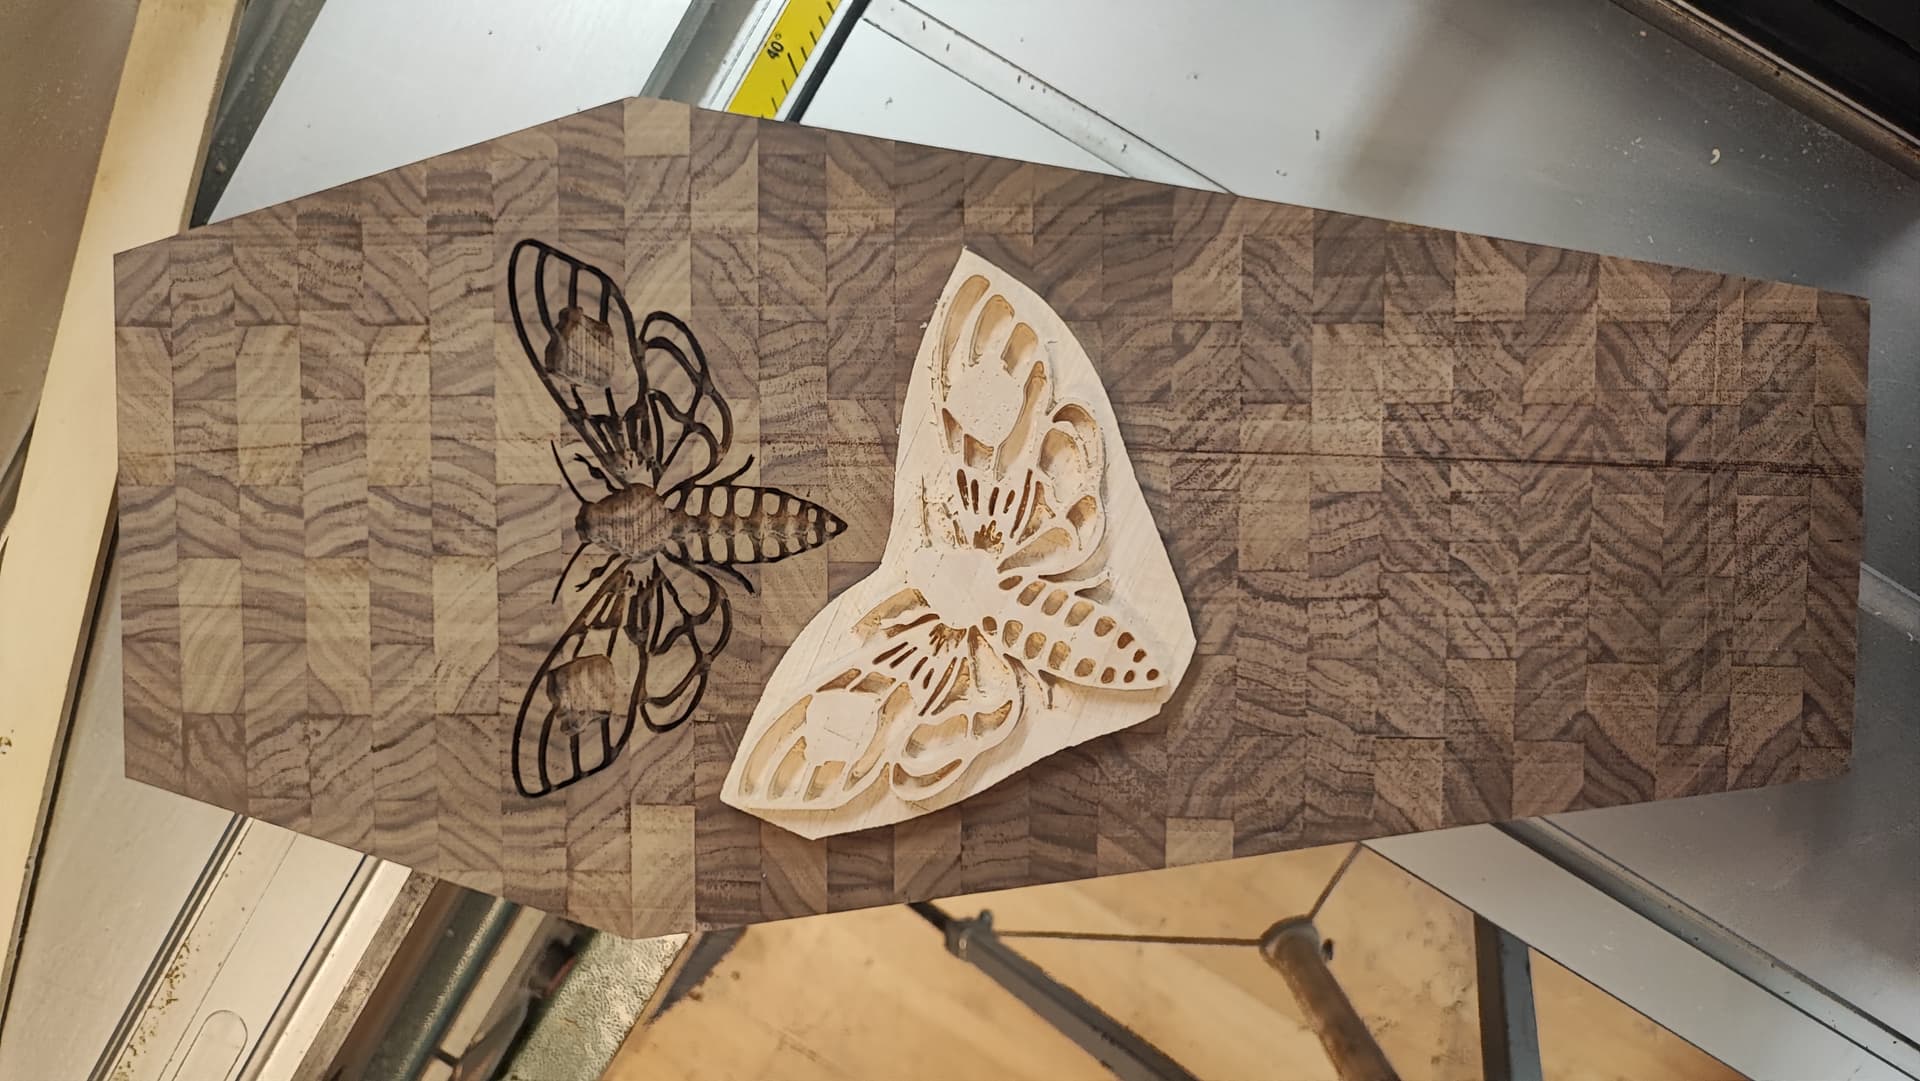
There were a lot of options but none of them was really it. I liked the moth nearly immediately, but it was waaaay too detailed. So I had to simplify it… This took me several hours… I shrunk it to the right size and made all corners into a 0.25mm radius so my endmill would do that without weird artifacts.
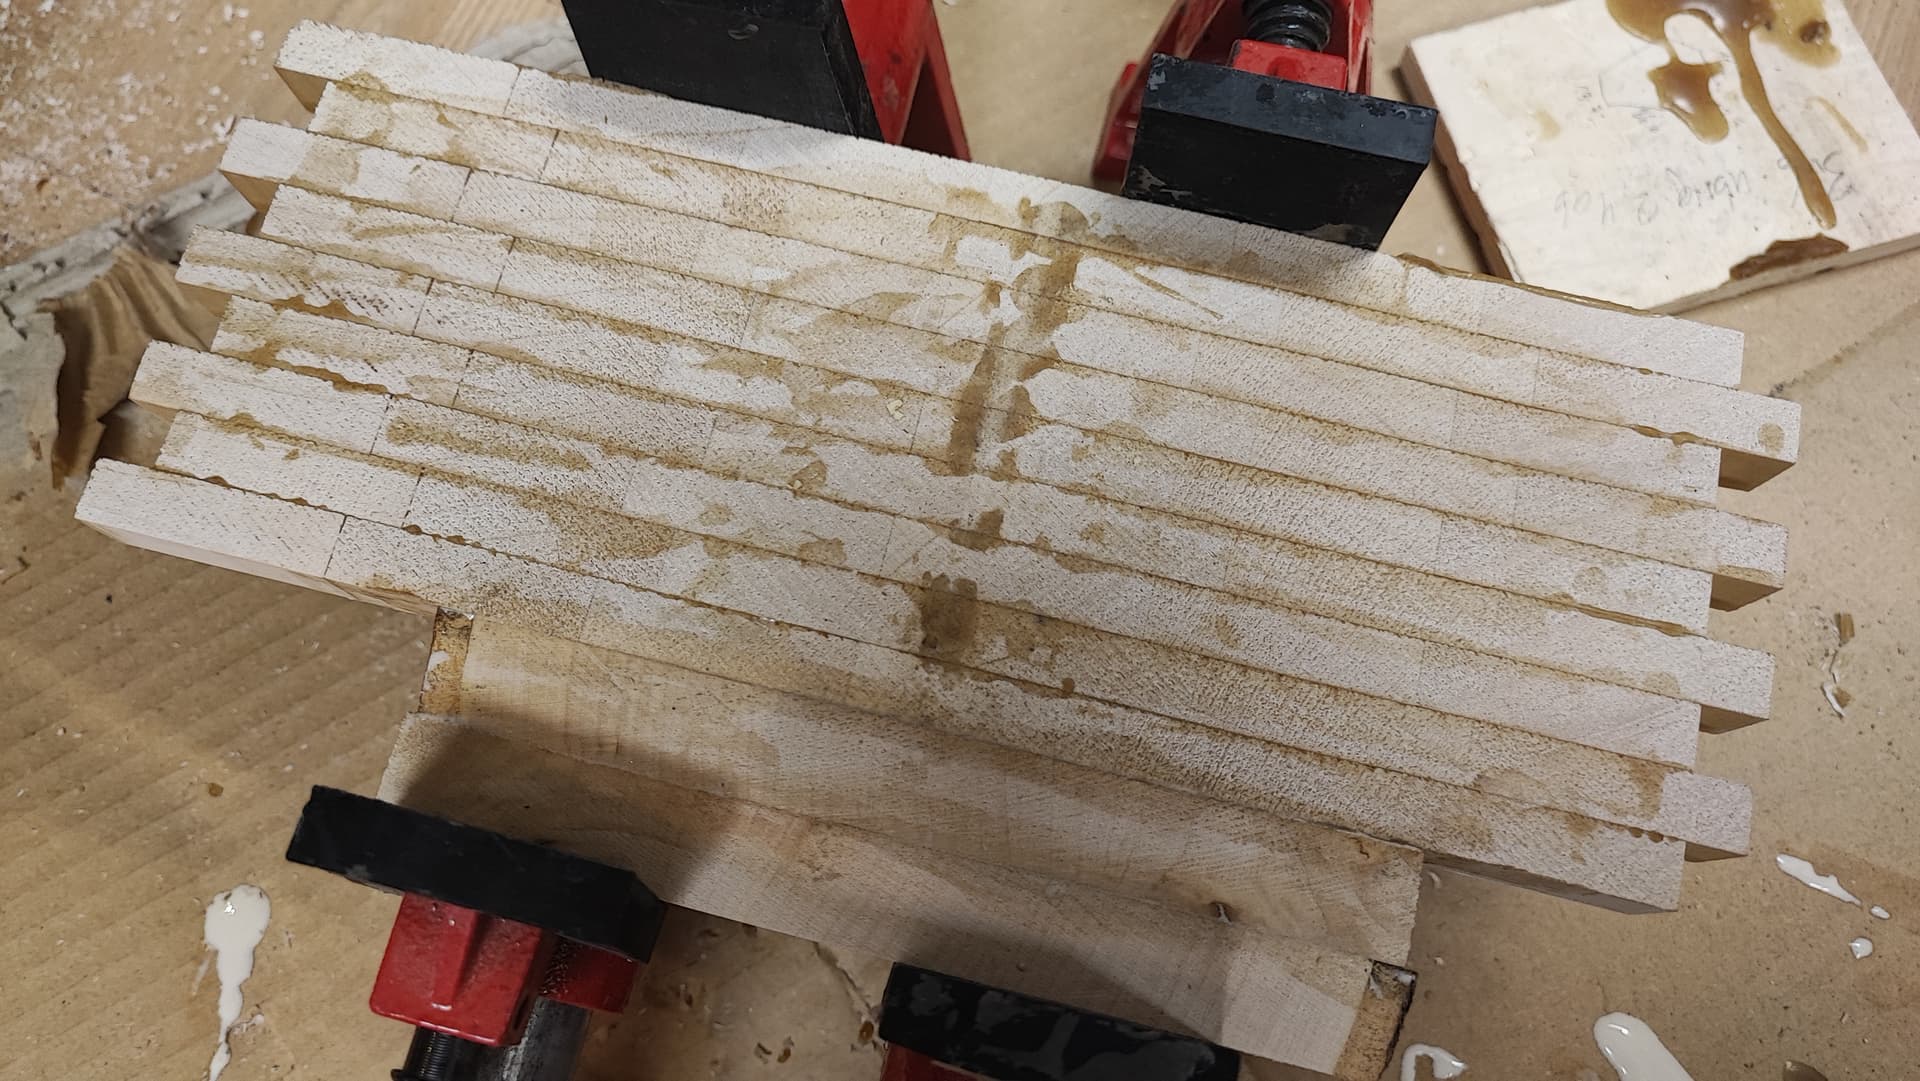
Gluing material for the inlay:
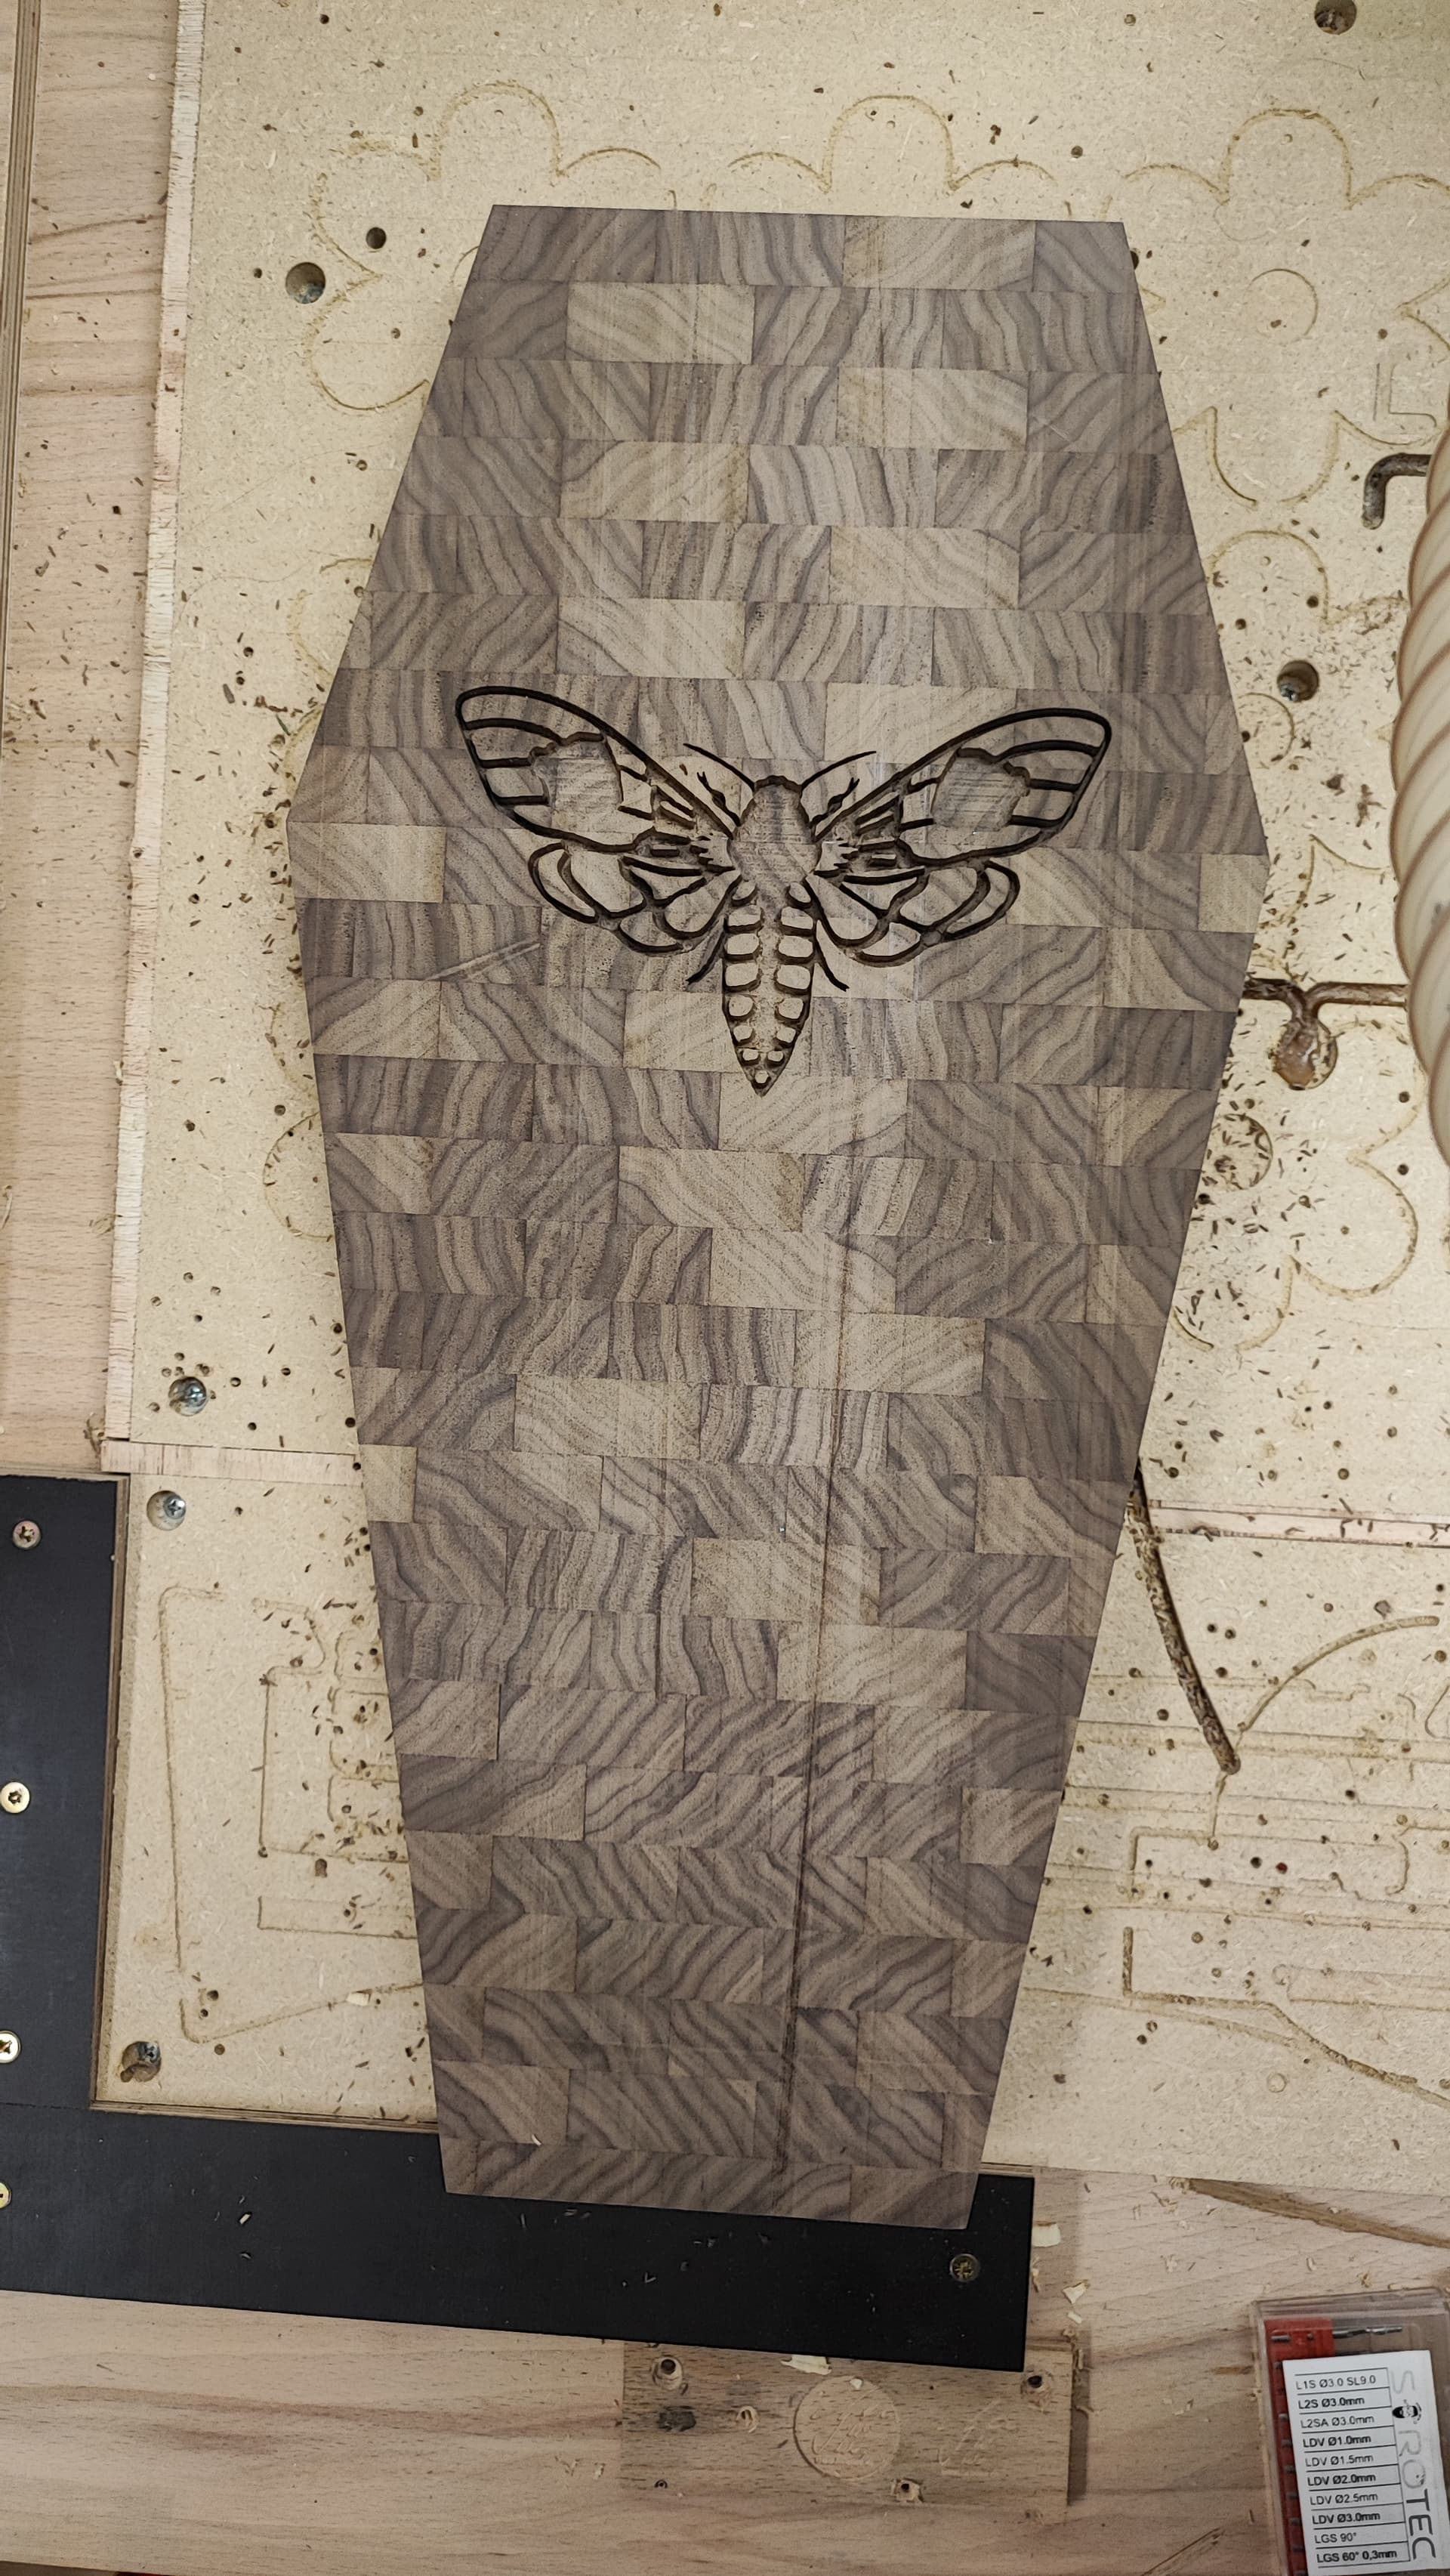
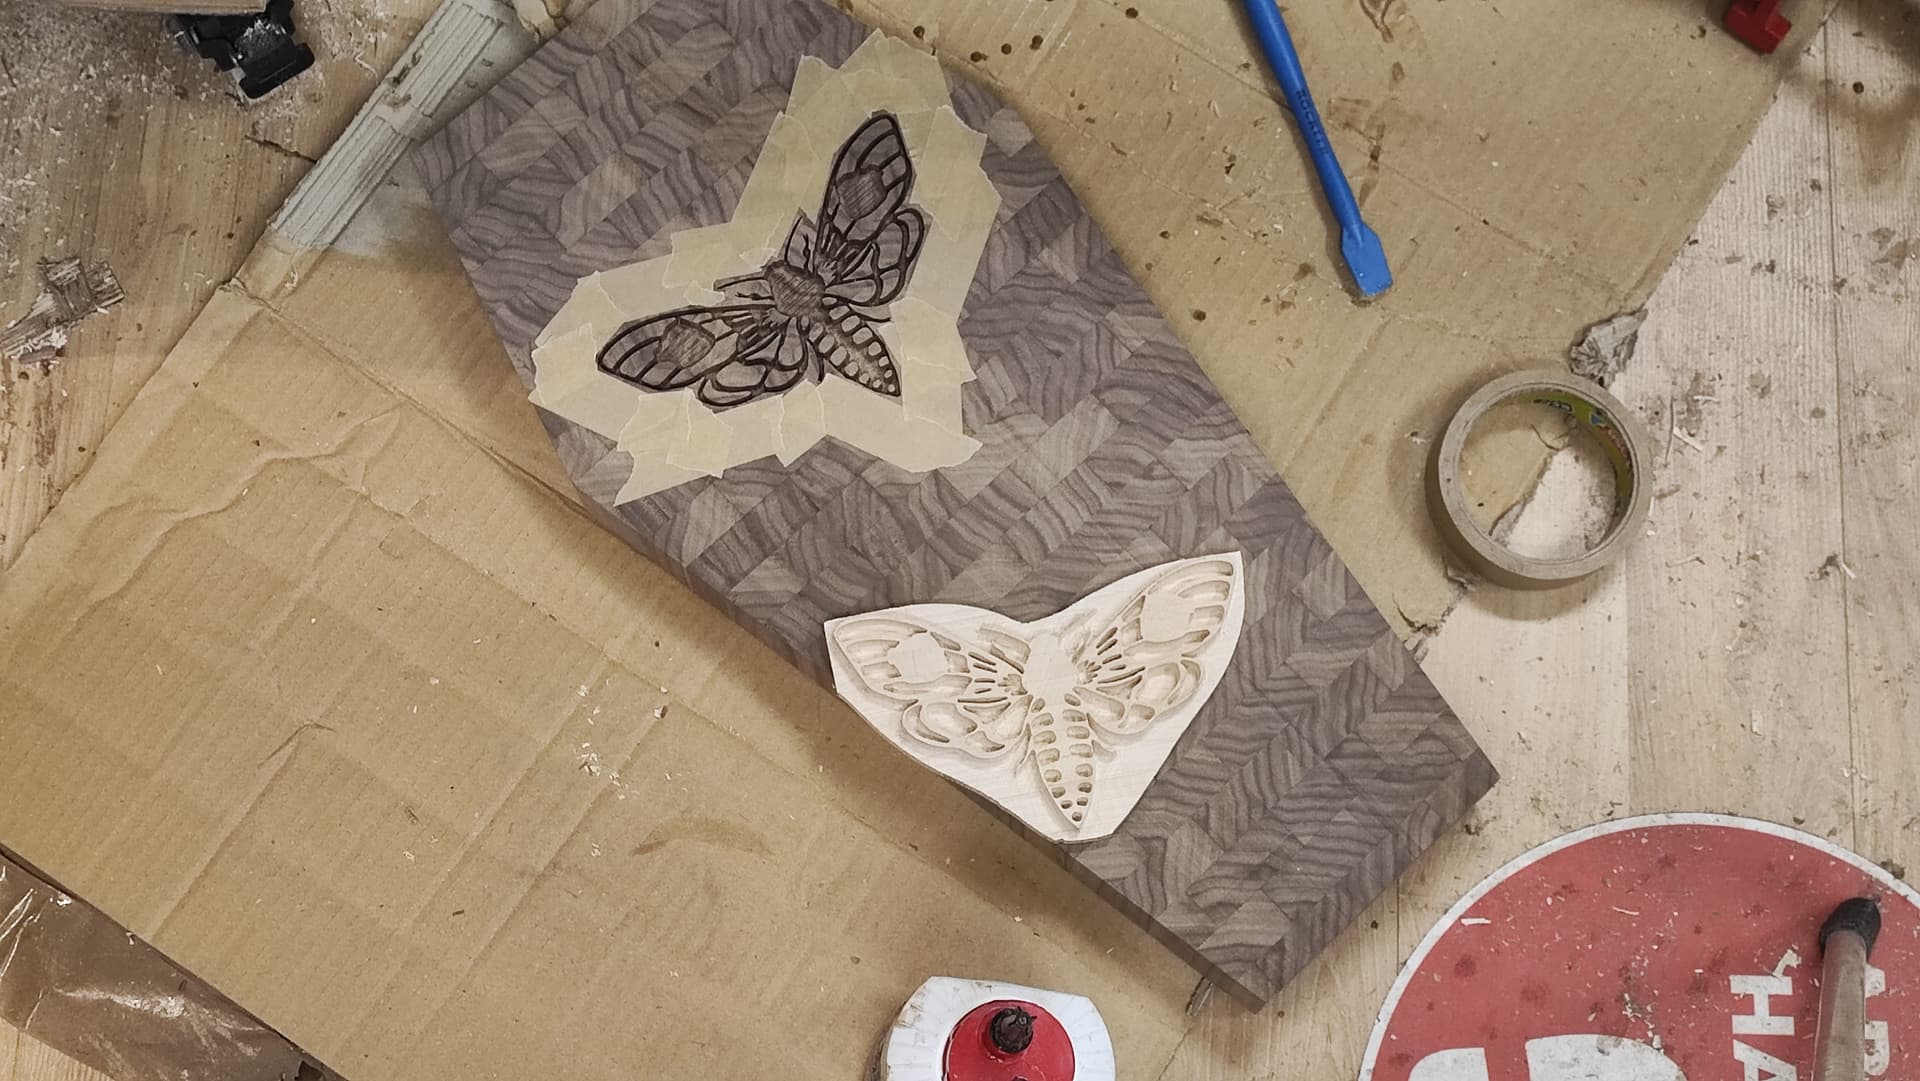
Inlay test:

Colour test (you can see that the pattern changed from the inlay test, the vote was 7:1 for the left side):

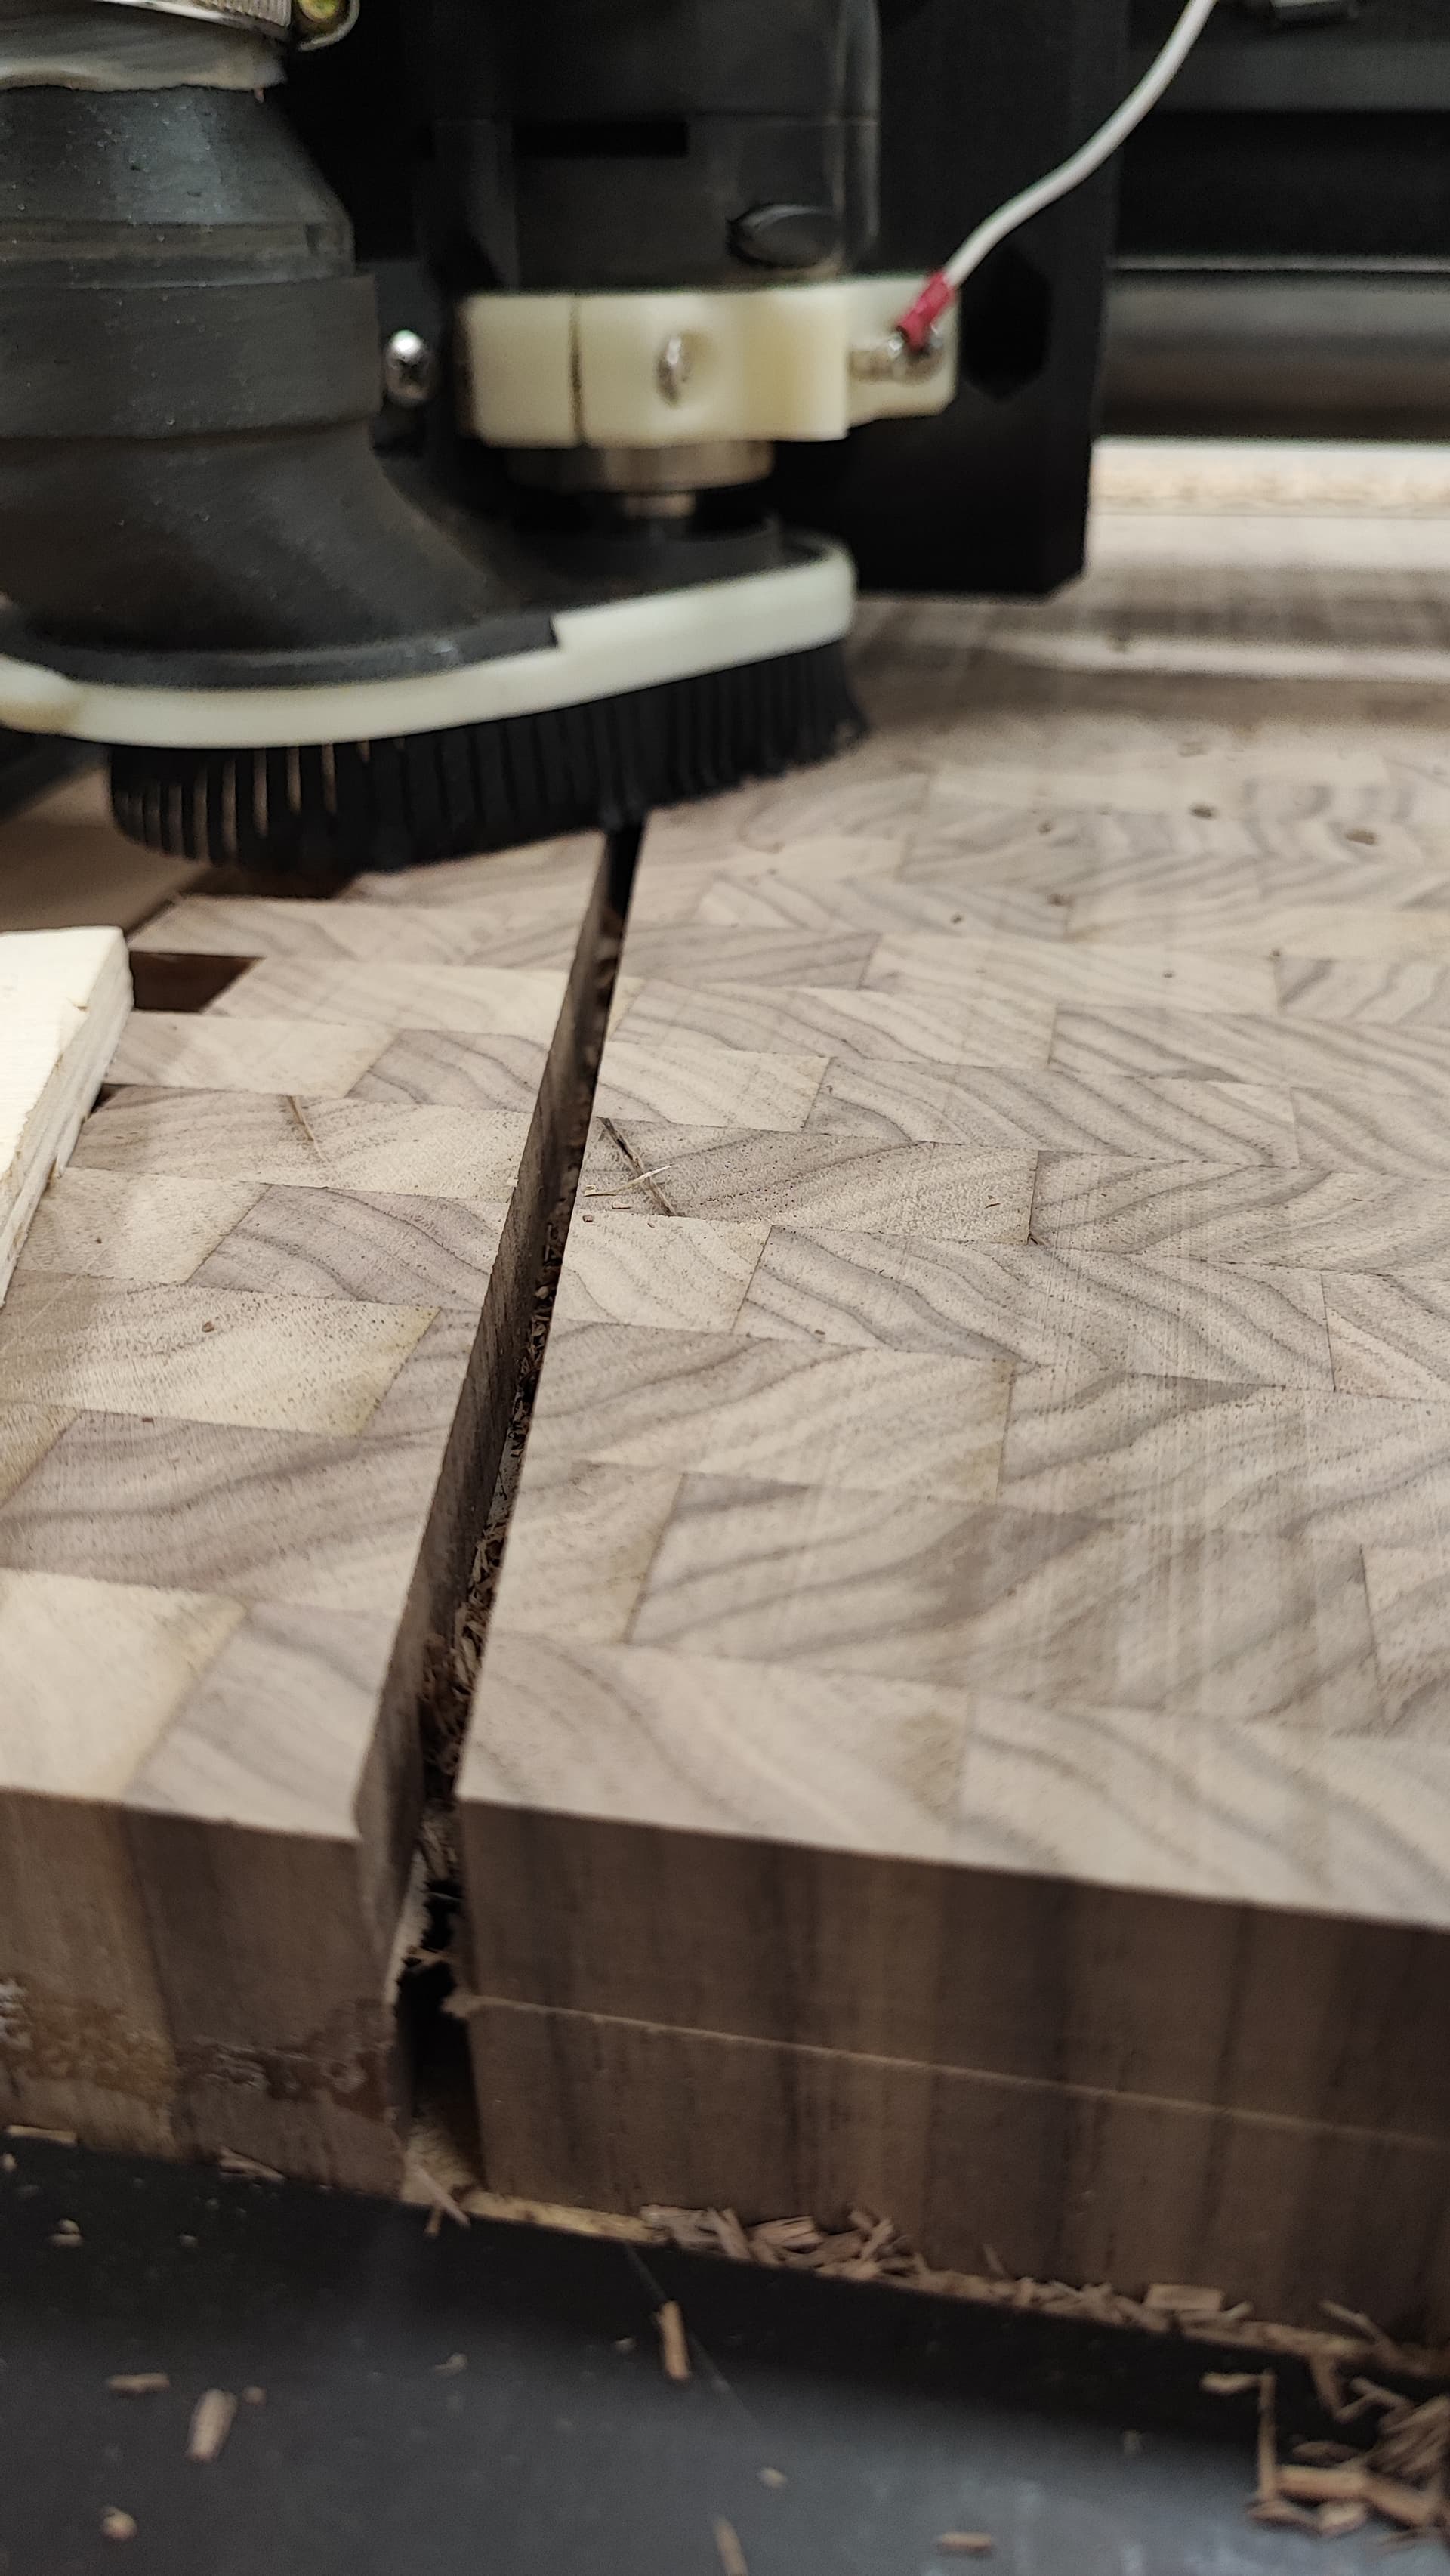
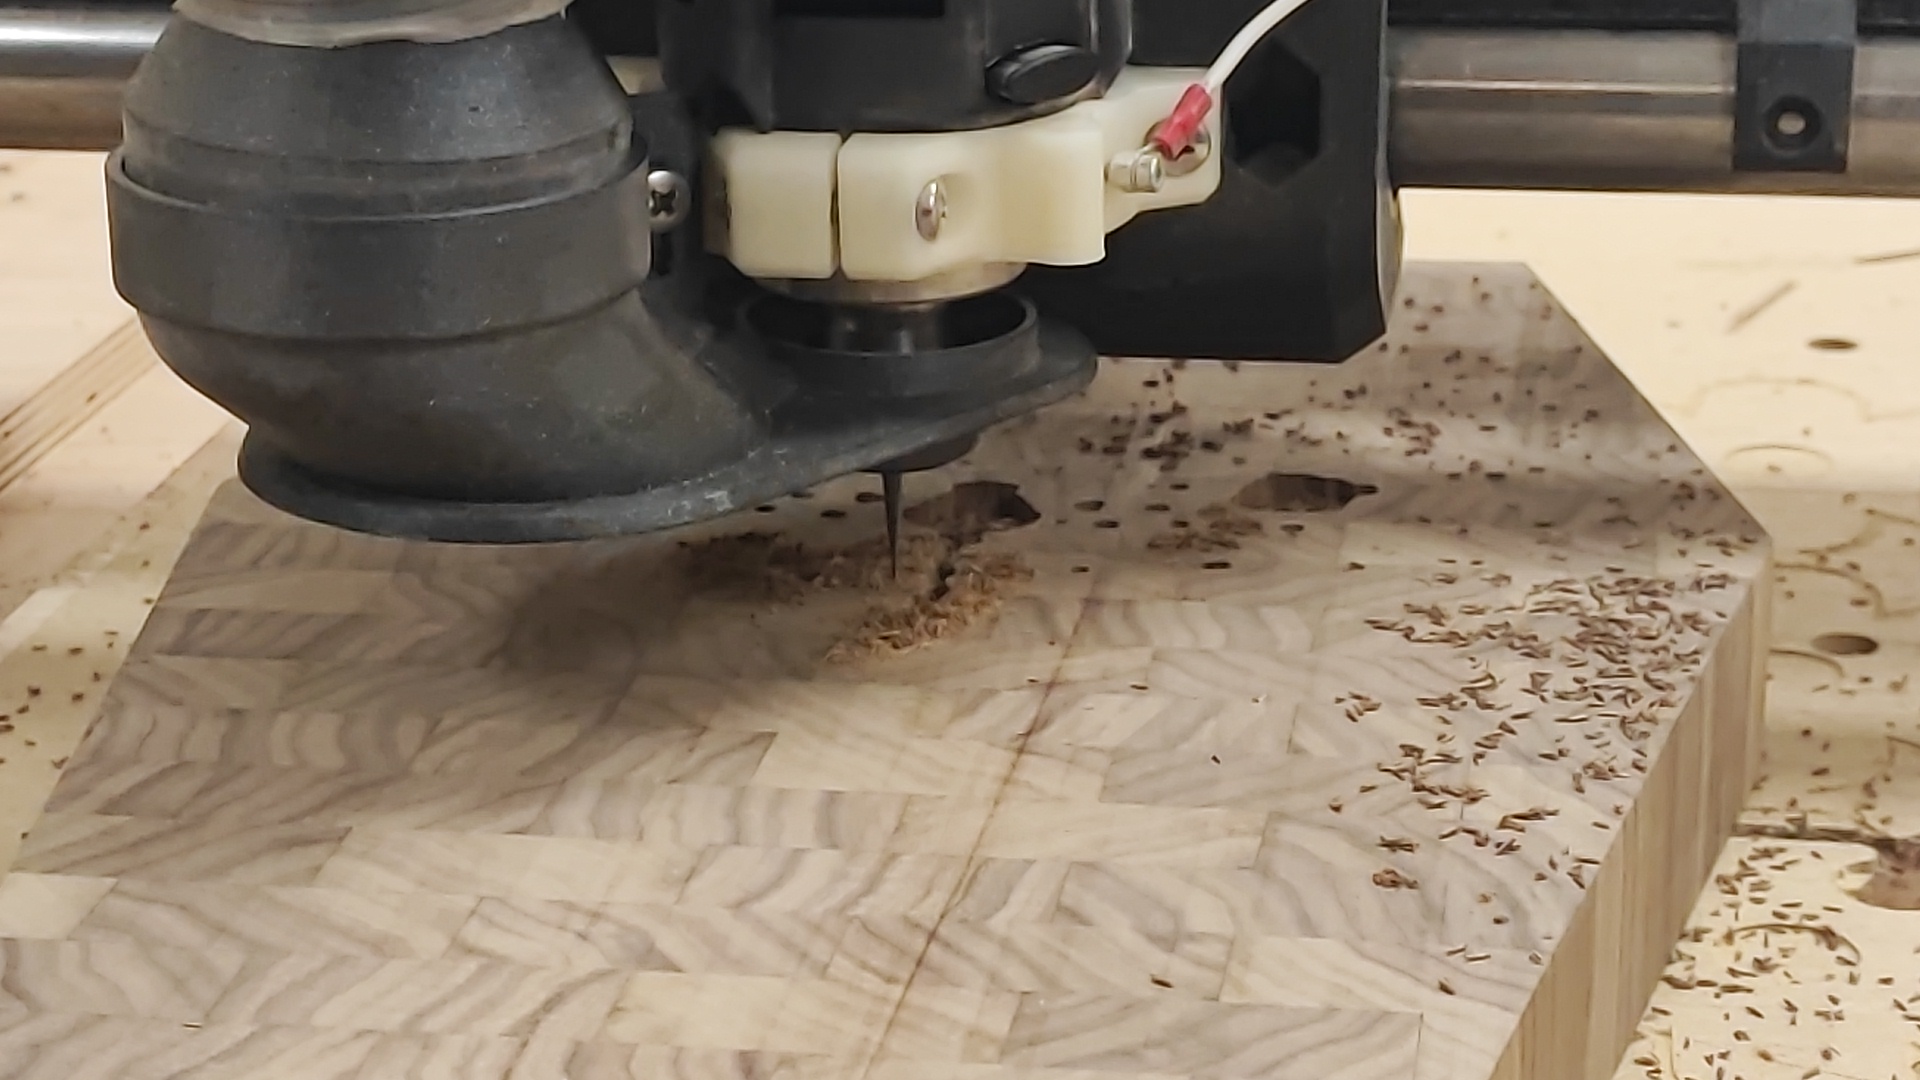
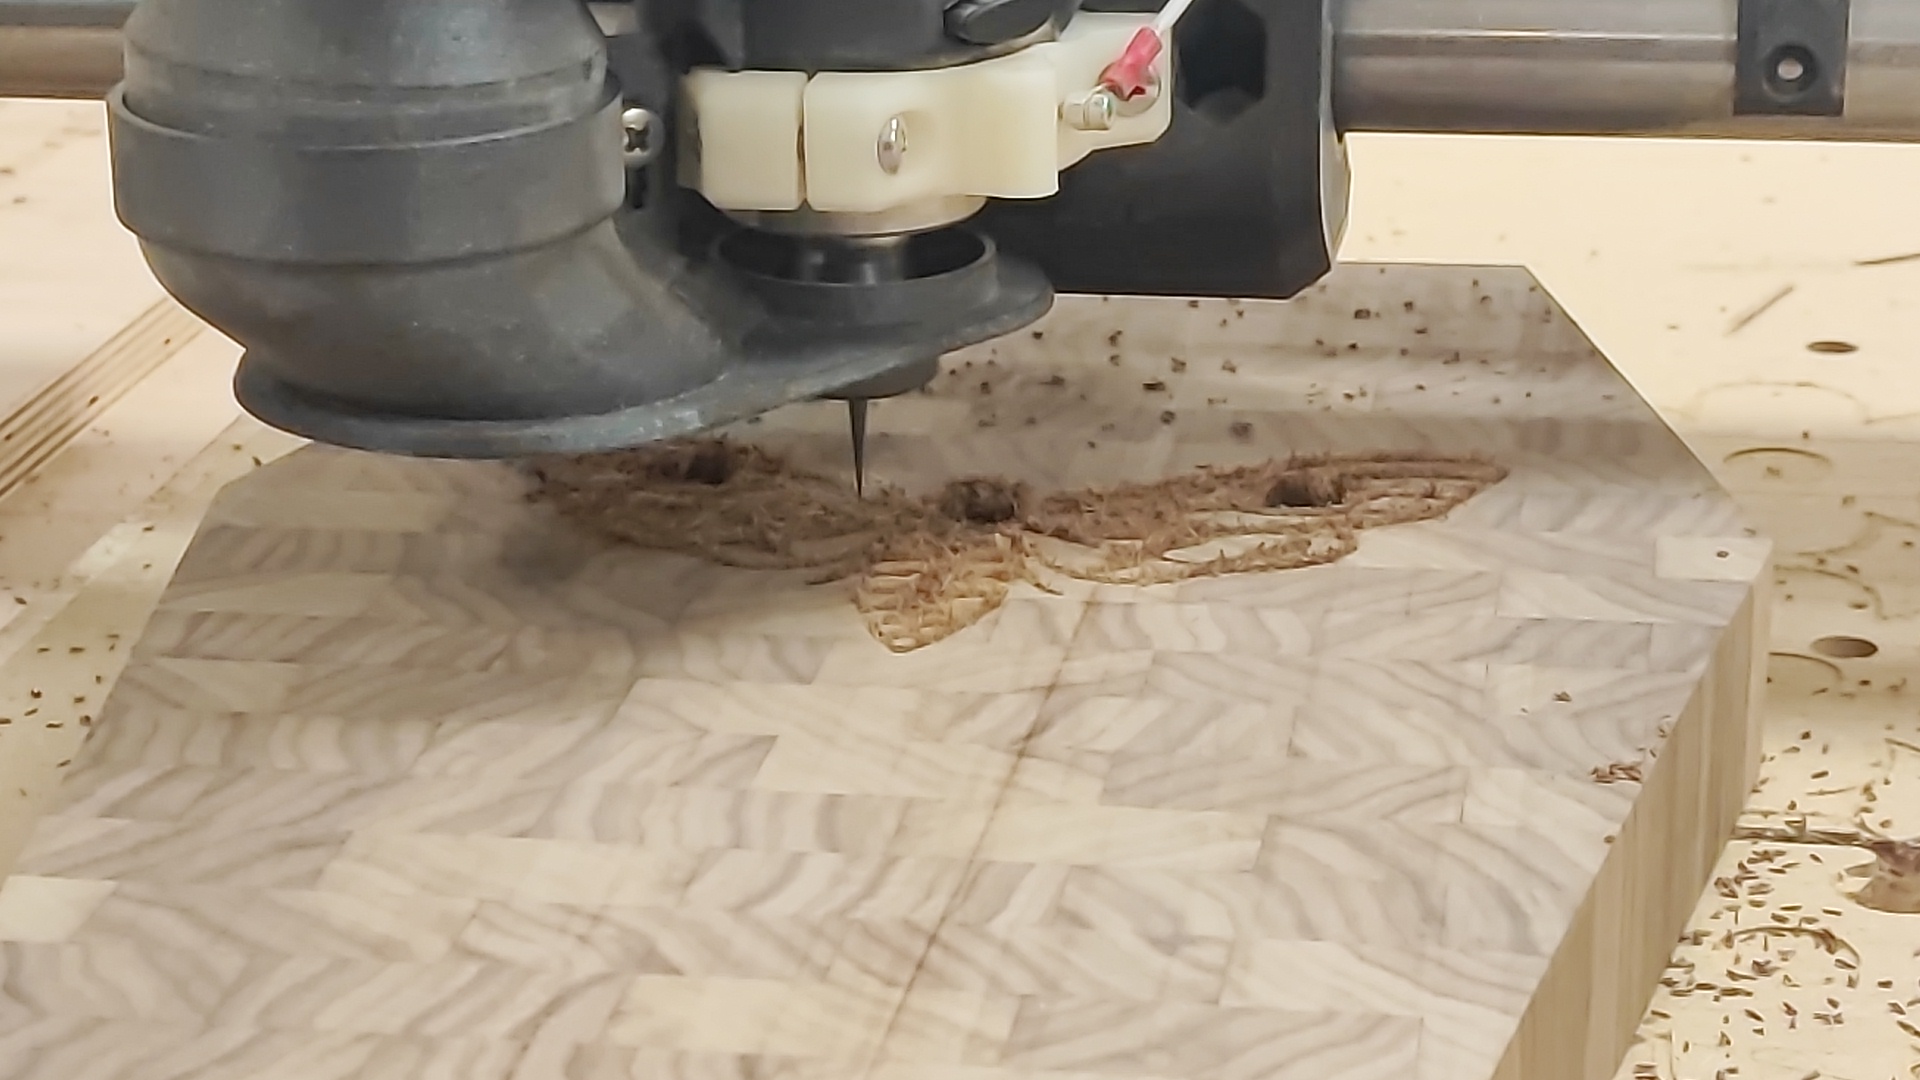
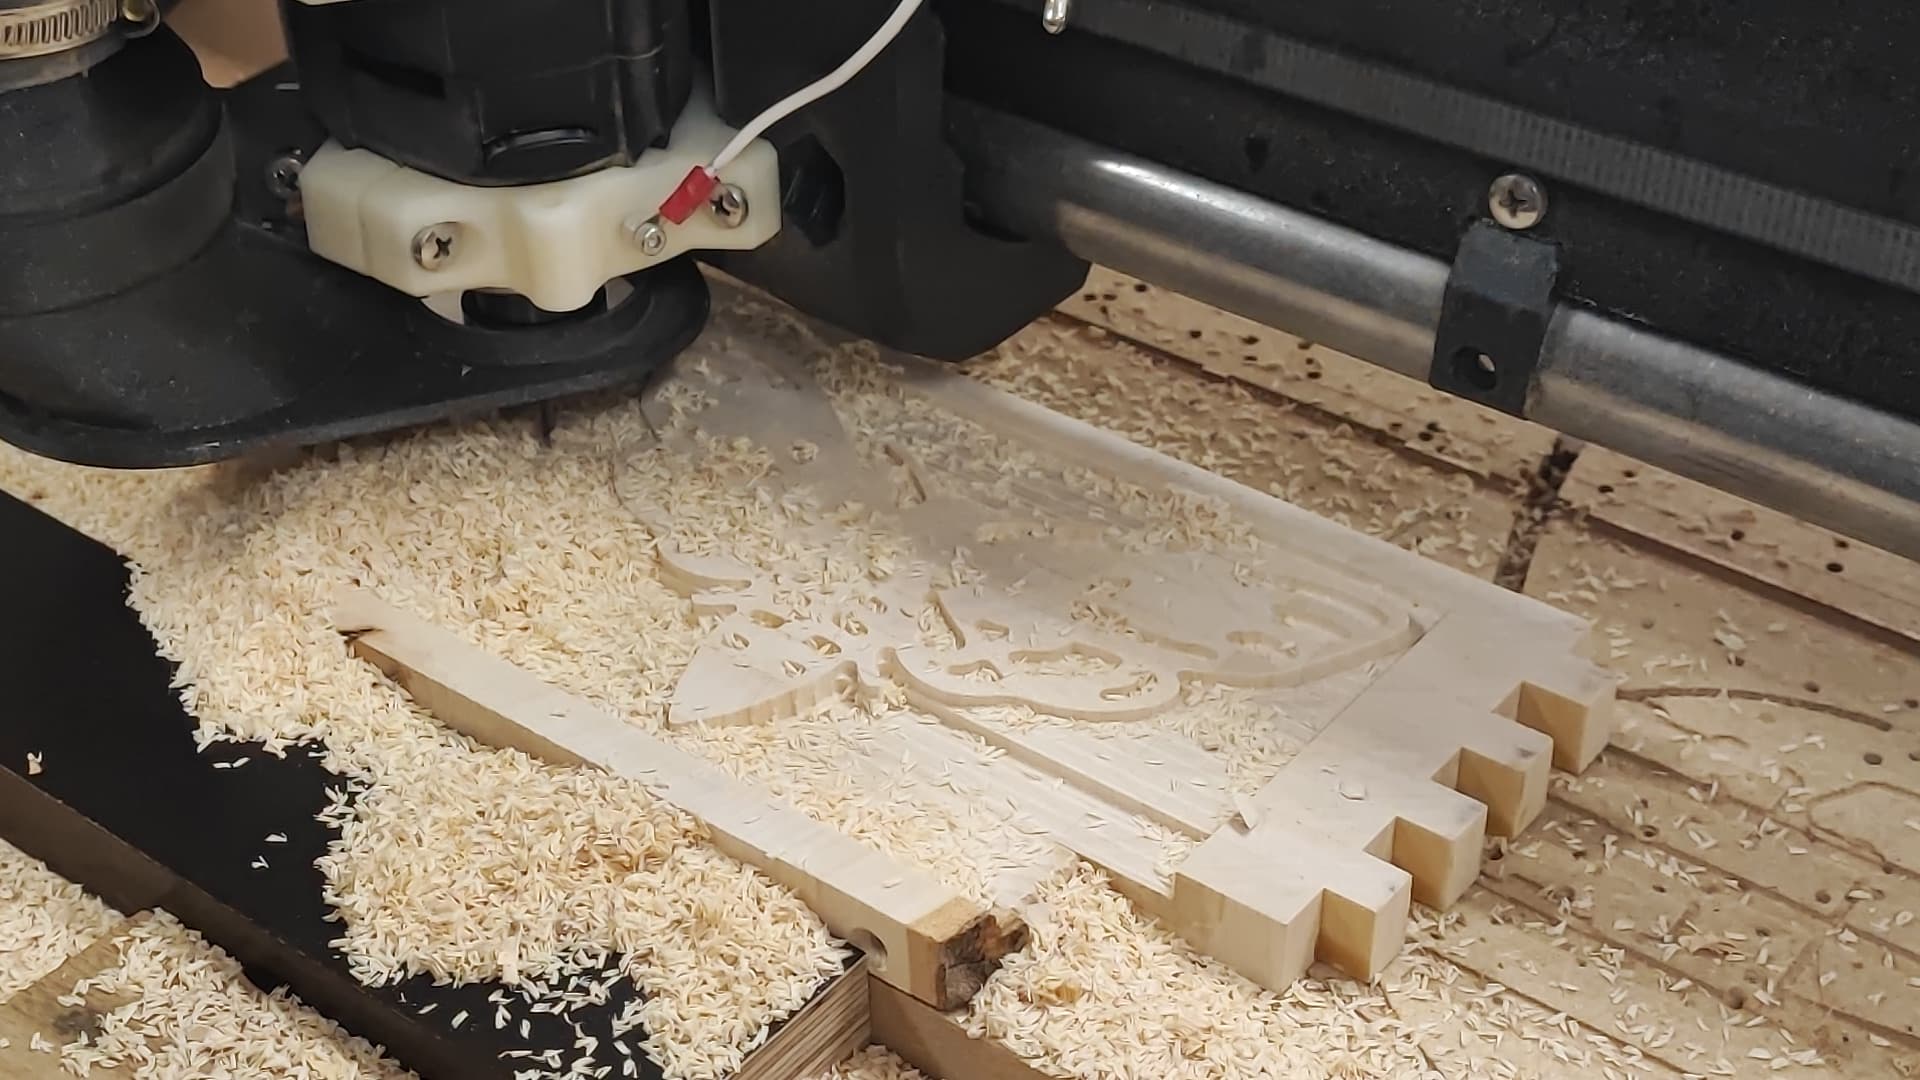
Cutting the inlay’s hole into the board (guys, I was sweating…):
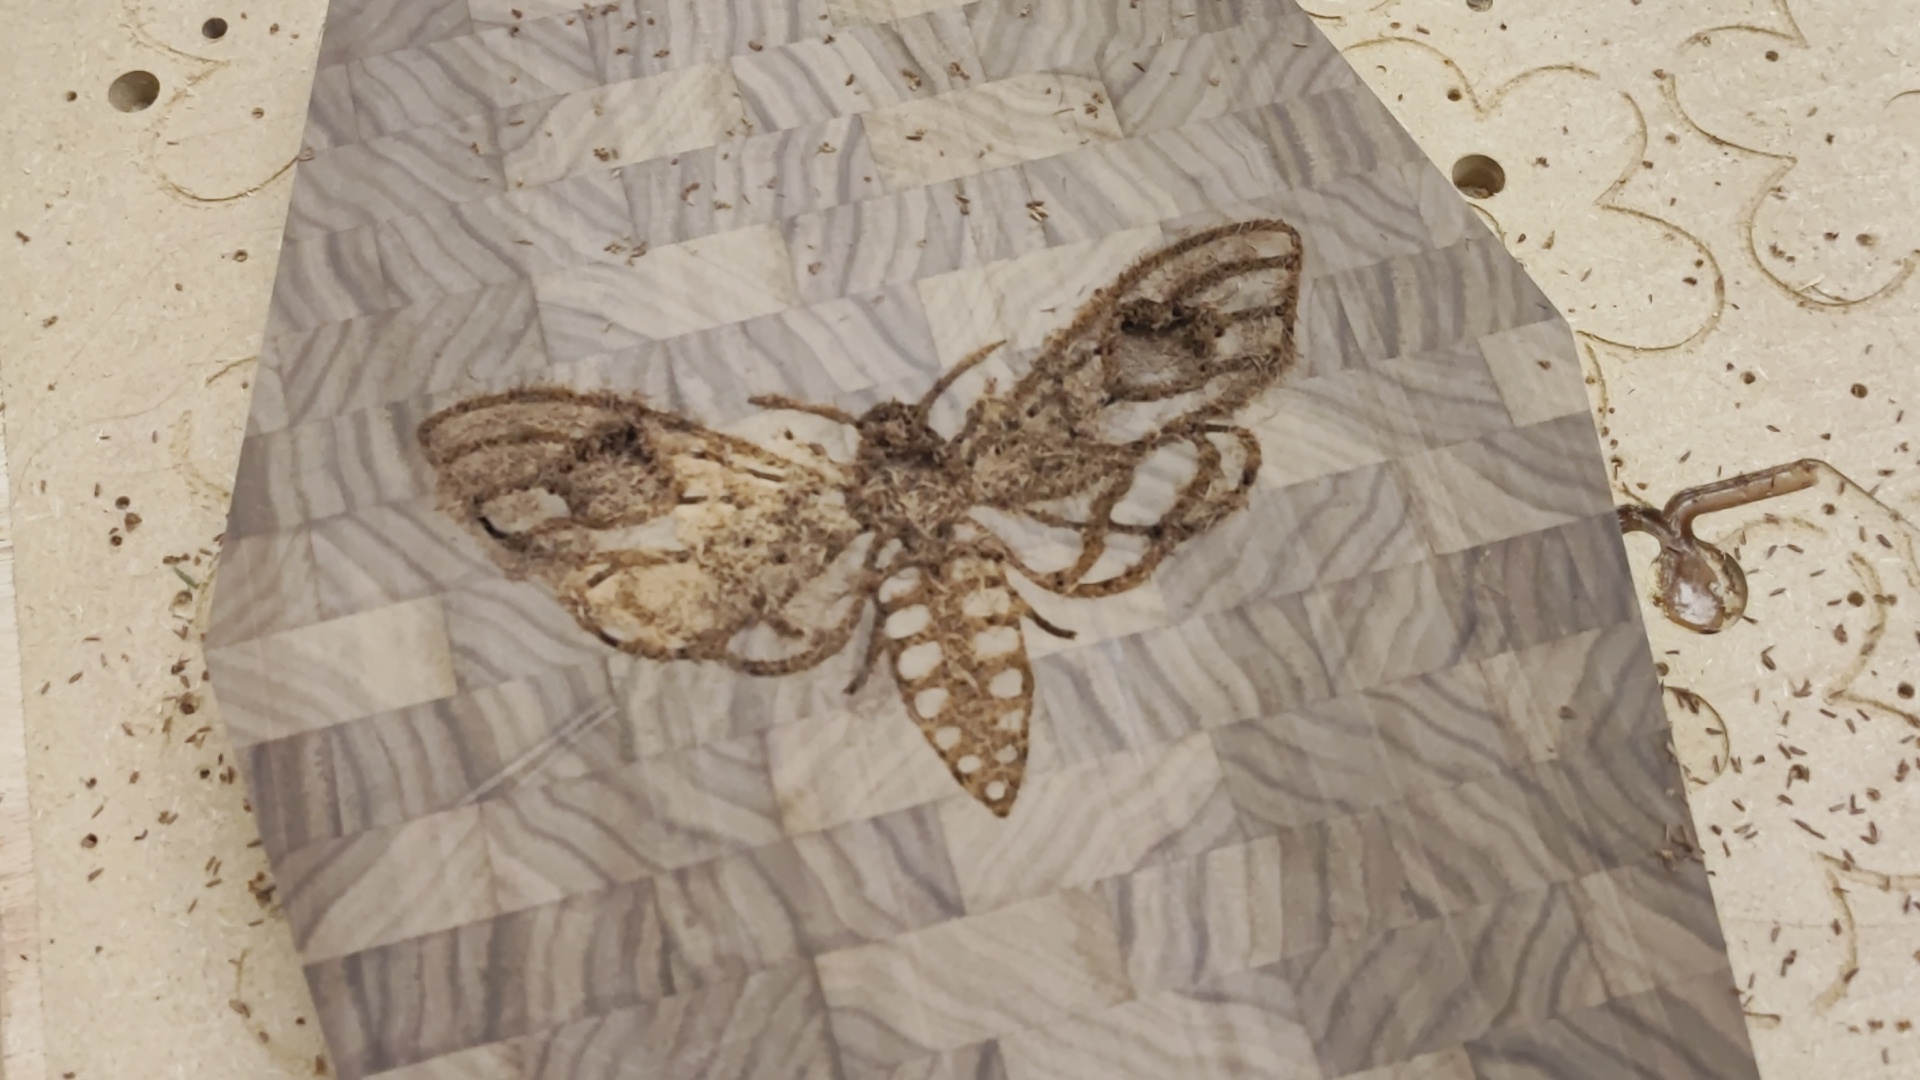
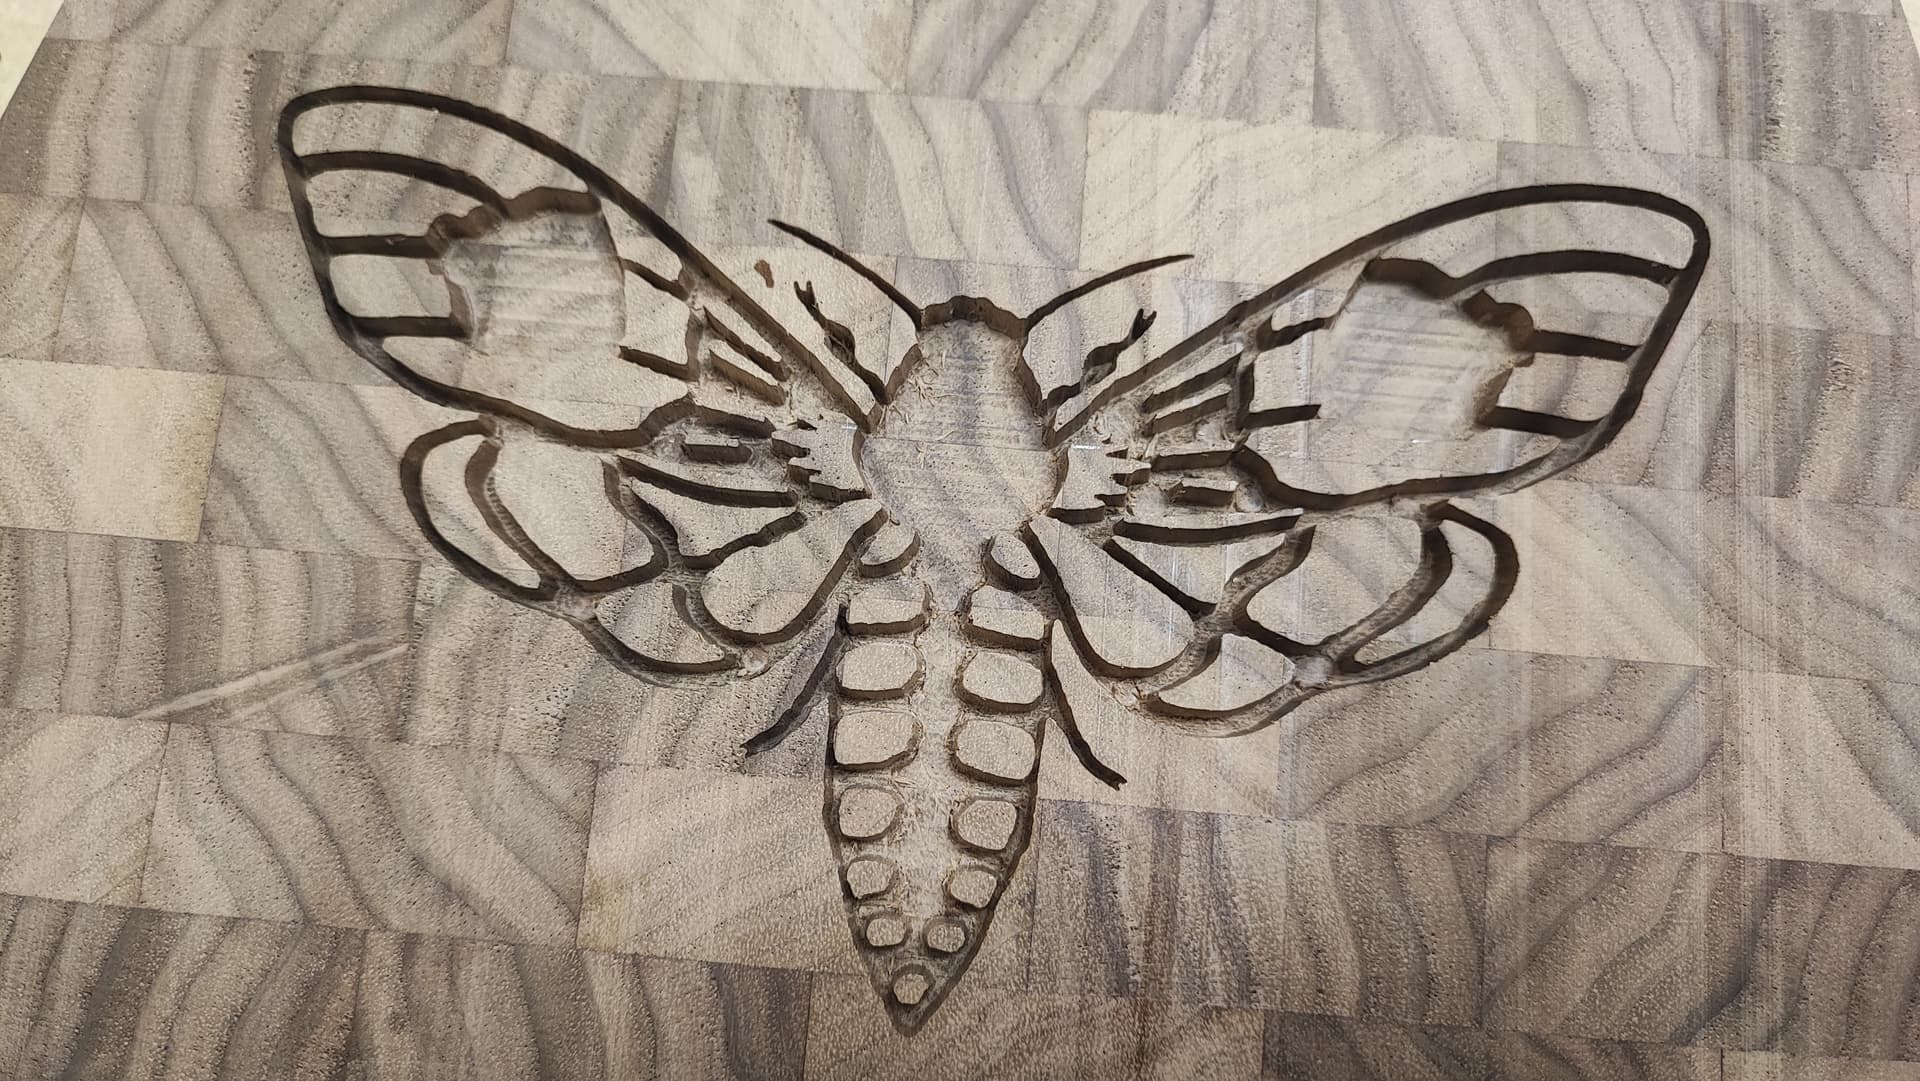
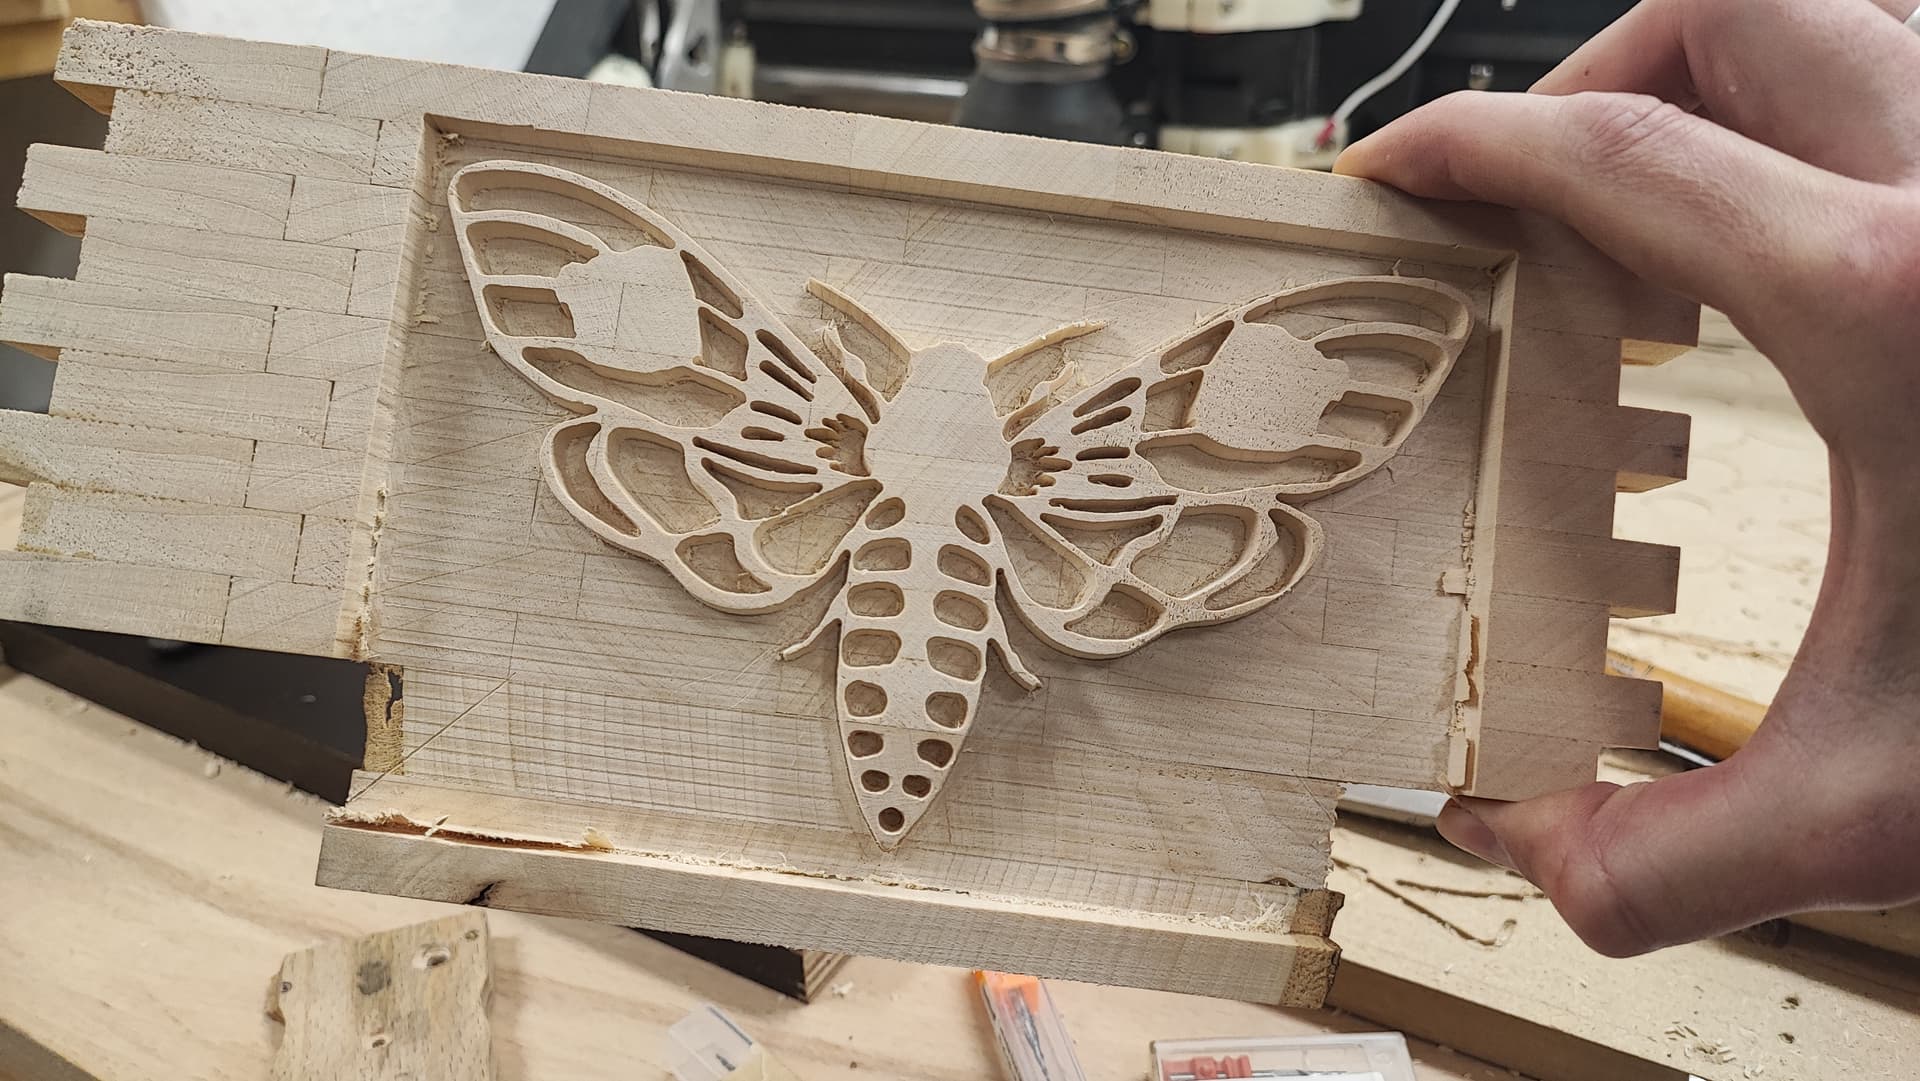
Cutting the inlay’s plug:
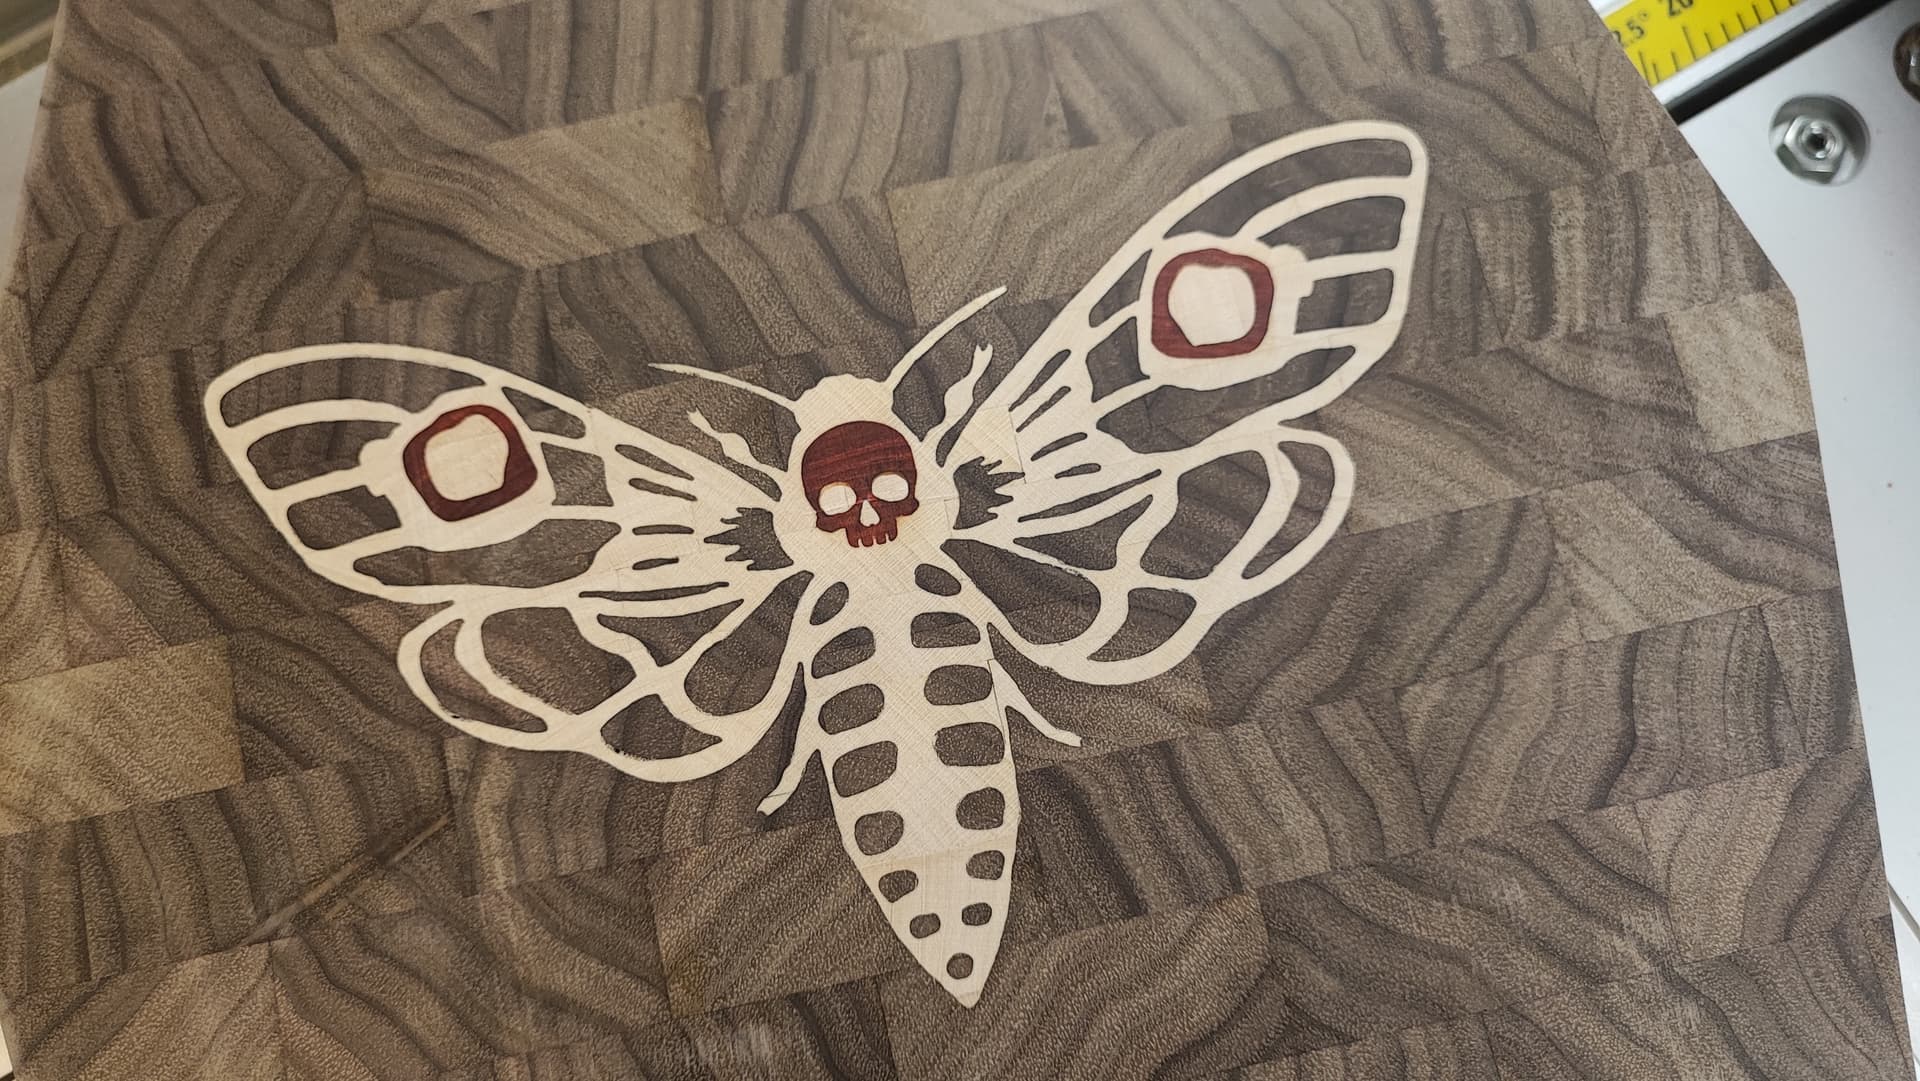
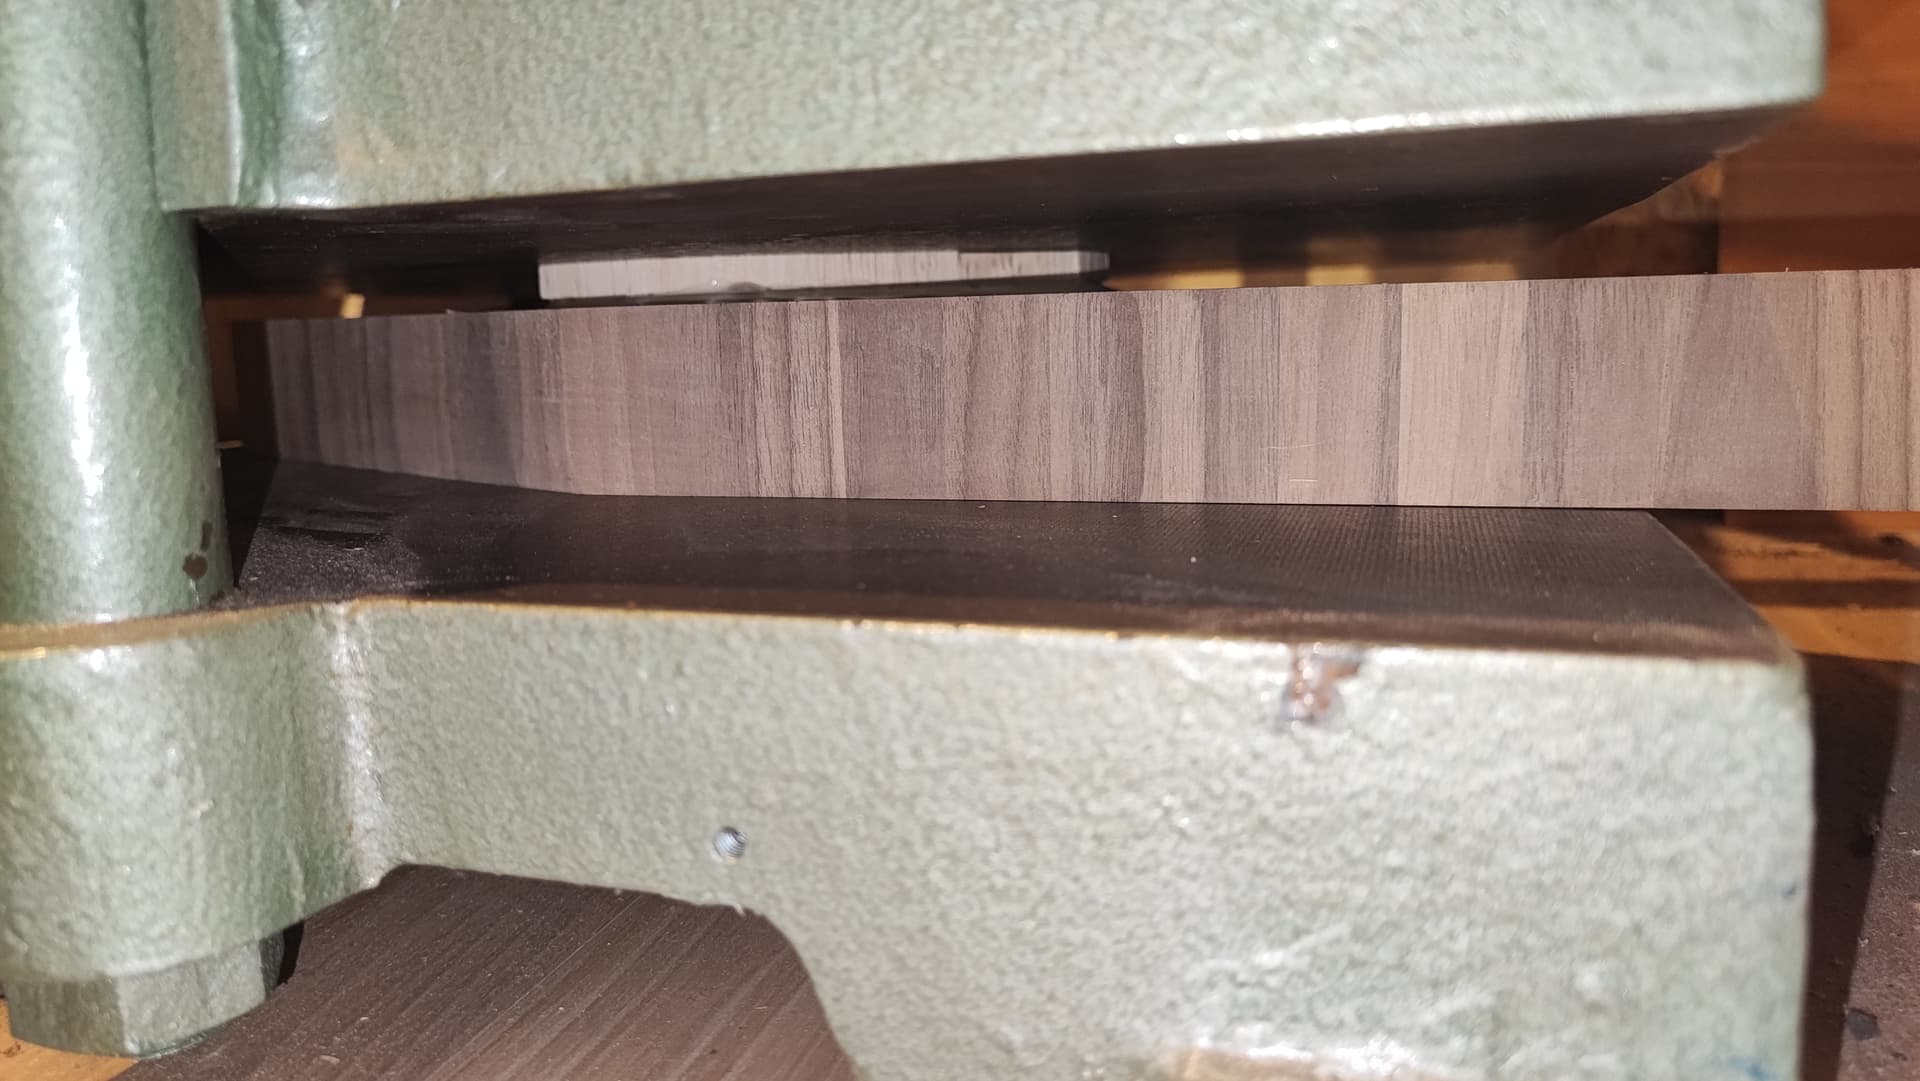
You can already see that some lines on the left and right are thicker/thinner, they should be identical. That’s what a 0.4 height difference in Z does. I did run the material through a planer, but it does not help if the spoilboard is slightly uneven etc etc. So many things that can be non-flat. Ugh.
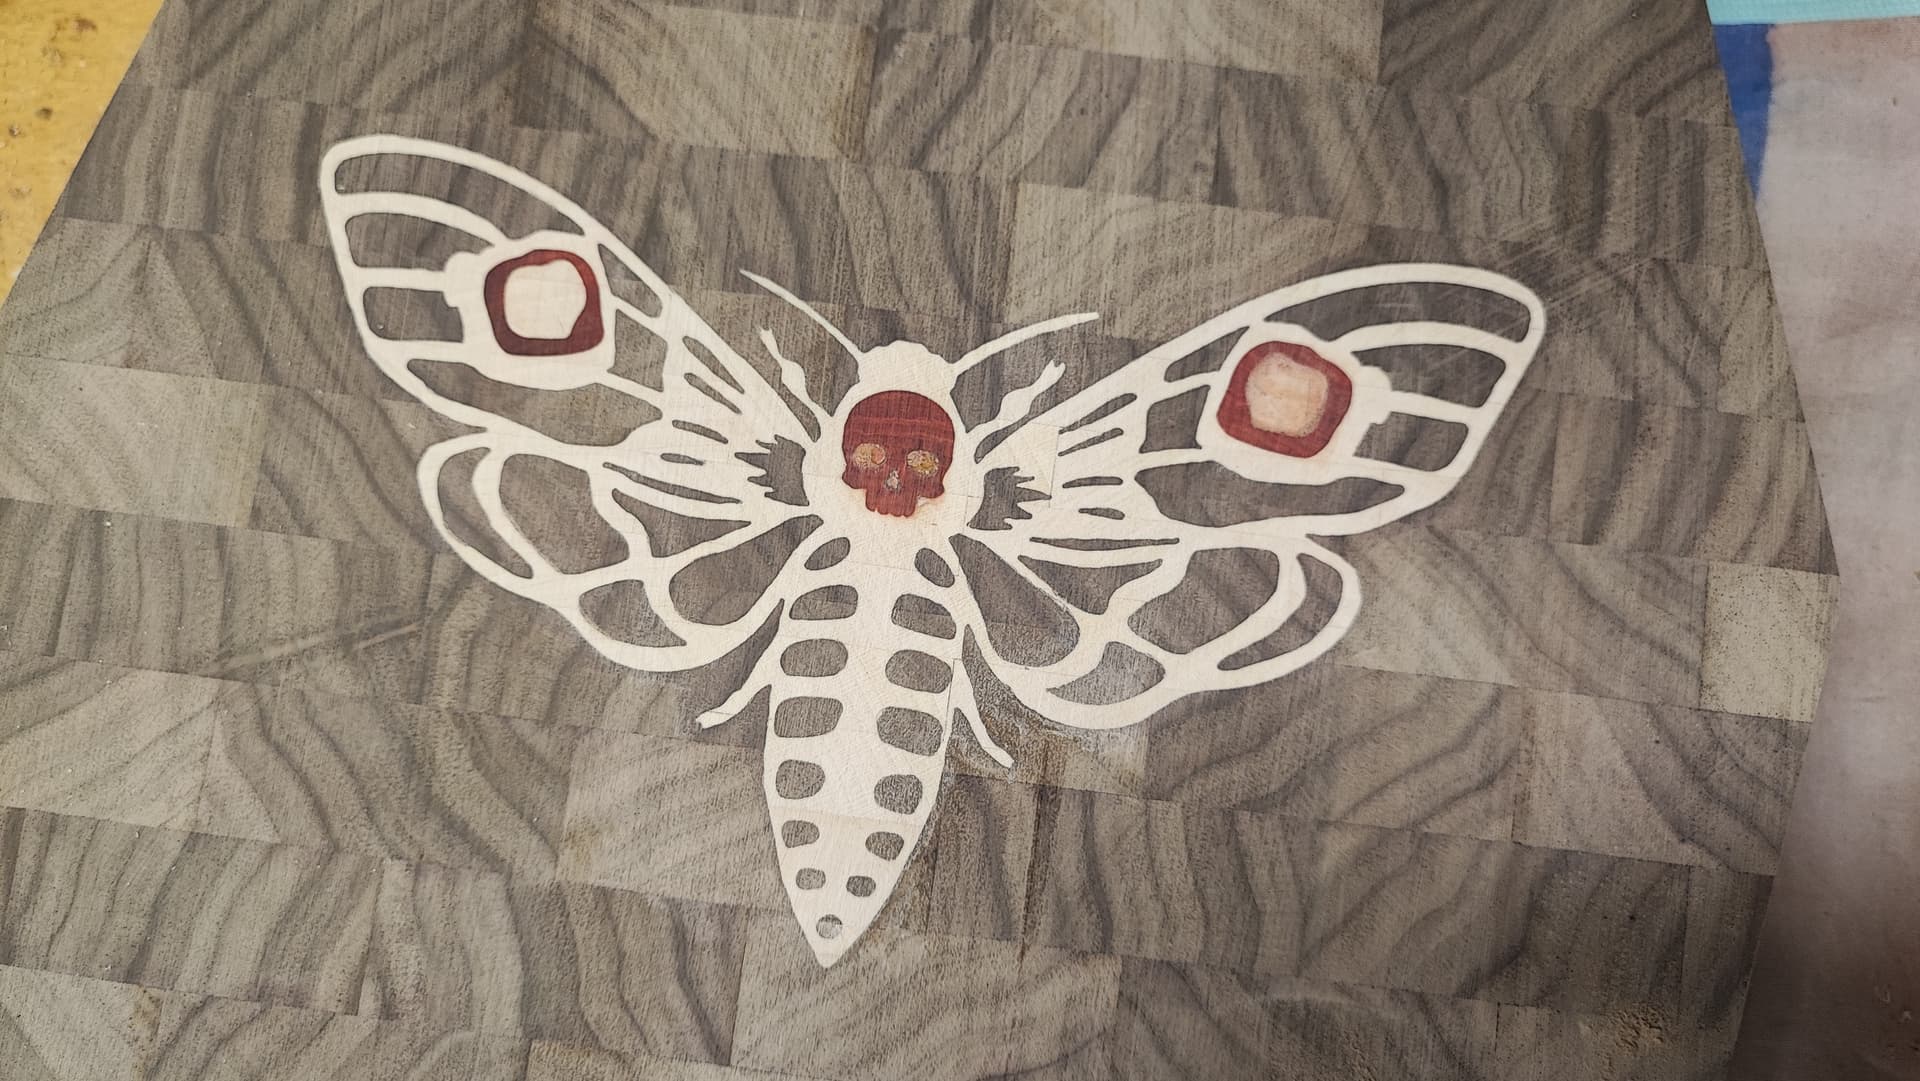
Gluing the inlay:
Well, I did patch up the inlay at the bottom so it wasn’t as thick on the top. I thought it would not matter. But eh, joke’s on me, it does matter when you want to evenly press something… Argh². I put a piece of wood in between the press and that corner and pushed down hard. Also, I think I used too much wood glue so it could not go down as far as it should have. But then again, it wasn’t too precise… 0.4mm difference x2 is nearly a mm that is going to give me trouble. That might be the reason why the bro always does multiple colours and rarely very complex patterns that are inlaid in one piece (besides that he is a looooot better at what he does than I am).
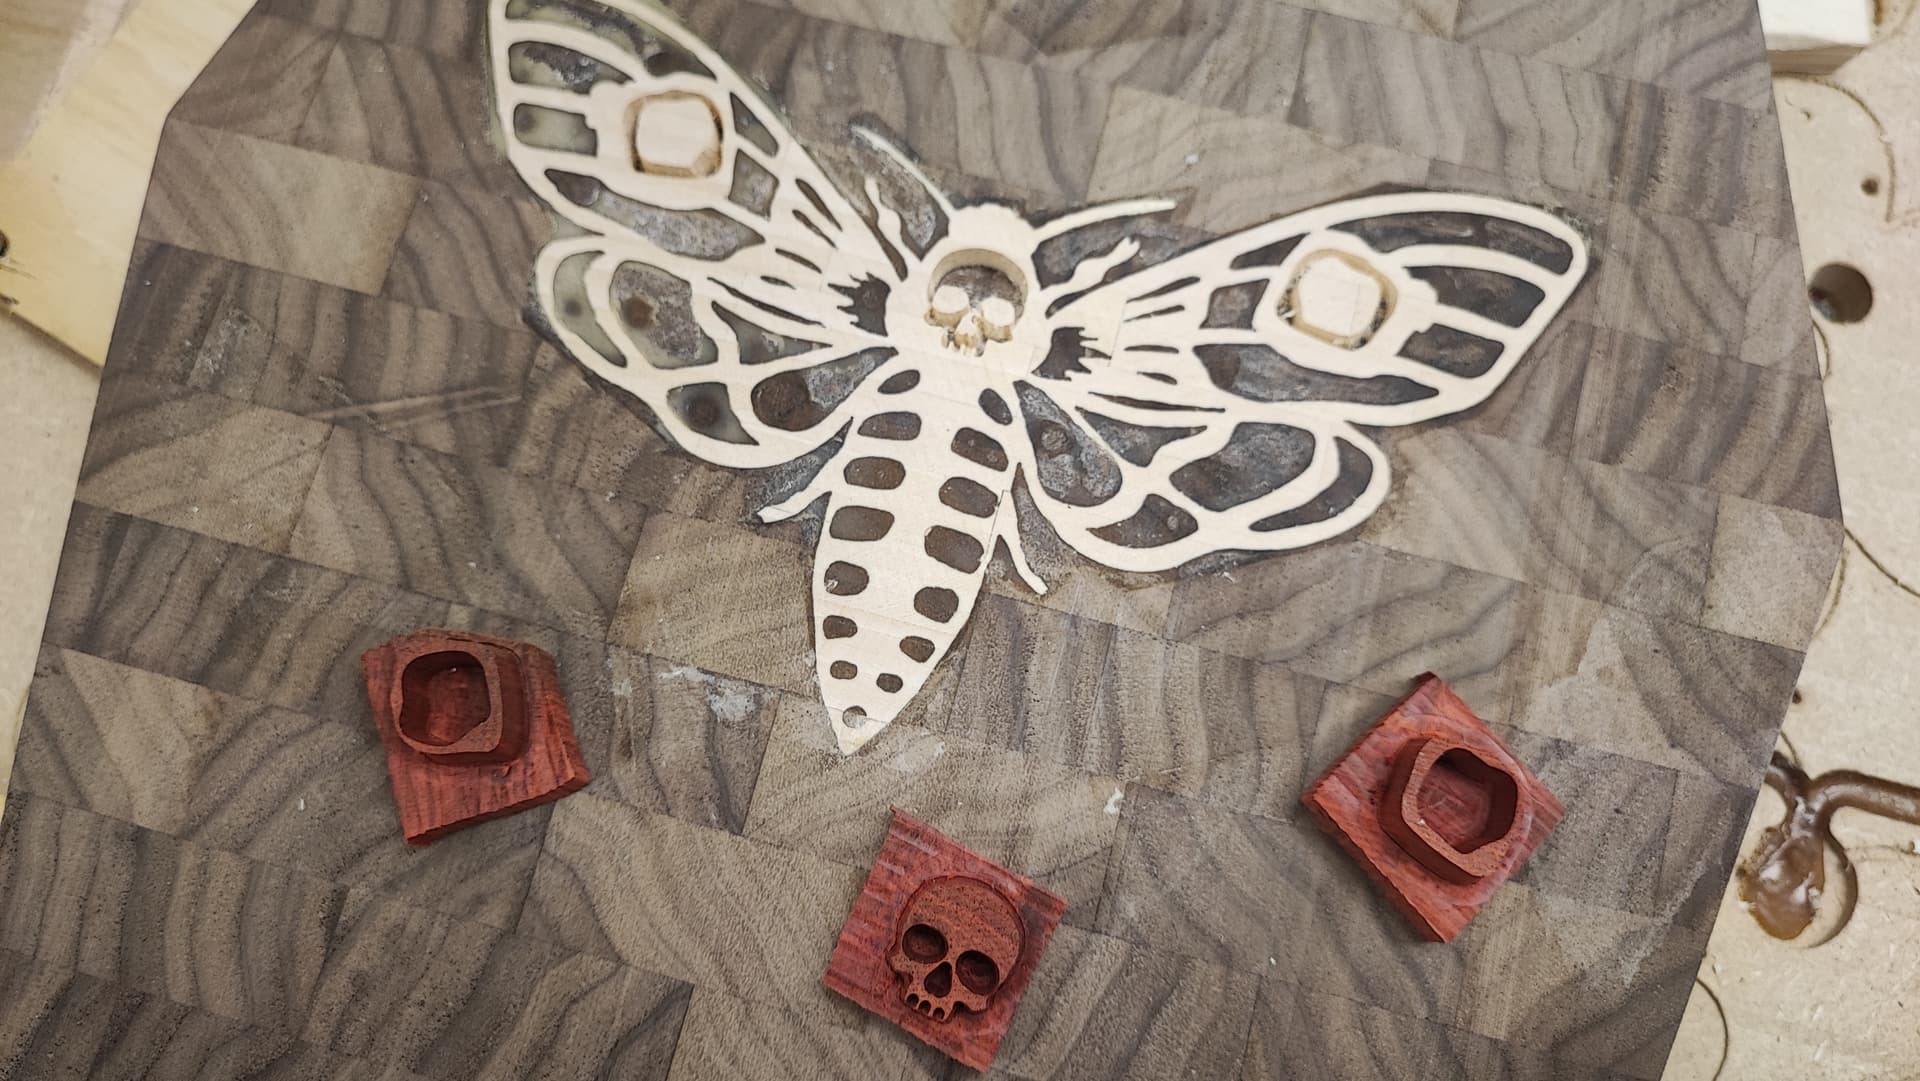
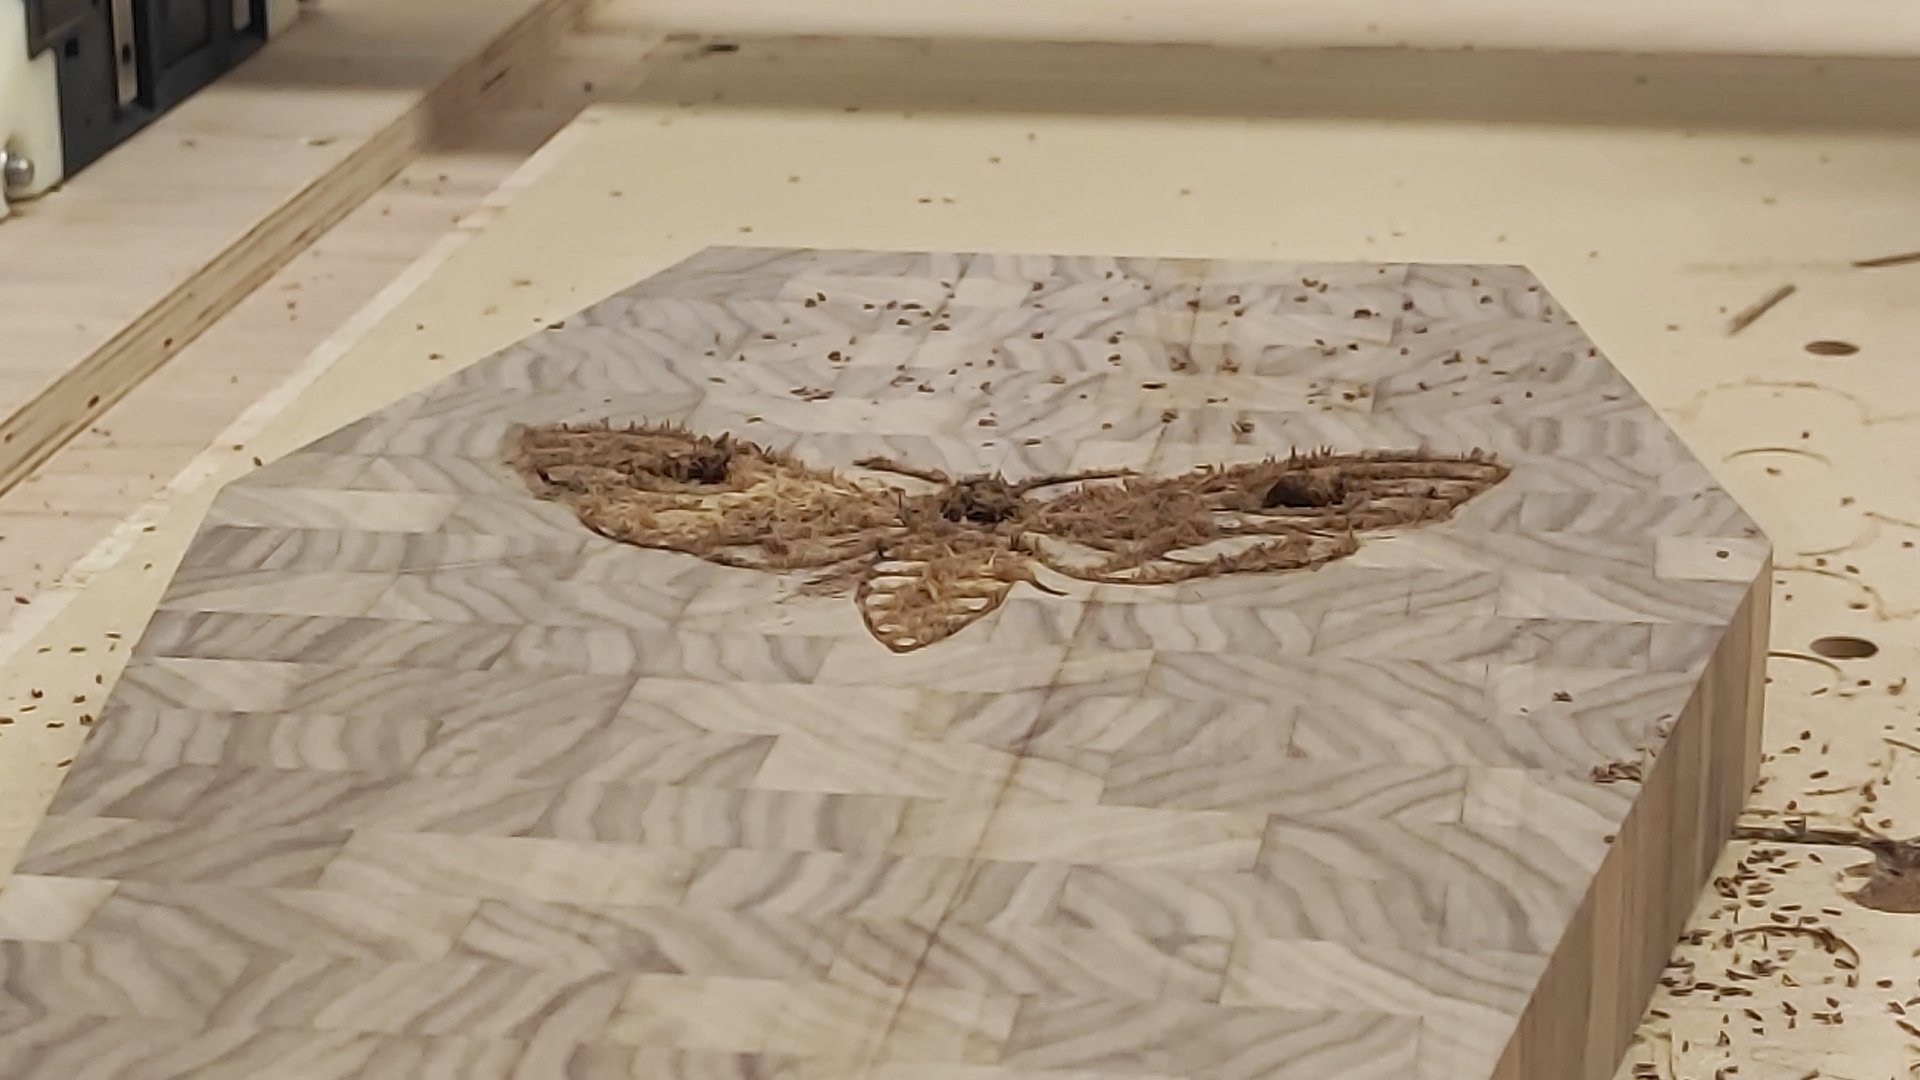
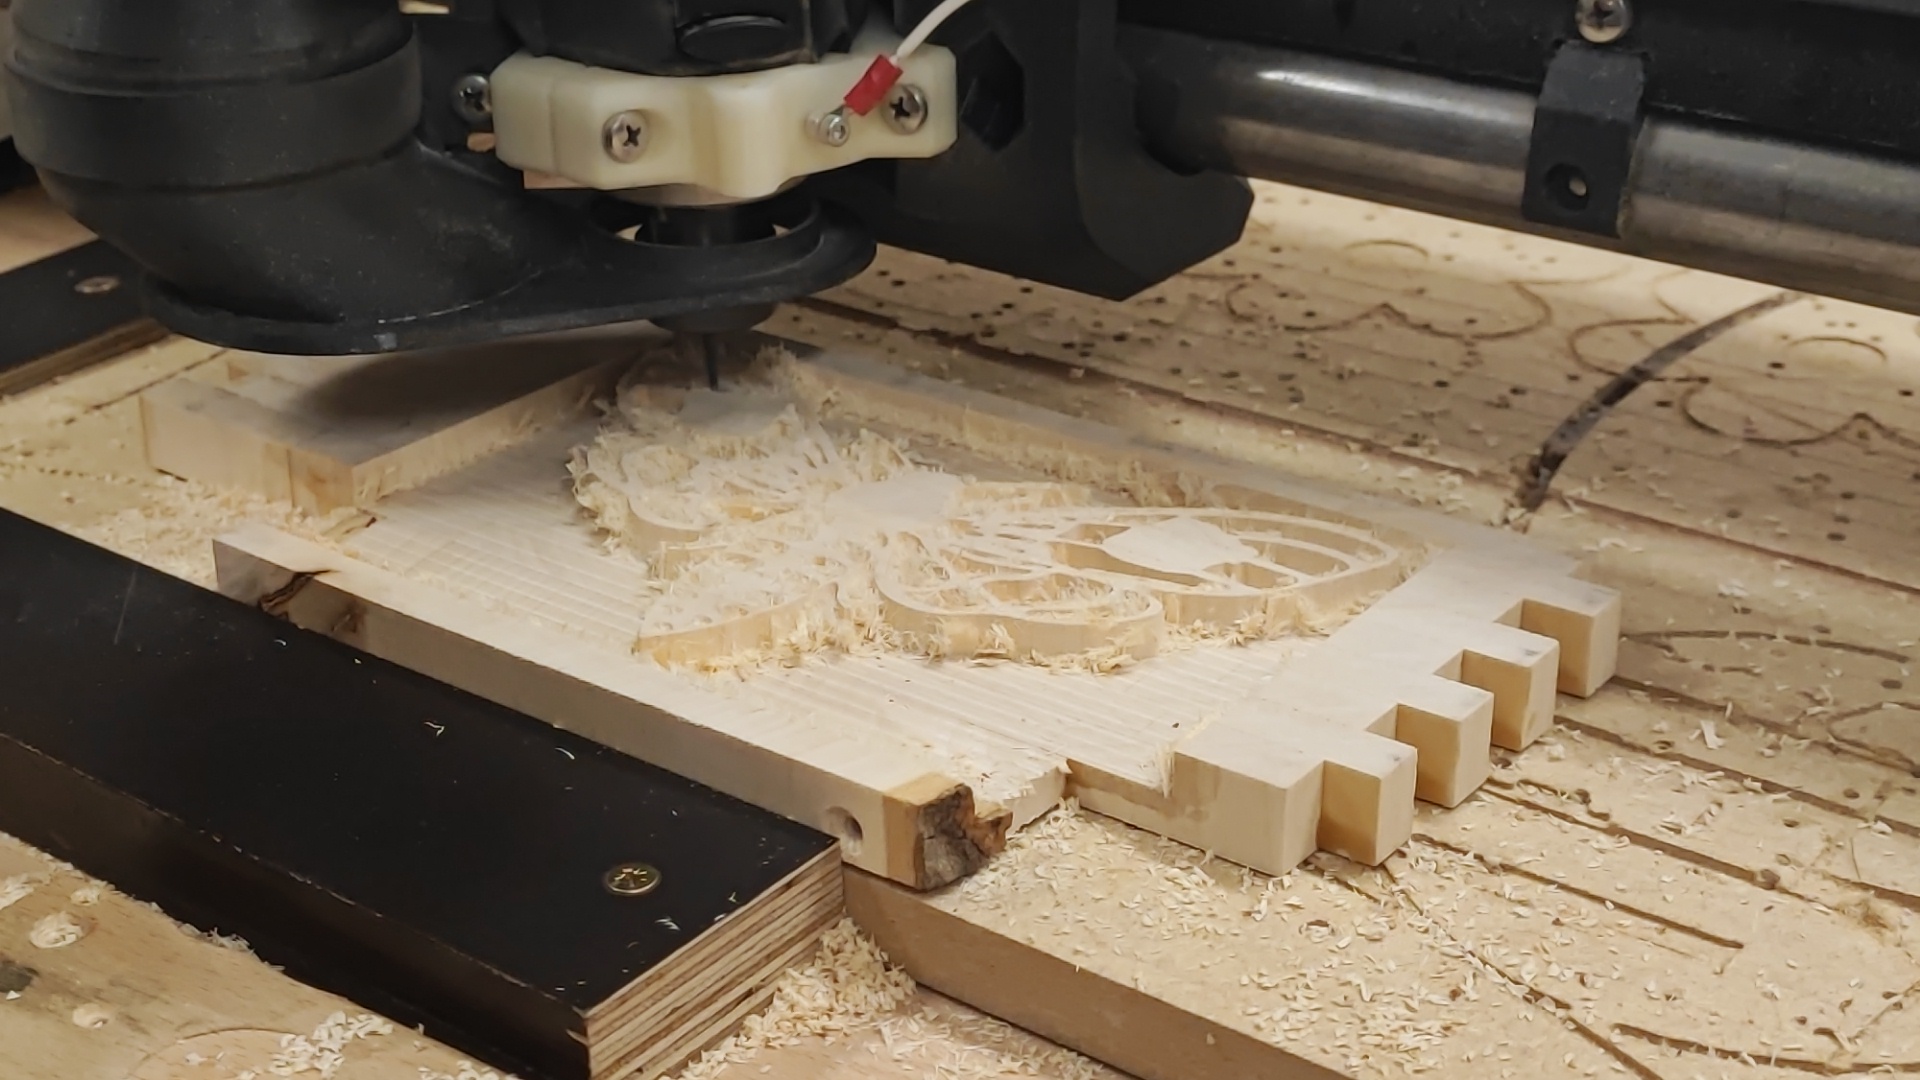
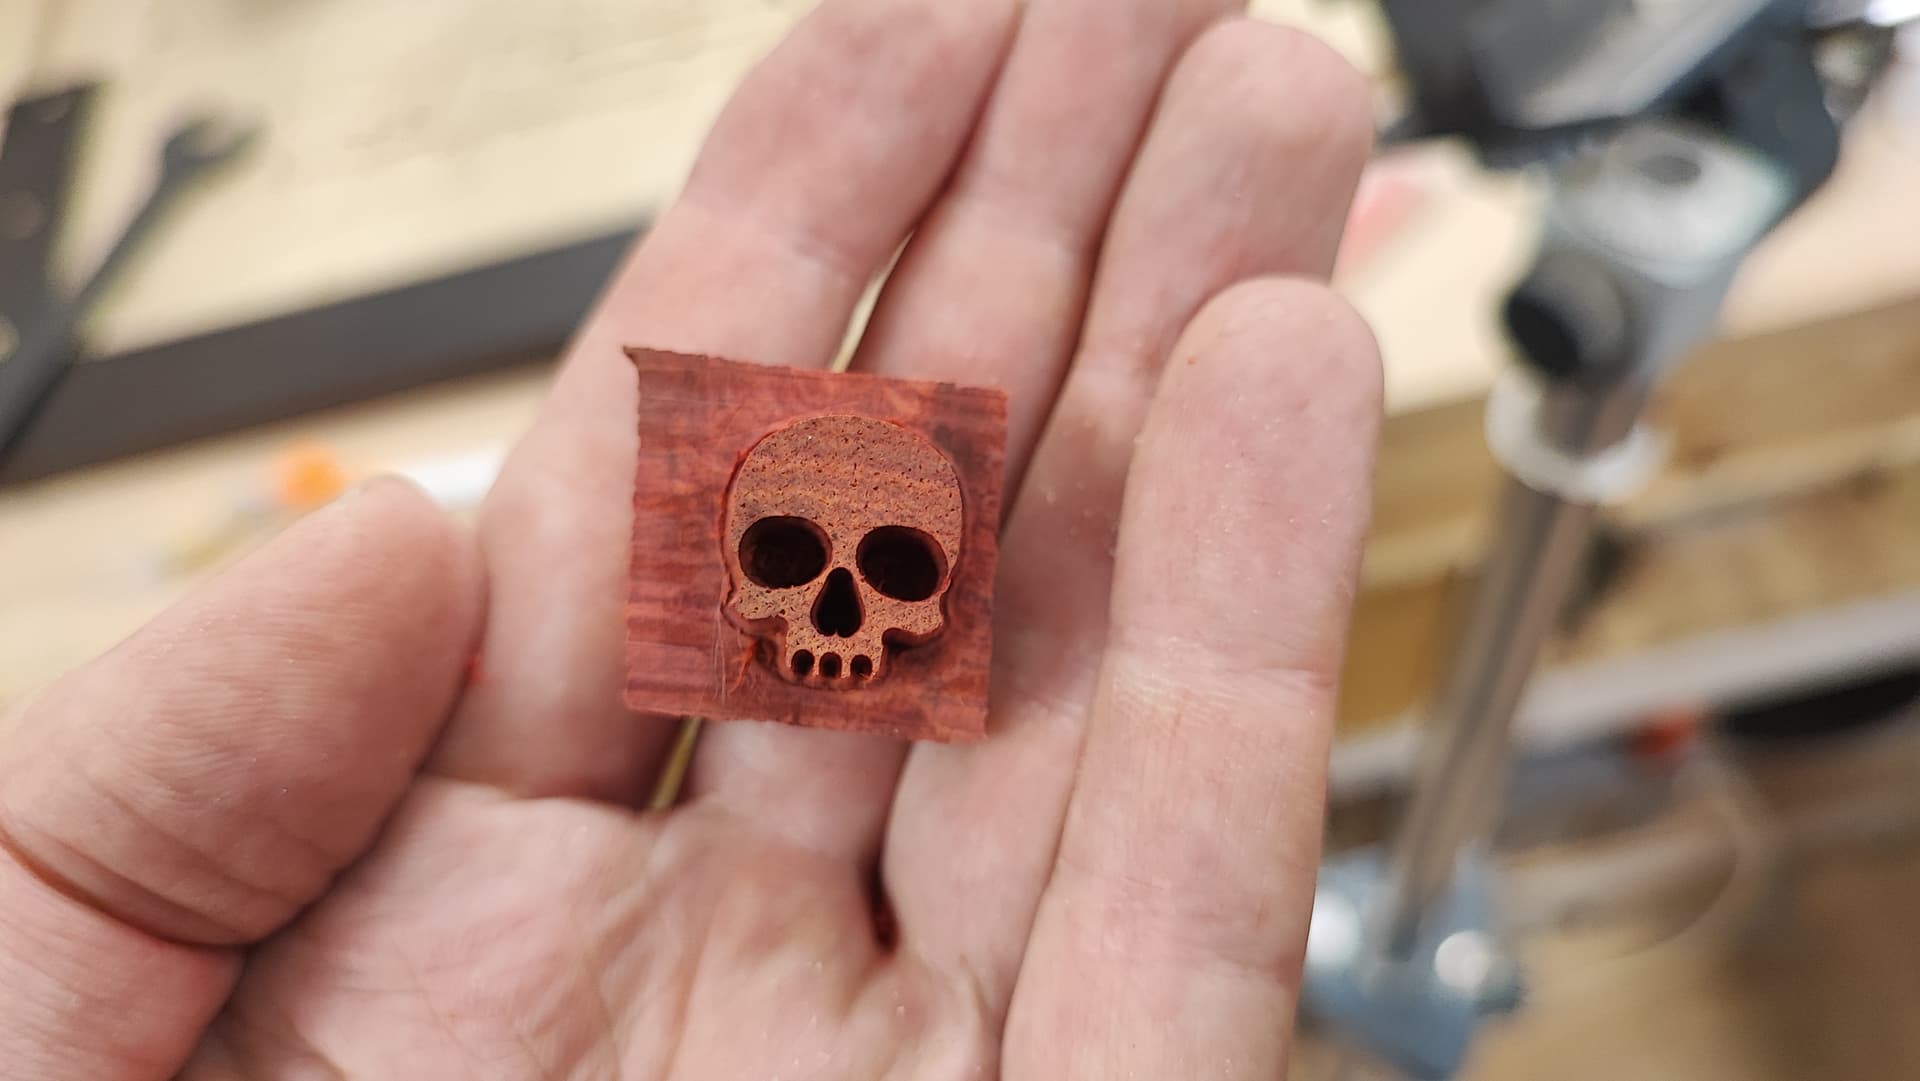
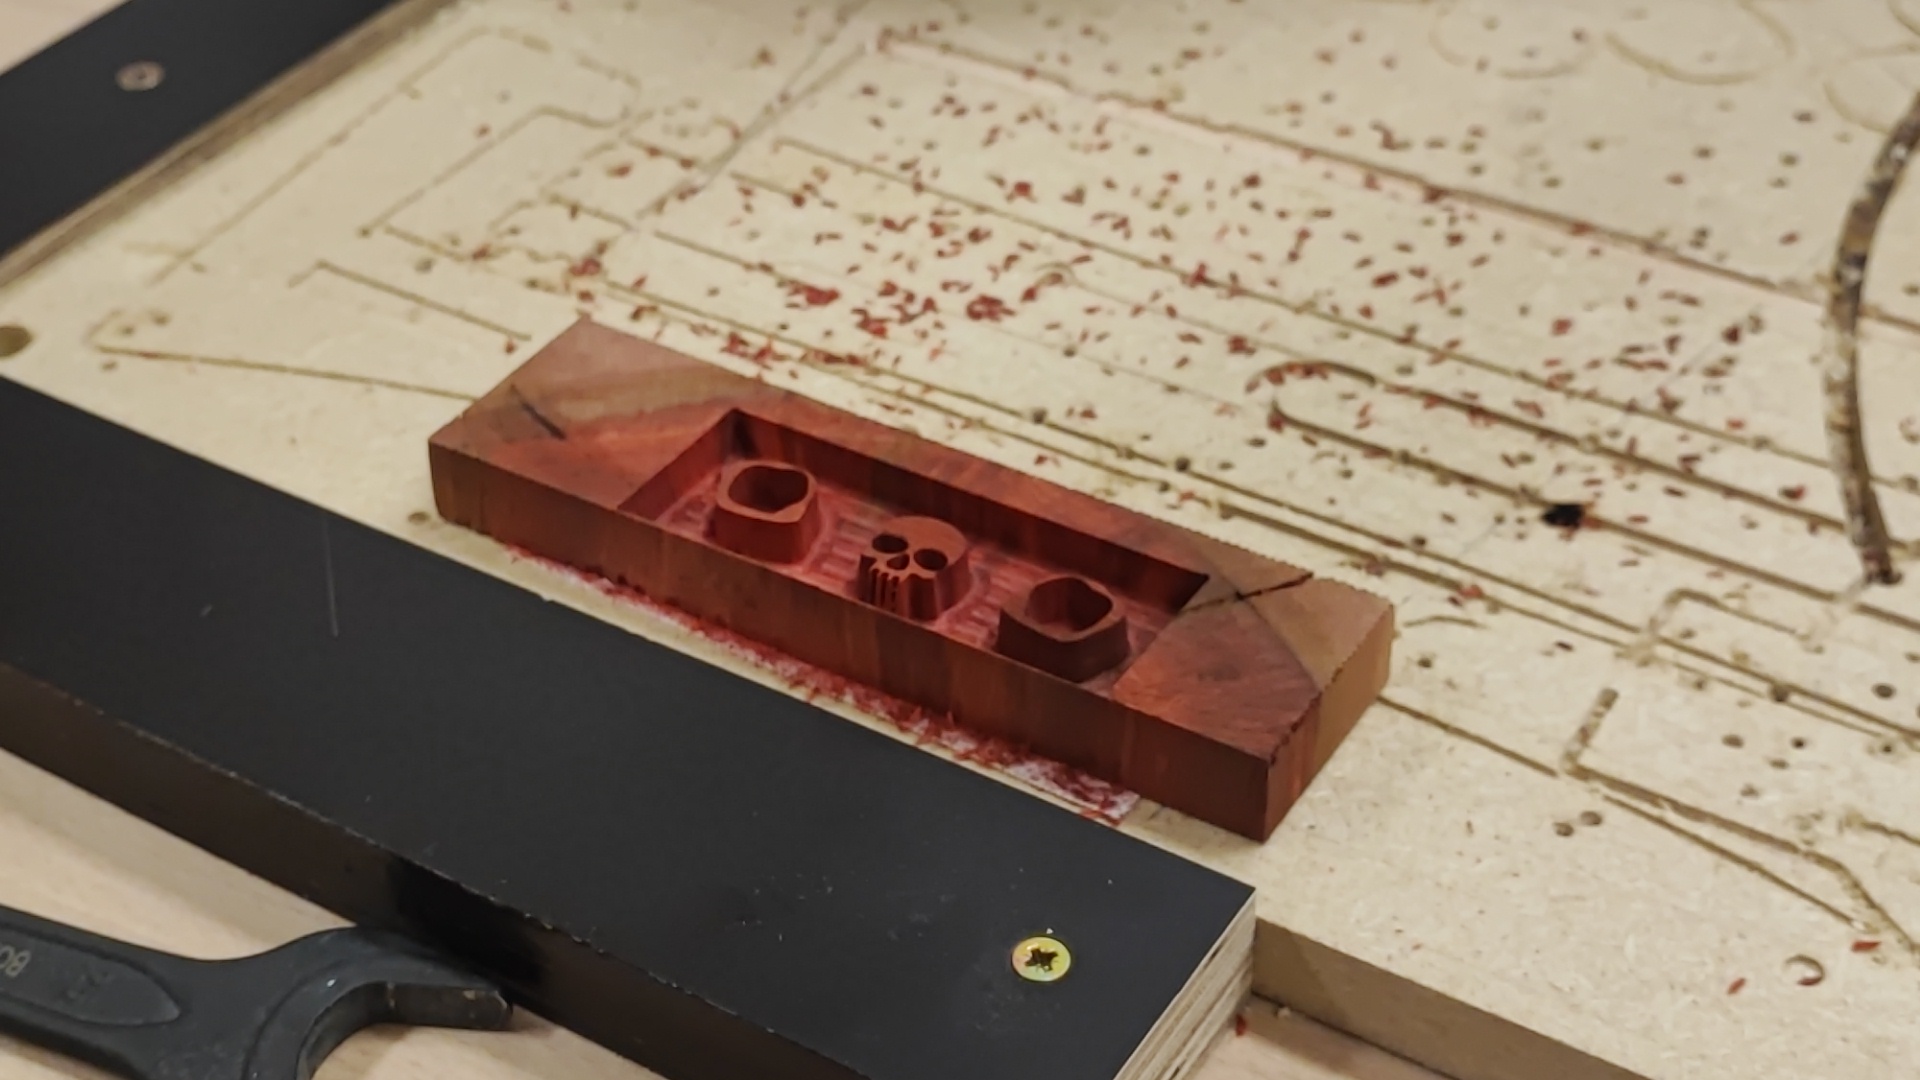
Milling the skull and eyes:

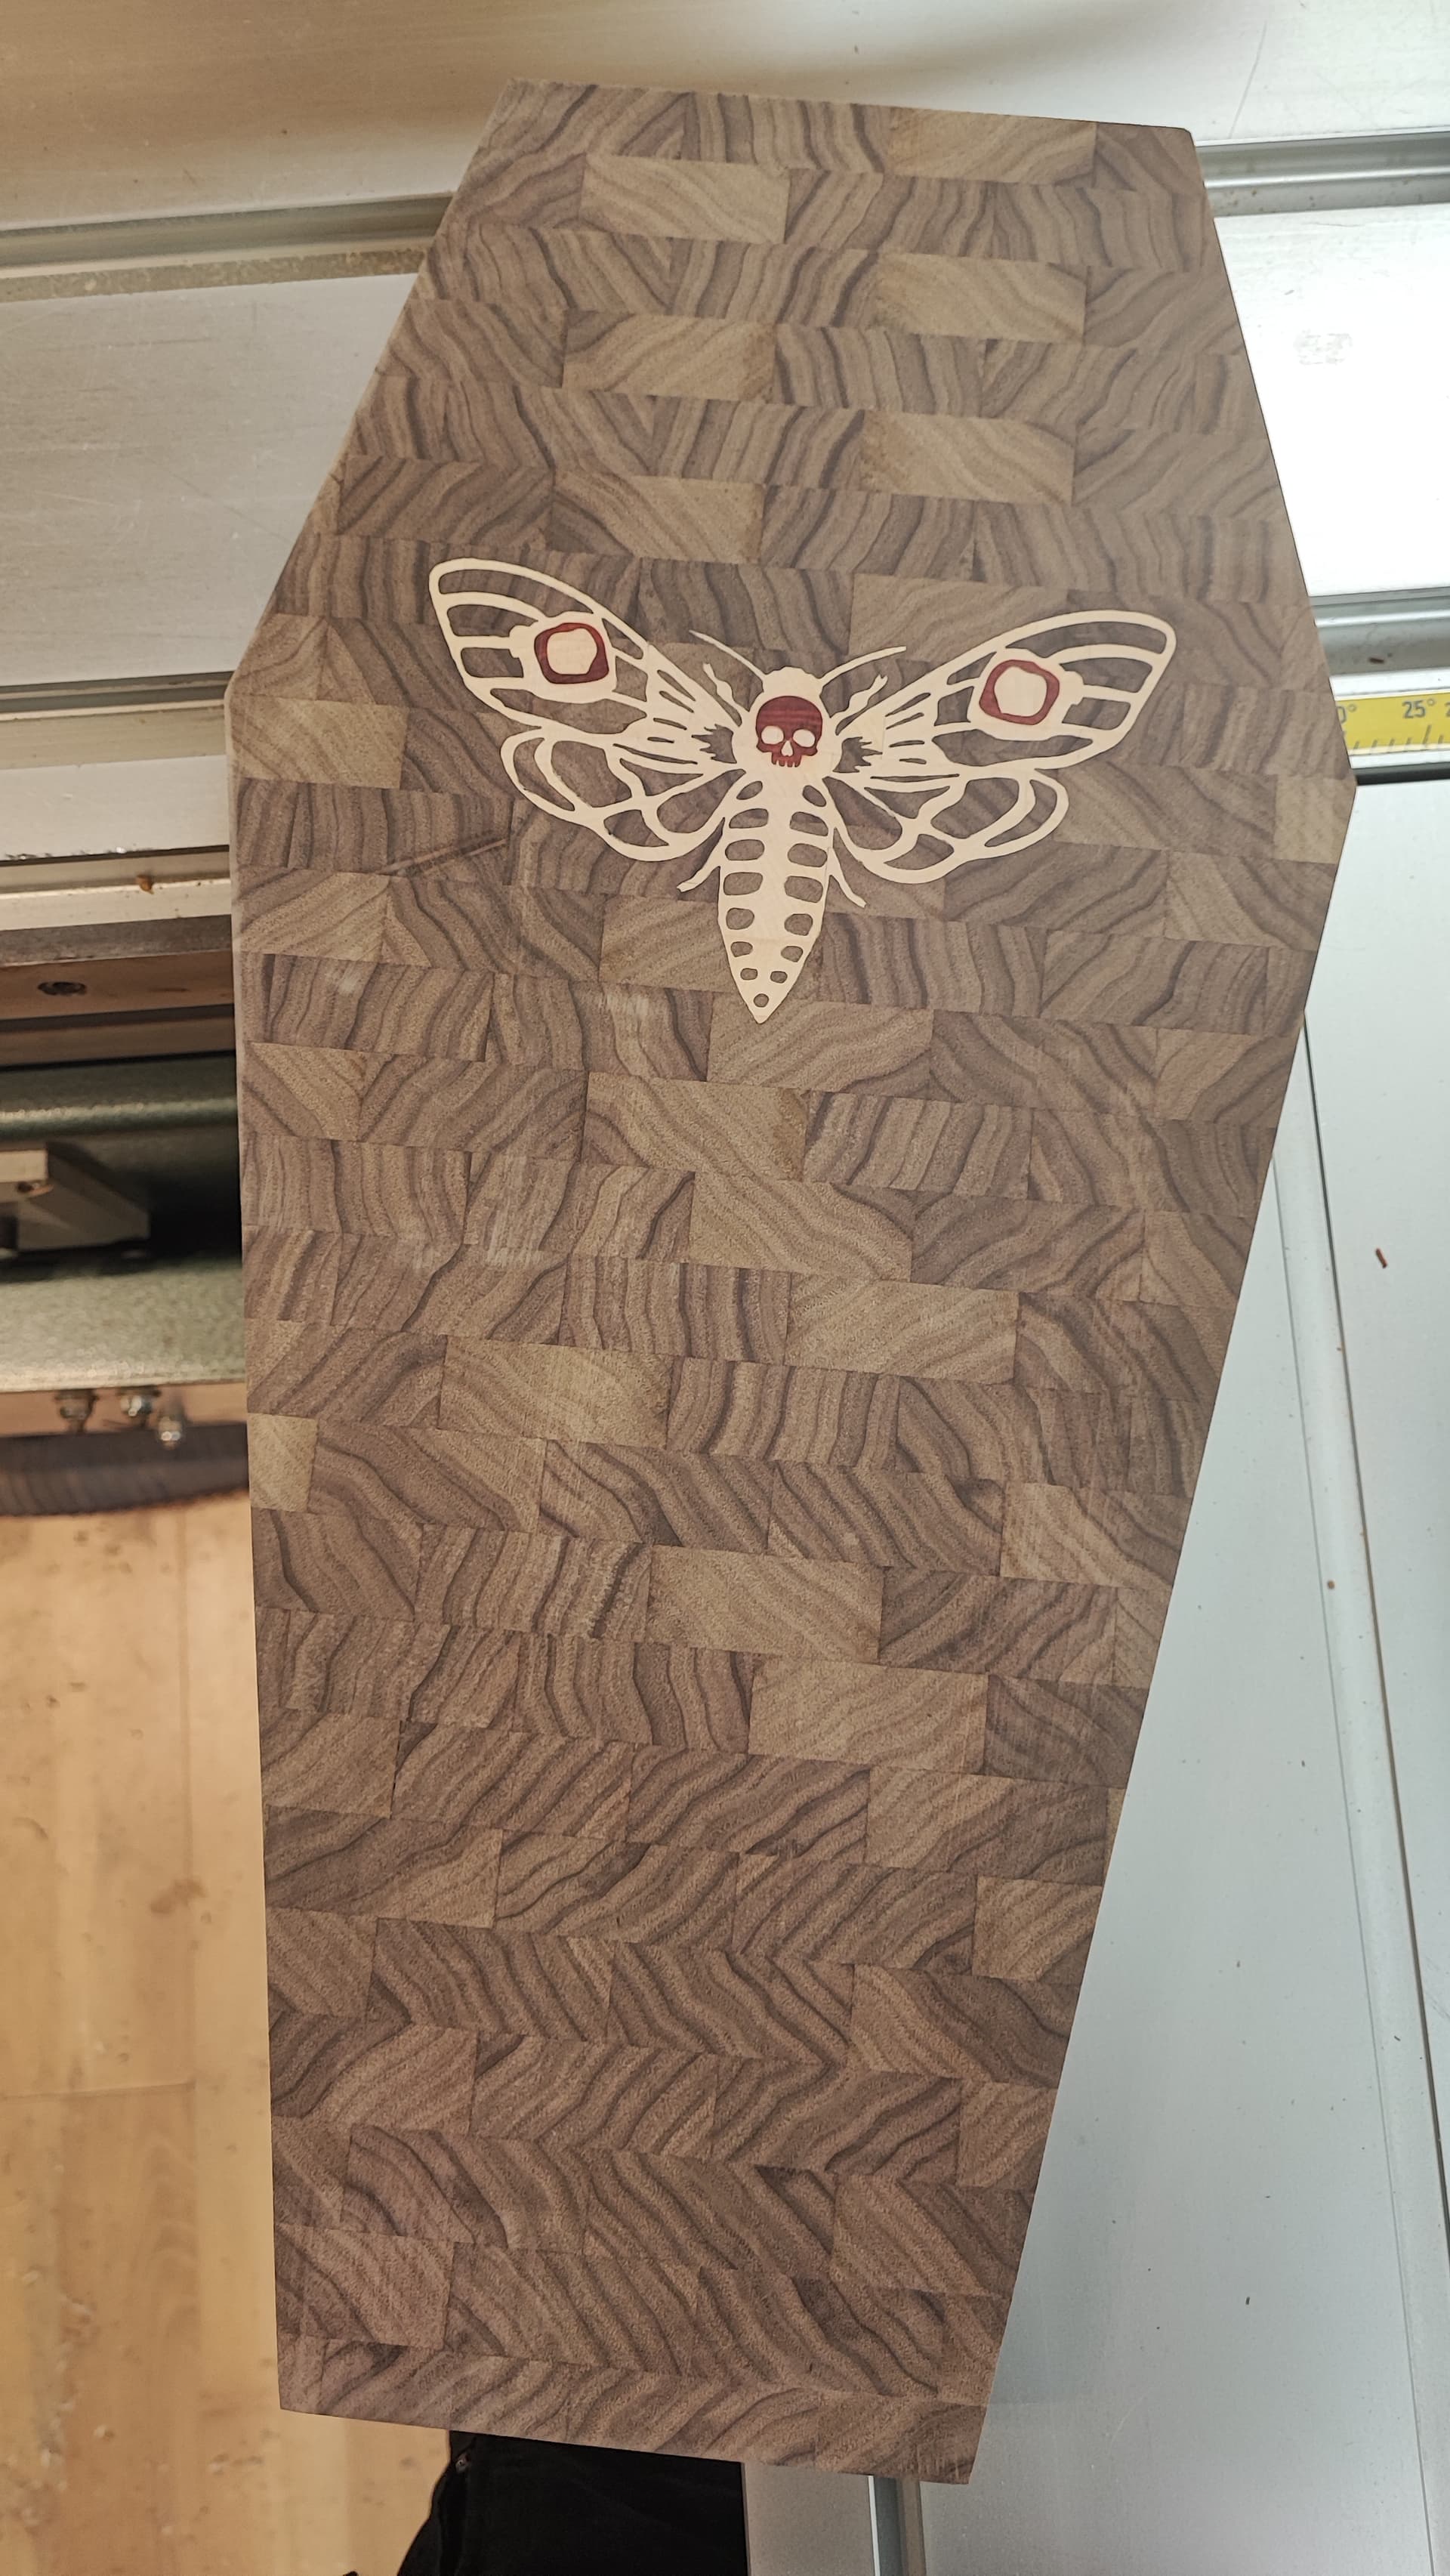
That’s where I am now. Tomorrow or the day after tomorrow I am going to see whether that inlay fits. I hope it does and that the glue will be able to hide my mistakes… ![]()
Then I am going to have to cut the holes for the skull and “eyes”, glue them in… after that it needs sanding, sanding sanding and a juice groove. ![]()
I’ll then see whether there has to be something else that I need or want to do…