This is a bit of a convoluted question so thanks for listening!
While contemplating the next tidy step with the Rambo and my indifferent USB, I got back to thinking about (one day) using a 5v-240v Solid State Relay to switch the router on and off which got me thinking once again that an auto vacuum switch would be good too.
At the point this particular evolution happens, I am hoping that the Jackpot Board will be “ready for dummies” which got me thinking about wifi relays and smart plugs.
I know smart plugs run off their own apps, but presumably that’s just a software command at the end of the day - so is it theoretically possible to send a command via the Jackpot board Wifi to trigger a smart switch which would turn on the vac when the router is working?
Note: I understand that it’s possible to flash some plugs with a couple of versions of open source software - but will it be possible to make the board speak that language?
The easiest protocol for this is probably the REST api. It looks like the jackpot calling a specific url. Something like:
http://192.68.0.107/cm?cmnd=POWER+ON
I would try to find a smart plug that can be flashed with tasmota. There are a ton of options. They are mostly pretty cheap. Find a YT video showing you how to flash it and follow along.
Proprietary firmwares sometimes have rest apis. But they so often do really dumb things, like only using the cloud. If you search google for a smart plugs name and rest api, you will probably see quickly if it is possible.
I also like the shelly relays. You can cut up a regular power strip and install a shelly relay to make it smart. Shellys firmware is actually good.
That’s the good news. The bad news is that FluidNC needs to have settings to call the rest api based on gcode. It is possible to do but the firmware needs to support it. It may not be great for the real time of your cut job, and I haven’t heard of FluidNC doing that before.
As a much simpler alternative, the IoT relay many of us have from amazon will work fine with the jackpot and a vac.
Thanks for the above.
The Shelley relay was what I was thinking of, which is where I was coming from for the vac, with a wifi command from the gcode.
I have searched on and off over the years and in Aus they are marked as a “retired product”- whether that’s because of some obscure electrical rule we have or simply they don’t make 'em for 240v (seems strange and it may be I haven’t looked hard enough or in the wrong places) but that’s why I headed off in the direction of the ssrelay.
That and the fact that I’m running down a path of having everything on board. so the hard wired relay for the router is pretty straight forward I think.
All I need is for the router to send a signal to the vac - I used to have it plugged in through the vac which has a built in relay, but now I don’t want the vac running all the time particularly when the router is not.
I have a lot of time to ponder that - but if you can think of a simple way for a router to talk wirelessly to a vacuum I’d love to know!
Is there a reason it has to be wireless? There are devices in woodworking that will detect current on the router supply and enable the vacuum. You would plug your router into your relay and the relay into this controller. When the relay turns on, it will turn on the vac. And turn it off again.
Or, you can search for a “arduino relay” on amazon. Those are a little rougher, but they can be controlled by 5V or 3.3V from the jackpot. You can find them in dual channel versions. Be really careful with your AC wiring though. You probably want an enclosure and only open it when you have it unplugged.
If you must wifi, you could add another esp32 that can read a digital input and call the rest api. You’d have to write some firmware, or find a generic firmware like blink that can be configured to read a pin and call REST. The digital pin would be connected to the spindle output. You would have yet another device on your wifi though (3 total now for anyone who is counting)
I’ve just run myself down a little dead end I think. I’ve simplified the wiring as far as I can so that
the table is self contained - it has a line in with the emergency stop is built in.
Then the LR3 is plugged into the table (1 lead) so that it can be disconnected by simply unplugging. This is not a feature think I will use, but it’s kind of nice to have.
From there the router is plugged on board. So to run a control to the vac, I’d have to run another wire just for that purpose, which just gets a little less elegant.
I suppose I am just pushing the concept of “appliance” as far as I can. To be honest with myself, I just thought it would be cool if the board could do that!
While I haven’t used everything available in the CNC control space, all the firmwares and control applications I have used have supported 2 versions of “coolant” - mist and flood on M7 and M8, then M9 turns them both off. When replacing the “brain” in my K40 laser, I got a dual relay module and set it up so M7 turned on the air assist aquarium pump, and M8 turned on the exhaust fan. In my MPCNC enclosure, I got another 2-relay module and wired in plugs to use a planned vacuum hold-down on mains voltage and possibly air assist on a 12v solenoid air valve (which I guess could also do mist coolant).
These were easy to implement as the controls were universally supported. You do need to be comfortable with putting the relay in the mains voltage hot wire, but that’s something I already had. I wired the relays to standard 110v ac outlets (I’m in the US) and then pretty much any appliance can be “plug and play.”
My actual shop dust collection, which has to service a number of other shop tools, is on an RF wireless switch, and I keep the fob clipped to my shop apron so it’s always in easy reach. This ease of current use has kept me from working too hard to find a way to automate it in the CNC workflow.
I was going to mention the pass through boxes, available through your friendly woodworking store as well (like Jeff), they sense voltage being used by your tool of choice, and turn on the vacuum (shop vac or dust extraction) automatically, and then either turn off when the tool turns off, OR you can set a delay, to turn the suction off X amount of time after the tool turns off.
Another option might be the “remote” outlets, which have a key fob, to turn the outlet on/off within a range of the box. The first one I purchased was for Christmas lights. Of course over time, I learned that was an inexpensive remote, and the amp draw long term killed the box. So although cheap to purchase to see how it works for the short term, I can’t recommend the big box stores remote boxes for long term. (I’m assuming the heavier draw of a craftsman shop vac killed it long term, maybe it was just actually worth the price I paid for it) It actually lasted three years, but wasn’t used daily, so was a little surprised when it no longer worked.
I don’t know Peter how things are in AUS, but Rockler and Wood Craft have both in the states. However I haven’t seen them for 240v, I’m assuming it’s because I wasn’t looking for it.
Oh yeah. Those are little RF remotes. They make them specifically for dust collectors.
You could just have the remote stuck on the table and that would be 95% of the utility, with 10% of the effort.
Or you could open up the remote and try to short the buttons from a microcontroller that is controlled by the jackpot. 90% more work for 5% more functionality.
Thank you all for your suggestions - I will take them all on board at the appropriate time, (especially the ones that involve me buying things!)
On that subject, the least expensive remote switch for the vac that I can find is about the same price as the vacuum itself. For that, I can bend over twice a day to reach the switch!
On the other hand:
It’s actually illegal in Aus to play with any AC wiring without a licence, so in the interests of caution any work I do will be inspected by a friend who is, before plugging it in!
I really must get a better understanding of what I can do!
This is currently in use while I plan my full automated dust collection system. It’s convenient enough that it has caused me to not work so hard to get the more automated solution finalized
This is what got me started on this line of thought:
My dust collection system has 5 blast gates, shared by seven eight machines I forgot the router using my magnetic connectors, all within a couple of steps of the switch (and my workshop isn’t very large), in addition there are six machines with vac connections (using my camlock setup), two exhaust fans, and a filter fan.
Swapping between machines keeps me fit, but with all that swapping, automation isn’t possible.
I am planning a self-contained vac for the LR3, but of course one of the exhaust fans might come into play too.
Perhaps I need to look at a model railroad controller!
My one-day-will-be automated motorized Ball Valve blast gates beg to differ
I looked into automating them with the use of current-sensing, etc, but decided I’m just going to put a toggle switch at each tool station, and manually activate the signal that will automate all of the routing.
Probably the only one that will be automatic will be the one coming from the Jackpot.
I had a bit of the code already done, as well as a bit of the all the electronics planning…then I ran across some website where people were building CNC machines…and well…it lost priority lol
I didn’t mean impossible - just not practicable for me because I already have to move some machines before connection anyway, and my space is a little bit… squeezy AND I have 6" ducts just to add to the degree of difficulty! The prospect of using model railroad software is intriguing though…and it’s not as if it hasn’t already been done.
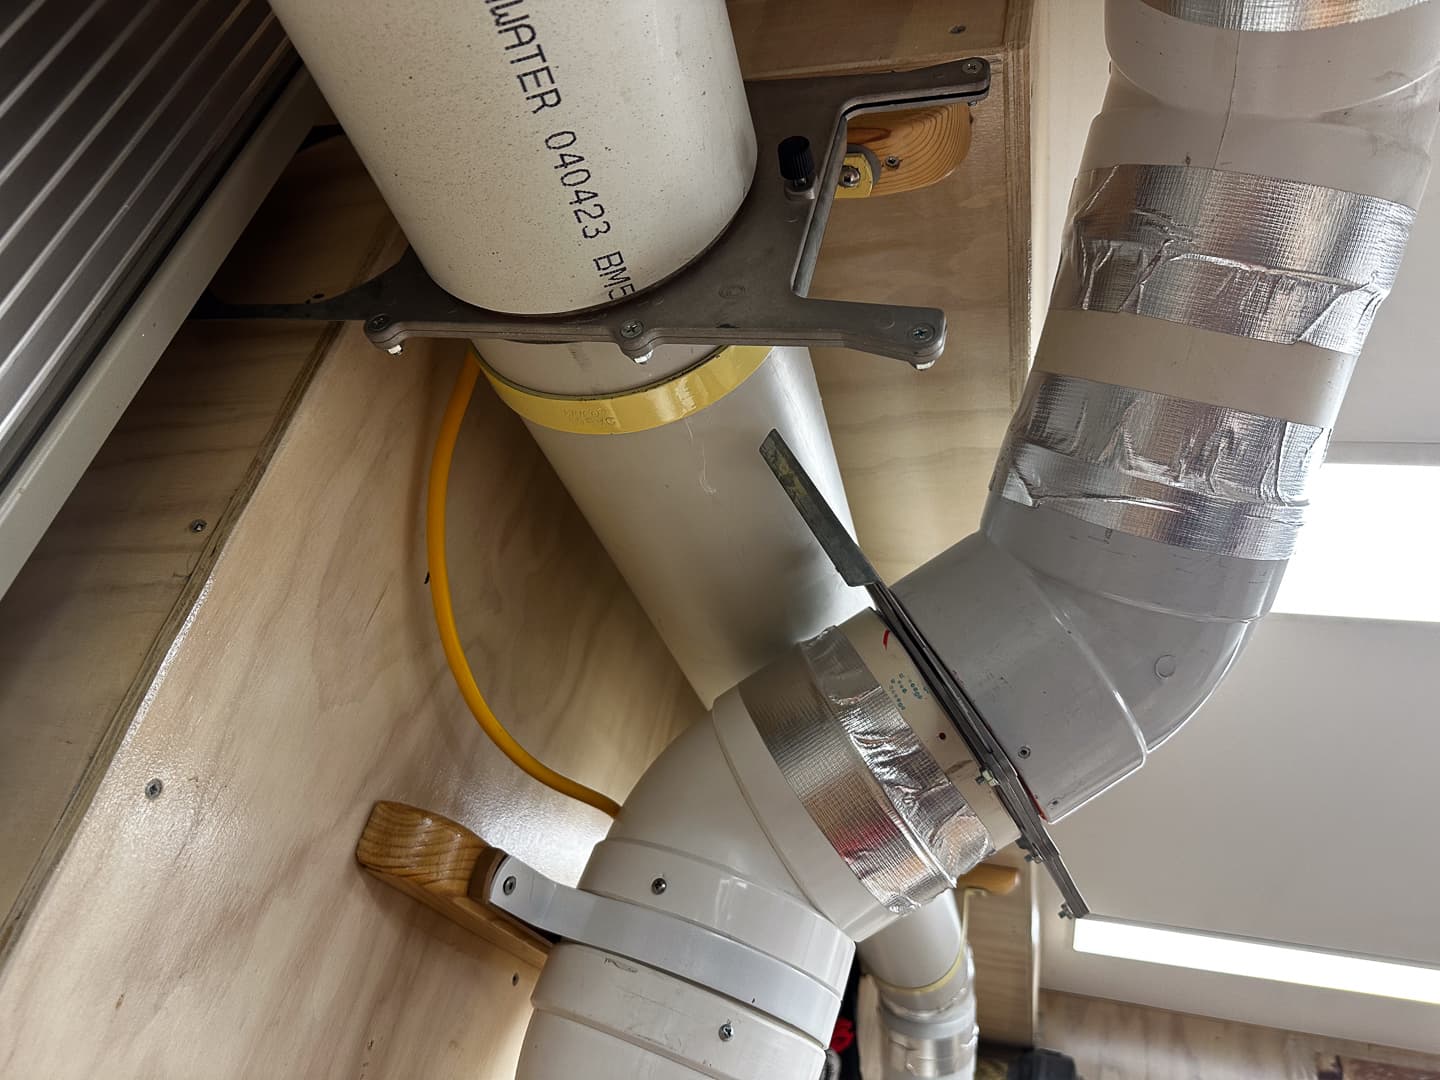
Here’s 6mX3 (10 x 20’) viewed from the corridor outside. Top right is the very corner of my Jet filter, below it in the background is one of the exhaust fans (there’s another out of shot to the left - they work independently depending on which is the best air direction to clear the shop, and provide a negative pressure to keep dust and fumes from the house) - That little dash of orange is the LR3 without its fenders.
All gates for the DC can be reached within one step of the power switch. Now you have me thinking about automating the exhaust and filter though… the filter already has a remote that I don’t use.
From memory, the 2.5hp machine is only capable of 1200 cfm, but with the 150 pipes and bellmouths, you pretty much can rely on that - but it drops rapidly with longer runs and smaller hose. Note that my runs are short and the 4" flex is always less than a few feet. The efficiency of the bellmouth hoods is quite amazing - the (black) extractor fans have a dust covering from the vortices they create (I’m going to fix that when the Mk$ gets here!) , whereas the bellmouth hoods pull from just a little aft of side on.
I have a full parametric version which works from 60mm to 200mm duct diameter (for a 250 printer plate) but I am waiting to build one before publishing.
Besides - they look as though I know what I’m talking about, and looks are everything!
Just FYI here’s the sketch and how they fit on the print plate (160mm duct size shown) - there are a couple of little holes in the ribs to locate with a bit of filament during assembly.