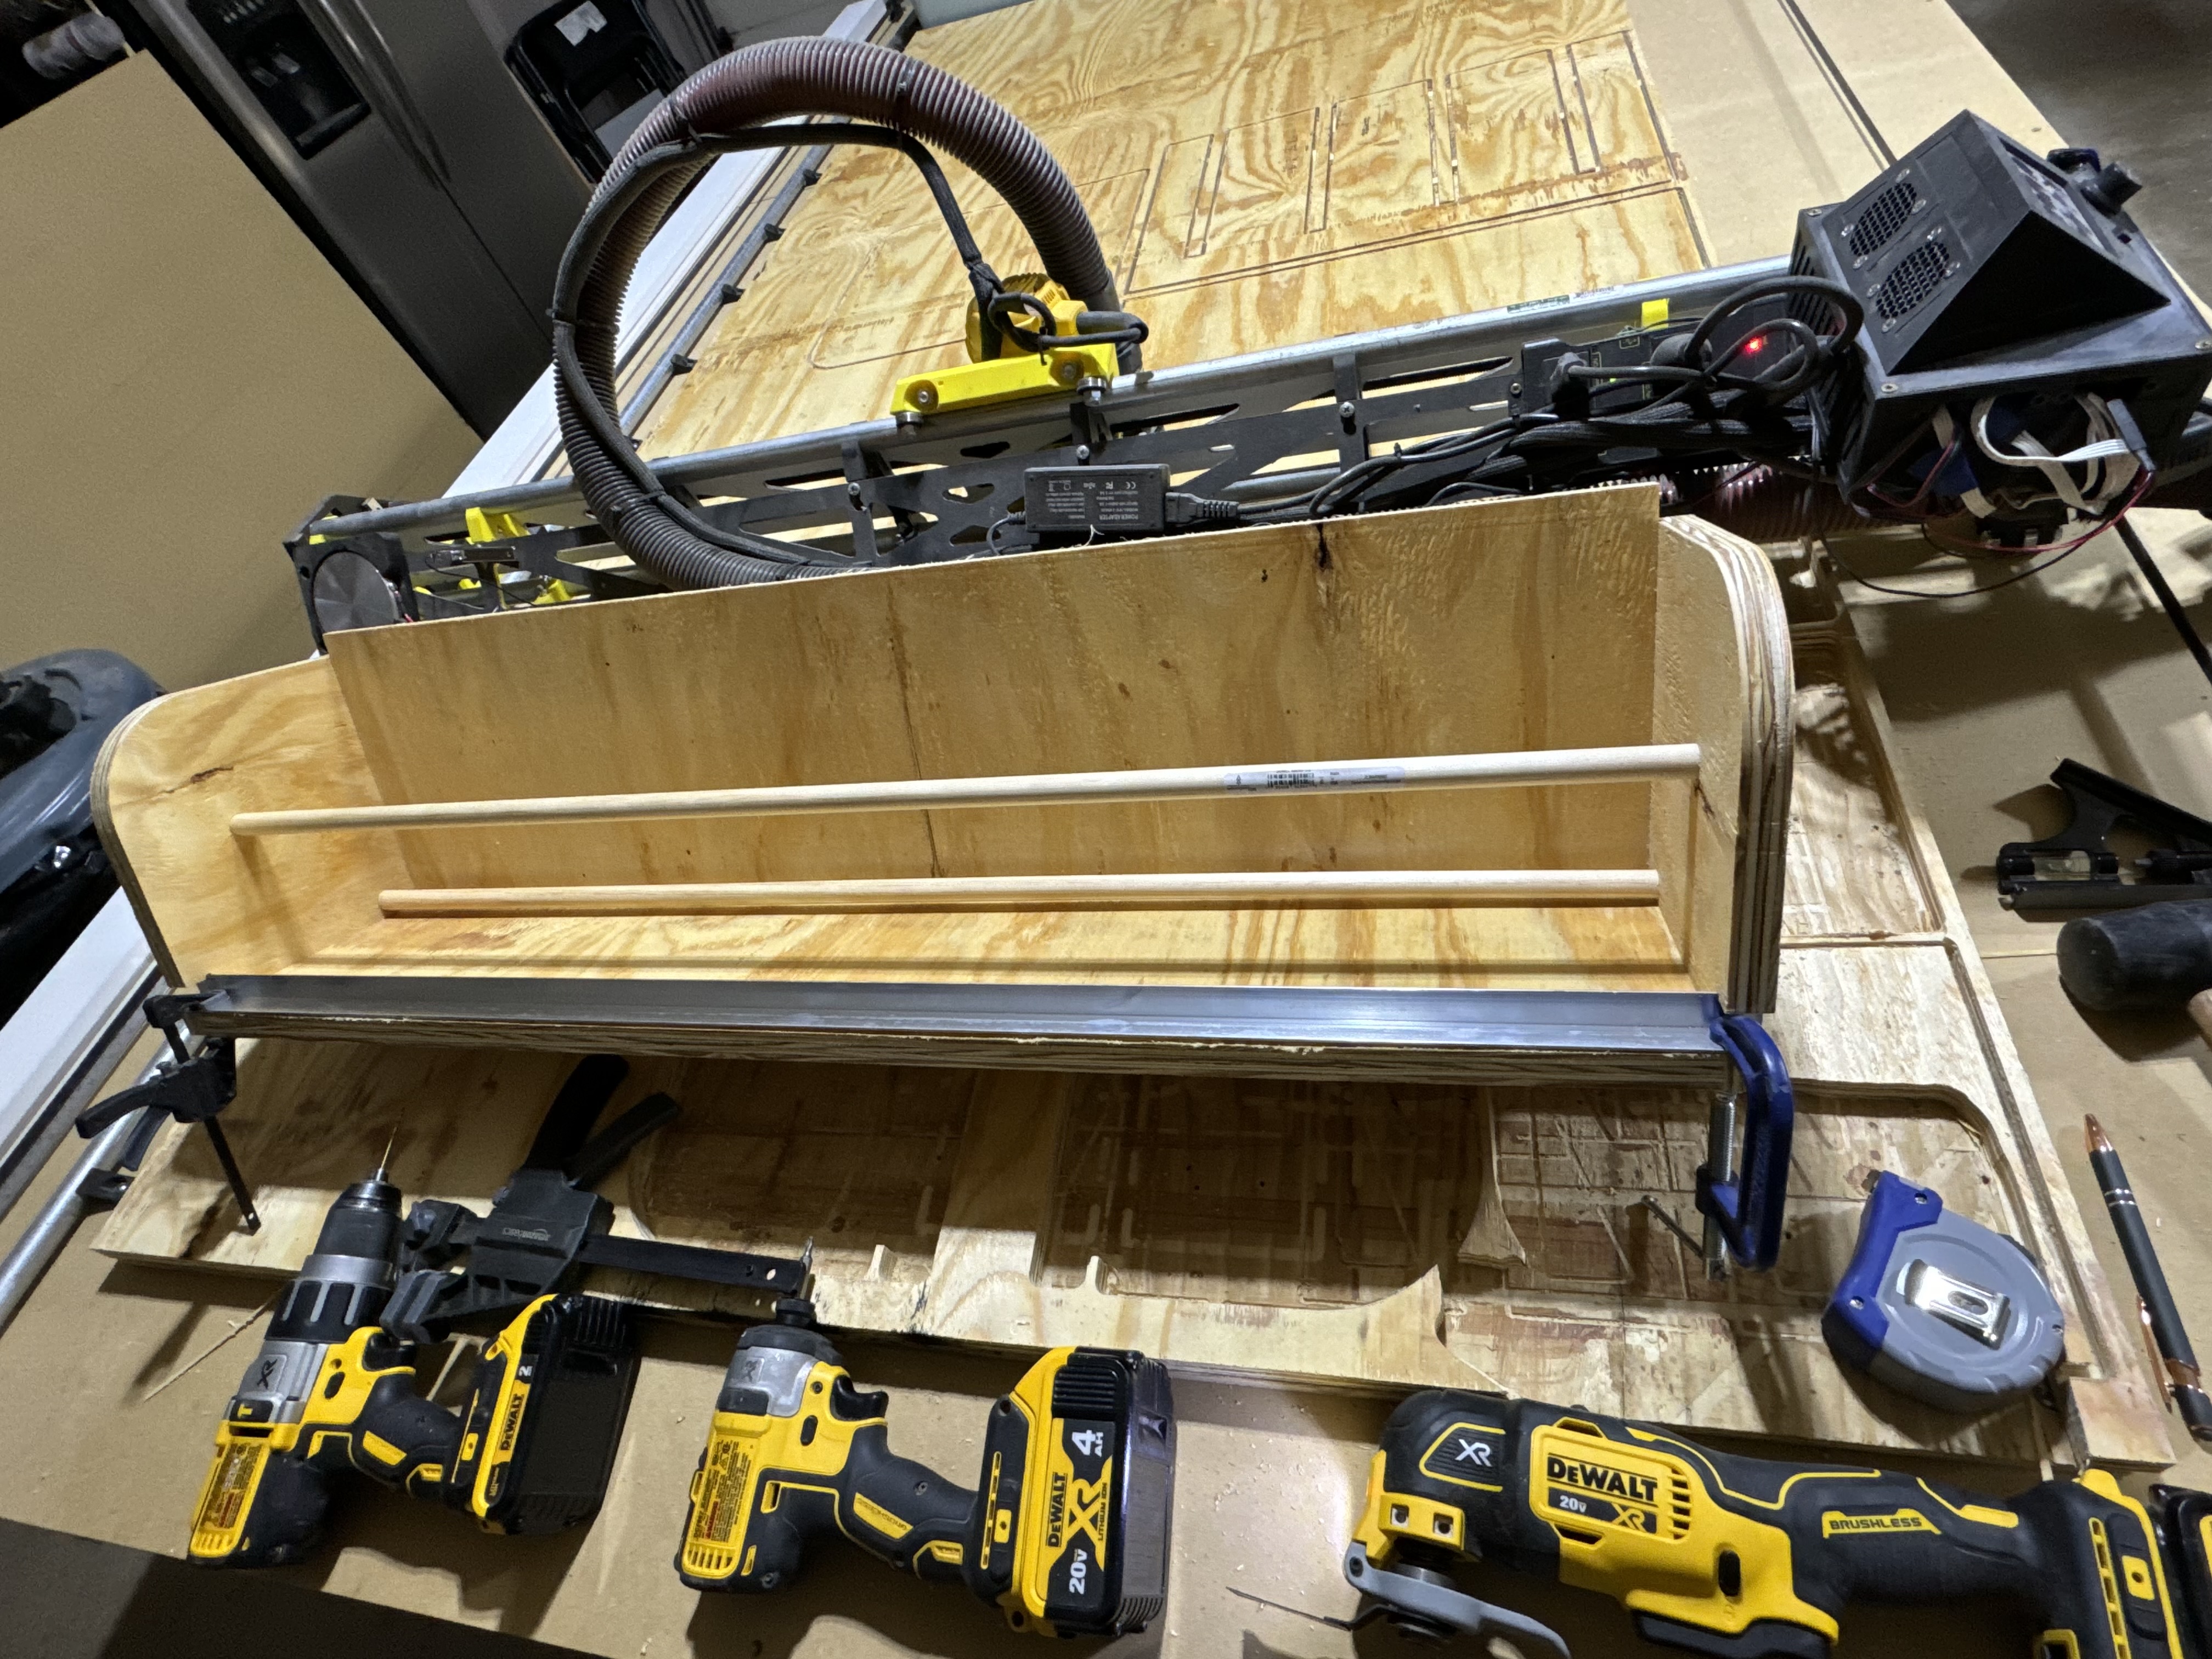
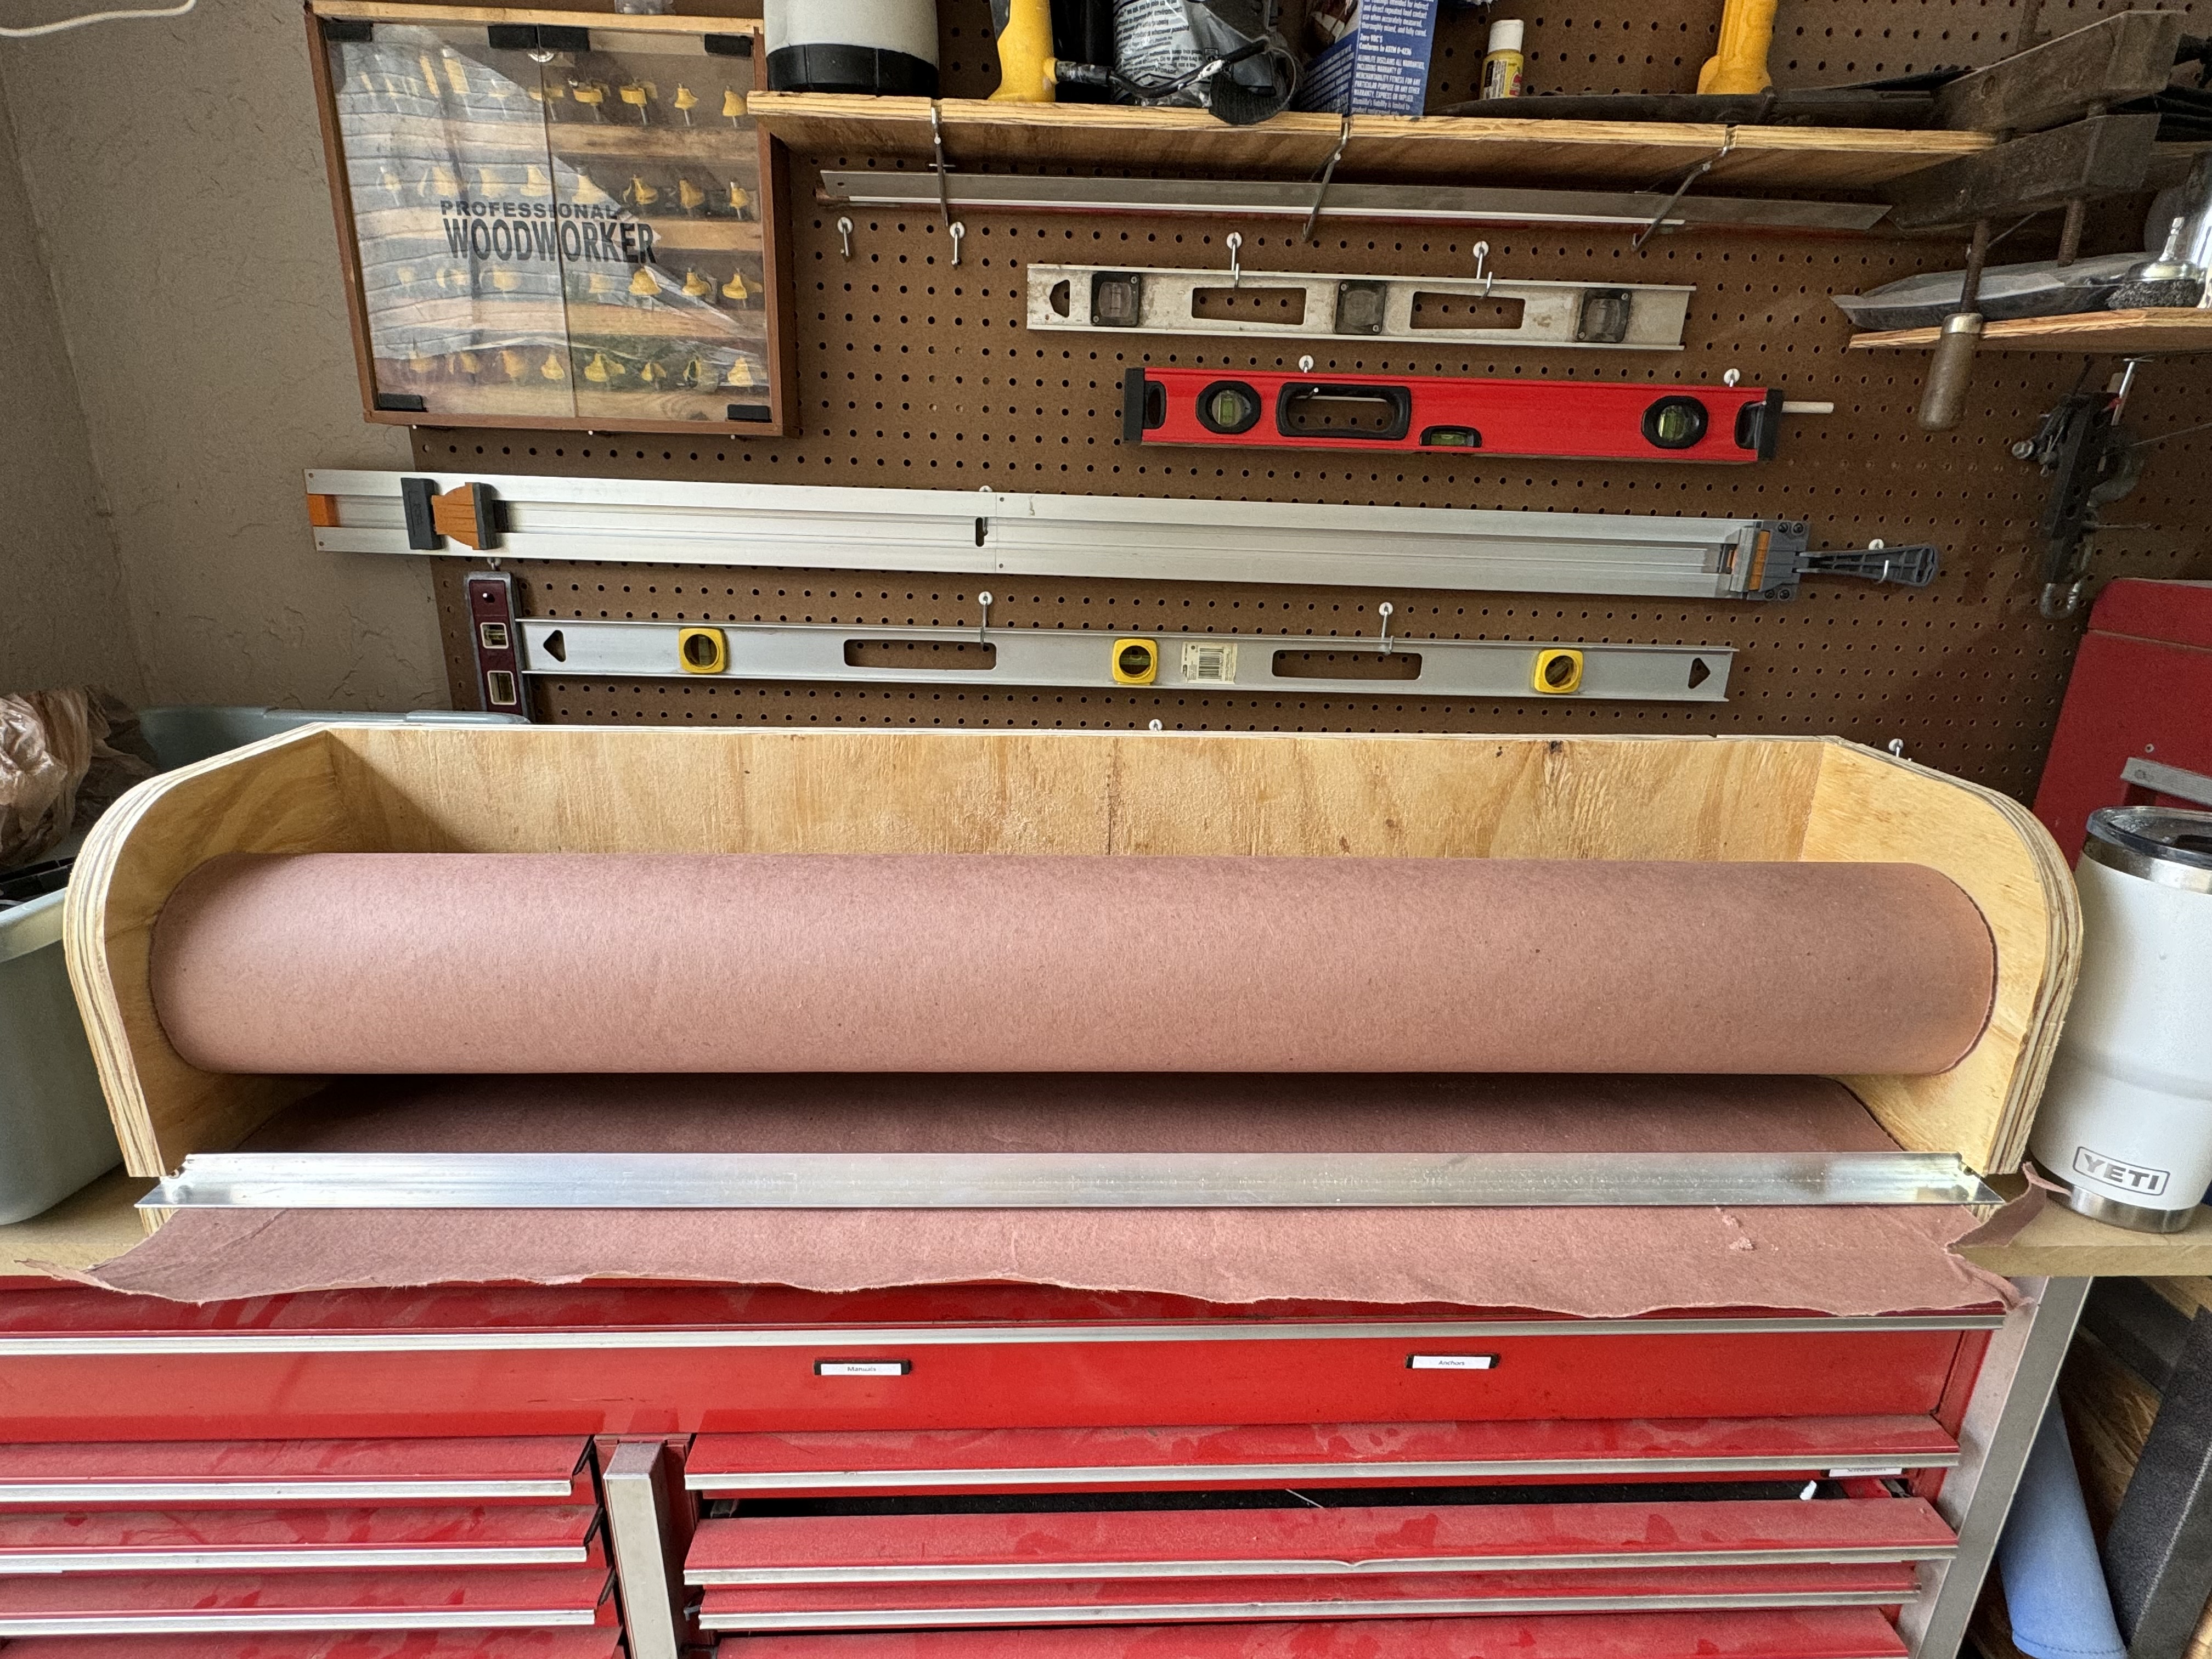
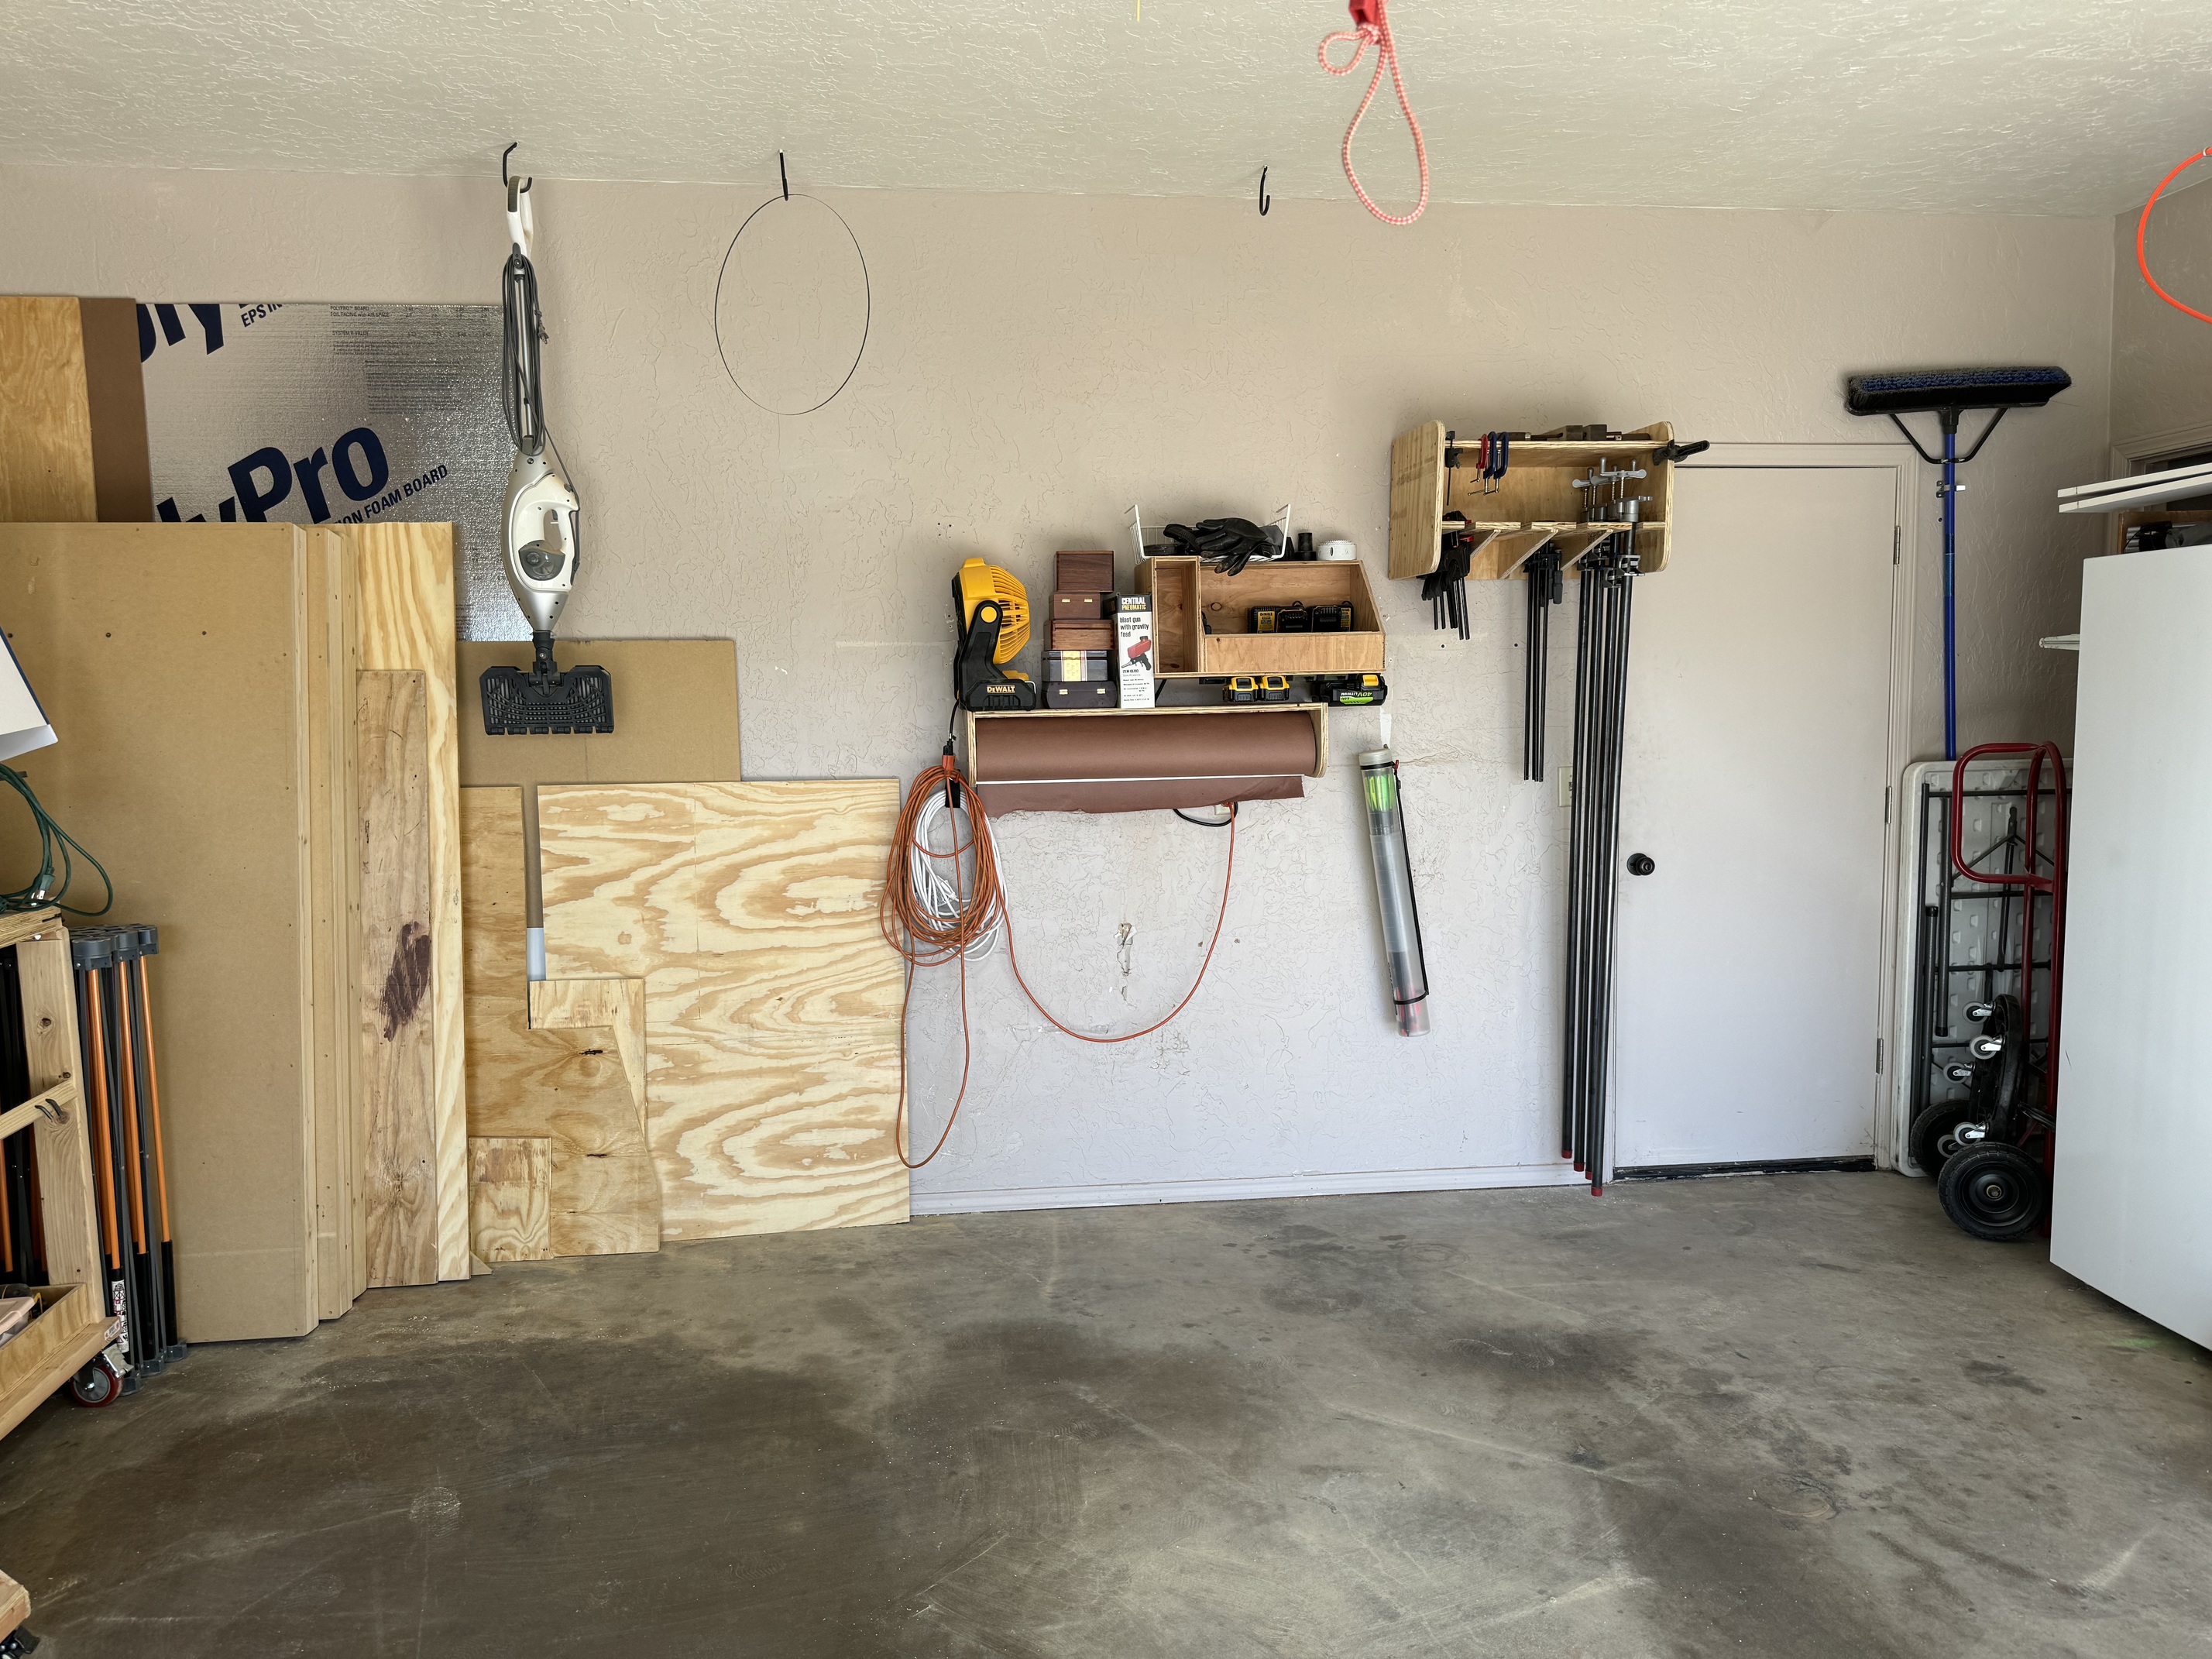
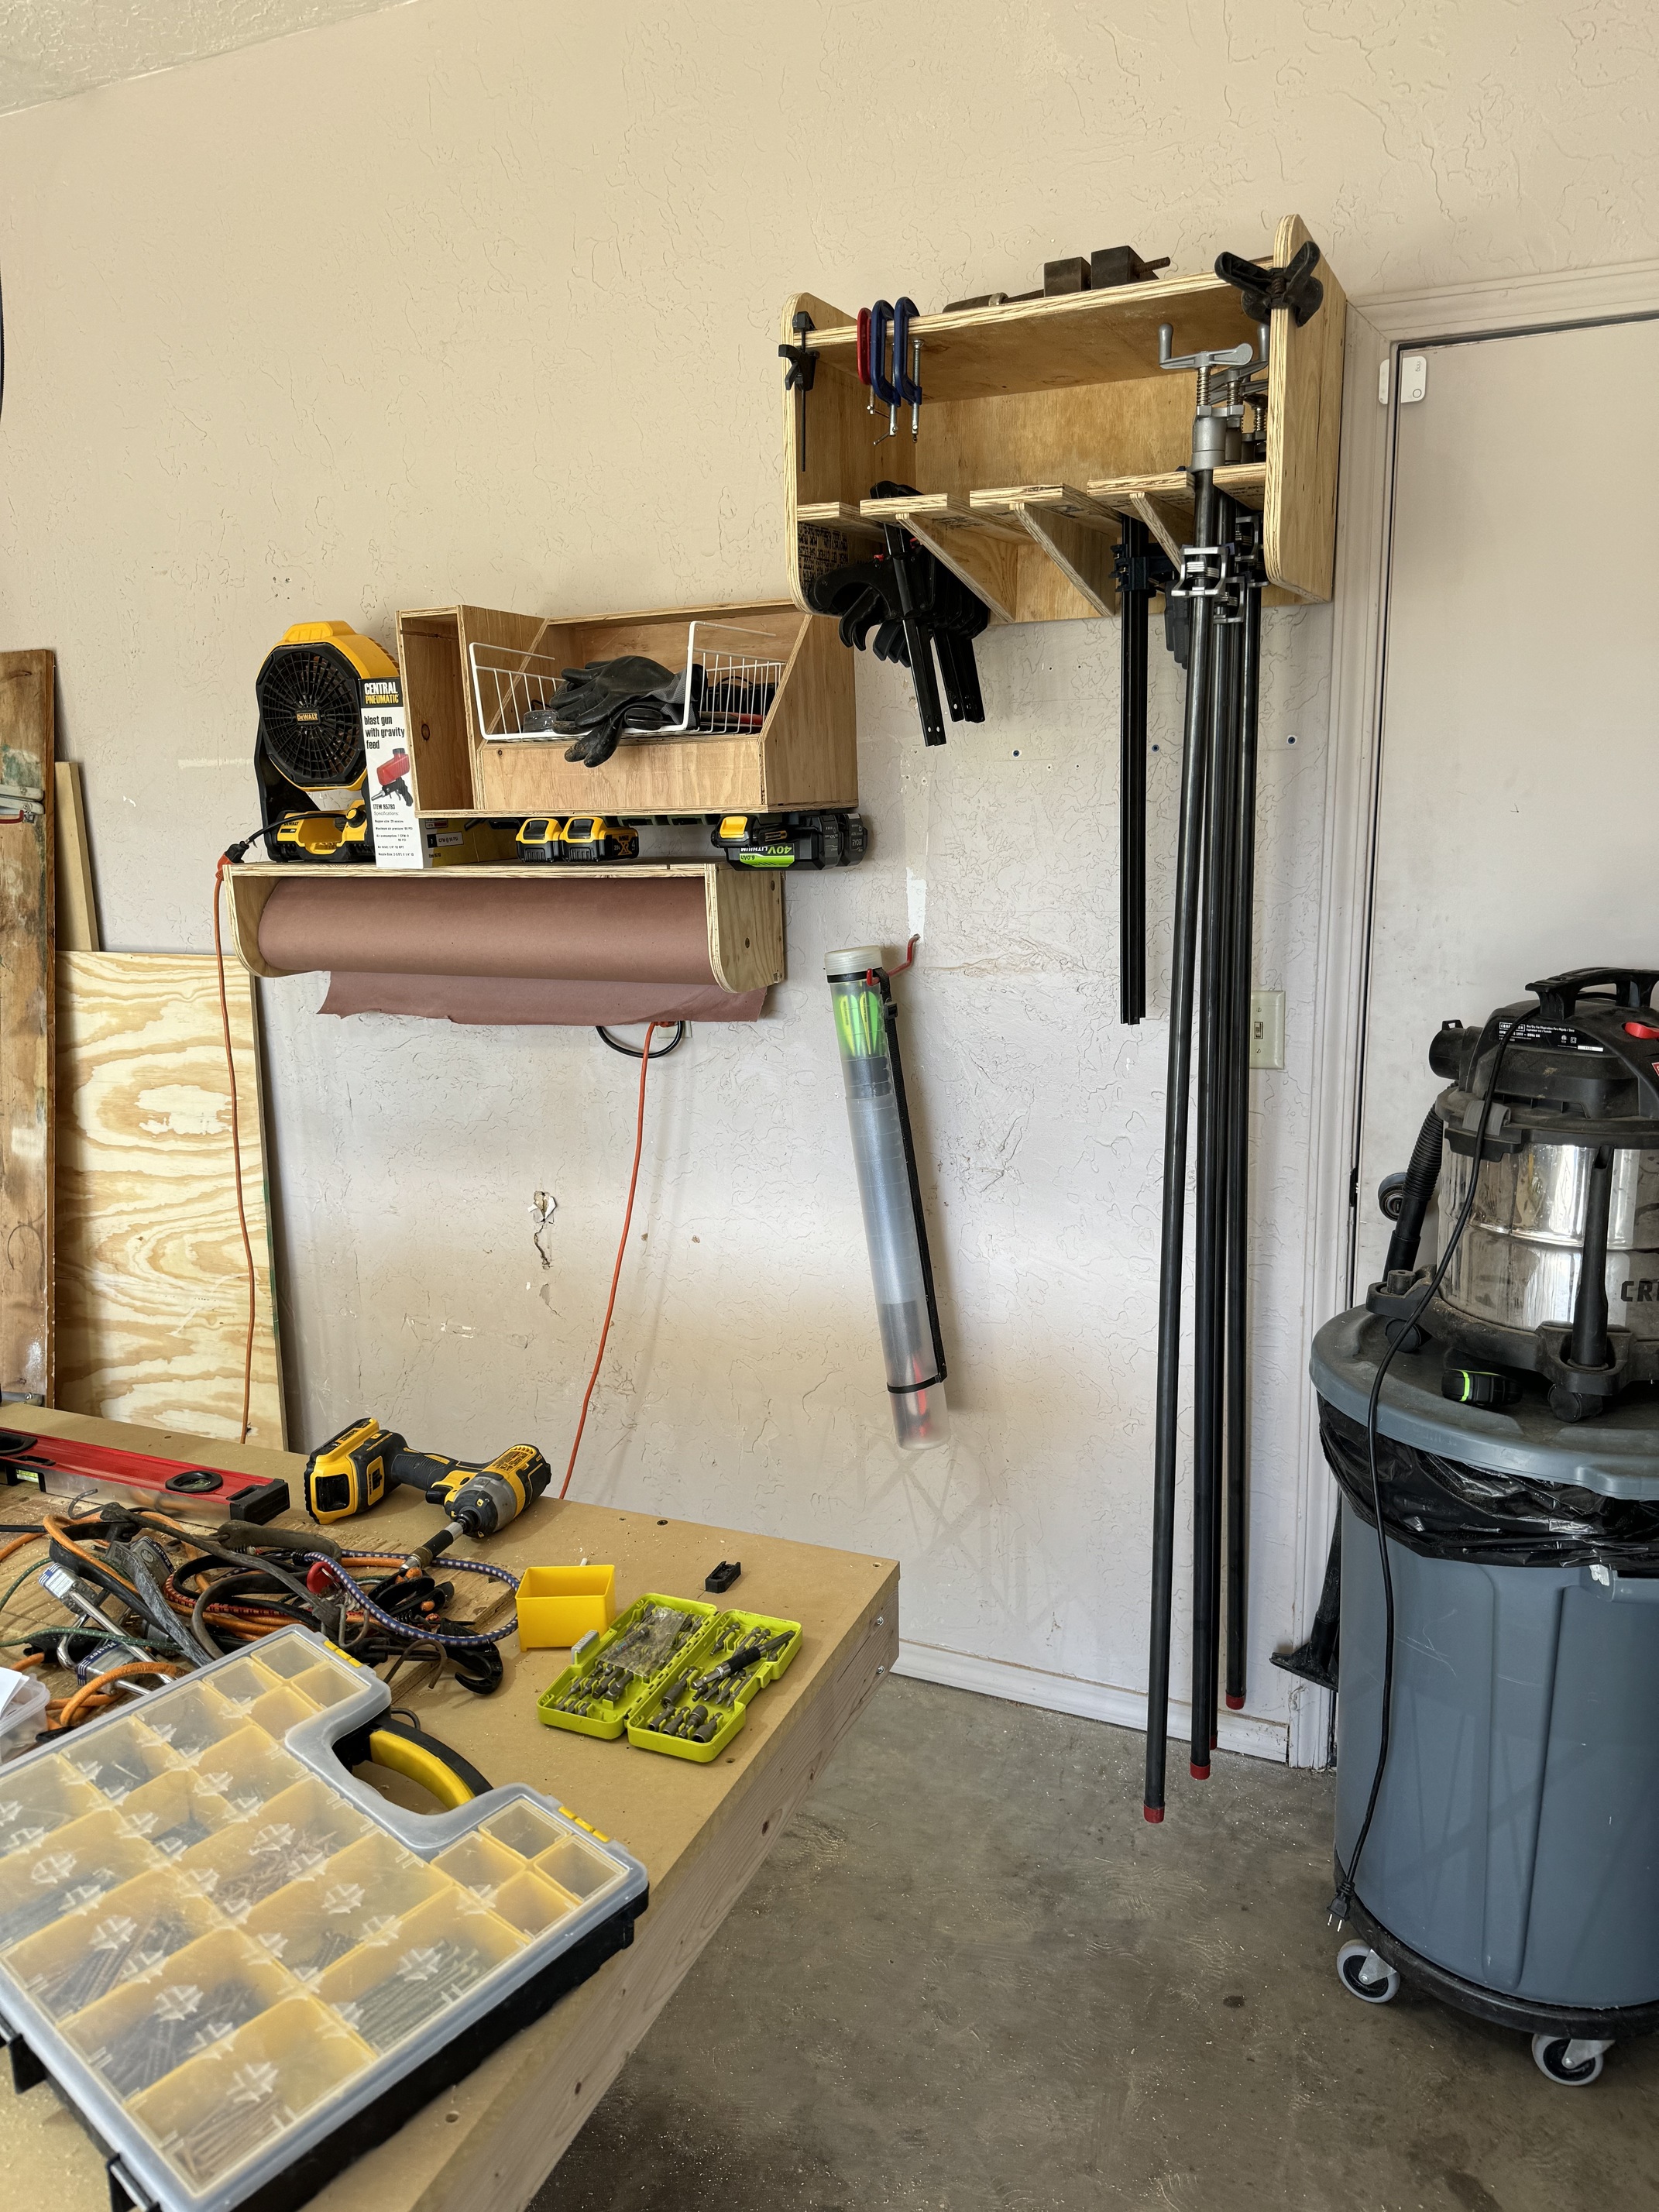
I find my myself gluing and painting more and more these days, so I figured I’d go ahead and grab a 3 foot craft paper roll from the old Lowe’s down the street instead of stealing from my smoker wrapping paper stock. Little did I know that this stuff is a little annoying to cut in straight lines and rather bulky, so difficult to find a home for… figured if I’m going to do it, might as well go all in for a wall mount with a paper guide and cutter.
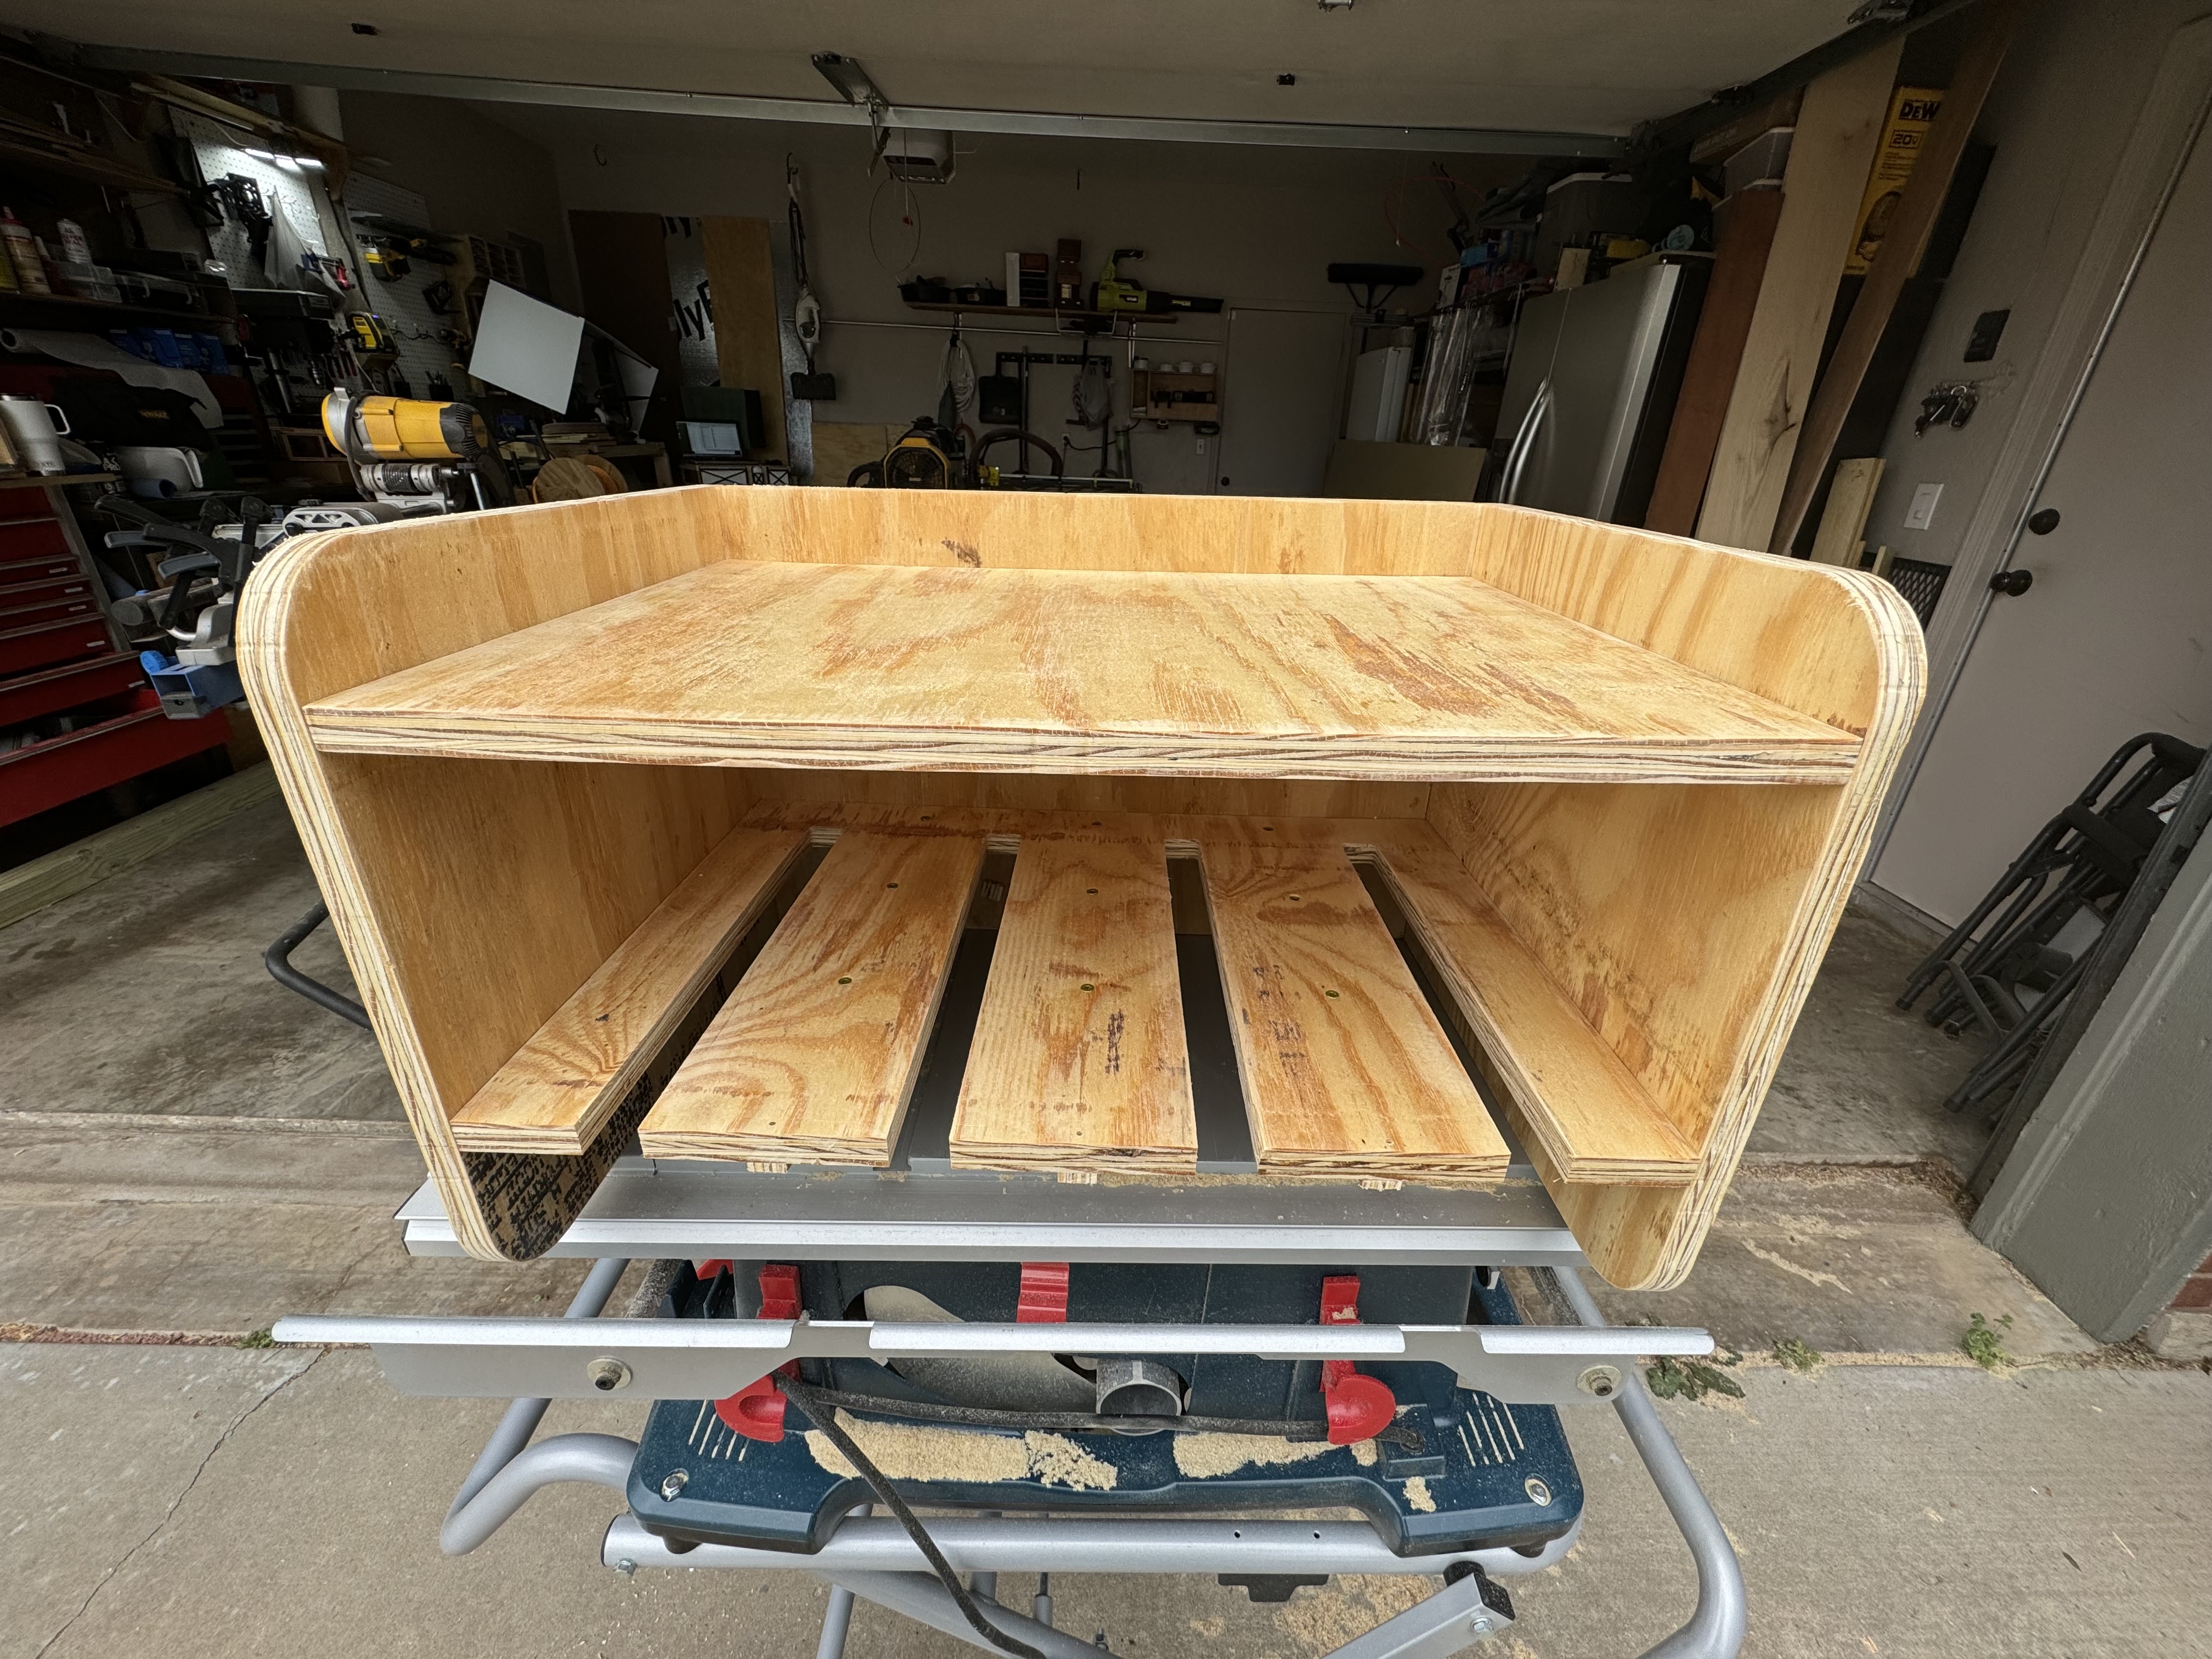
Along with said gluing and whatnot, my clamp collection is growing every month and they’re just stashed everywhere, so decided to make myself a “little” hanging clamp organizer. Everything was cut on the LR3, including drilling all the holes to make everything line up easier.
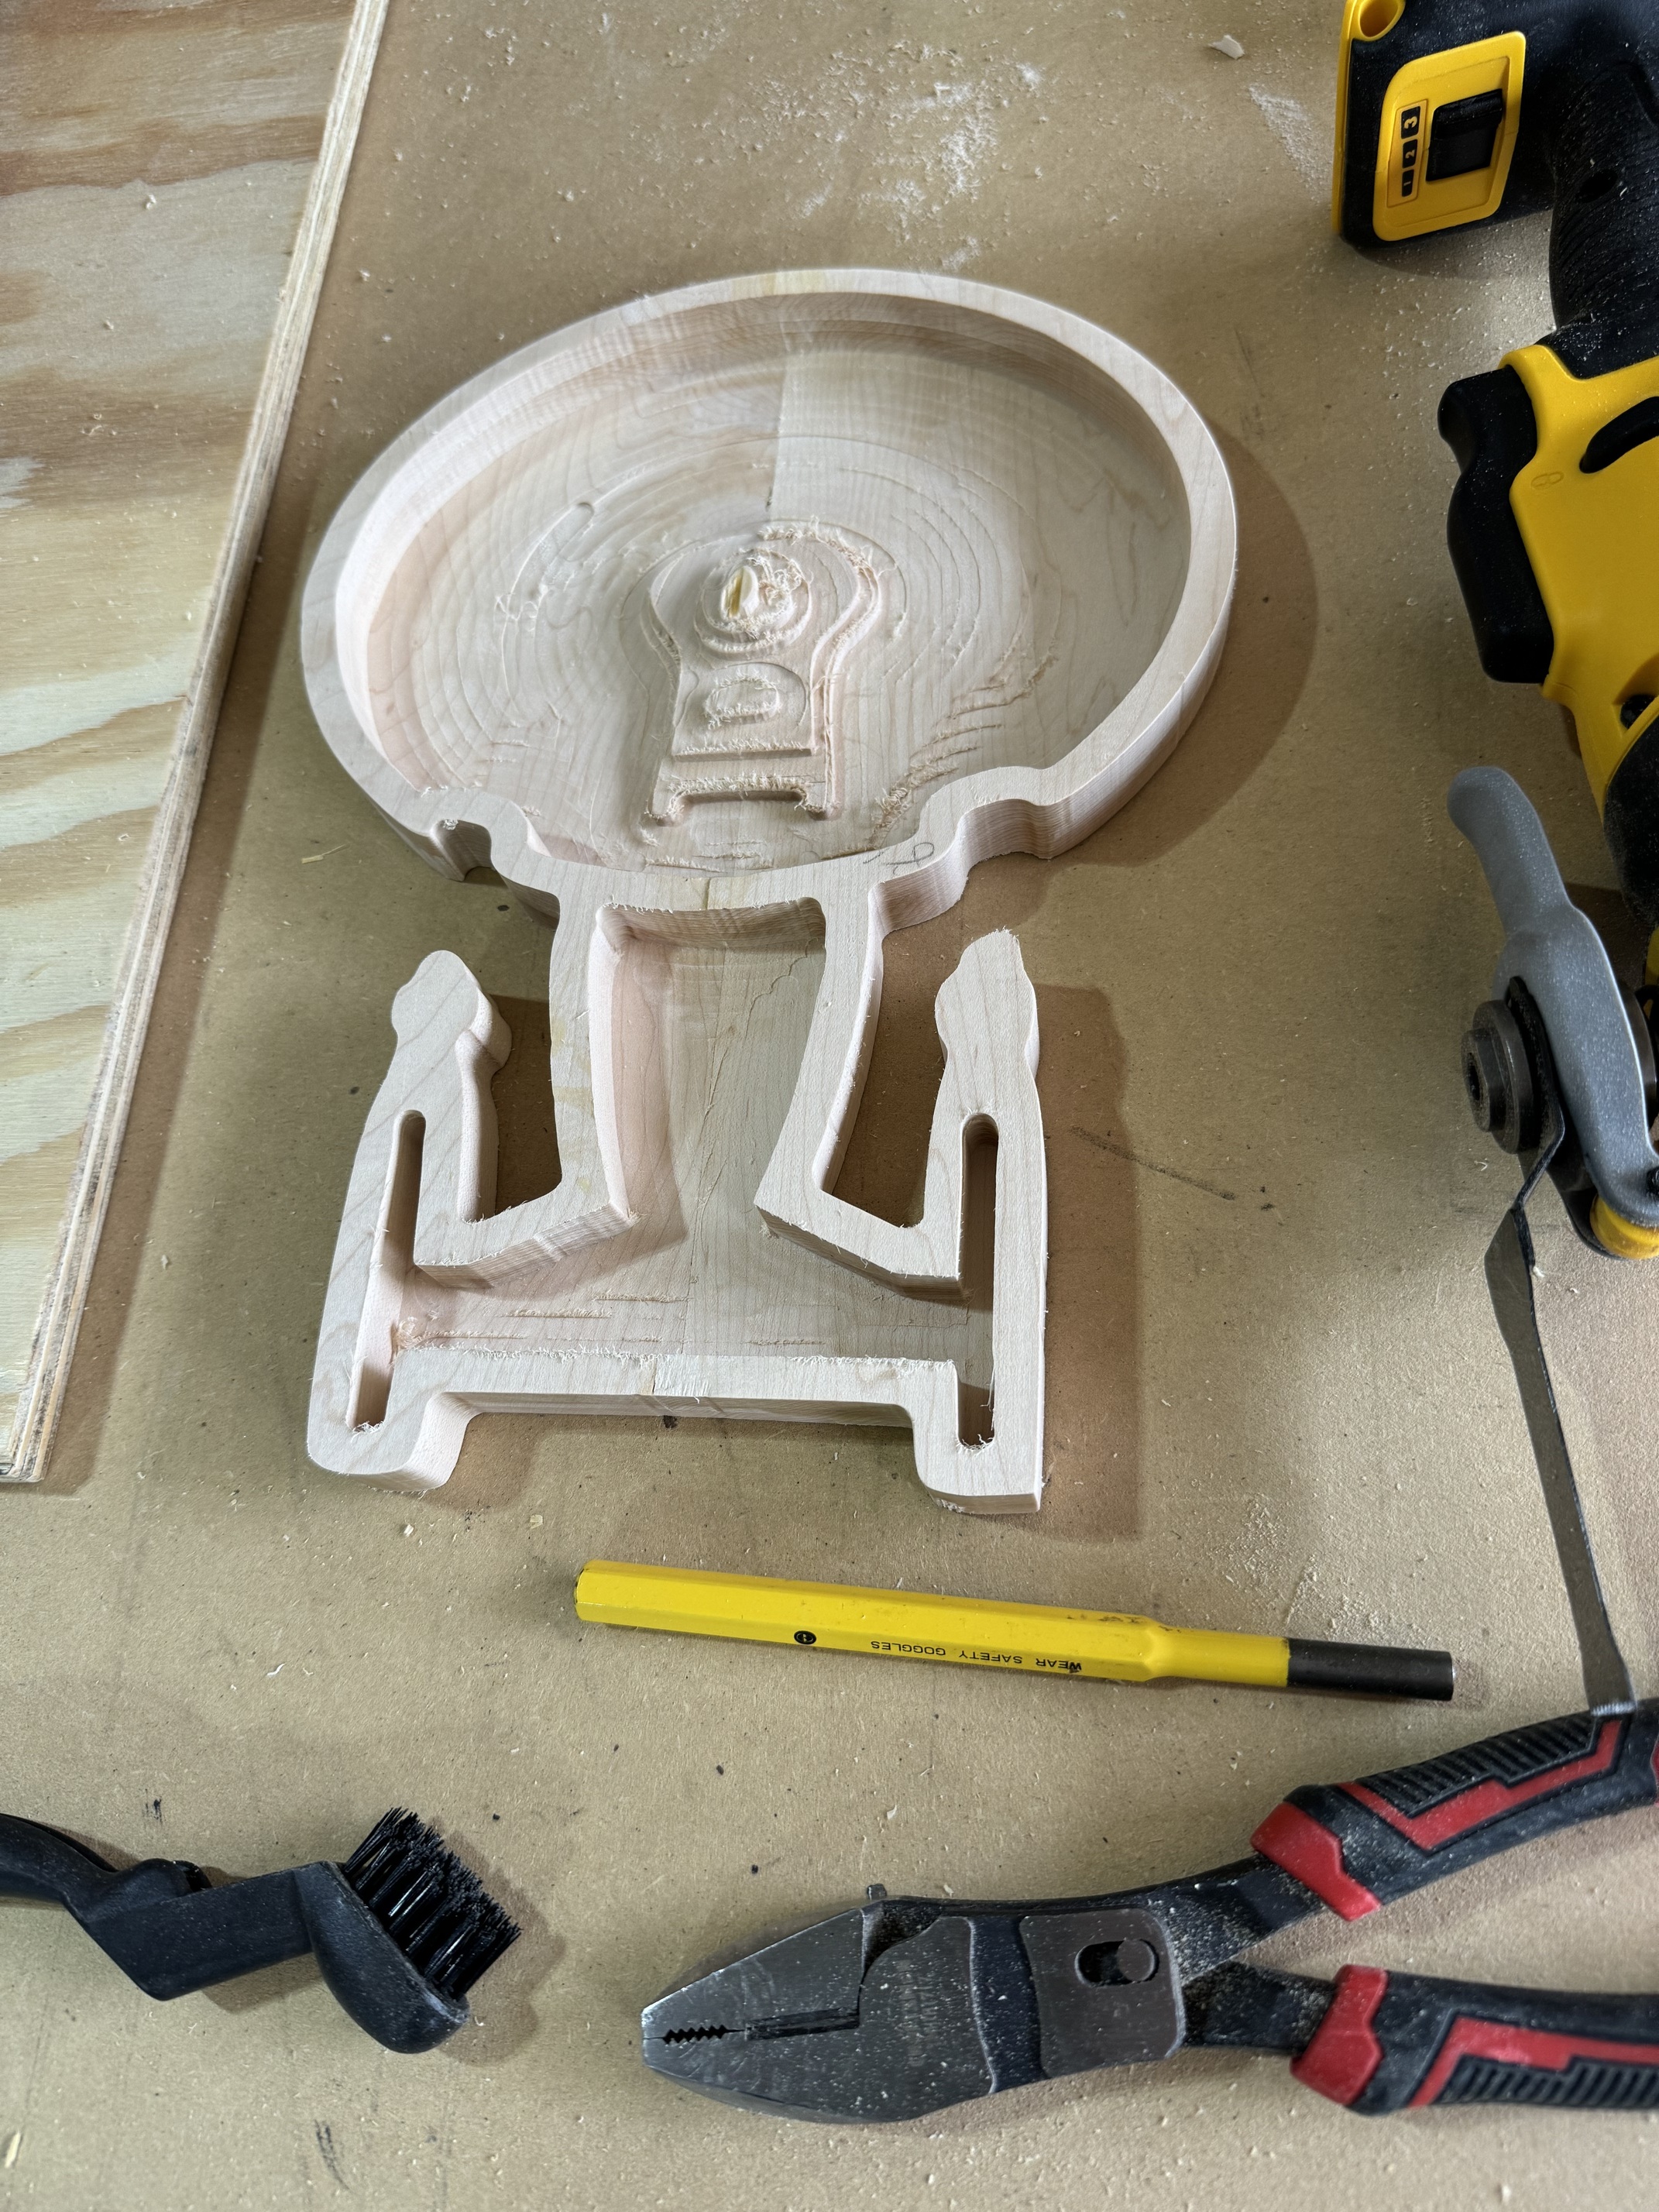
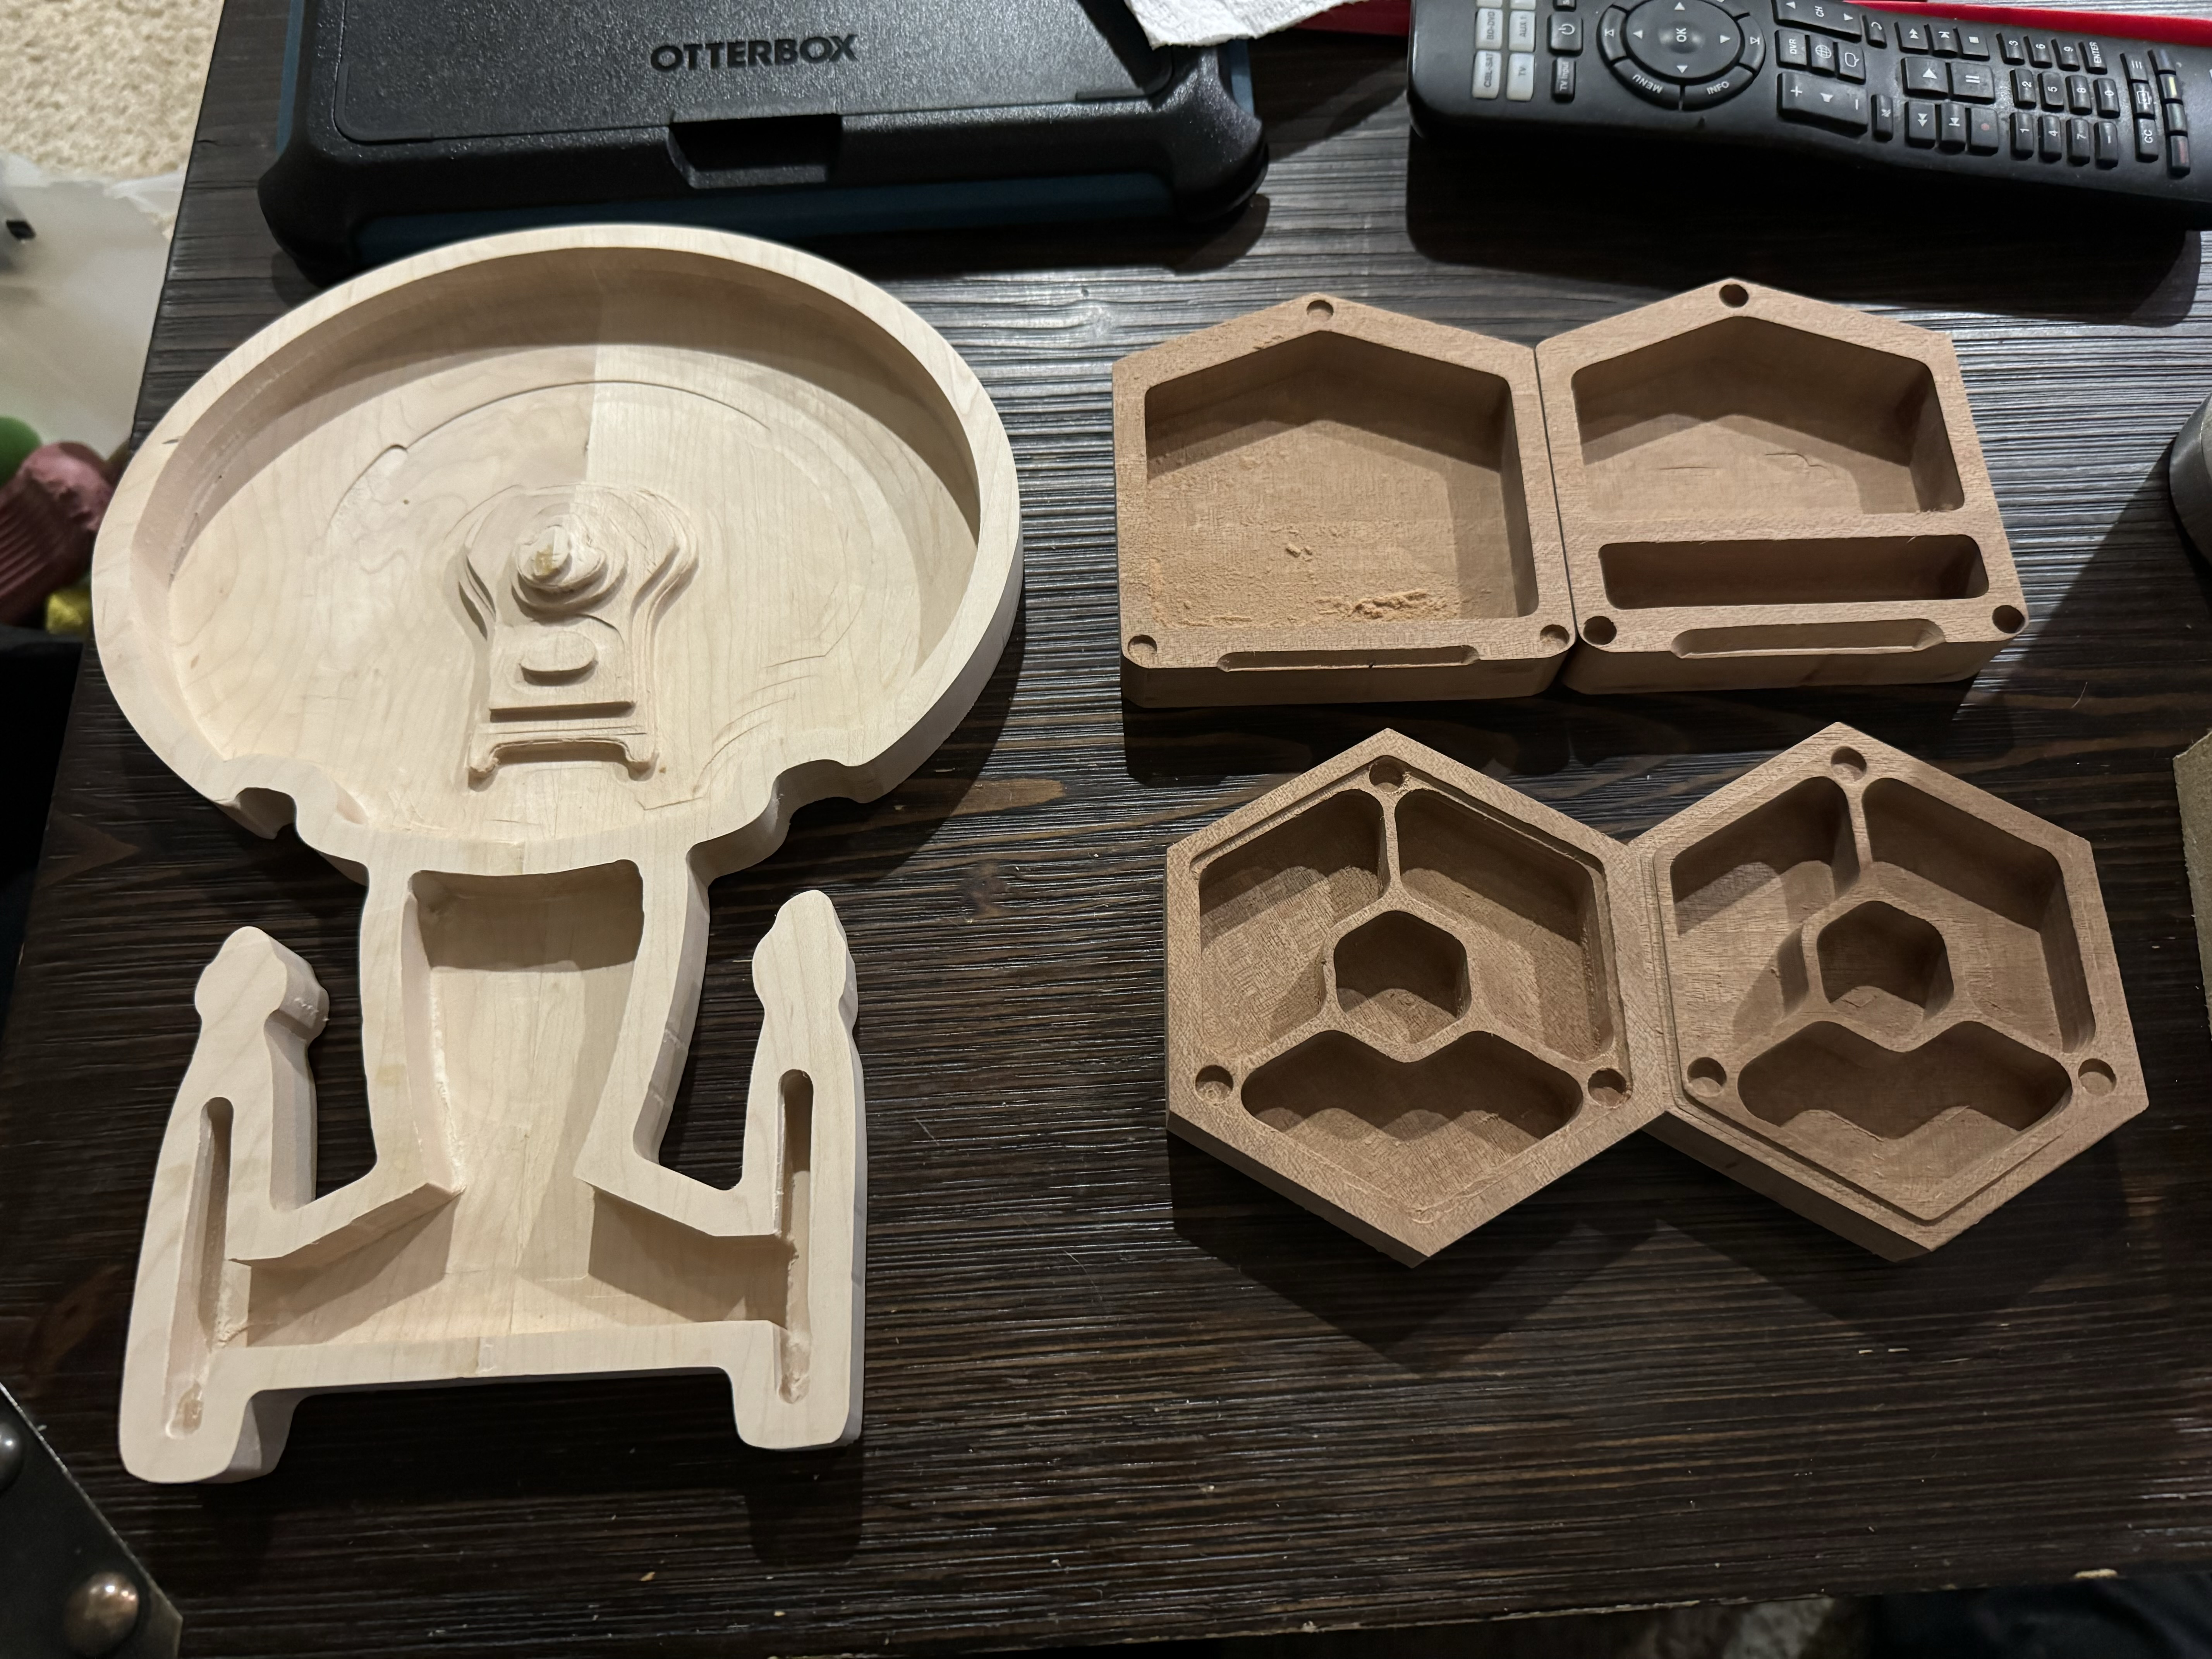
And while I was assembling all of that… the machine was doing a little maple and mahogany work that I still need to clean up, but thought I’d share anyways.
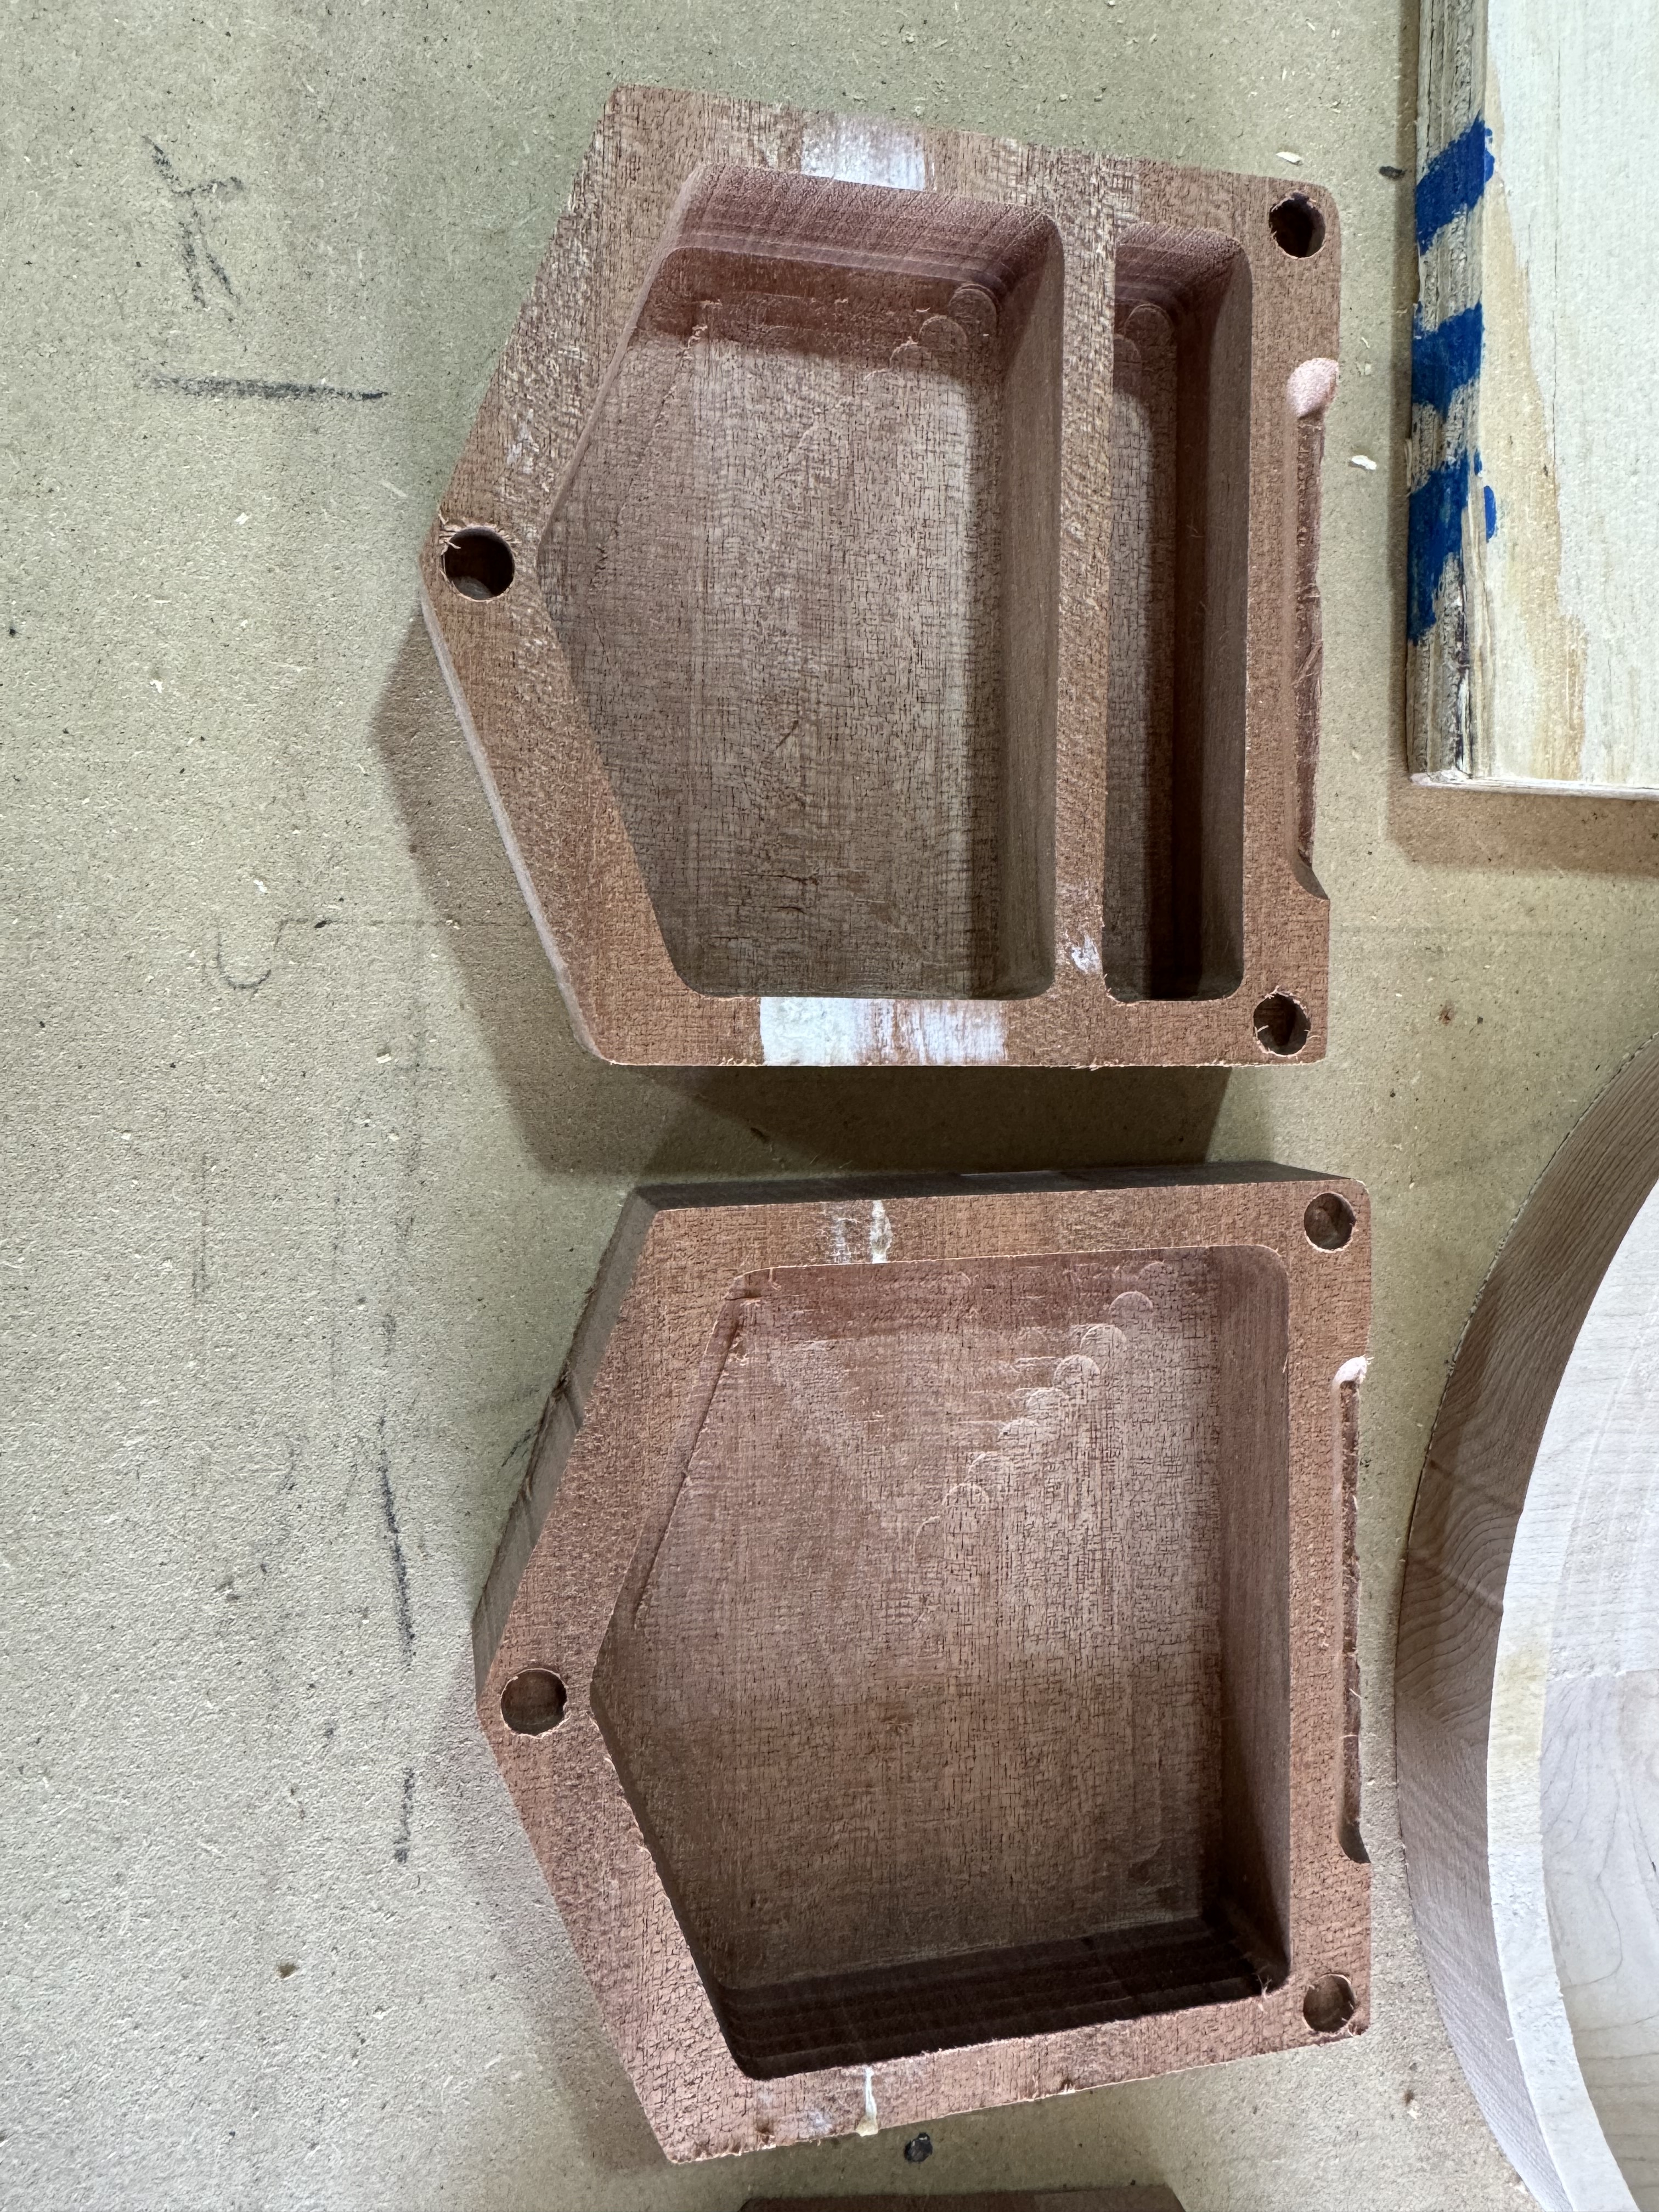
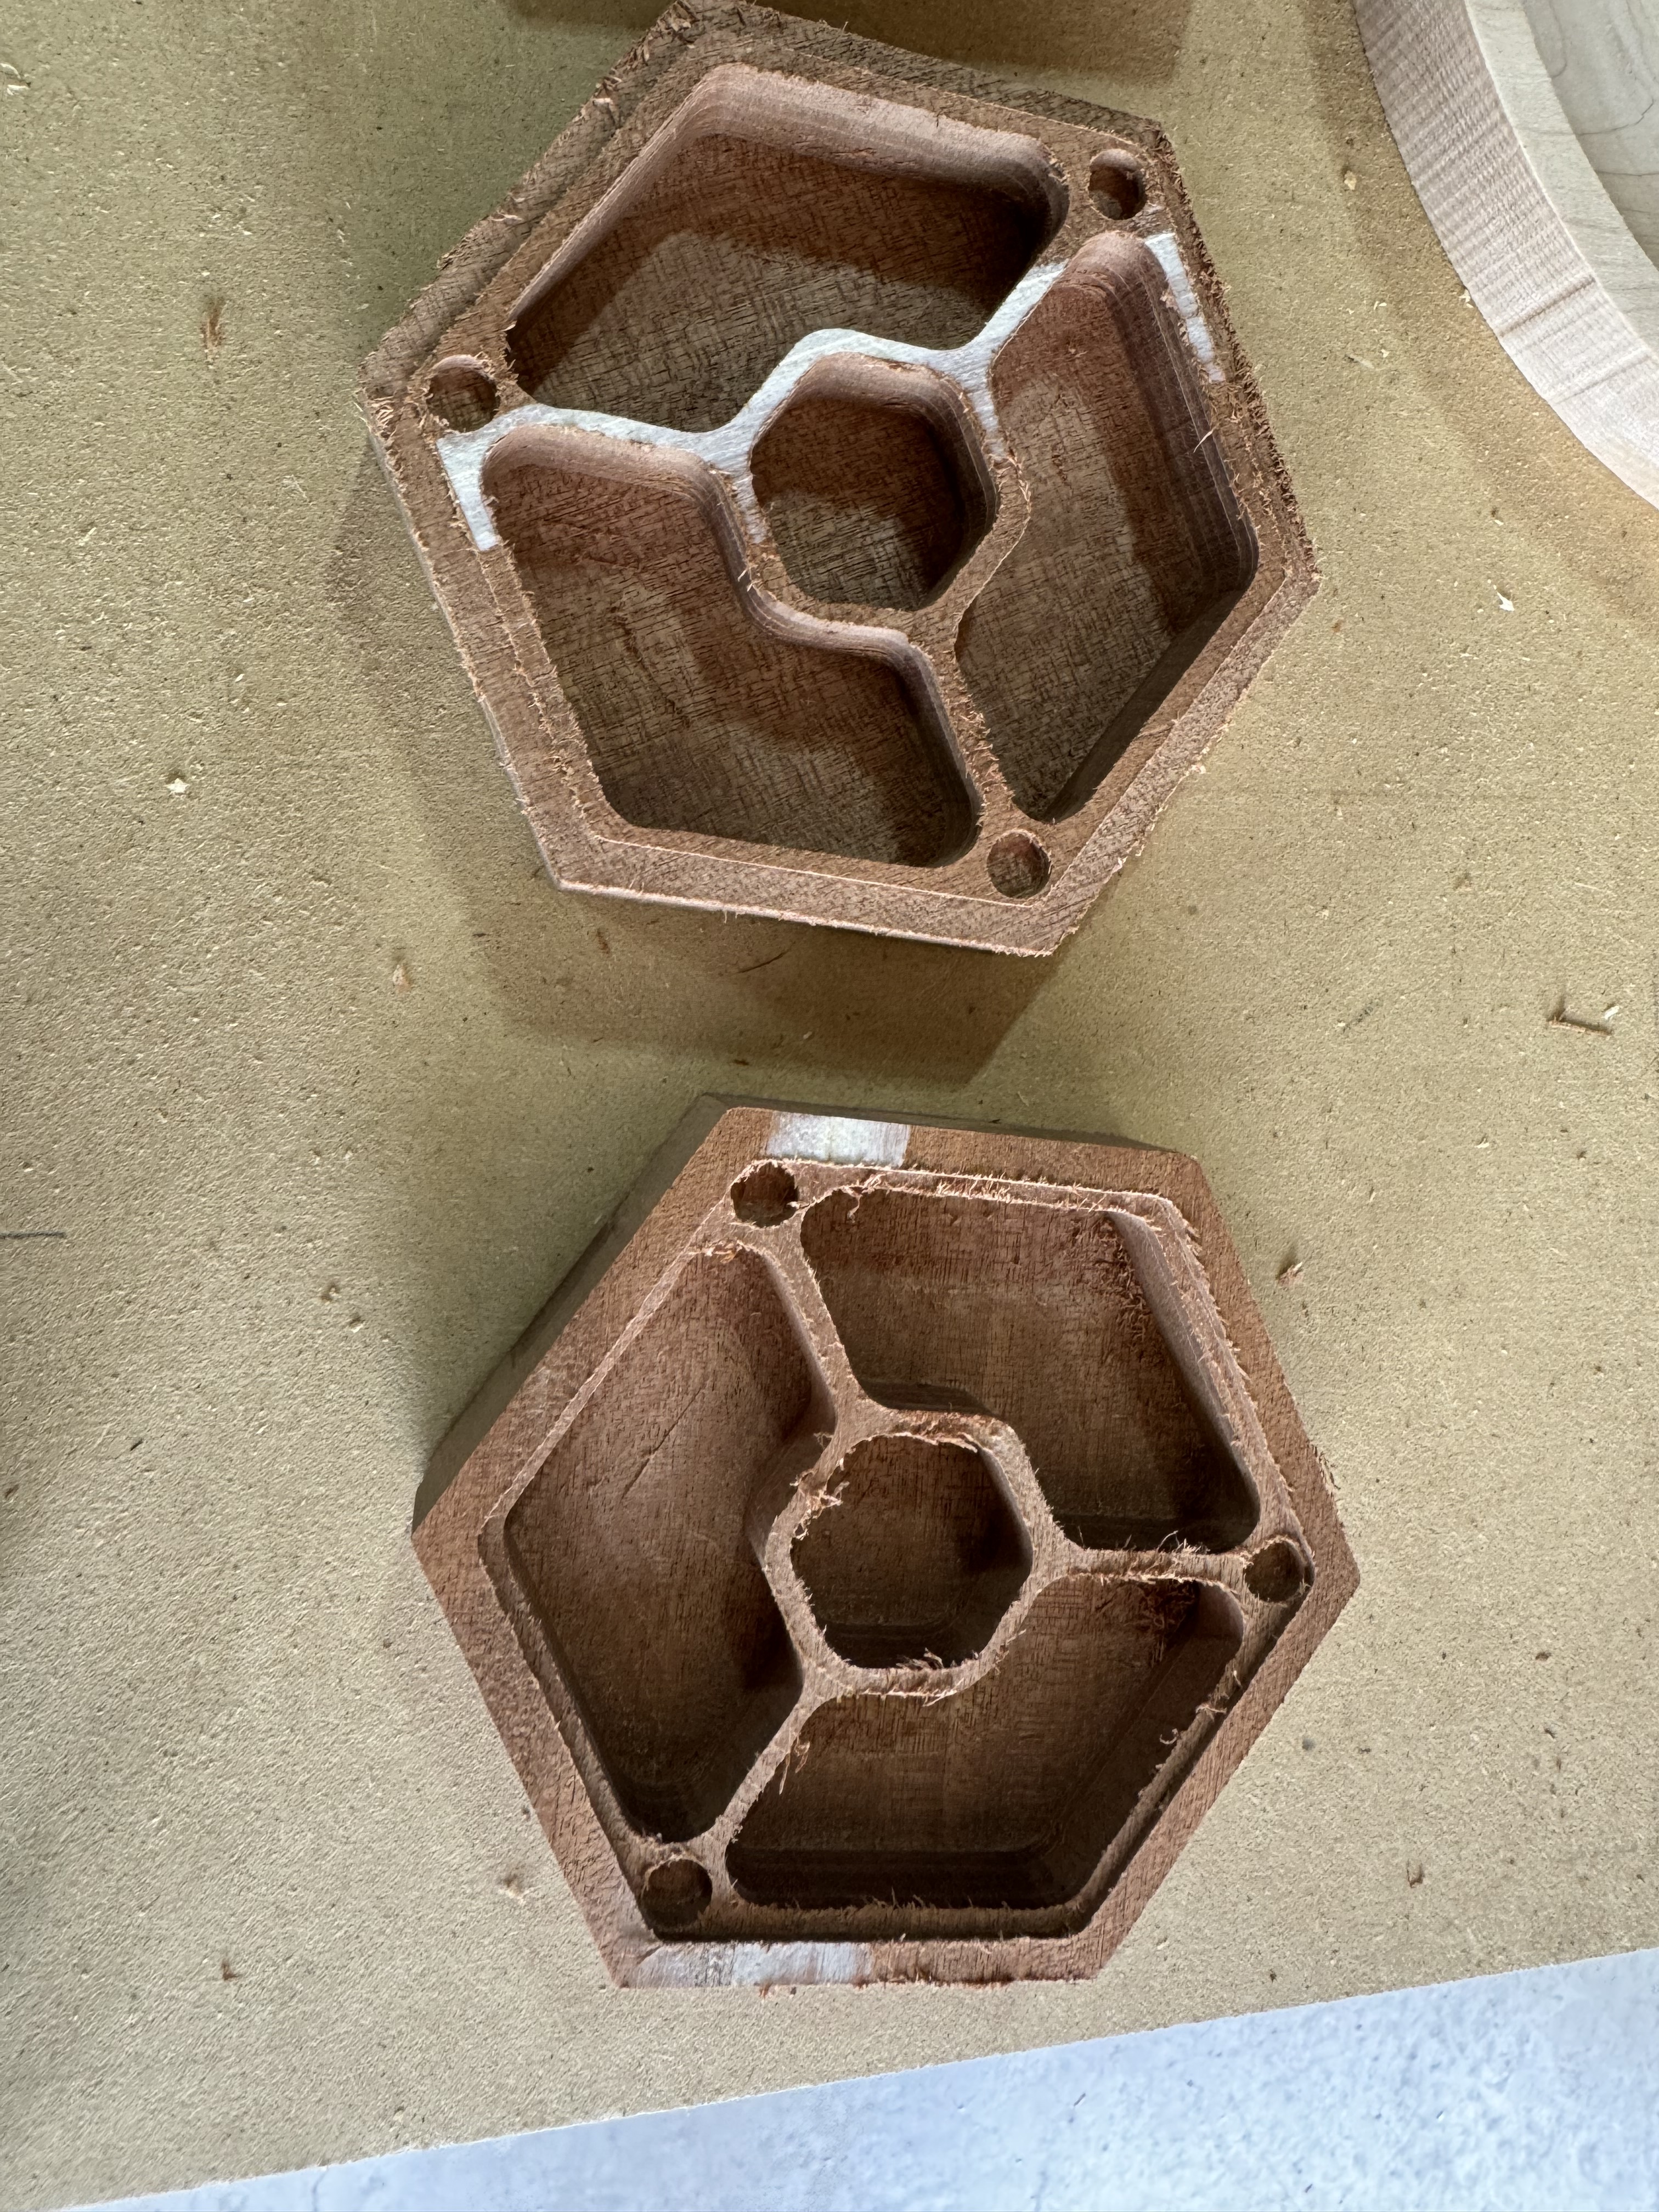
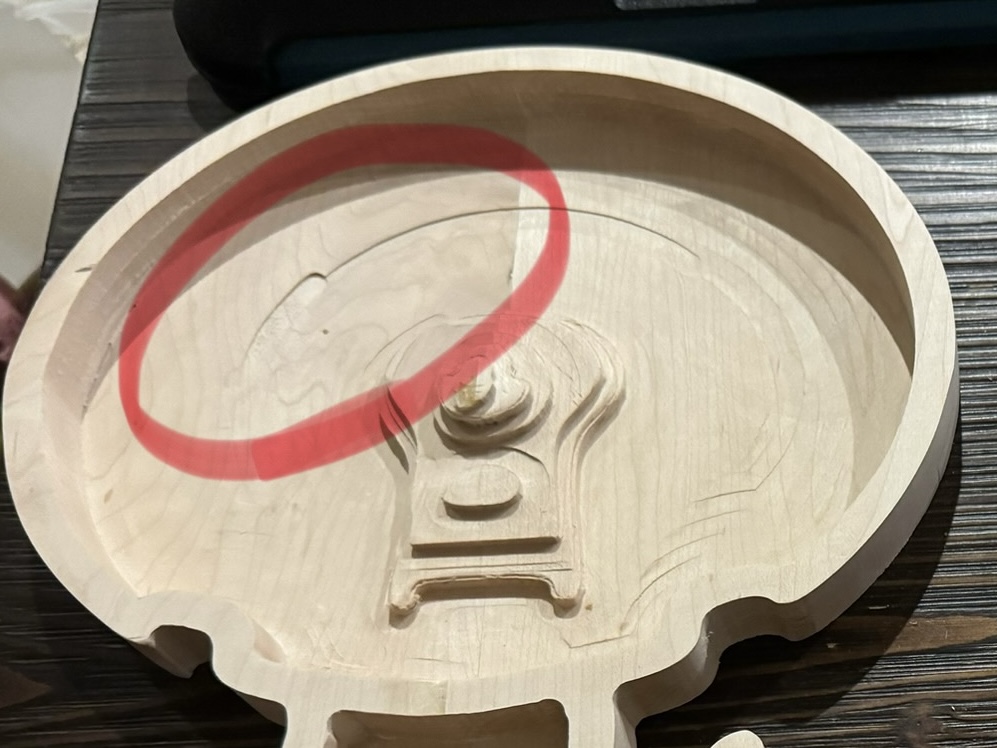
The enterprise will probably just get a light poly coat and some small feet underneath. The boxes on the right will have magnetic catches added and maybe some velvet/felt glued inside the pockets for jewelry, dice, etc.
Any thoughts on how to avoid the gouging when doing pocket cuts?
when I get gouging like that it is almost always the project wood lifting off of the spoilboard. This is a hazard of using an upcut tool. This stopped happening to me when I started using painter’s tape and CA glue (Or sometimes, painter’s tape and double-sided foam tape.)
It also doesn’t happen when using a downcut bit, but that’s got a whole other series of things to watch for.
I have my spoilboard bolted to the table and the work piece is Brad nailed to that, so not sure if lifting is possible, but I’ll check the spoilboard for any internal flex the next time I set up.
I still need to re-hang my top shelf since it was in the way of the clamp rack, so my work bench is all kinds of full of clutter, but I’ve got the craft paper dispenser in a good spot and the car still fits, so I think I came out on top.
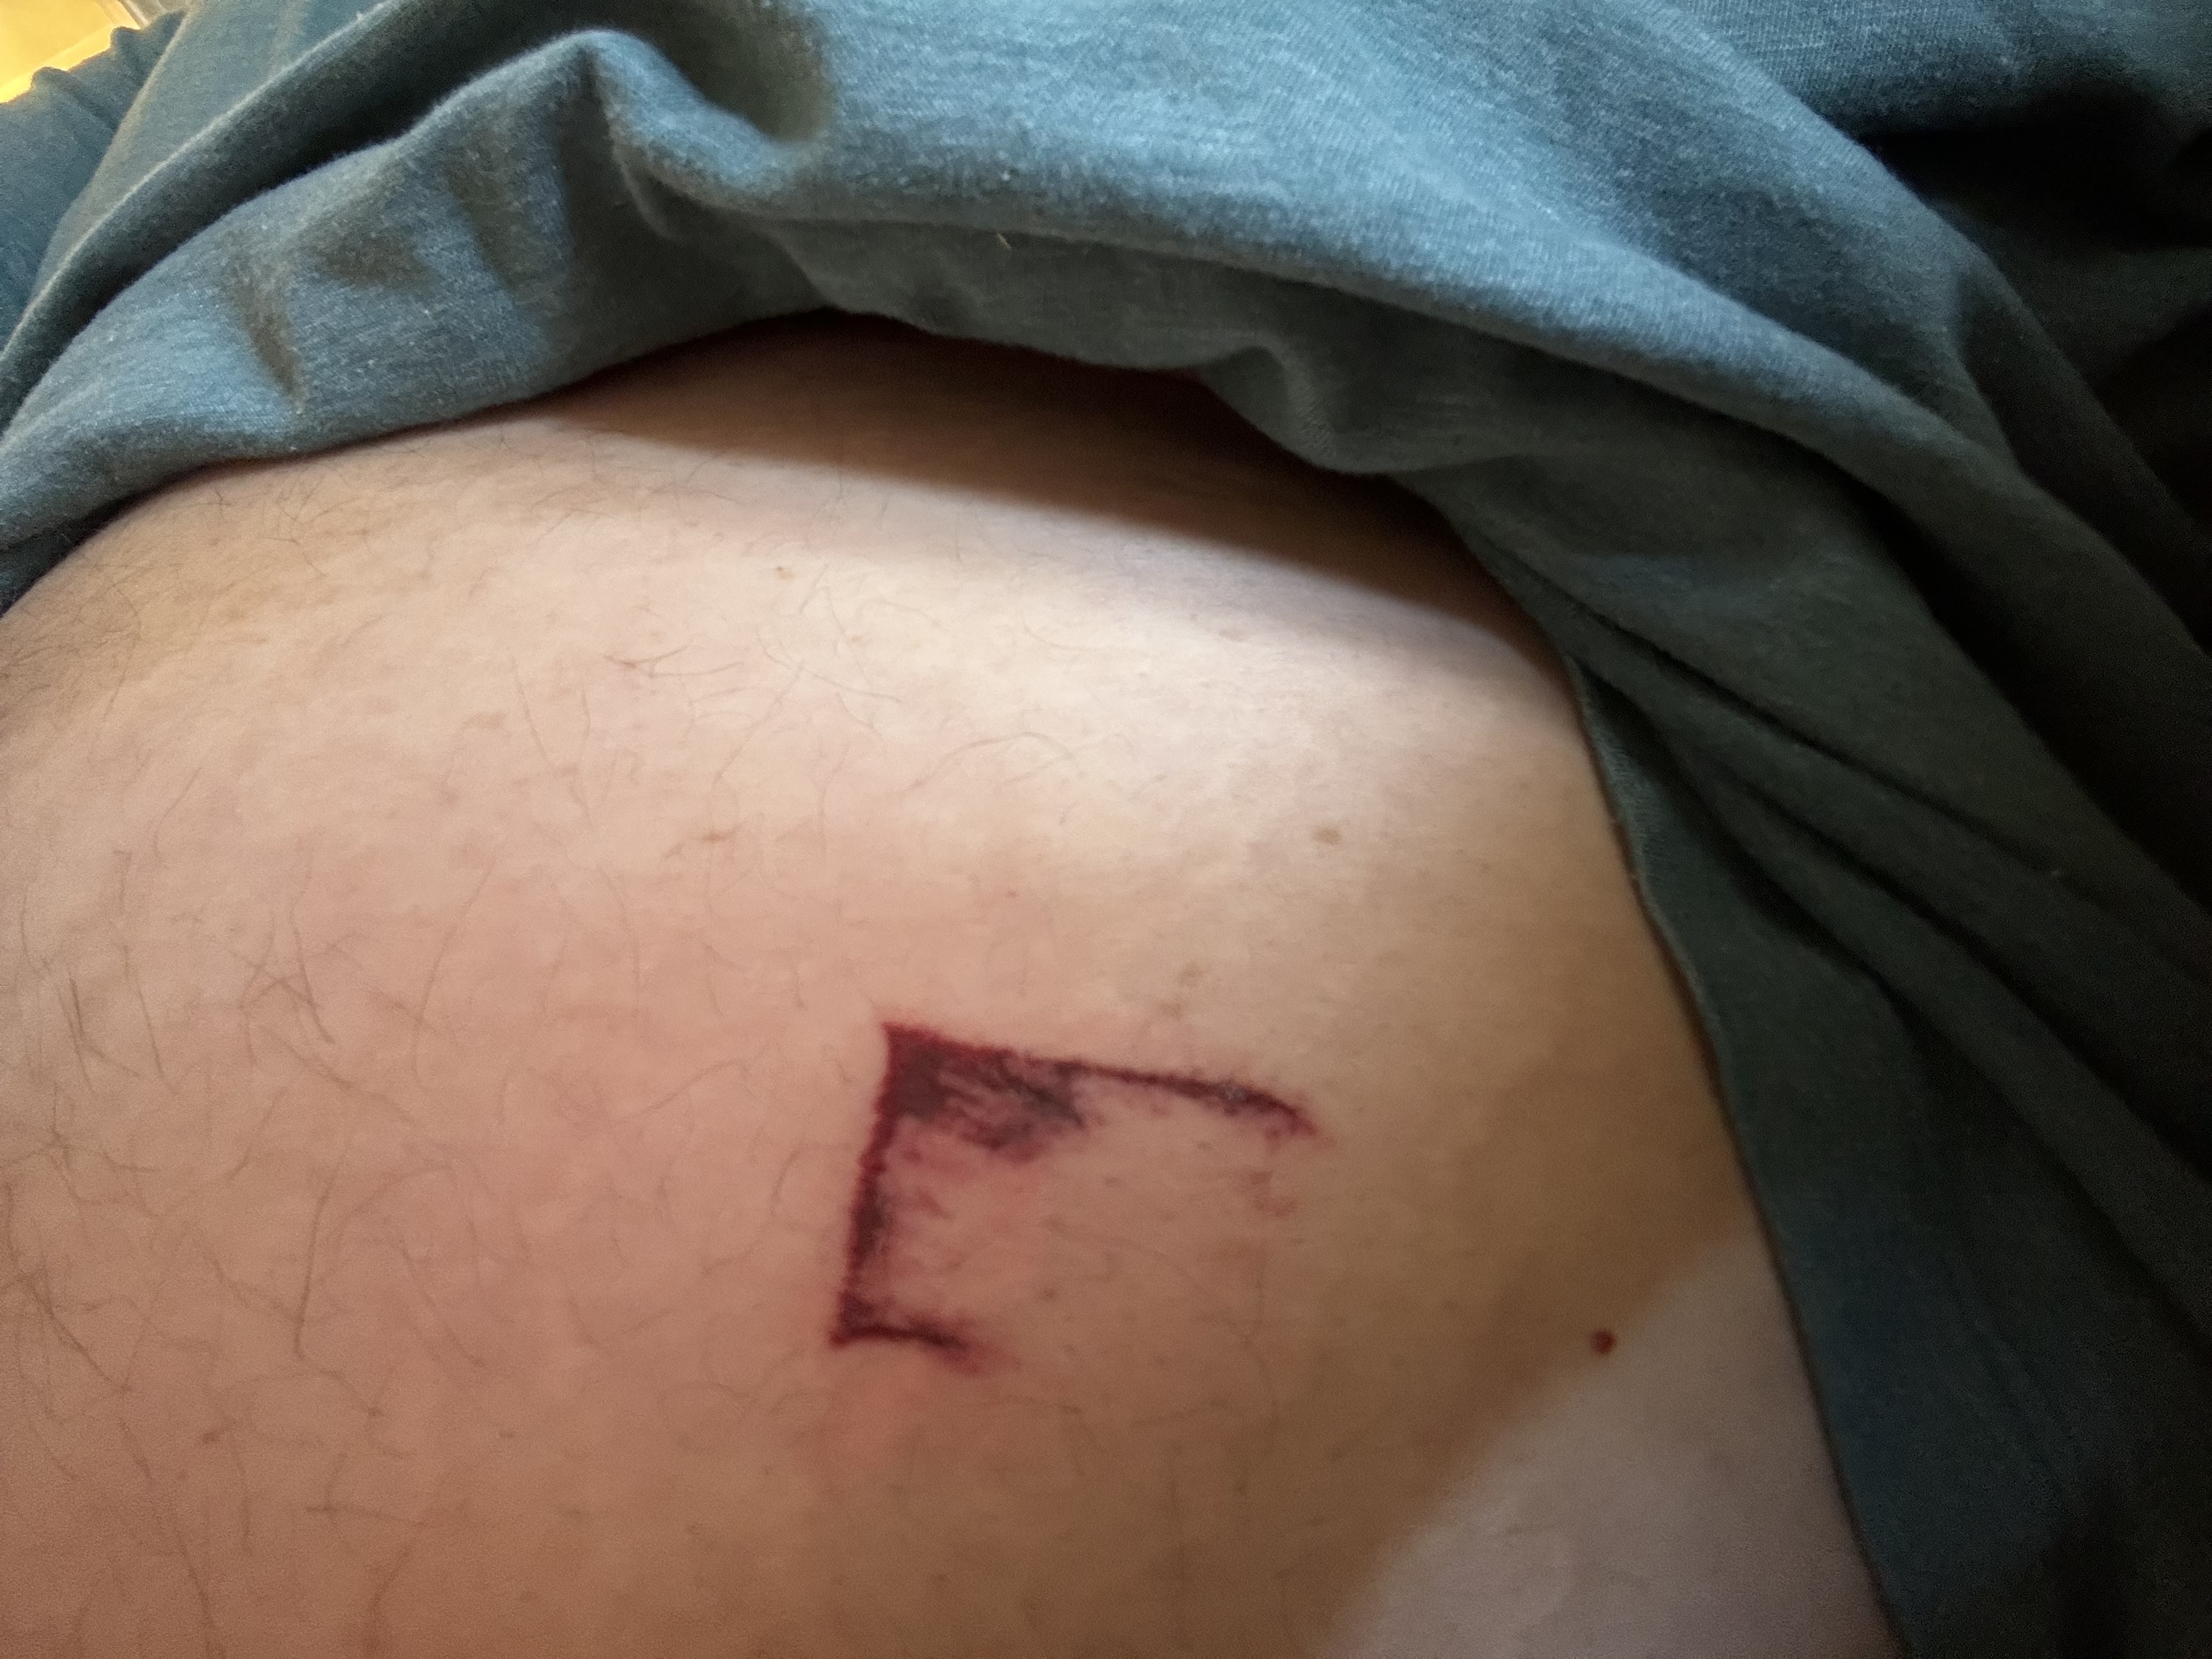
In other news, be careful around table saws, they chuck loose pieces of wood like a pitching machine…and that stung a bit.
Whew. I’m glad you still have your fingers. I’ve seen a youtuber trying to cause kickback and the block of wood tried to pull his fingers into the blade. Never put your hand behind the blade of a table saw. If it kicks back, your fingers go right into the blade.
That looks like it hurt. But it is good experience if it heals in a few days.
Yah the hands were clear the entire time, but something caught my eye as I was finishing a cut and I turned my head for a second before clearing the piece between the blade and the fence and that’s all it took…
It’s a very hard thing to teach yourself, but I’ve gotten to where I can focus almost 100% on the table saw blade when making my cuts. The shop could fall down around me and I’d still be watching the cut. The wife and kids know that when that machine is running, to wait by the door until I have it turned off before saying anything.
My table saw is old and doesn’t have any guards on it.
My tablesaw is the same, no guards. It used to be my father’s and is responsible for one of his fingers looking a bit weird. I treat it with all the respect it deserves, which I credit for still having all my own fingers looking mostly normal. (Except a few scars which are sword related…)
Around my table saw, I’m downright paranoid… But am I paranoid enough?
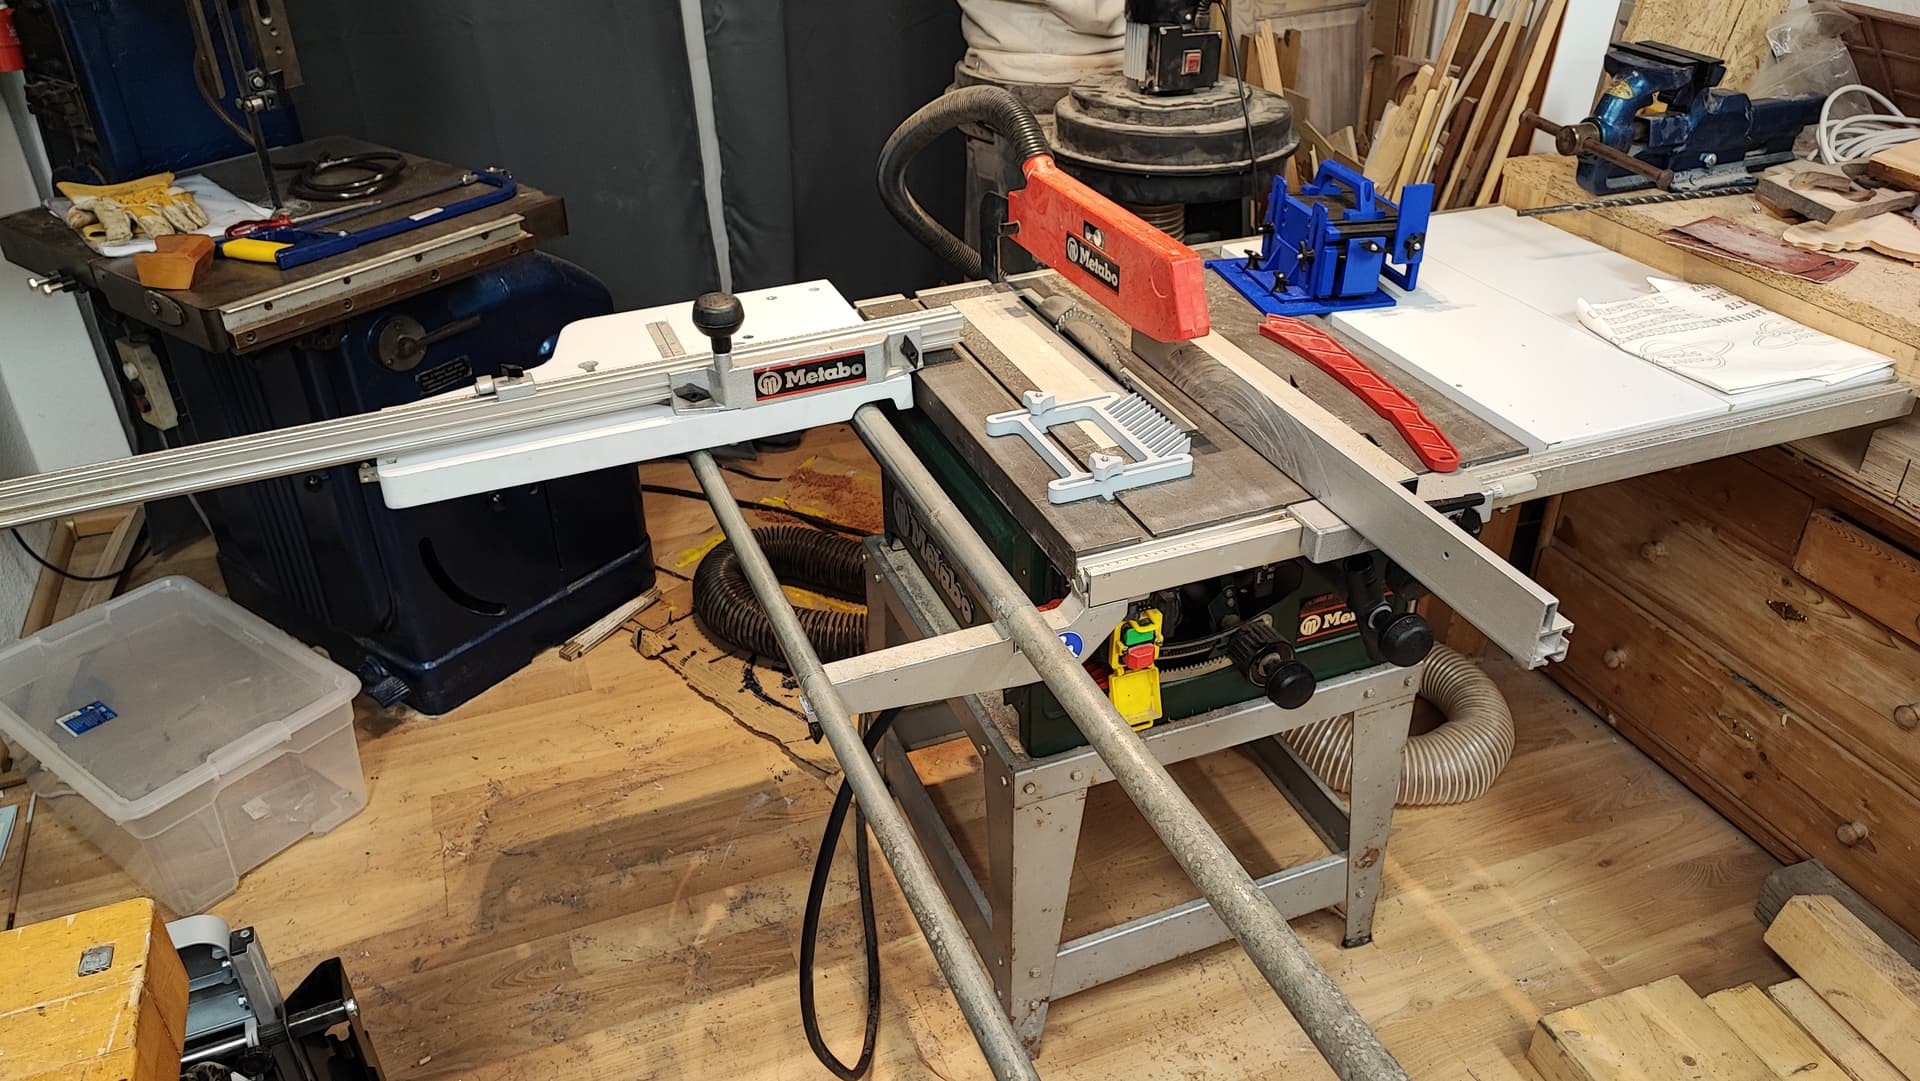
I made sure to get one with a guard as well as the riving knife (thanks @Dreyfus) behind the sawblade that is absolutely crucial to minimise kickback. I also read up on the right techniques for cuts, the German handyman association has some great guides.
The saw (with a small blade, 250mm, in this picture. It normally has got 315mm blades):
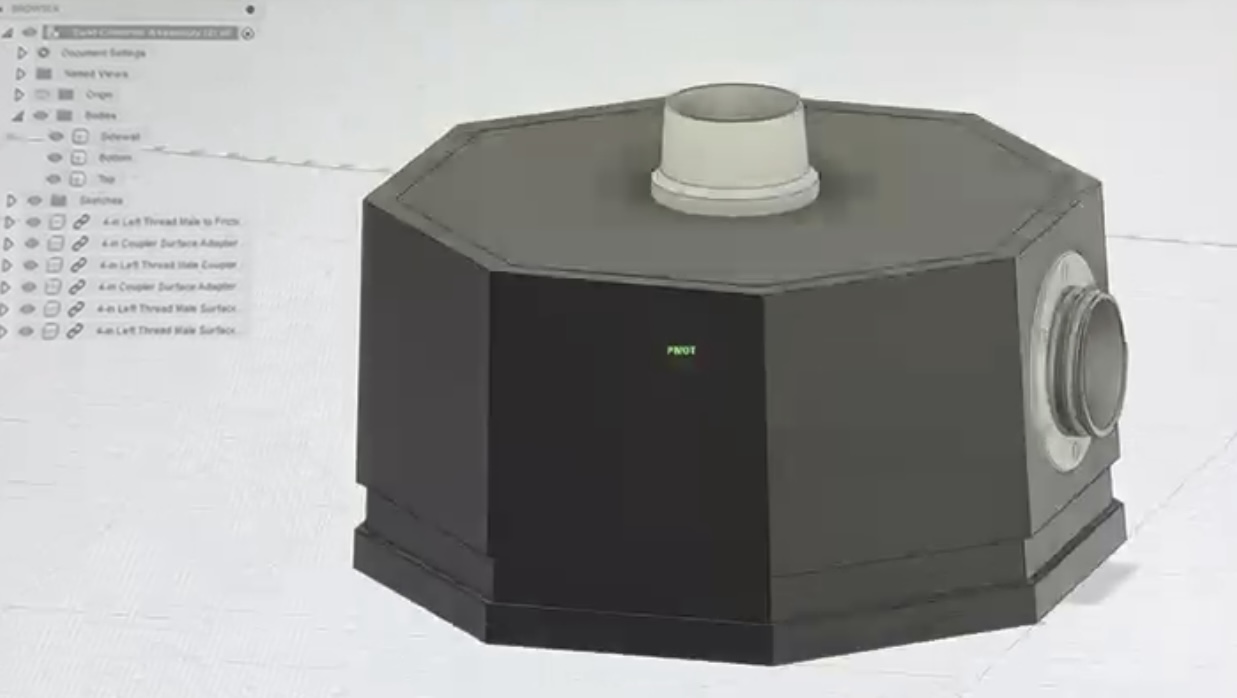
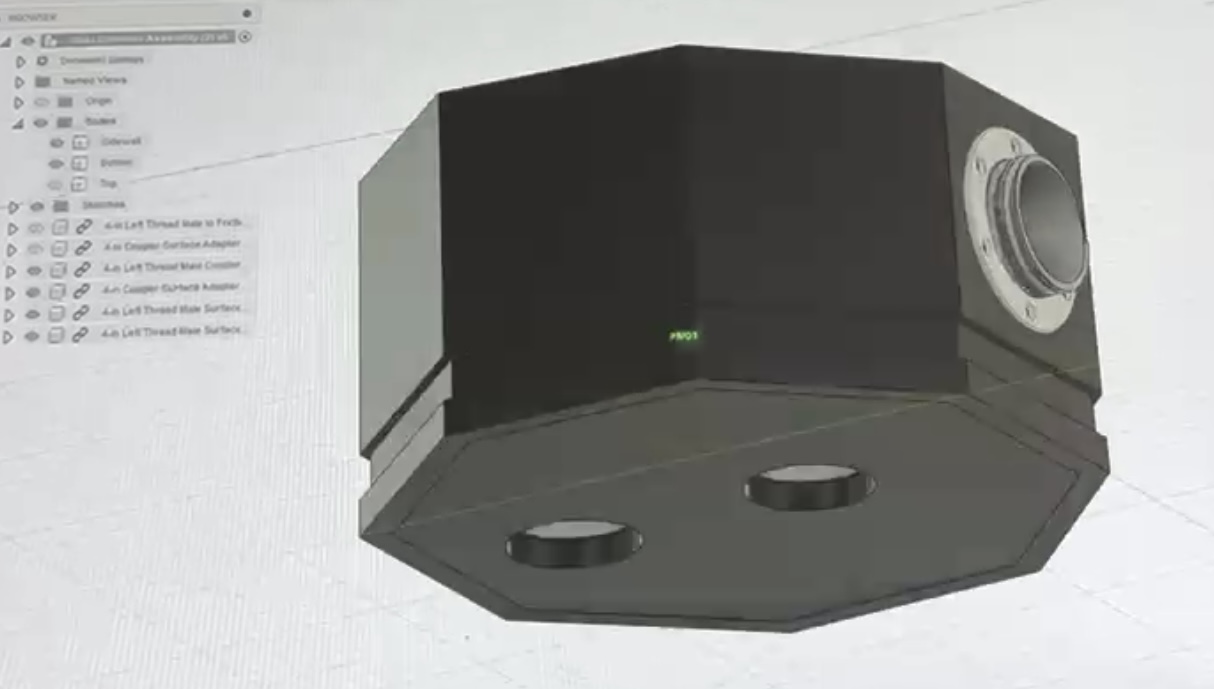
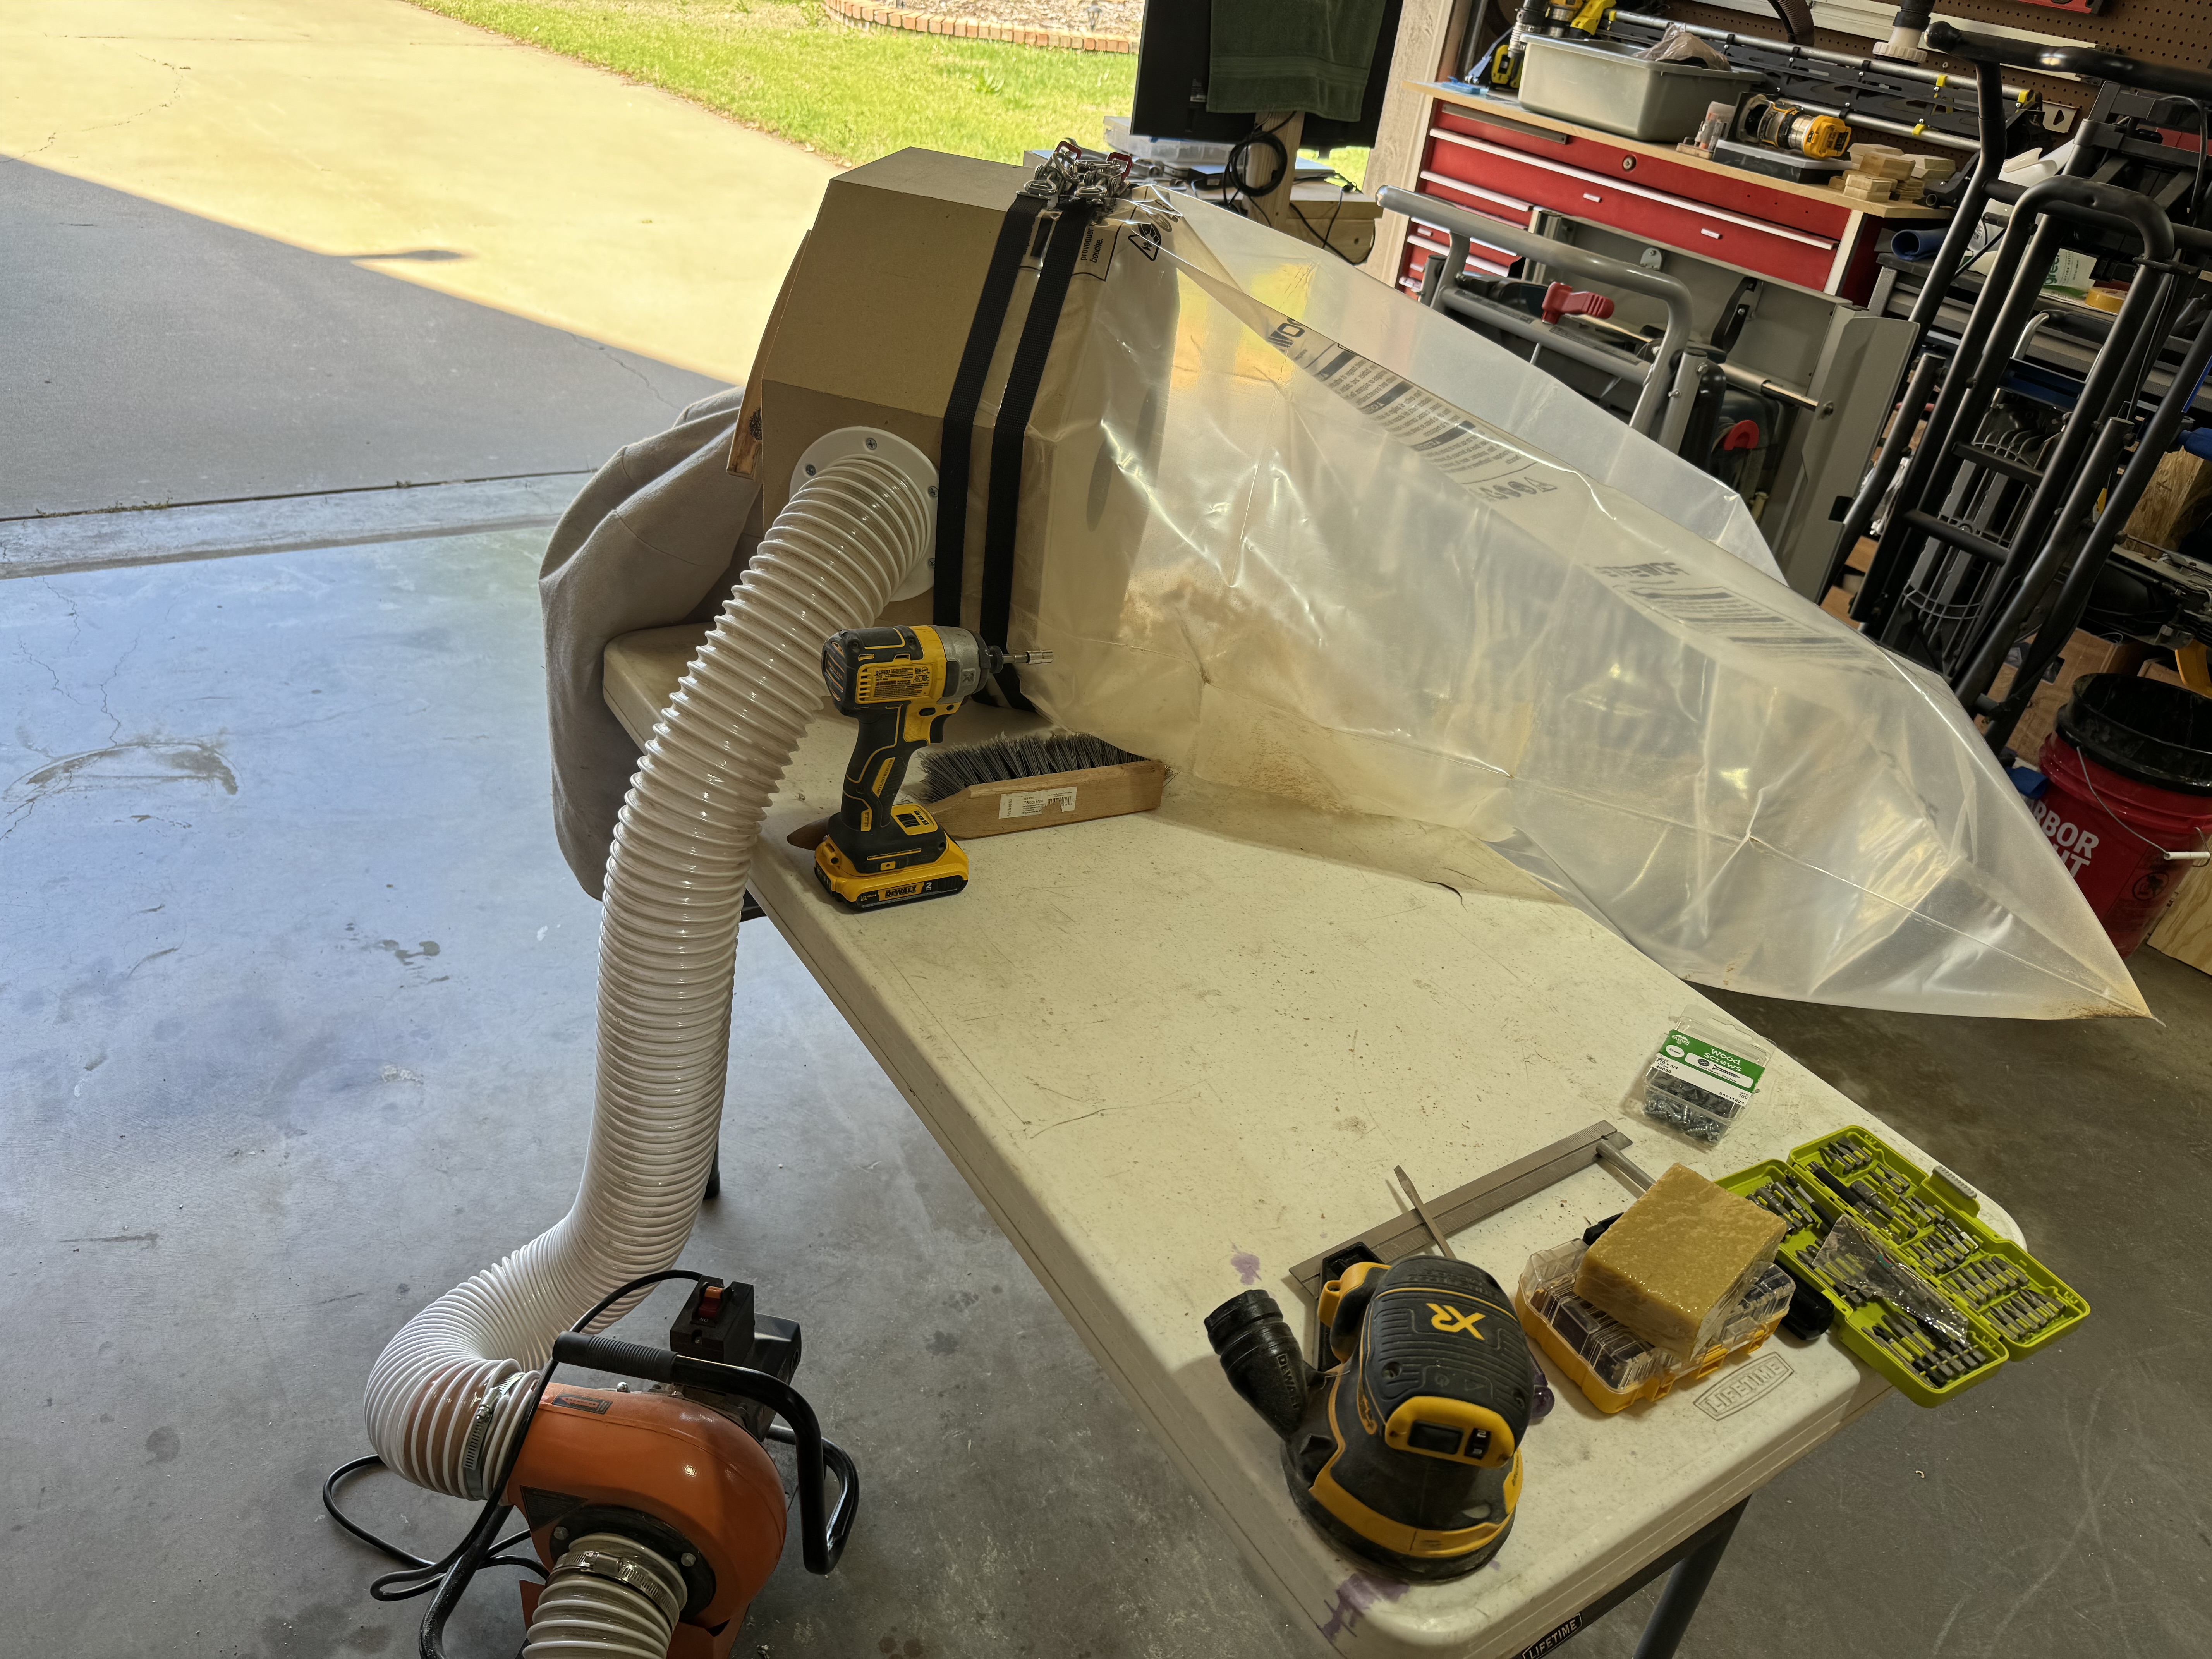
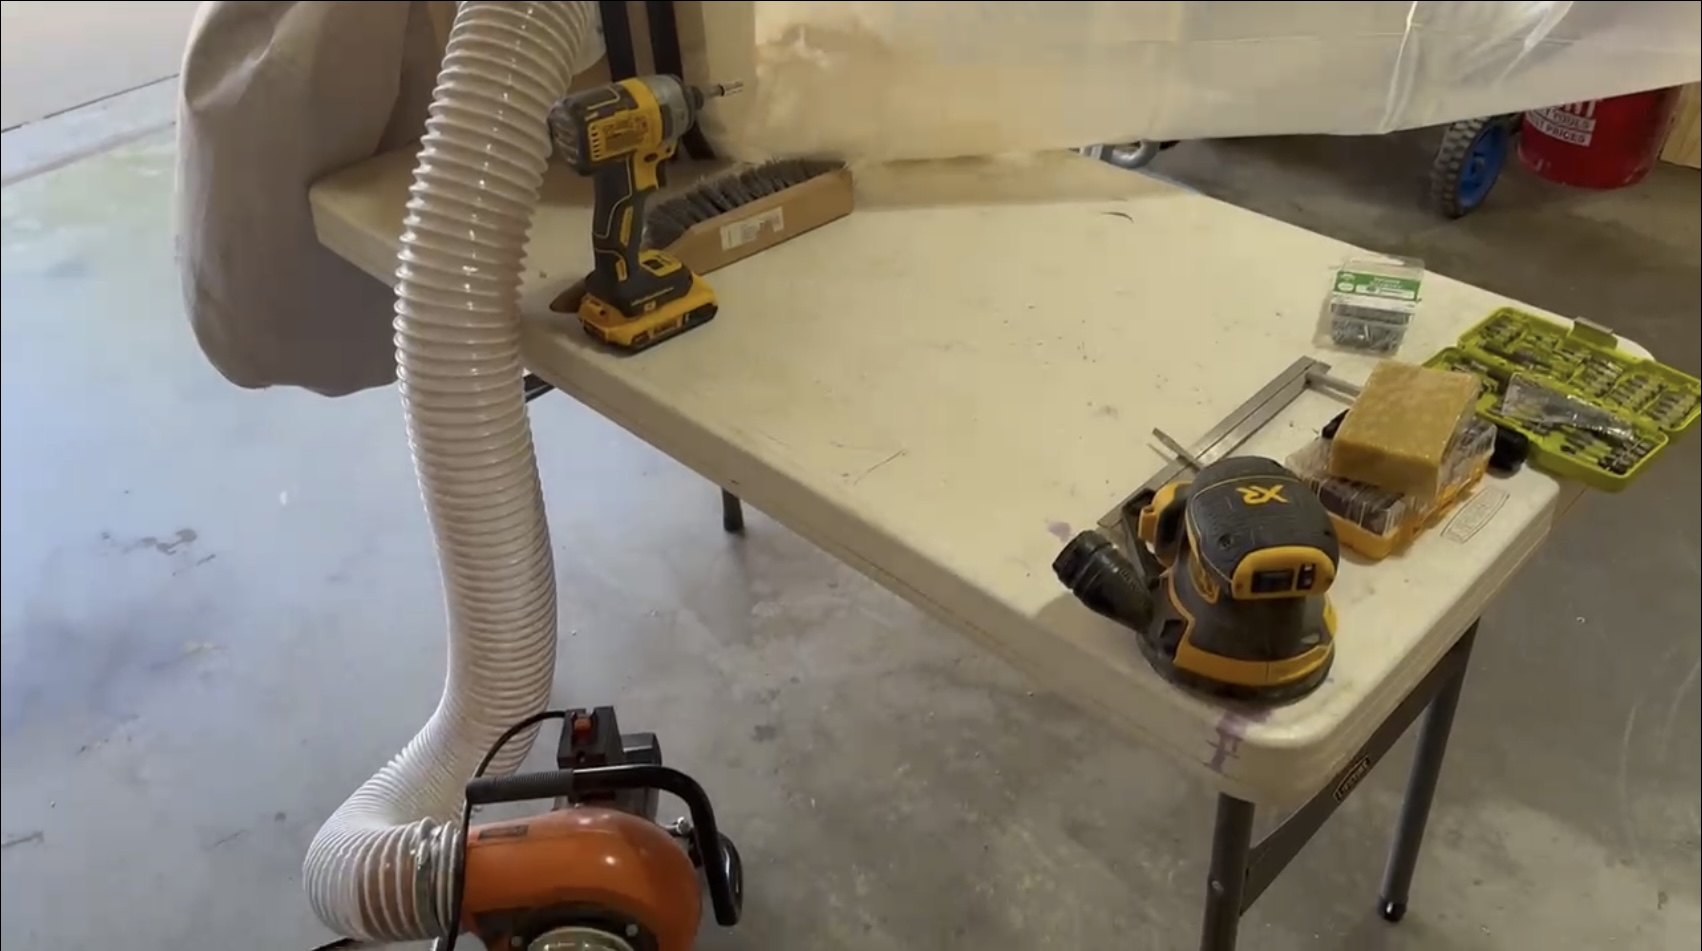
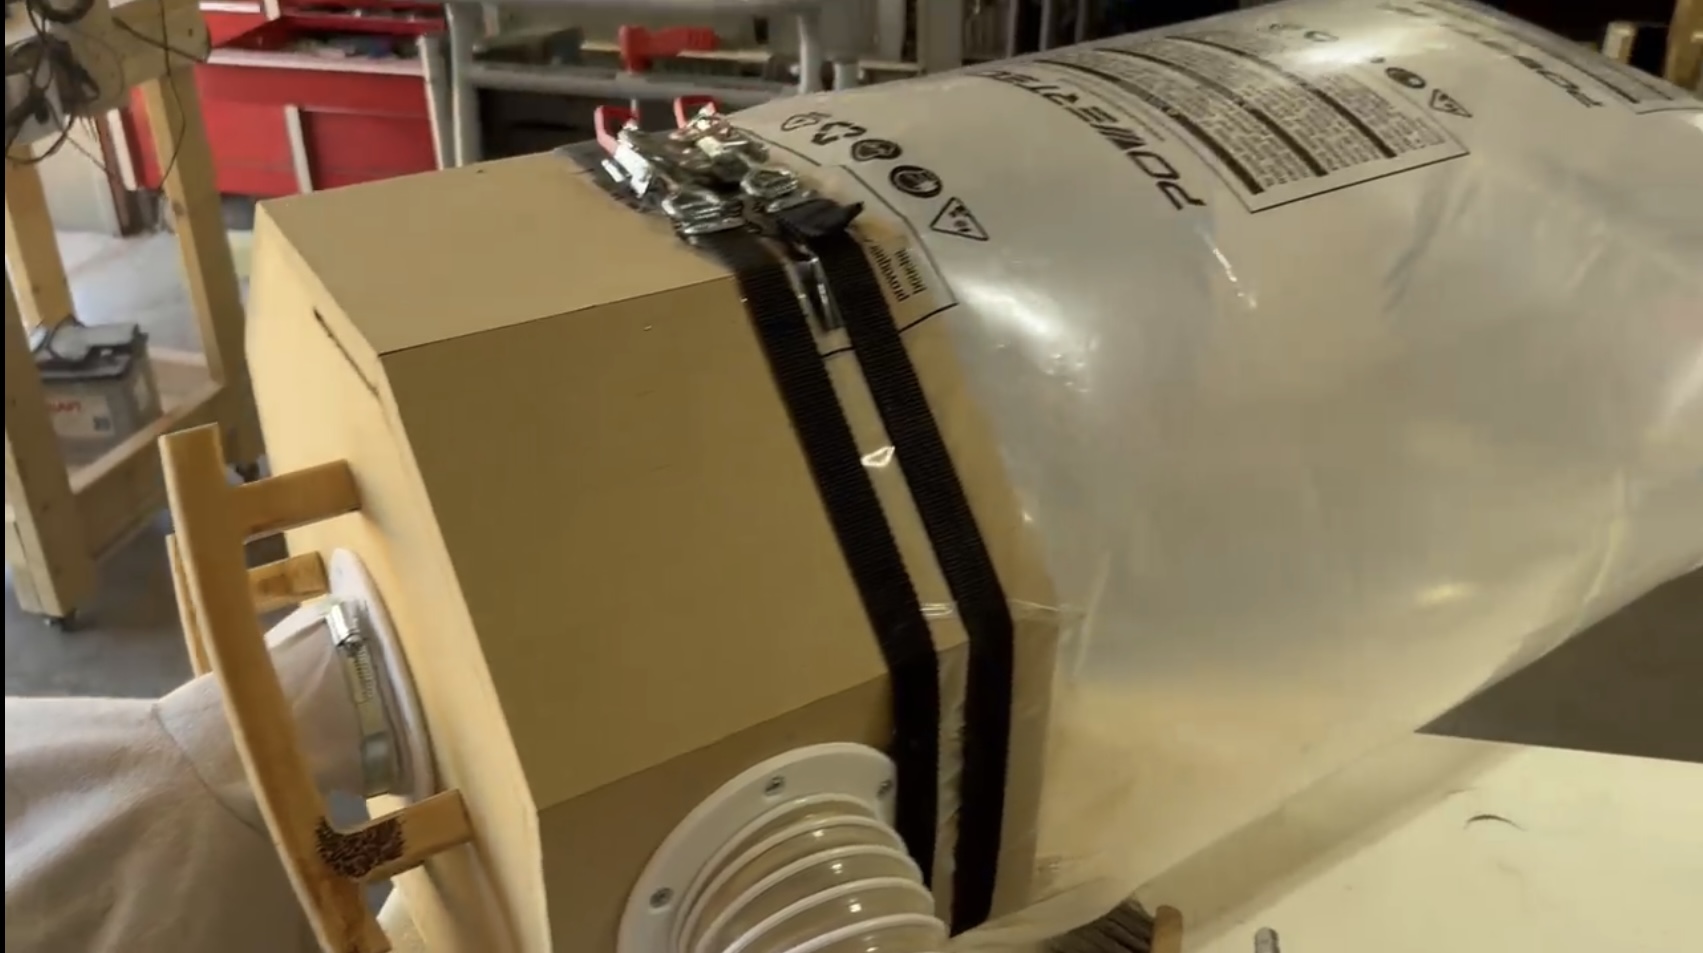
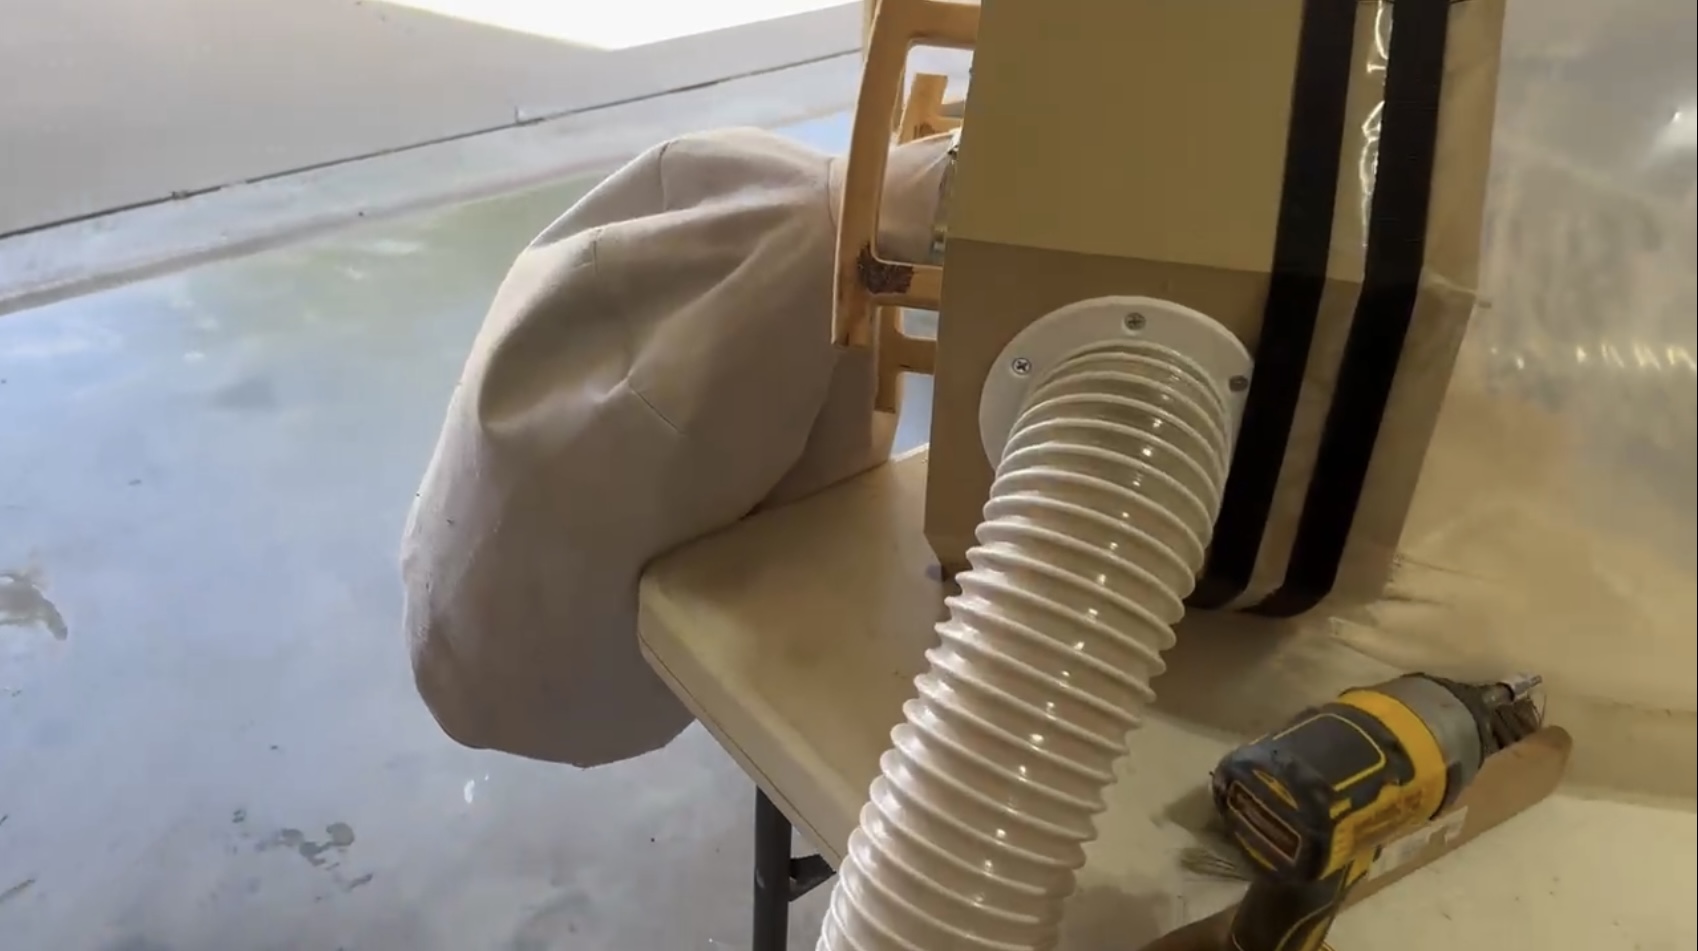
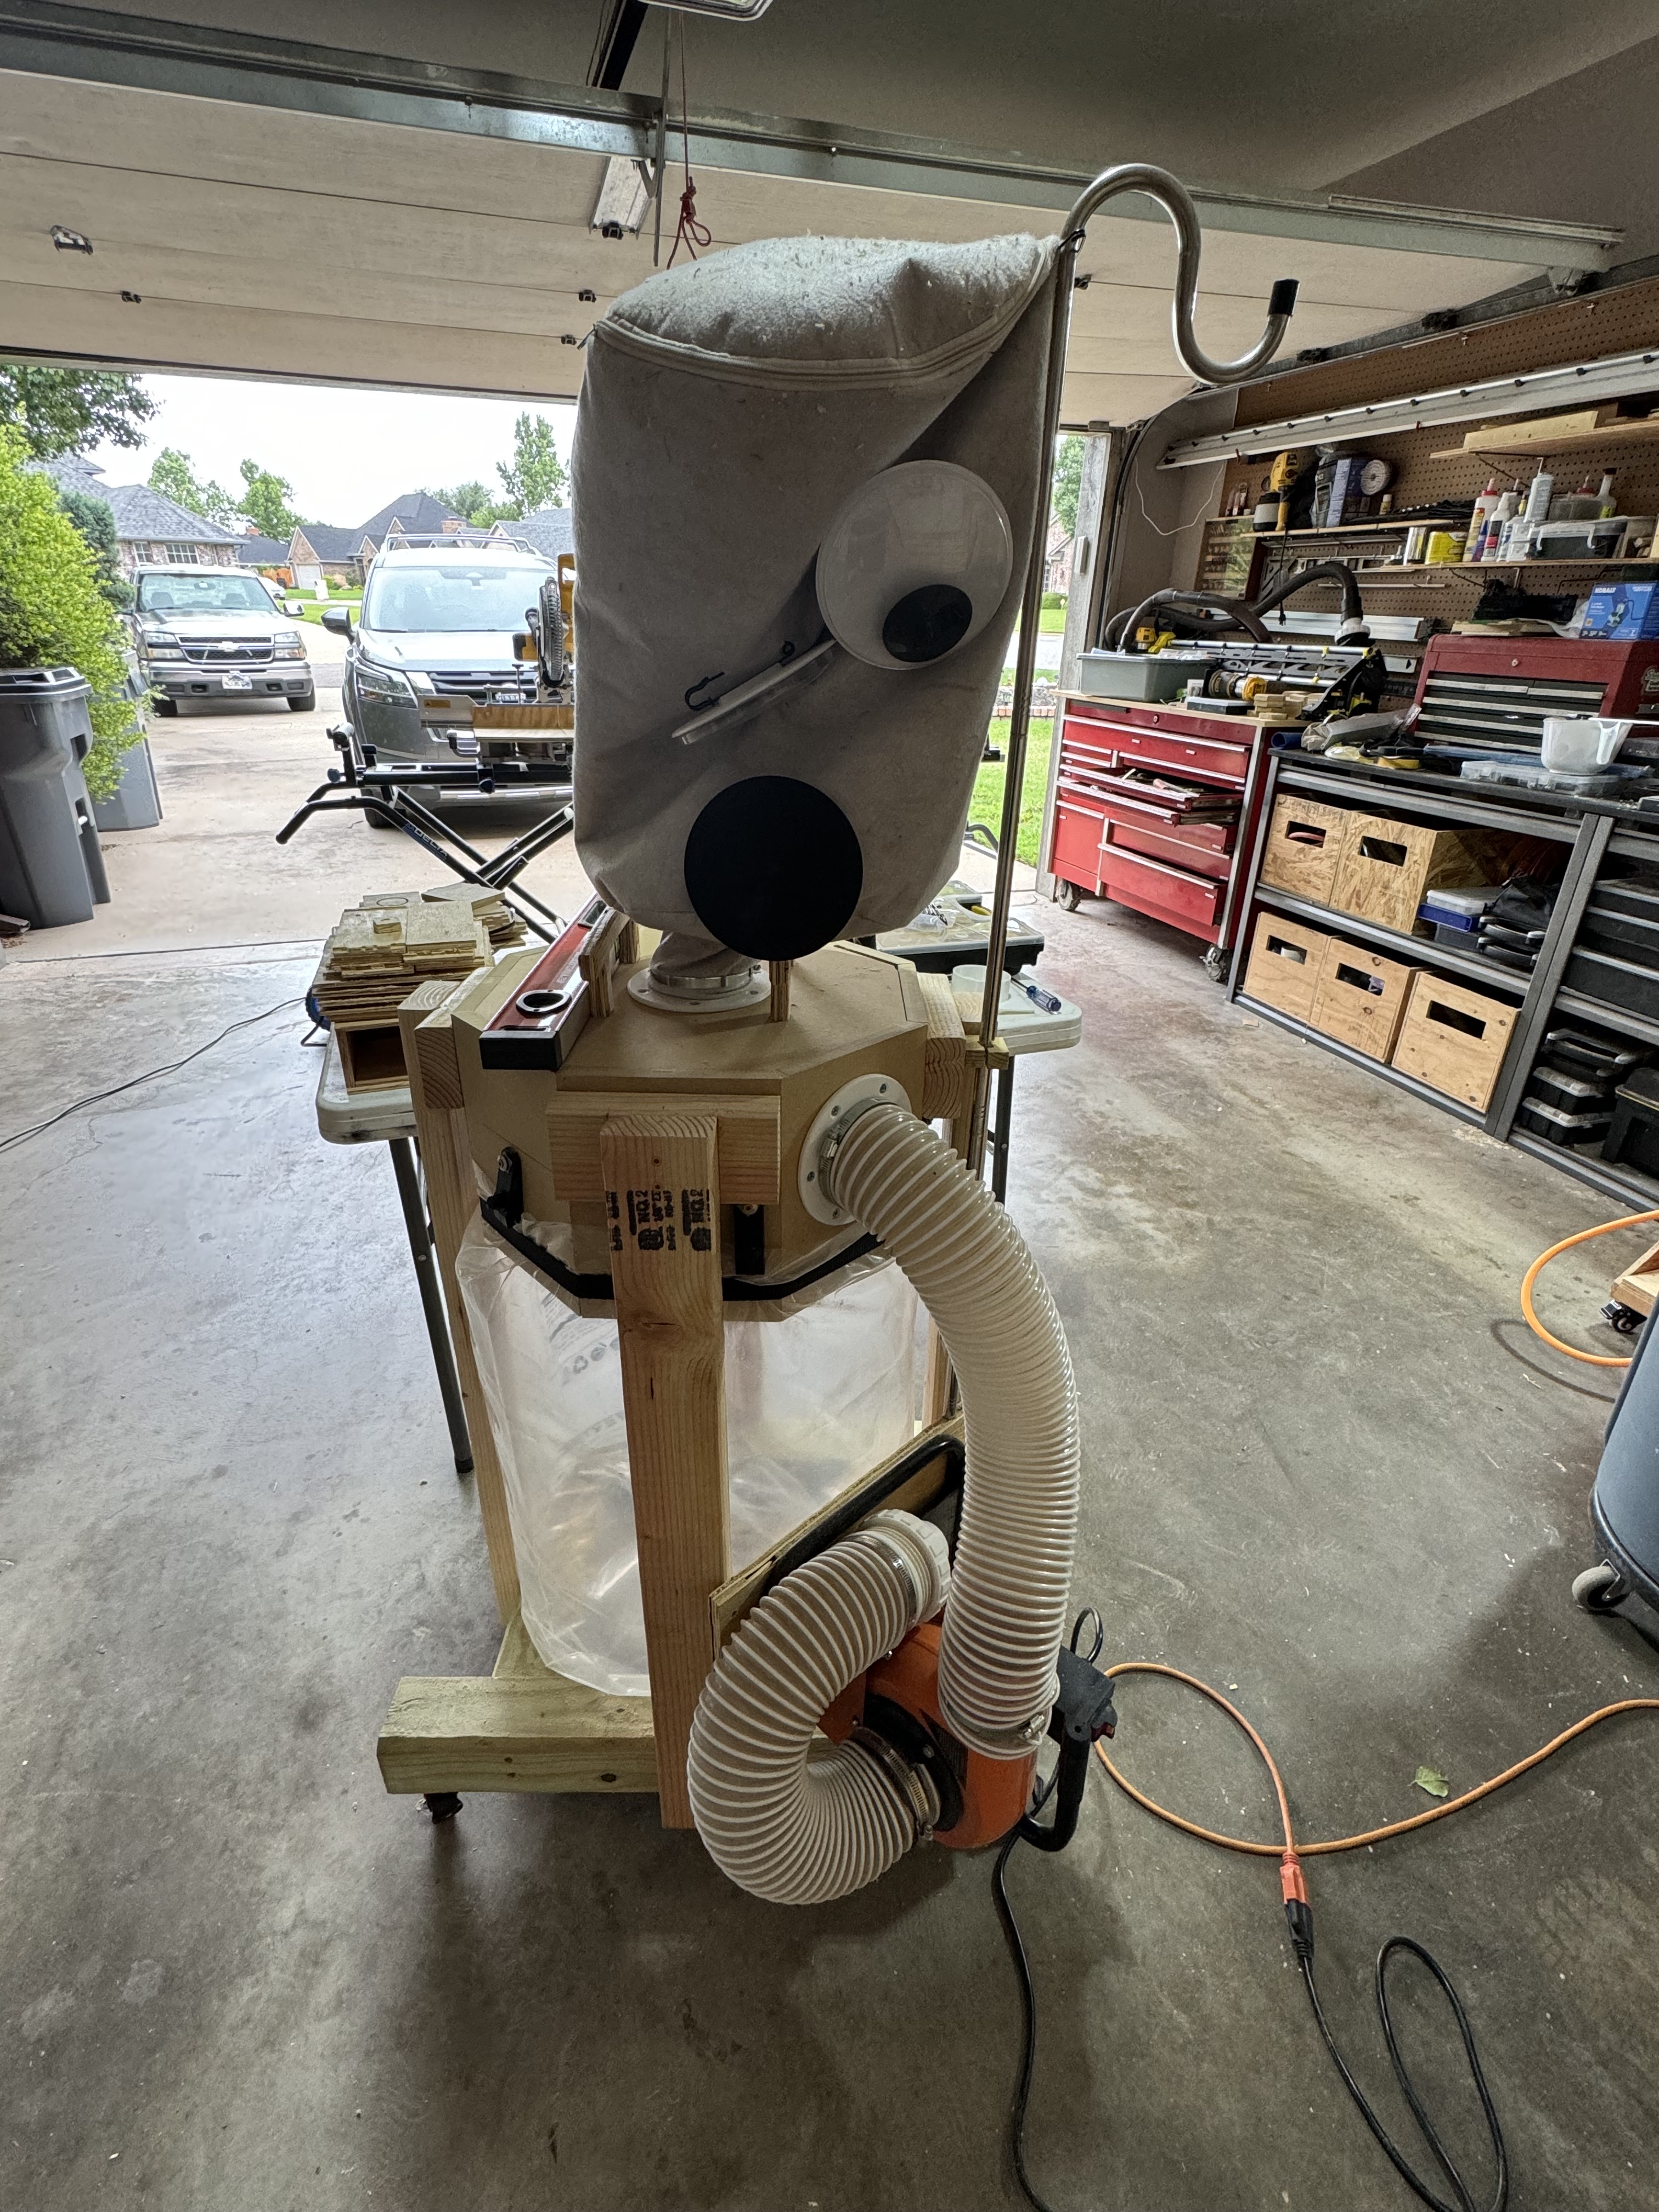
So the design is pretty straightforward, the dust collector pushes into the side entry port and down into the plastic bag below. Heavier particles stay in the plastic bag and lighter dust flows up through the top into the cloth bag and stay out of my lungs (hopefully). The internals are connected with short runs of 4” vacuum hose.
Speaking of which, I got the parts assembled, just had to wait on some #10 x 3/4” wood screws from the Amazon since Lowe’s and Home Depot didn’t want my business this week…. For some reason I can’t explain, my design in Fusion 360 for the vacuum hose mounts were set up with #10 wood screw heads in mind, so I just went with it.
The octagon housing glued up surprisingly well and the left-handed thread on the hoses just screwed right on without the need for clamps. Love it when a good 3d model comes together!
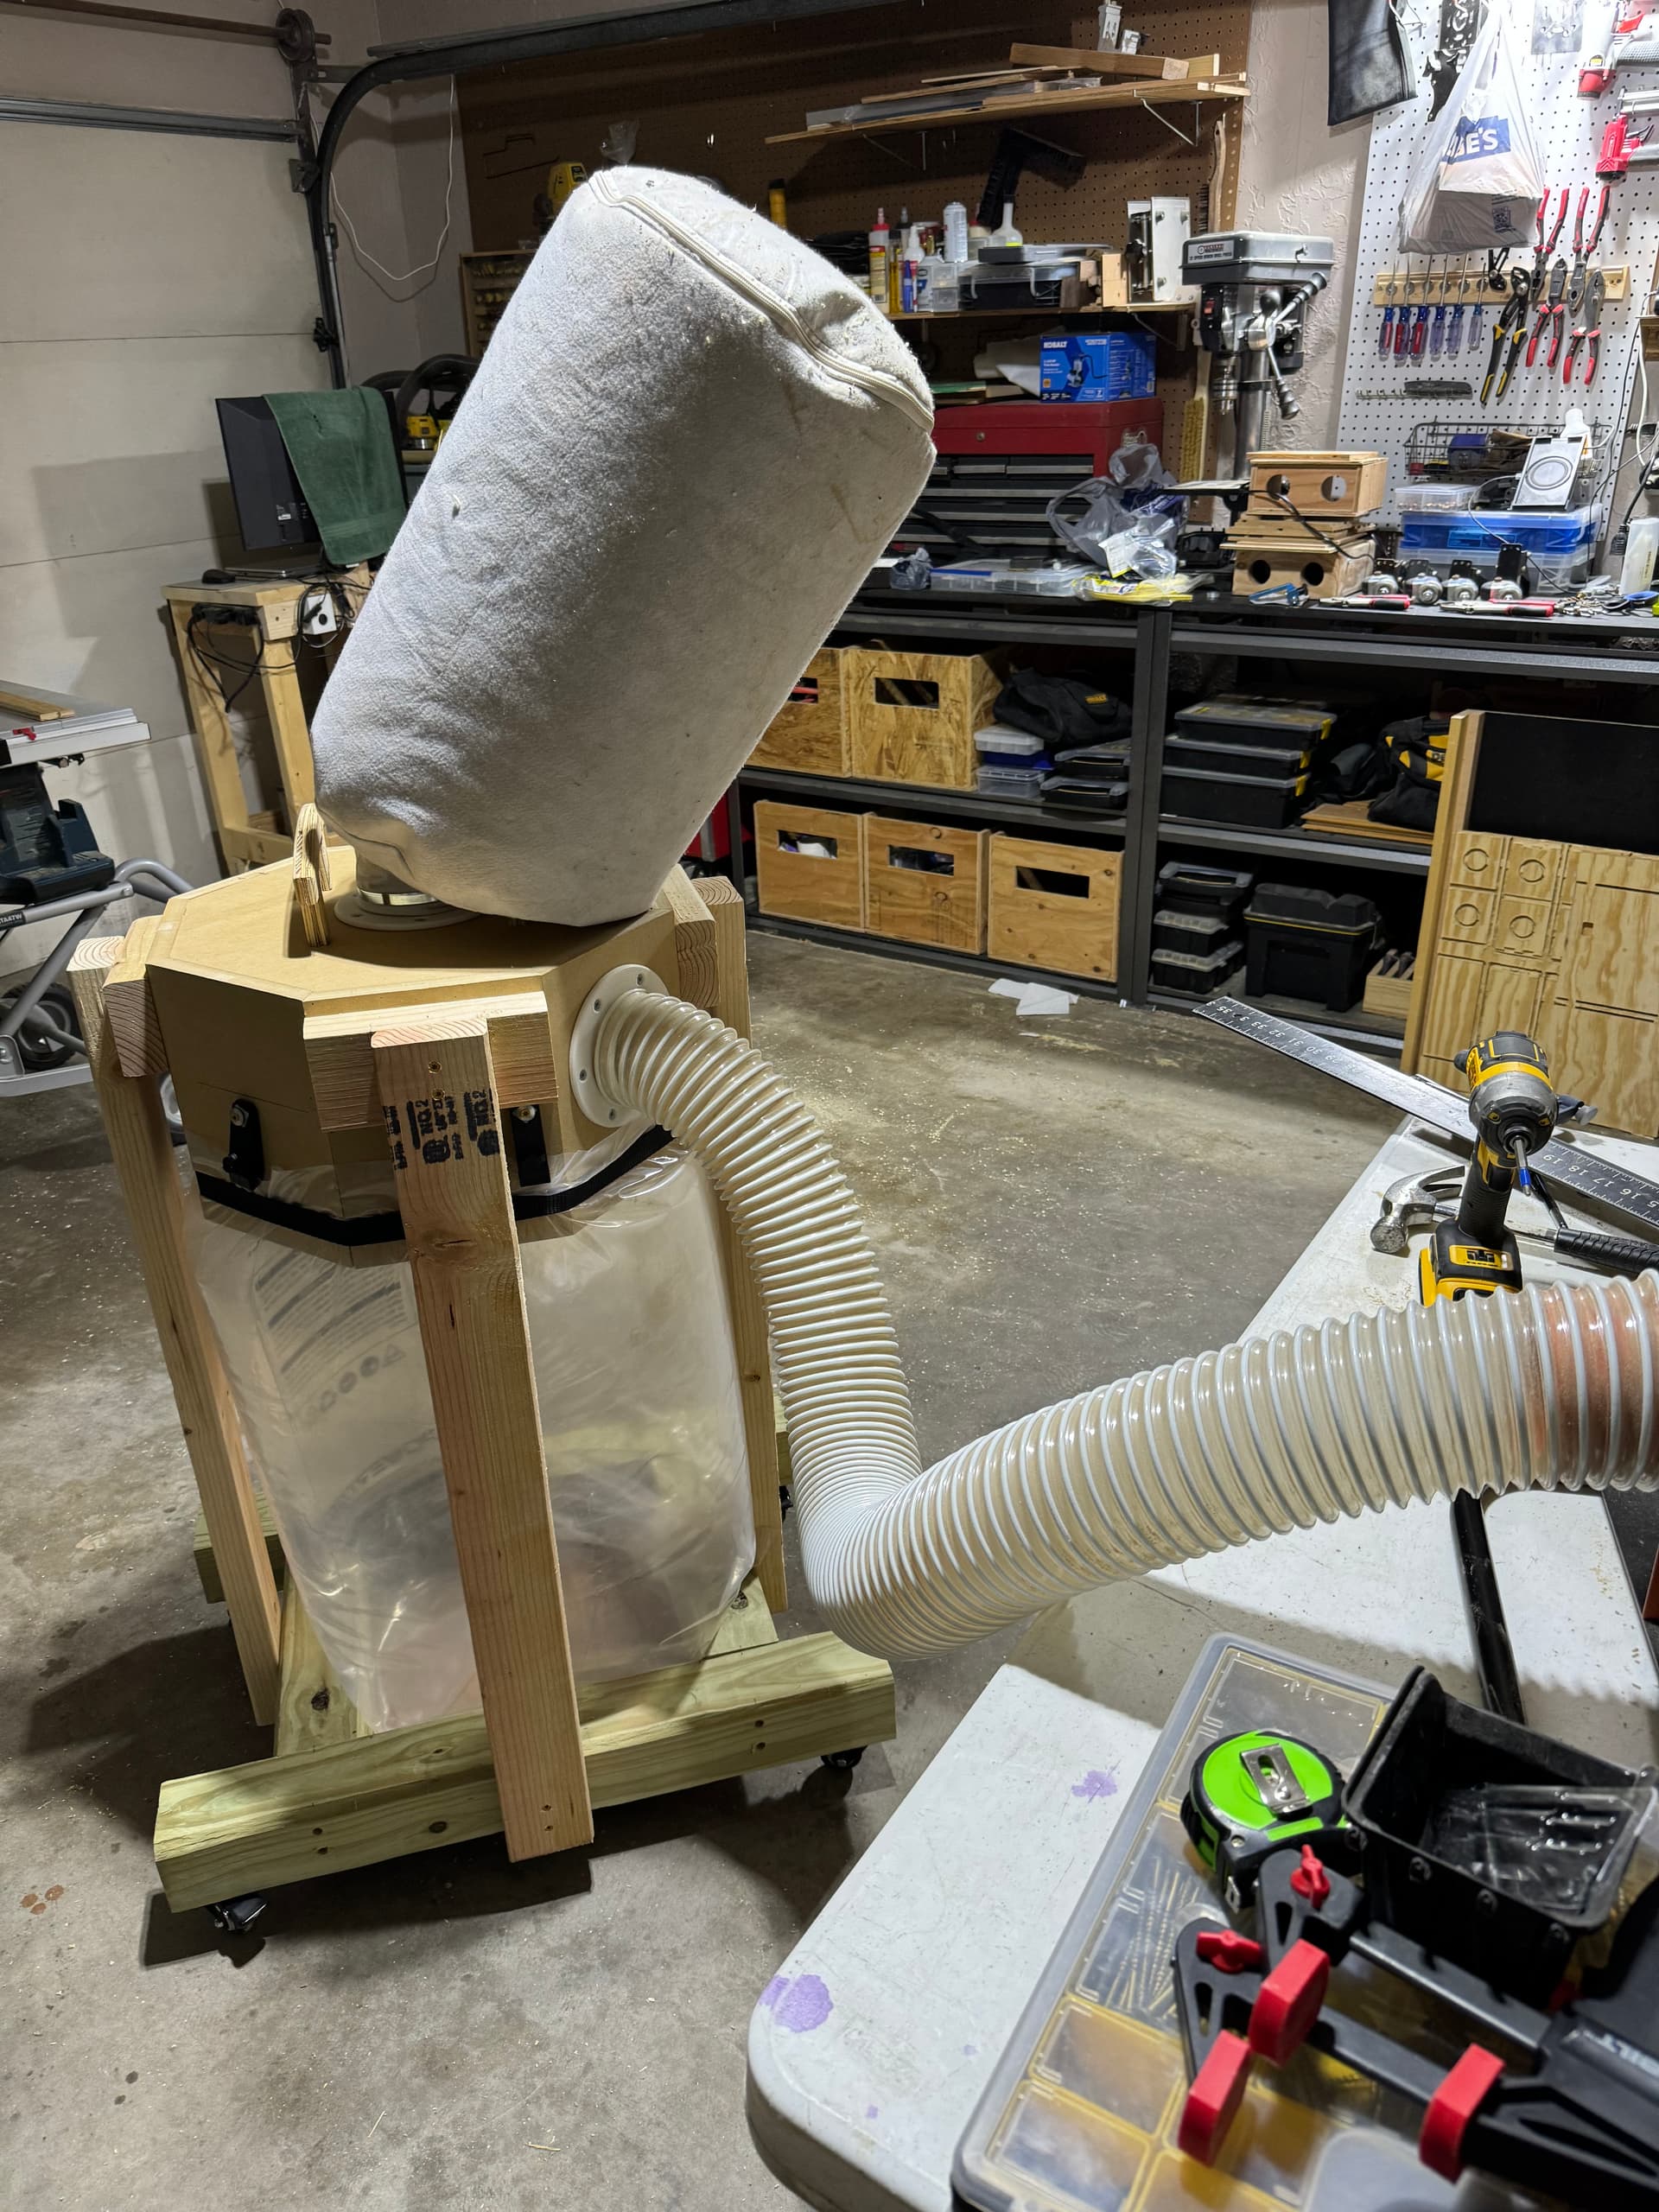
The 2x4’s for the cart are being picked up this week and we’ll see how it all comes together soon. I’m imagining some spacers on 4 sides attached to legs leading down to a plywood base about 30” below for the plastic bag to rest on. The dust collector motor will be mounted to a side plate and then I’m thinking of a manifold with blast gates that lead to various sized receptacles for different devices around the garage. Then it just needs some wheels…
i had to detour from the scheduled weekend activities to add a 250 gallon water cistern in the backyard and reroute one of the gutters to drop into it for the wife’s gardening efforts…
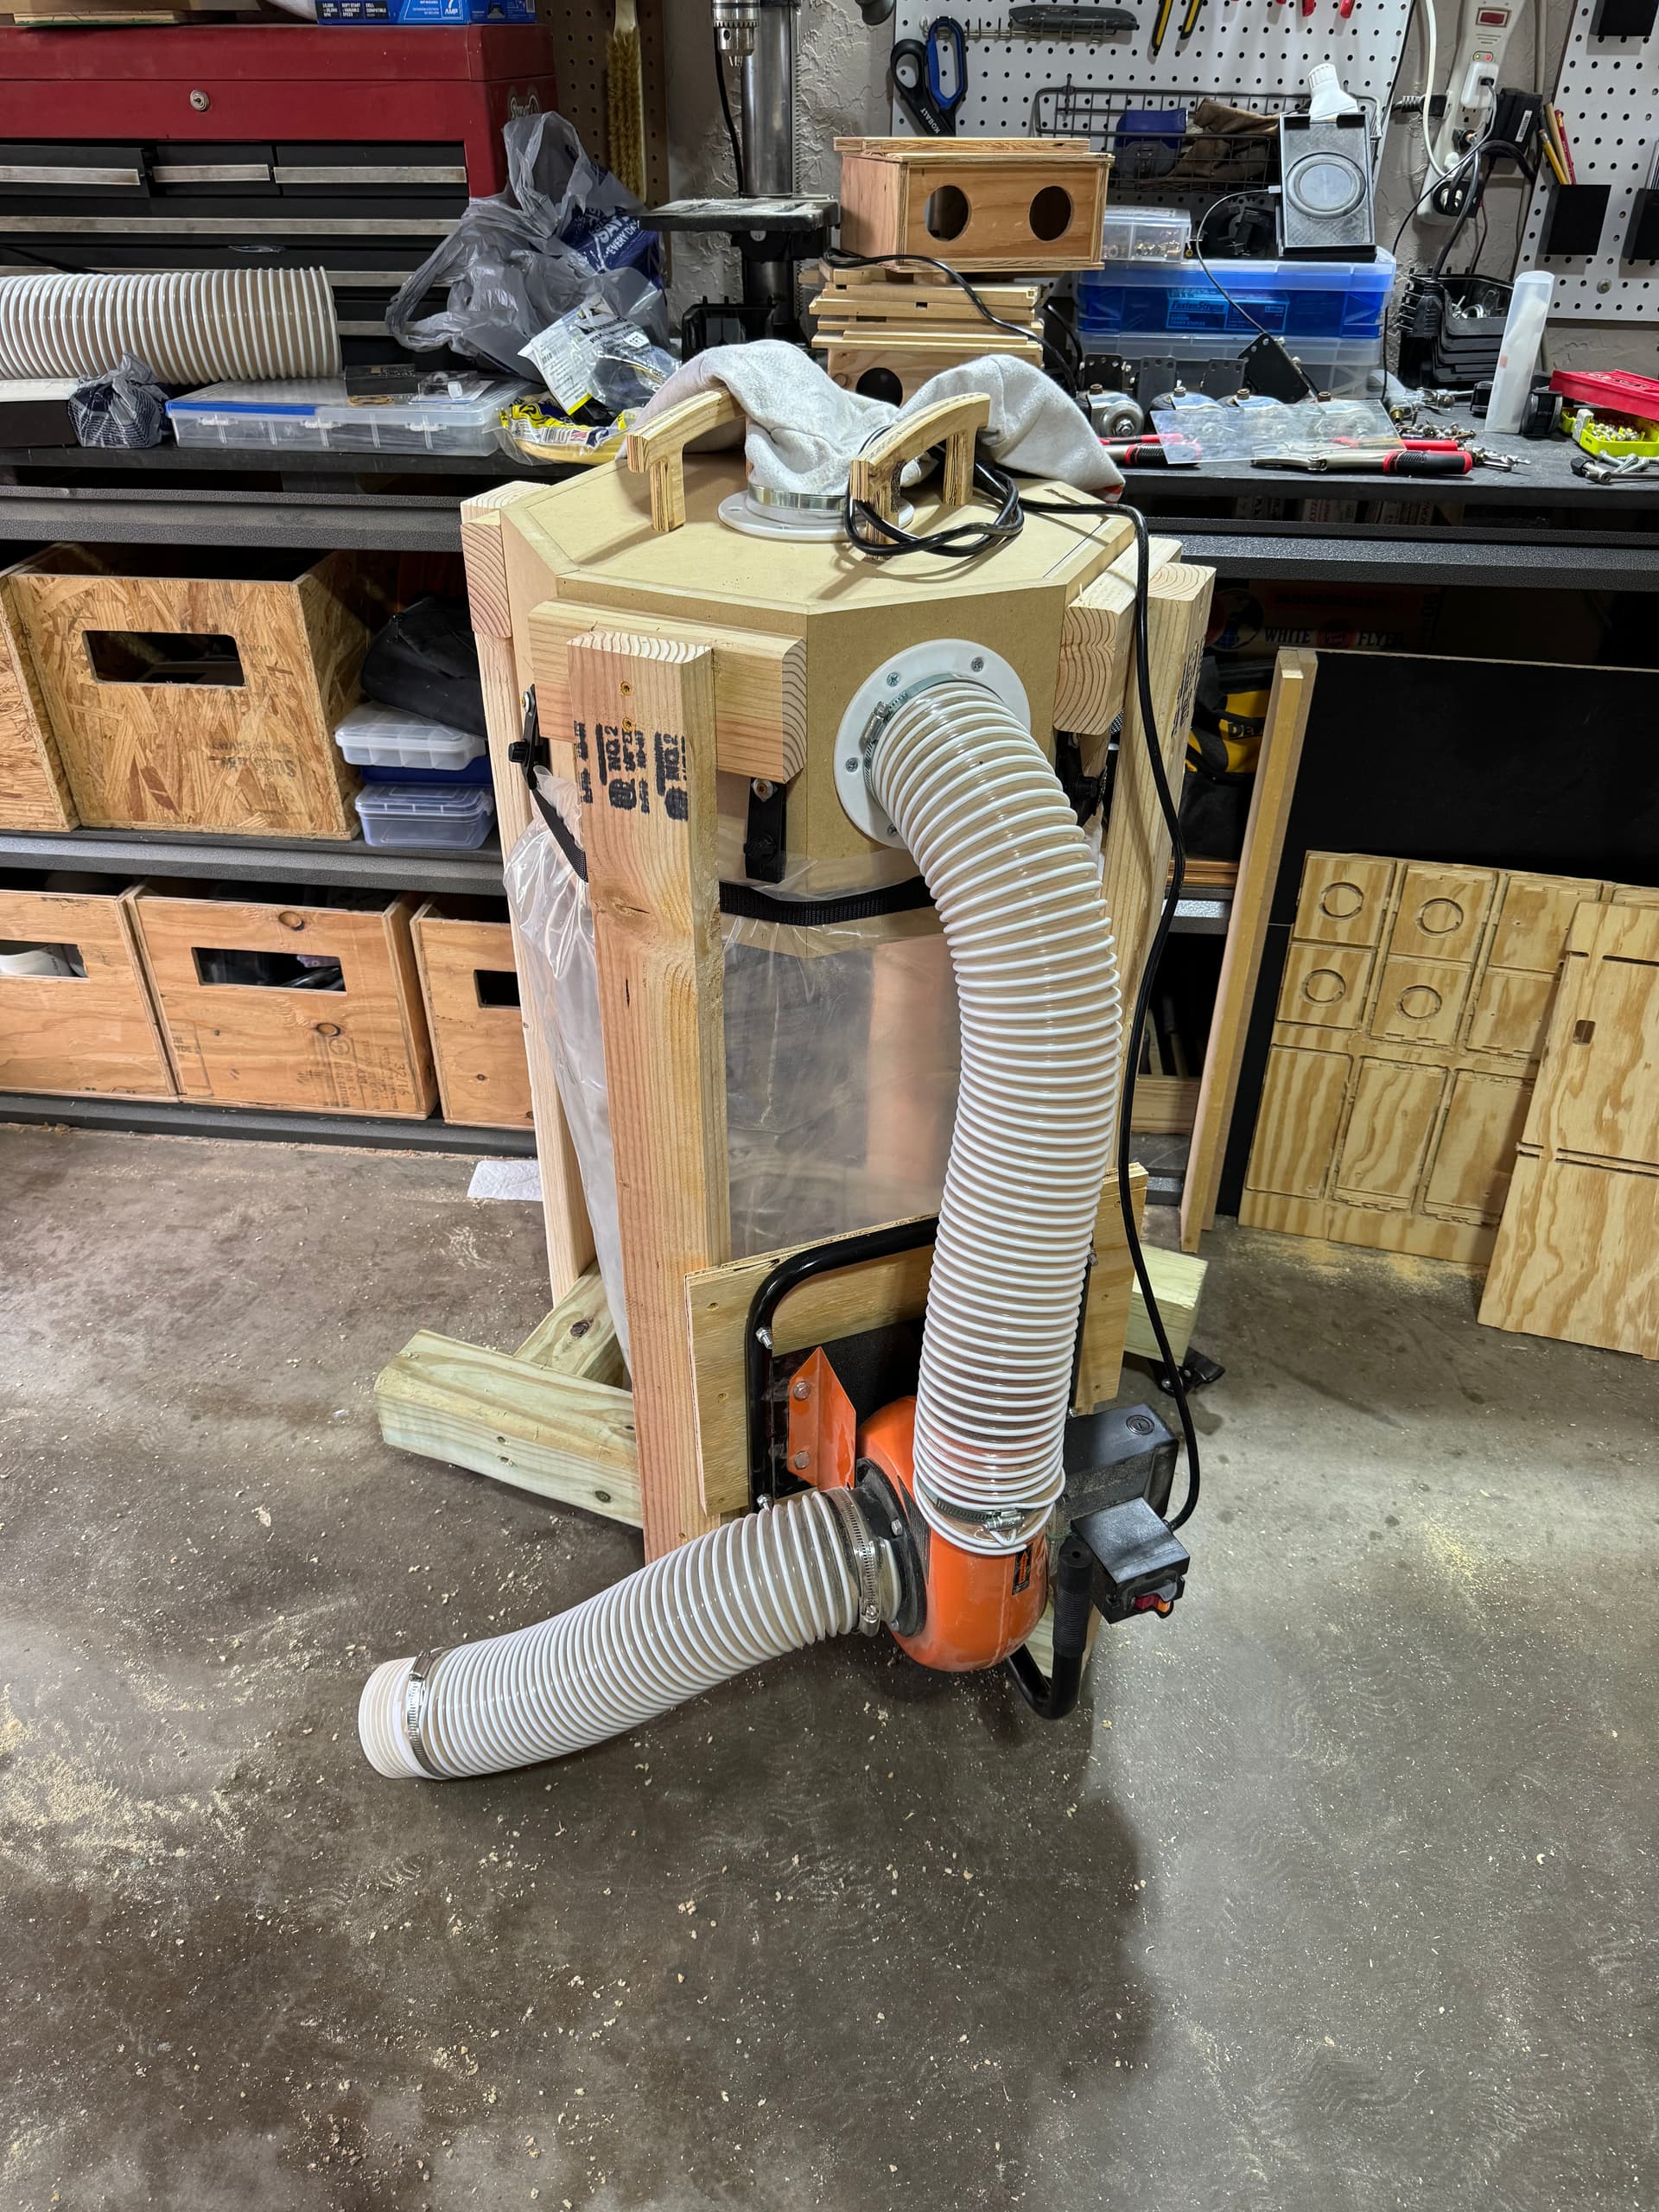
However, moderate progress was made to get my dust collection cart built and all the pieces mounted. It could use some grab handles, but that’s a tomorrow kind of problem.
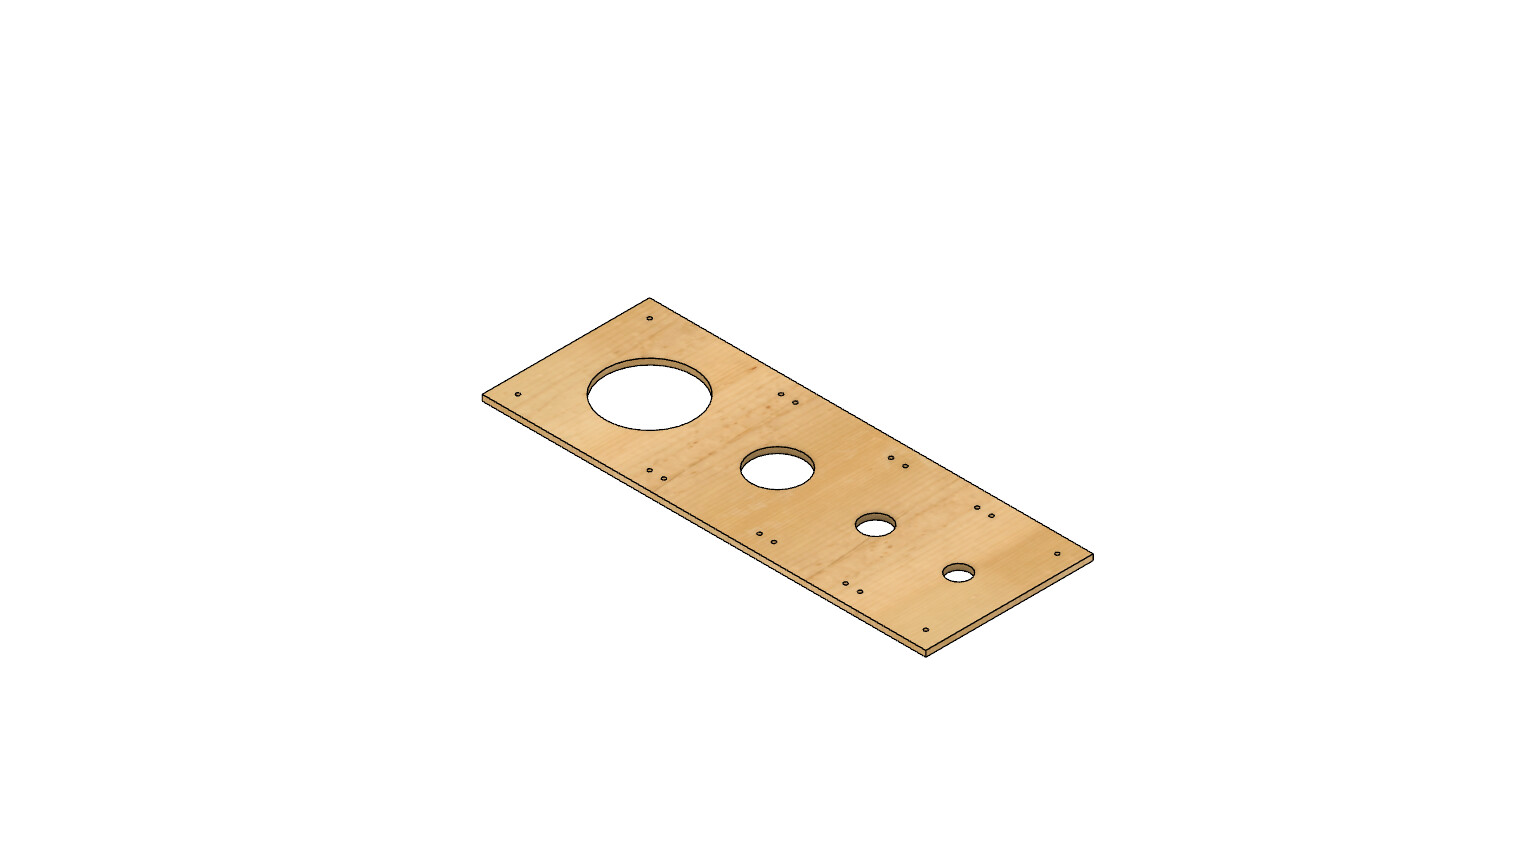
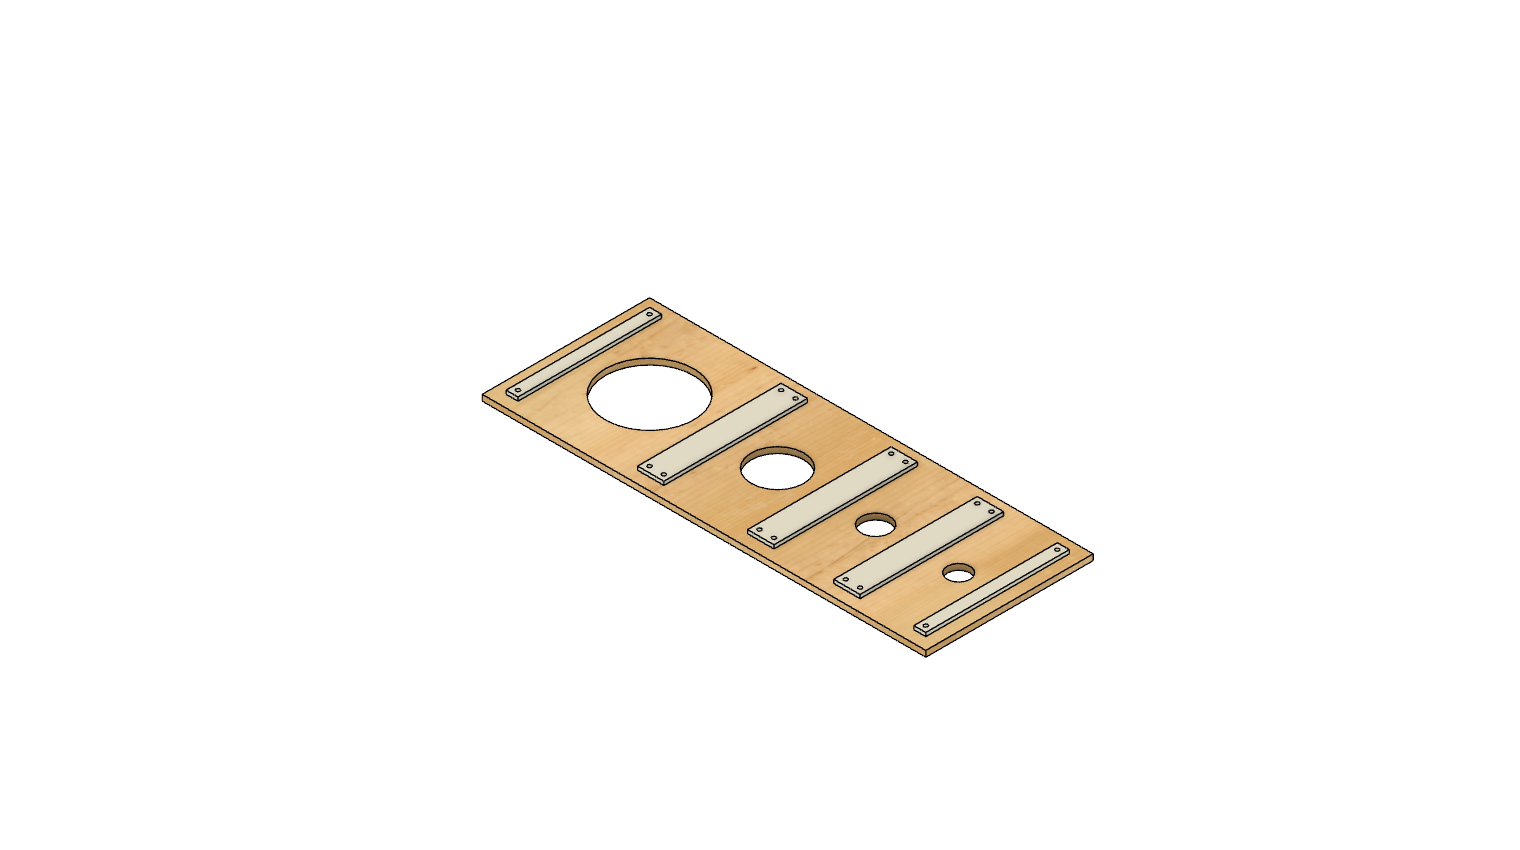
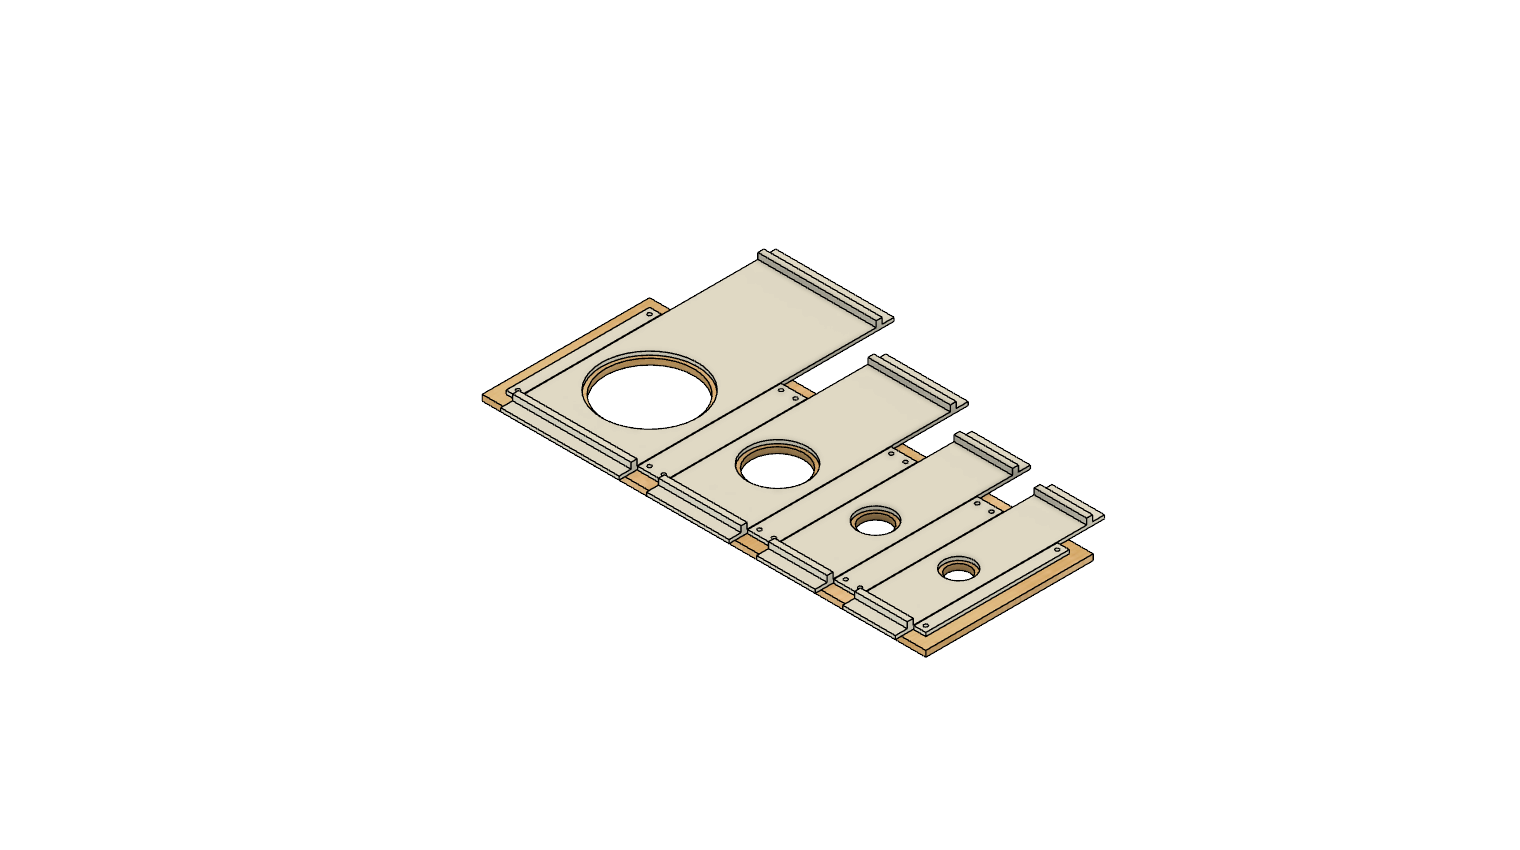
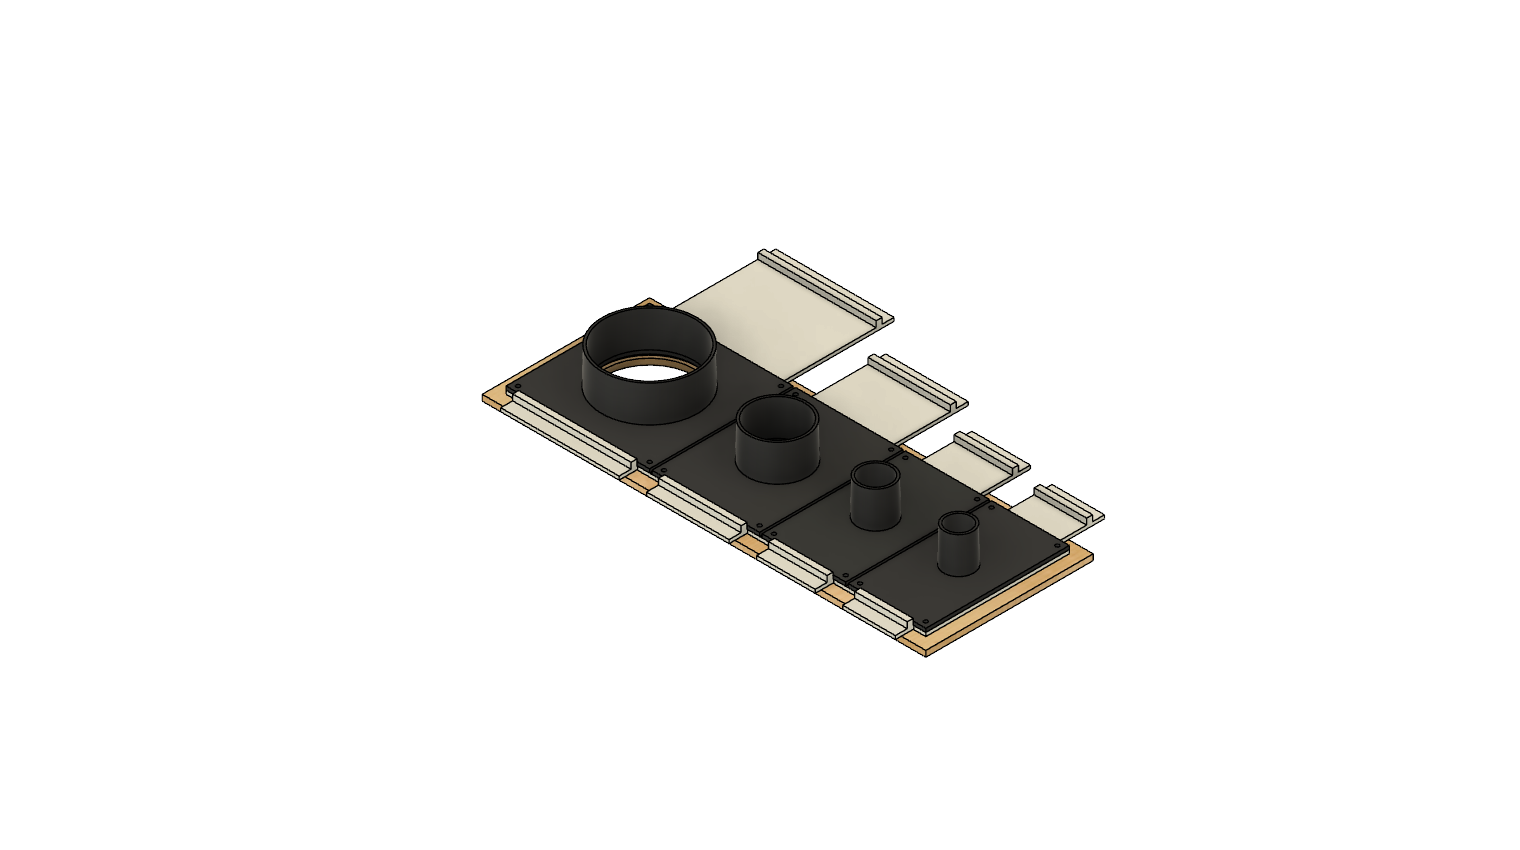
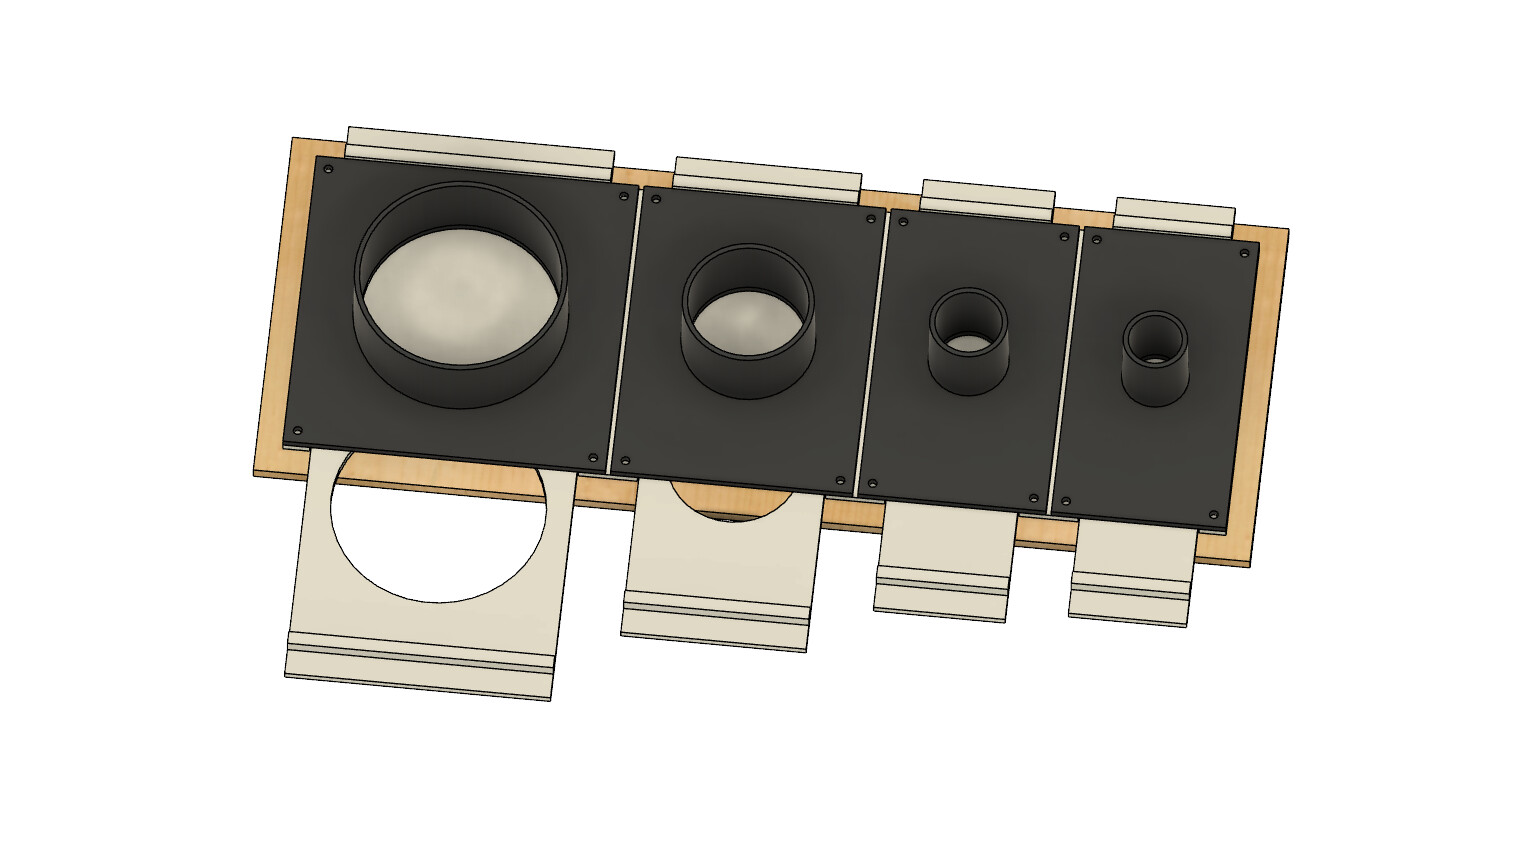
The last part is the manifold system, which will require the 3D printer, a little CNC work and some general plywood cutting and assembly. Also probably more vacuum hose to make everything fit nicely. The general idea is to be able to roll this thing over to whatever device need dust collection and just hook it up to whatever size it needs and open that blast gate.
These are mock-ups of the face plate with gates and hookups, I’ll need to build a box around it with a single 4-in vac port to run to the collector. Then I’m thinking I’ll mount it at around waist height and maybe add a hangar hook pole to the top for certain applications and some hose keepers to the sides…
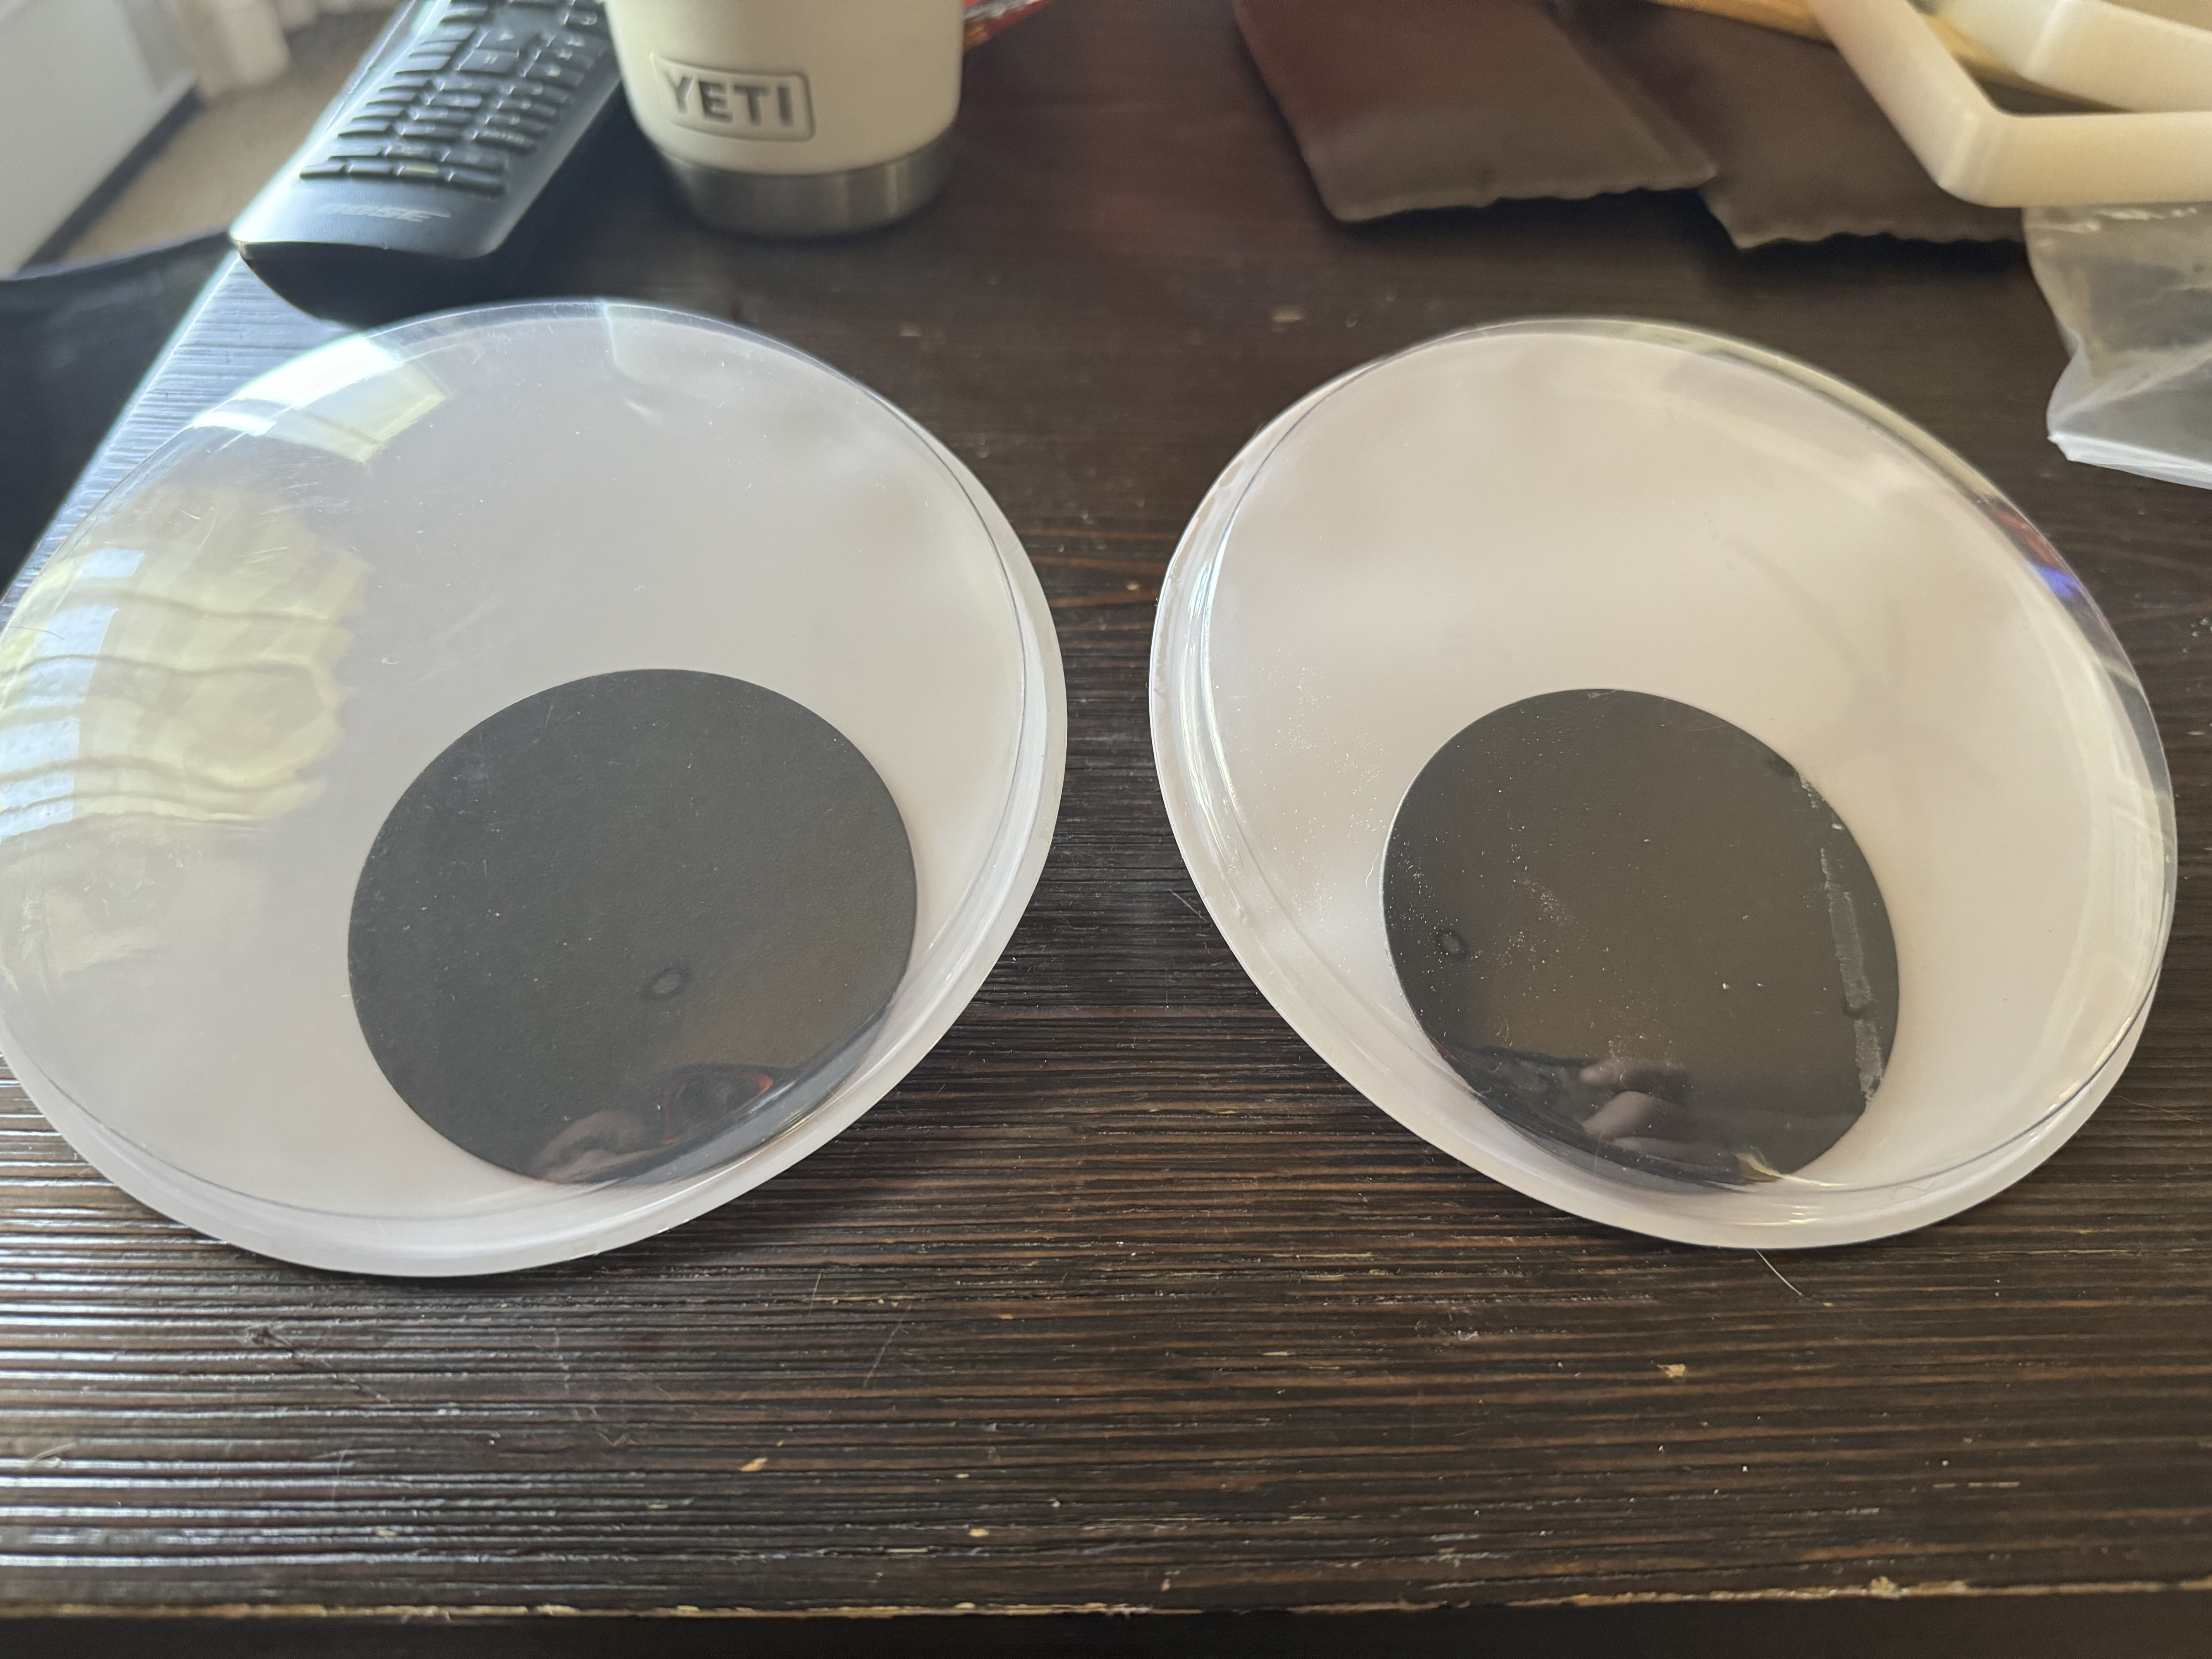
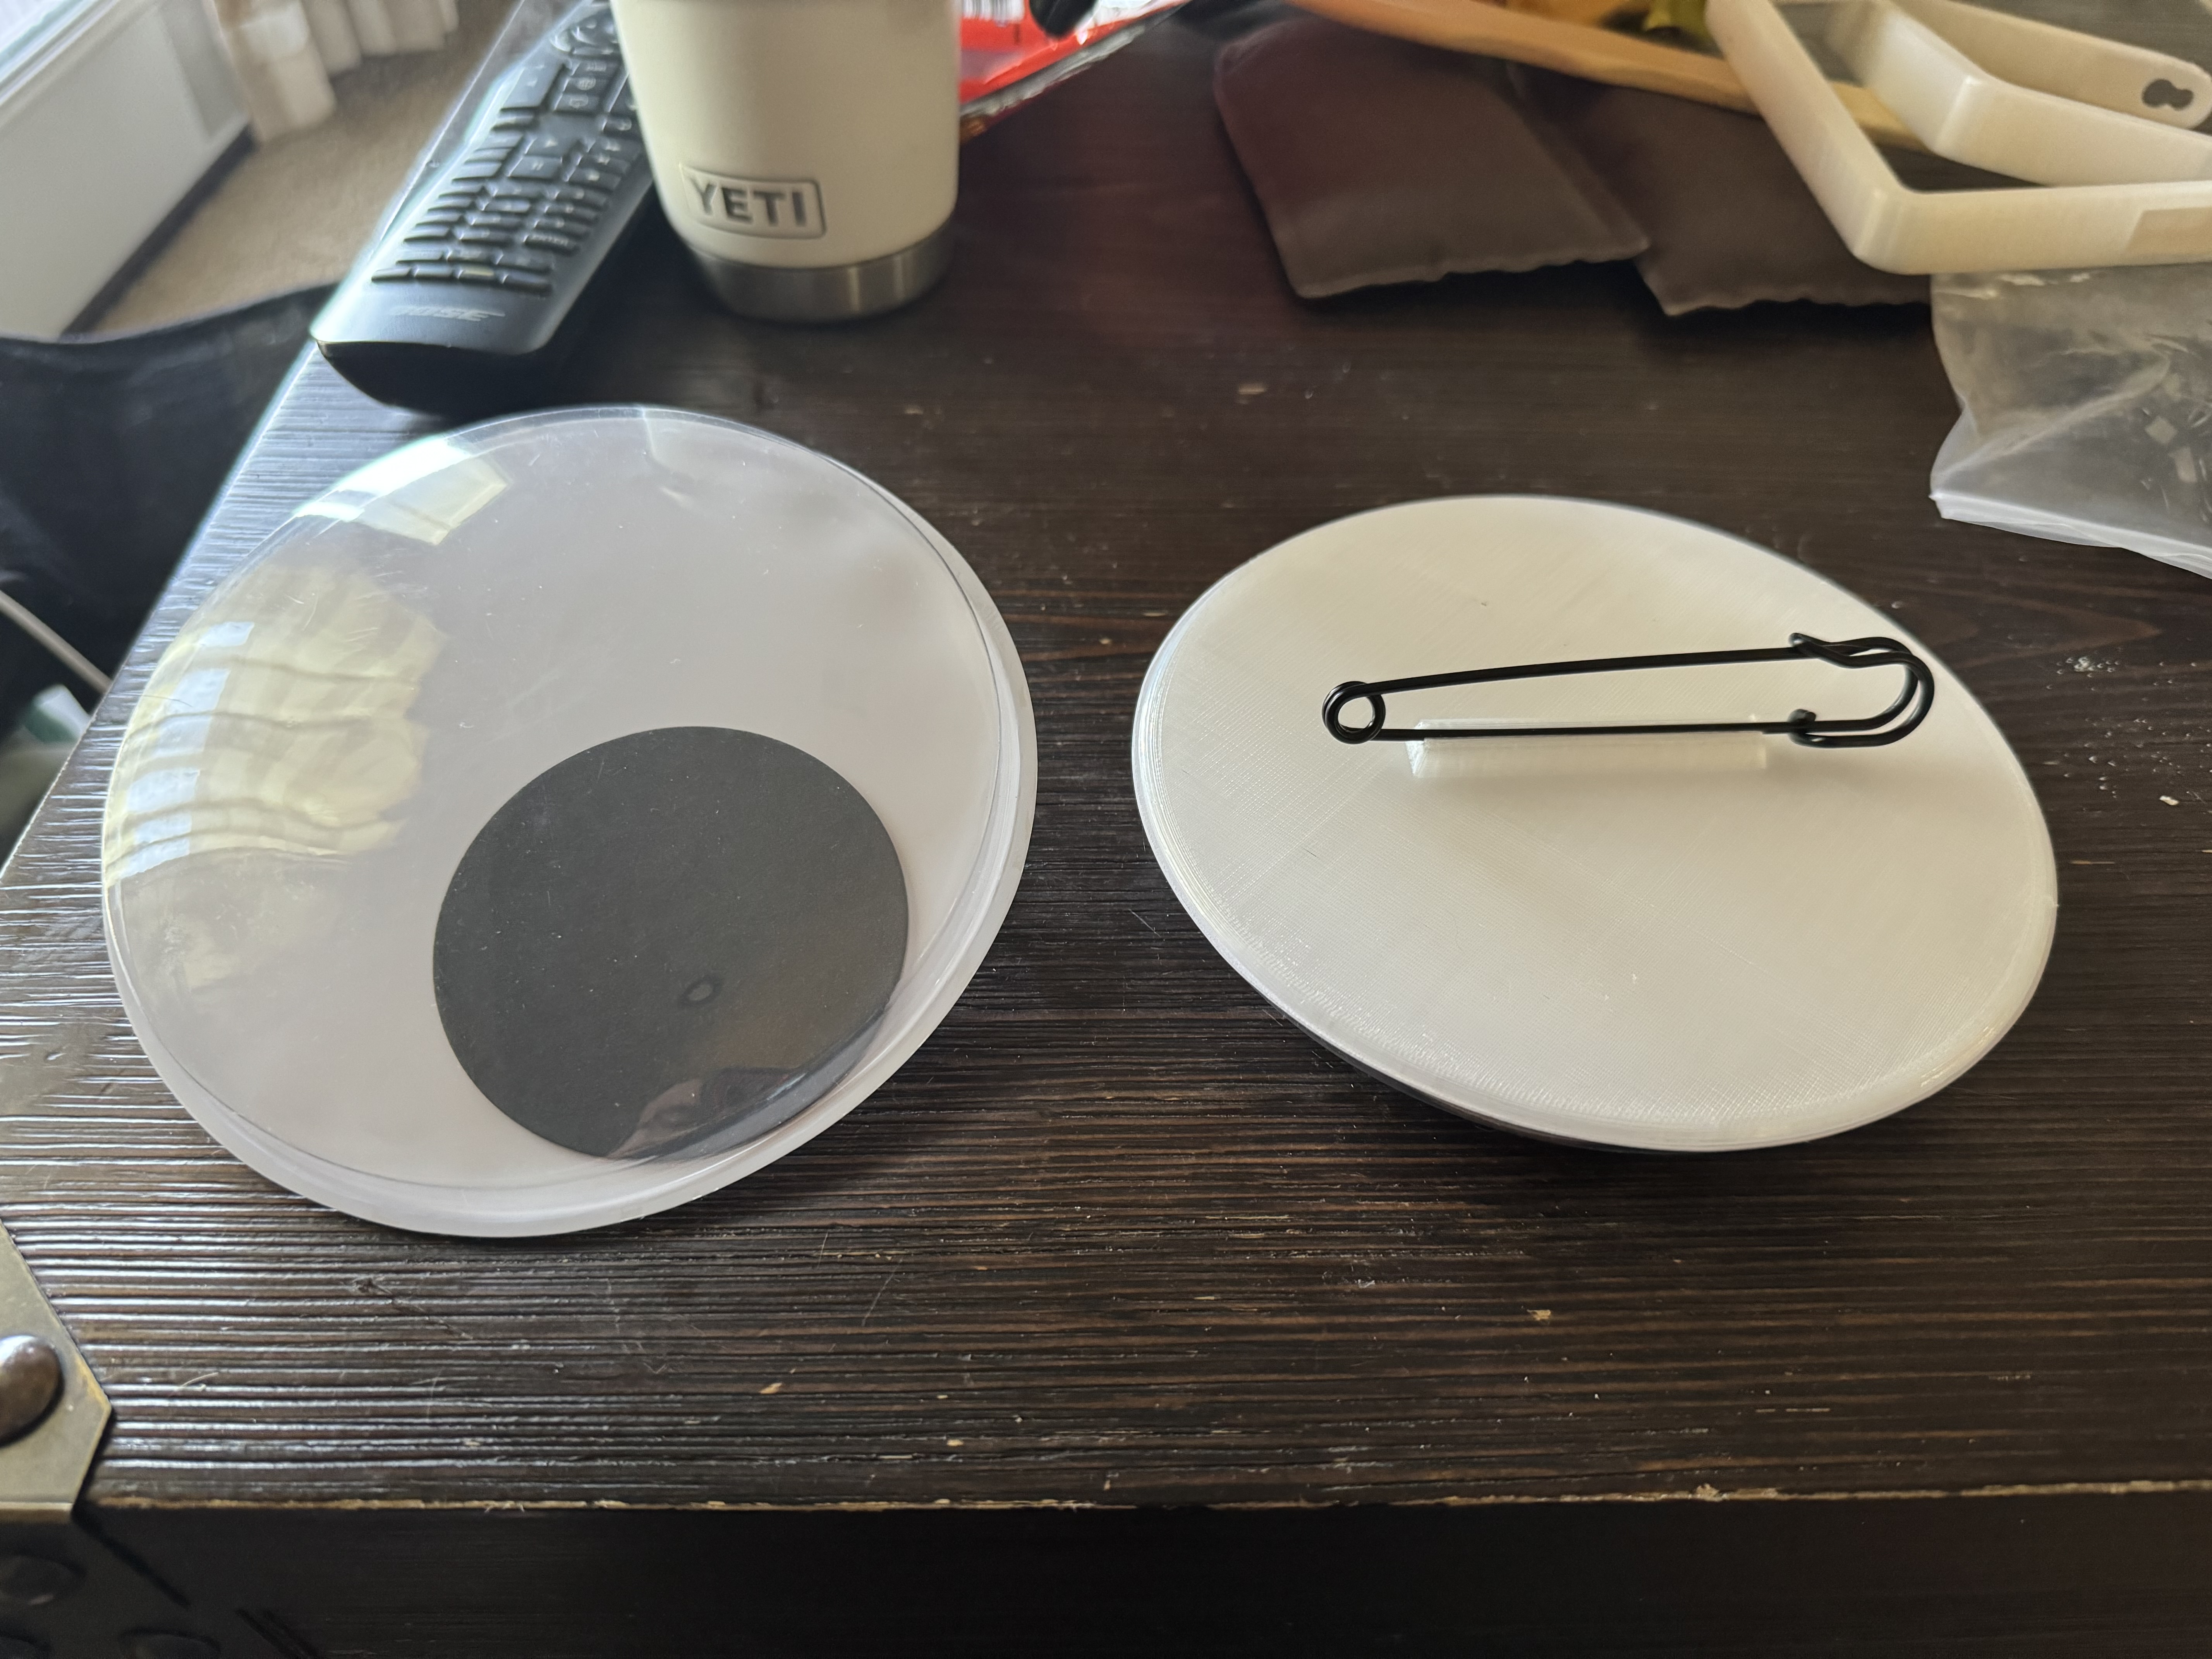
Weirdest problem I’ve had in awhile… apparently they don’t sell Googly eyes with pins on the back over 2.5-in diameter on Amazon? Problem solved, ordered a pair of just paper back 6-in Googly eyes and some giant safety pins, then 3D printed some backs for the eyes with snap-in slots for the pins.
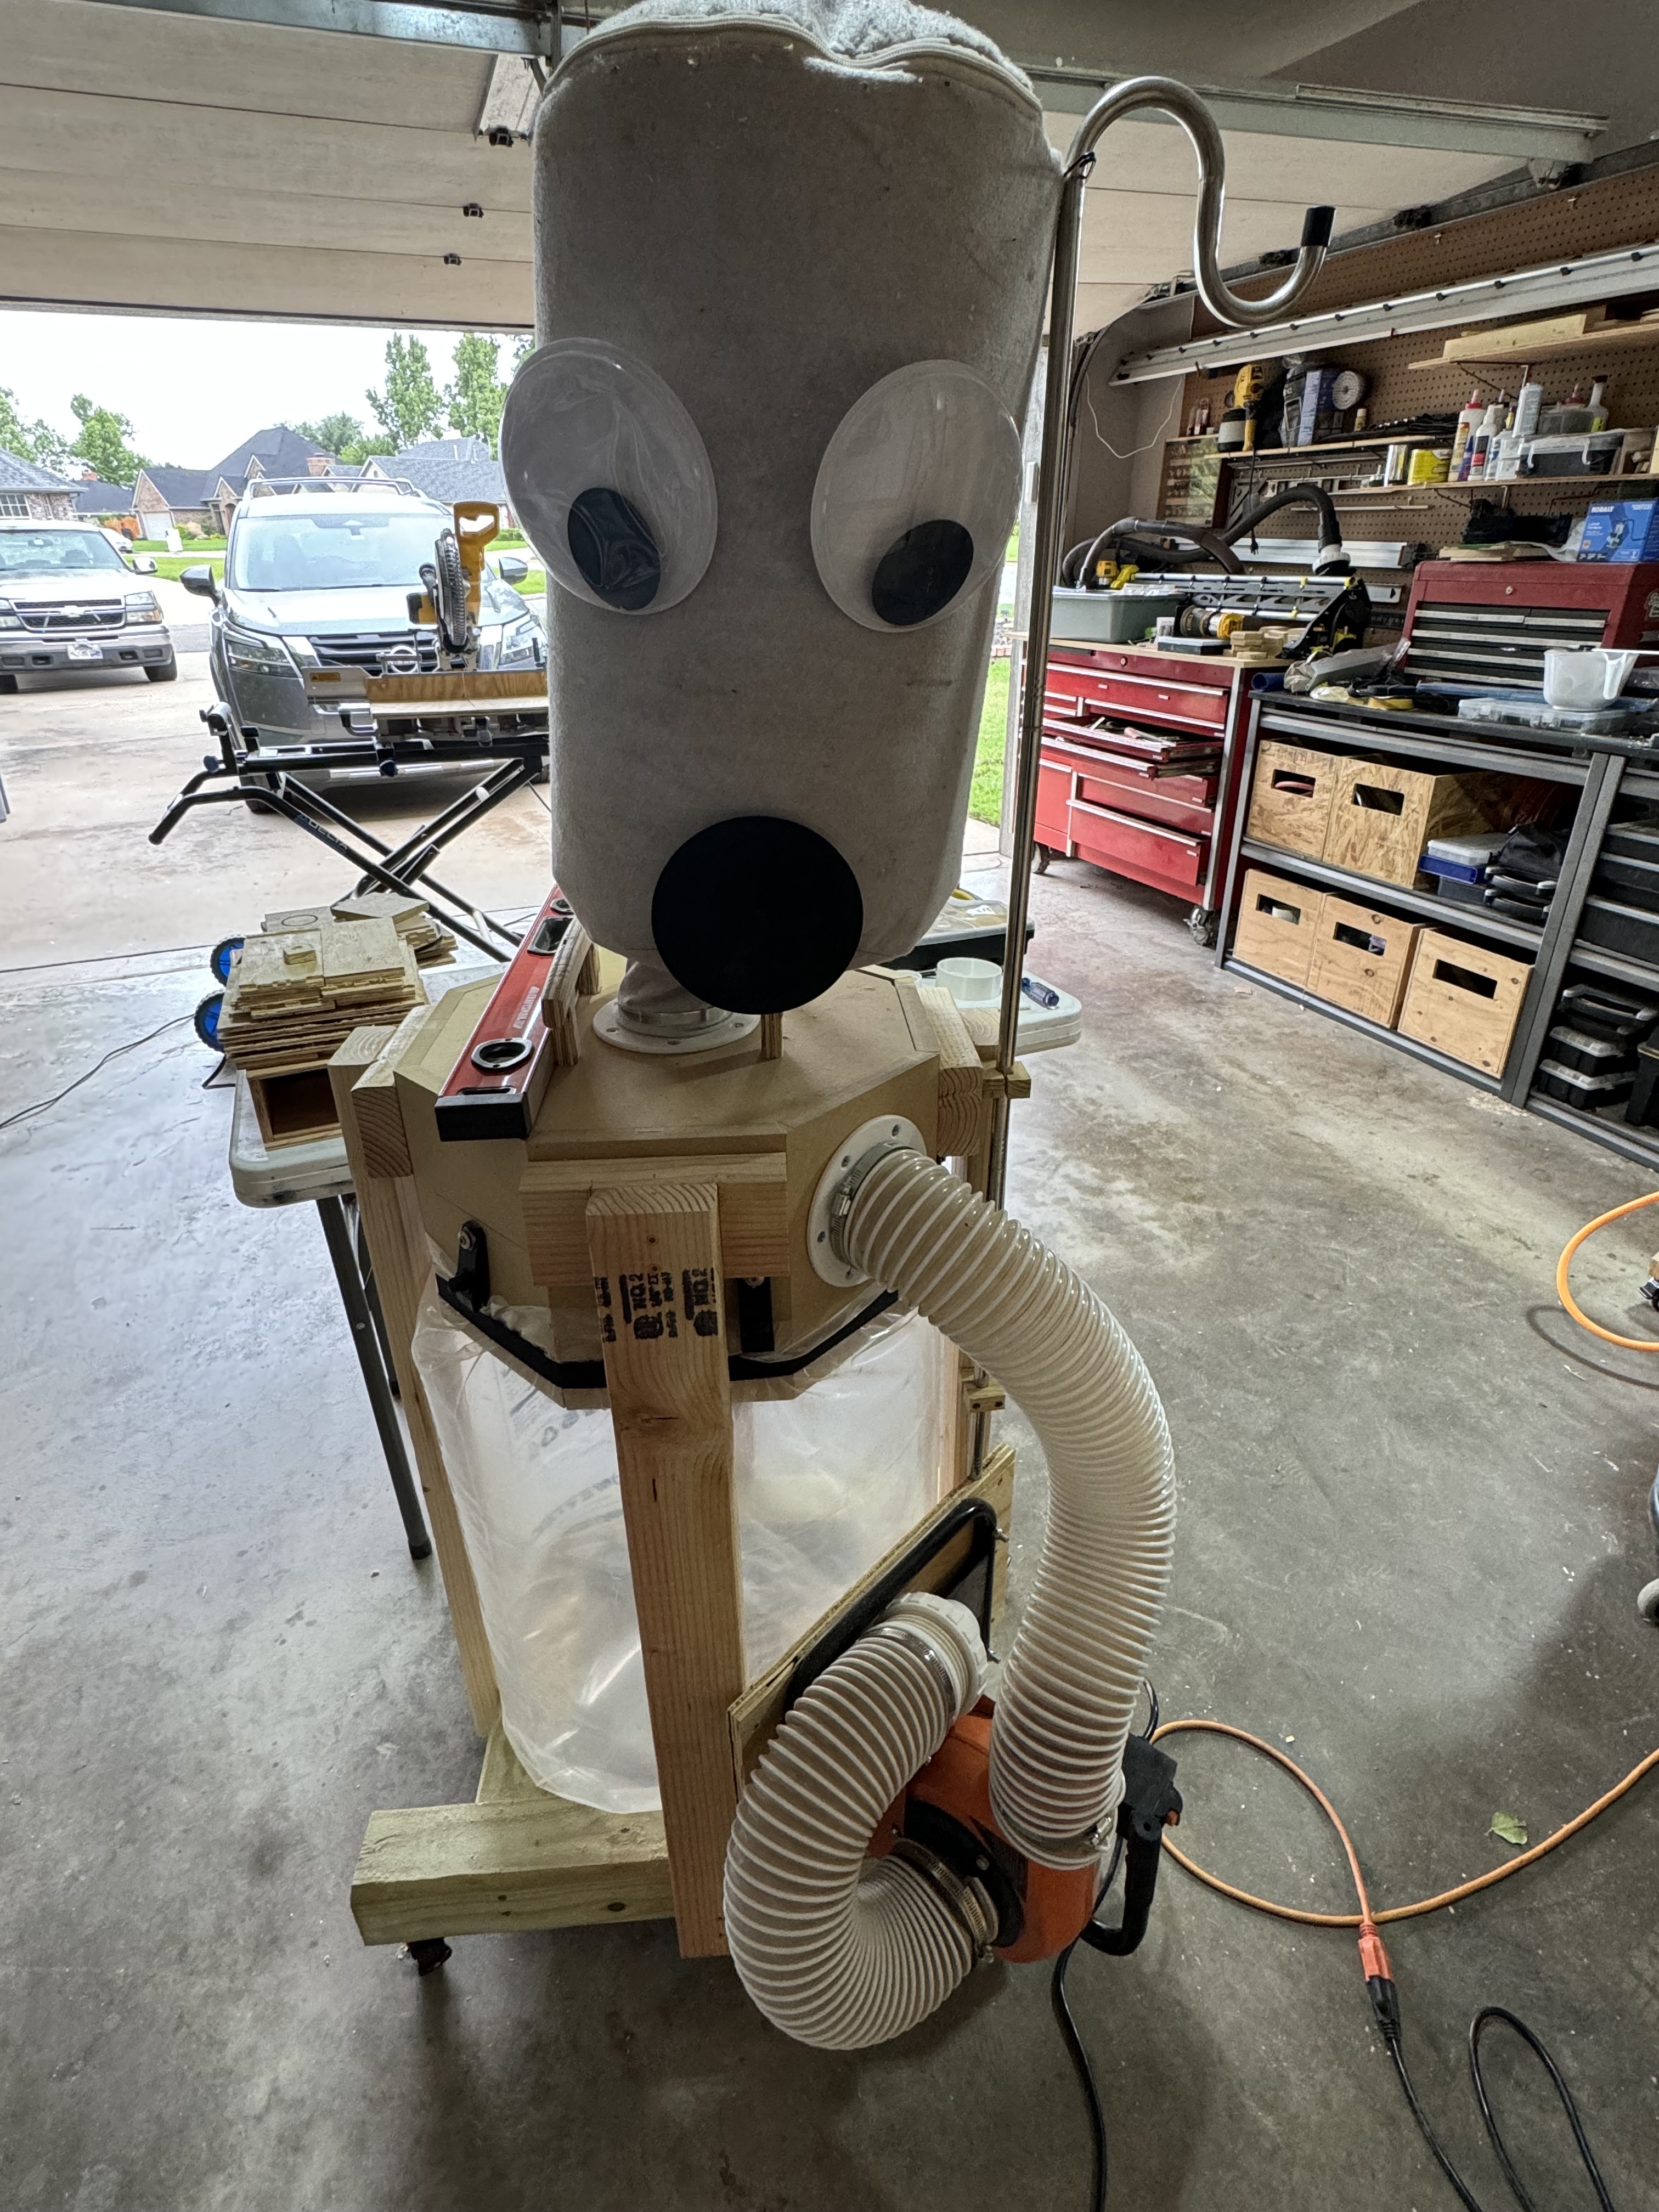
Add little CA glue and I present to you: Giant Googly Eyes for my Dust Collector Bag
Had to clamp a hook on there to hold various vac hoses up off the ground so I clipped the bag to it too. So I present to you, awake mode and sleep mode.