Yep alot of time don`t even notice your doing it.
Printing more parts, I increased the retraction speed with 5mm/s from 25mm/s to 30mm/s and some of the stringing decreased.
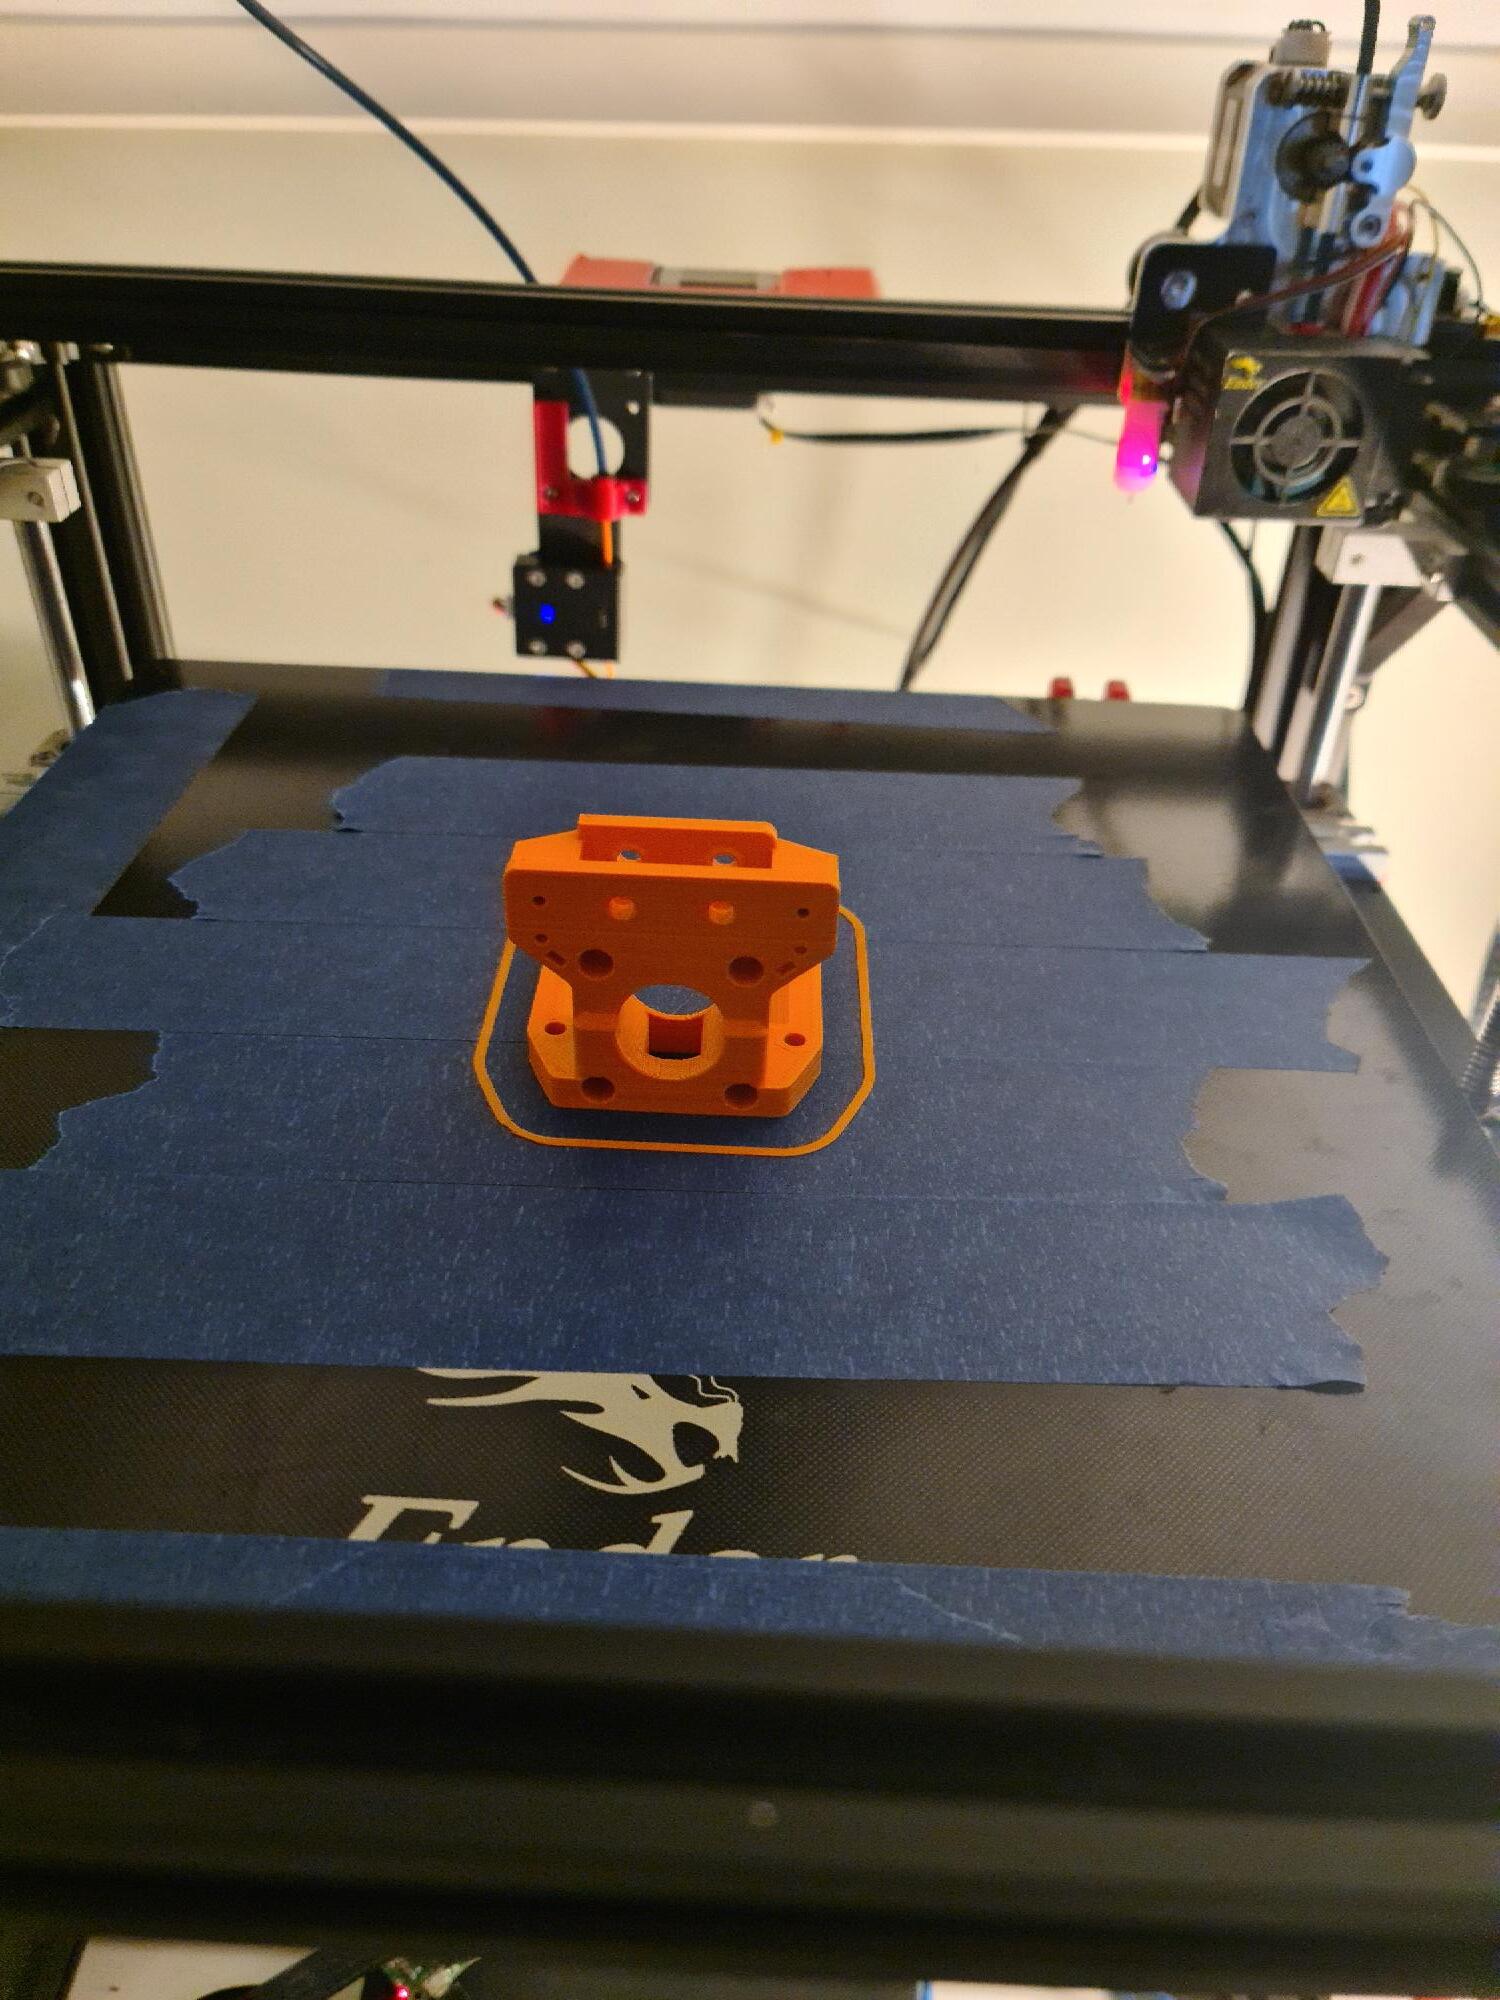
I will print a couple of more parts in orange color and then switch to black and print the makita mount and dush shoe and the x drive mount.
I am getting some z ringing?
Could this be because of loose belts? What is an easy way to find out if the belts are too loose?
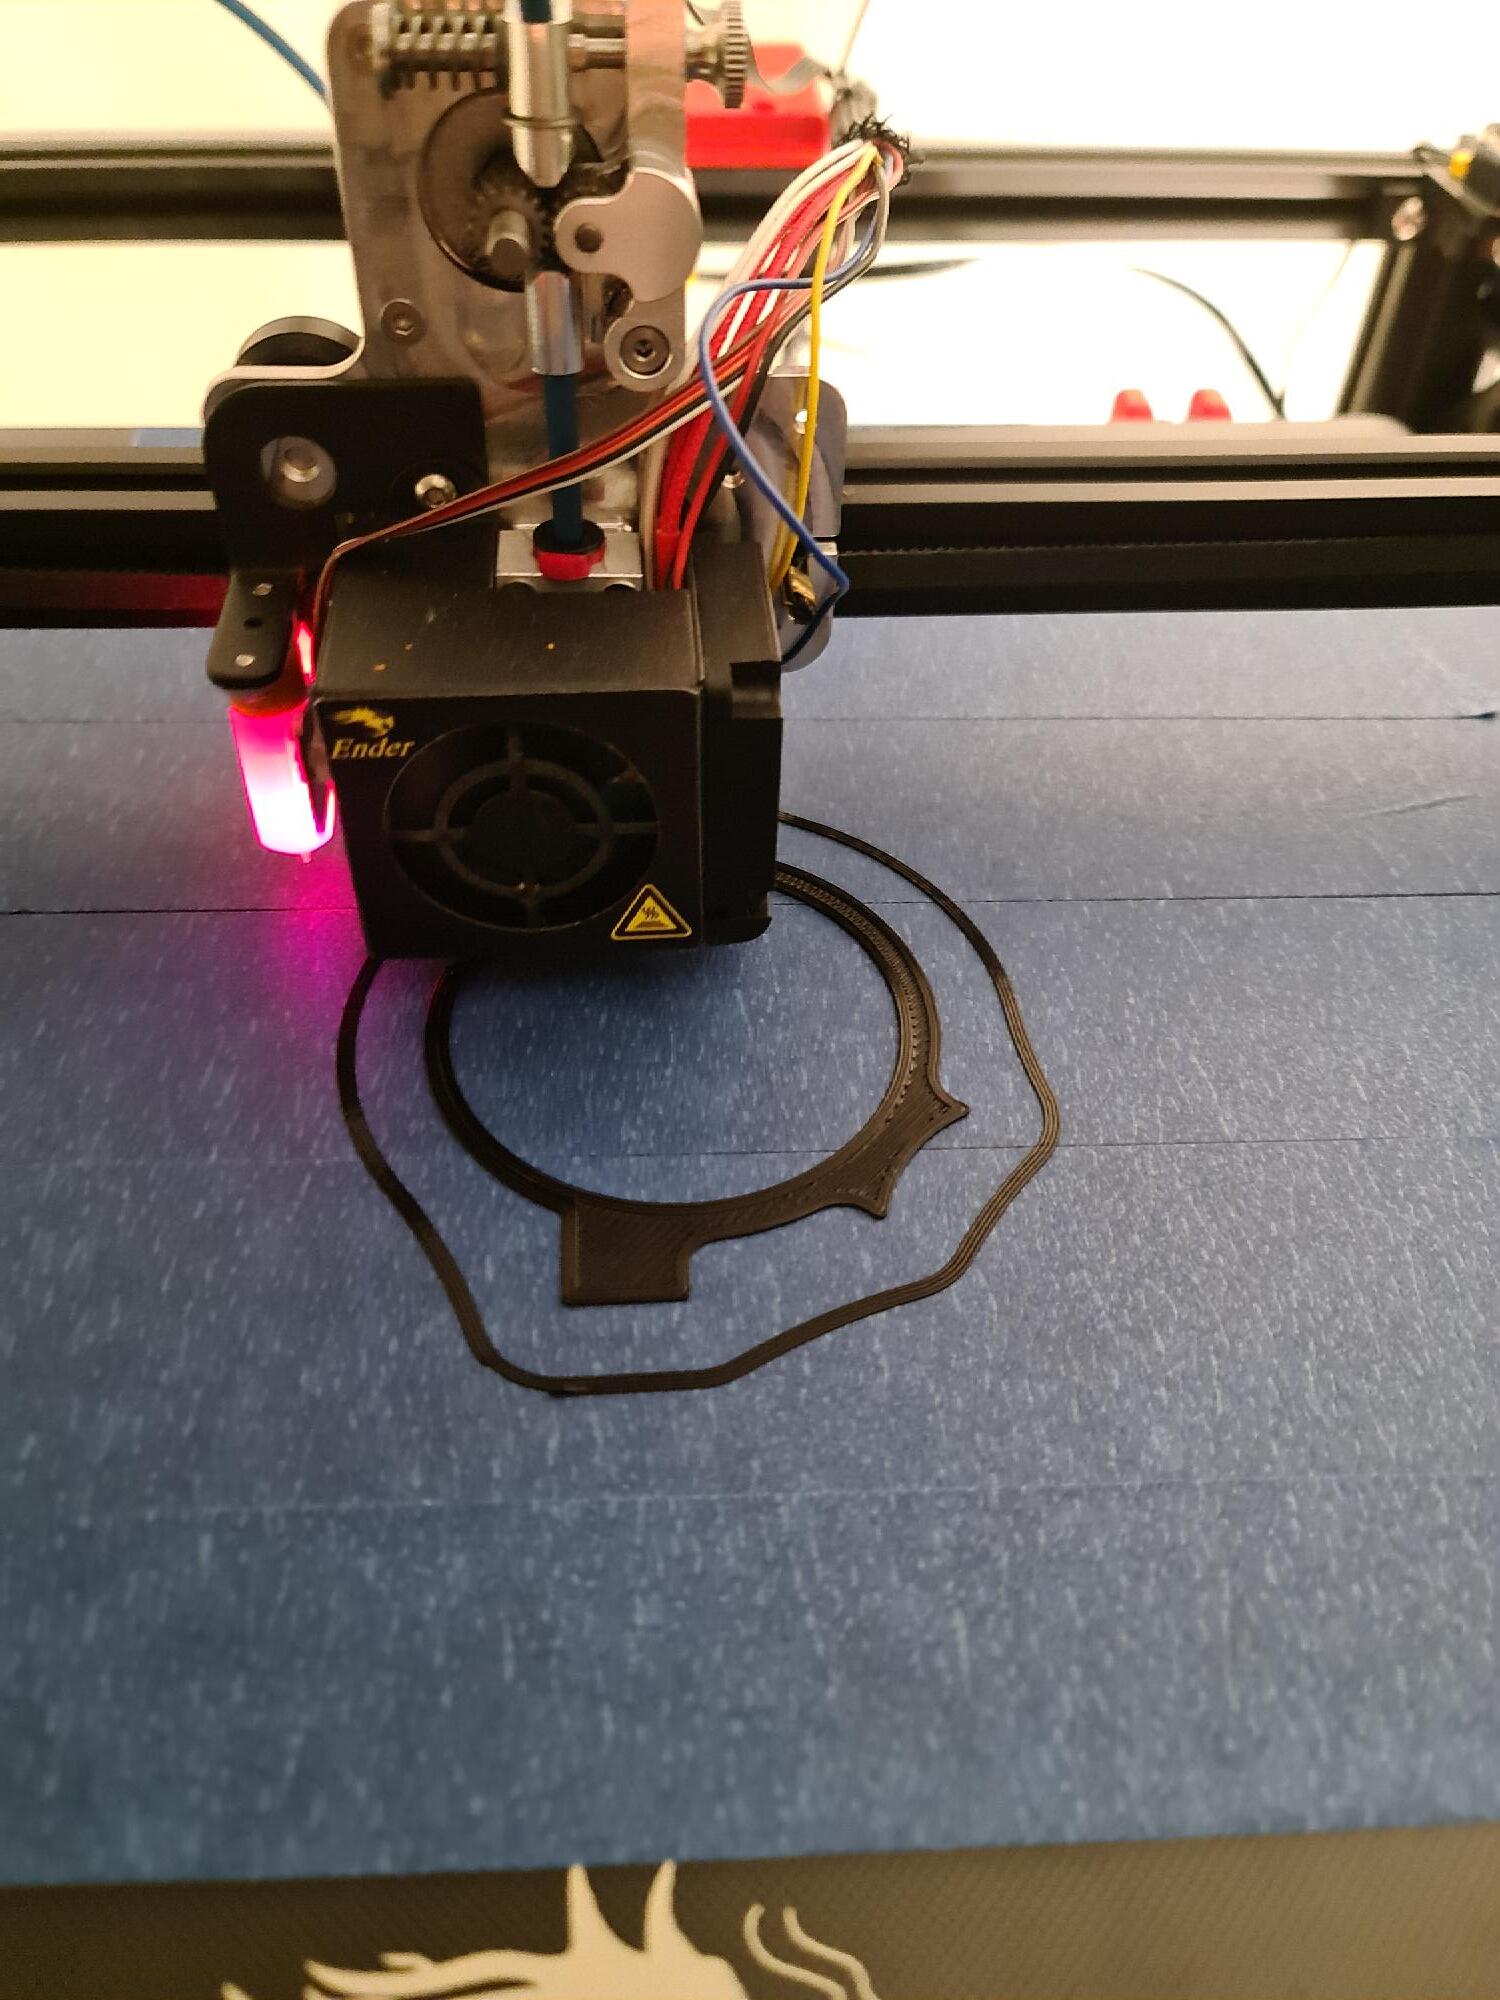
Getting a bunch of part, soon I have printed them all.
How do you keep track of what parts goes where? ![]()
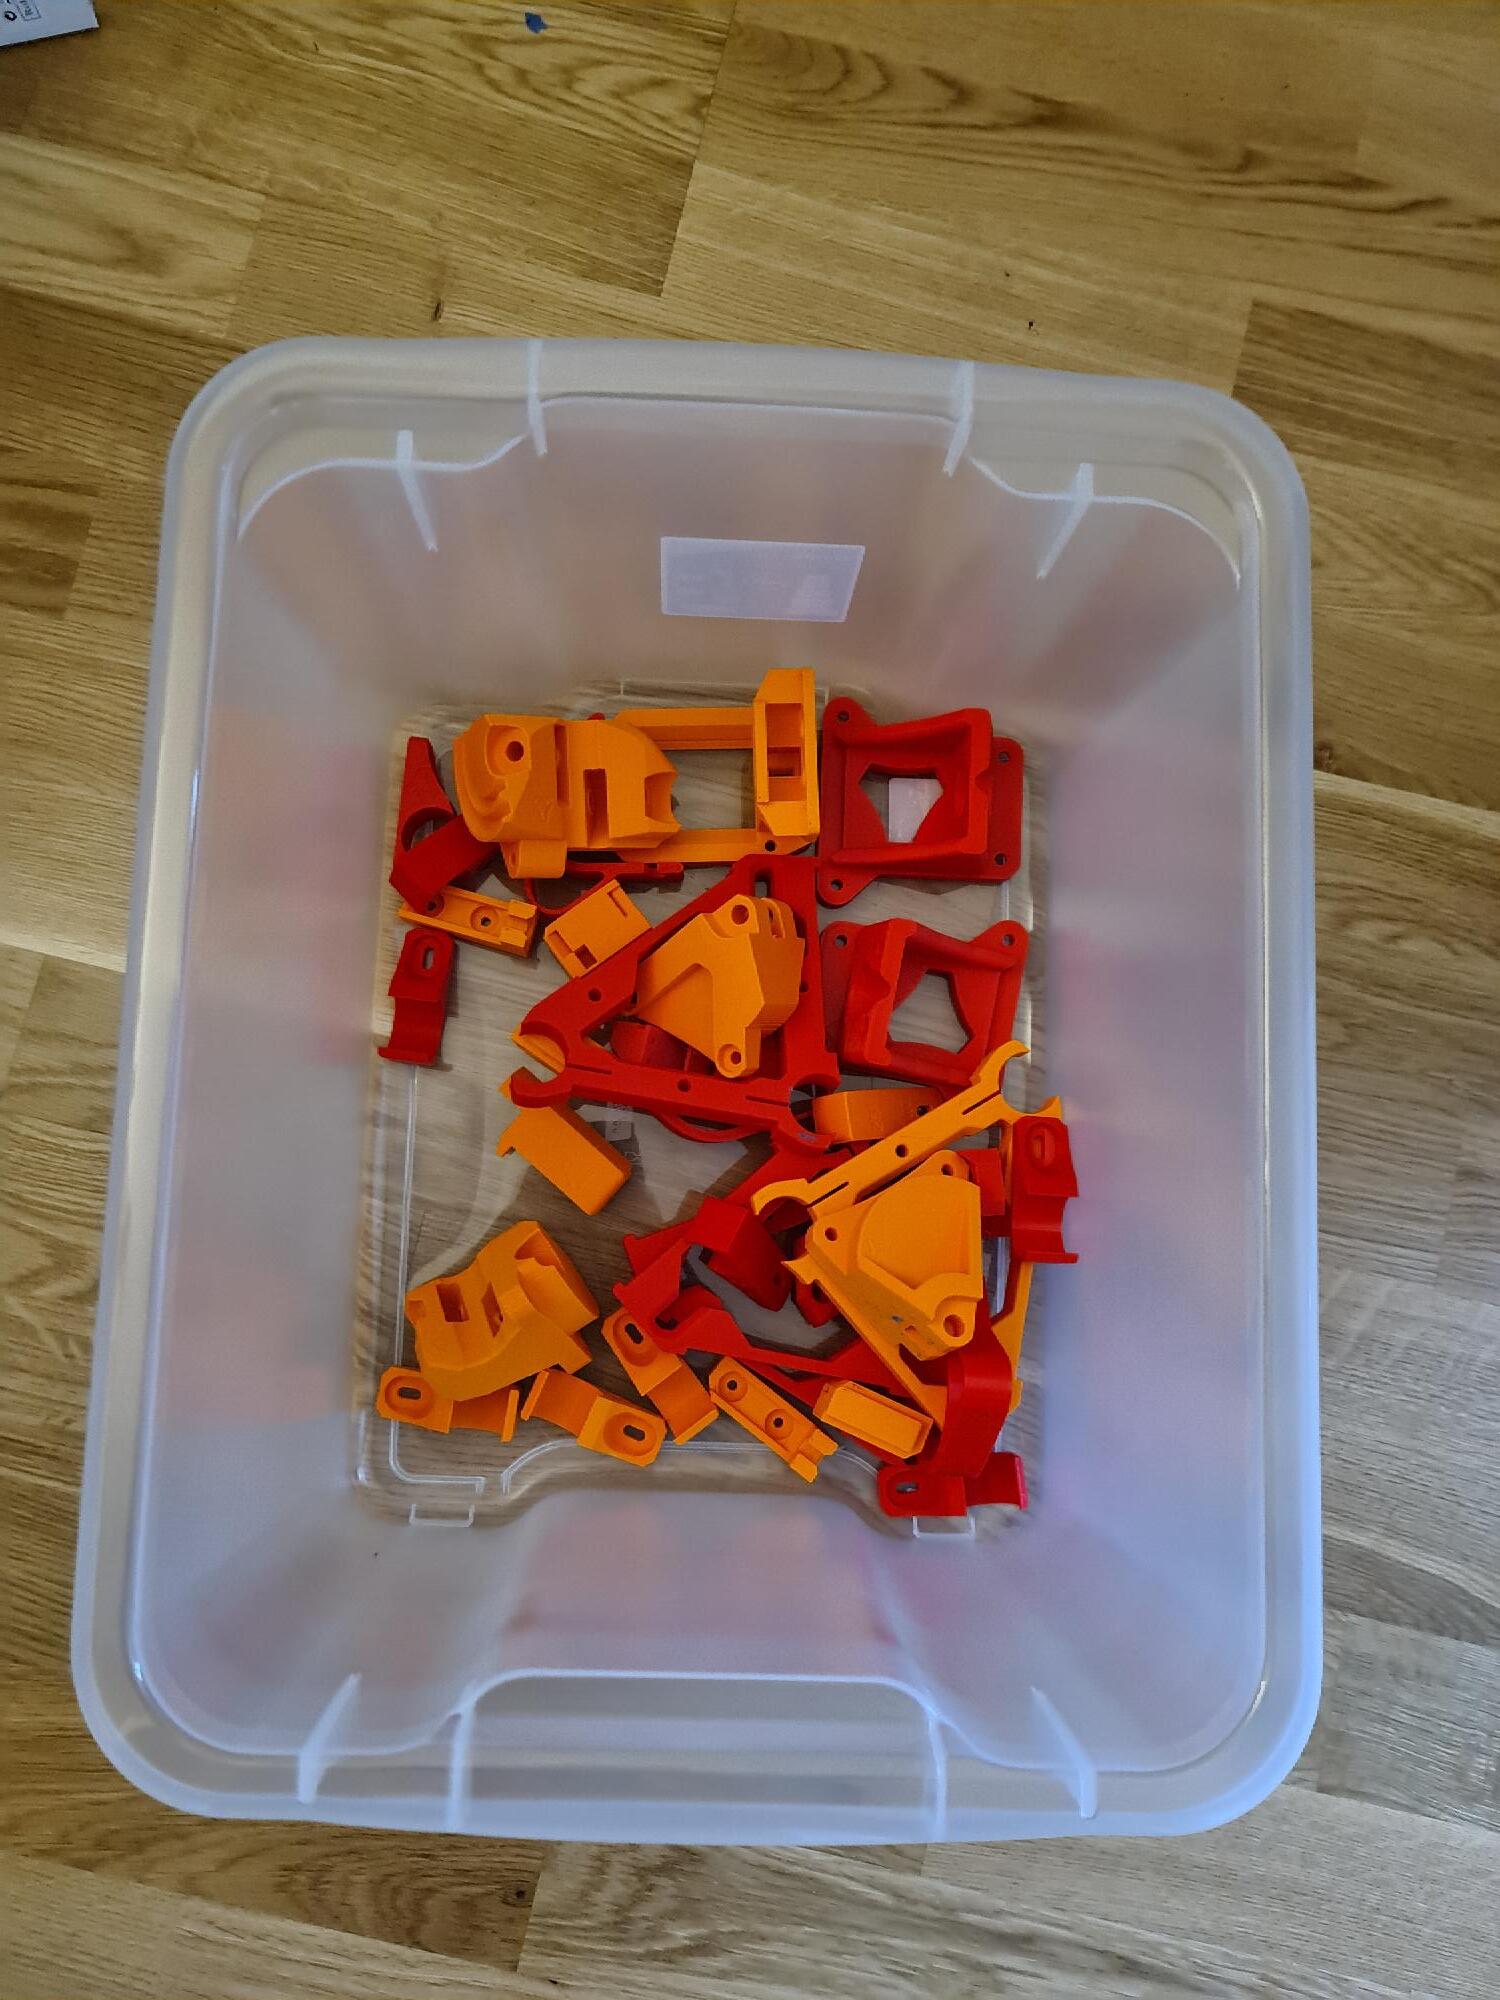
With my mpcnc I printed the bom and then labeled as I went
1 Like
Sounds lika a good approach and I wish I had done that earlier.
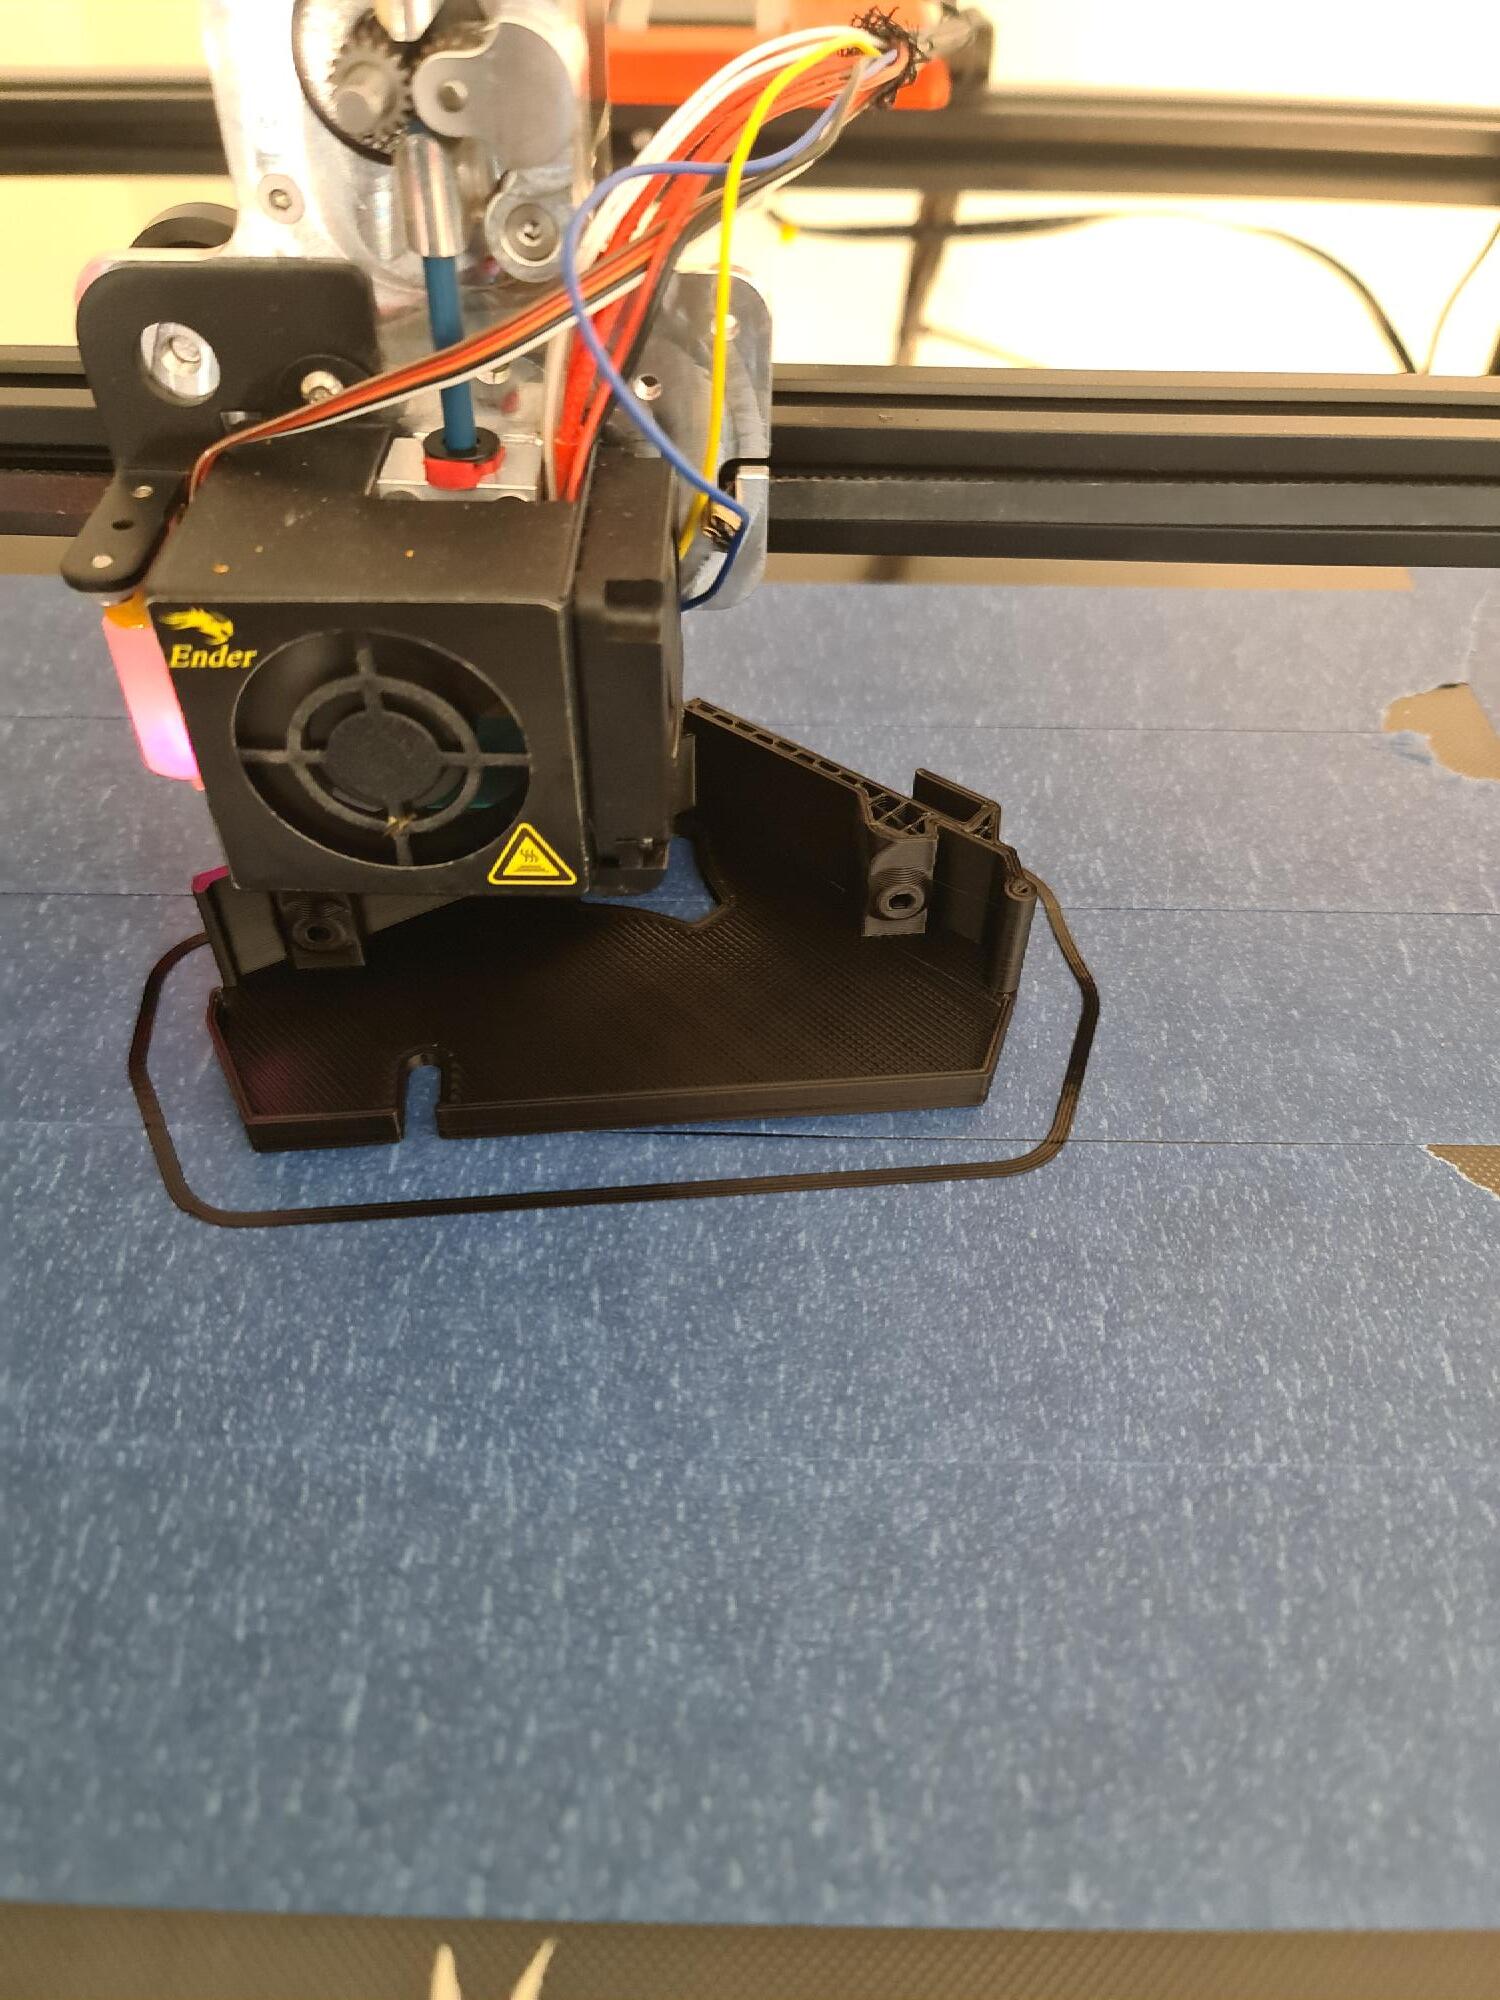
Now I am printing the makita tool mount in black pla and after that I think I have all the parts.
I have some 608-2rs bearings and I might start assembly in a short while. I think I’ll start a new thread for the build process.
1 Like
Two more parts to print before I start with the assembly.
Things I have learned, don´t print before you have tensioned belts and set a good z-offset.
I started with a 0.4mm nozzle and 0.2mm layer height and ended up with a 0.6mm nozzle and 0.3mm layer height for most pieces. I also made the decision to reprint all parts and this was the right decision.
Eventhough I spent a couple of days extra reprinting.
I would also reprint the core in a slower speed, perhaps I’ll try this some snowy day ahead.
If you don’t prefer to change things, tweak, calibrate and change etc. then just buy the printed parts set from the shop.
1 Like
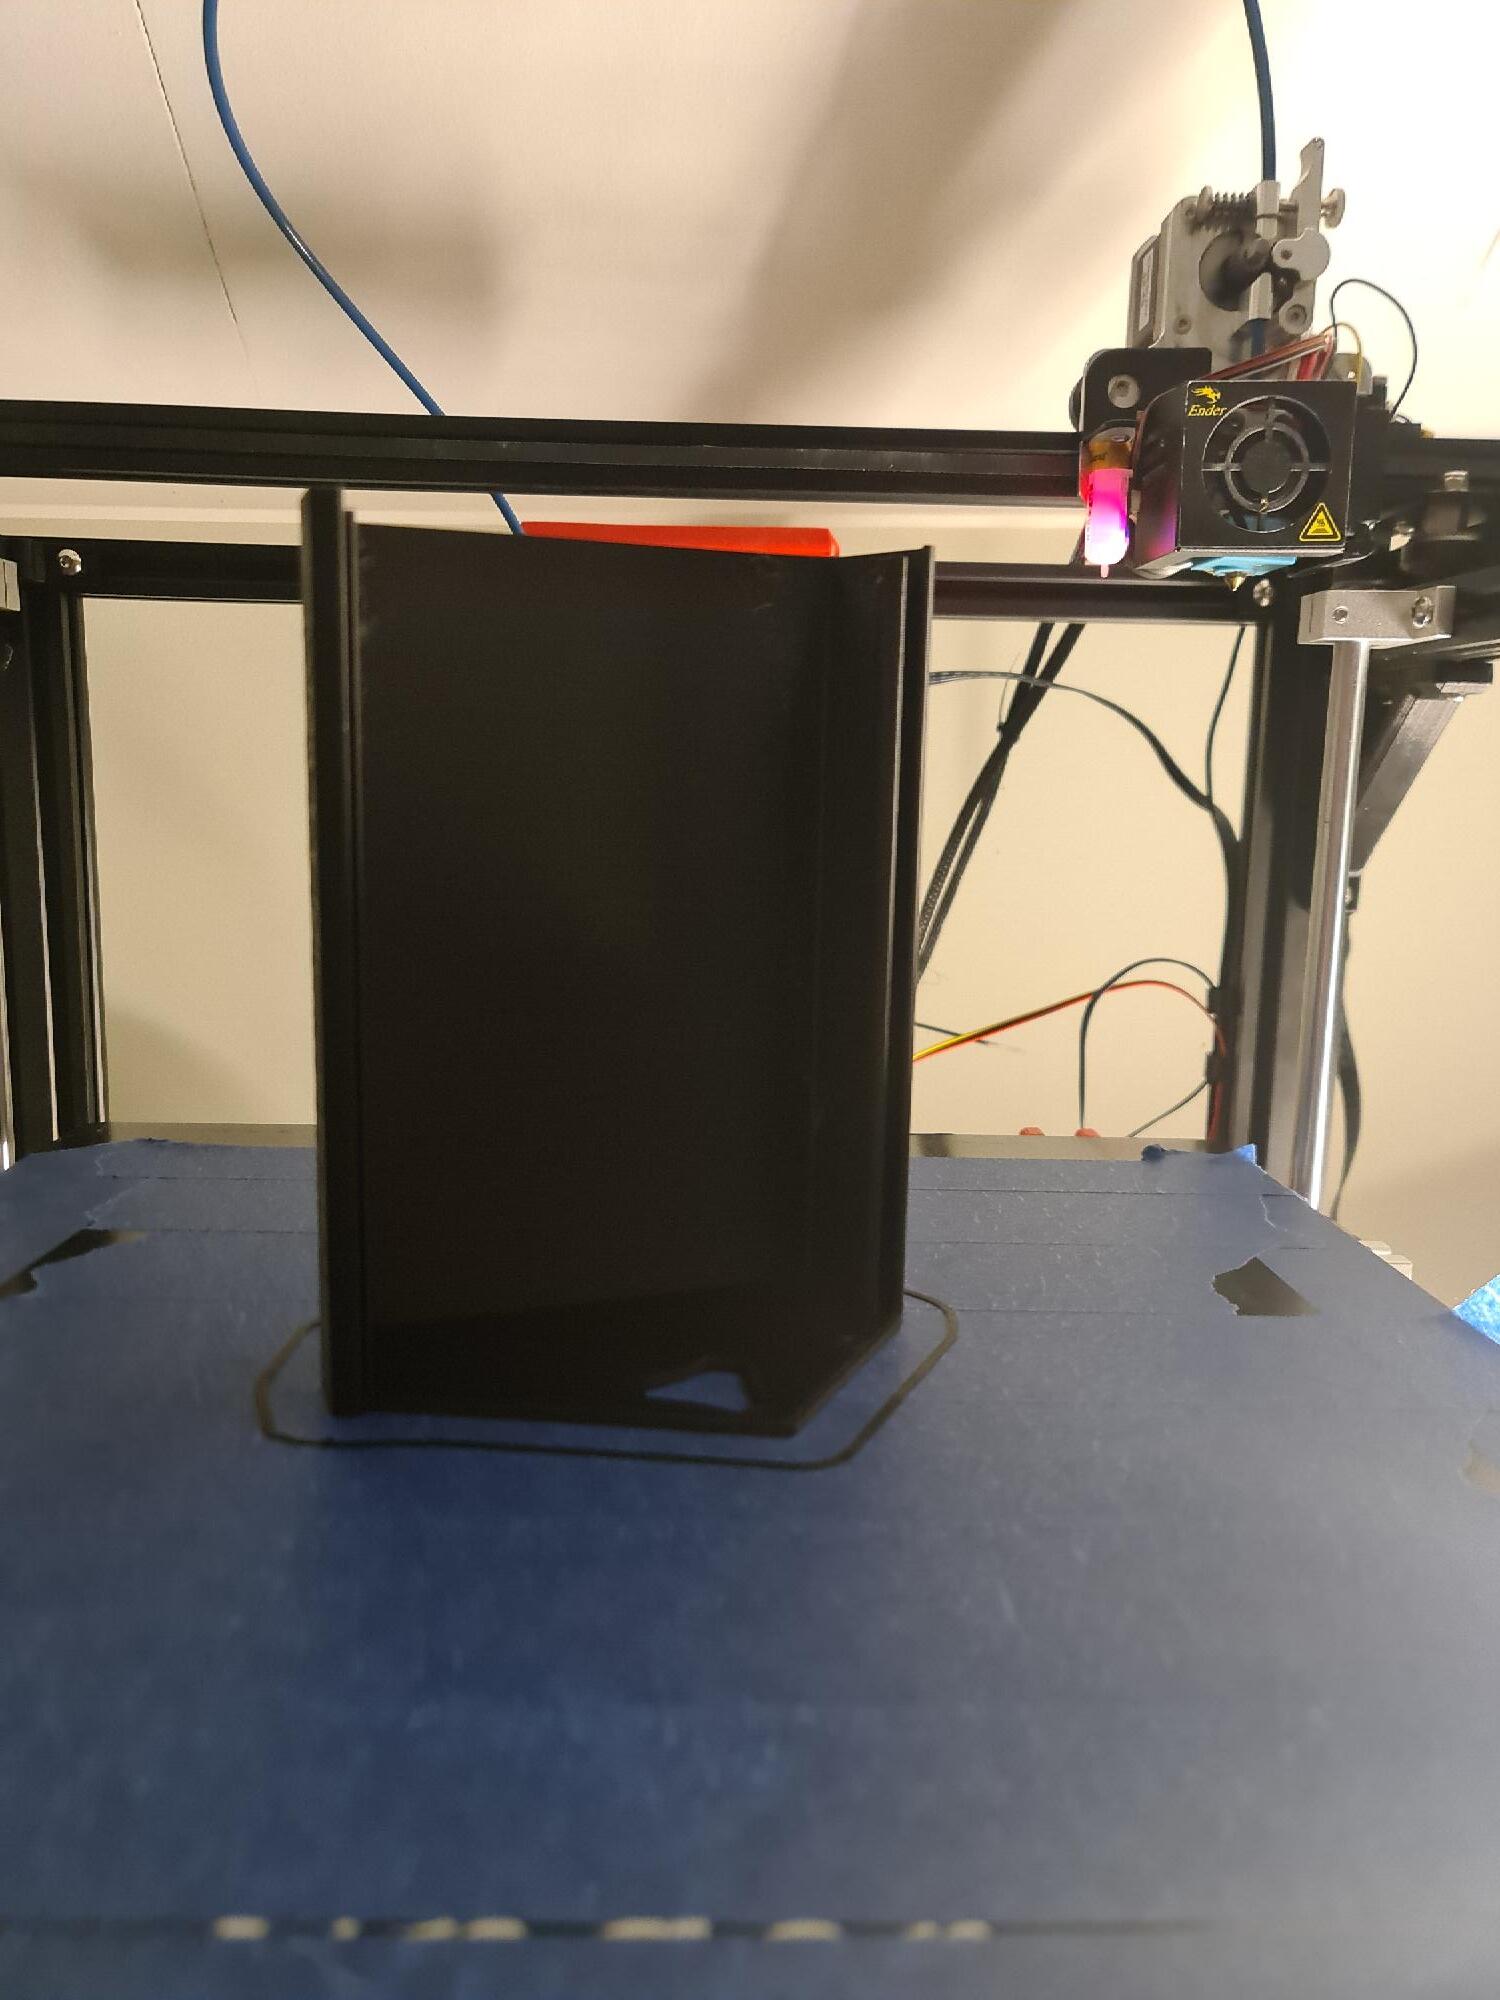
I found a case with a bottom and a lid and a case for the screen that I am also printing in black. I also found a hose connector that I printed in orange.
I need to buy another orange filament for the lid.