Also, FWIW, the bit I’ve been using is like these, from the same seller you linked.
I’m trying to understand about the wheels tilting. The bolts through the YZ Roller assemblies should be holding them perpendicular to the Y Plate and Z tubes. Seems to me like something isn’t right, and would be worth trying to figure out
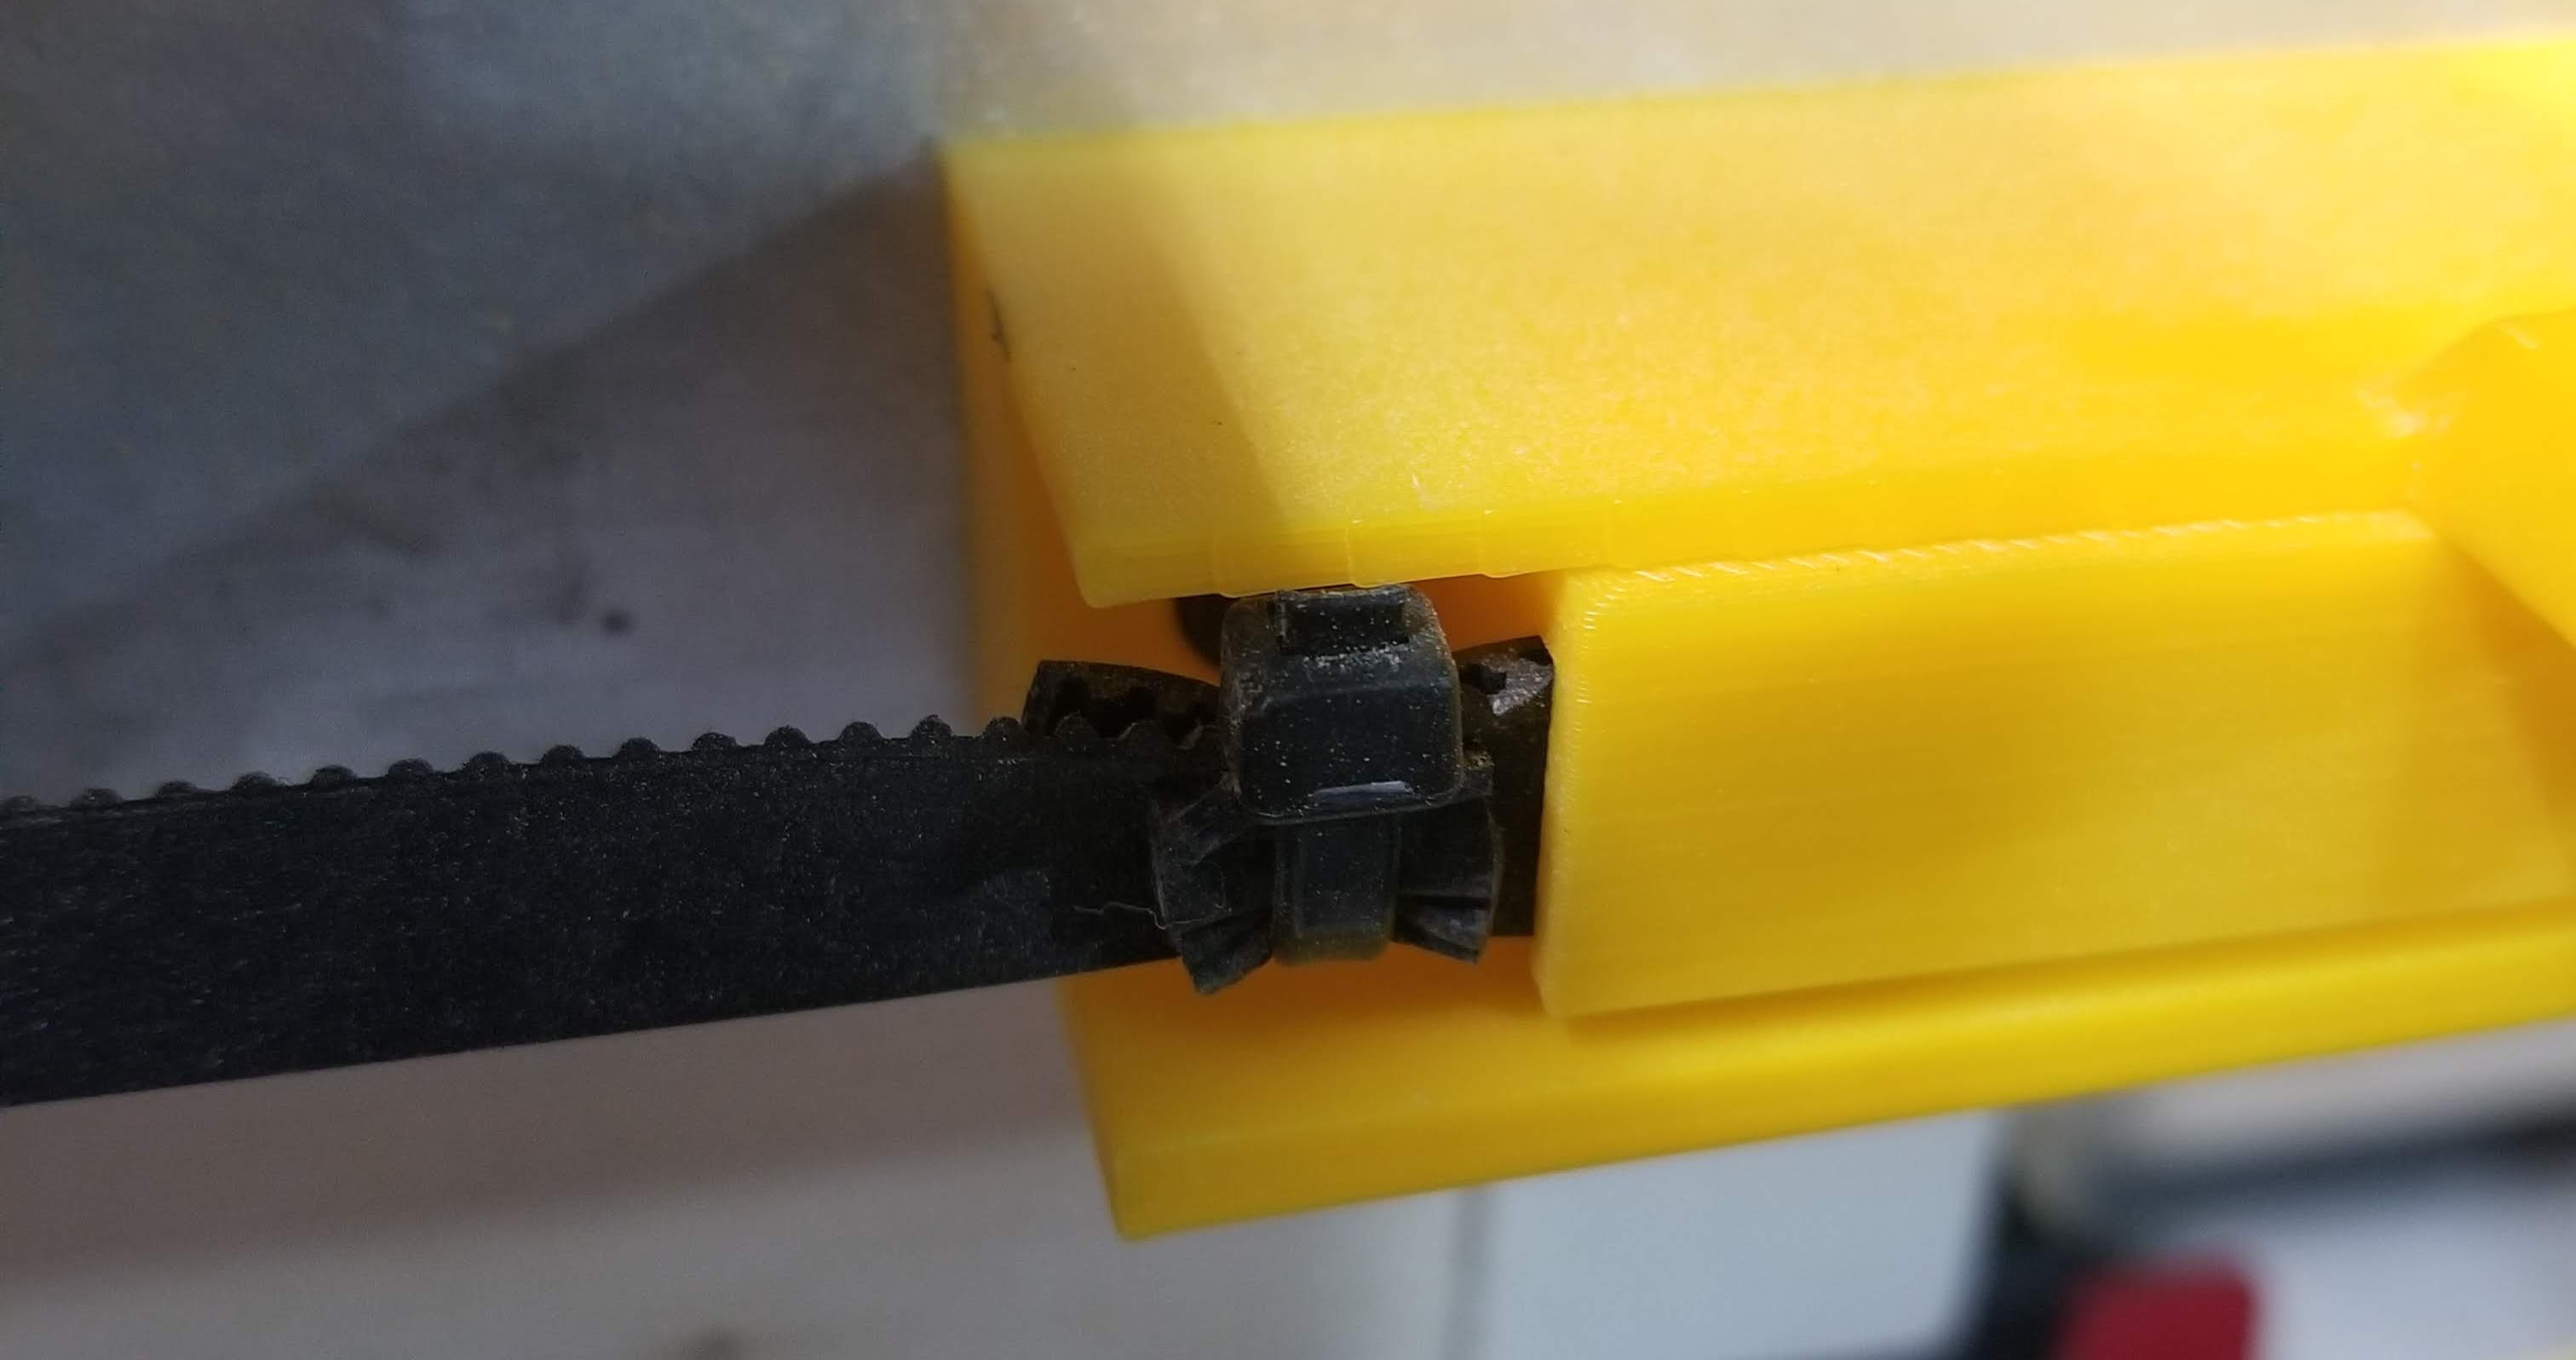
Unfortunately I had a disaster today and my x axis belt on the side next to my shed wall came loose… I think one of the little black inserts popped out (can’t find it), loosening the belt near one end and then when trying to makeshift a solution, the one on the other end popped out. So, I now need to find a good solution to belt termination… I’ve had a lot of problems with the belt coming loose. Hopefully something not complicated or require 3d printing.
The zaxis tubes seem straight, but both the wheels tilt outward (positive camber). They seem straight on the other side. All I have weight-wise on the Y-plate the RPI, mini-Rambo, and the LCD screen… none of which seem very heavy.
Maybe more zip ties? You don’t need them to be supremely tight. Jist enough that they stay taught.
I haven’t had that particular issue with the Z. I remember an issue where that was assembled backward, and one of the piece had a flange that was making it crooked. The V1 didn’t have a flange (and I haven’t upgraded yet…), so I’m not sure.
I had put extra zip ties on it to keep that bugger in place (had popped out before). Maybe I’m doing it wrong… but now the piece is missing and I’m looking at different options.
As for the ‘flange’, I had noticed what you are talking about when I first assembled and undid one setup because of had it wrong… I assume I got it right.
I’m mostly really impressed with @vicious1’s designs, but I don’t like those little belt inserts. It just seems like a bit of a kluge, and they’re really fiddly to put together. I found them frustrating (and as an aircraft mechanic, I’ve made a career of assembling fiddly bits by feel while reaching through a 4" inspection hole in wings and such}. I think there is a more elegant solution.
However, I’m wondering if your belts might be a touch loose. Once those fiddly little inserts are in place, and the belts are tension-ed, they should be pretty well trapped, and unable to pop out.
Regarding the tilting wheels, I don’t think the weight is an issue. Looking at my Lowrider to see how the wheels could be tilting like that, has me thinking the lower Z rollers might be installed with the wrong side towards the plate. I would think that tilt would be binding up the Z axis a bit too. I don’t see how else it could be tilting like that.
You mentioned possibly making new Y plates, as well. I don’t think a little oval-ness in the wheel holes is likely to be an issue, but I think I’ve seen a couple of posts about 1/2" MDF “sagging”.
When I first assembled my Lowrider, I made my flat parts (611 plate and Y plate) by hand on a bandsaw, out of scrap and they were a touch rough. As soon as I had it running decently, I used it to make some good ones out of Baltic Birch ply. Baltic Birch is pricey, but it’s really nice for stuff like this.
Hope you get things worked out, I’m watching your robot project with interest, and looking forward to more progress.
Im going with @tailslide’s design for the belt tensioners… decided to give 3d printing service a try as it looked relatively inexpensive.
My concern about the oval holes is that if they are vertical, then the bolt would tilt… but at the same time, everything feels flat against the plate so . I have noticed some flex in the Y plate as mentioned in the other thread, so once I get the belts fixed, I’m going to cut some replacement plates… a little bigger to help mount the rpi and mini Rambo and with more meat around the wheels.
I’ll check, but I’m pretty sure I got it right because if I recall correctly, there’s like a lip or something in the part that presses against the plate.
The new parts will arrive Saturday. Really impressed with the quick turn-around. Ordered Monday, printed on Tuesday, and shipped to arrive on Saturday for total of $24. I like they send a picture of them printed… its a bit curious because it almost looks like a rendering and not the actual print, but they ‘finish’ them or something before sending them out… Now @tailslide is going to notice something and pop my bubble and say I screwed up on the order
I used the same belt tensioners/end stops and have been very happy with them. But I did experience some belt slippage at first which I was able to resolve by using zip ties and an extra piece of belt on the exposed ends. I’m just mentioning it as you might want to keep an eye out for this issue.

 . I have noticed some flex in the Y plate as mentioned in the other thread, so once I get the belts fixed, I’m going to cut some replacement plates… a little bigger to help mount the rpi and mini Rambo and with more meat around the wheels.