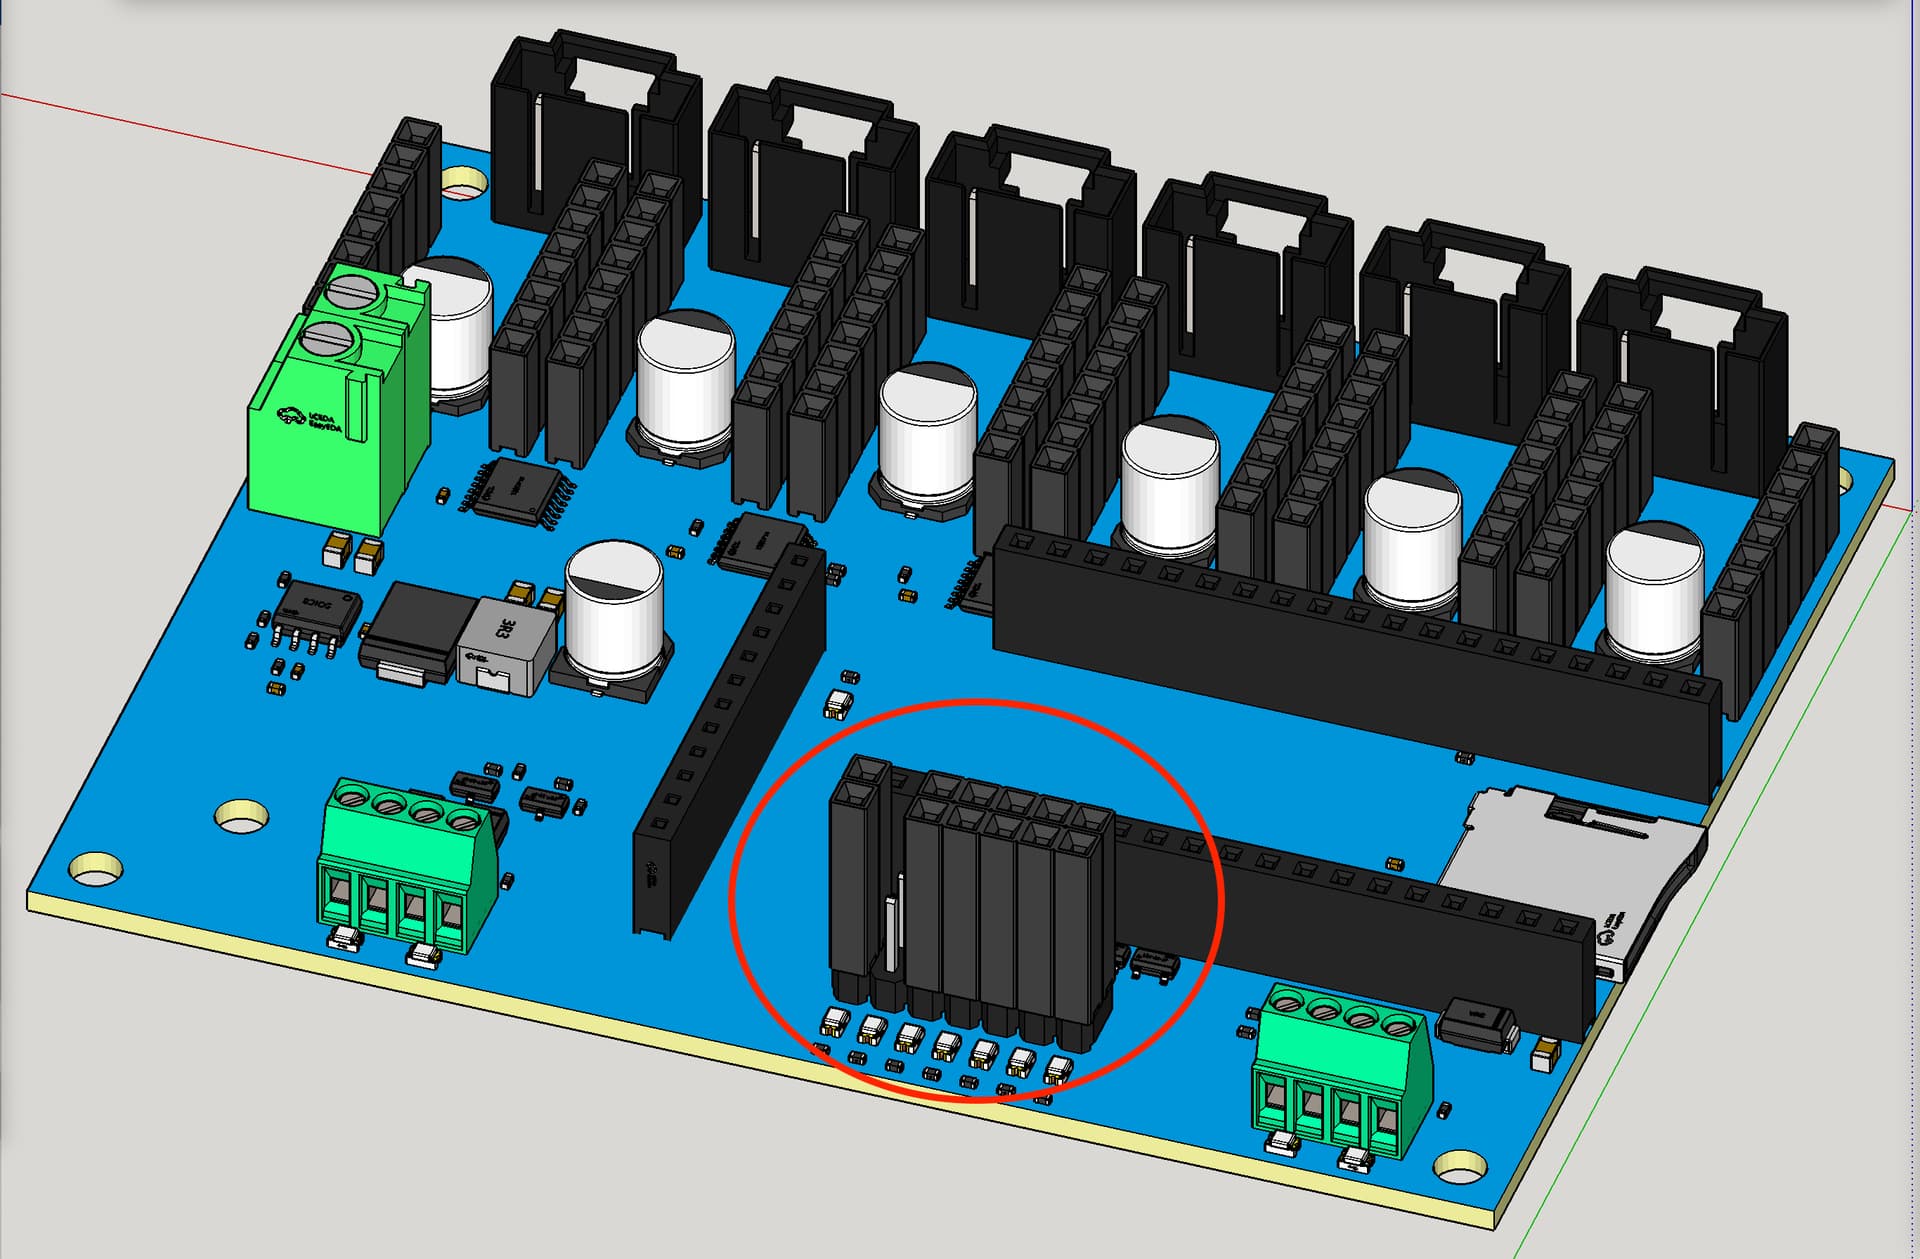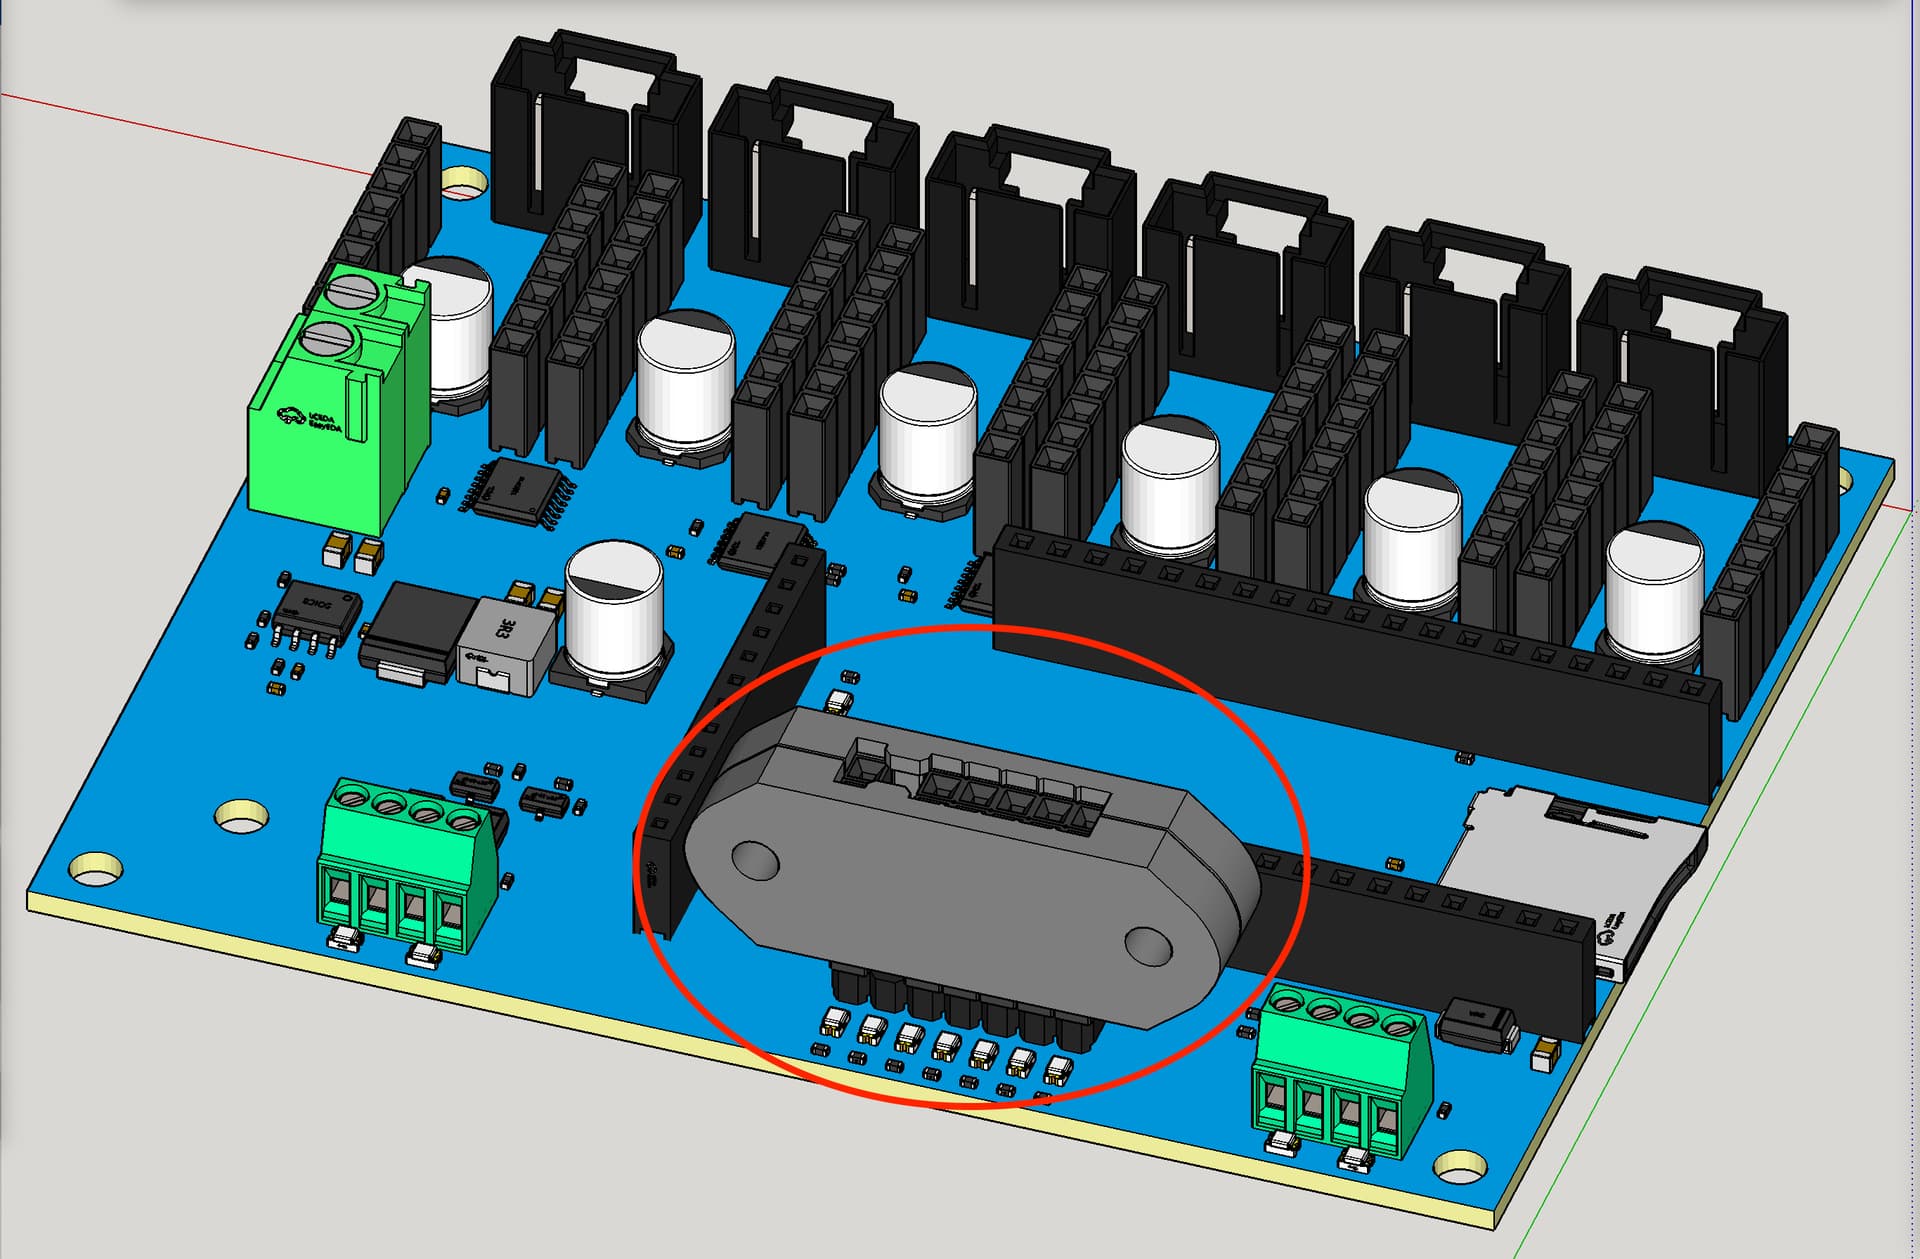
DOWNLOAD LINK: LowRider CNC - Jackpot Board - End-Stop Connector Combiner (Make-A-Block Clamp for 2.54 Pin Housing Connectors) v1.0 by Doug Joseph (design8studio) | Download free STL model | Printables.com
Please watch this quick video which explains the purpose, and shows installation, etc.
")
Print info:
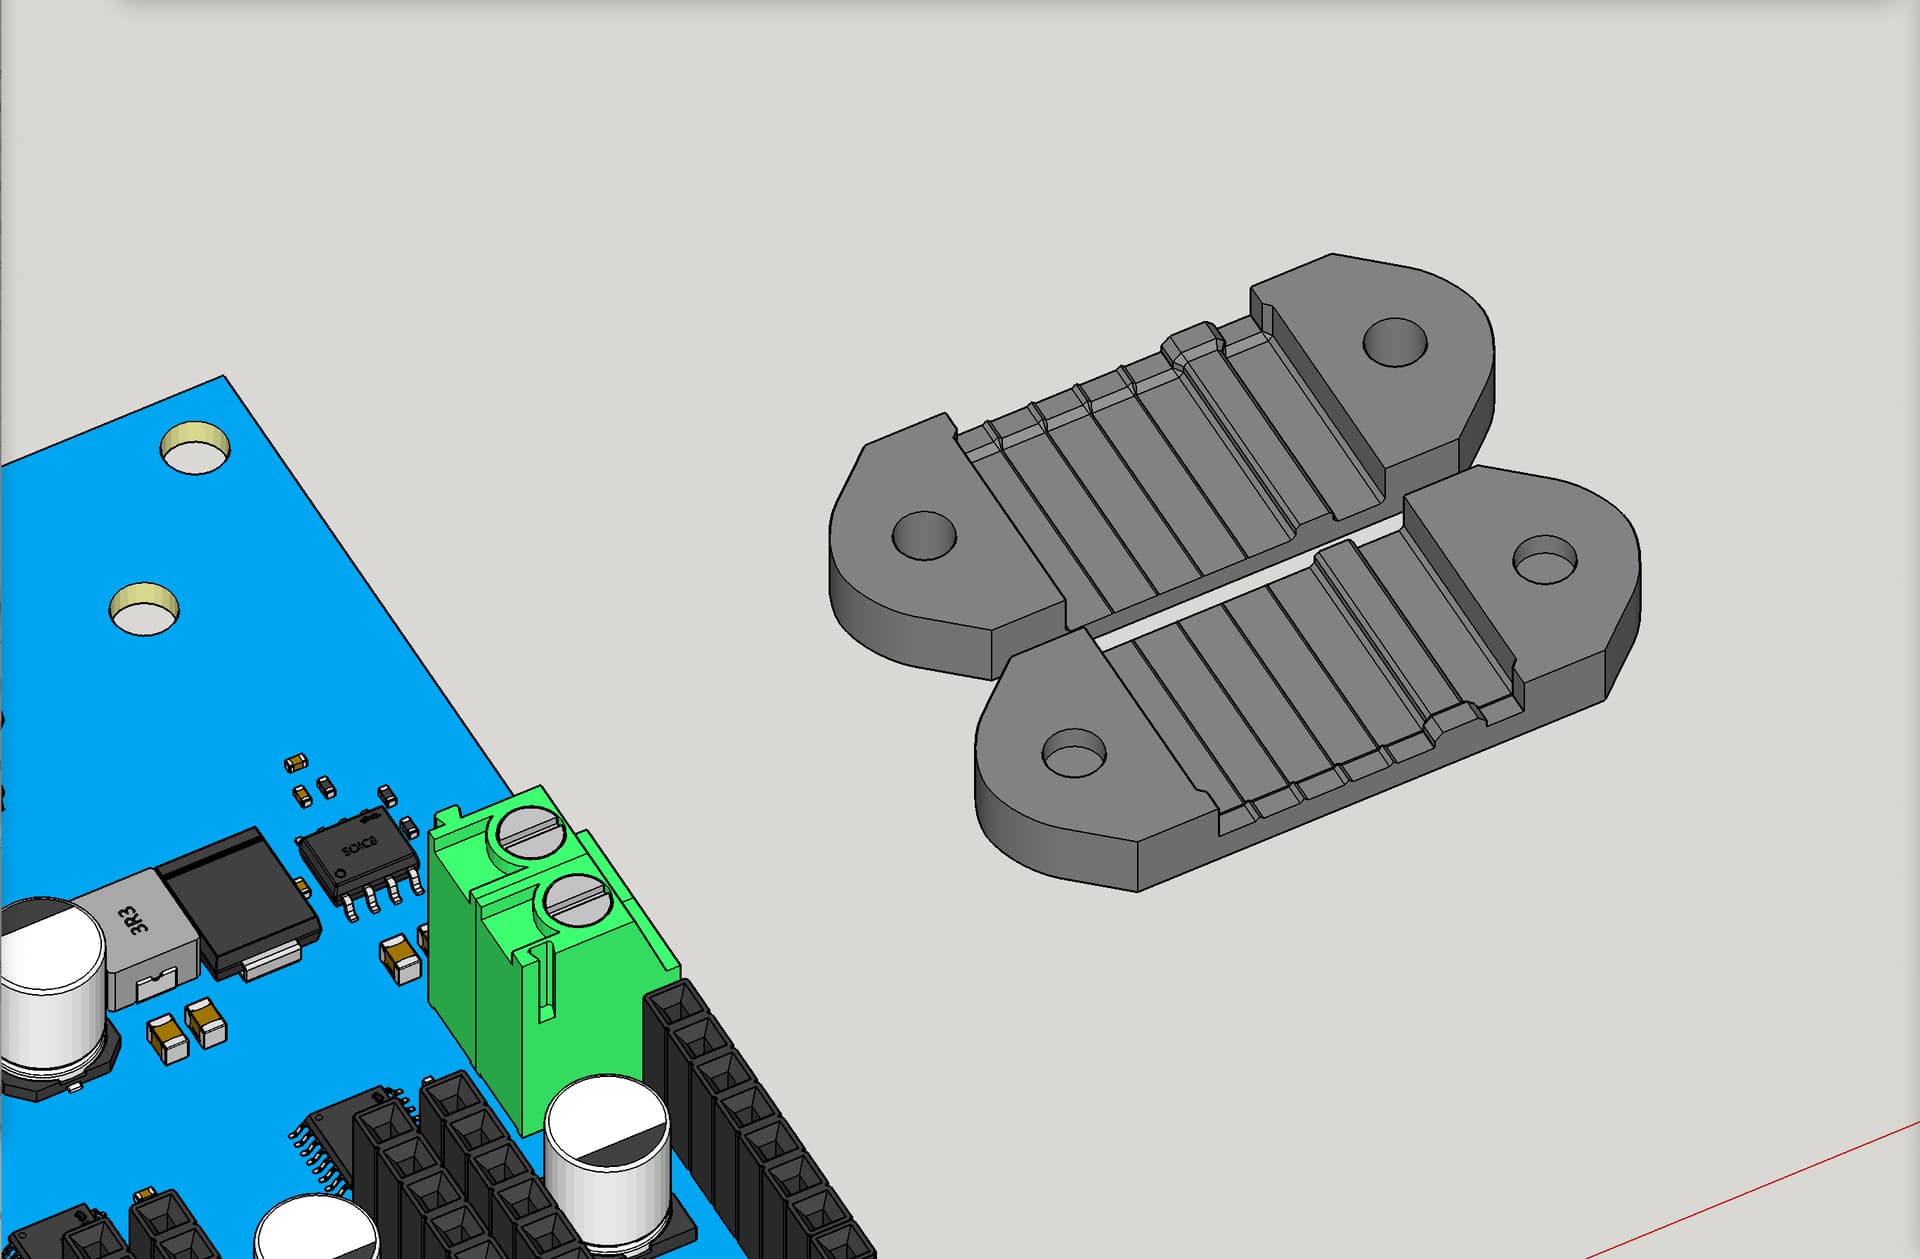
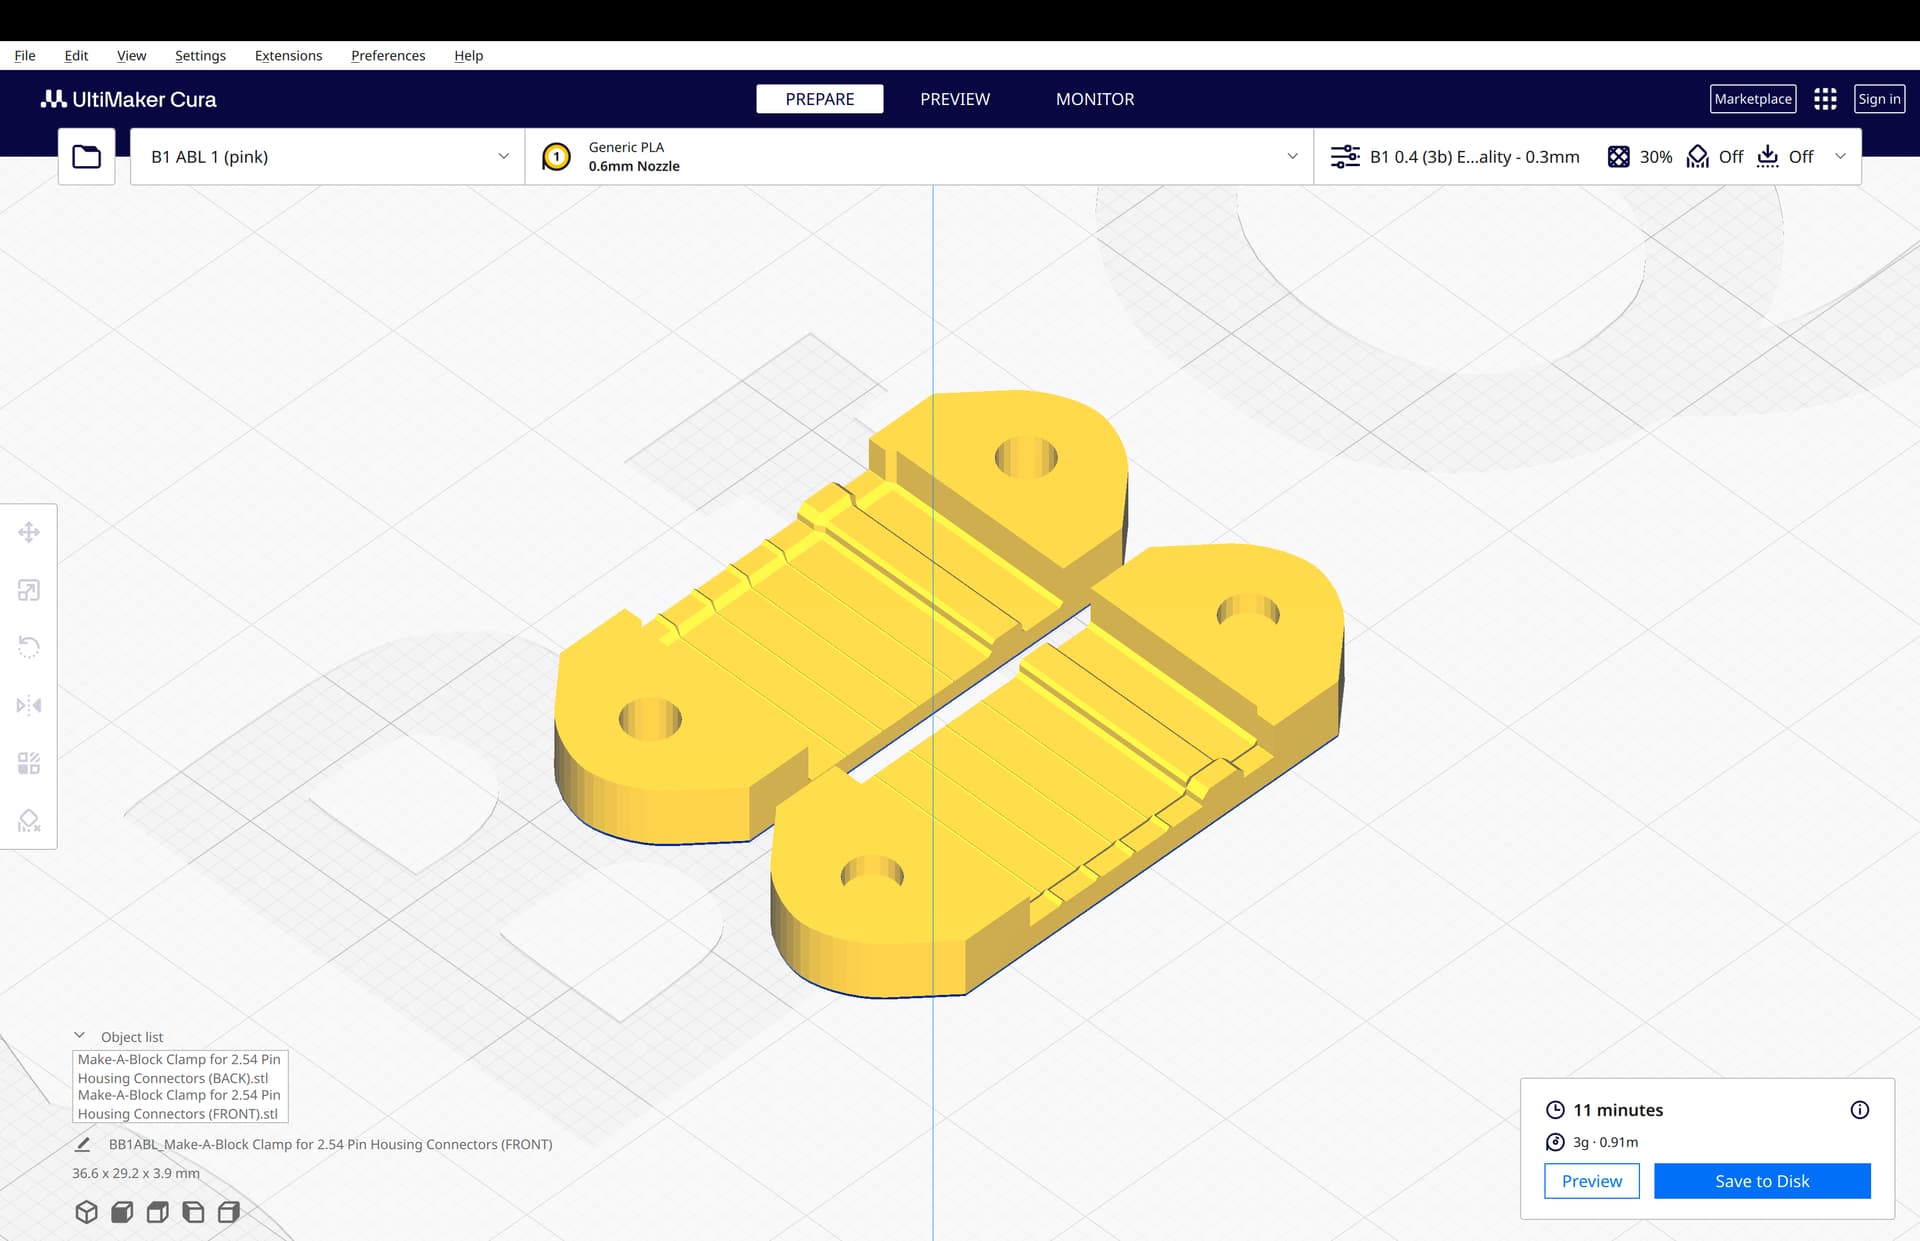
- Print as oriented.
- Prints without supports
- I used my standard default of 0.3 layer height on a 0.6 mm nozzle. However, a 0.2 or 0.1 layer height (higher quality print) would be fine for a part this small.
Assembly info:
- On the “Back” part, there is a 1-layer thick sacrifice layer across the holes where they transition from nut capture slots to screw holes. You can remove that layer from the holes by either a hot soldering iron, or a drill bit, or an Xacto knife.
- To insert the two M3 nuts in the nut capture slots, you can thread a nut onto an M3 x 20mm (or M3 x 16mm) screw, and then hold the screw with needle nose pliers, and either bang on the screw with a hammer to seat the nut, or heat the nut up with a heat gun, and let it melt its way into place, by pressing it with pliers gripping the spare screw. A nut capture slot has to be tight or it won’t do its job.
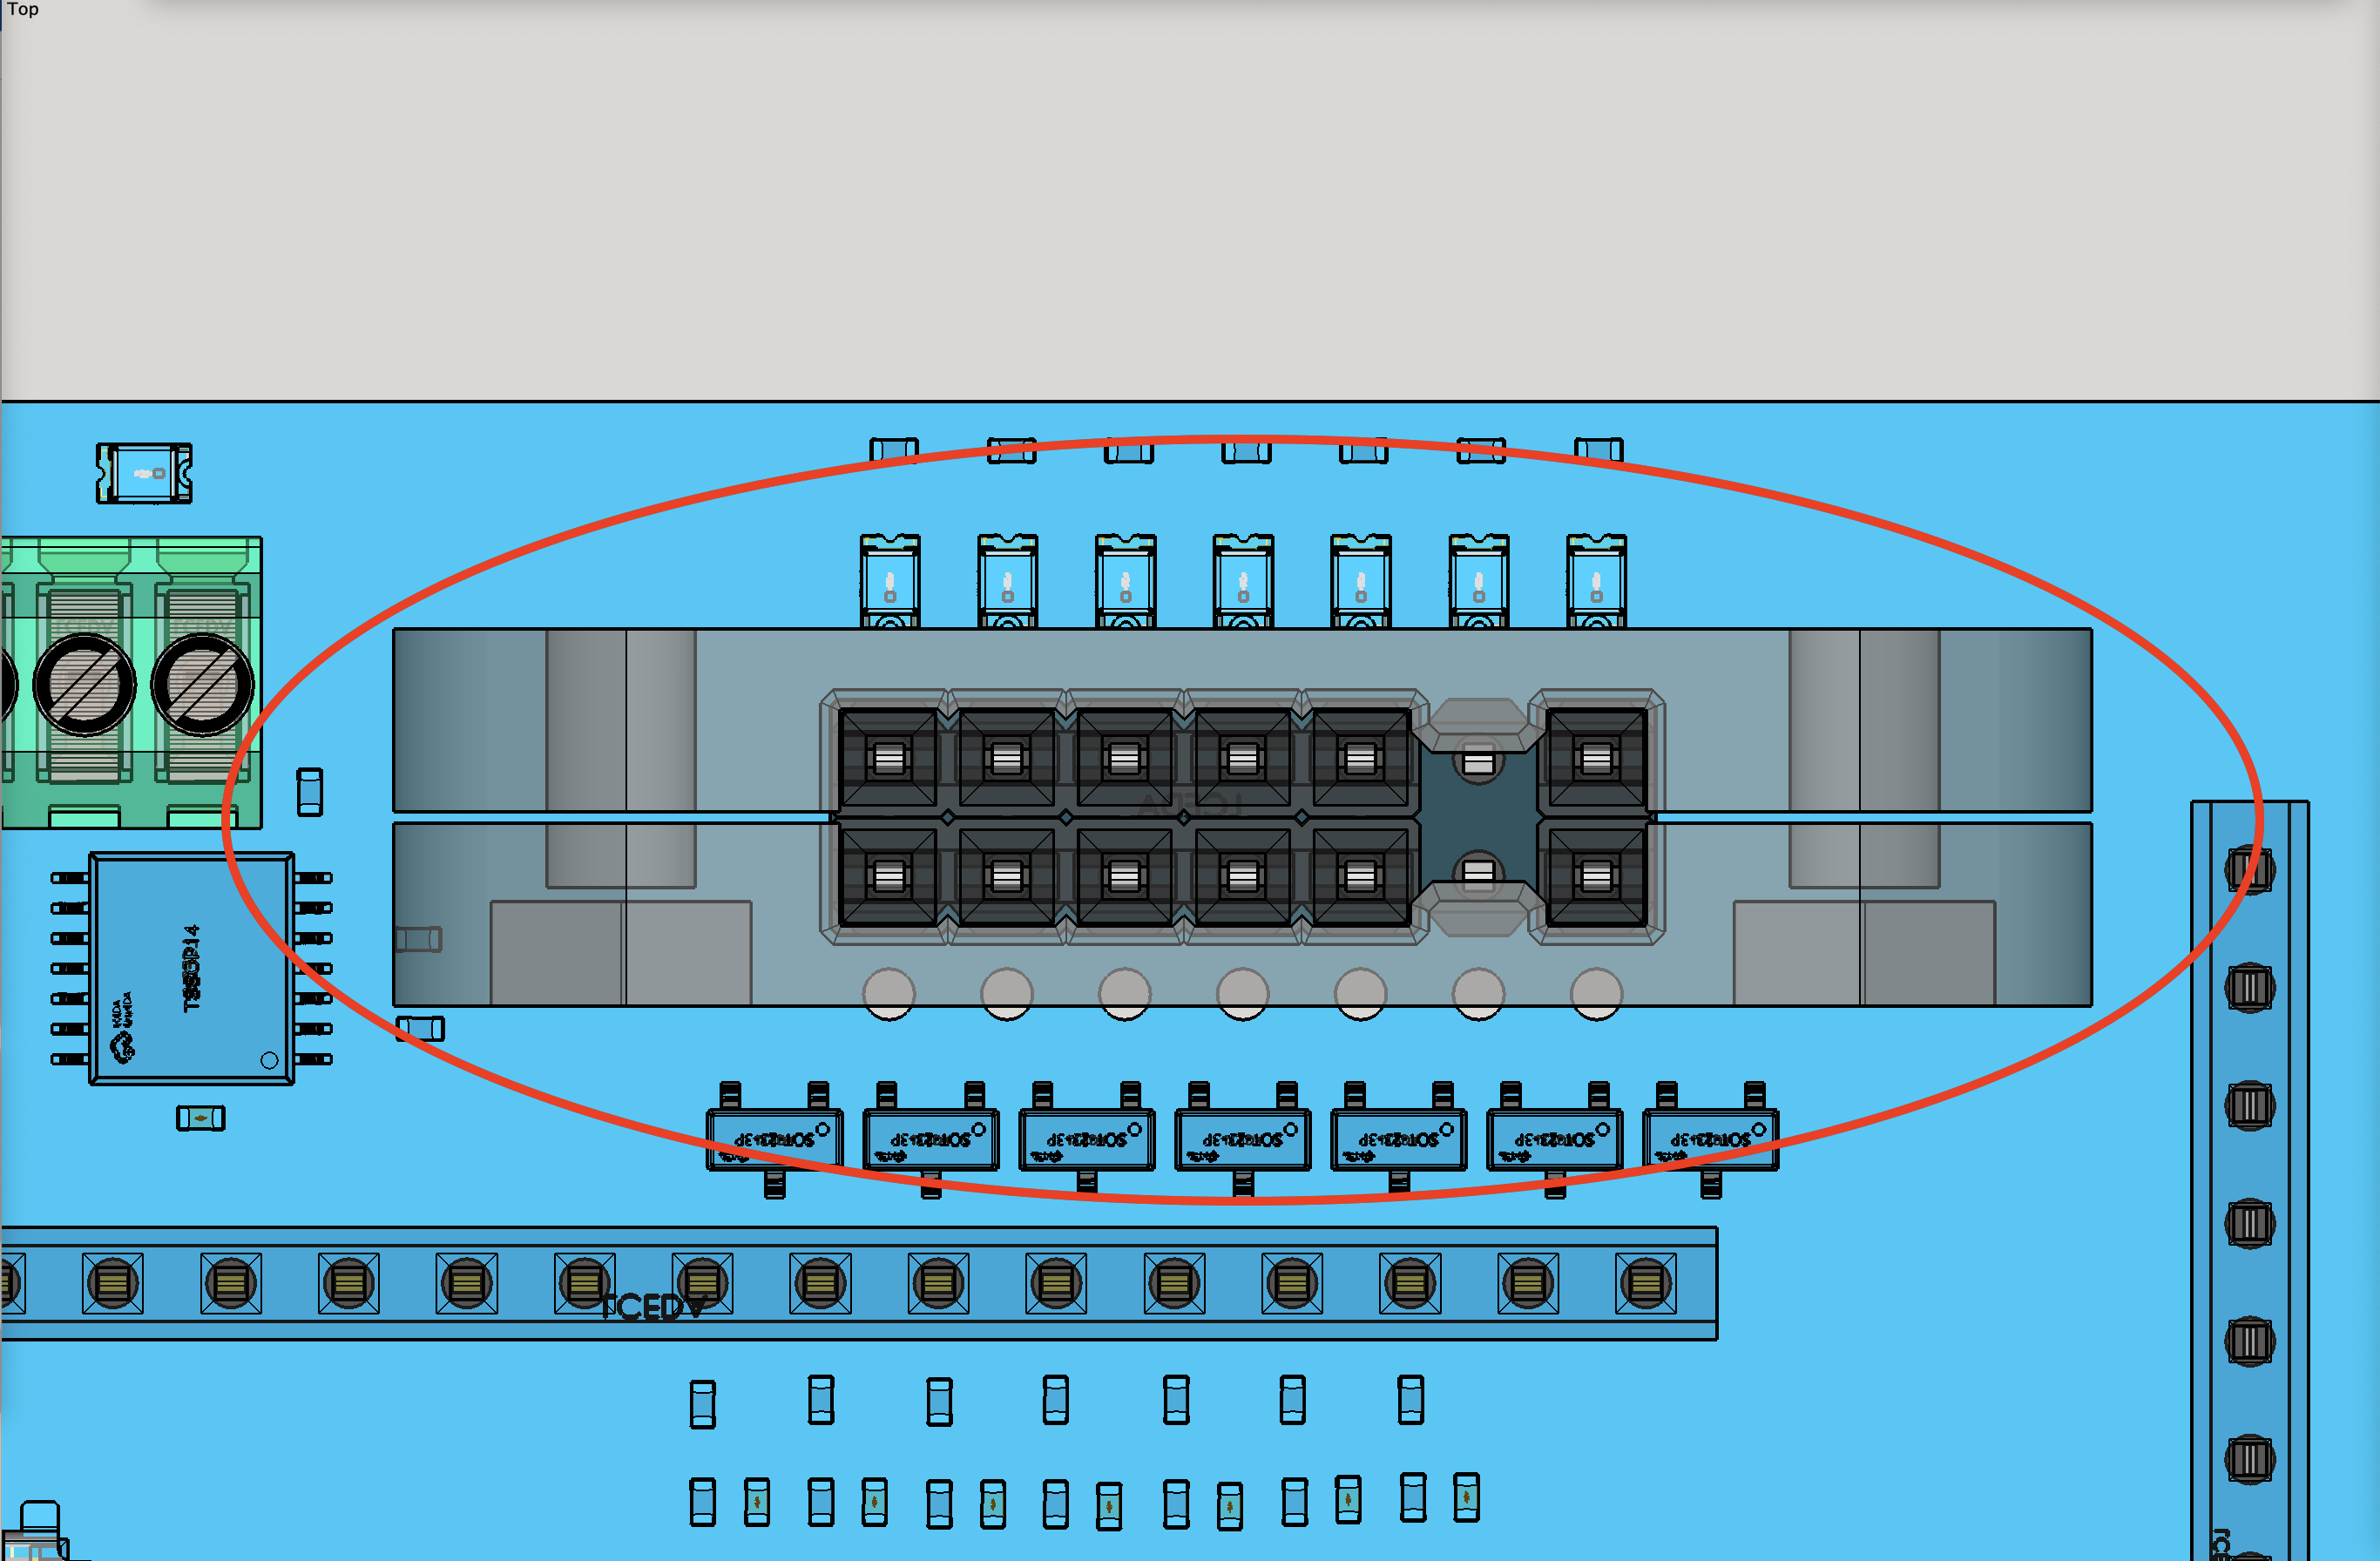
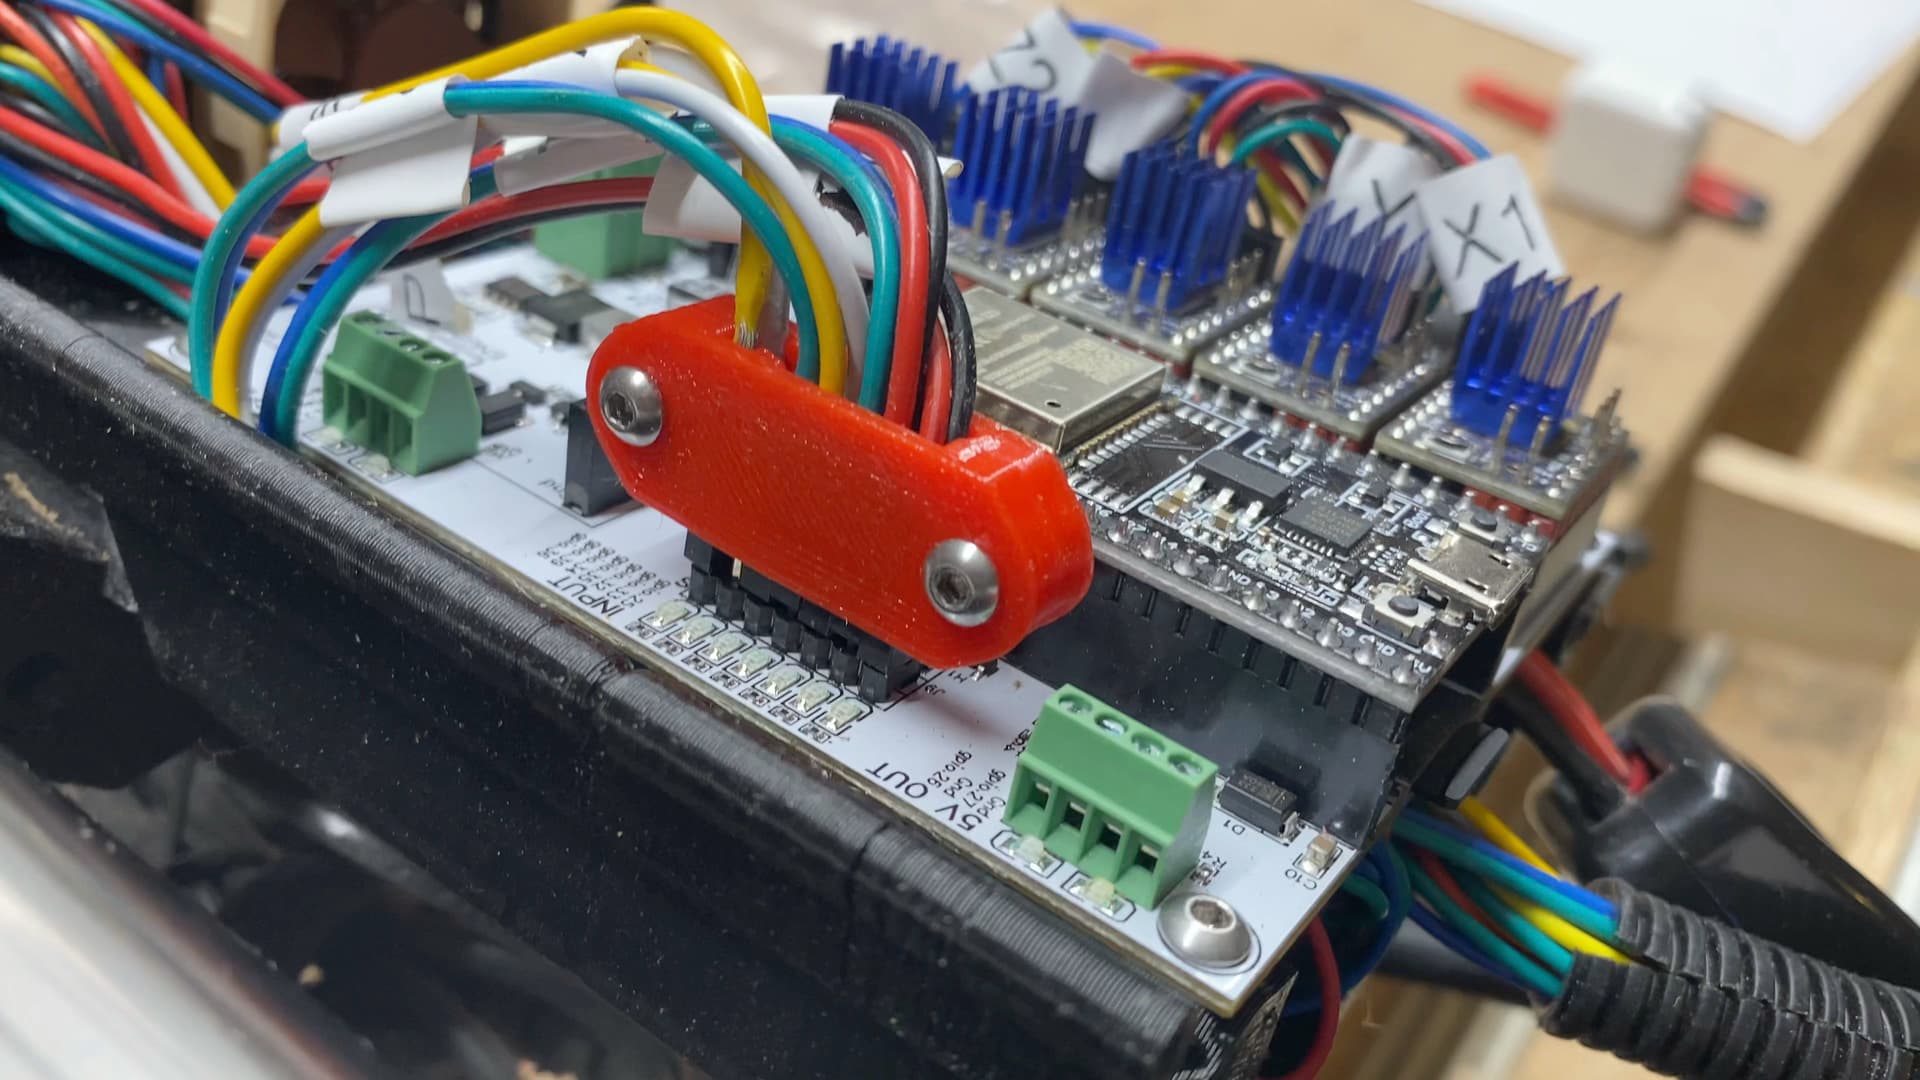
- Once the parts are ready to clamp together around the 2.54 mm pin housings, attach them to each other using two M3 x 8mm screws.
The case shown in the video is this one:
Change log
- November 19, 2023 — Initial v1.0 uploaded.
My PayPal tip jar: https://paypal.me/design8studio
Various LowRider 3 CNC remixes:
View all my models and remixes on Printables:
*Product links may be affiliate links, which add nothing to your price, but may benefit me by a small percent.