I have bunch of 9.5mm HDPE from an impulse 50% off buy.
2 Likes
If I make more I will do it this way for sure!
2 Likes
Yeah, guess that’s ok providing panels are very rigid. Adding interior panels would help if using thinner/flexible panel material if looking to over cut extrusion. e.g. I wouldn’t overcut extrusion like this if doing just exterior 1/8" polycarbonate panels.
Ideally, should cut extrusion to intended dimension in batches grouped by intended length, using calibrated perpendicular/plumb Chopsaw Miter Saw. That would avoid need to overcut.
Guess I’m not used to seeing gaps in framed assemblies. At first glance, if I was walking by a machine, looking at it for the first time, my assumption (rightly or wrongly) would be that the gaps are a fluff up.
Could always fill the cracks with Bondo ![]()
Even 1/8" Polycarbonate panels are way stronger than any of your extrusion joints. Like sheetrock on your walls. The 1/8" PC is is weak only in the plane you don’t care about.
My saw is as perfectly plumb and calibrated as I can get, but it’s very difficult from hobby grade tools to get perfect cuts. You even have things like saw blade deflection etc. Many of us are using regular miter saws, etc. to build these, and perfect is hardly attainable.
Even just 1mm short will stop you accidentally fighting against the extrusion to make it square
It’s a choice, but it’s more a tip to make the assembly as easy as possible. You can certainly cut perfect on the line, and shave it down later if you see that you are struggling to get it square
5 Likes
I agree with Mike here. I used 1/8” polycarbonate on my V5 and it’s super rigid in the right ways. Even with the big holes cut in top and front panels. My extrusions are only held together with the panels. I have no other corner clamps or anything. And it’s a super rigid super square printer. I was hoping to run the Calilanter skew print before I had to leave but I ran out of time. We will see just how good it is in a month when I get back home lol
2 Likes
I did the same thing here as well. Even went as far as cutting them all 10-20 mm long and taping all the matching pieces together. Then trimming off just a blades width on one end. Then pull my measurement and make my cut on the other end. That way all pieces that needed to match were the exact same. Well as close to exact as possible. Taking my time with the cuts to have as little blade deflection as possible
The frames are only stress in the plane of the panel, any other forces go to a different panel. Perfect joints would only help a bending moment in one direction, and do nothing in the other. When building a cube, the surfaces do all the work.
1 Like
For my MP3DP v4 build, I spent a lot more time calibrating, cutting and re-cutting acceptably square panels on the LR3, than the time taken to cut batches of taped extrusion to the same length. Using a nice, but not especially fancy Dewalt DWS780R 12" Chopsaw Miter saw, ~12yrs old, but not used daily, it’s had a relatively pampered life, but more than paid for itself. Bought out of frustration with dimension/feature limits of my 10" ryobi.
This is interesting, from ease of assembly perspective.
Vibrations?
I cut my panels and they are square to under a quarter mm across 640mm diagonals. This is how my LR sits. I squared it for that video I made a while back and all my cuts are still dead on. I use it 3x a week at least. Once you set it square it stays.
This is also why I say a printer build is an advanced build. Everything has to be very accurate to build a very accurate printer without a ton of skew compensation.
2 Likes
Anything you might gain from a perfect non-welded or otherwise reinforced seam in this application gets carried over to the next face. Side to back is supported by the top and bottom. A perfect cut is only a good idea if you are using it to connect something on the end.
Have you seen the process Prusa goes through to verify the extrusions they use for the bed-slinger, just to mount the end plate, They could bypass all that by mounting it to the top of them
1 Like
Don’t forget the corners are re-enforced with 5mm metal plates on both sides.
2 Likes
For crack loving folks here, maybe intentionally make the extrusion short enough to allow wiring to easily pass through and ease routing wiring?
As long as you dull the edges. I tuck my wires into the extrusion channel. I think you can see it in the pictures.
1 Like
This was my process for the panels as well. When I redid my big lr3 Ryan had just put out that video shortly before about squaring it. And I did the same thing at my full table size. And I’ve built many drawers and a few cabinets since then that have all come out dead square. I also double checked square before cutting the V5 panels and it was still dead on! After that it was just drawing up what I wanted on the cad (Ryan hadn’t done his yet) and exporting the dxf. Every panel came out dead square! I spent a little extra time on the back panel trying to think of every wire that needed to come through and that really made things a lot nicer when it came time. And I still missed 1 wire and should have moved 2 others to a little different spot. But I think my wiring looks cleaner than any other build I’ve ever done. I plan to take it a step further with the V4 to v5 conversion back panel. But that’s mostly because I have the next month at work to lay everything out that much nicer and the experience gained from building the first V5
2 Likes
Also I forgot to add this part. My top and bottom
Panels lock into the ends of the 4 upright extrusions with m5 screws into tapped holes. That right there really locked things together. Those 4 rear corner plates really help as well!! I think I could drop this printer off the table and land square on a single corner and not take it out of square. And before anyone asks NO I will not test that theory lol
3 Likes
dang…I was already about to tag your wife to try it while you weren’t around ![]()
3 Likes
What’s that you say??? Push the printer off the table?? hmmmm…
5 Likes
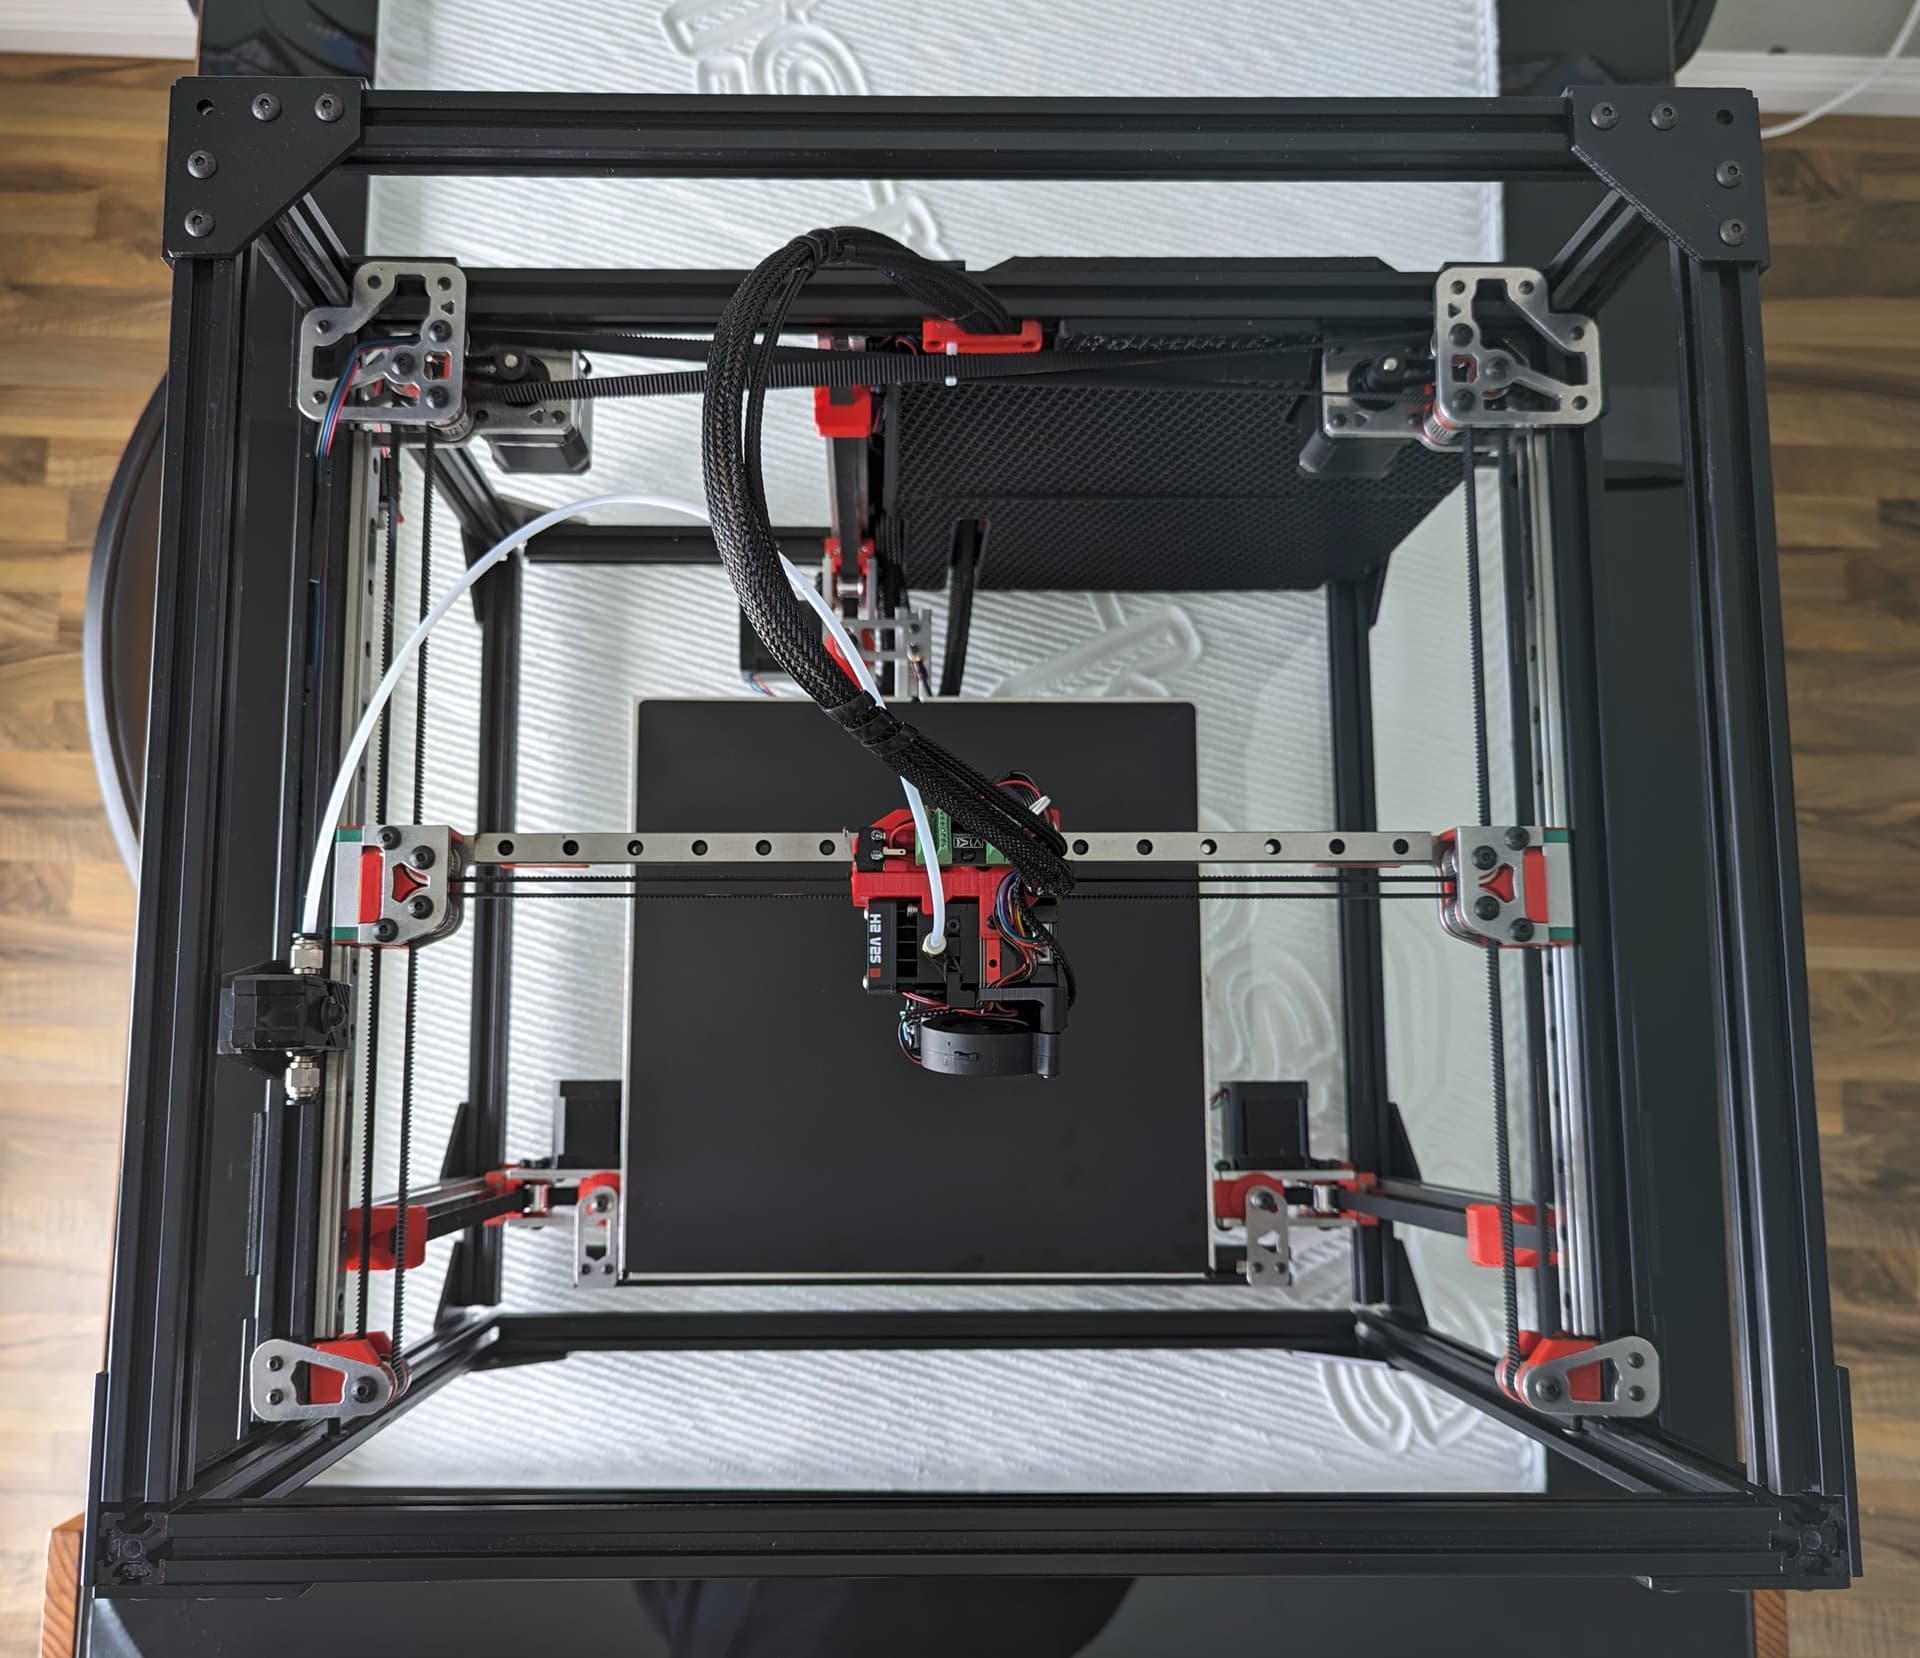
It’s amazing how hard it is to judge the scale of all this stuff in pictures
I opened my V2S Lite last night and Holy Crap that thing is tiny…
Doesn’t look anywhere near that small when I see it on these printers online
1 Like
Have you seen the biqu probe yet??
not yet…be here tomorrow, but I’ve heard it’s…micro ![]()
1 Like